making mittens with yarn
dyed with walnut leaves
-
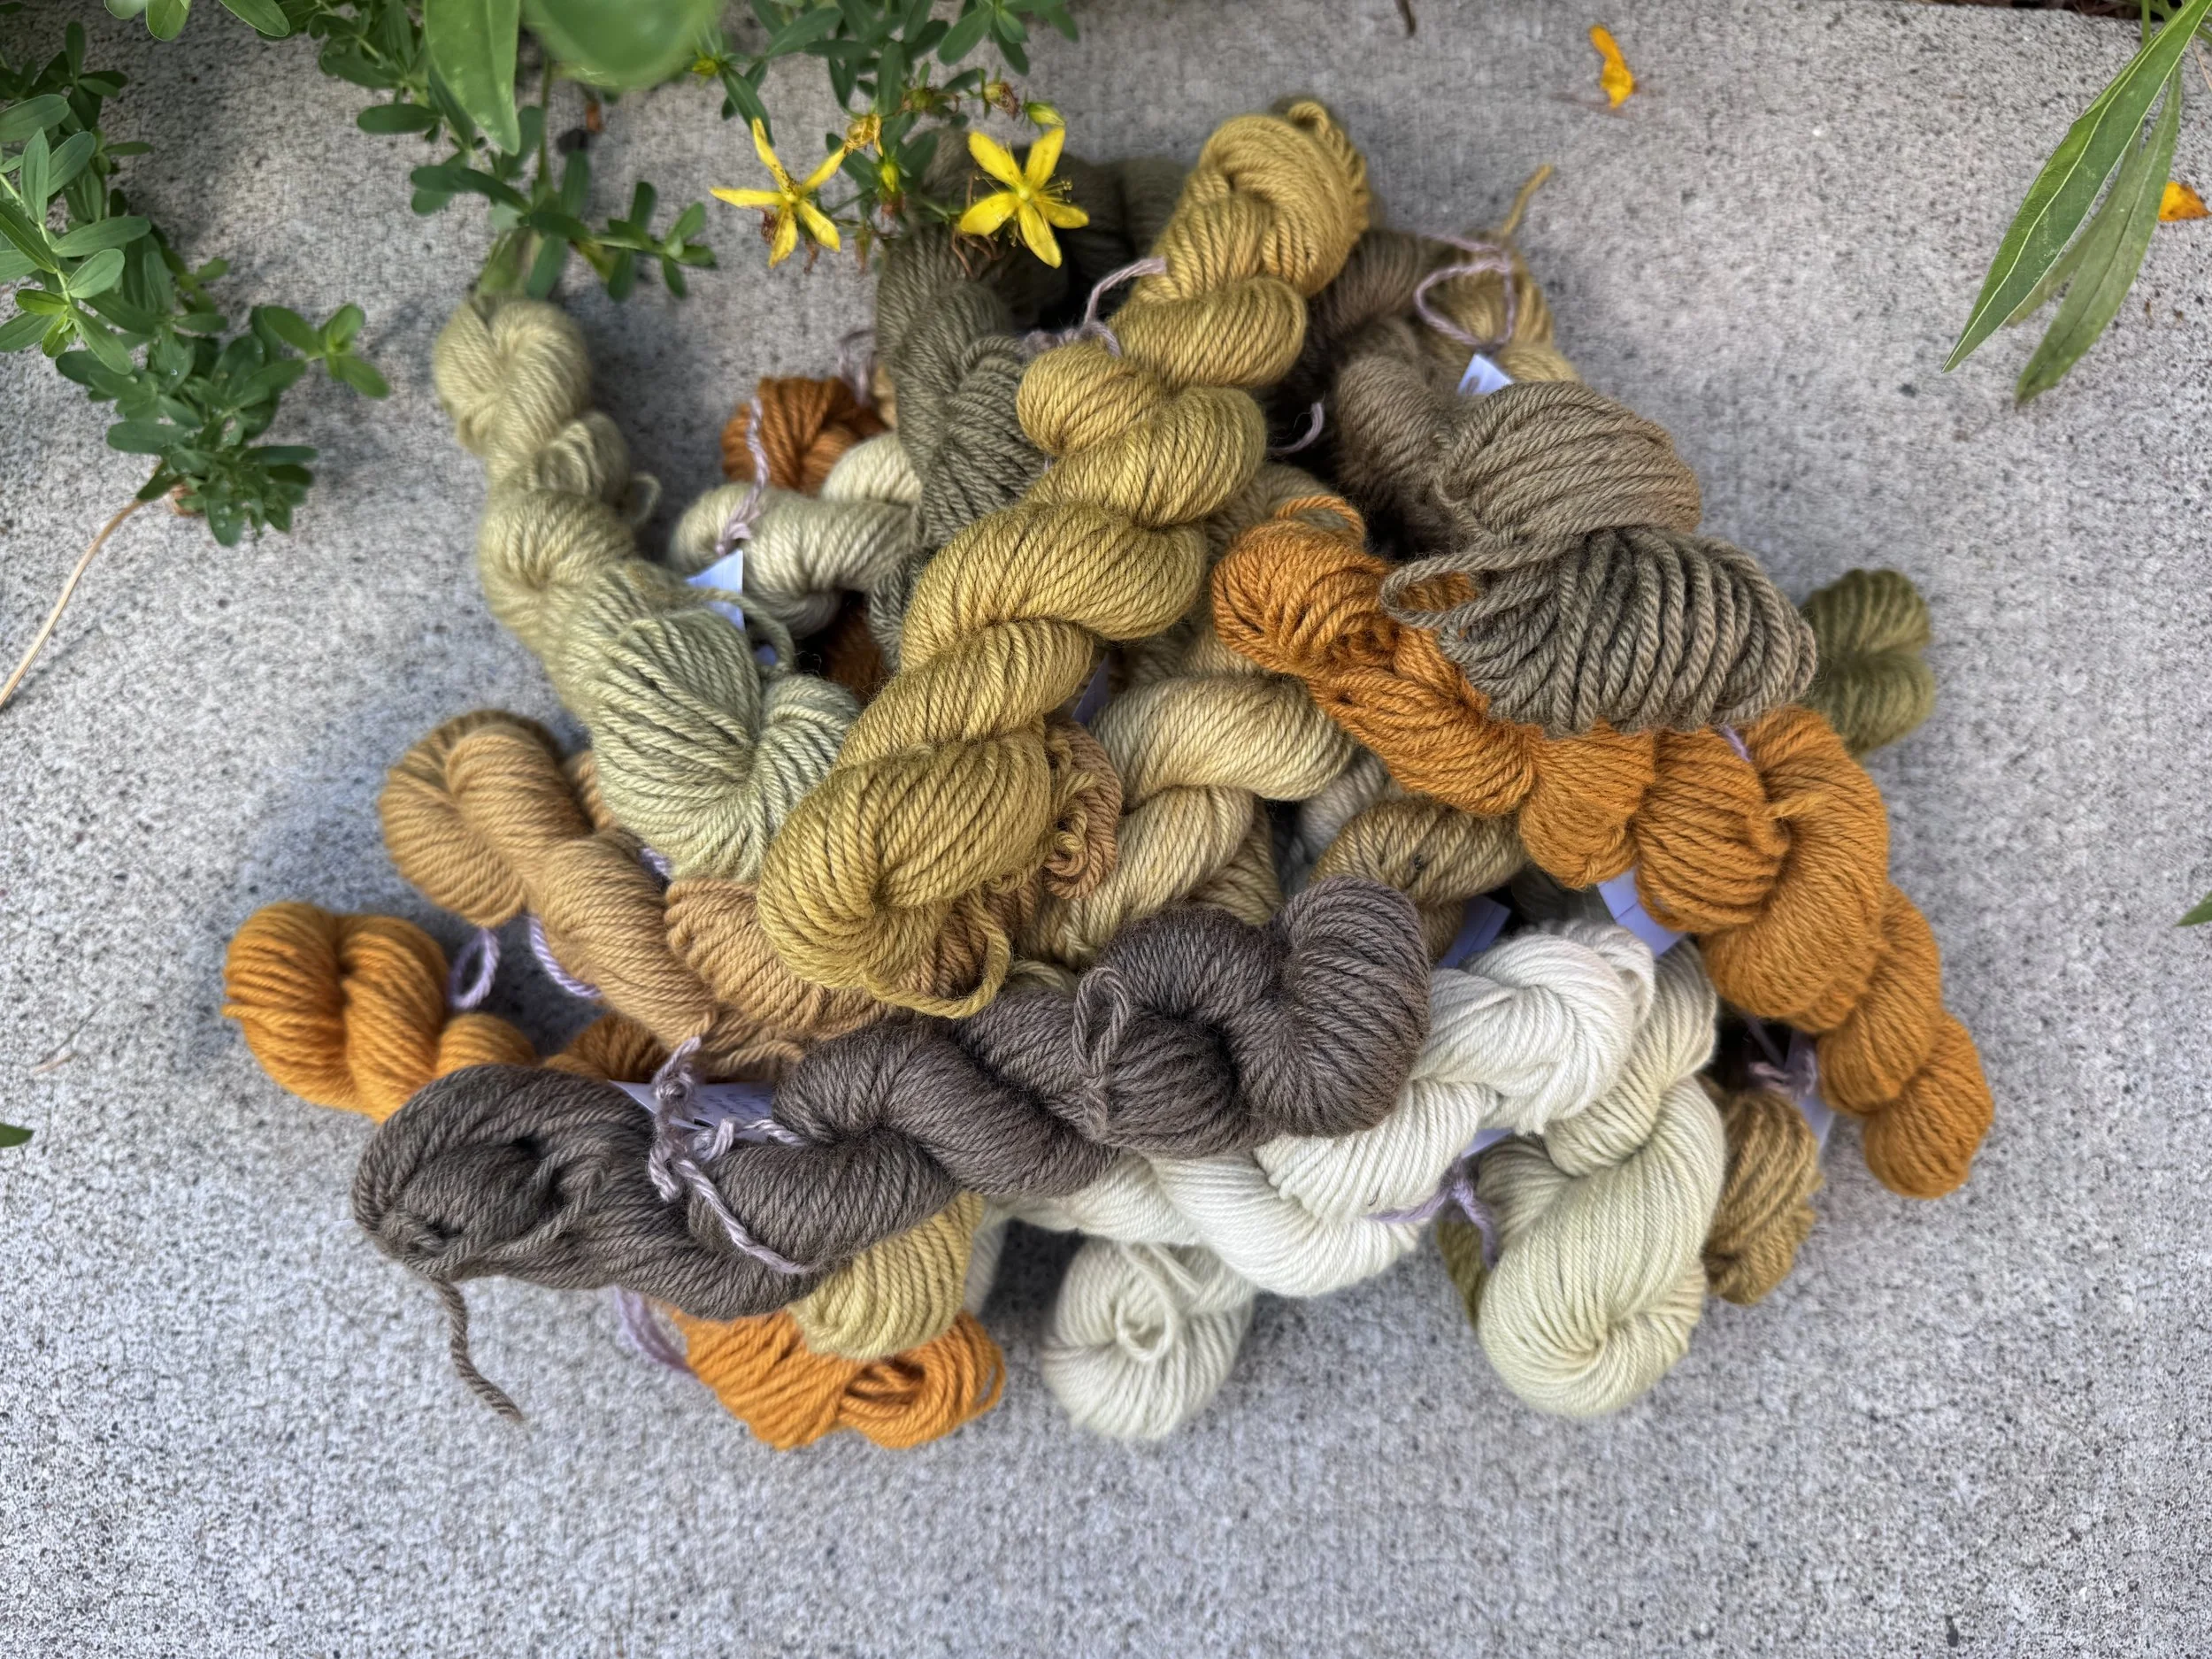
my yarn I dyed with pilfered leaves
There is a walnut tree near our little local lake that looked like it had never seen a pruning saw in its life. I gave its bangs a bit of a trim and used the leaves to dye a big bunch of mini skeins.
-
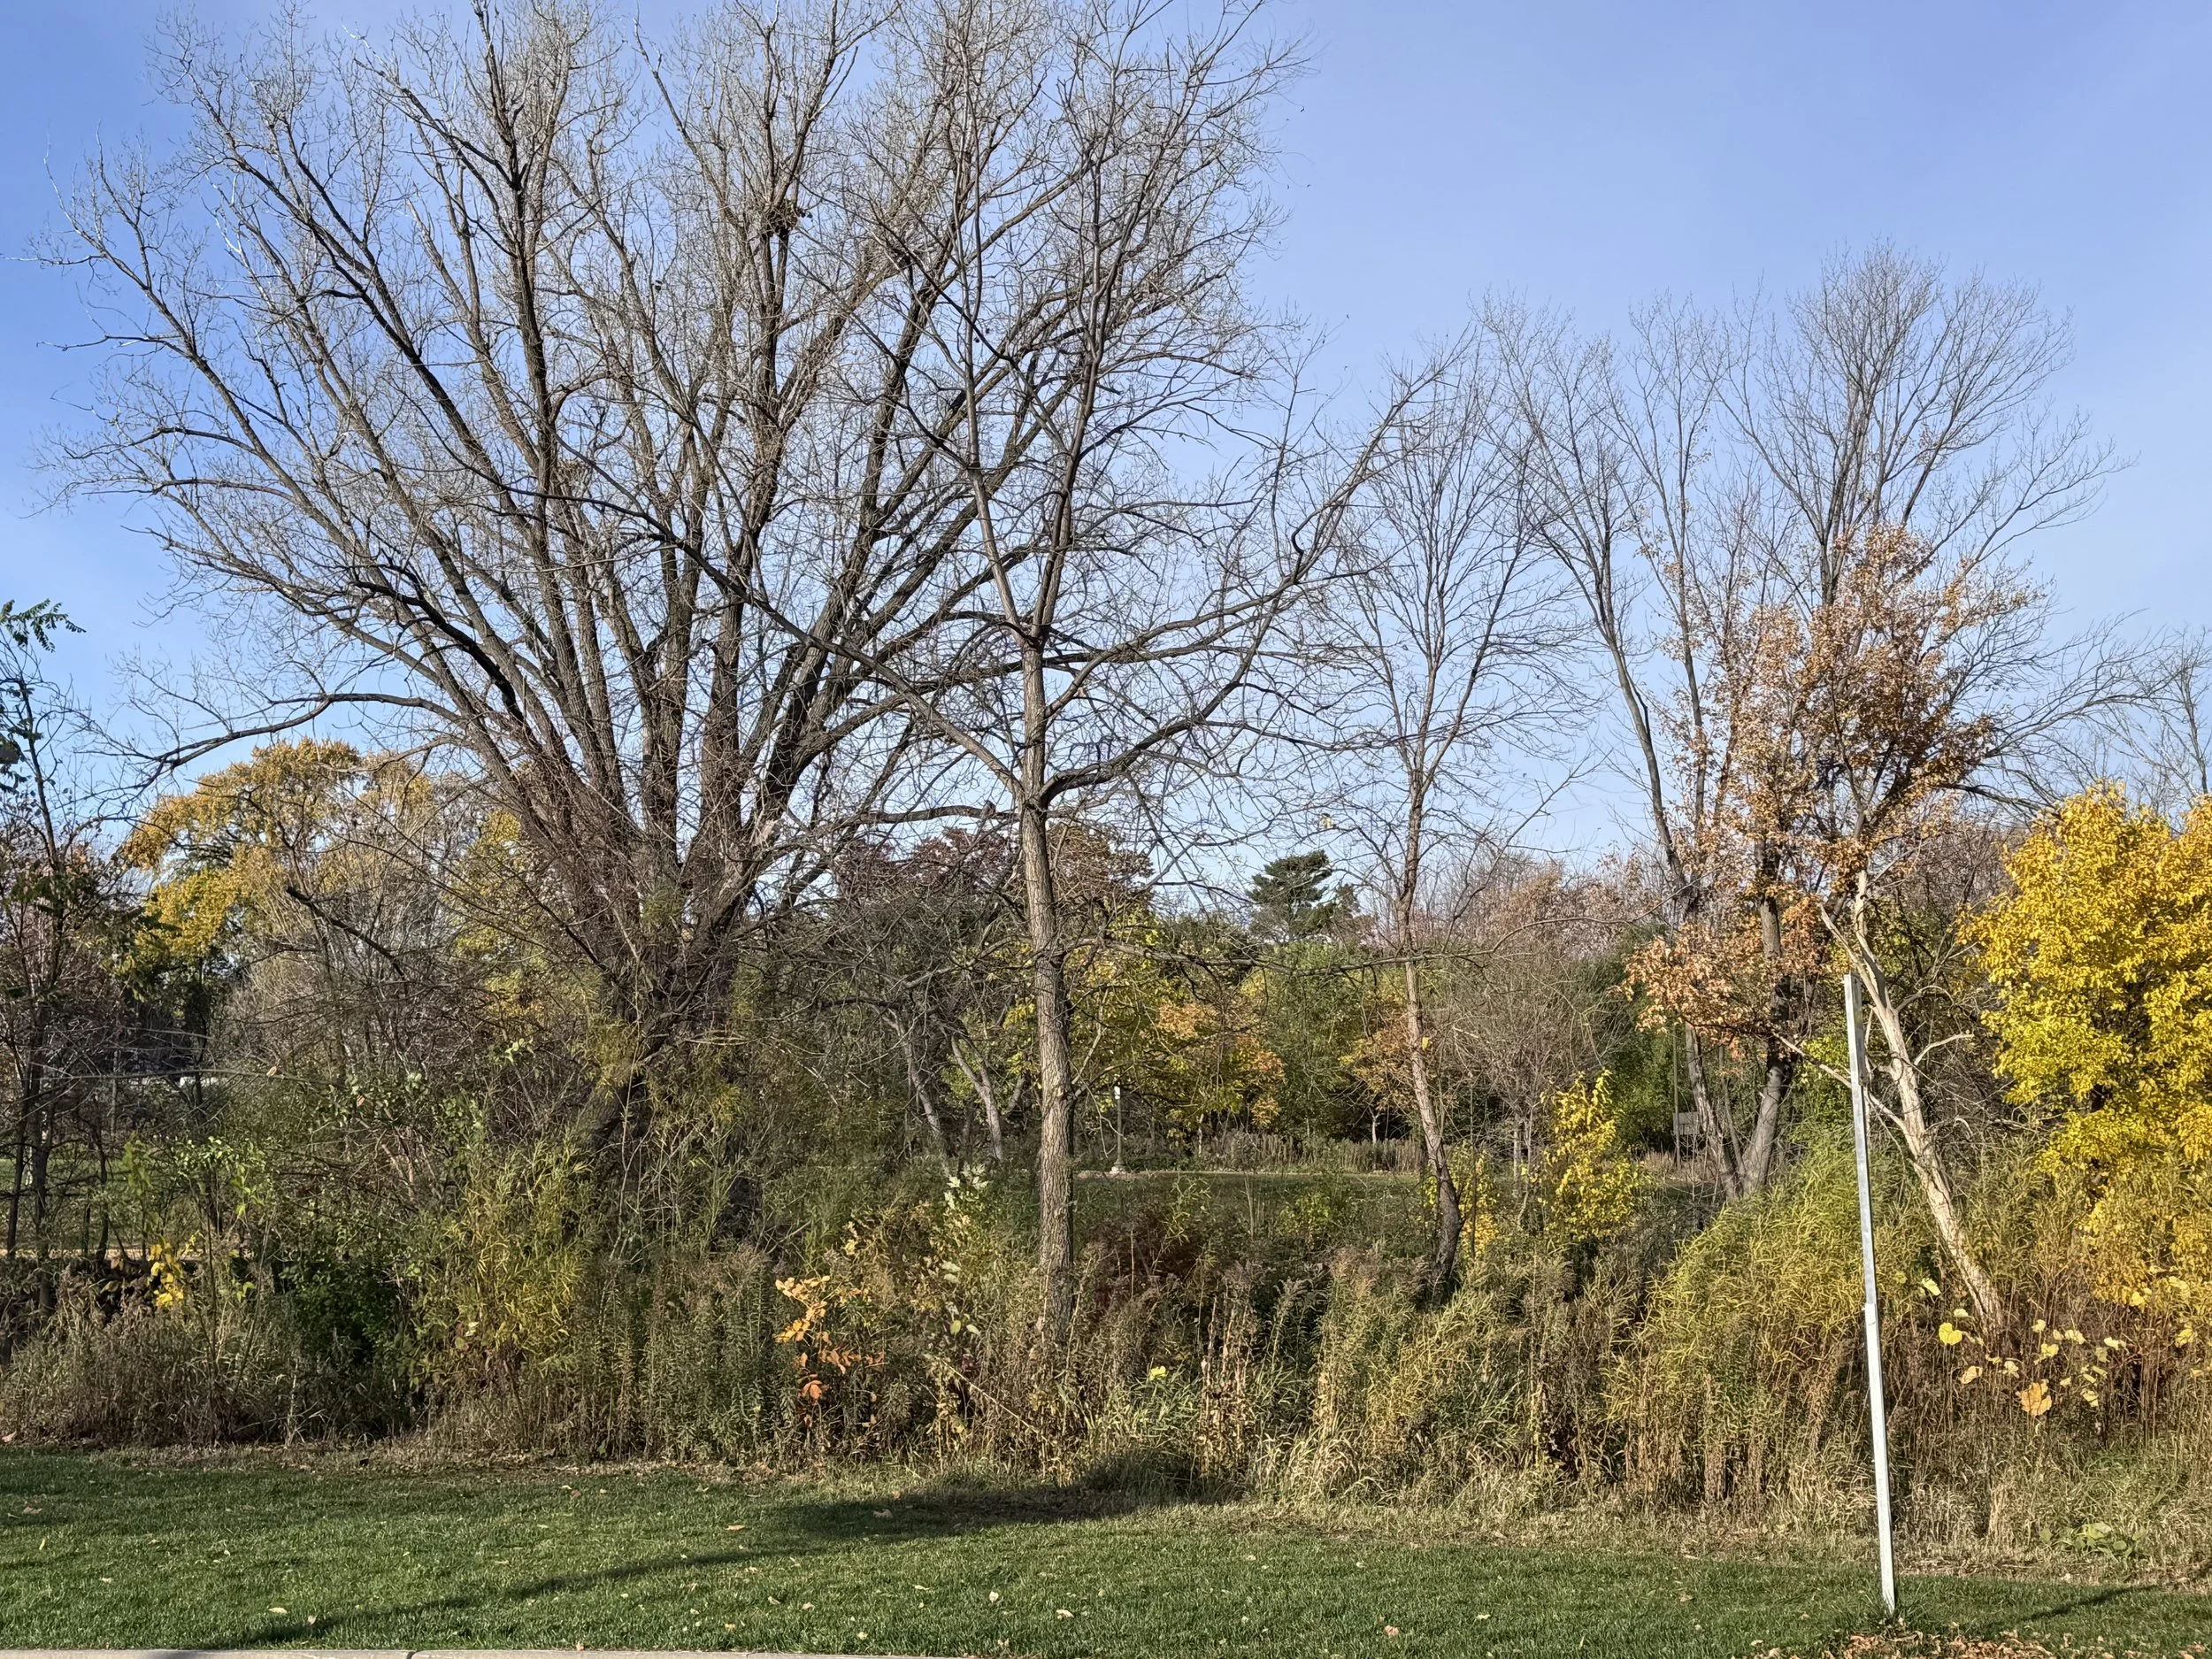
good thing
The pruning saw found the tree this fall, and I think I will have to look elsewhere for walnut leaves next summer. I’m glad that it got some love.
-
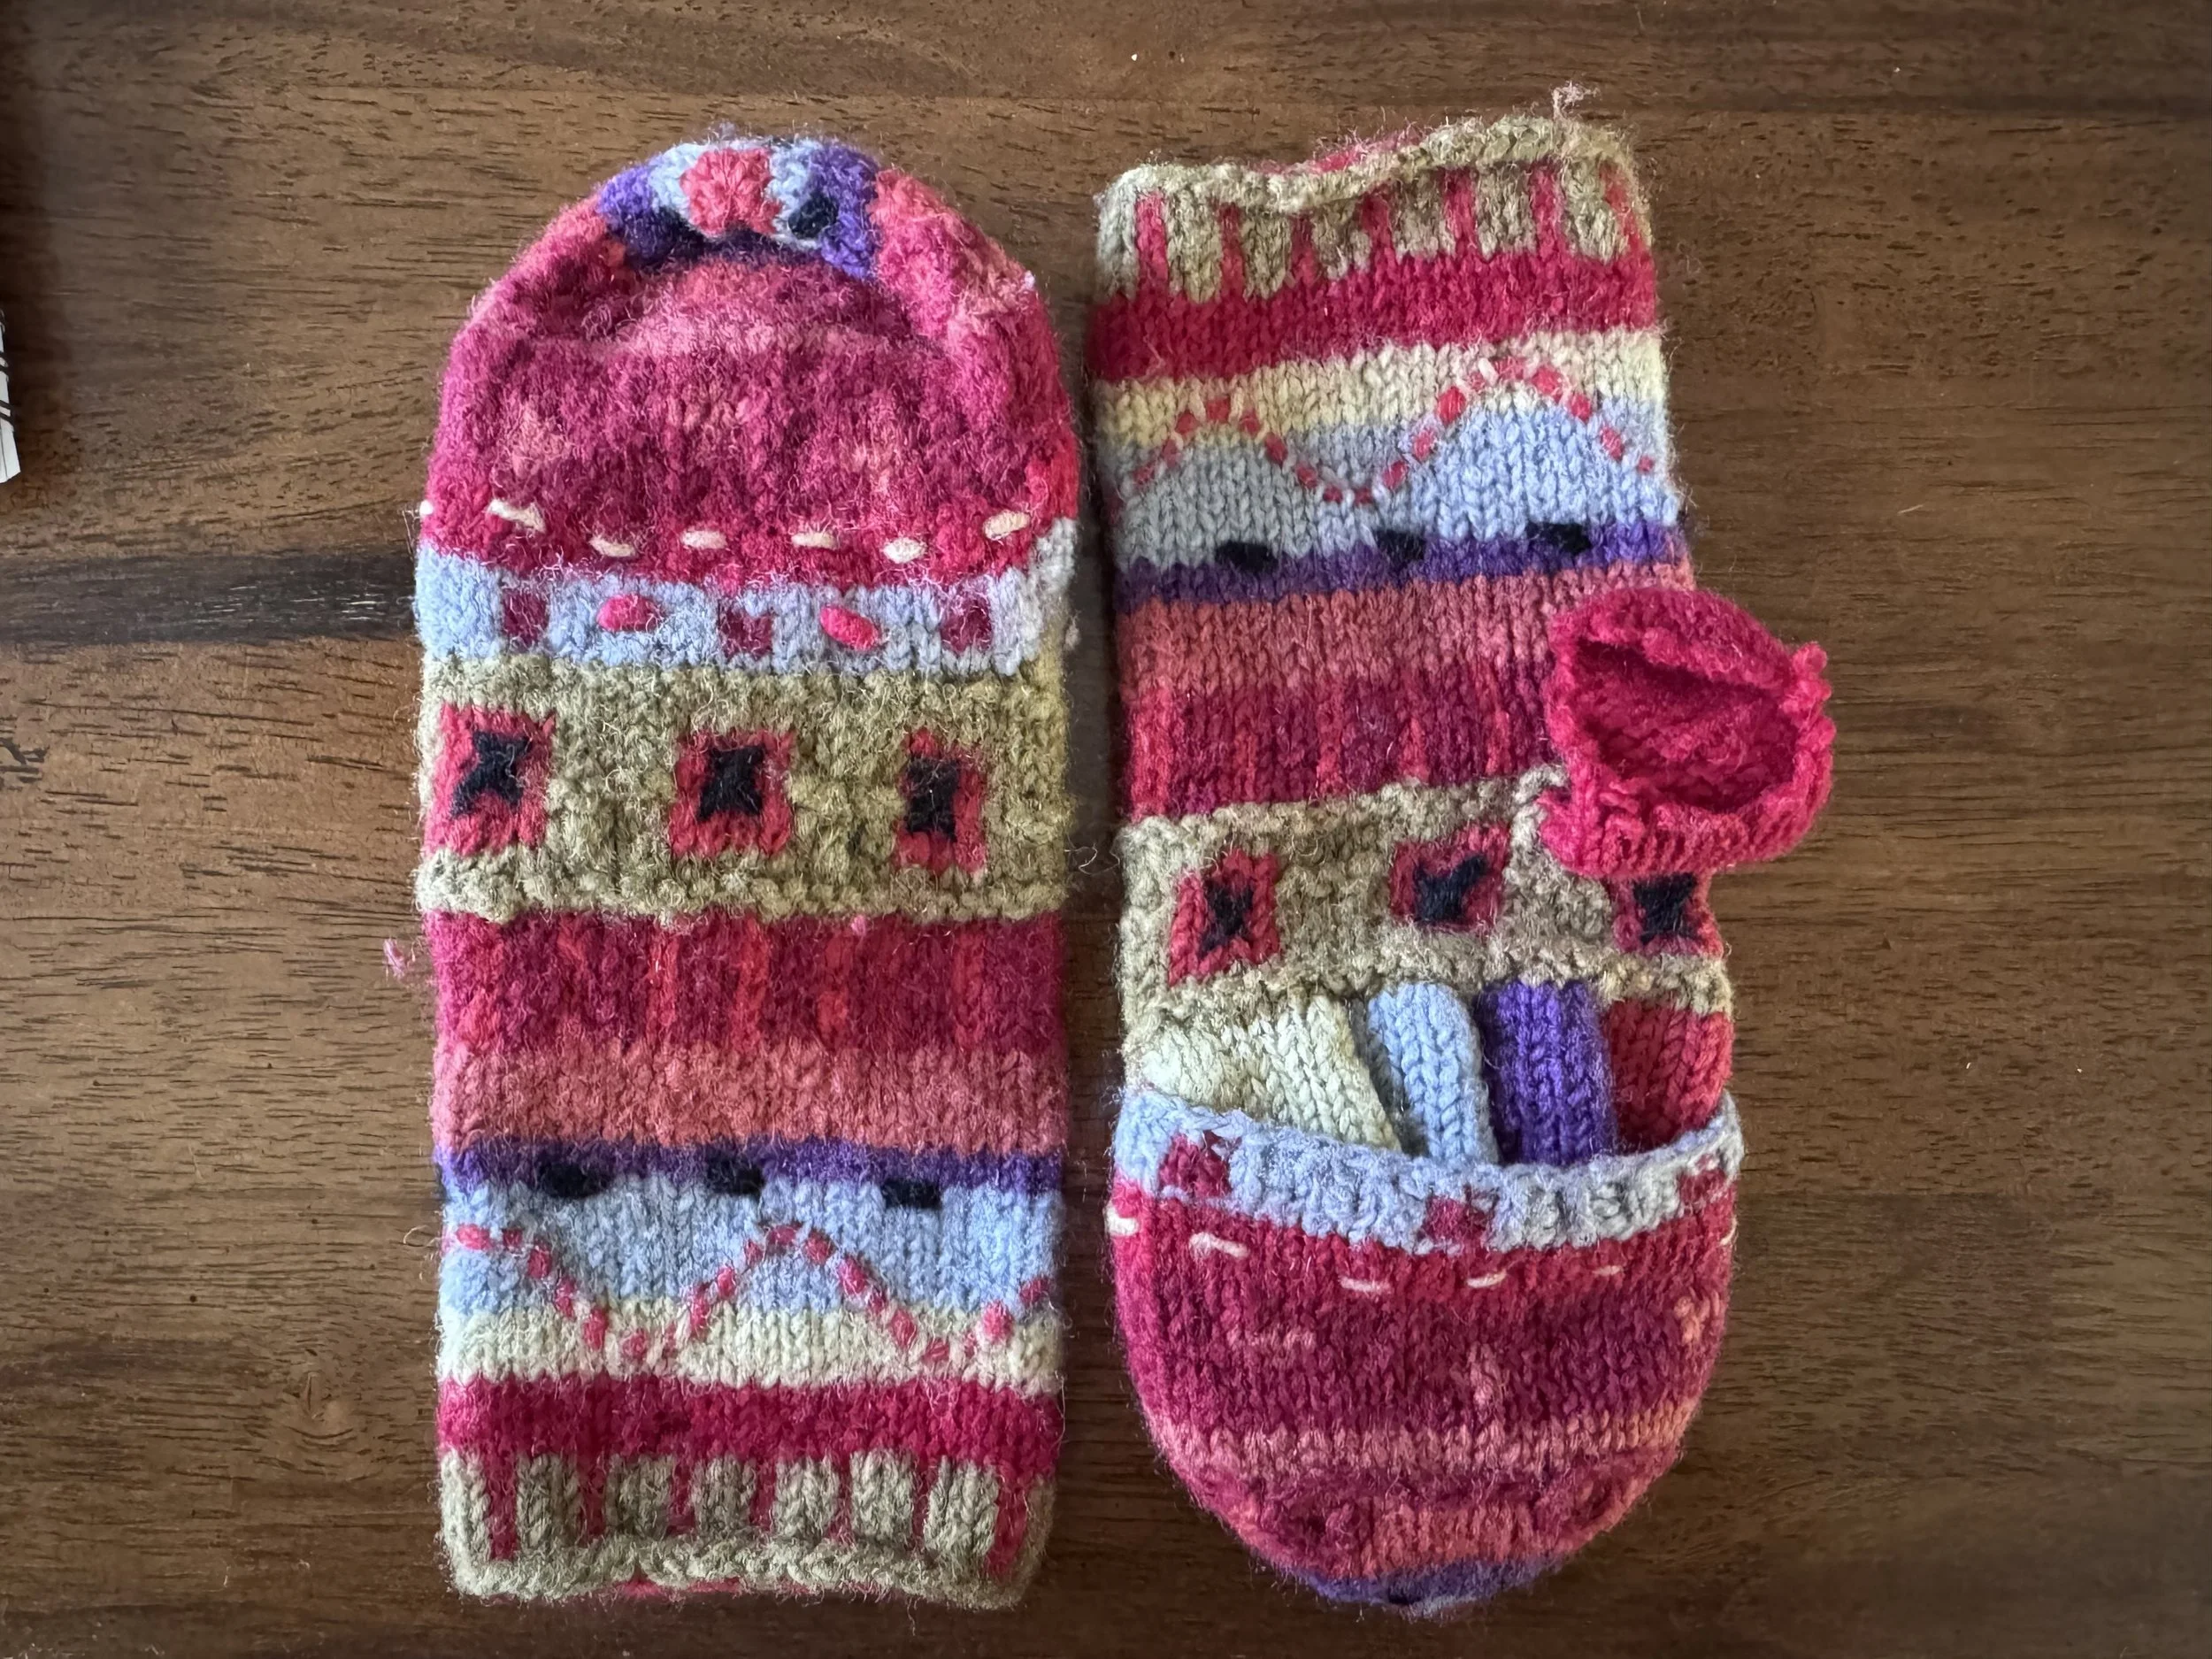
mittens i'd like to replicate, sort of
I want to make myself a new pair of convertible mittens, using my some of walnut yarn and this old pair as a general template. I think these came from REI, at least 20 years ago.
I have quite a pile of colors, so it might take a bit of consideration before I decide on my palette.
-
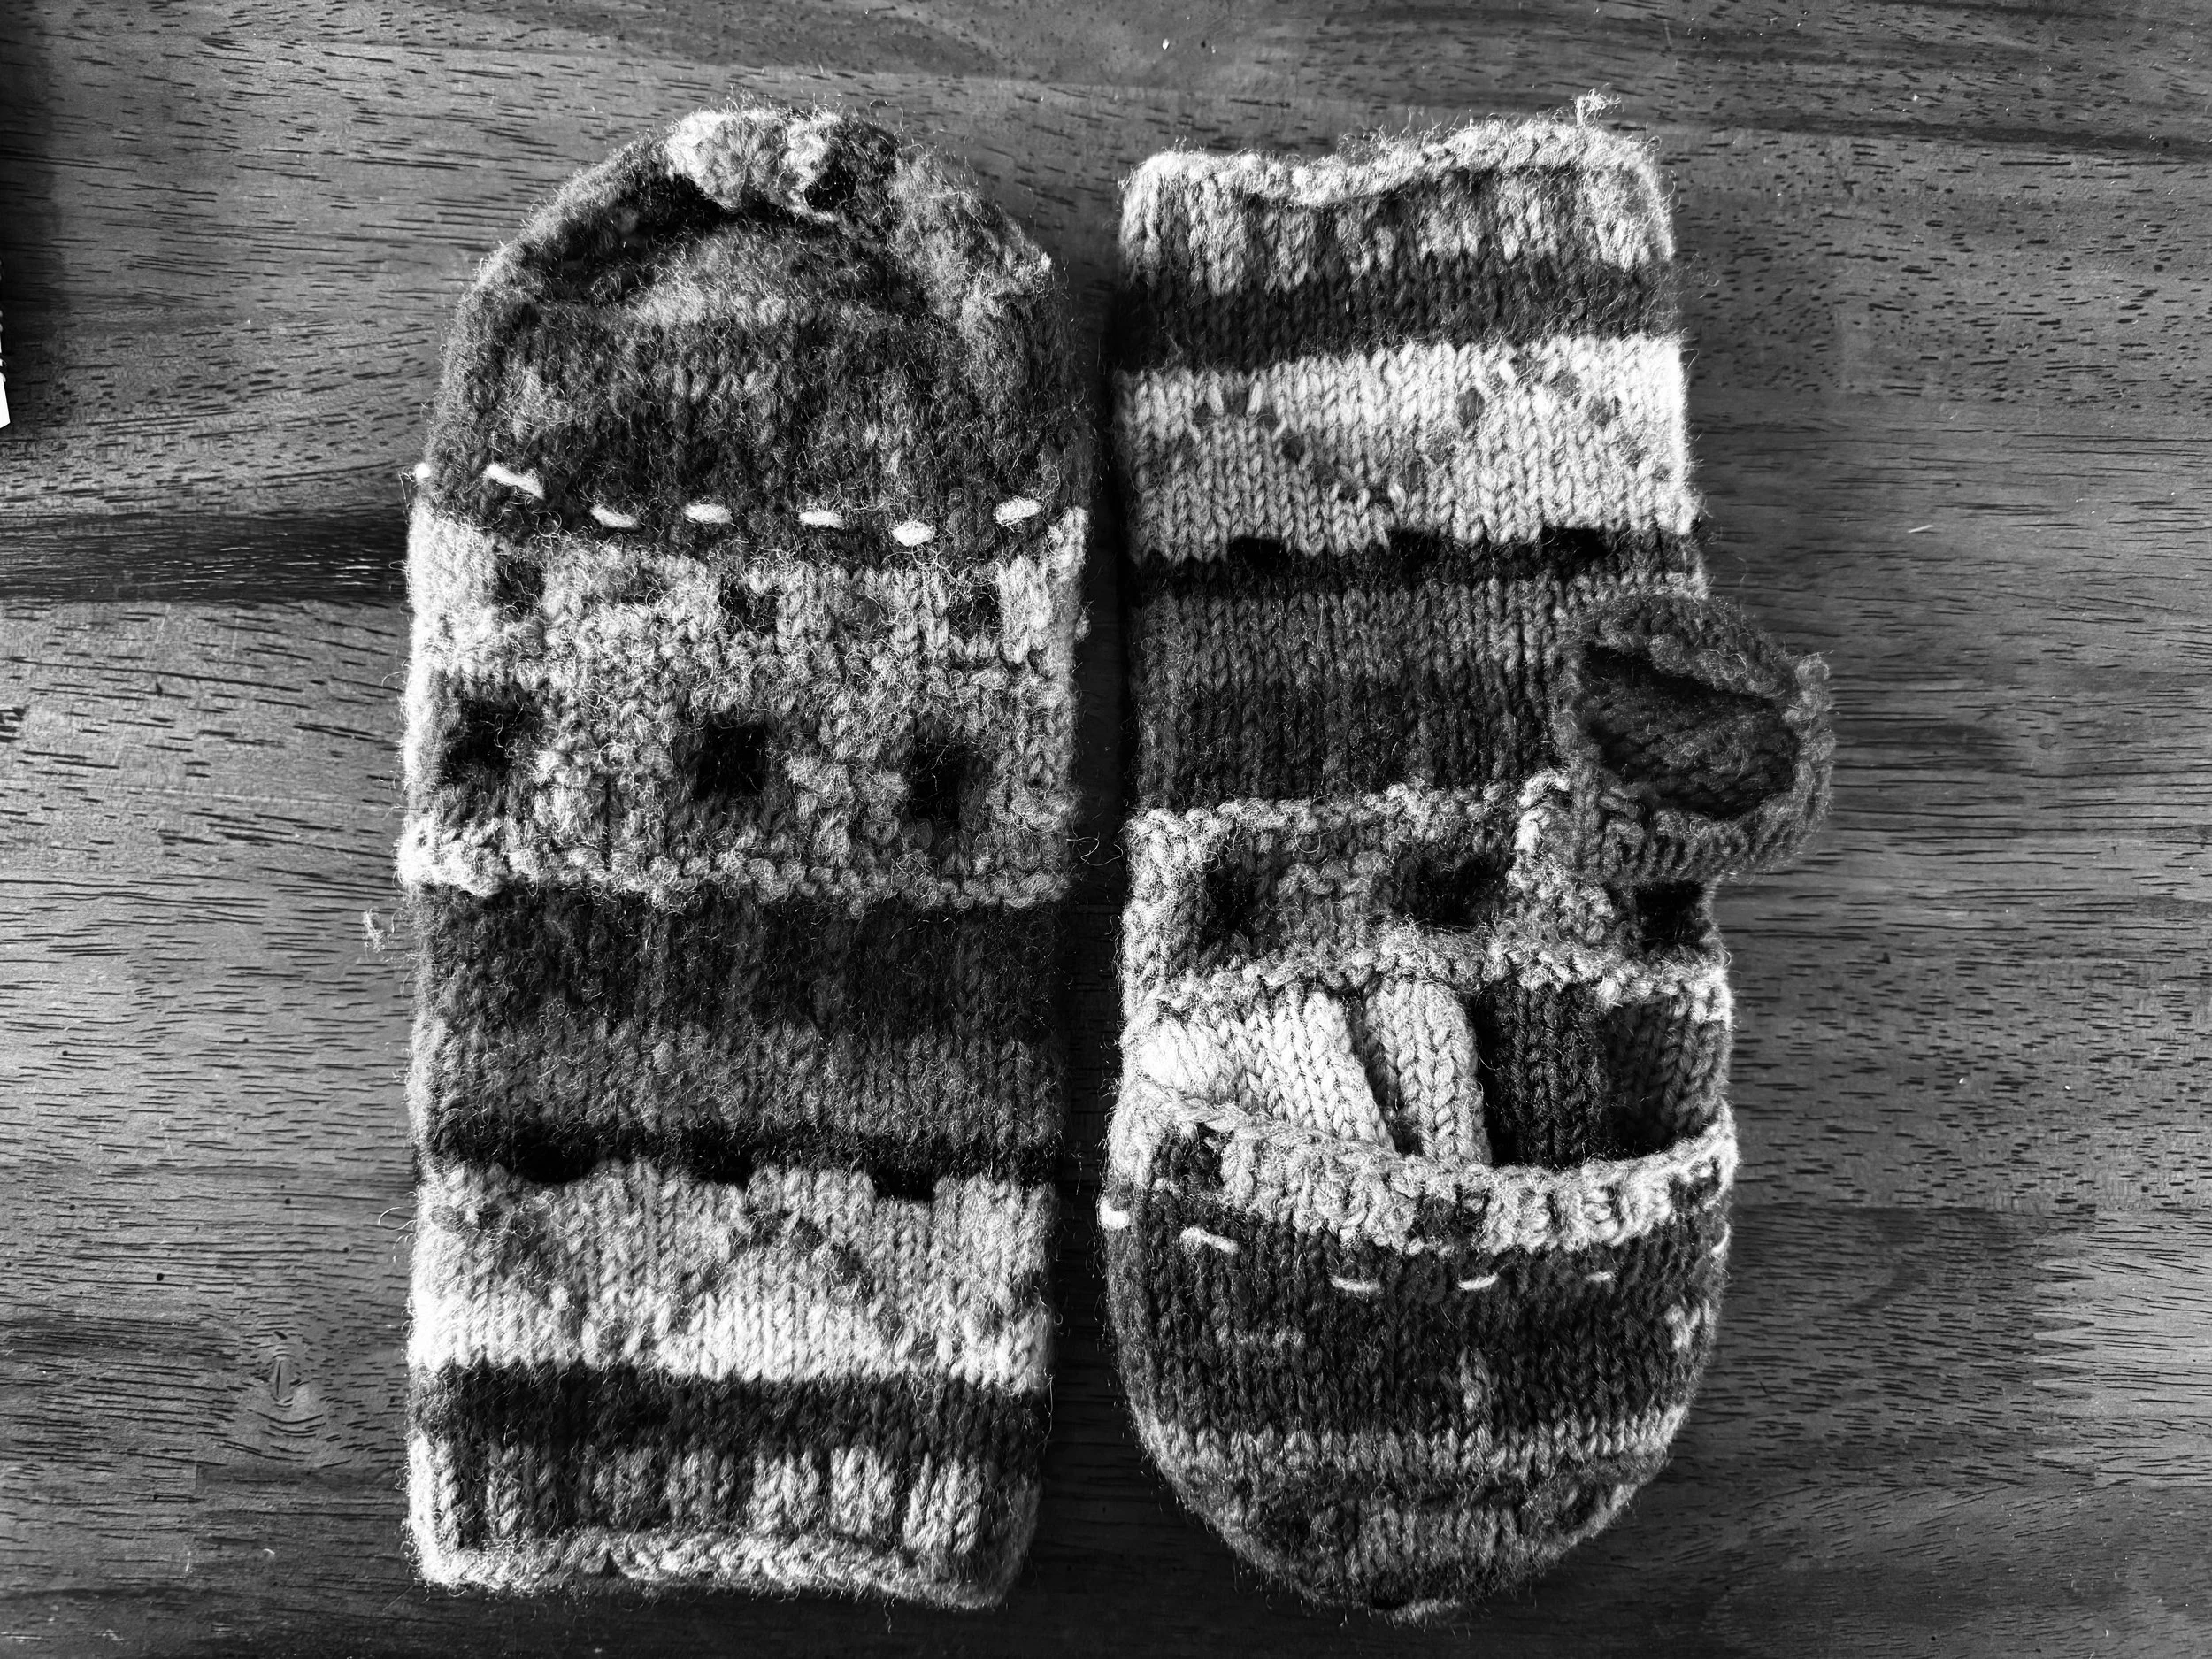
color saturation
Examining color saturation is a good start for choosing colors, they say. I have never done it before but this seemed like a good time to take good advice.
The saturation levels are not very surprising, though it is interesting to see how different the light green and light blue are, and how close the purple, black, and darkest red are.
-
a bunch of yarn
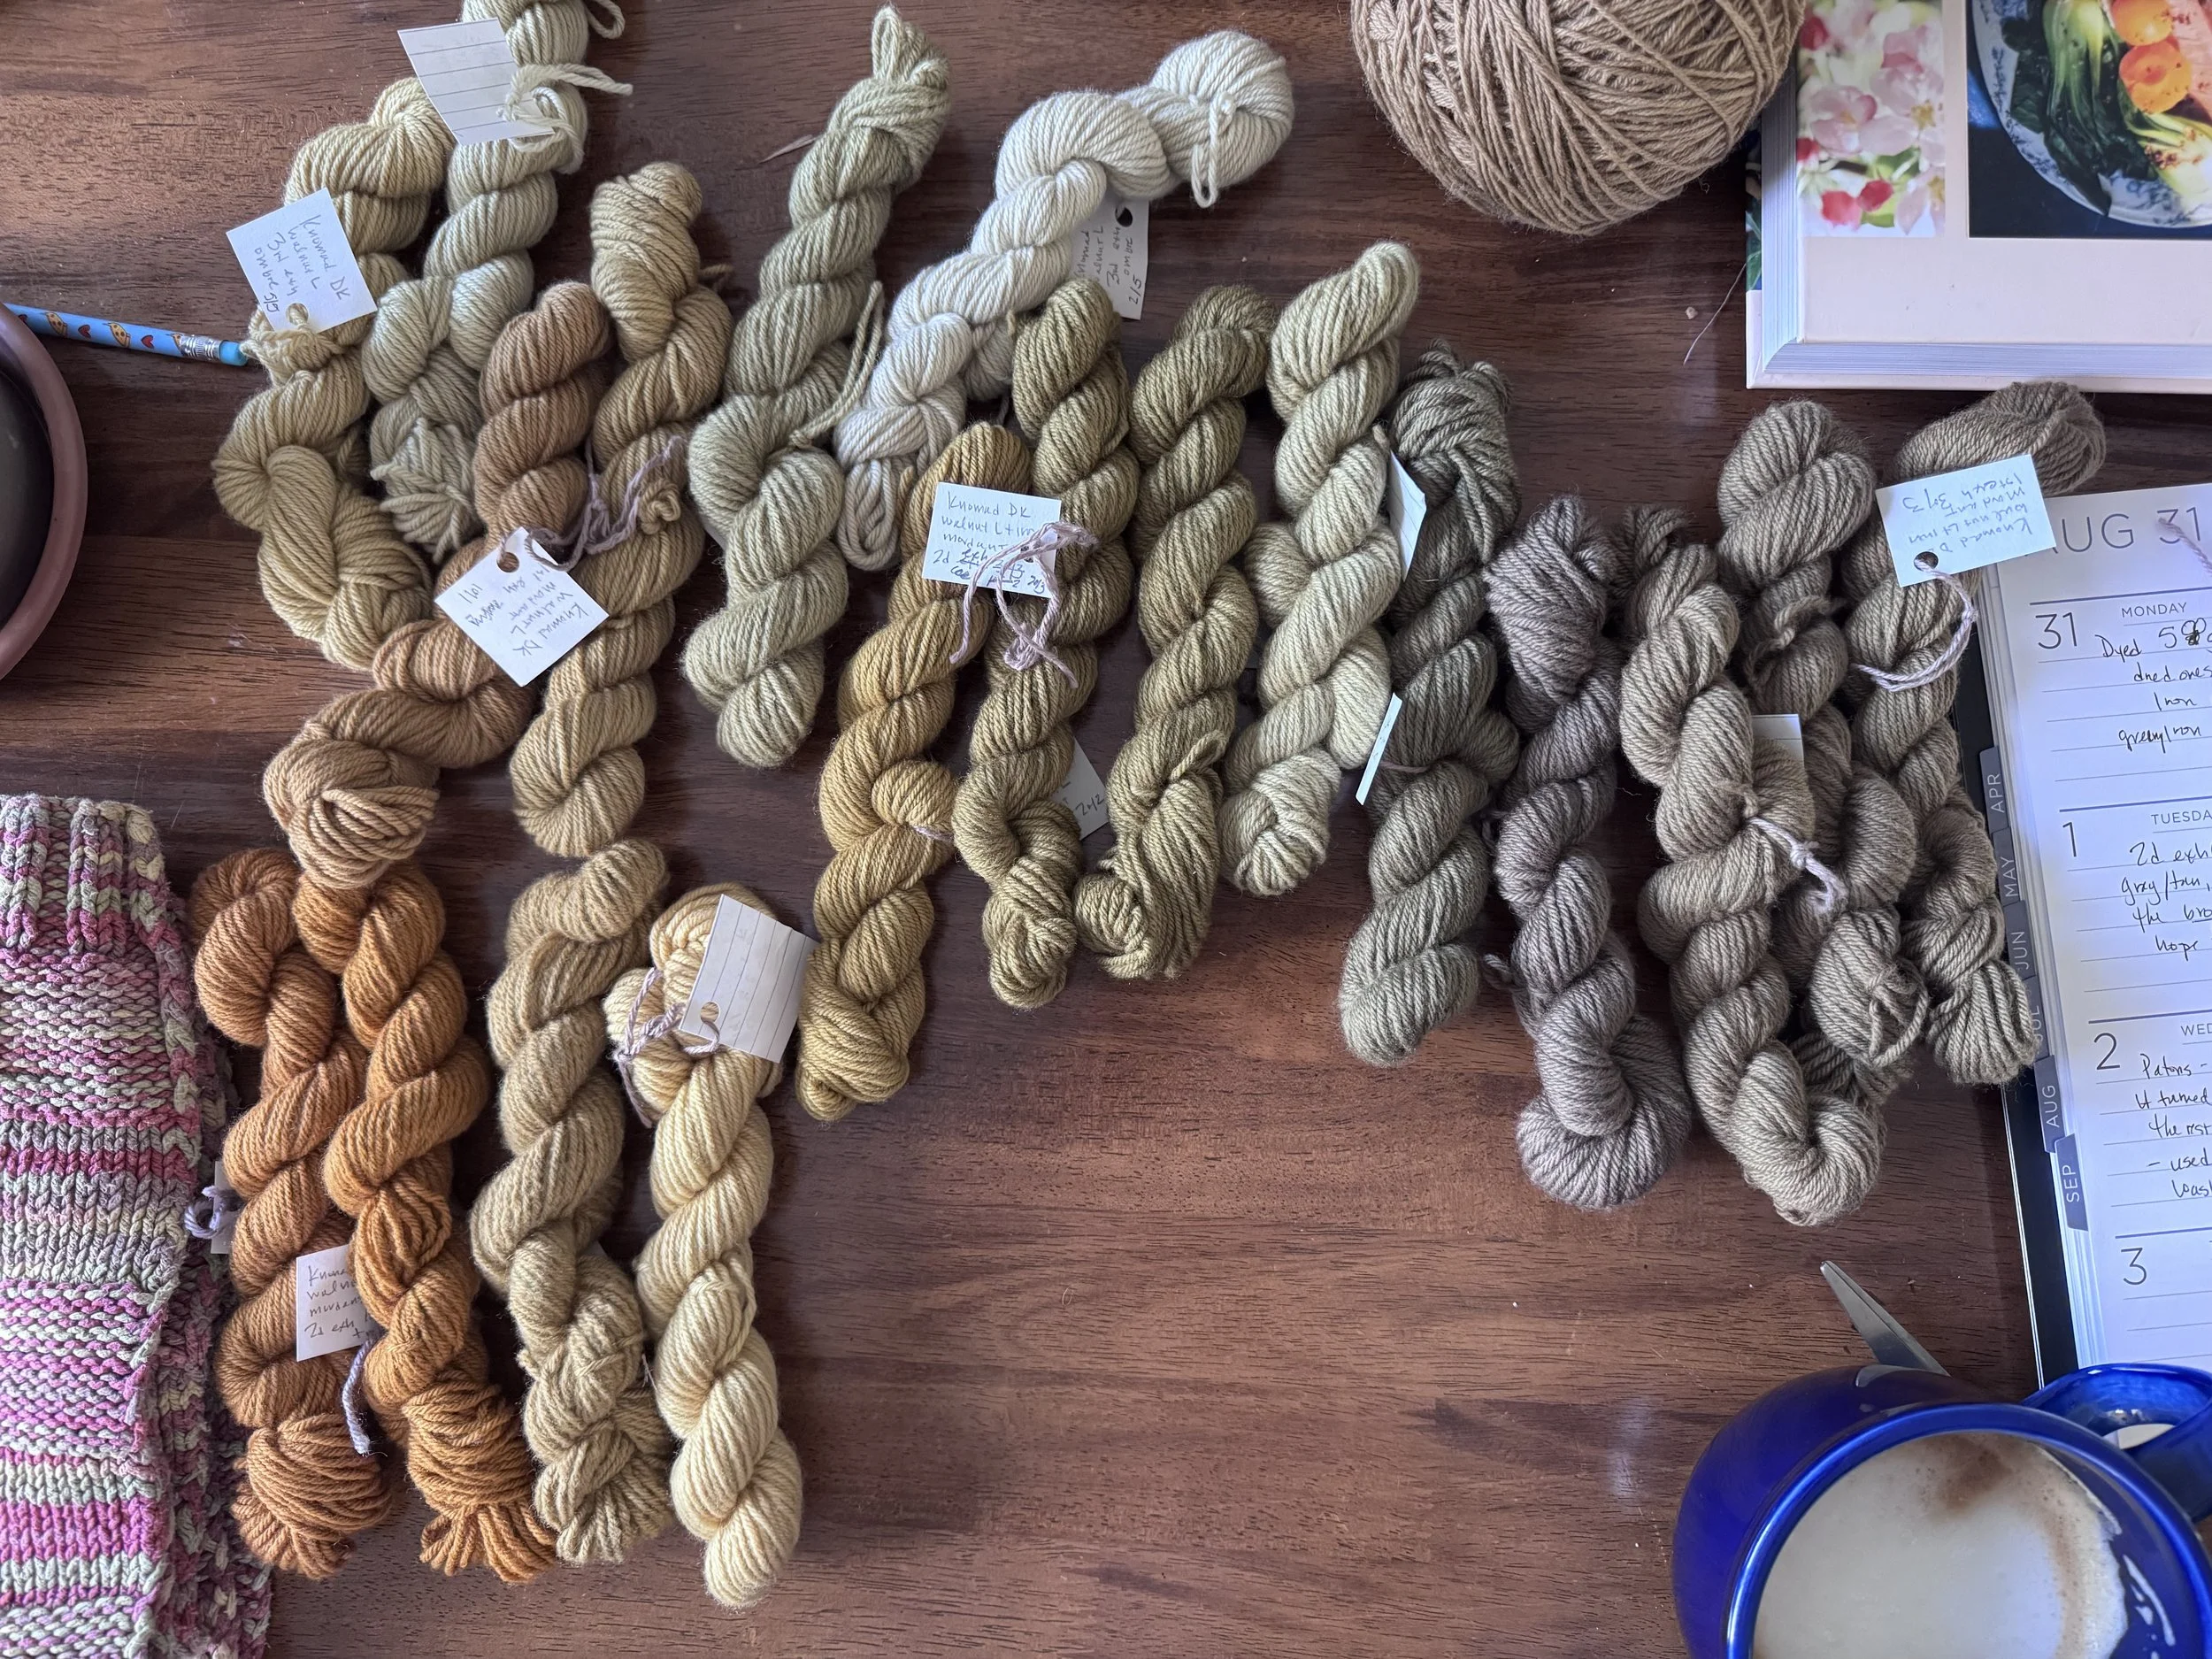
Here is the yarn I would like to use. I think I have about 20 colors. I would like to replace the original mittens’ reds with greens and the original mittens’ greens with oranges. I am hoping to use the walnut browns, yellows, and very pale greens for the other colors. That is at least the starting plan.
-
hmm
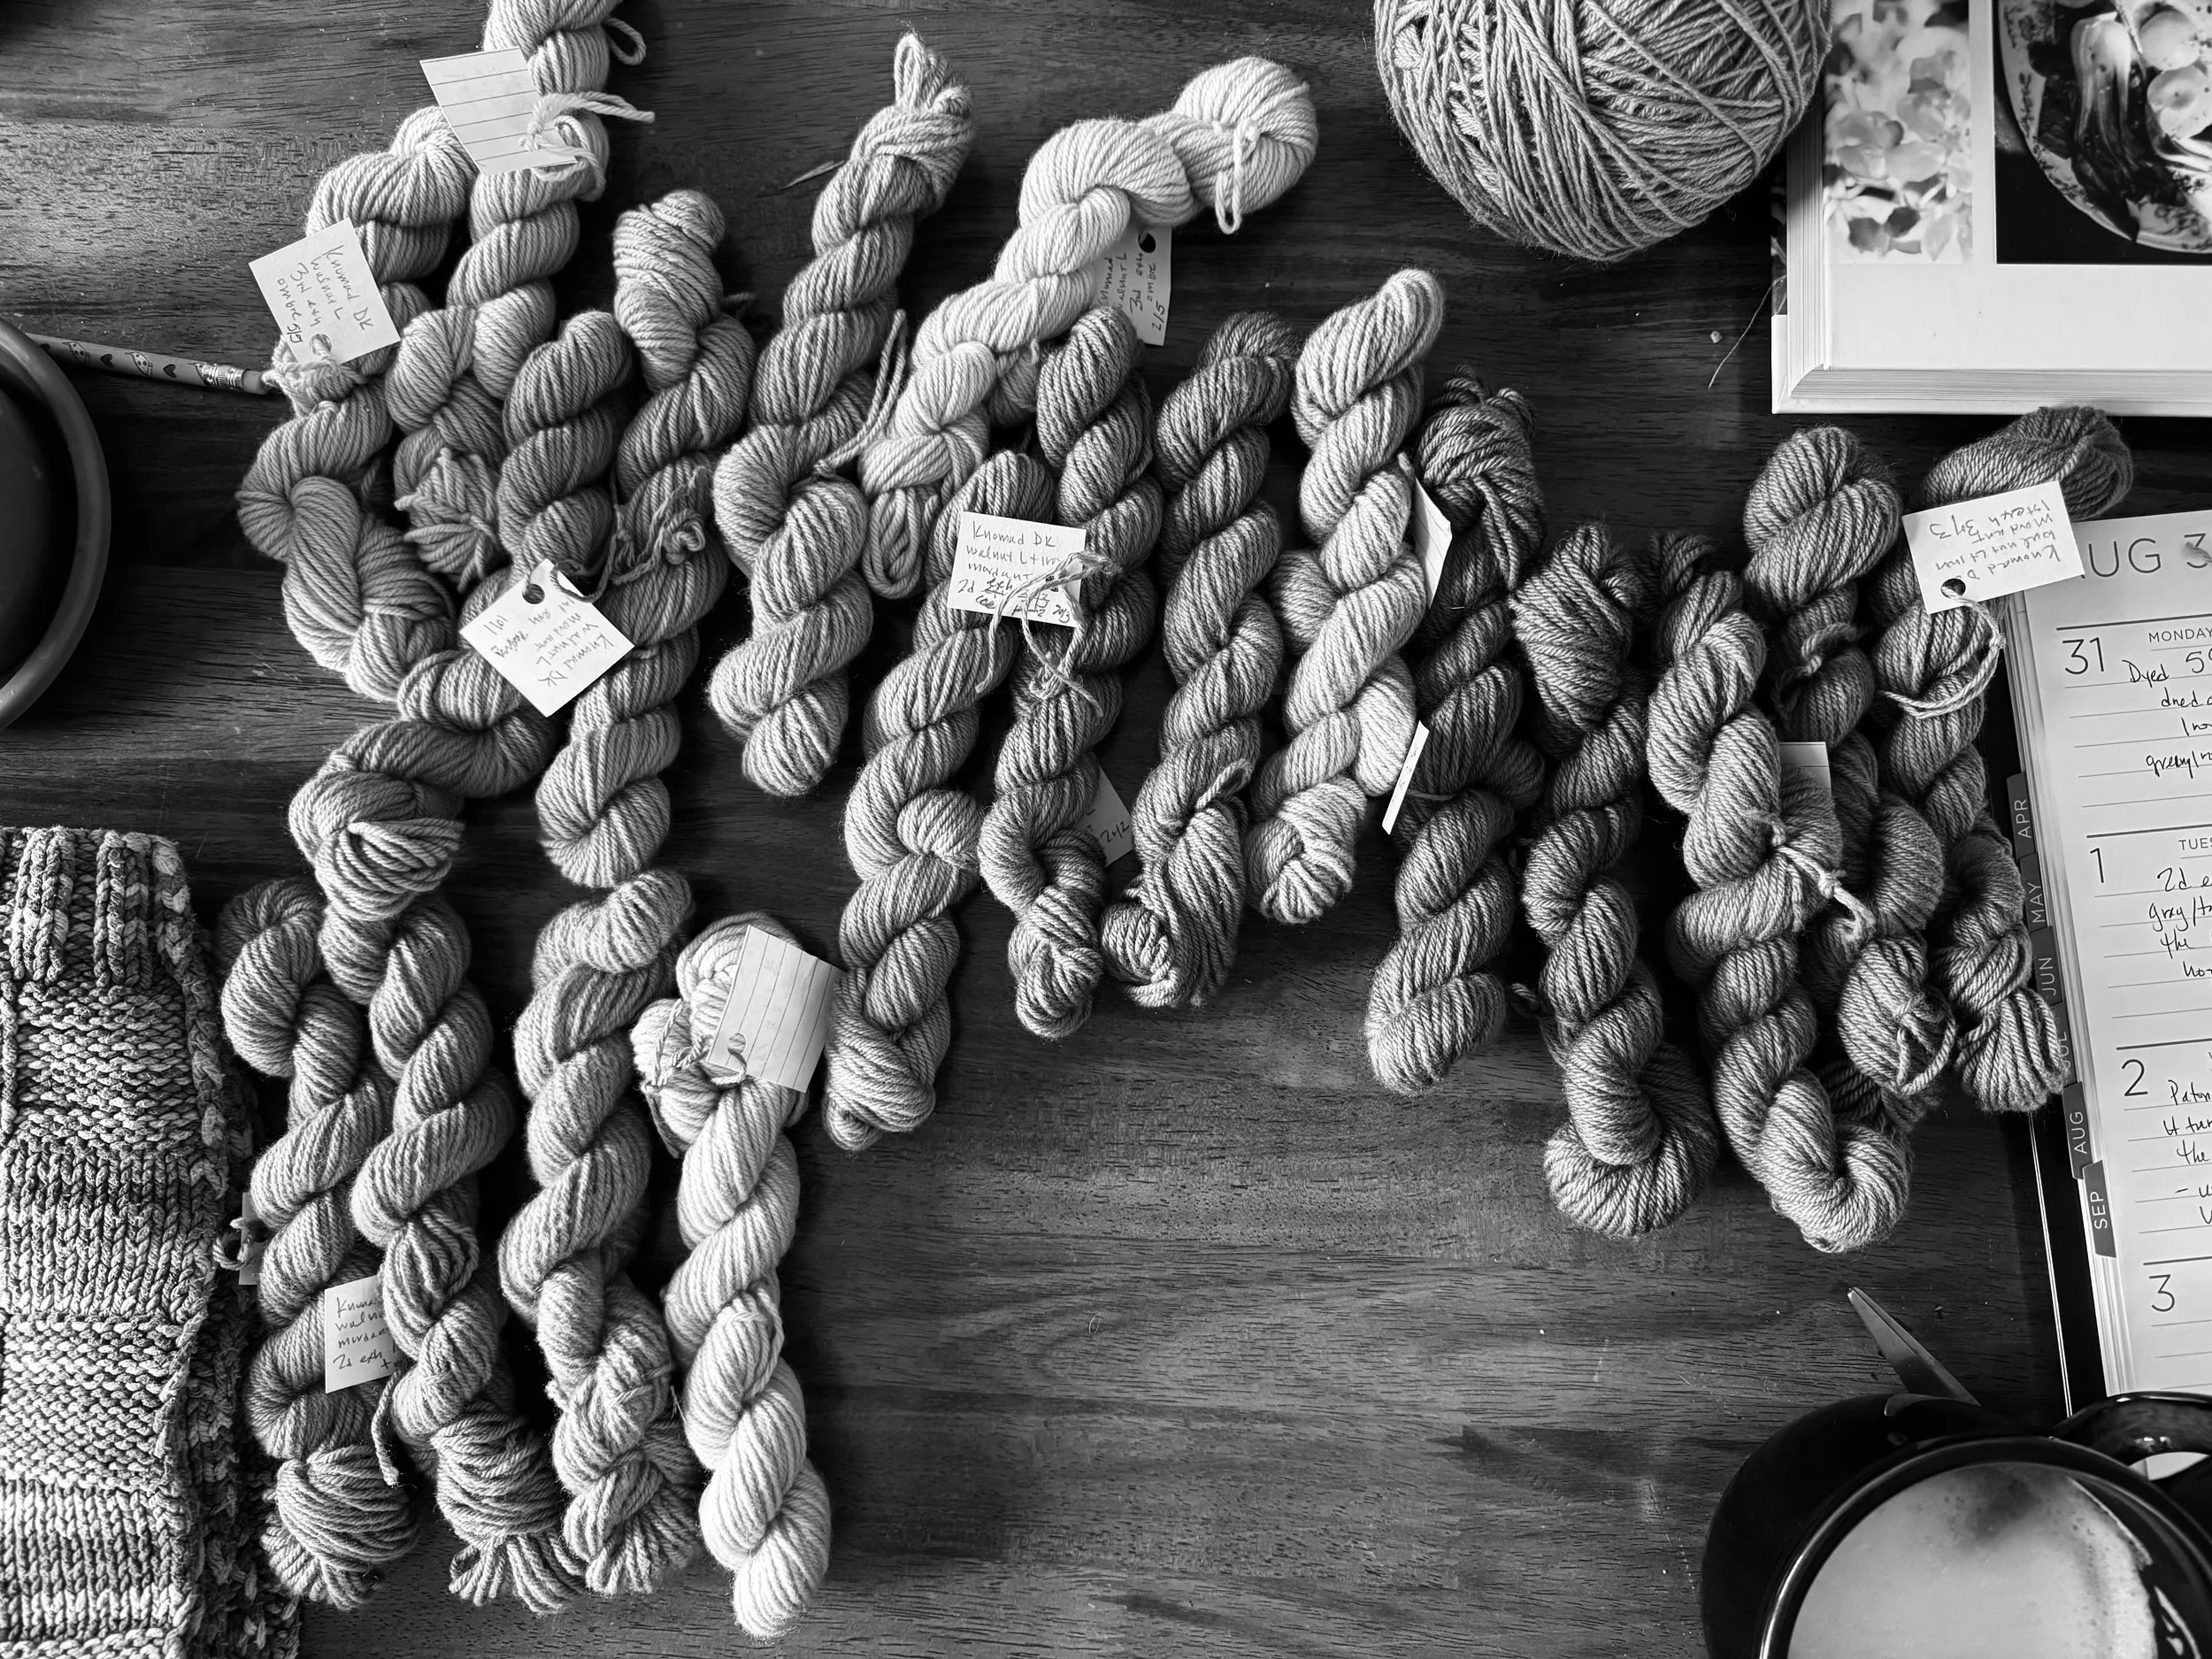
It all kind of looks the same here, but I suspect that this is because I have so much going on with this photo.
I think I will wind some of these into balls and then photograph just a few of them, to see if I can get better contrast.
-
that's more like it
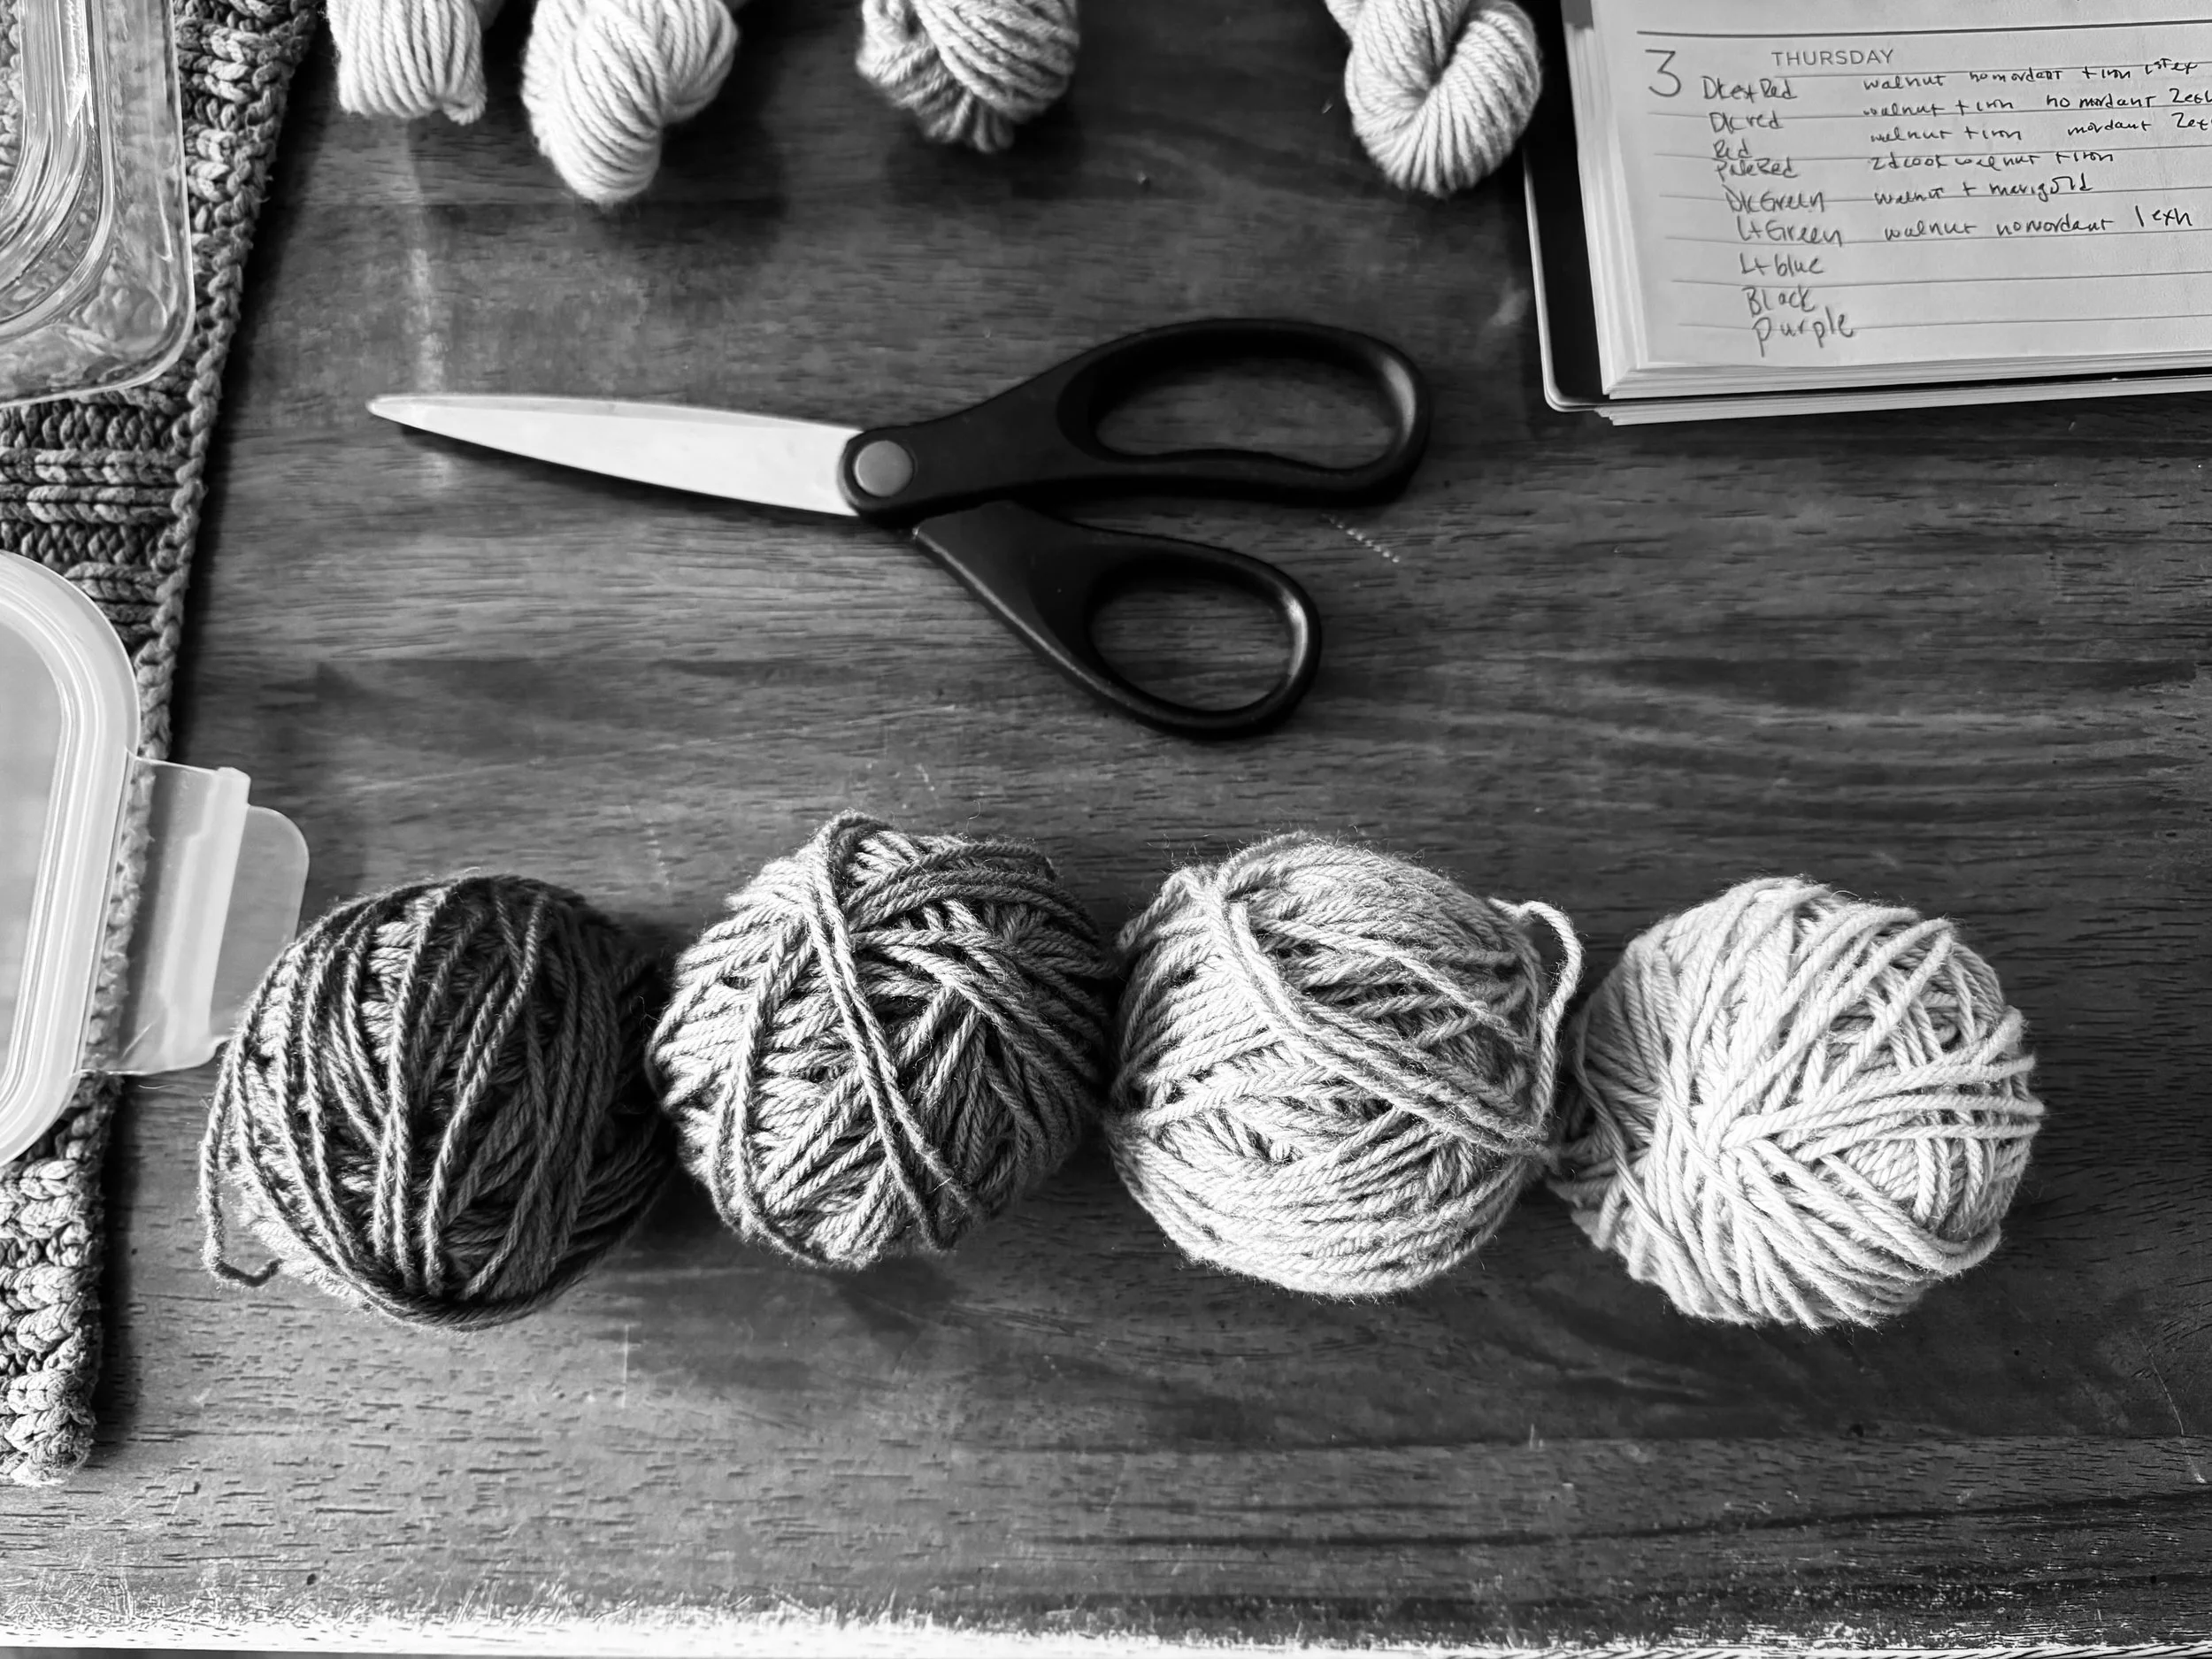
Good! Here are four different greens and they have nice contrast. I think I can move forward with choosing colors, and then I will see if the saturation levels promise enough contrast.
I am not worried that the colors won’t blend well. They all come from the same dye source and they seem to be willing to play well together.
By the way, I kept the labels attached to the balls. Can’t take chances.
-
placeholder
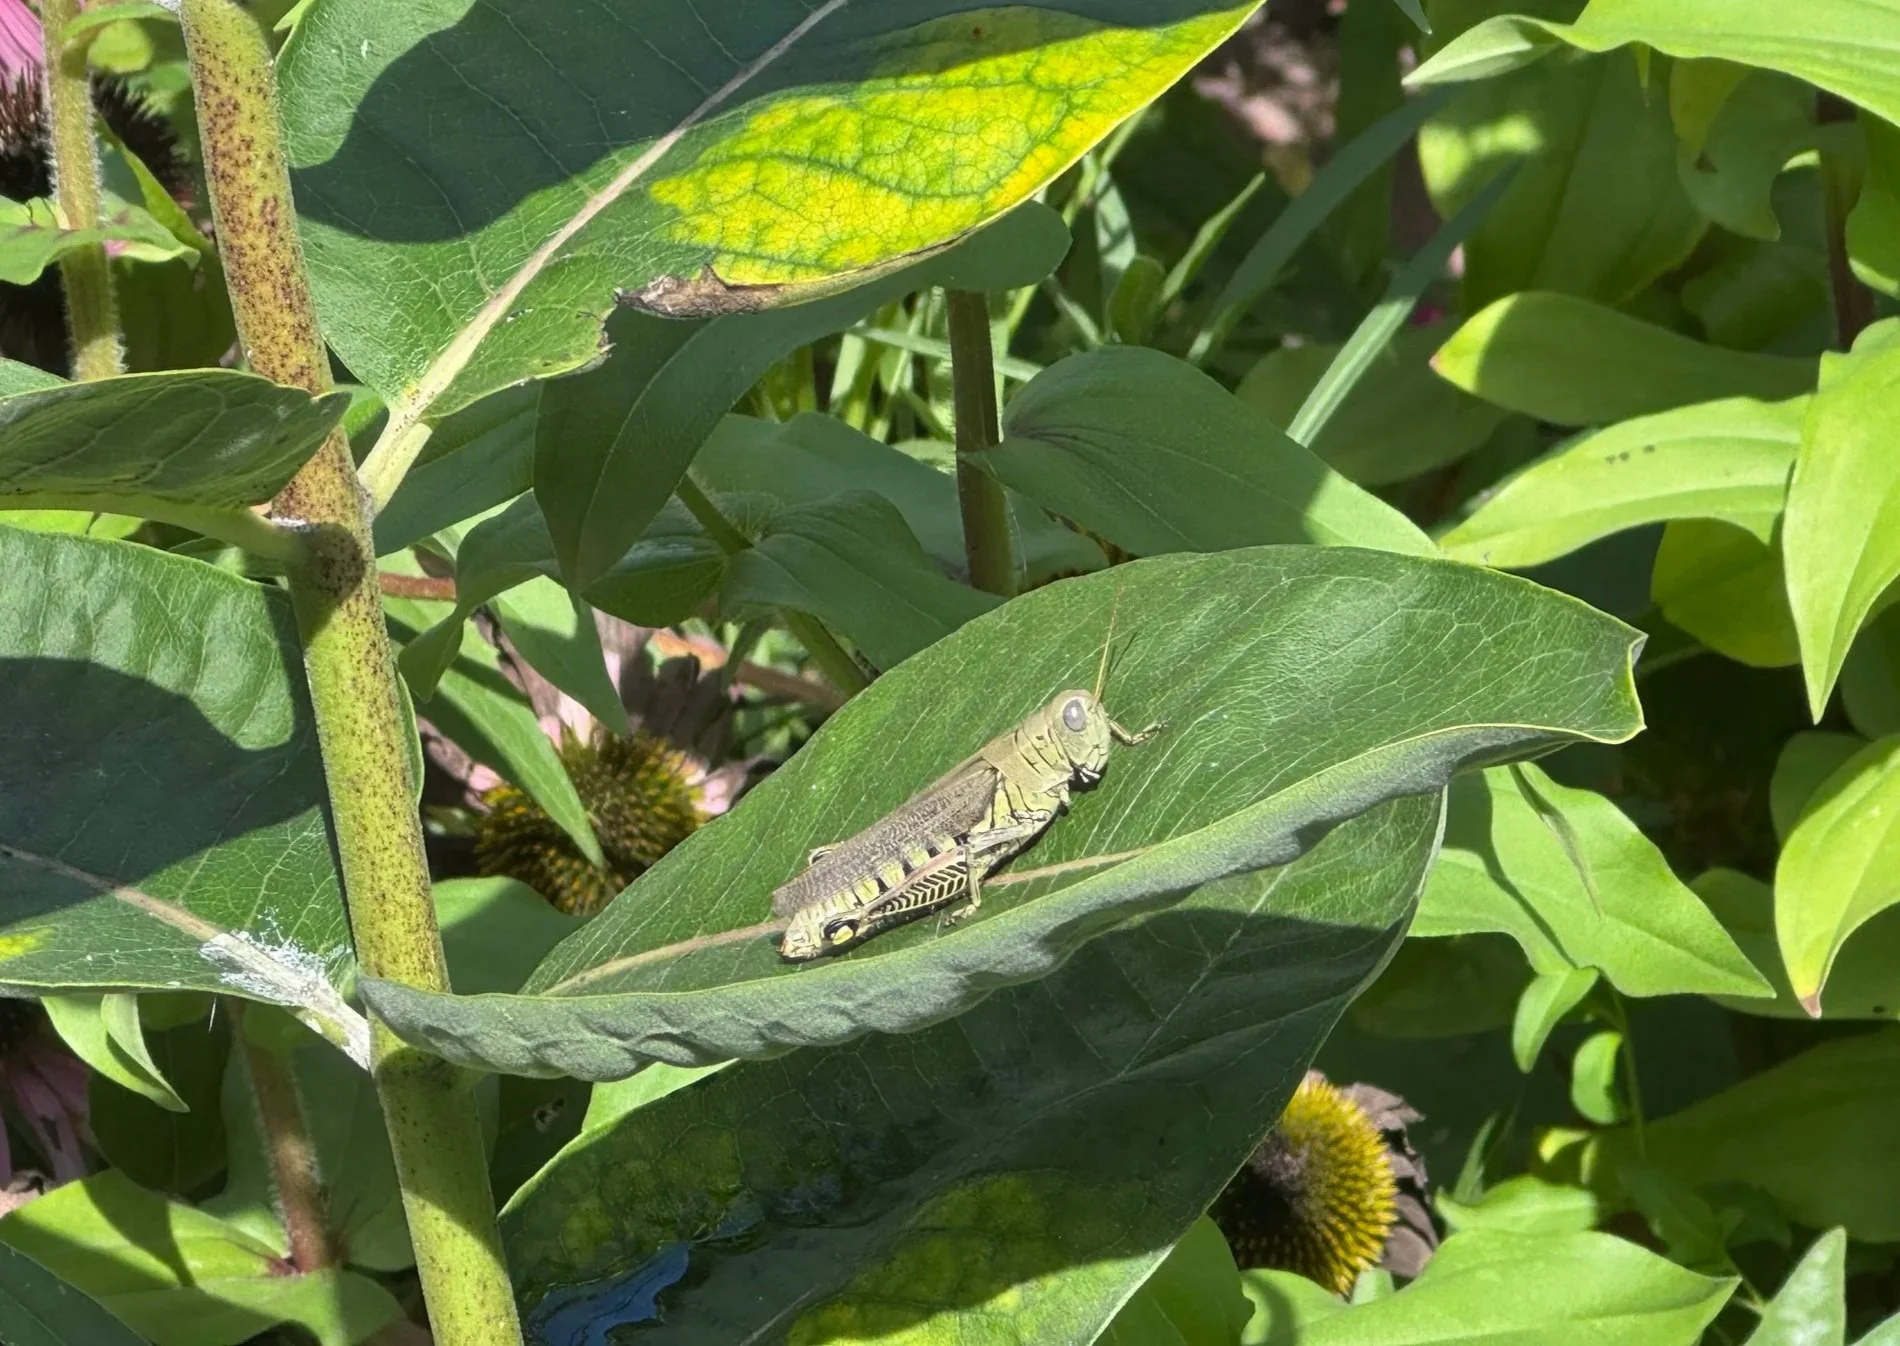
I want to show the balls side by side, so this square gets to introduce you to a magnificent visitor who decided to enjoy a sunny spot in my garden. Talk about color saturation.
-
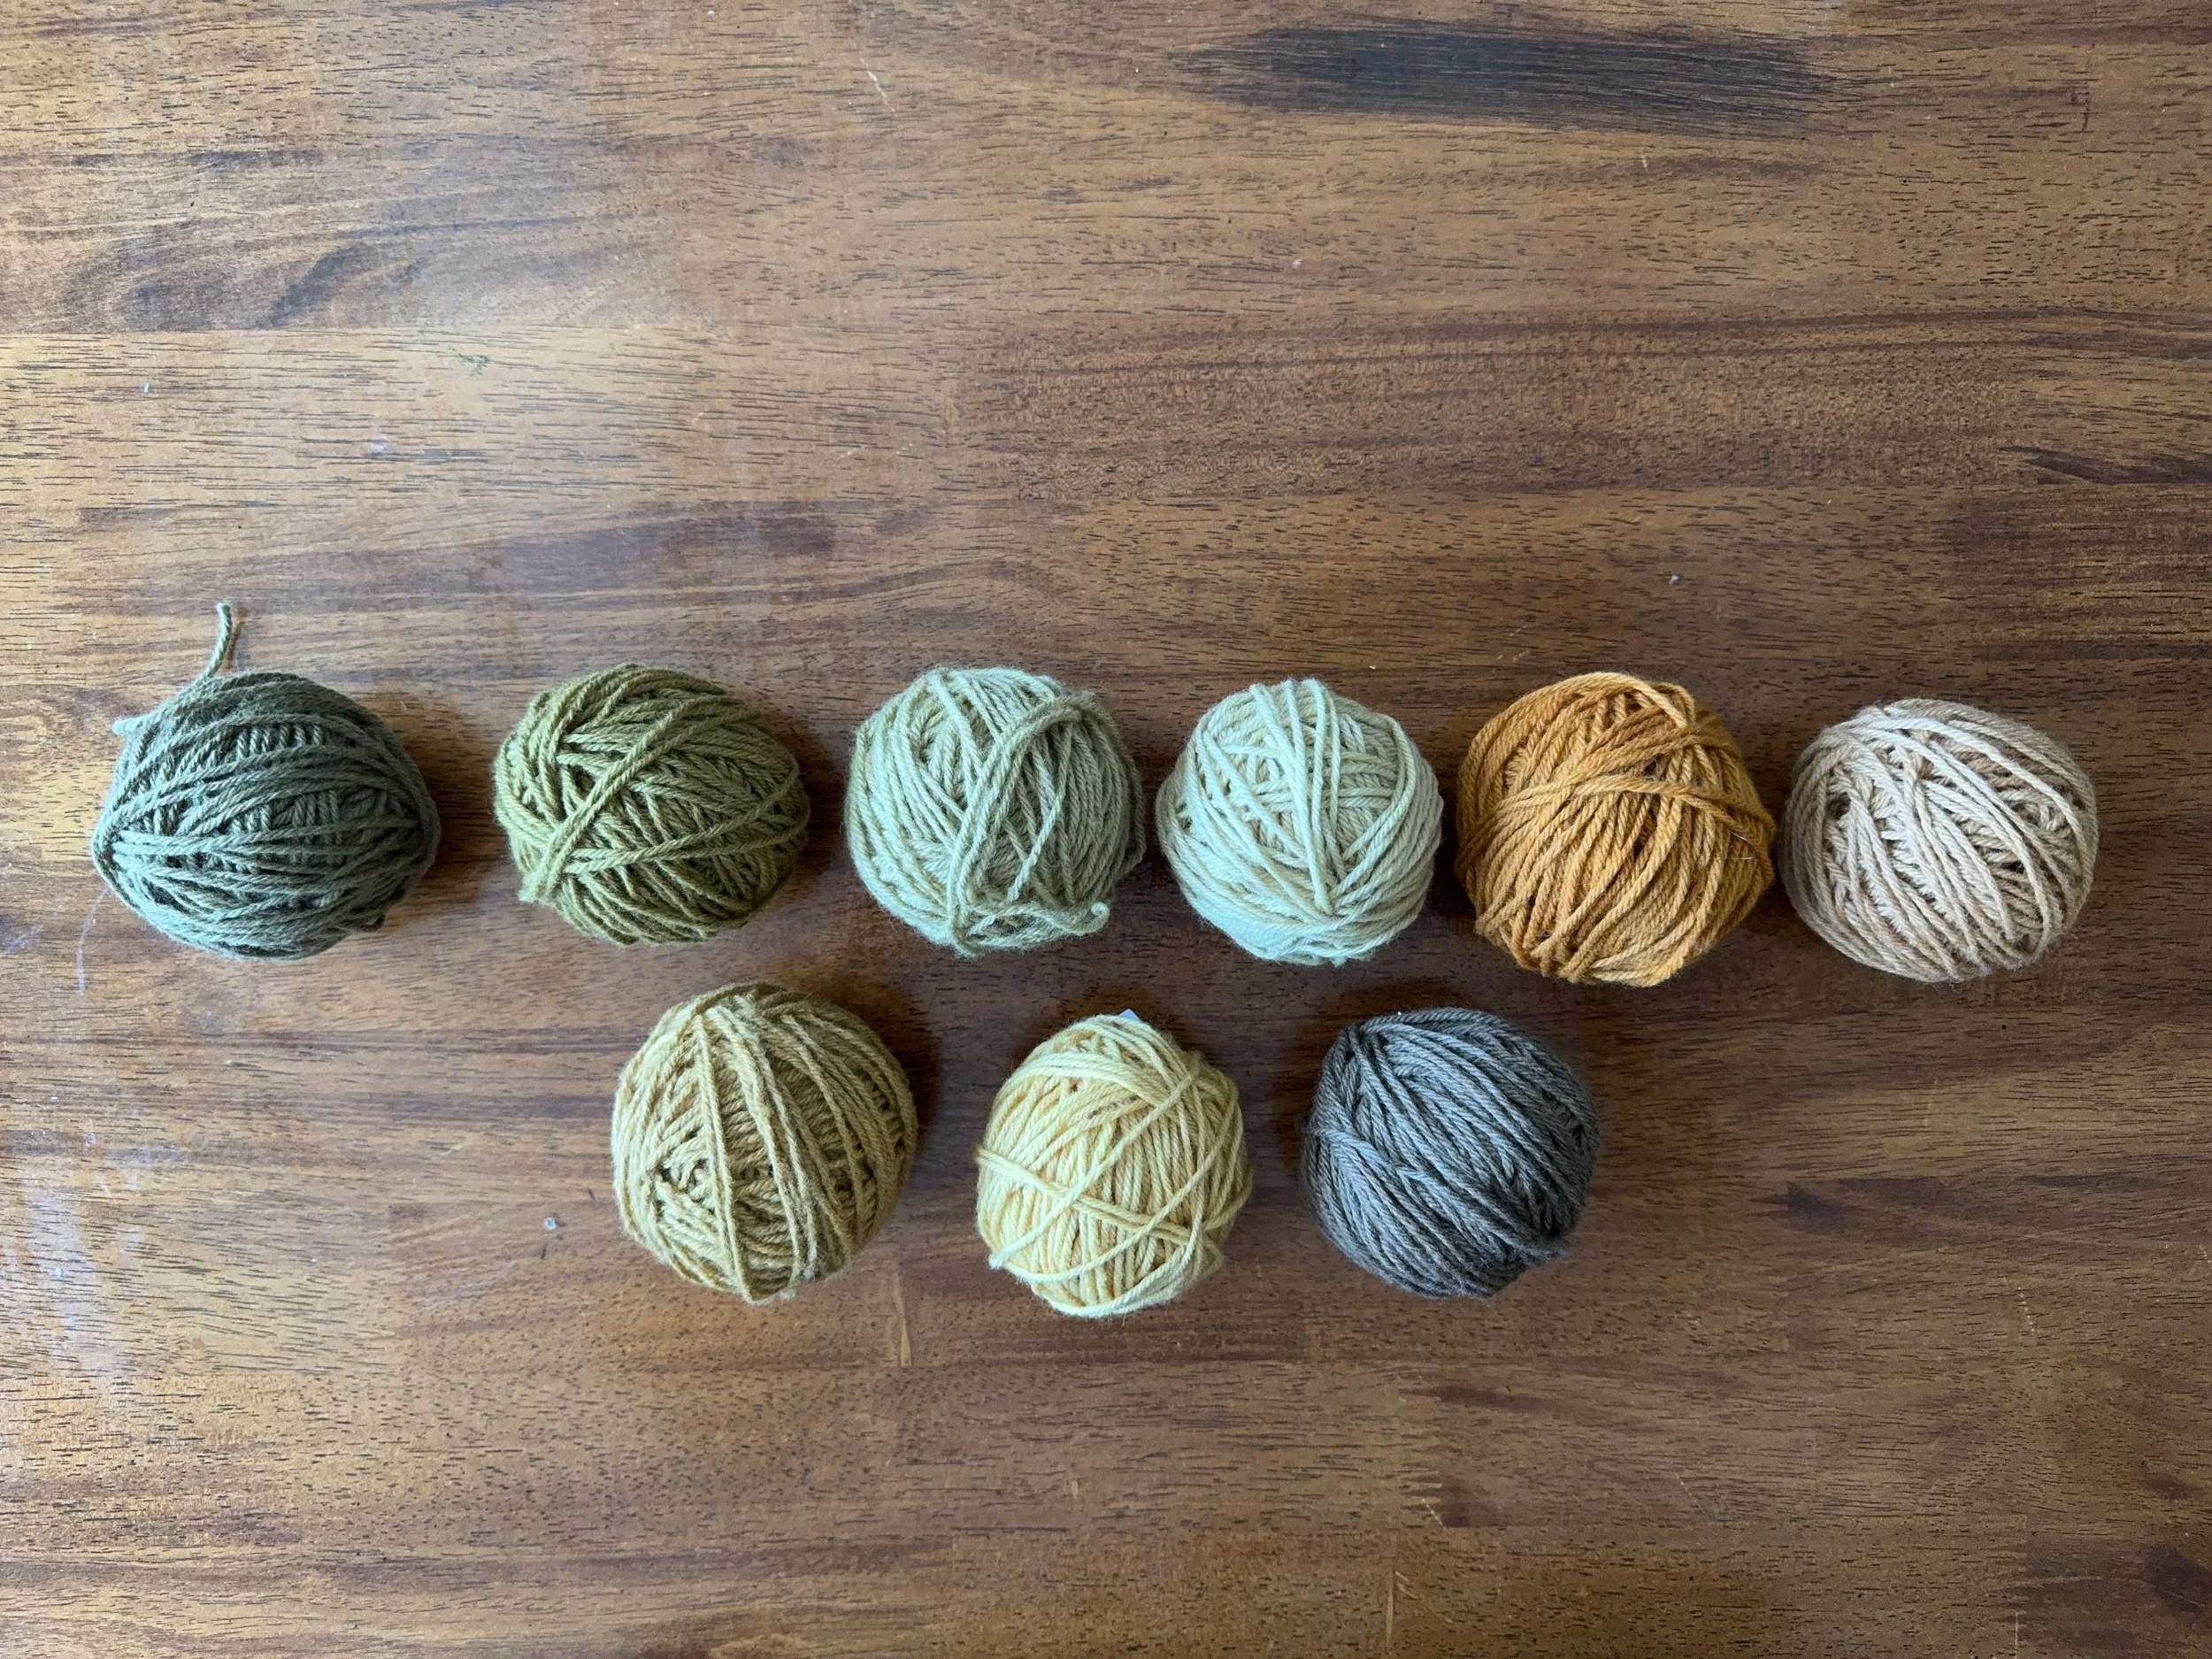
some good candidates
The original mittens have nine colors and I have nine colors here.
-
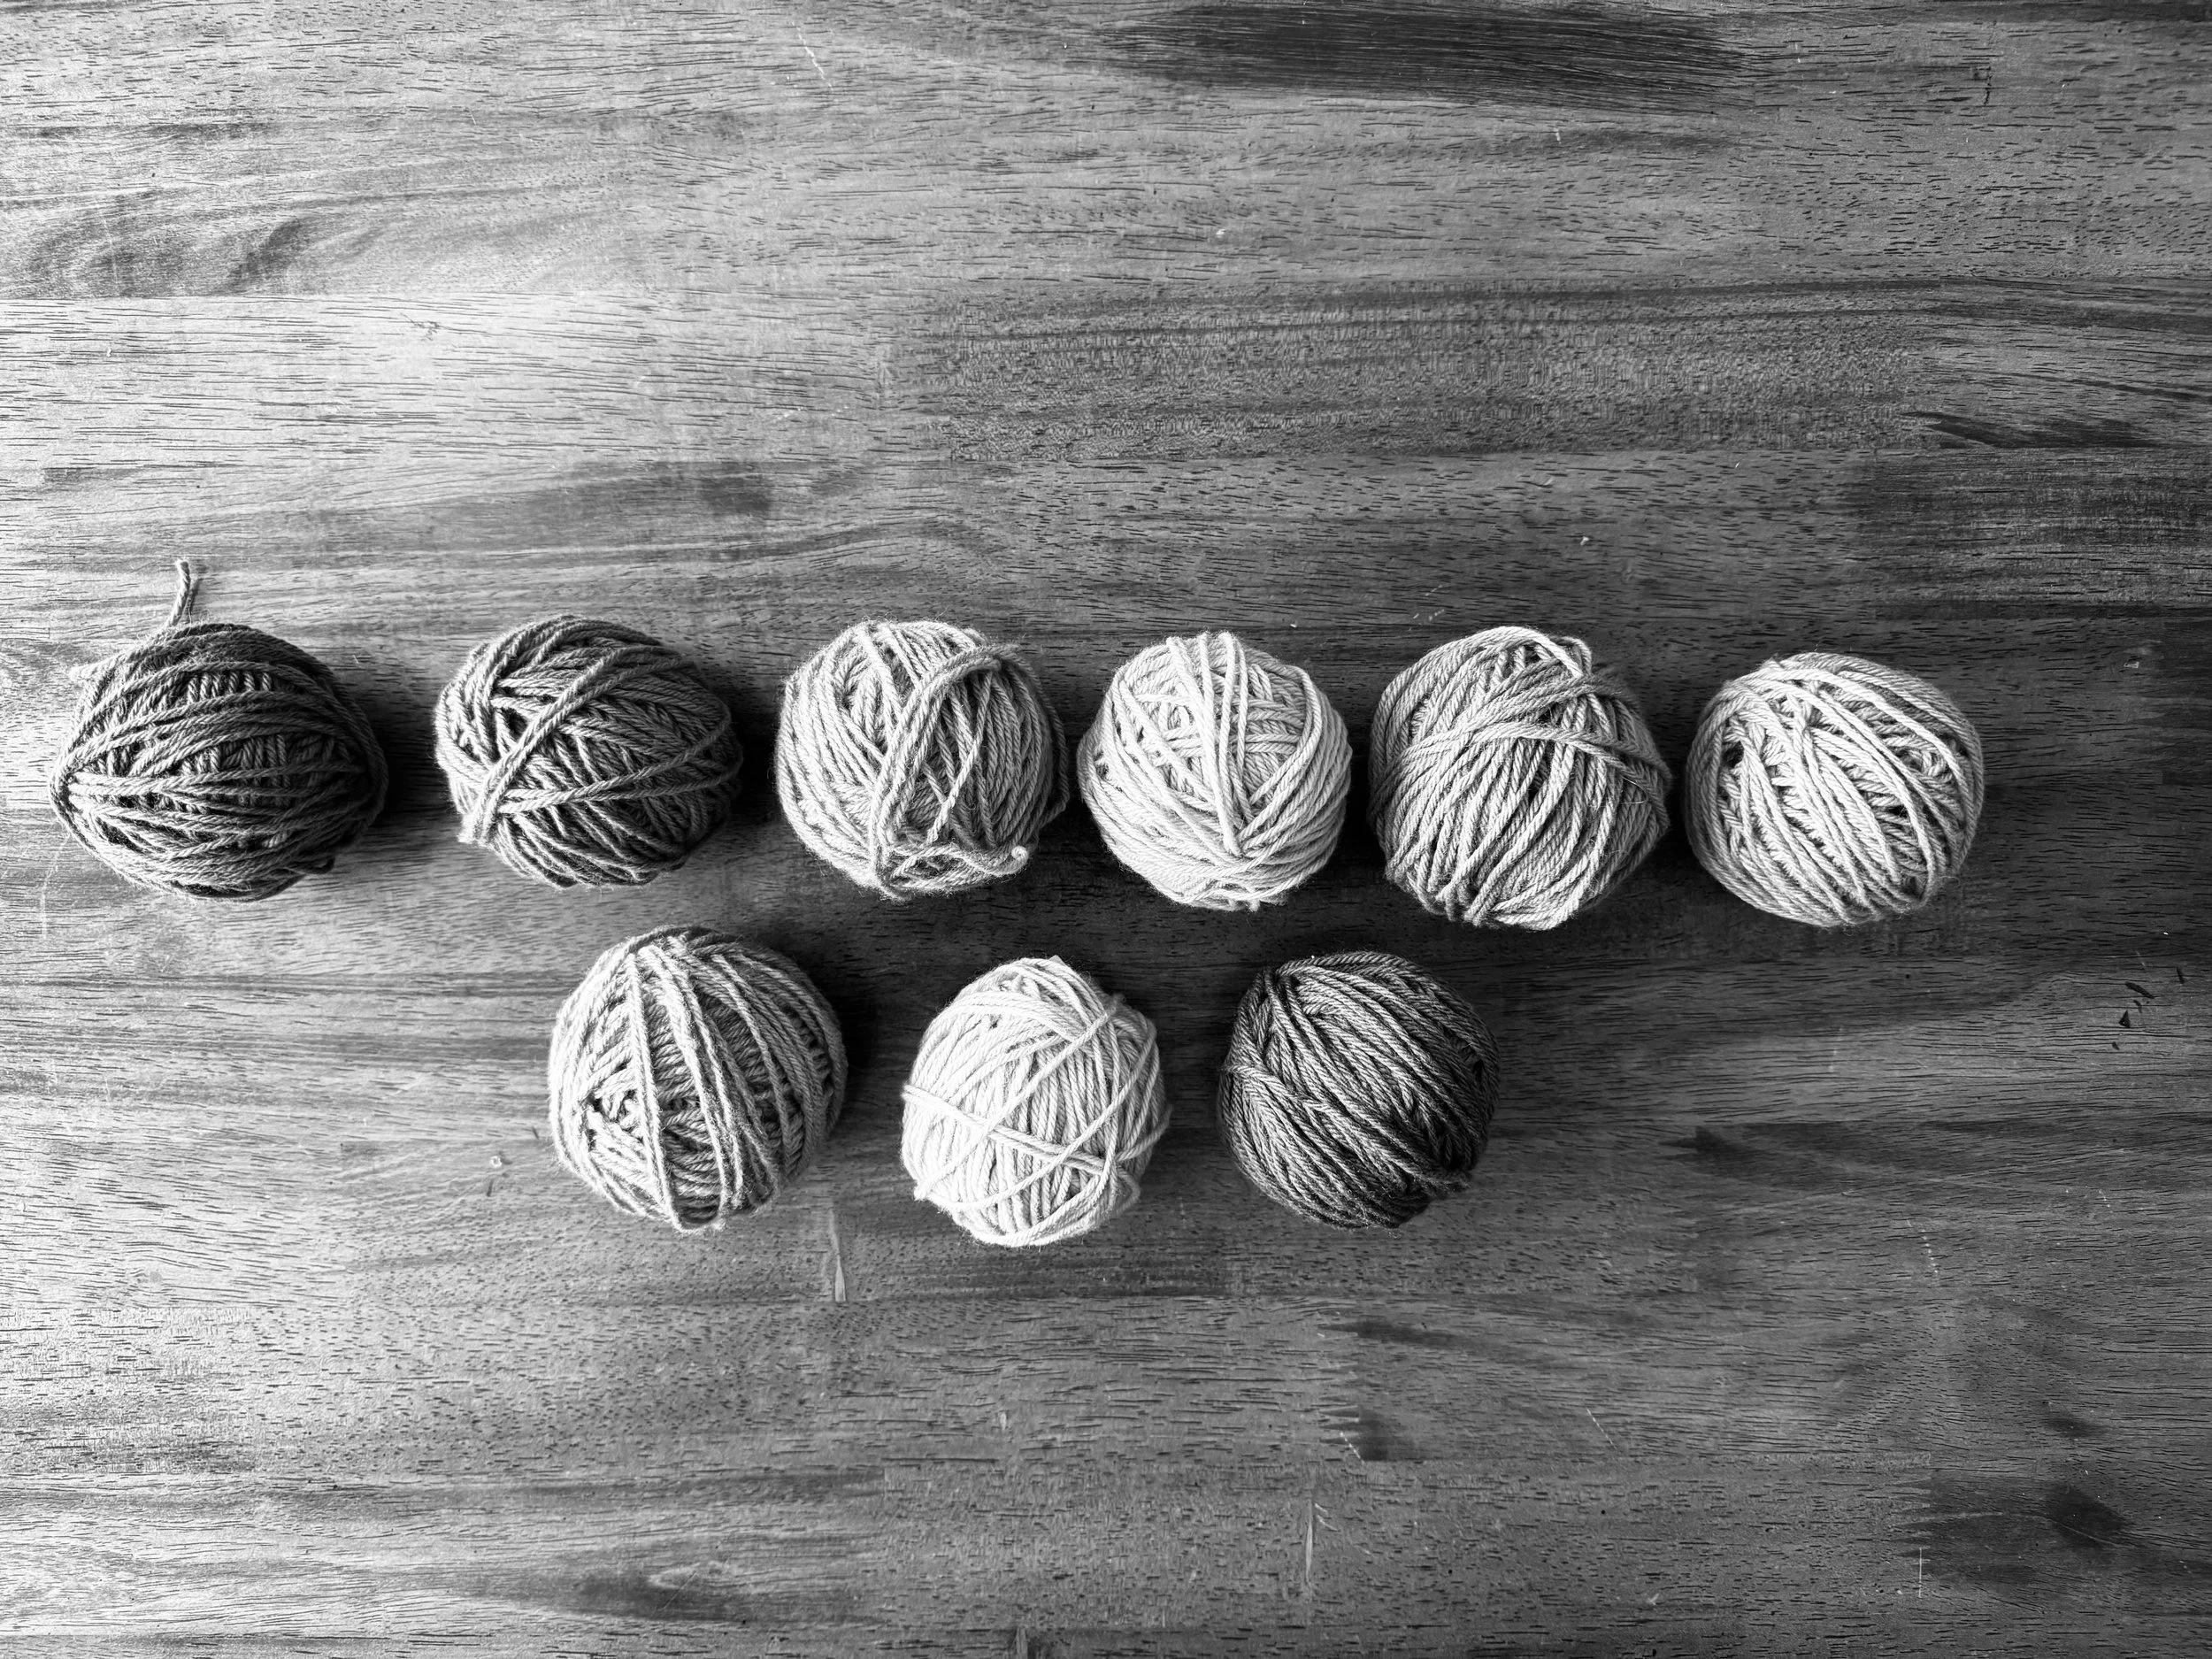
enough contrast?
I hope so. I will knit up a bit of a sample.
-
on its side
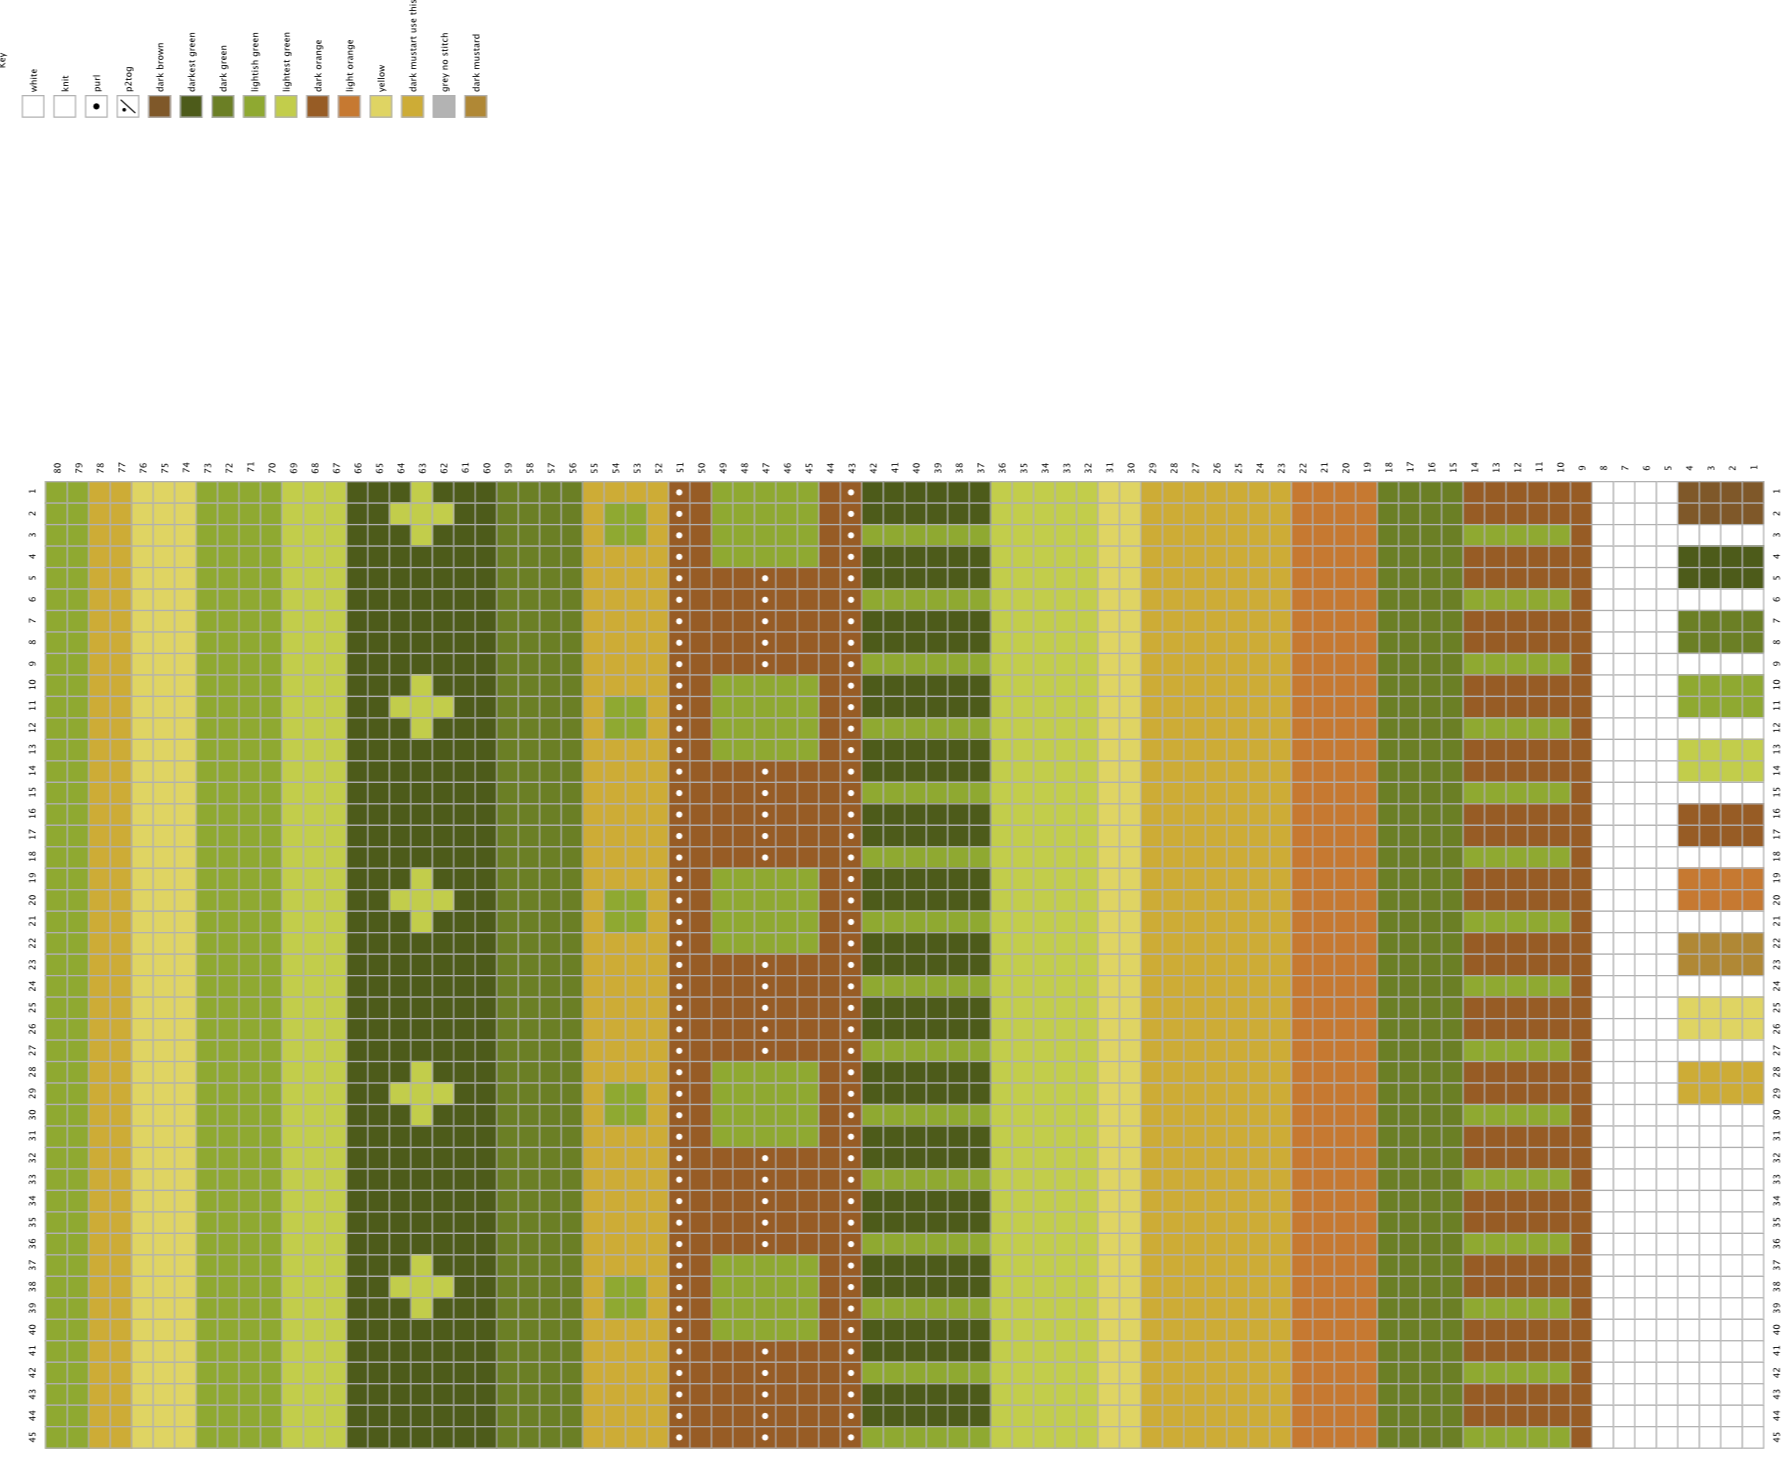
I use Stitchmastery for designing charts, and this is a quick sketch. I don’t think I have enough yarn to make mock-up mitts, so I will just start on the cuffs of the mittens and see how it goes.
I have an extra mustardish color on the far right - still deciding which to use.
-
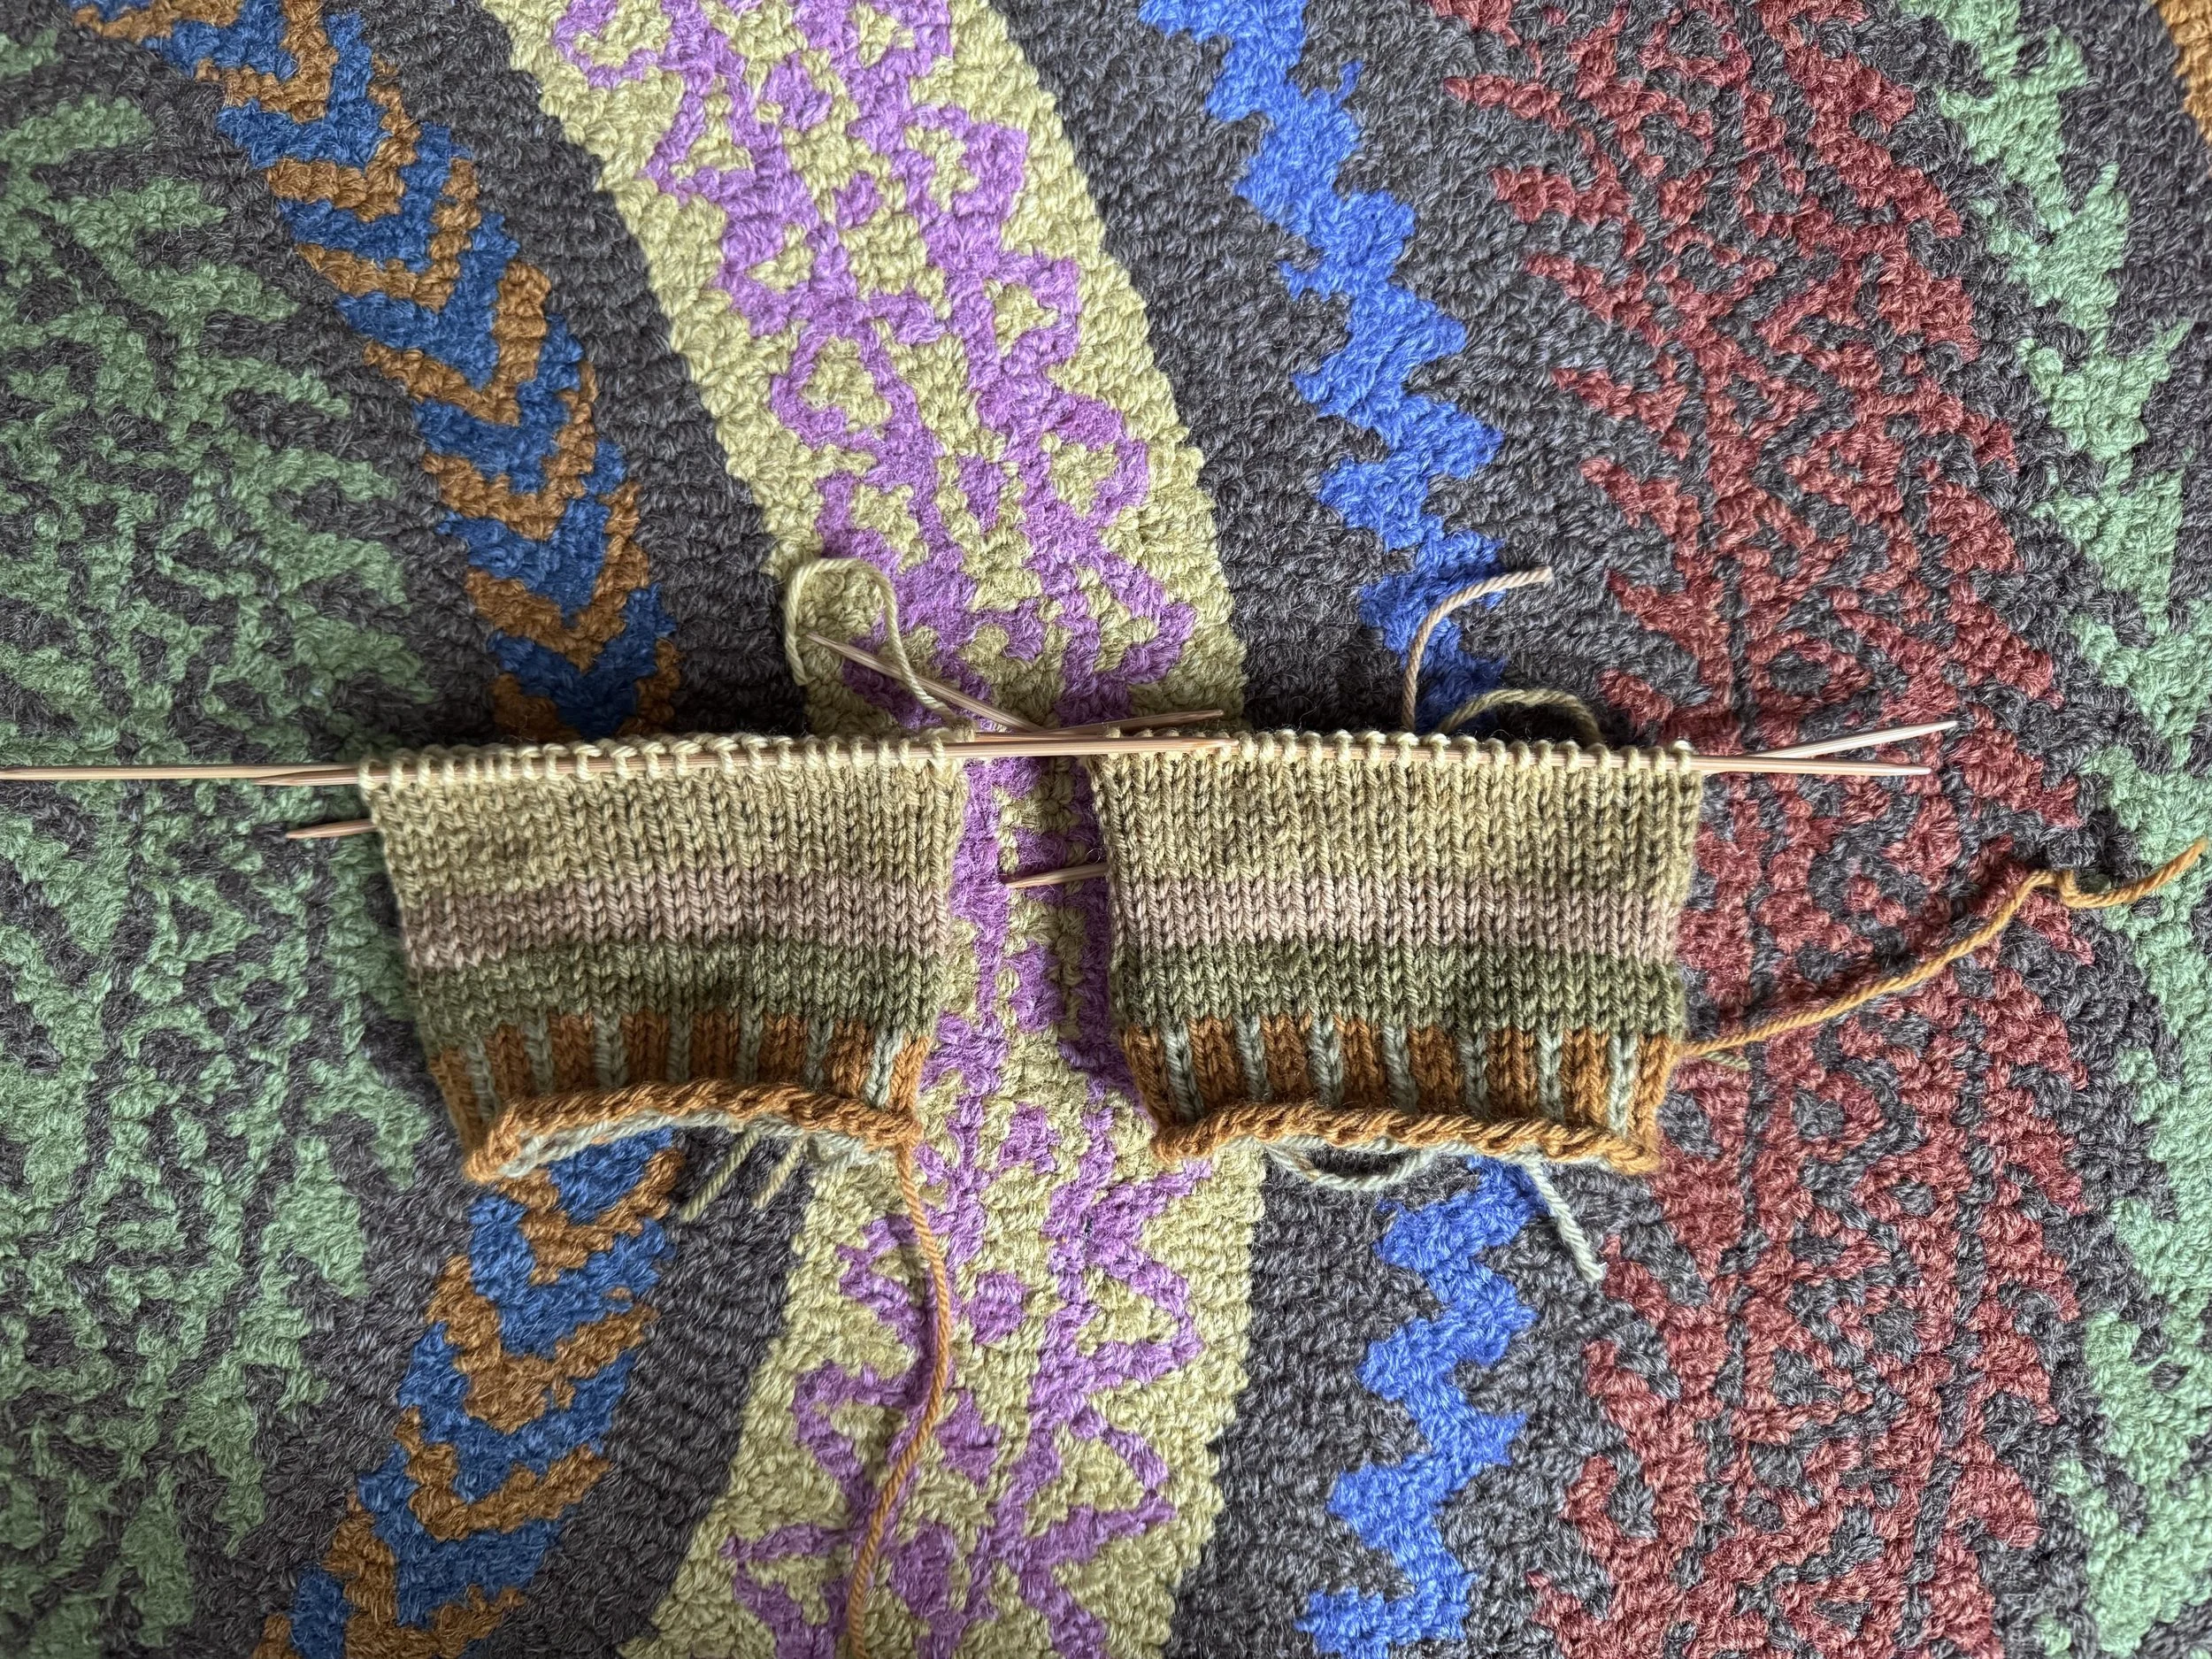
so here we have some cuffs
They look fine, and the colors contrast enough to suit me. I Love seeing the vibrant colors on my chart, but in real life, I am more comfortable wearing more muted colors. And there is plenty going on here.
-
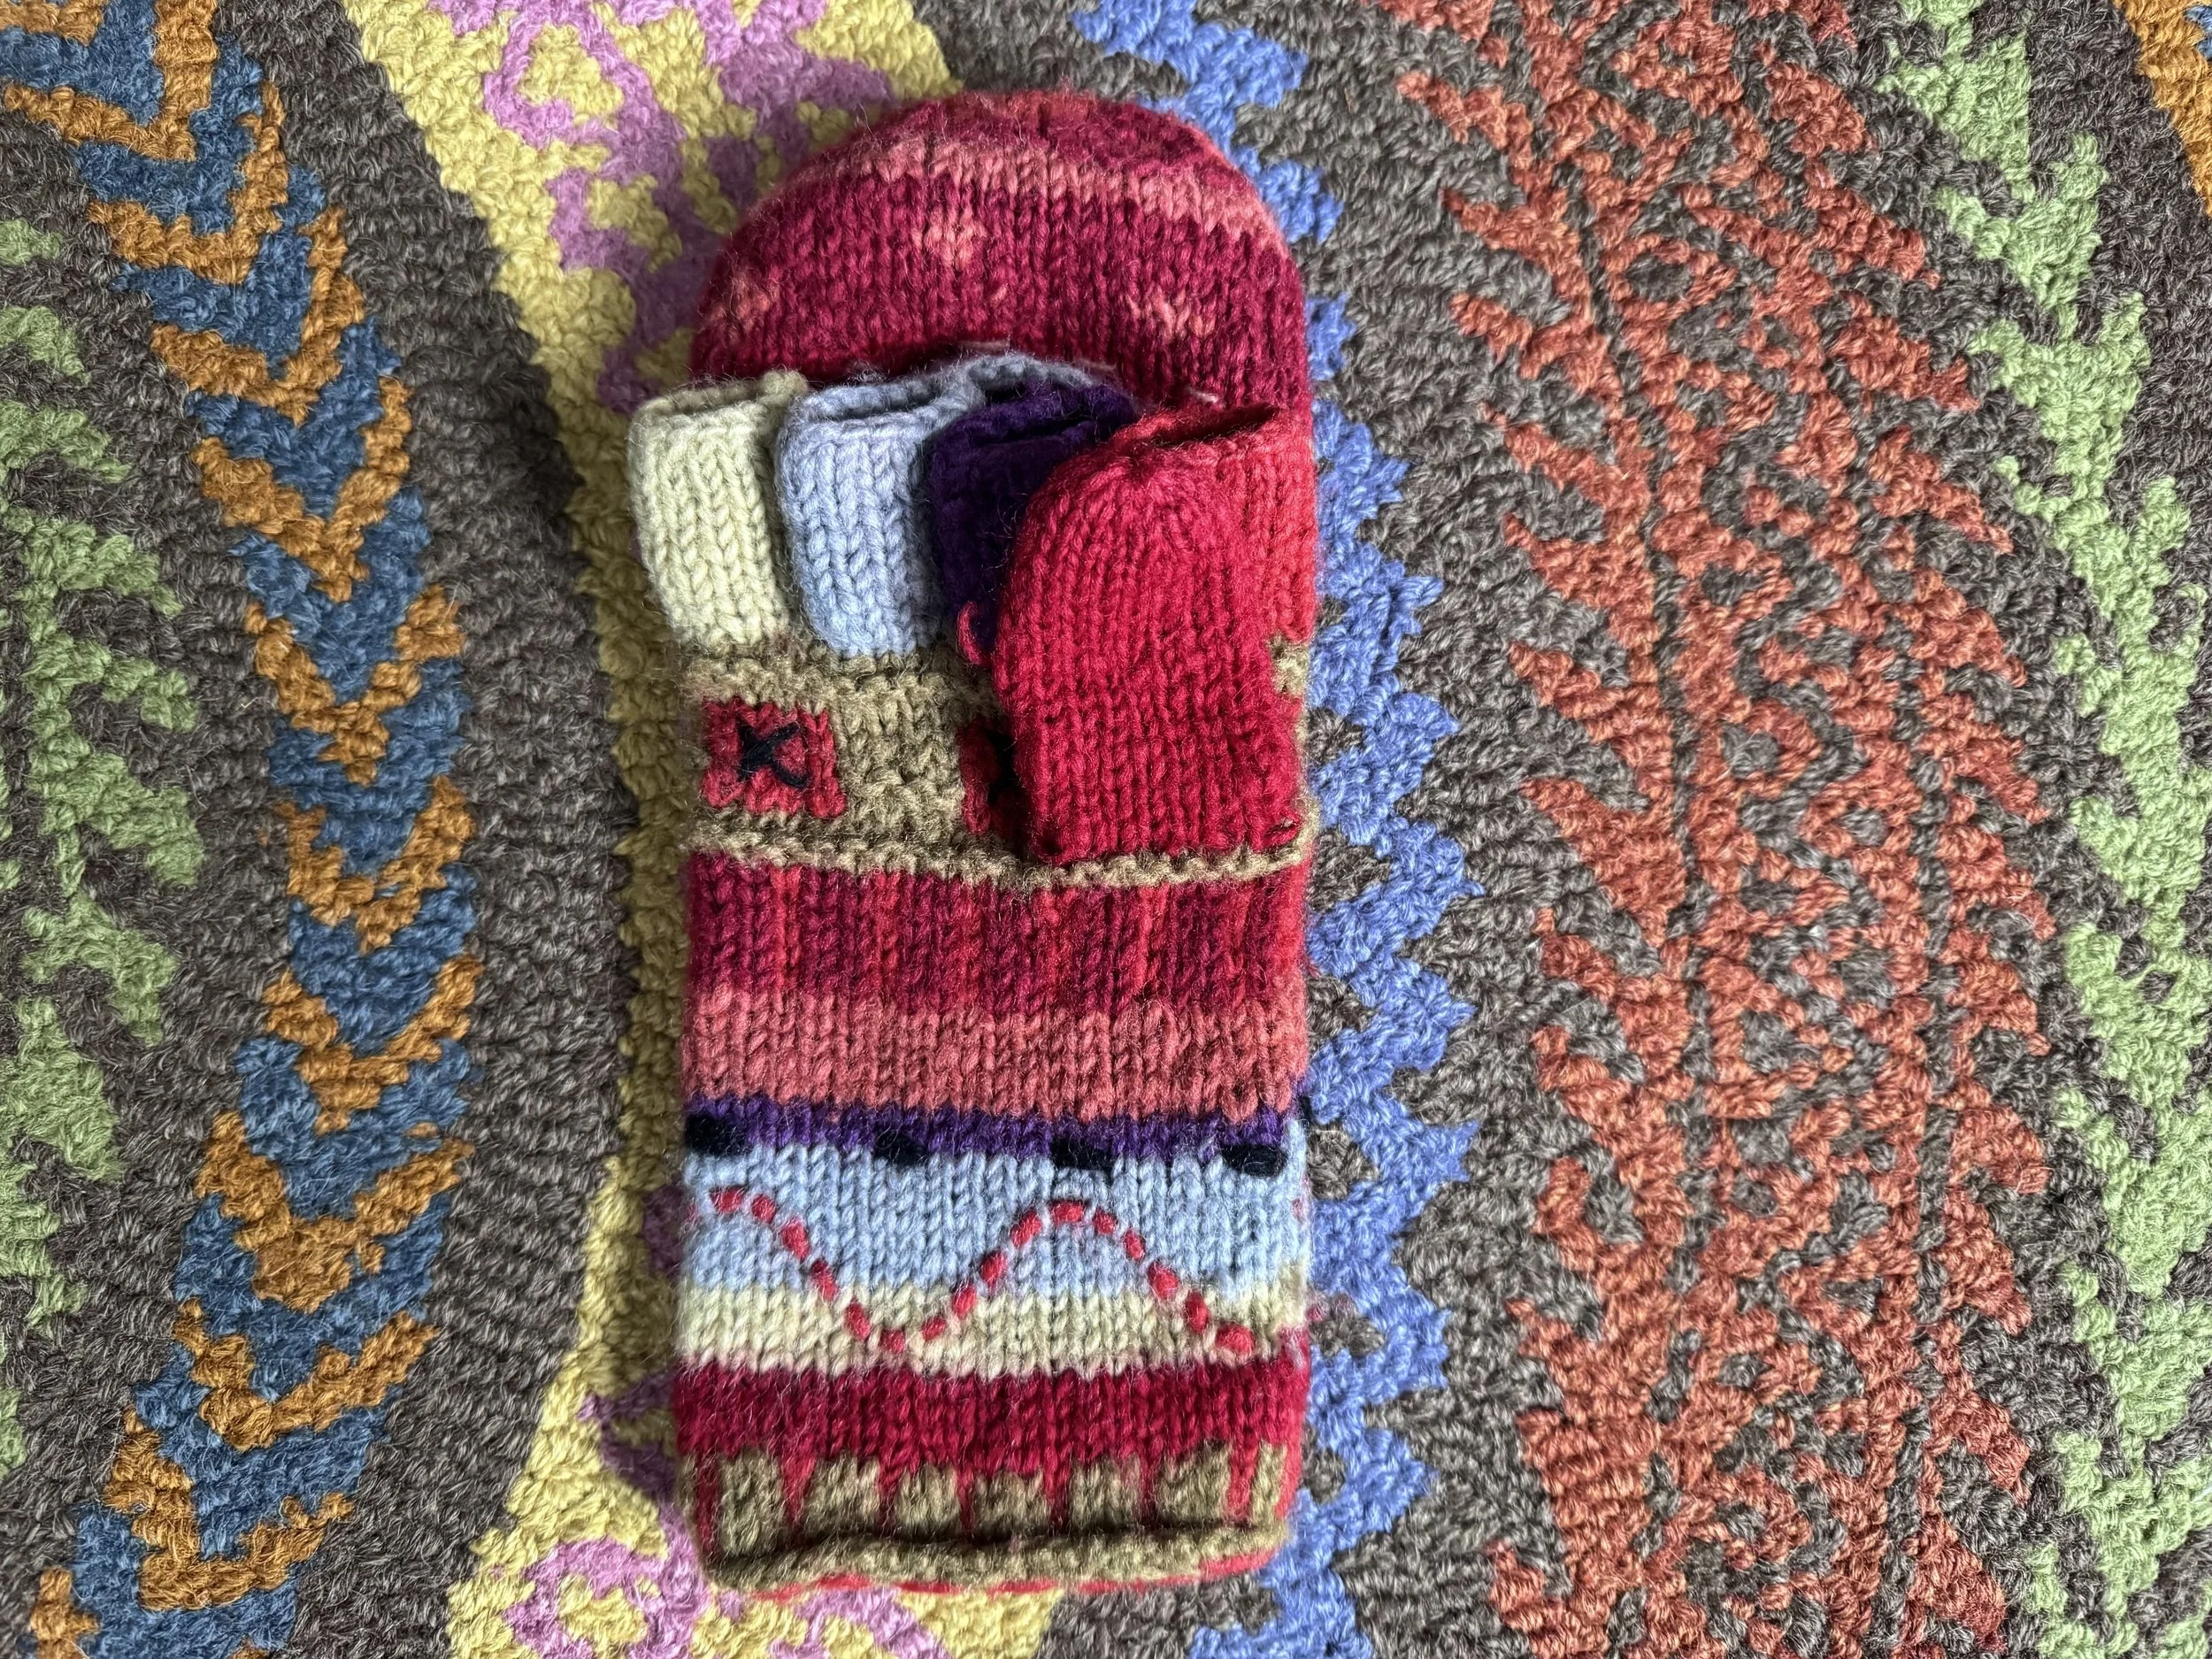
thumb time but with a gusset
I want to make a gusset for these mittens - this is the main deviation from the originals, which are gussetless. So here we go:
The current mittens have 15 stitches in the thumb, which seems like a nice number. I think I will aim for 15 stitches, too.
-
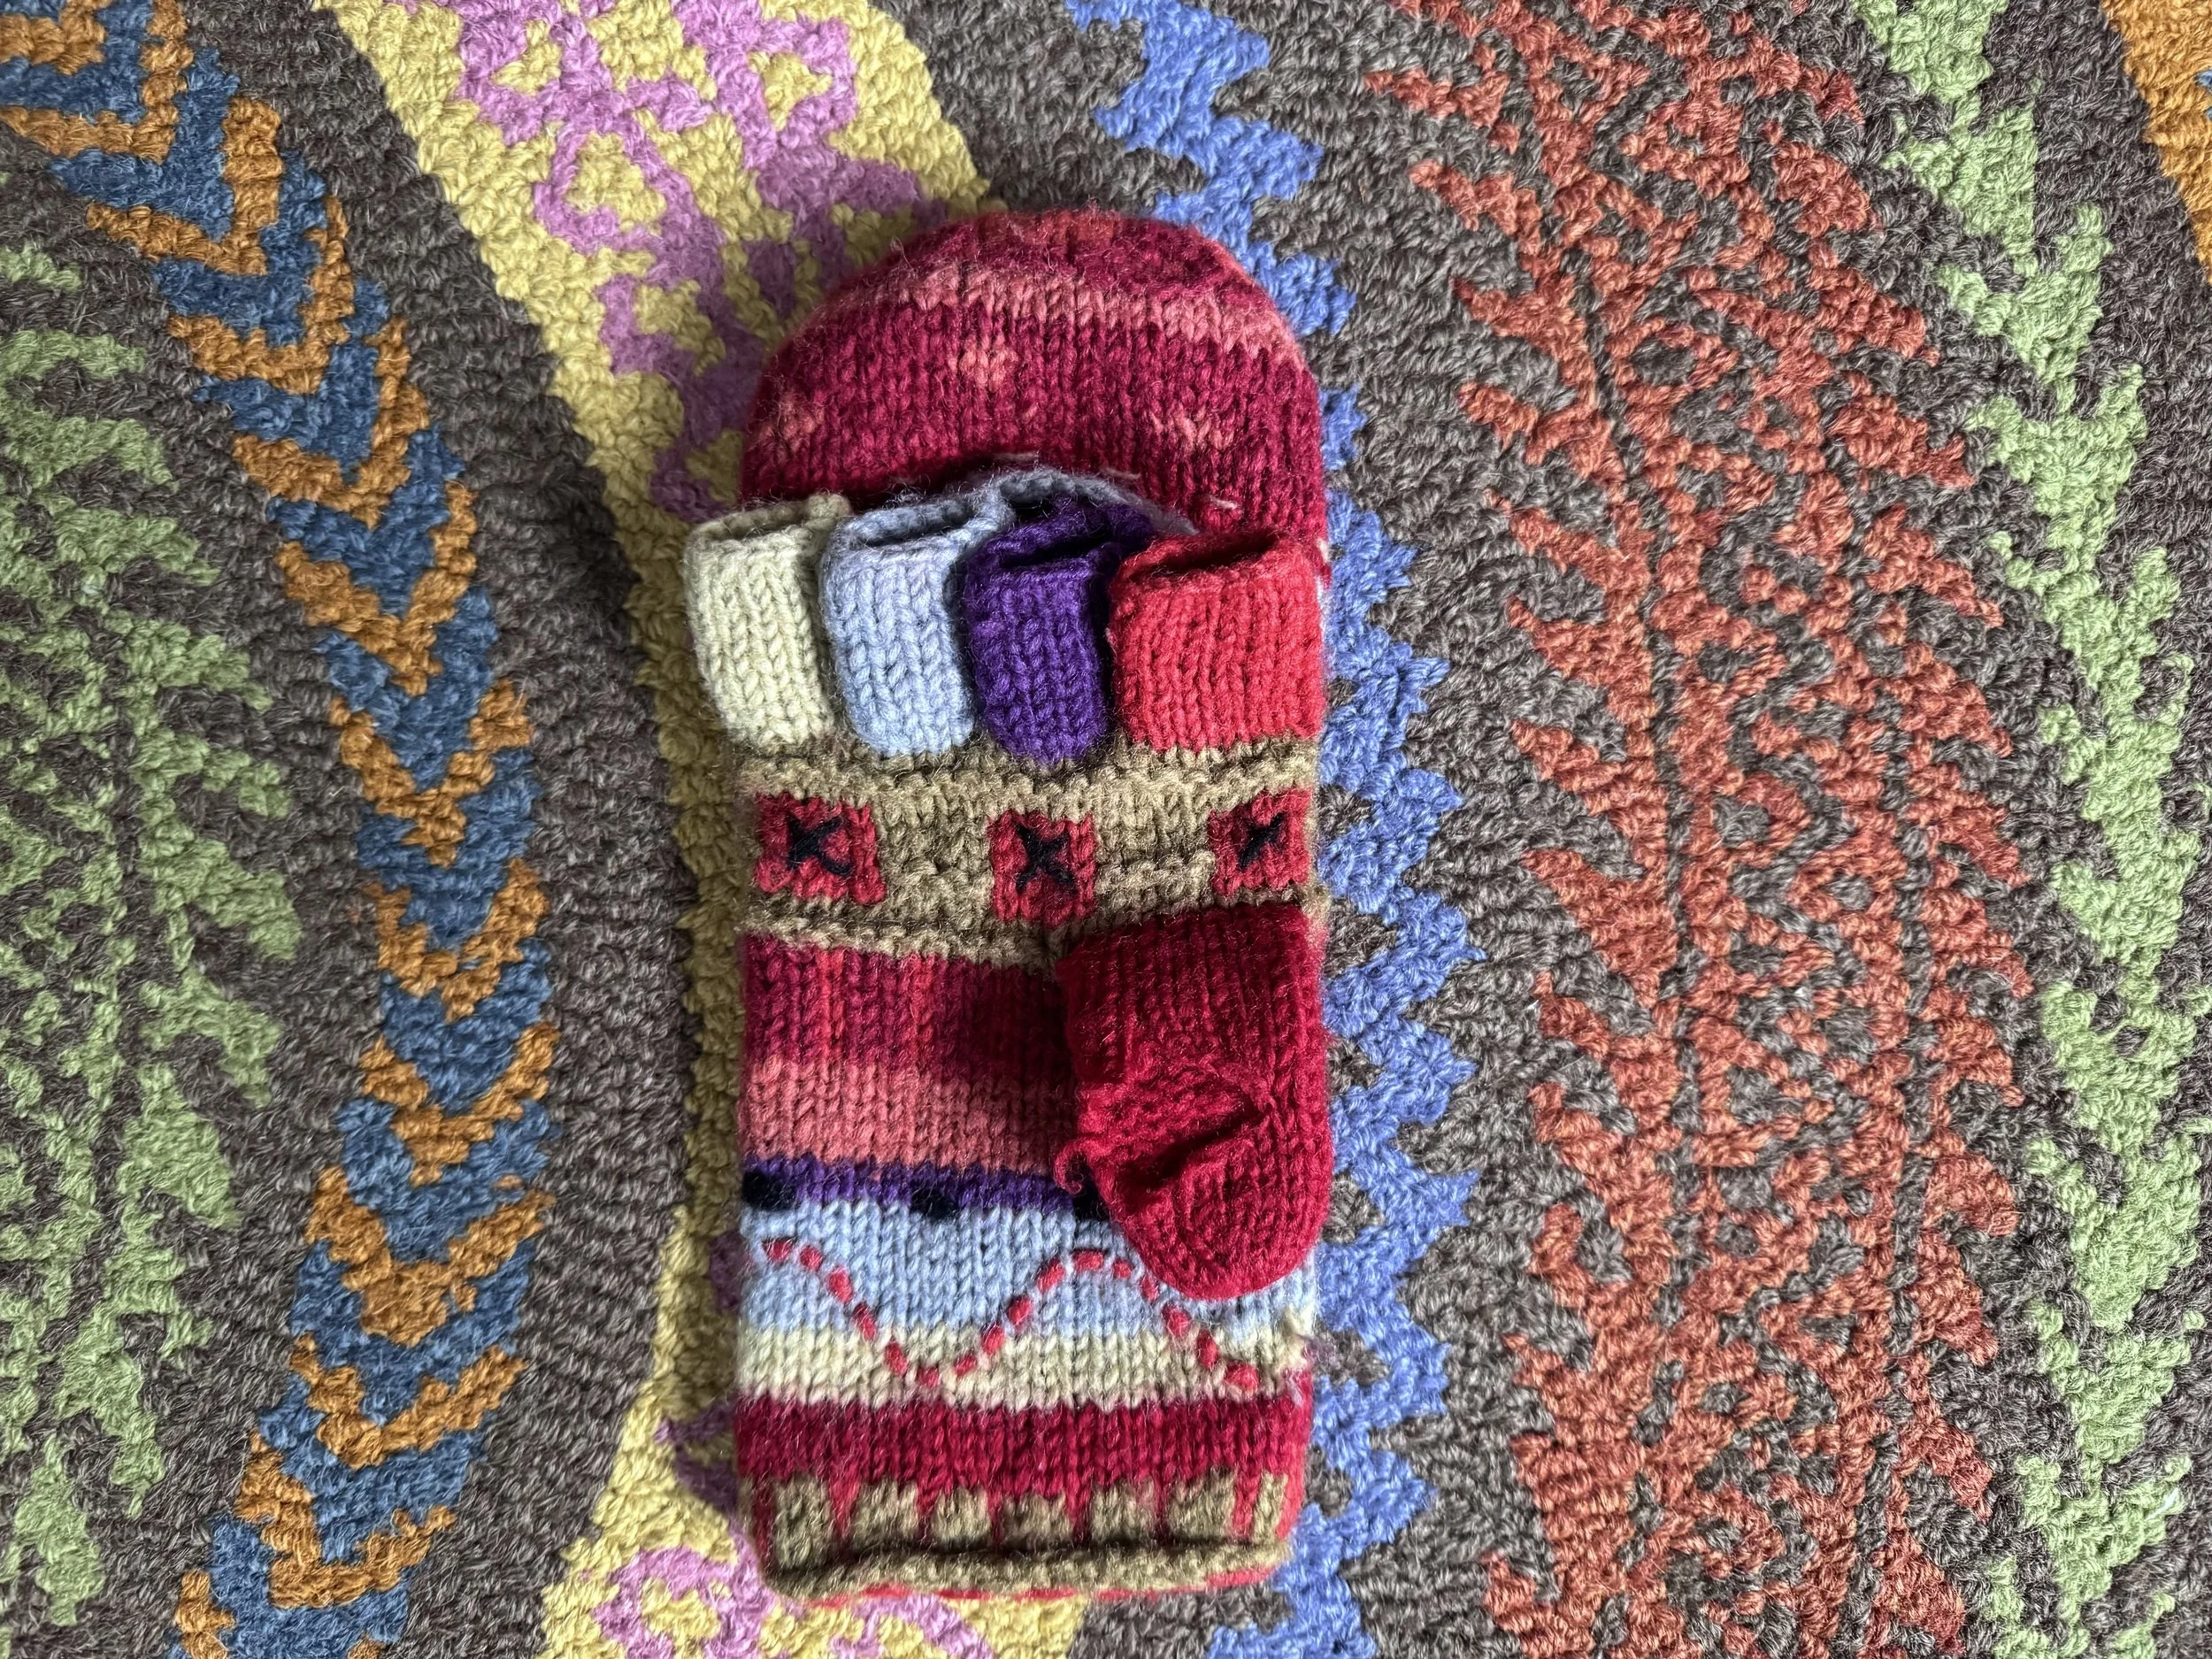
but I will begin by increasing 10 stitches
I will create only 10 new stitches on either side of 3 existing stitches, increasing 2 stitches every third round. That will make the gusset 15 rounds tall.
Then I will cast 3 stitches onto the “hand” part of the mitten once the gusset rounds are all finished. This will give me 16 stitches for the thumb (I will decrease 1 stitch once I get started knitting the thumb) and will also replace the three stitches that I more or less stole from the hand. You will see.
-
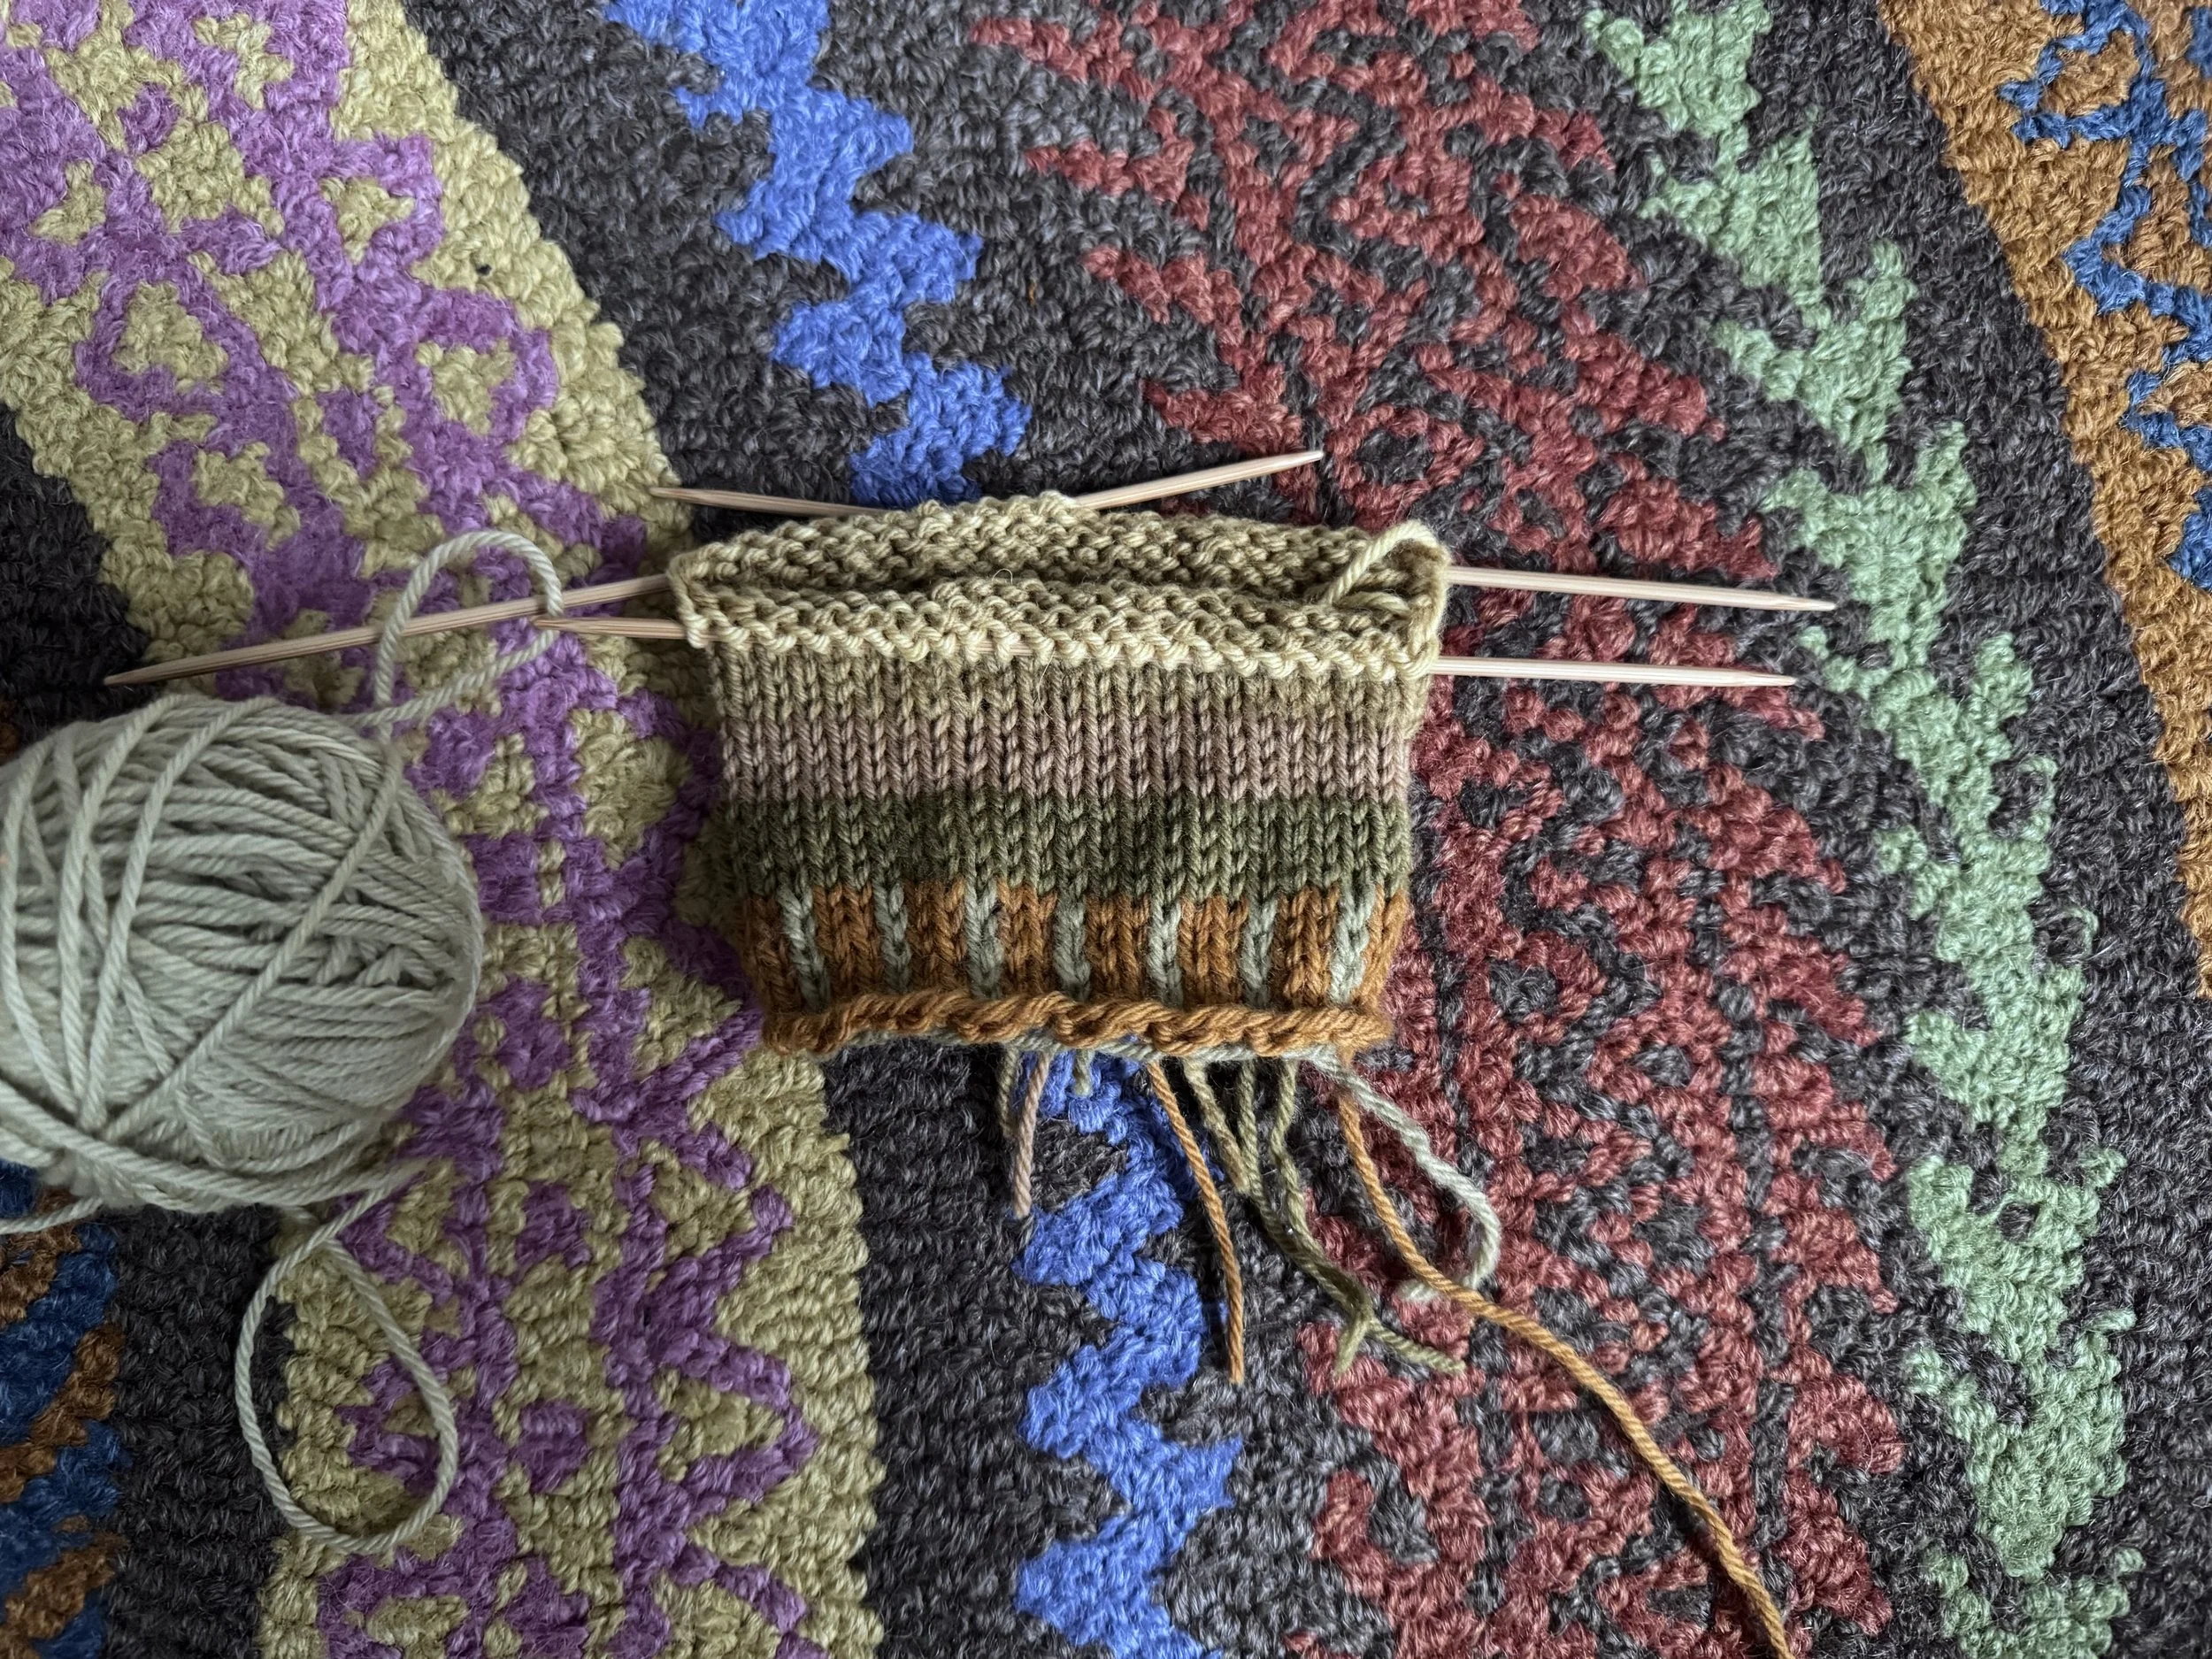
rearranging the stitches
I am going to start the thumb gusset increases on the part of the mitten opposite to the beginning of the rounds, so that the less tidy part of the mittens will be situated on the outside of my wrist.
So for the left thumb, I am putting 22 stitches on the first needle and dividing the remaining 23 stitches over the other two needles.
-
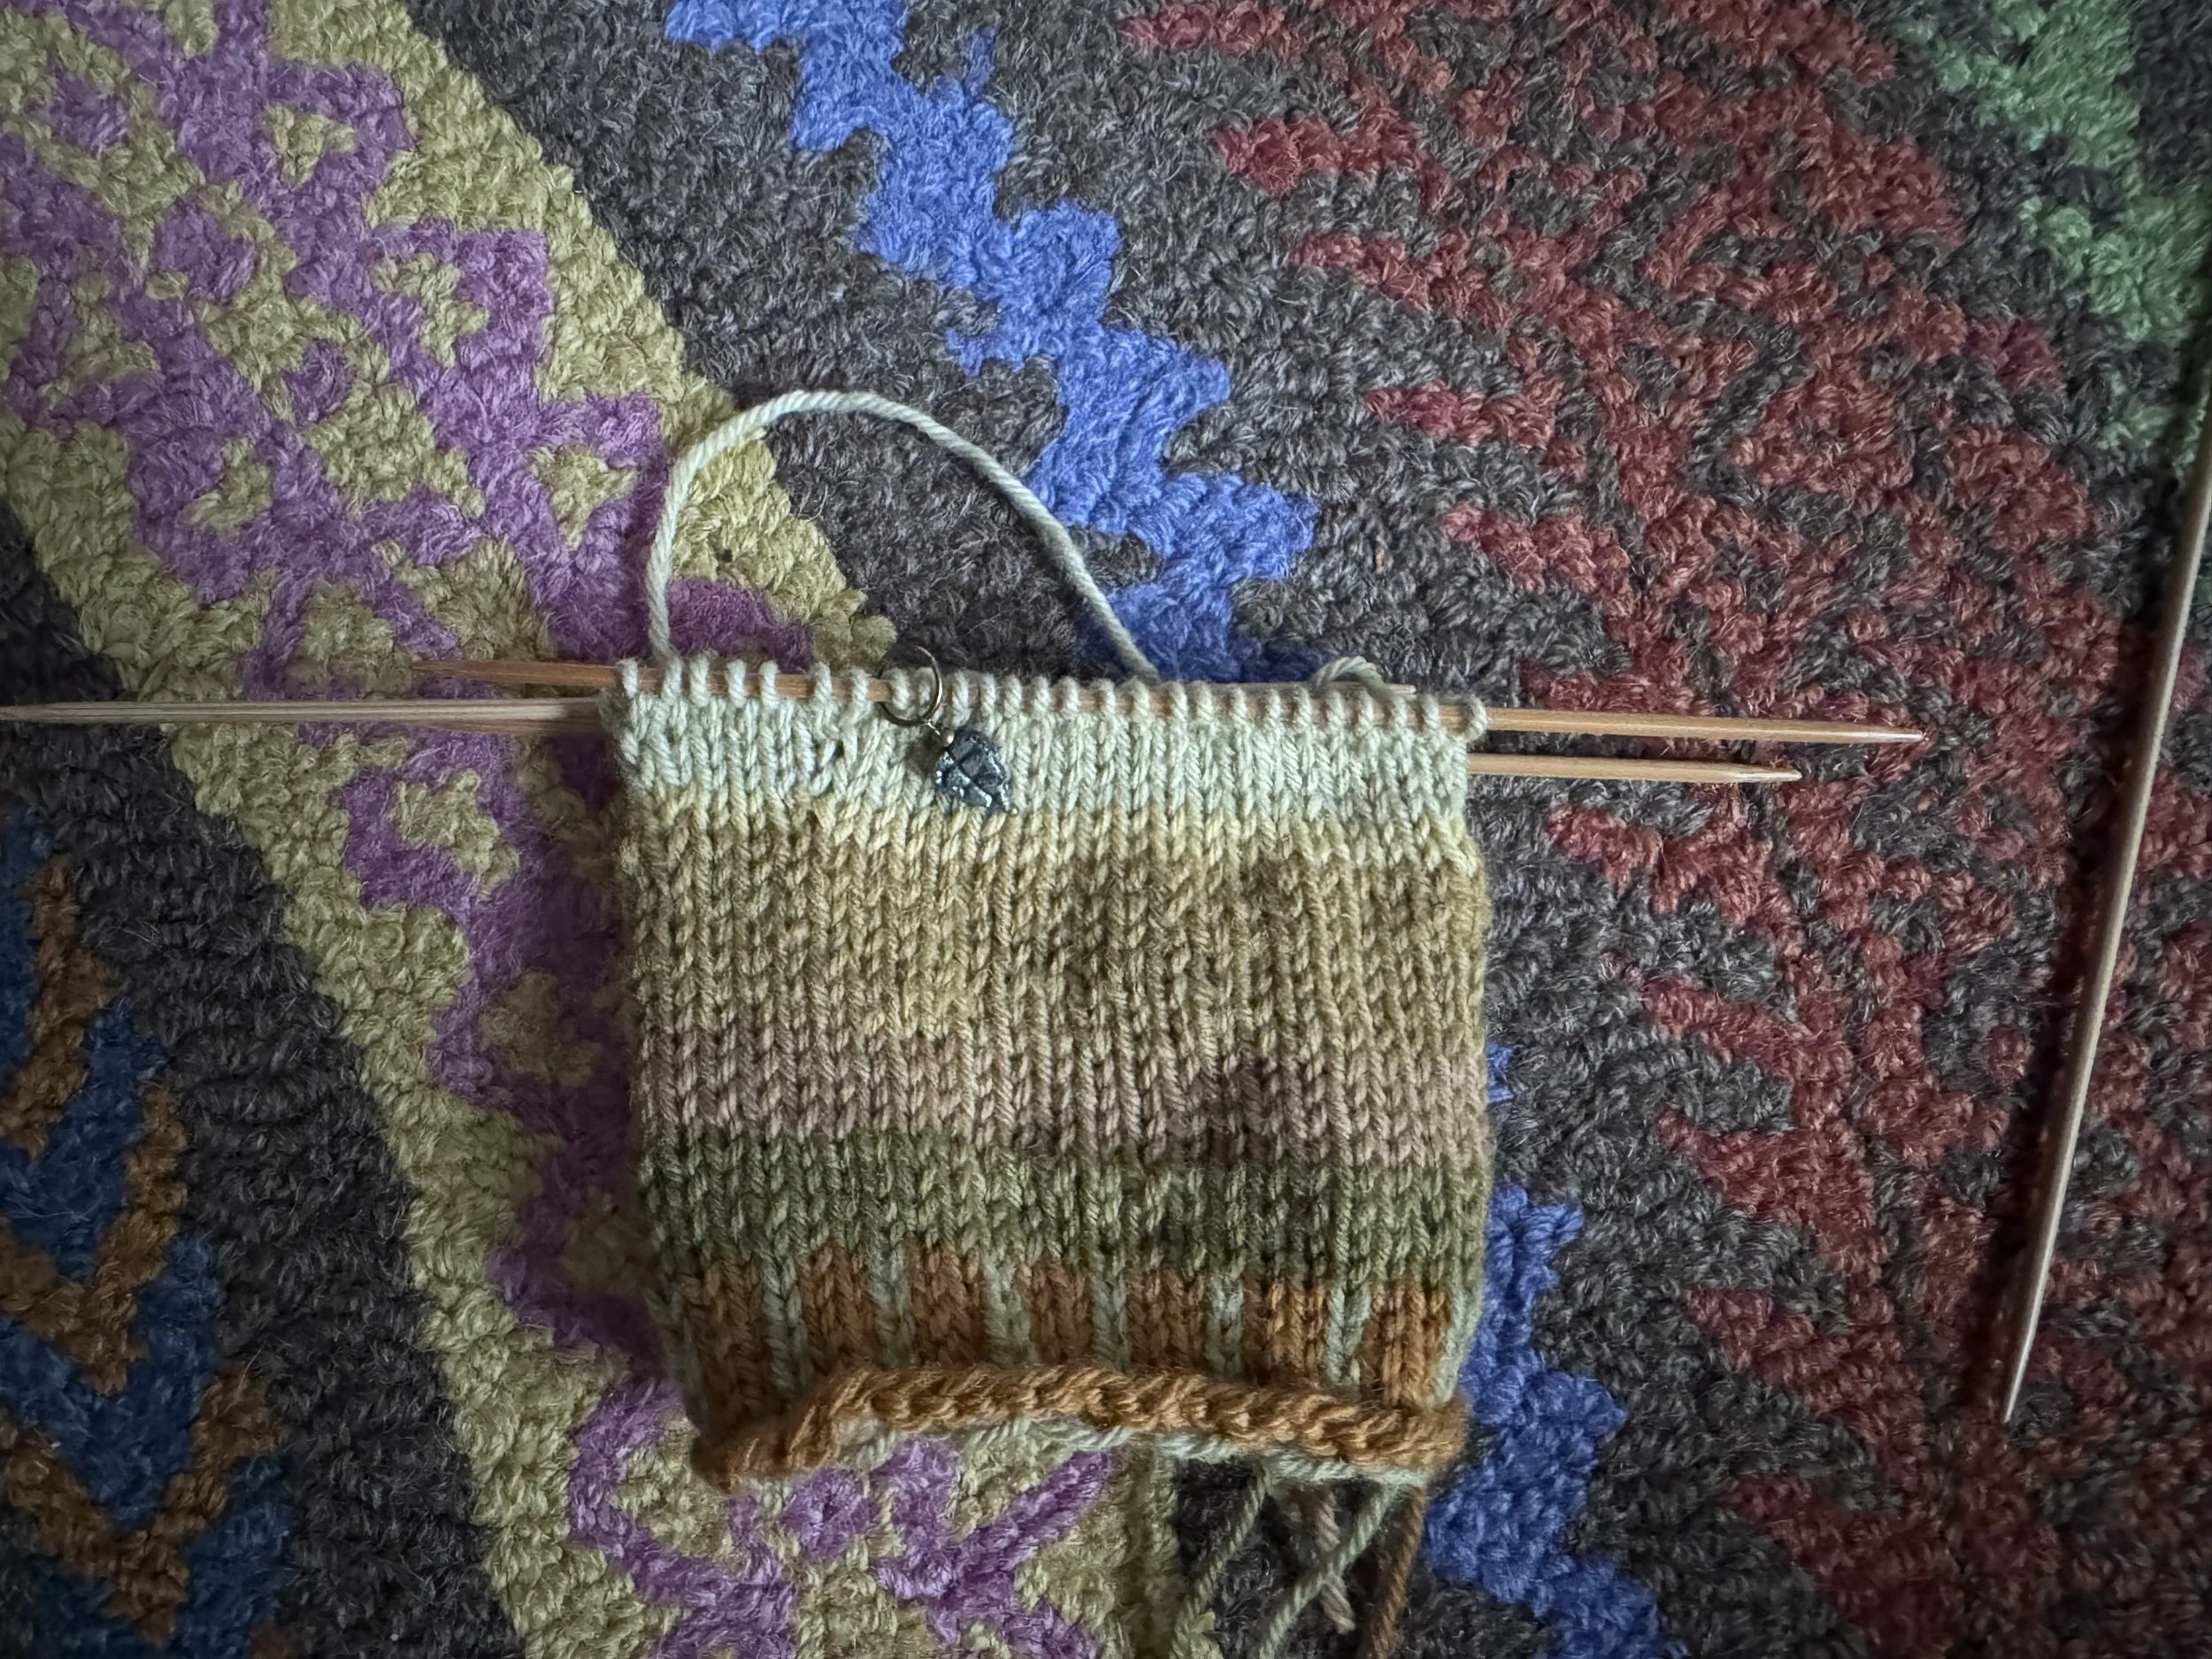
first two pairs of increases done
Left mitten procedure:
K 19 (I put a marker here), m1L, k 3, m1R, k to end.
K 2 rounds even.
K to marker, m1L, k to end of needle, m1R
K 2 rounds even.
Repeat last 2 rounds until there are 13 stitches after marker.
-
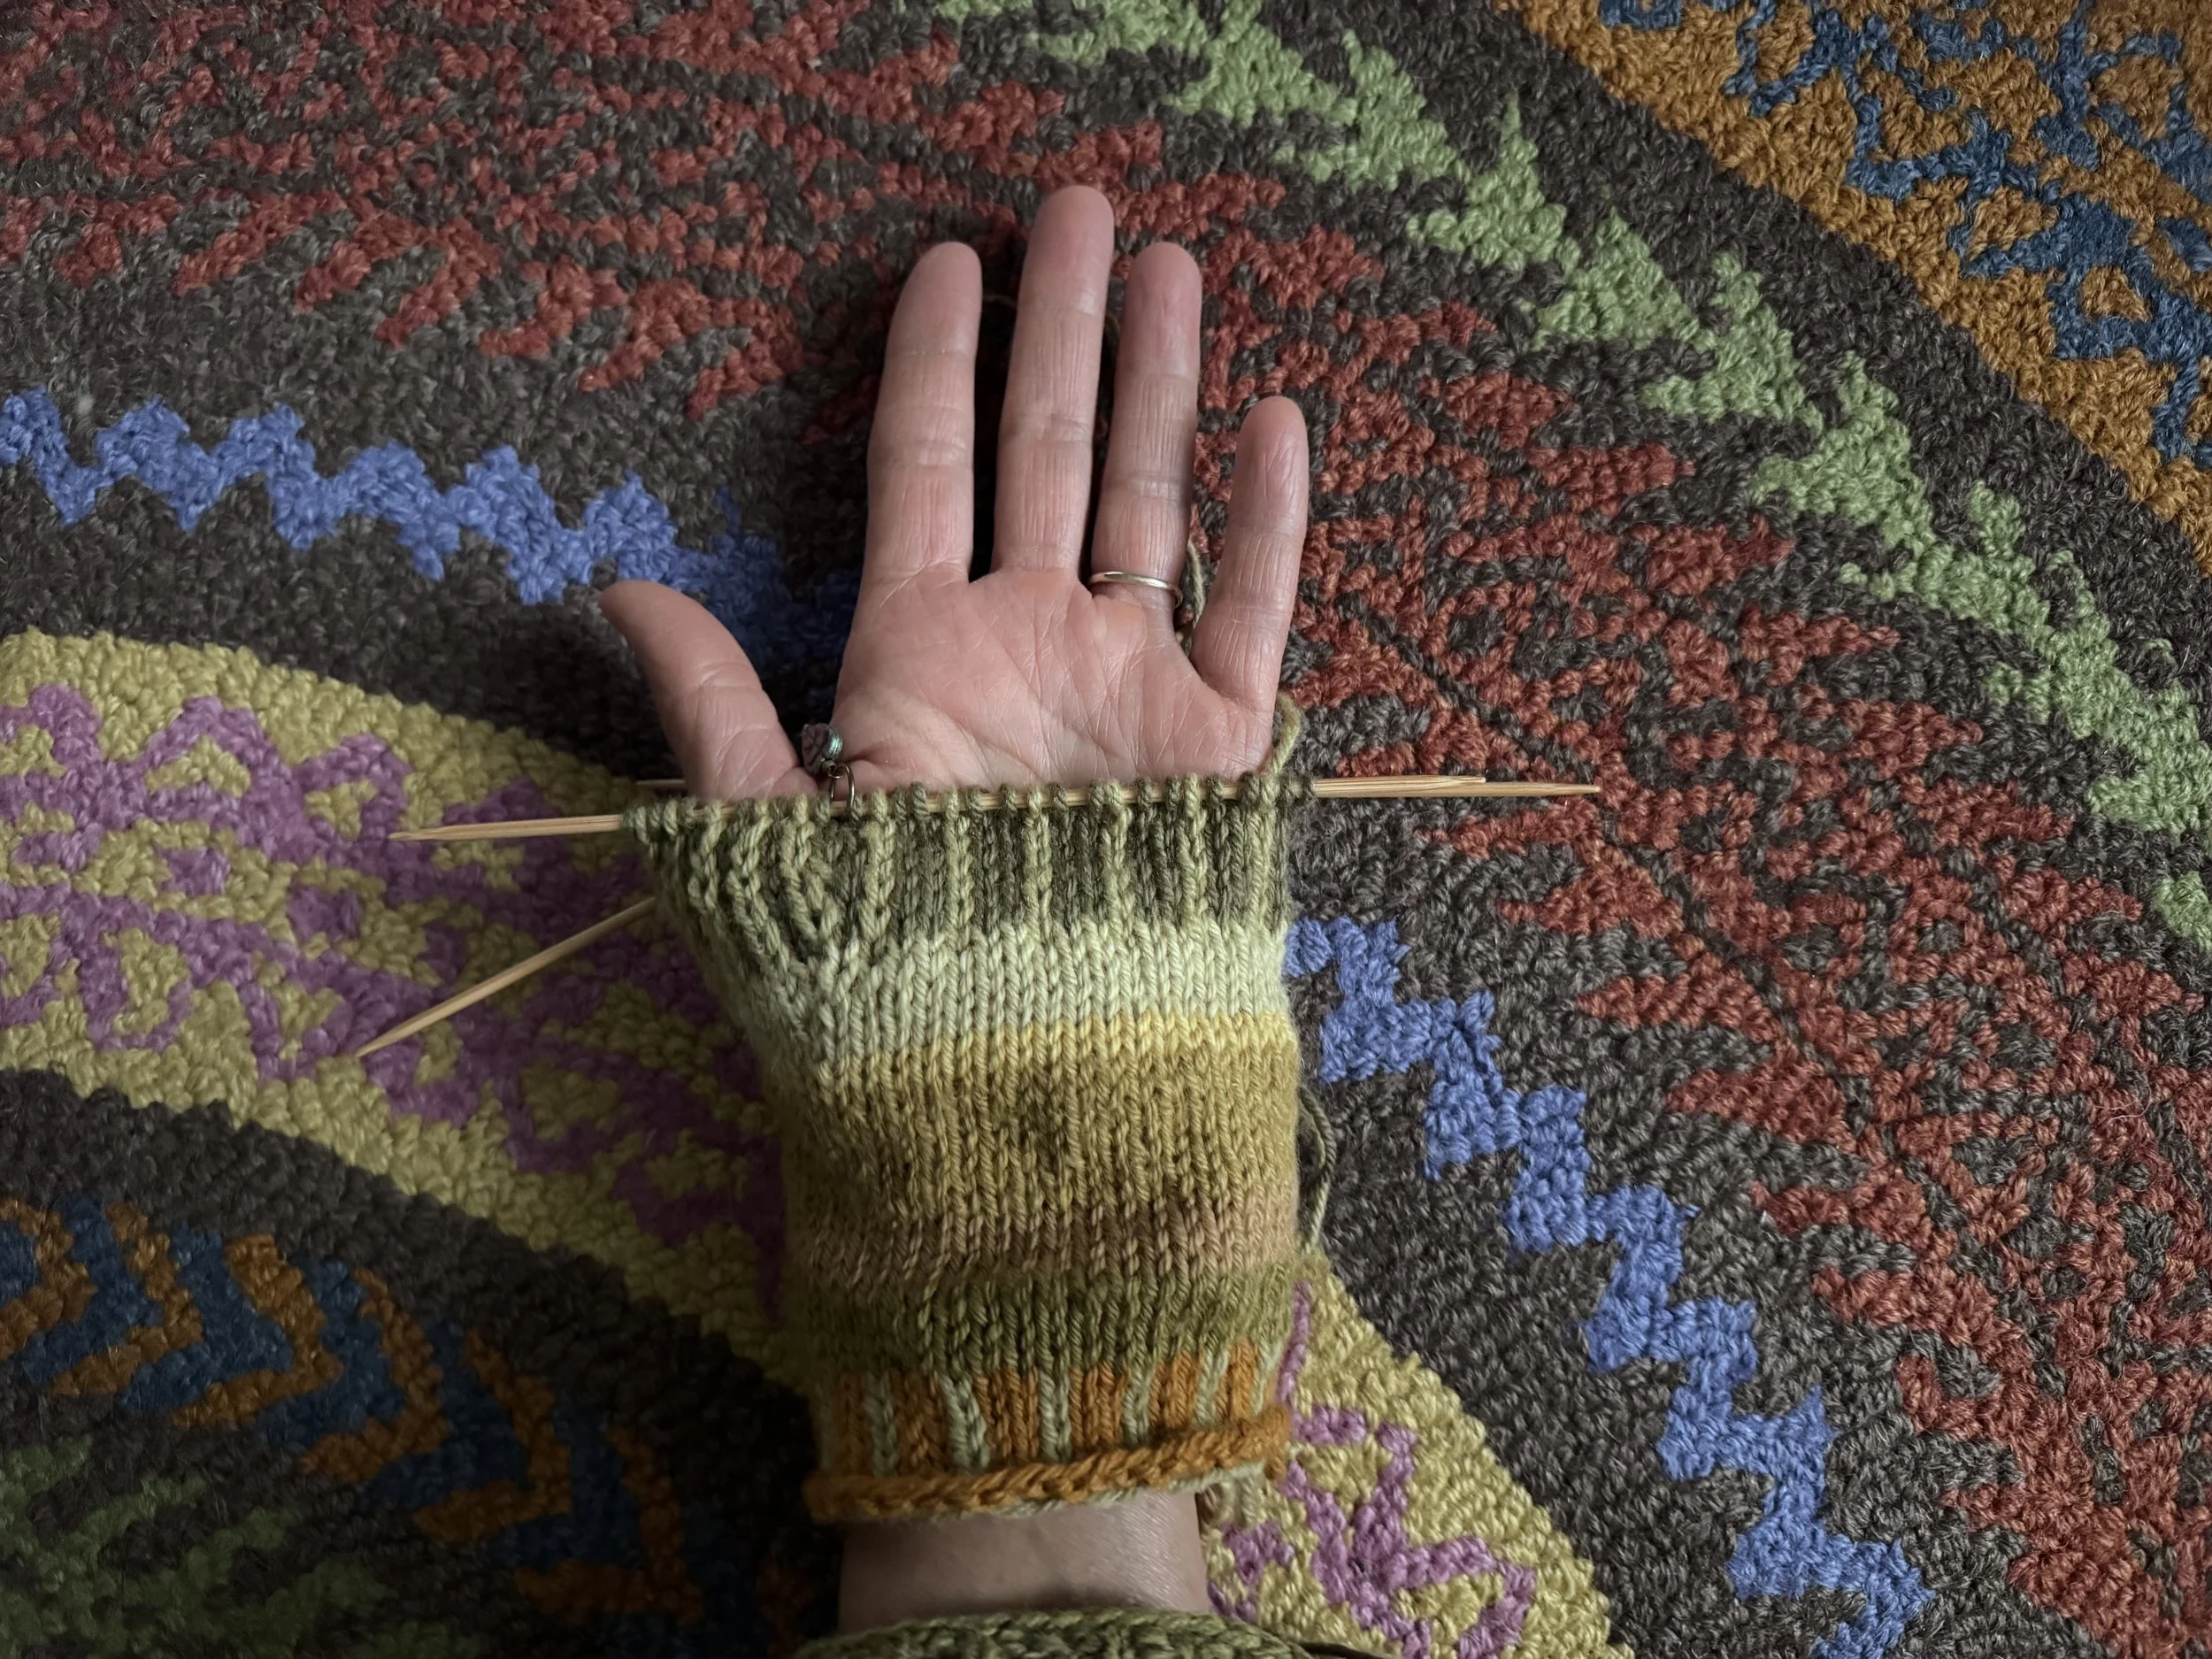
almost done
There are 11 stitches on the gusset at this point and I am hoping that 13 will be enough.
Changes: I am adding extra rows to this section of the colorwork (three, I think), and I used alternating colors in the gusset. It looks like a steek. Any time I can squeeze a steek into my knitting, I will.
-
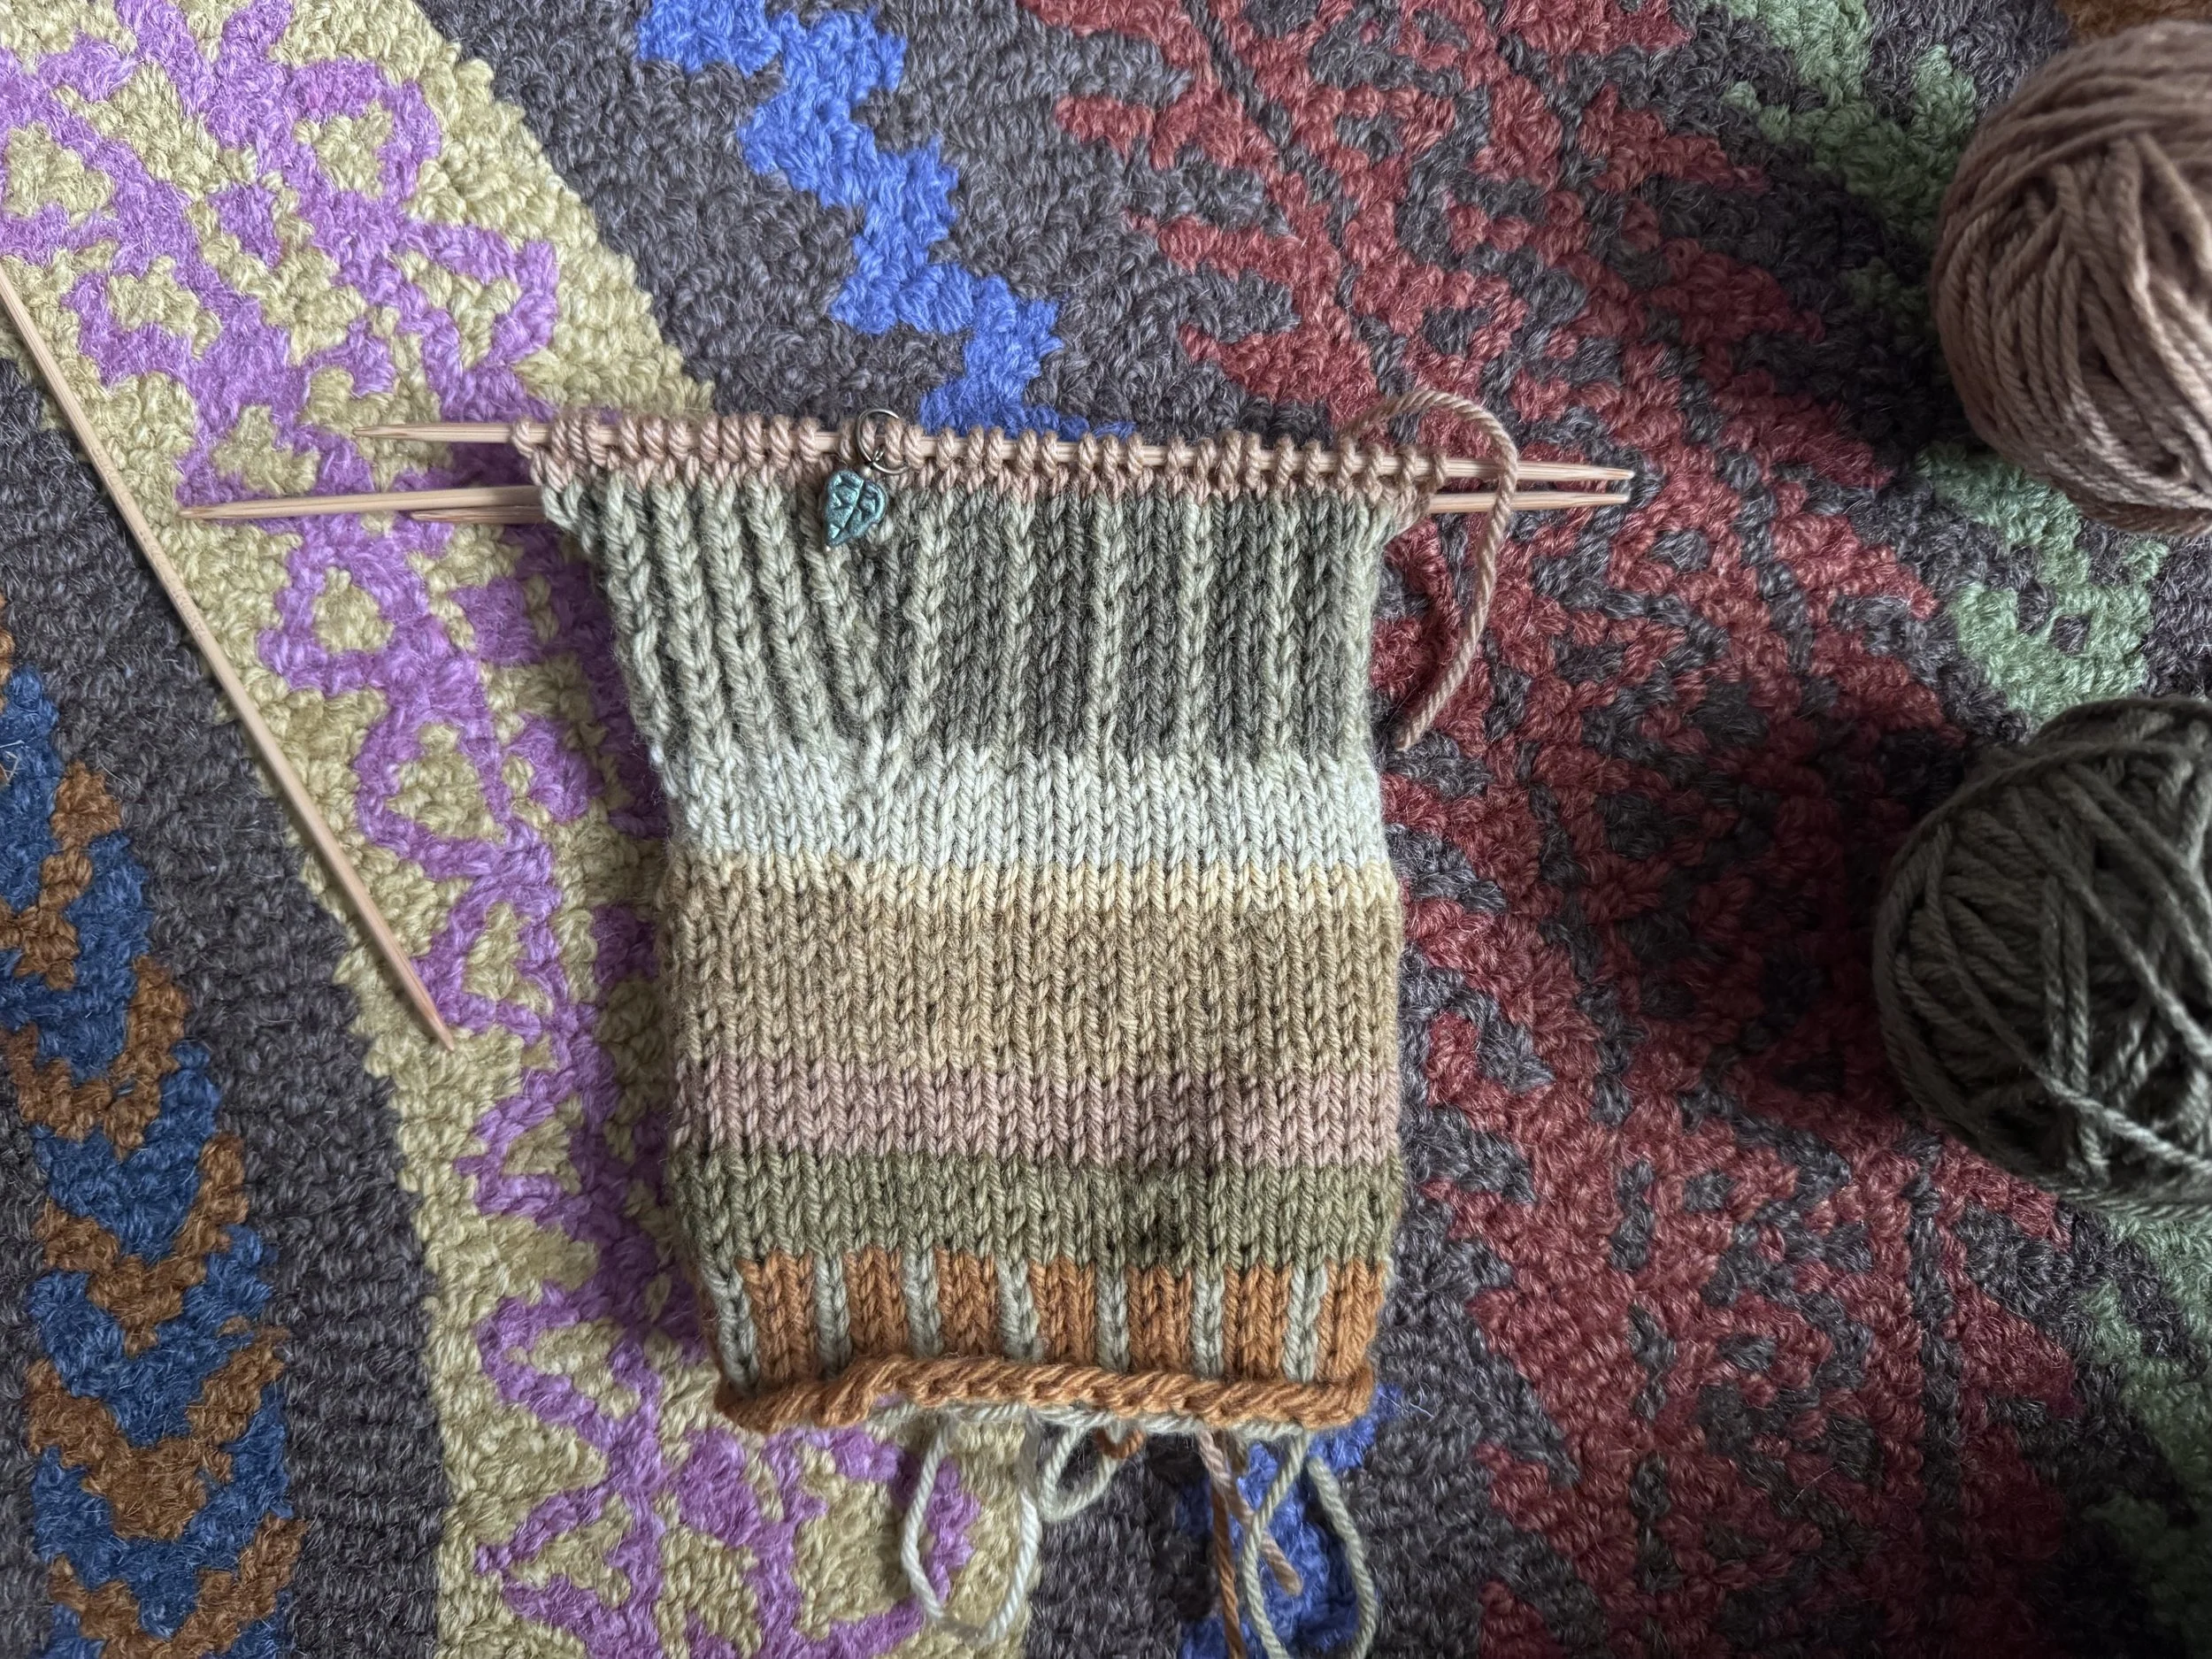
new plan for gusset
I went all the way up to 15 stitches after the marker instead of 13, and I added two more rows of my fourth cuff color, just to break up all of the green.
I am going to knit one round in the dark orange color before I work the purl round because purl rounds show the color of the row beneath, and I want the dark orange to show, not the light orange.
The purl round will be my second “even” round of the set. All going smoothly.
-
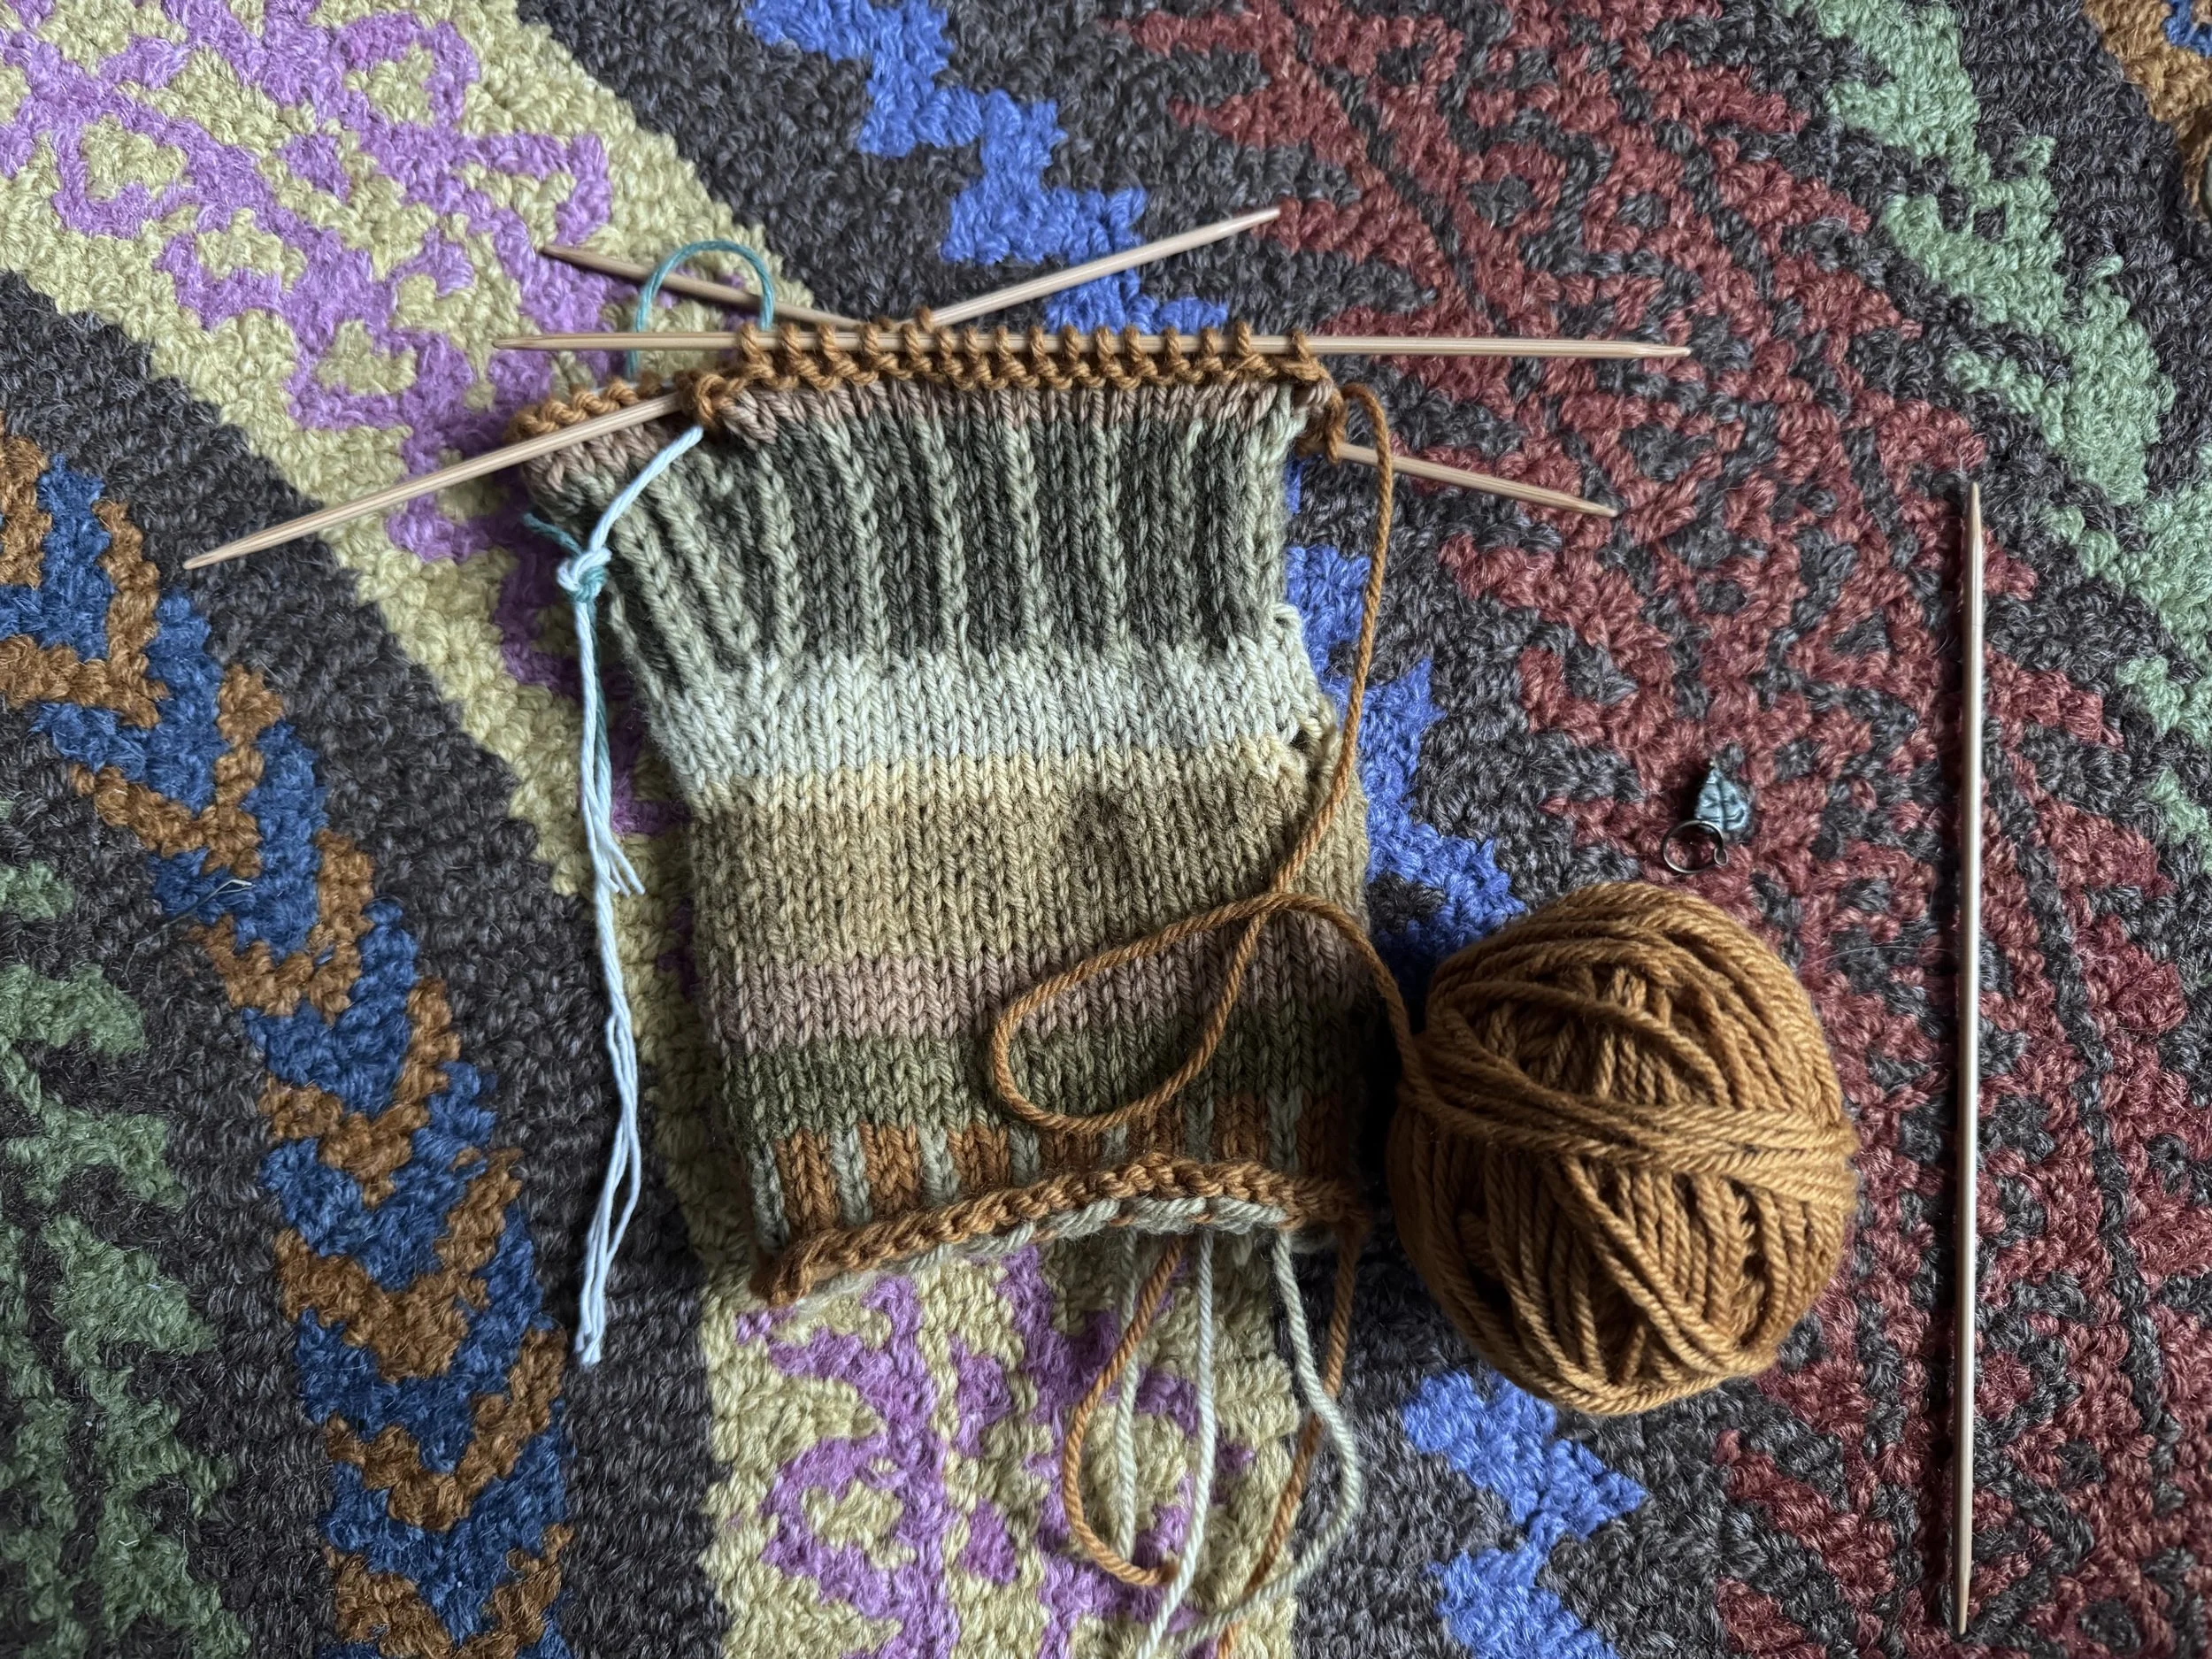
back to the main body of the mitten
Here I knitted 19 stitches, removed the marker, put the 15 thumb stitches onto waste yarn, cast on 3 stitches (I used a backward loop caston; this replaces the 3 mitten stitches that got sucked into the thumb gusset), and started again working around the hand part of the mitten.
At this point, too, I rearranged the stitches so that I have 15 again on each needle.
The thumb might be a bit big with 18 stitches, but I can decrease them when I am ready to work on the thumb.
But first I need to make the thumb gusset on the other mitten!
-
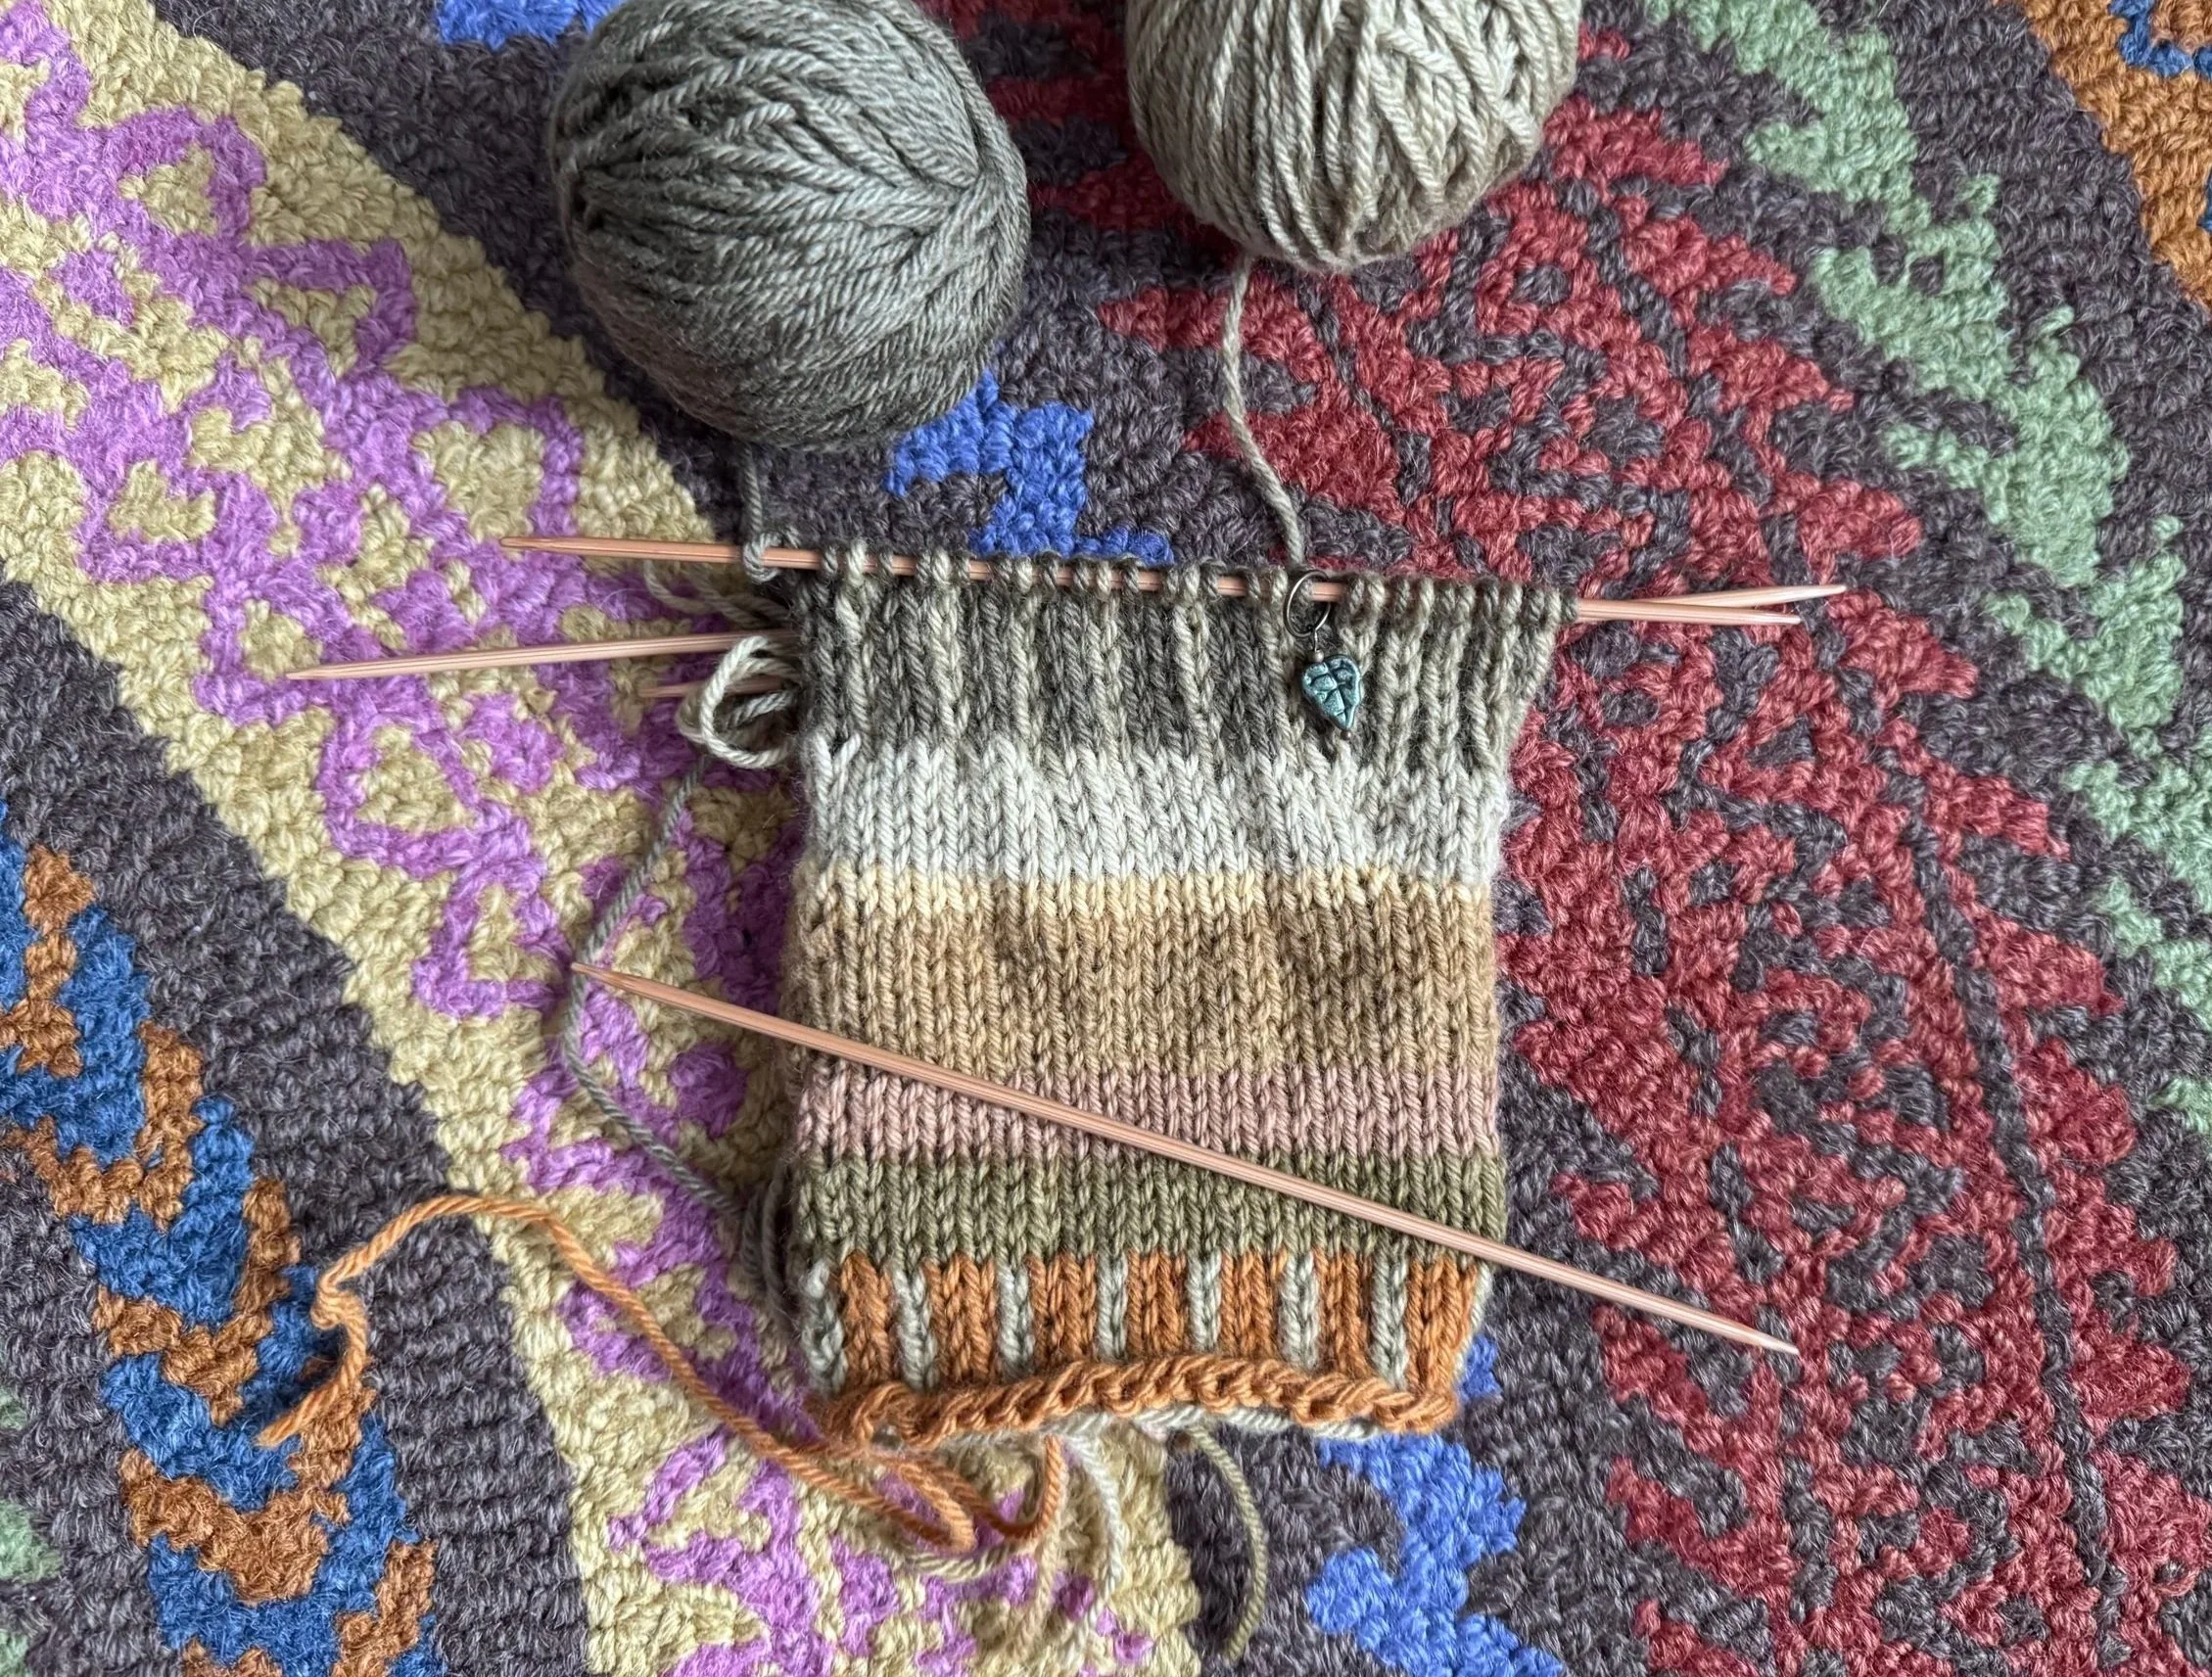
some mirror imaging
Here are some things I kept in mind before I started the right hand gusset:
I need the right-hand thumb to be on the other side of the mitten from the beginning of the round but also on the “opposite” side from the left-hand thumb. So, I worked across 23 stitches (over two needles) and then started the gusset increases at the beginning of the next needle. I put the marker just after my first set of increases, when there were (and still are) 19 stitches left on the needle.
Because this mitten is a reverse of the left-hand mitten, I started working the 2 dk green + 1 lt green pattern from the last stitch on the pattern instead of beginning at the beginning.
My, but this yarn is nice and squishy.
-
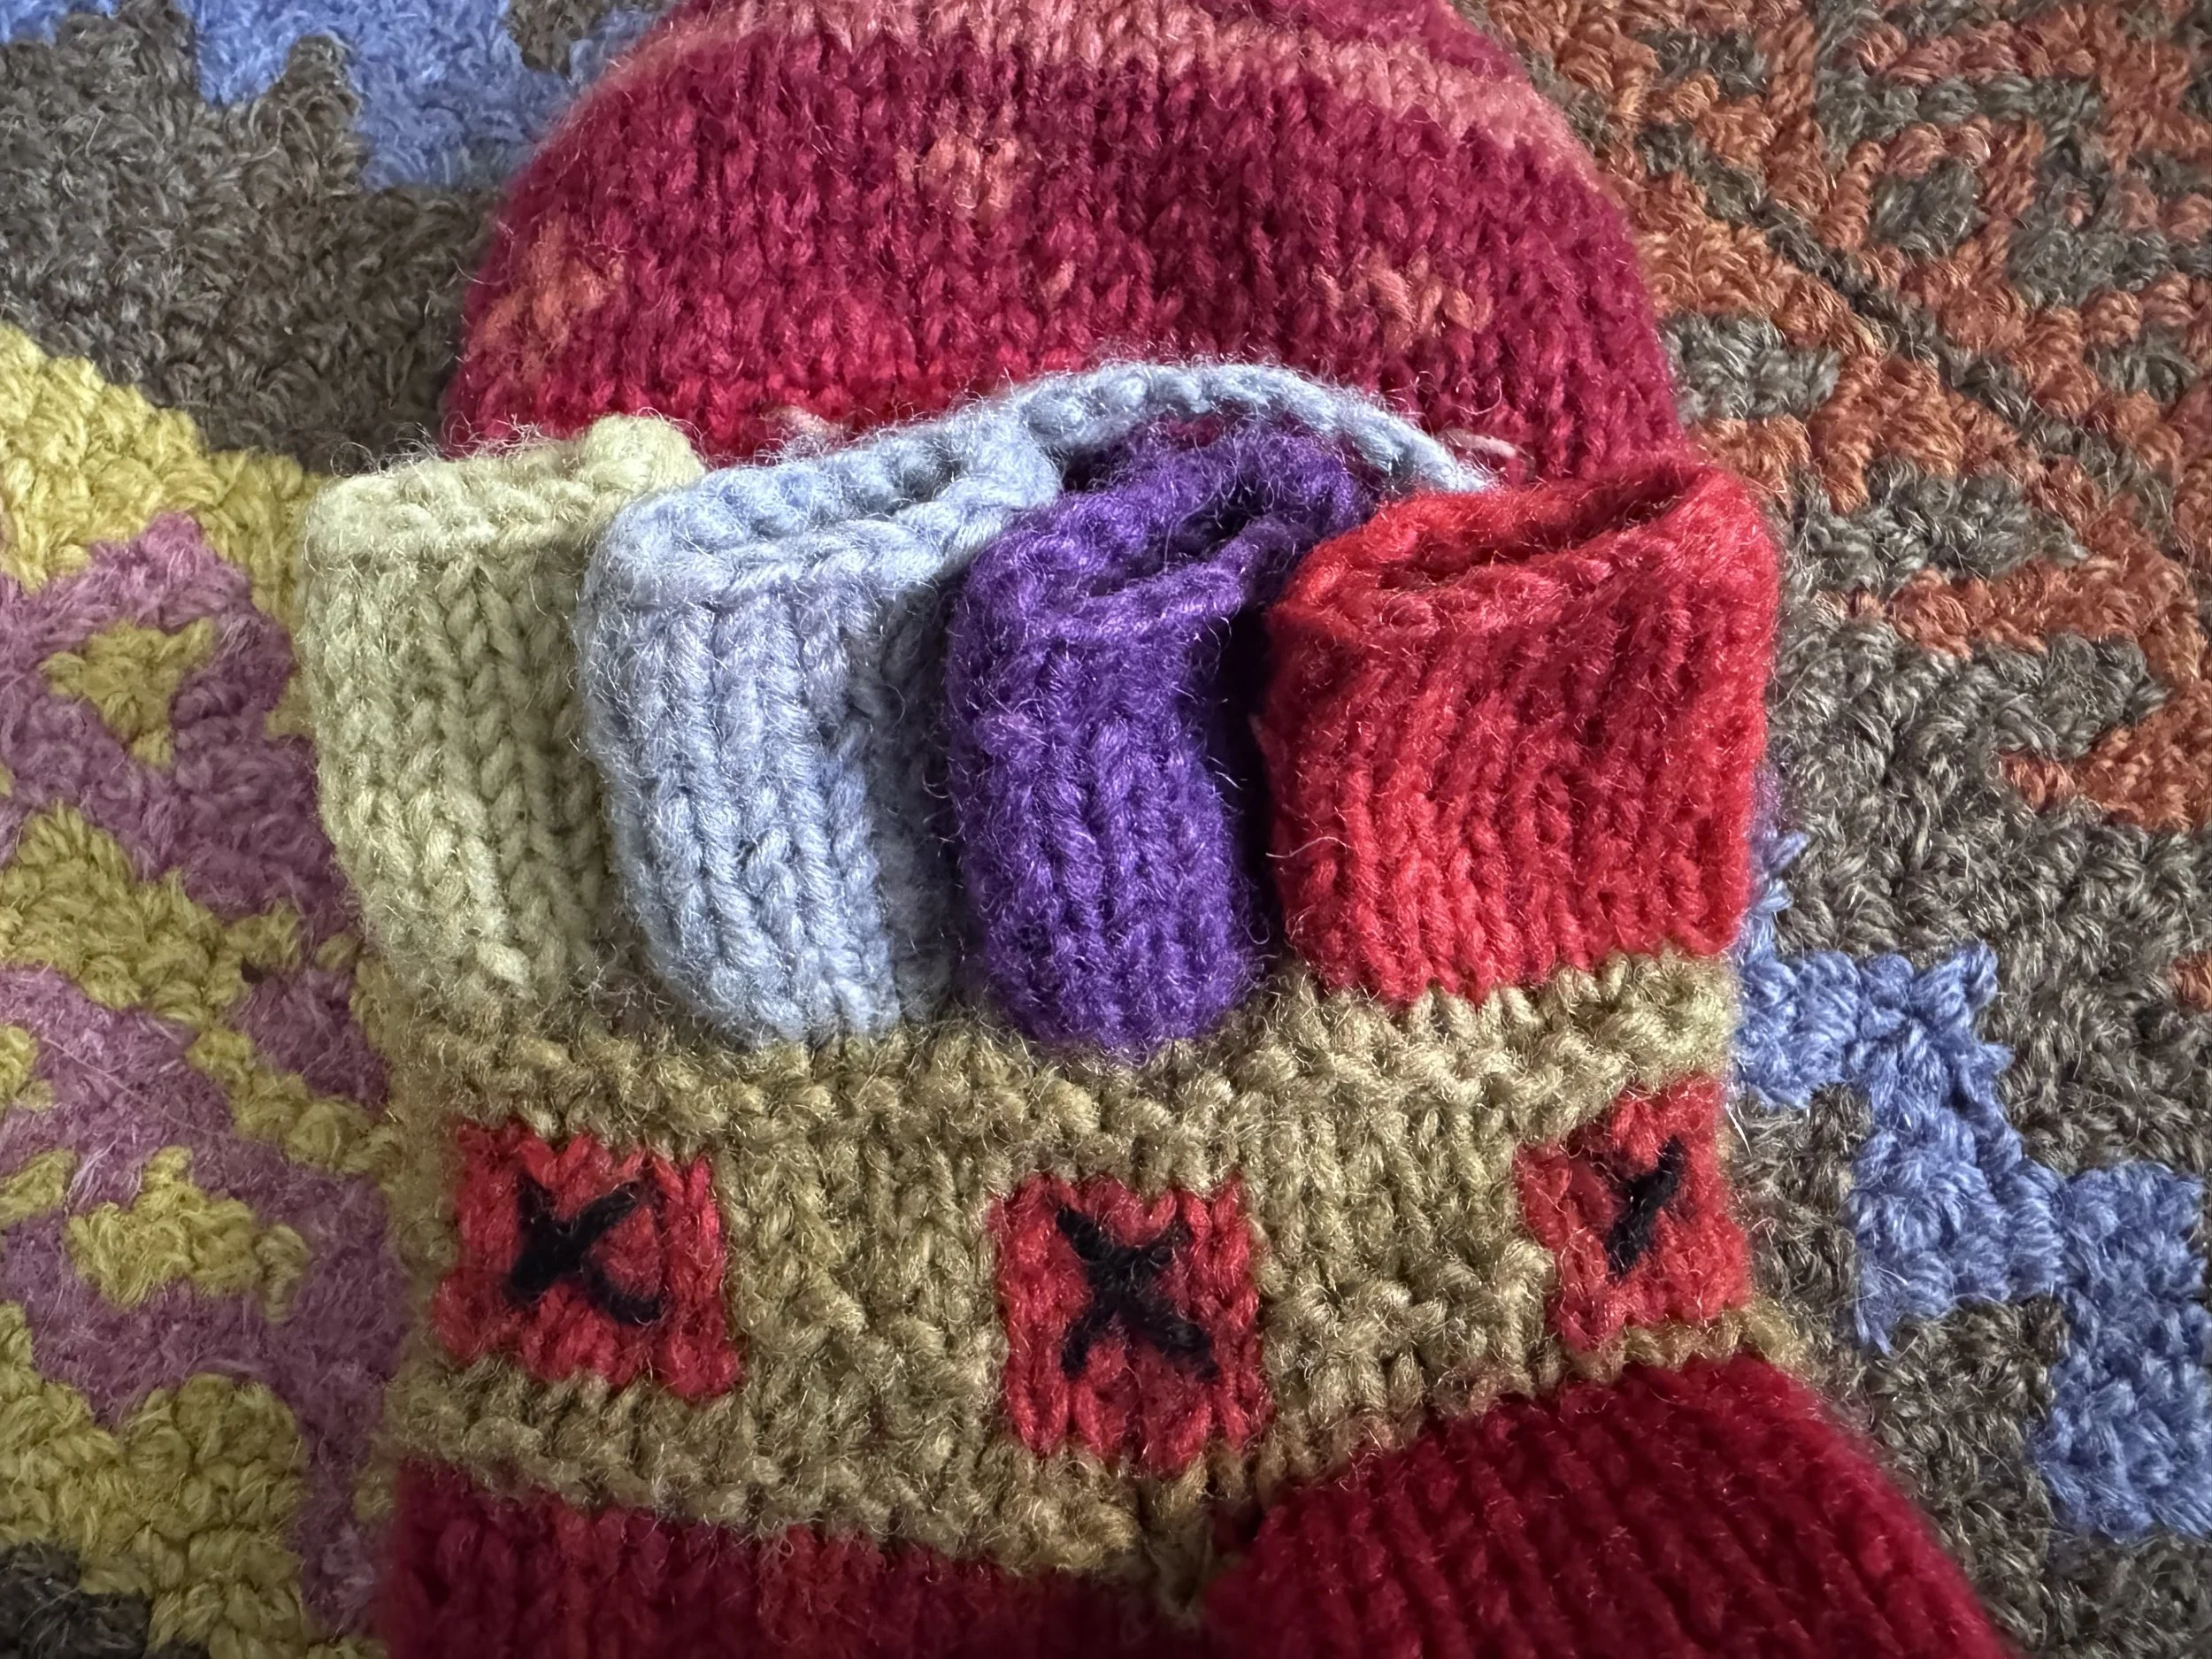
on to the fingers
The right-hand gusset is done now (trust me) and I am thinking about fingers. It looks like every single finger here has 14 stitches, which means that the little finger is wallowing and the middle finger is not getting enough blood flow.
I will edit the fingers thus: little: 12 stitches; ring: 14 stitches: middle: 16 stitches; index: 15 stitches.
That adds up to a lot more than 45 stitches (56, to be precise), so I will create stitches between the fingers thus:
little: pick up 10, make 2 = 12
ring: pick up 10, use 2 little, make 2 = 14
middle: pick up 12, use 2 ring, make 2 = 16
index: pick up 13, use 2 middle = 15
-
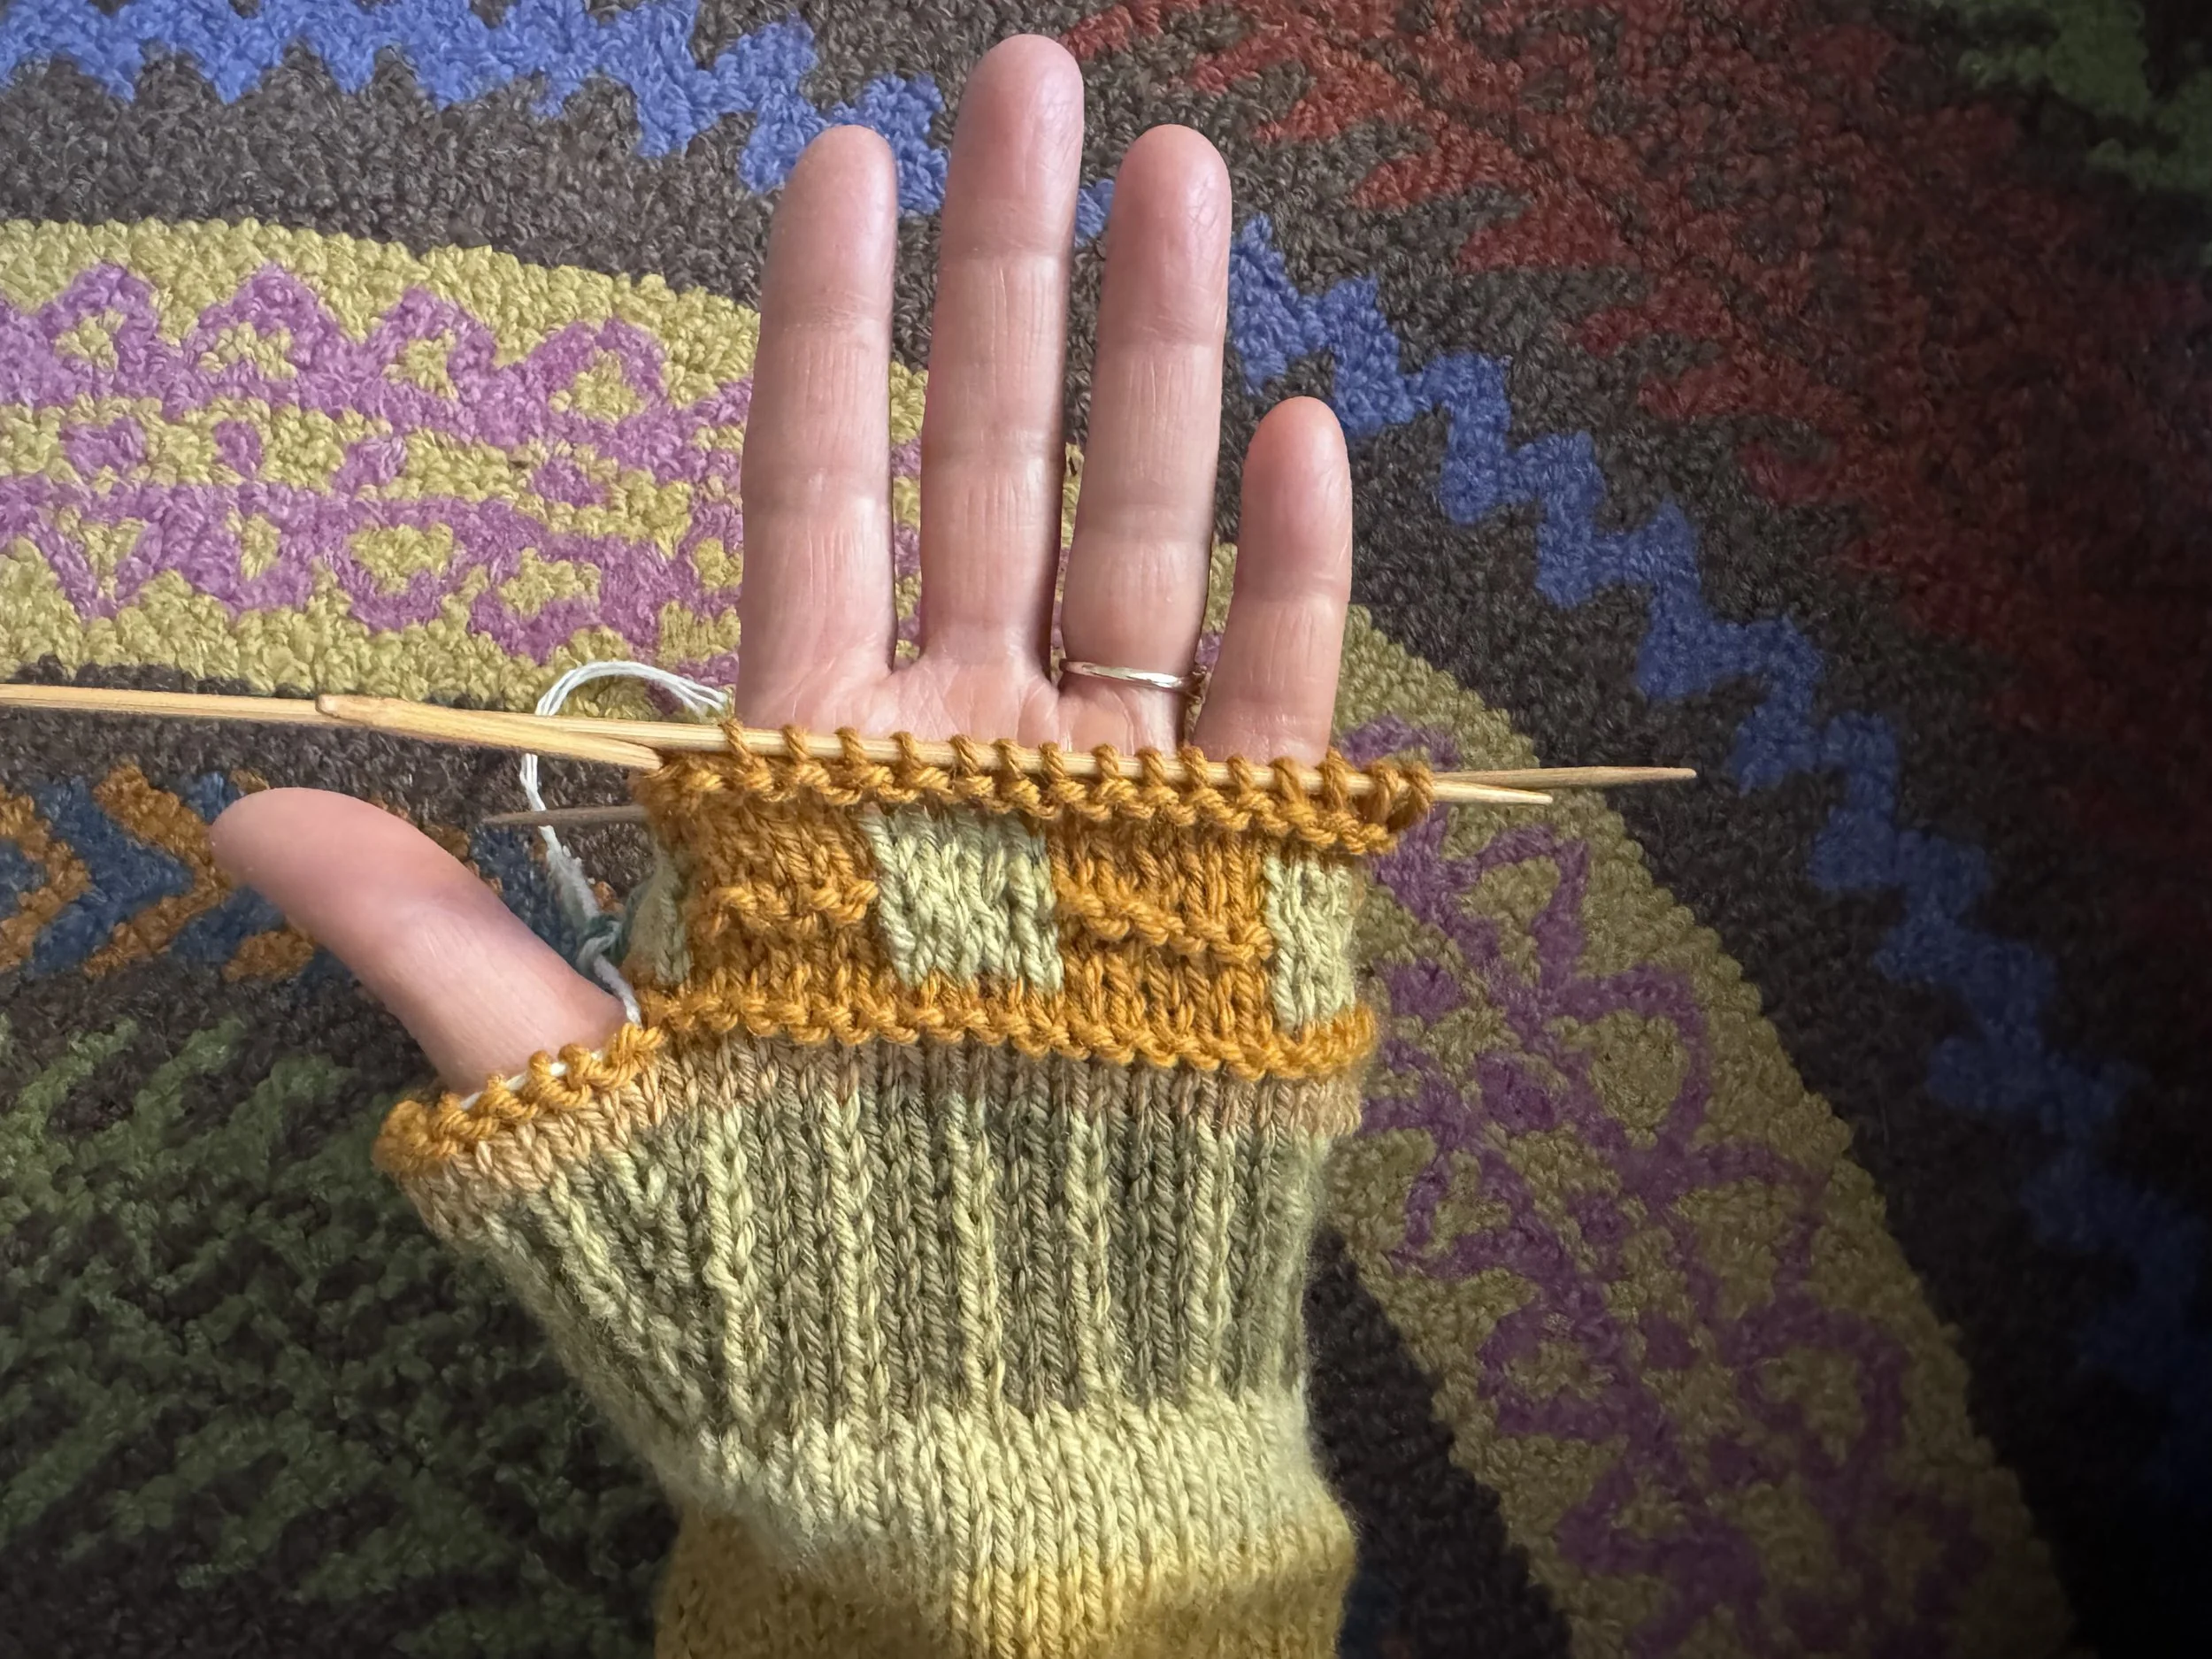
starting with the little finger
The reason I start with the little finger is that on my hand, at least, the little finger emerges from my palm about 1/2” below where the other fingers sprout. So I will make that finger first, and then will work some more rounds before I make the other fingers. It is possible that this will complicate the “mitten” part of the mitten, but I am willing to take that chance.
-
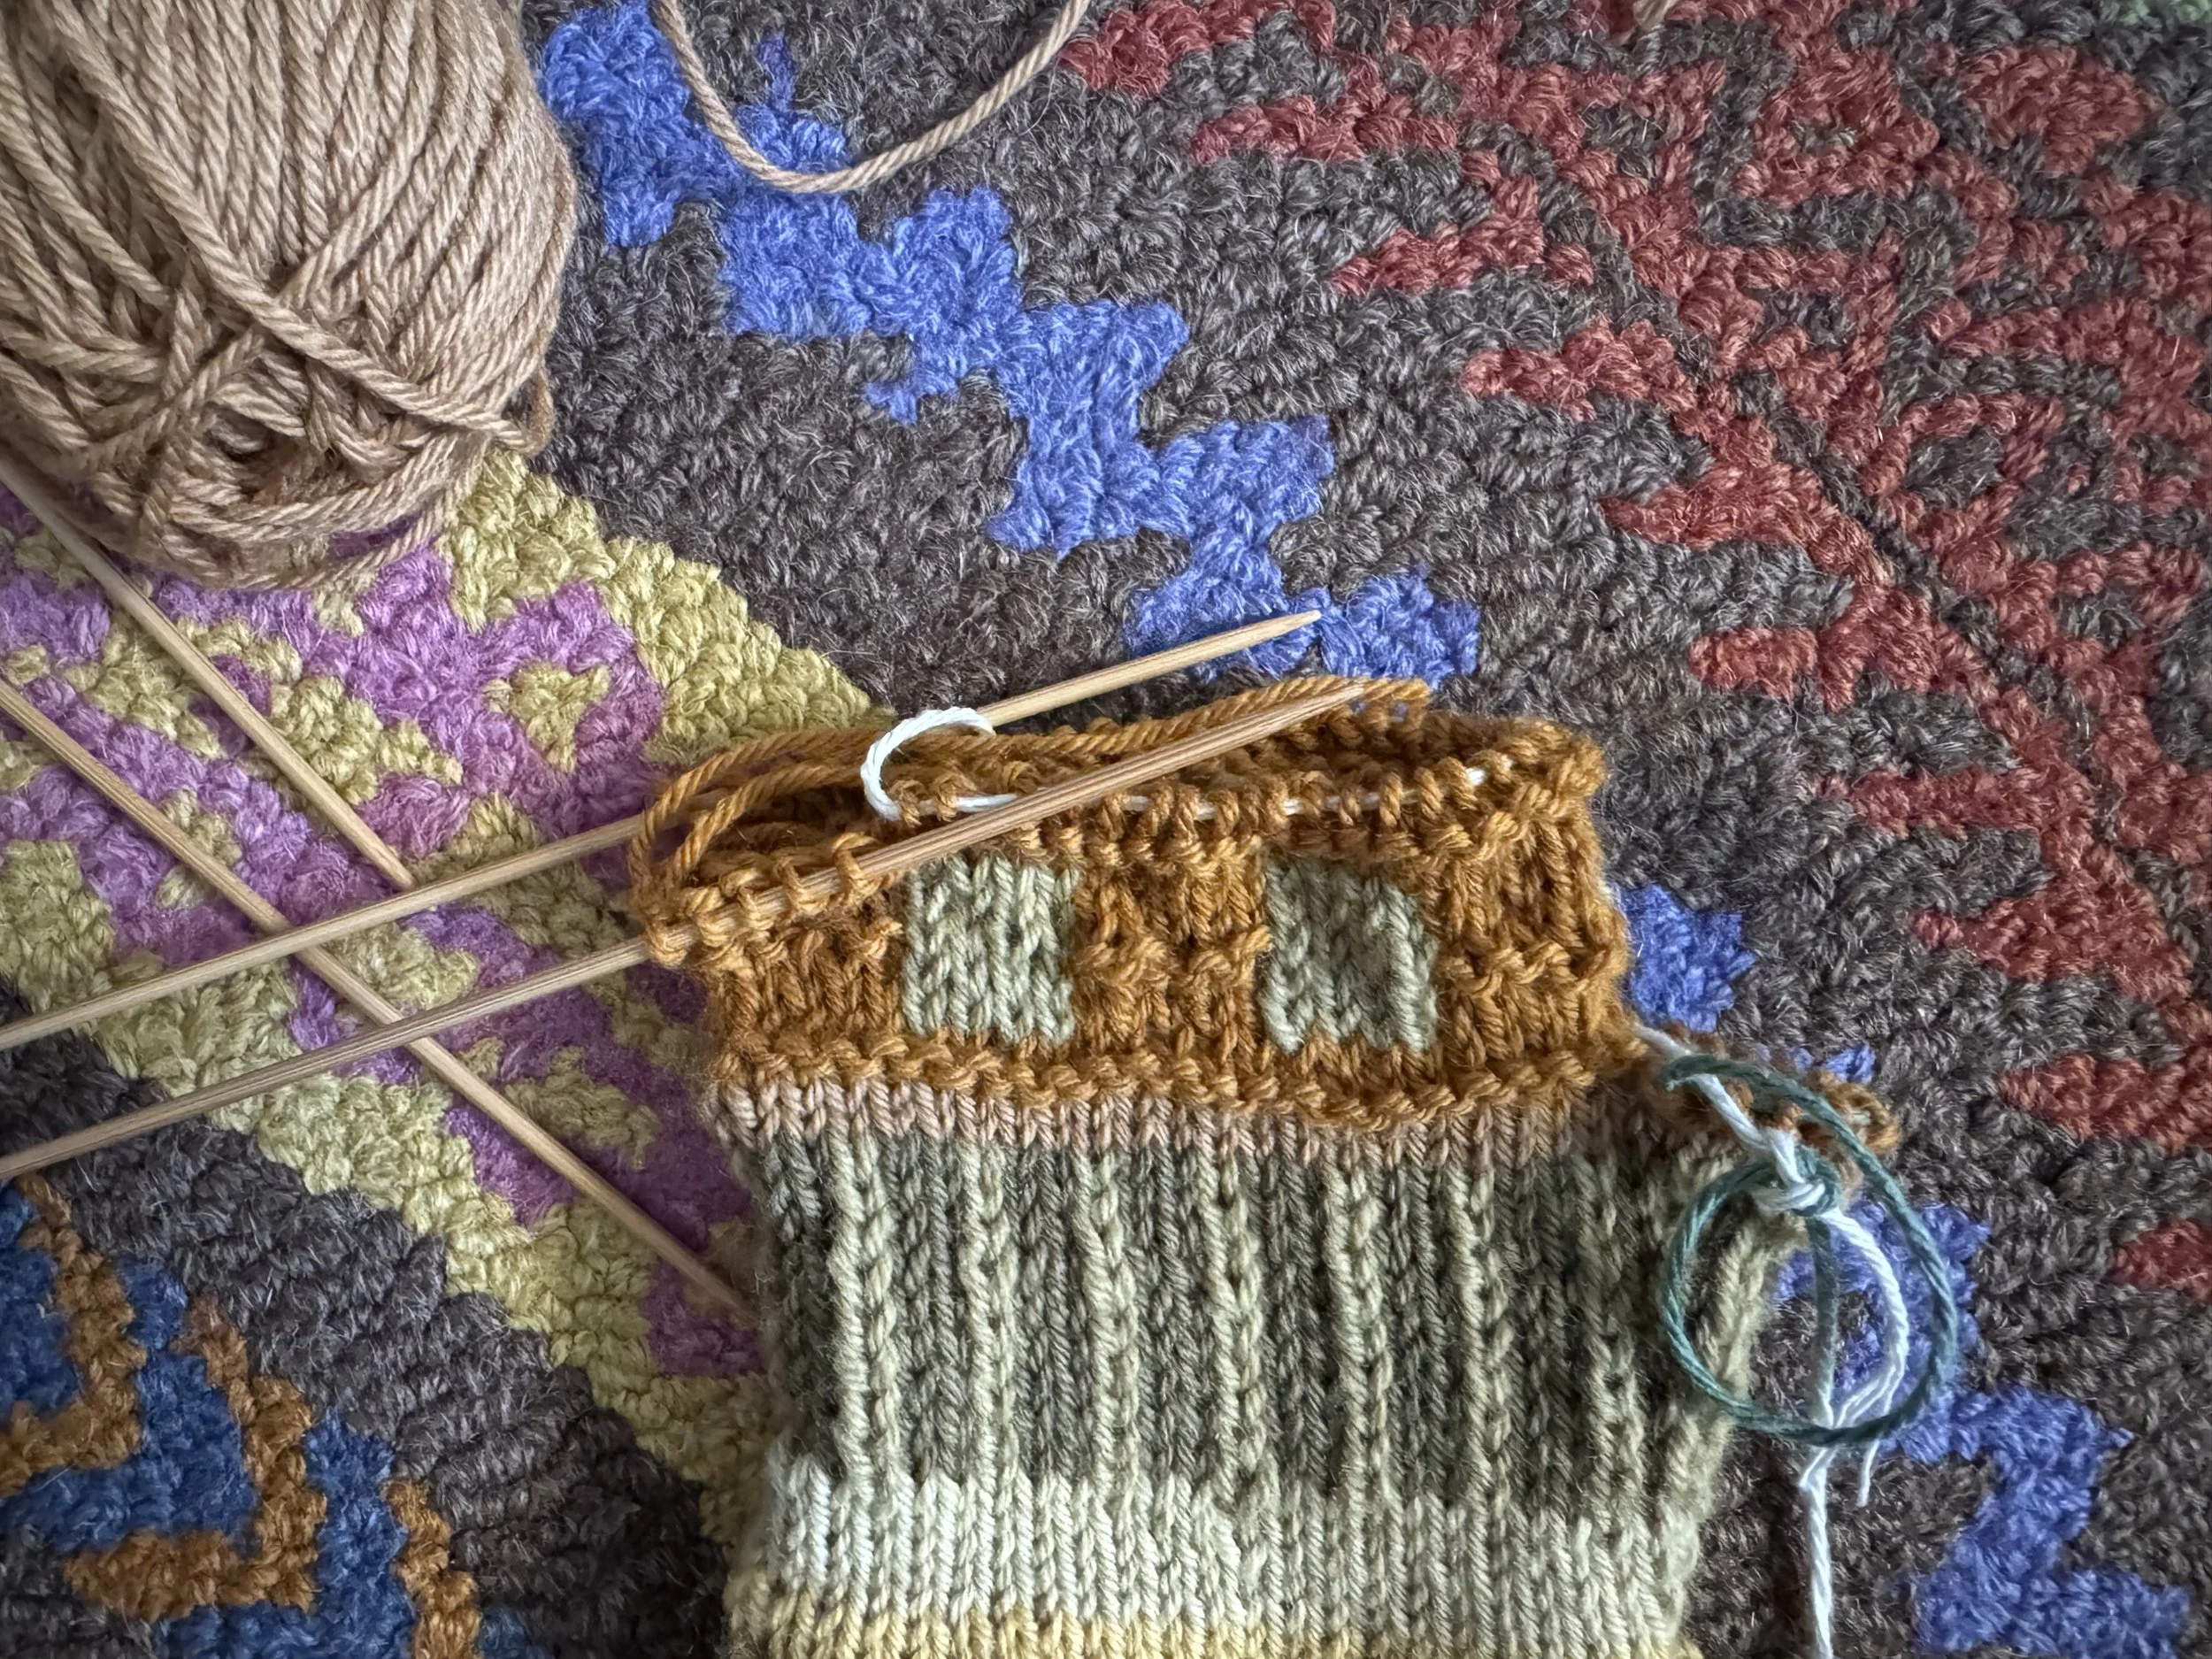
starting to knit little tubes
I put 35 stitches on waste yarn but kept on needles the 5 stitches on either side of the hand. I will start knitting the finger on the back of the hand (this is the left mitten) and after I knit those 10 stitches, I will cast on 2 (backward loop) and start knitting around.
-
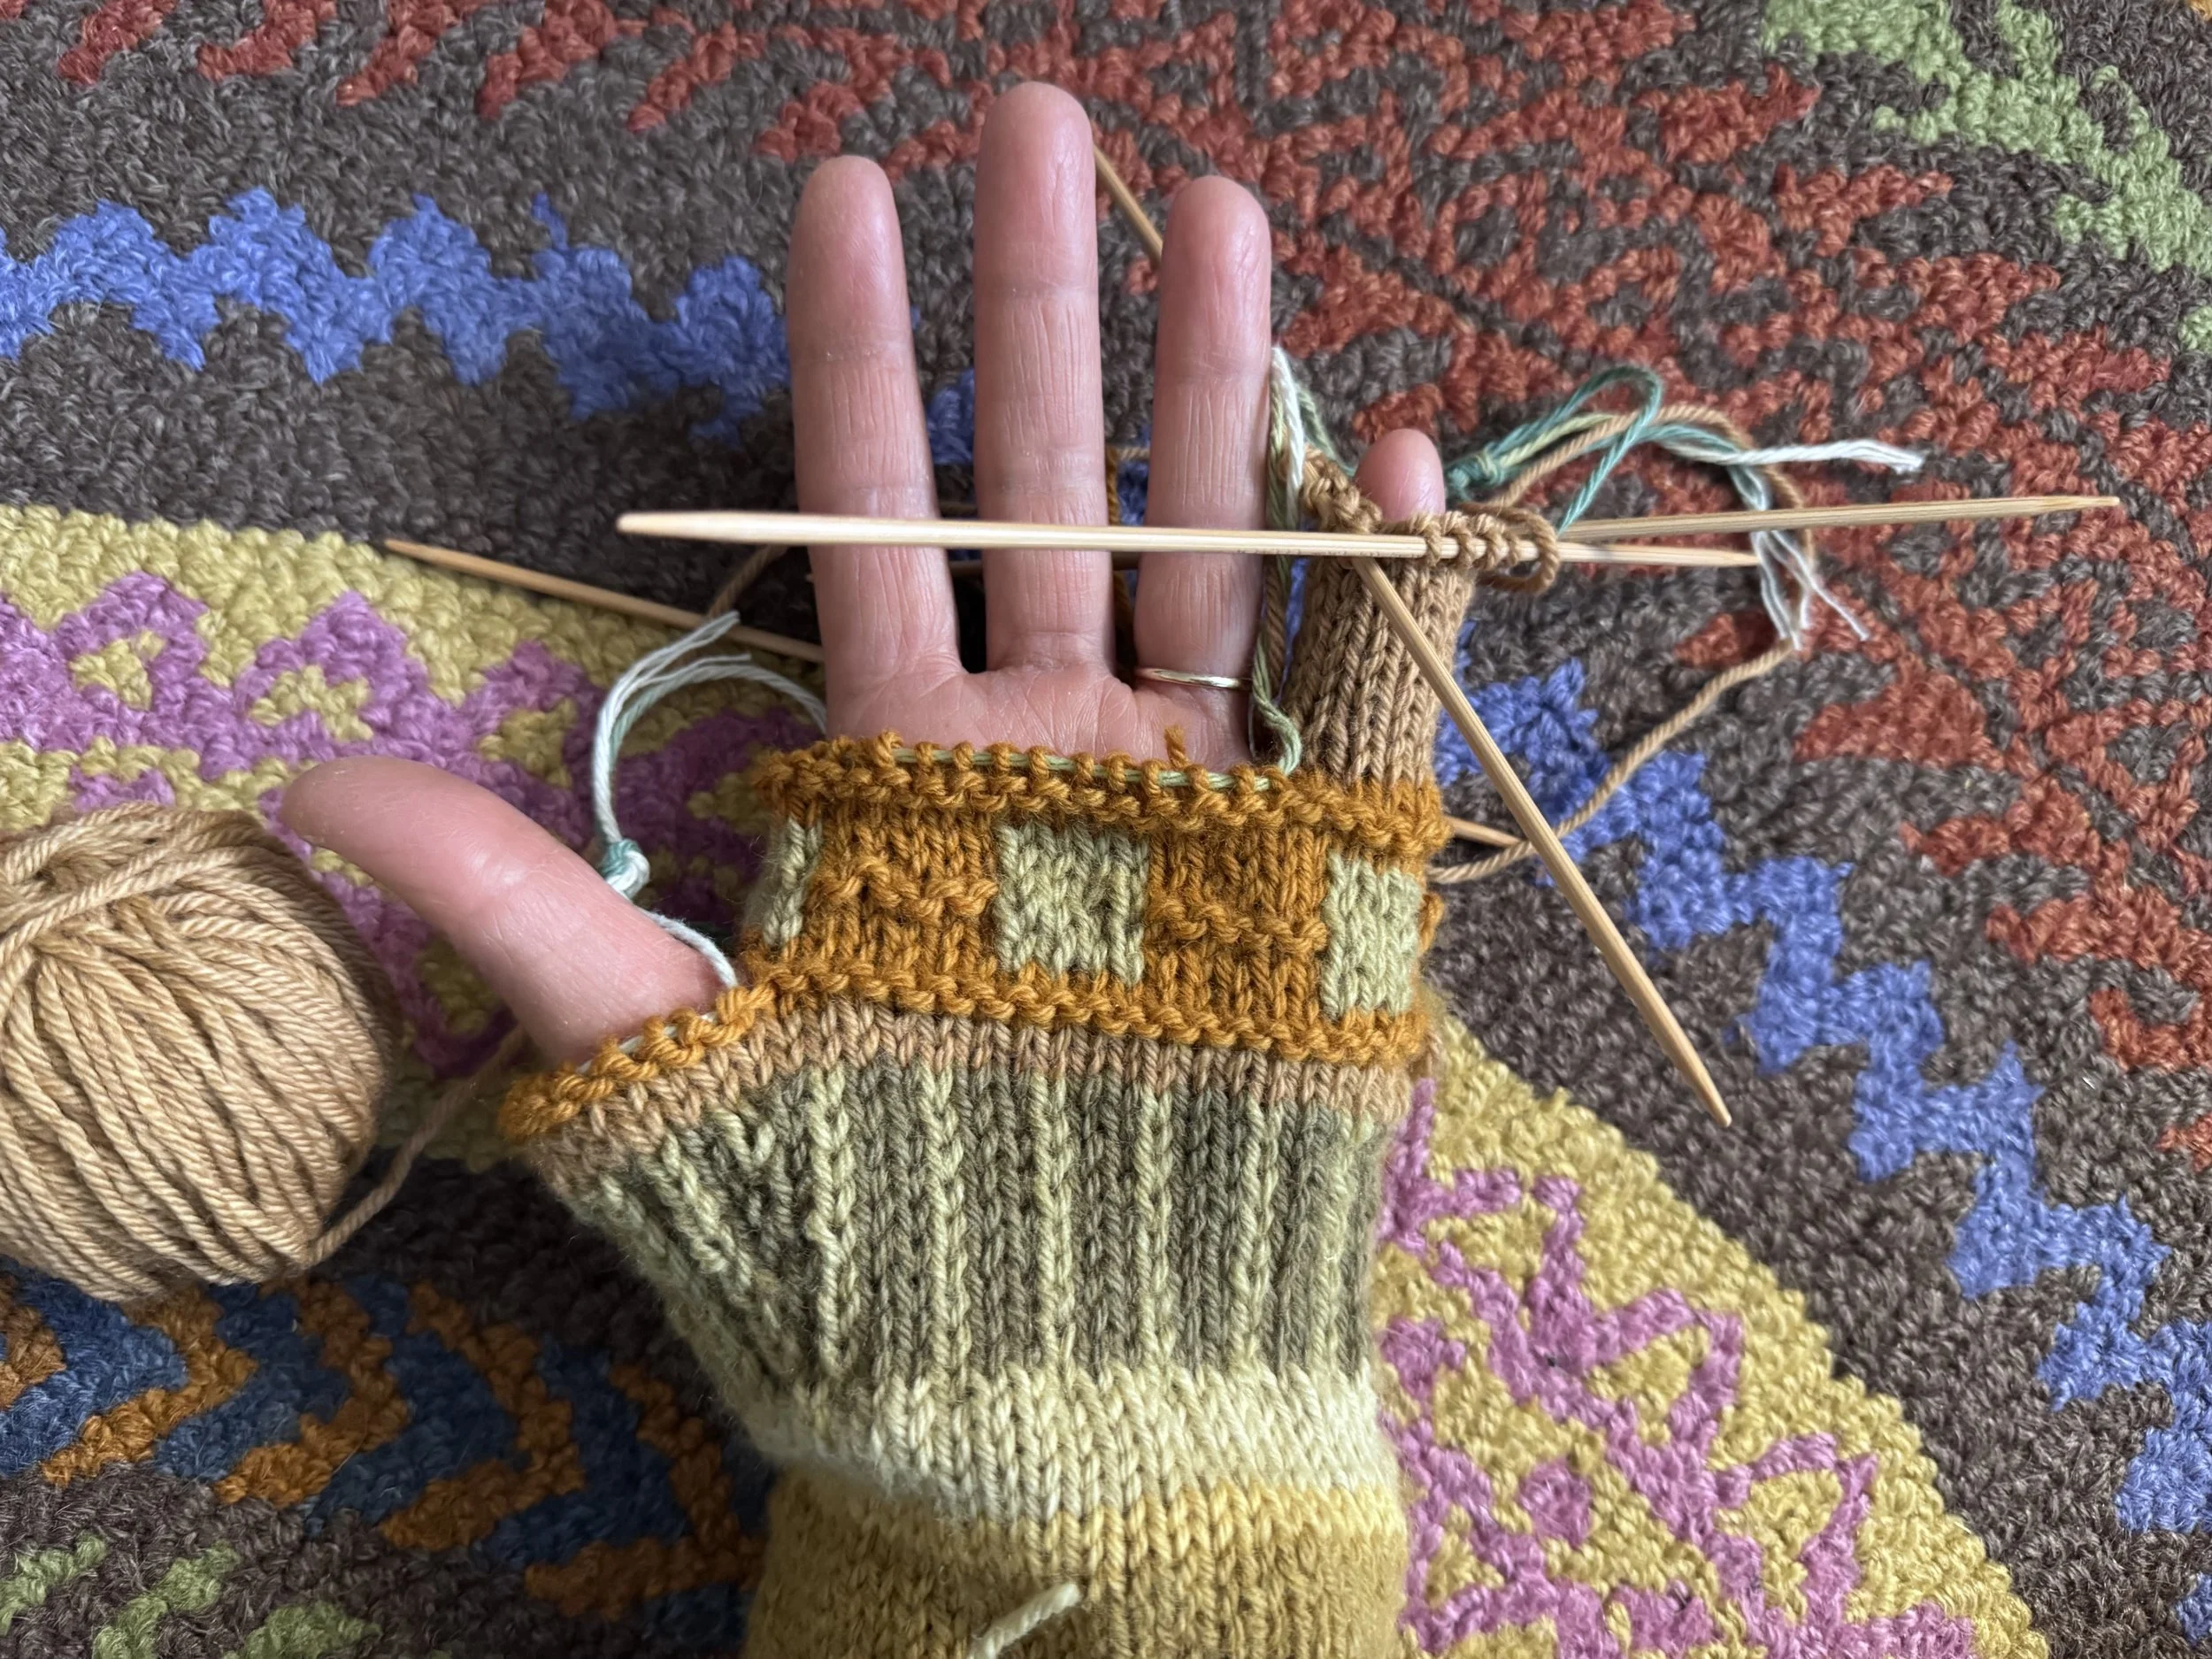
one down, three to go
My old mittens have, it looks like, 12 rows on the fingers and that seems to work for the new mittens. Or rather, gloves. I will bind off this finger and then set up for the other three.
I will also finish off the top of the finger, though I will wait to weave in the end until I am weaving in the other ends. That will not be a minor task.
-
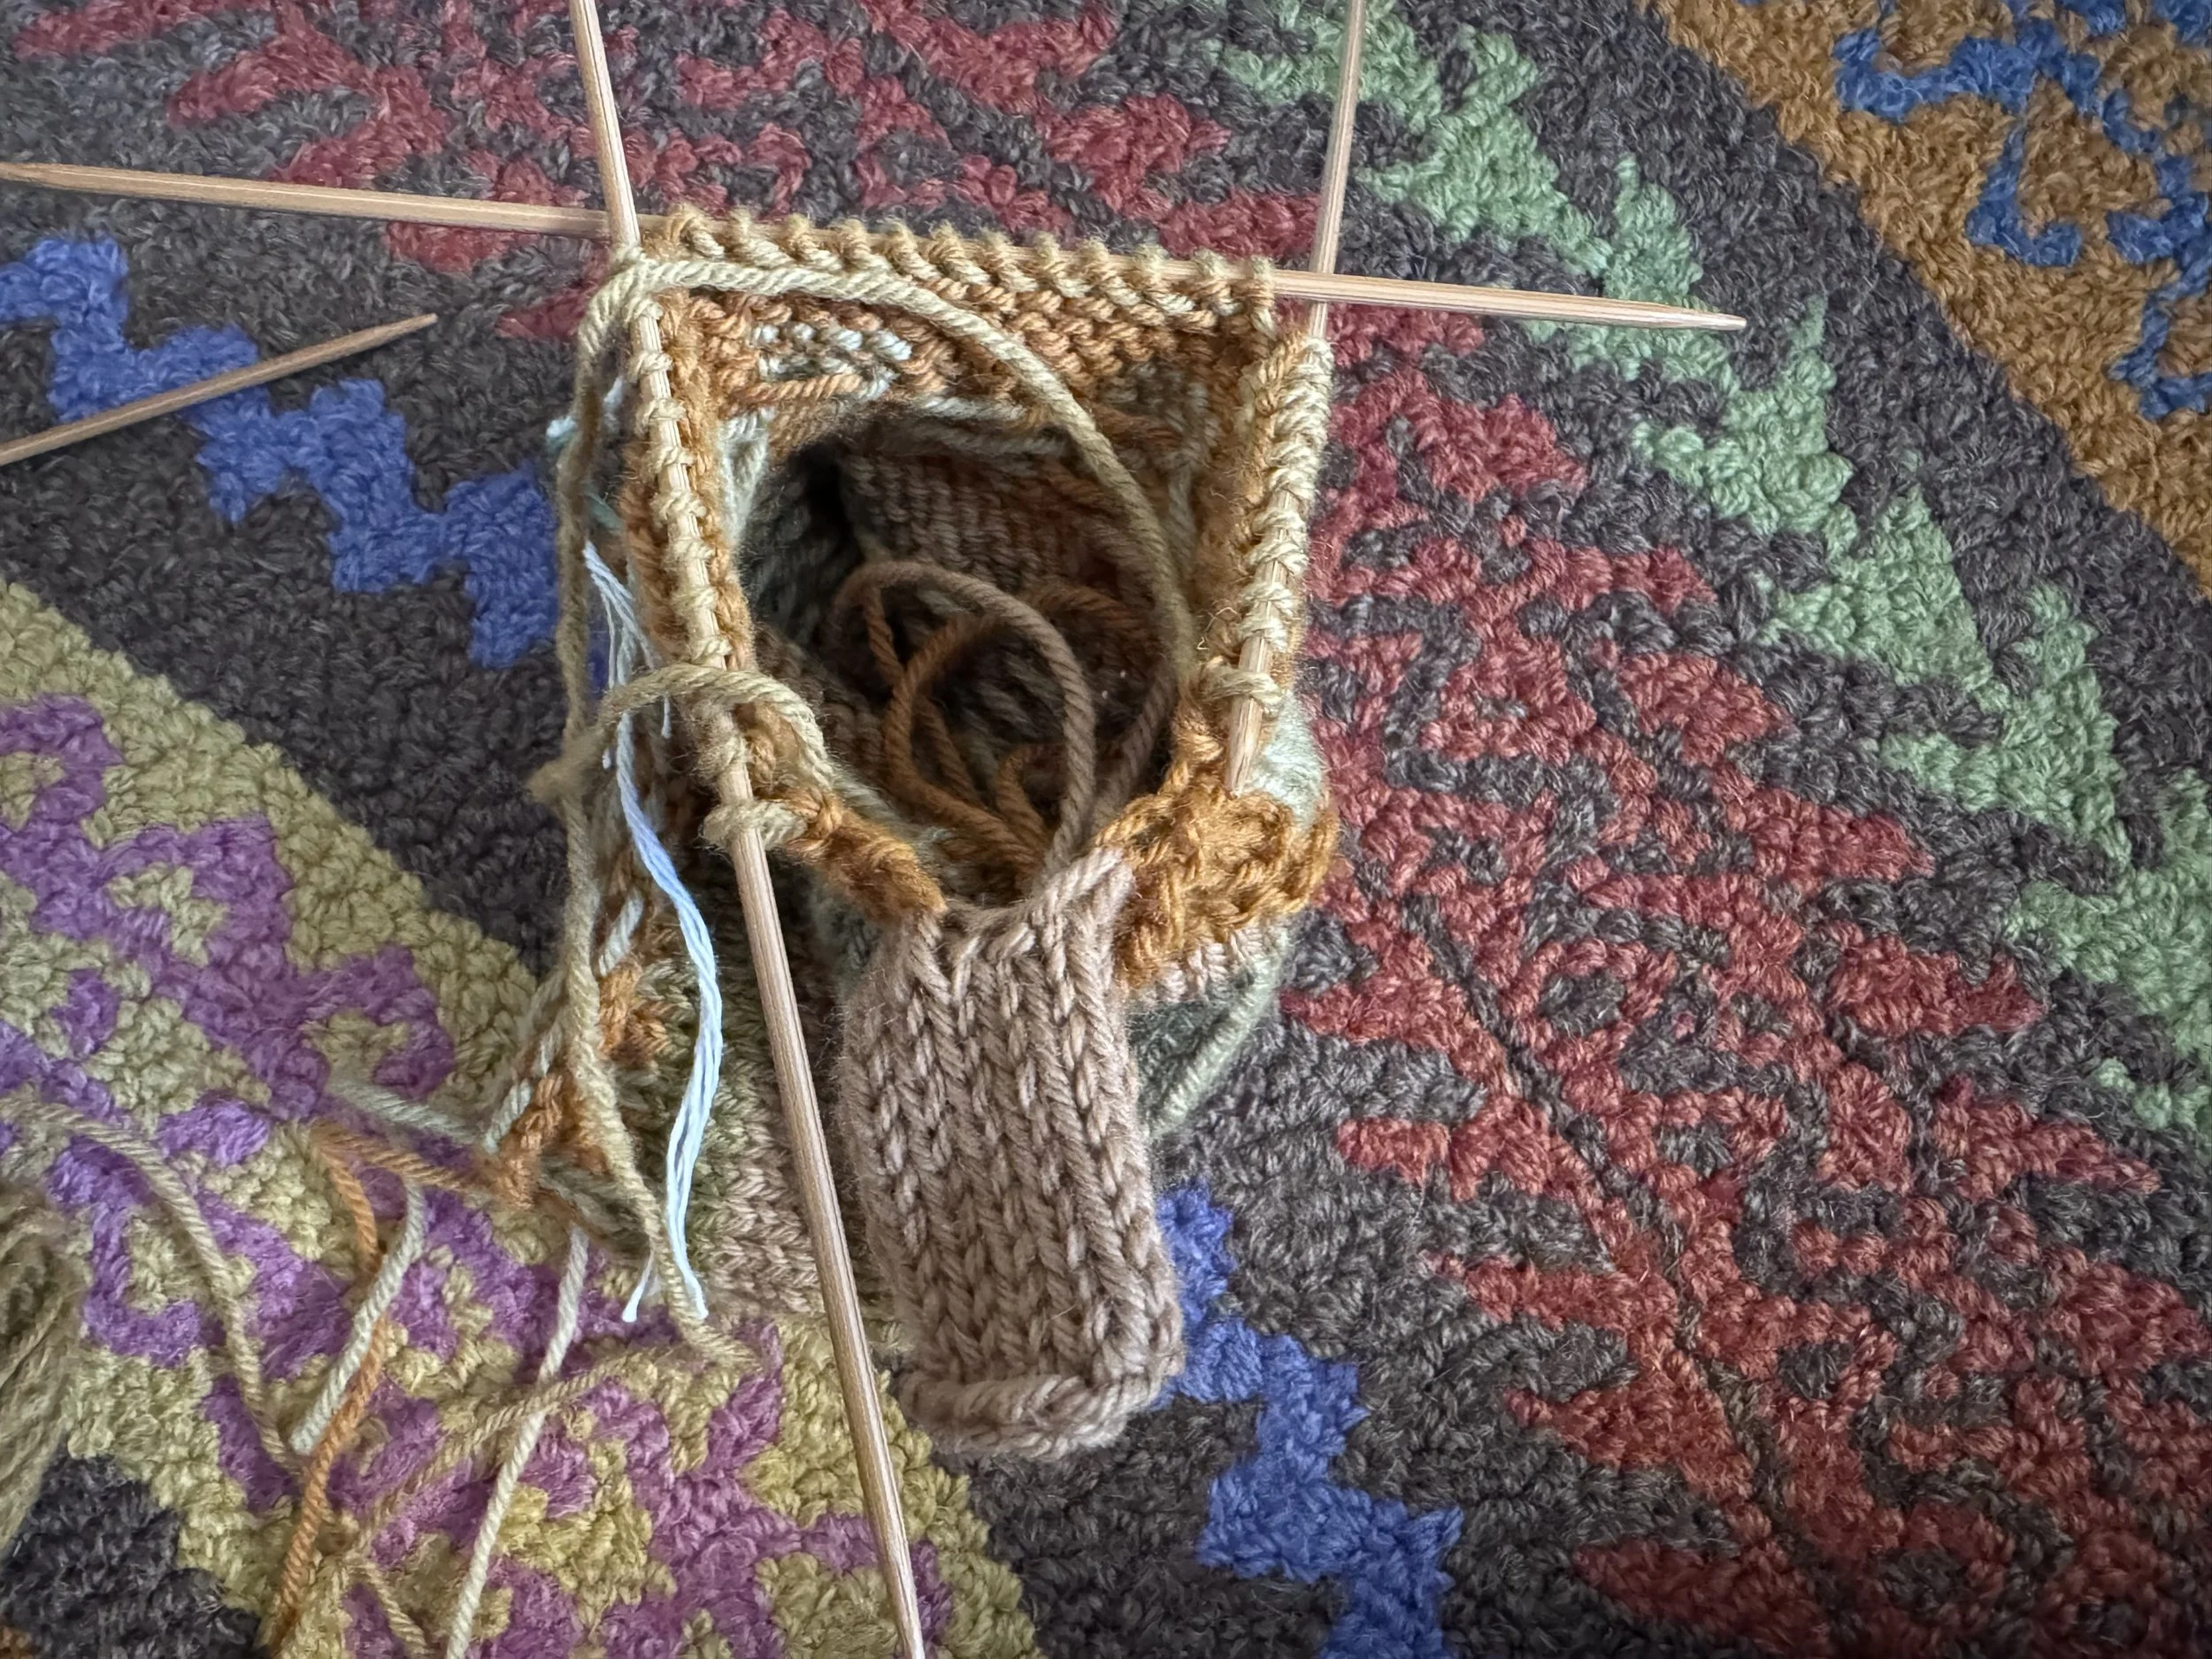
back to the hand
I picked up and knitted my 35 stitches, starting on the inside of the left hand. I need to pick up the 2 stitches that I cast onto the inside of the little finger but as you can see, there is a lot of real estate there.
So I am going to pick up 4 stitches instead of 2, twisting numbers 1 and 4. Then, on the next round, I will ssk and then k2tog on the last 4 stitches to get to the desired number of 37 stitches.
-
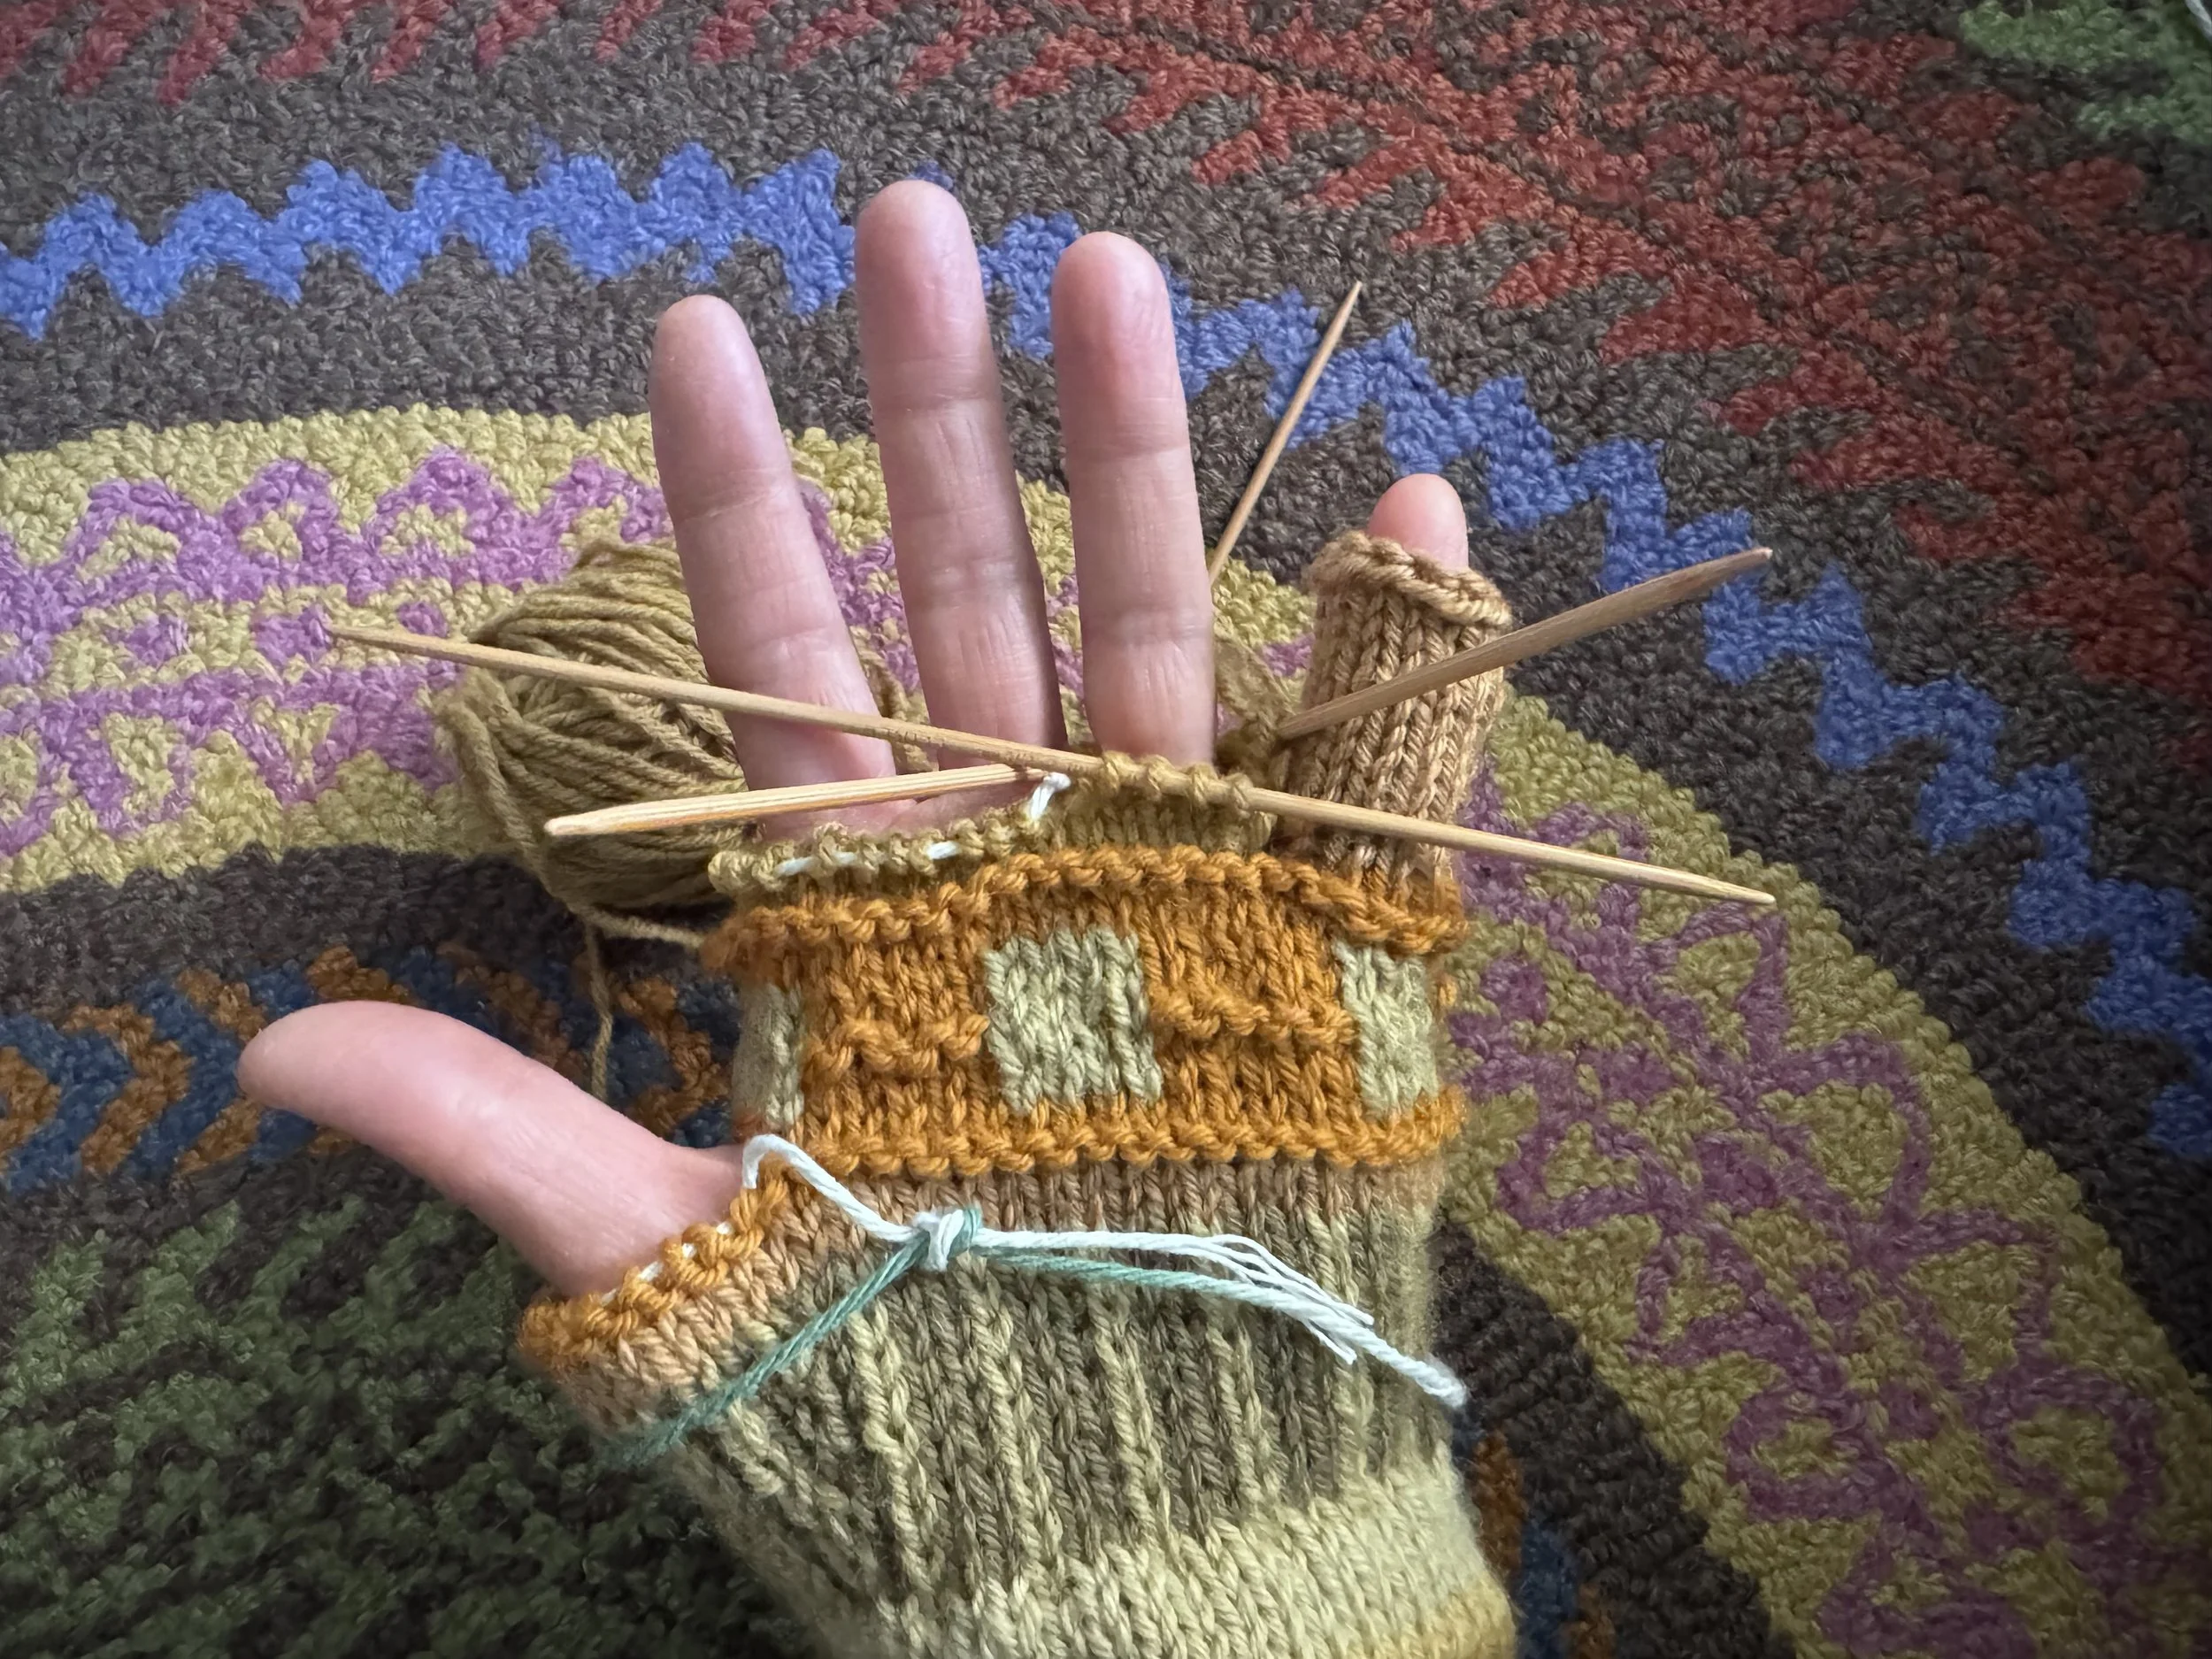
ring finger
Three rounds seemed to raise the hand enough. Conveniently, the color I used for the hand knitting (heh, heh) is the same as the color I will need for the ring finger. I knitted 5 stitches for the finger, put the next 25 stitches on waste yarn, cast on 2 interstitial stitches, and then knitted the remaining 7 stitches = 14. 12 rounds and then probably bind off, if it is long enough.
-
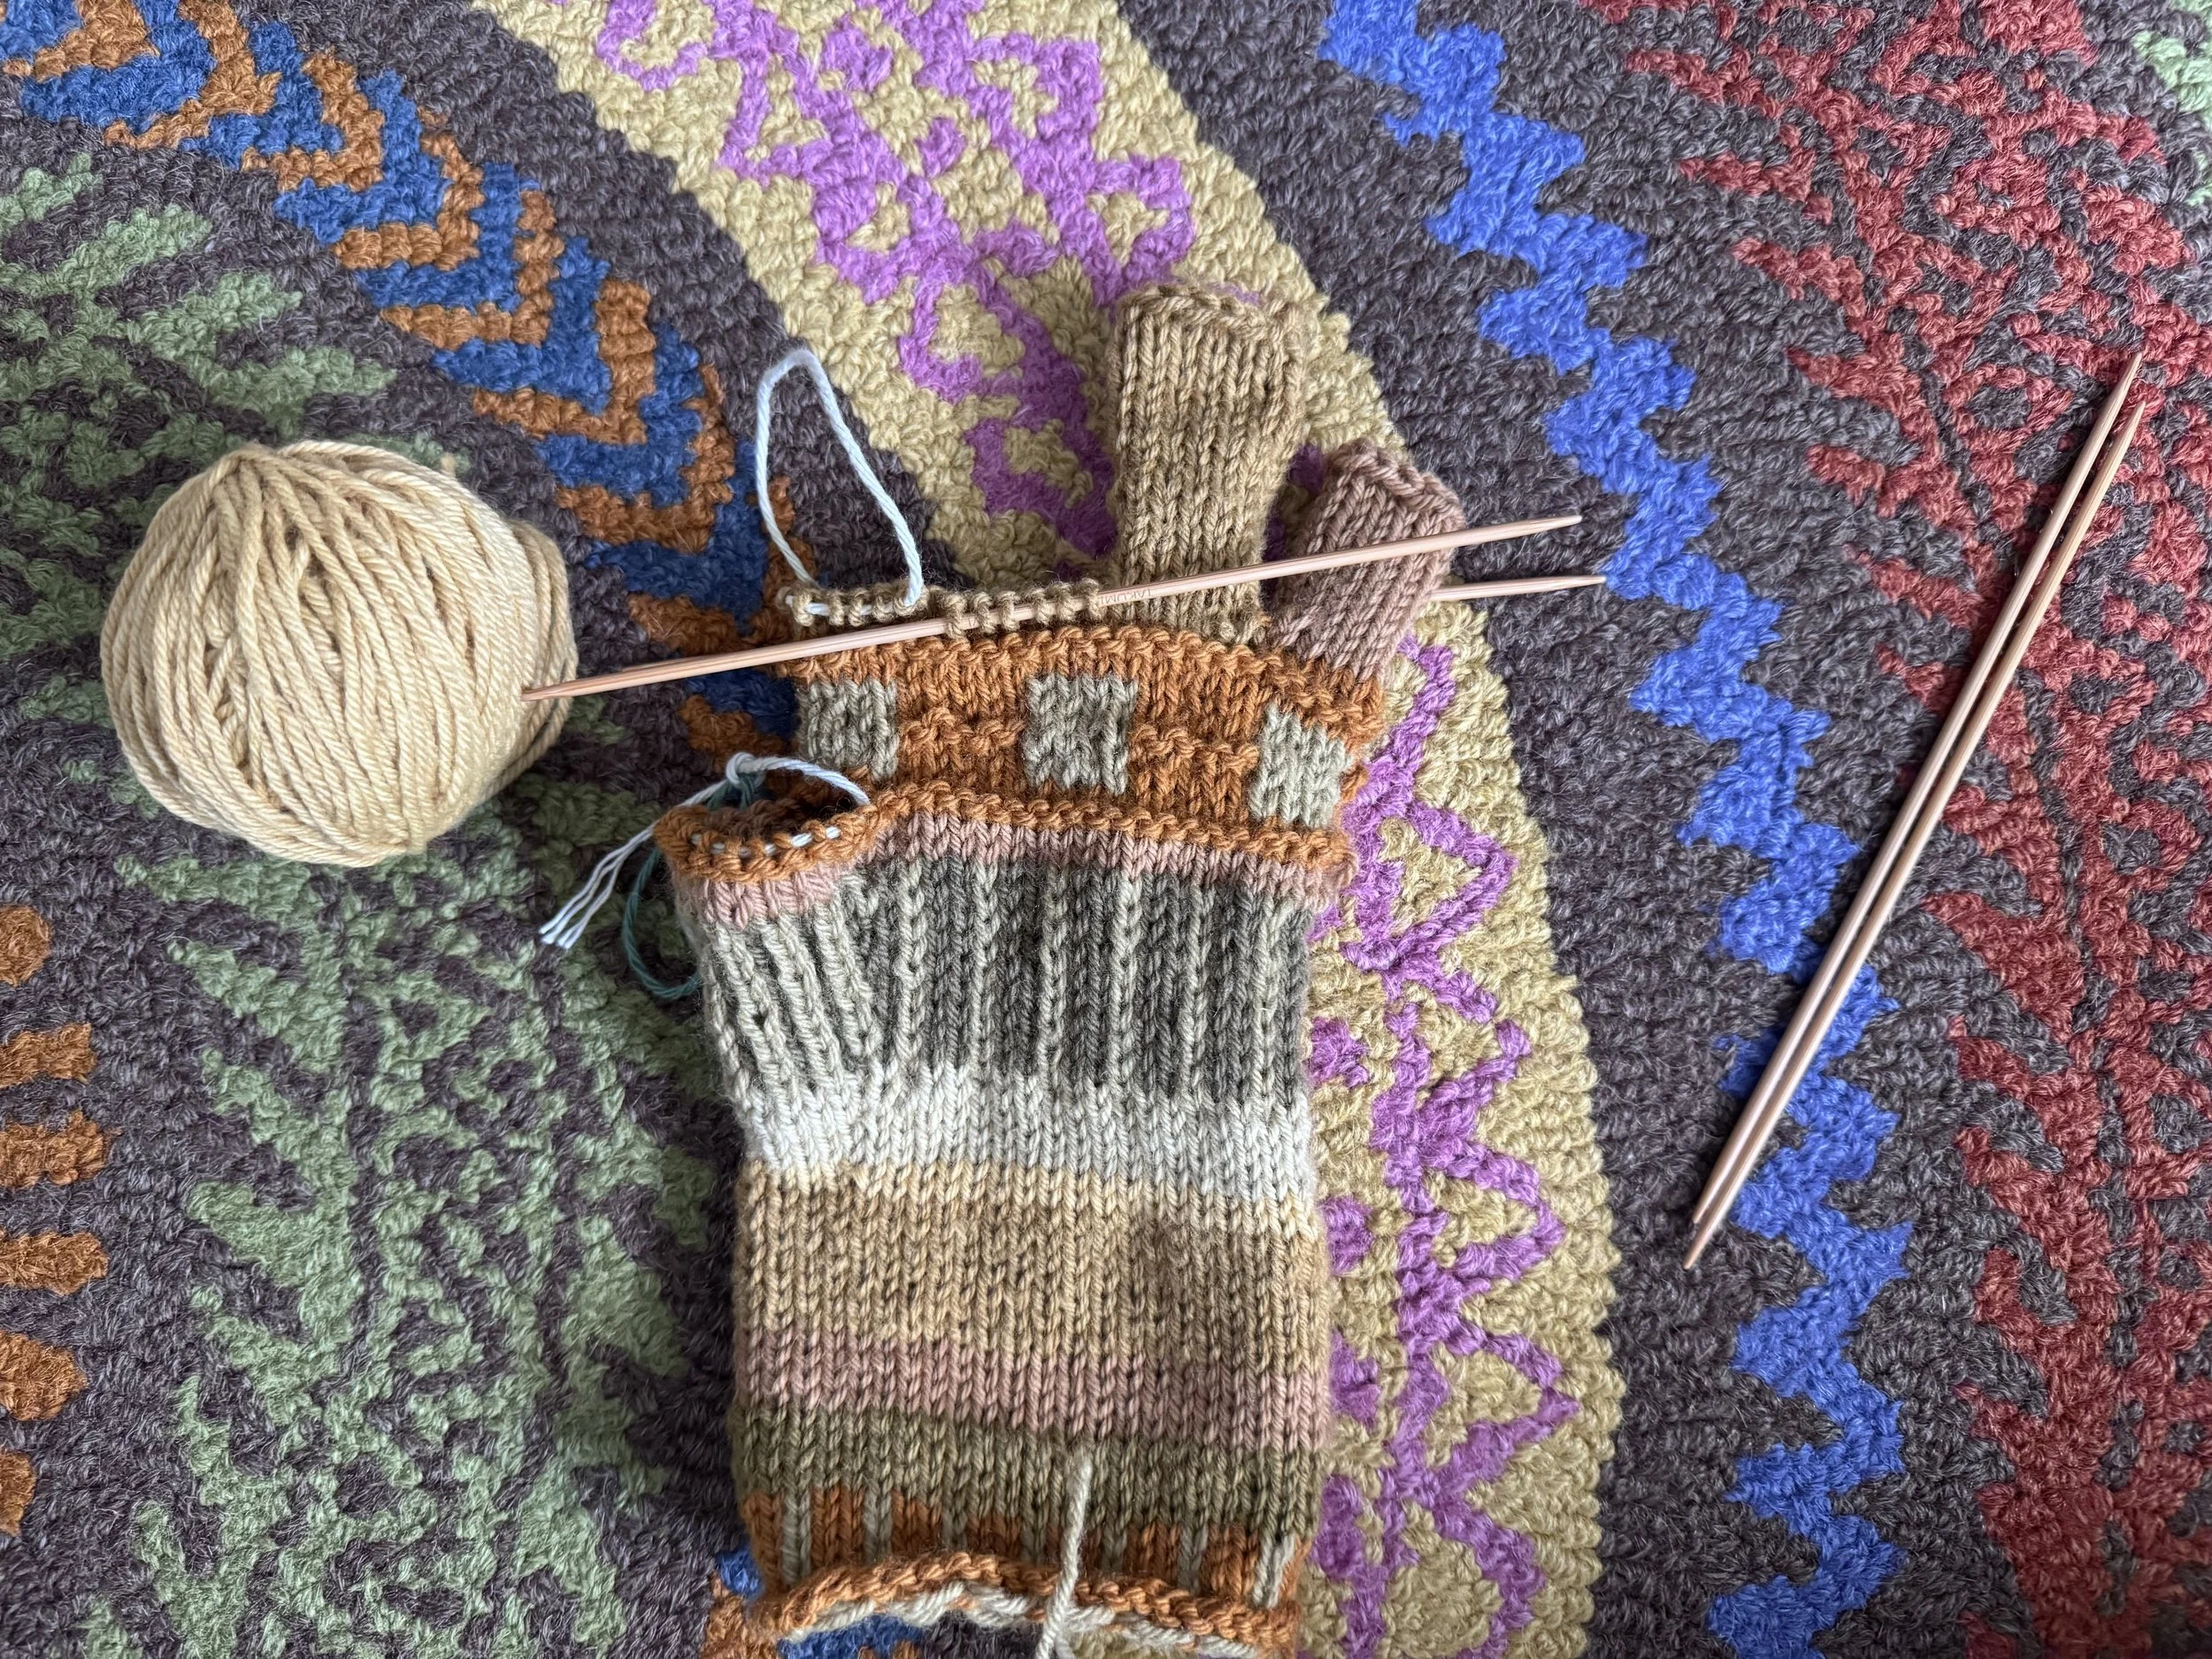
ready for middle finger
I ended up knitting 15 rounds past the first three hand rounds, so the ring finger looks like it has 18 rounds. That is long enough for me.
Now for the middle finger. I put 6 stitches from either side onto needles (there are 13 left for the index finger, yay), and will cast on 2 st as I work around. When I get to the place where the middle finger joins by the ring finger, I will repeat the “pick up 4 st and then decrease to 2 on the next round” trick to close up any gaps.
-
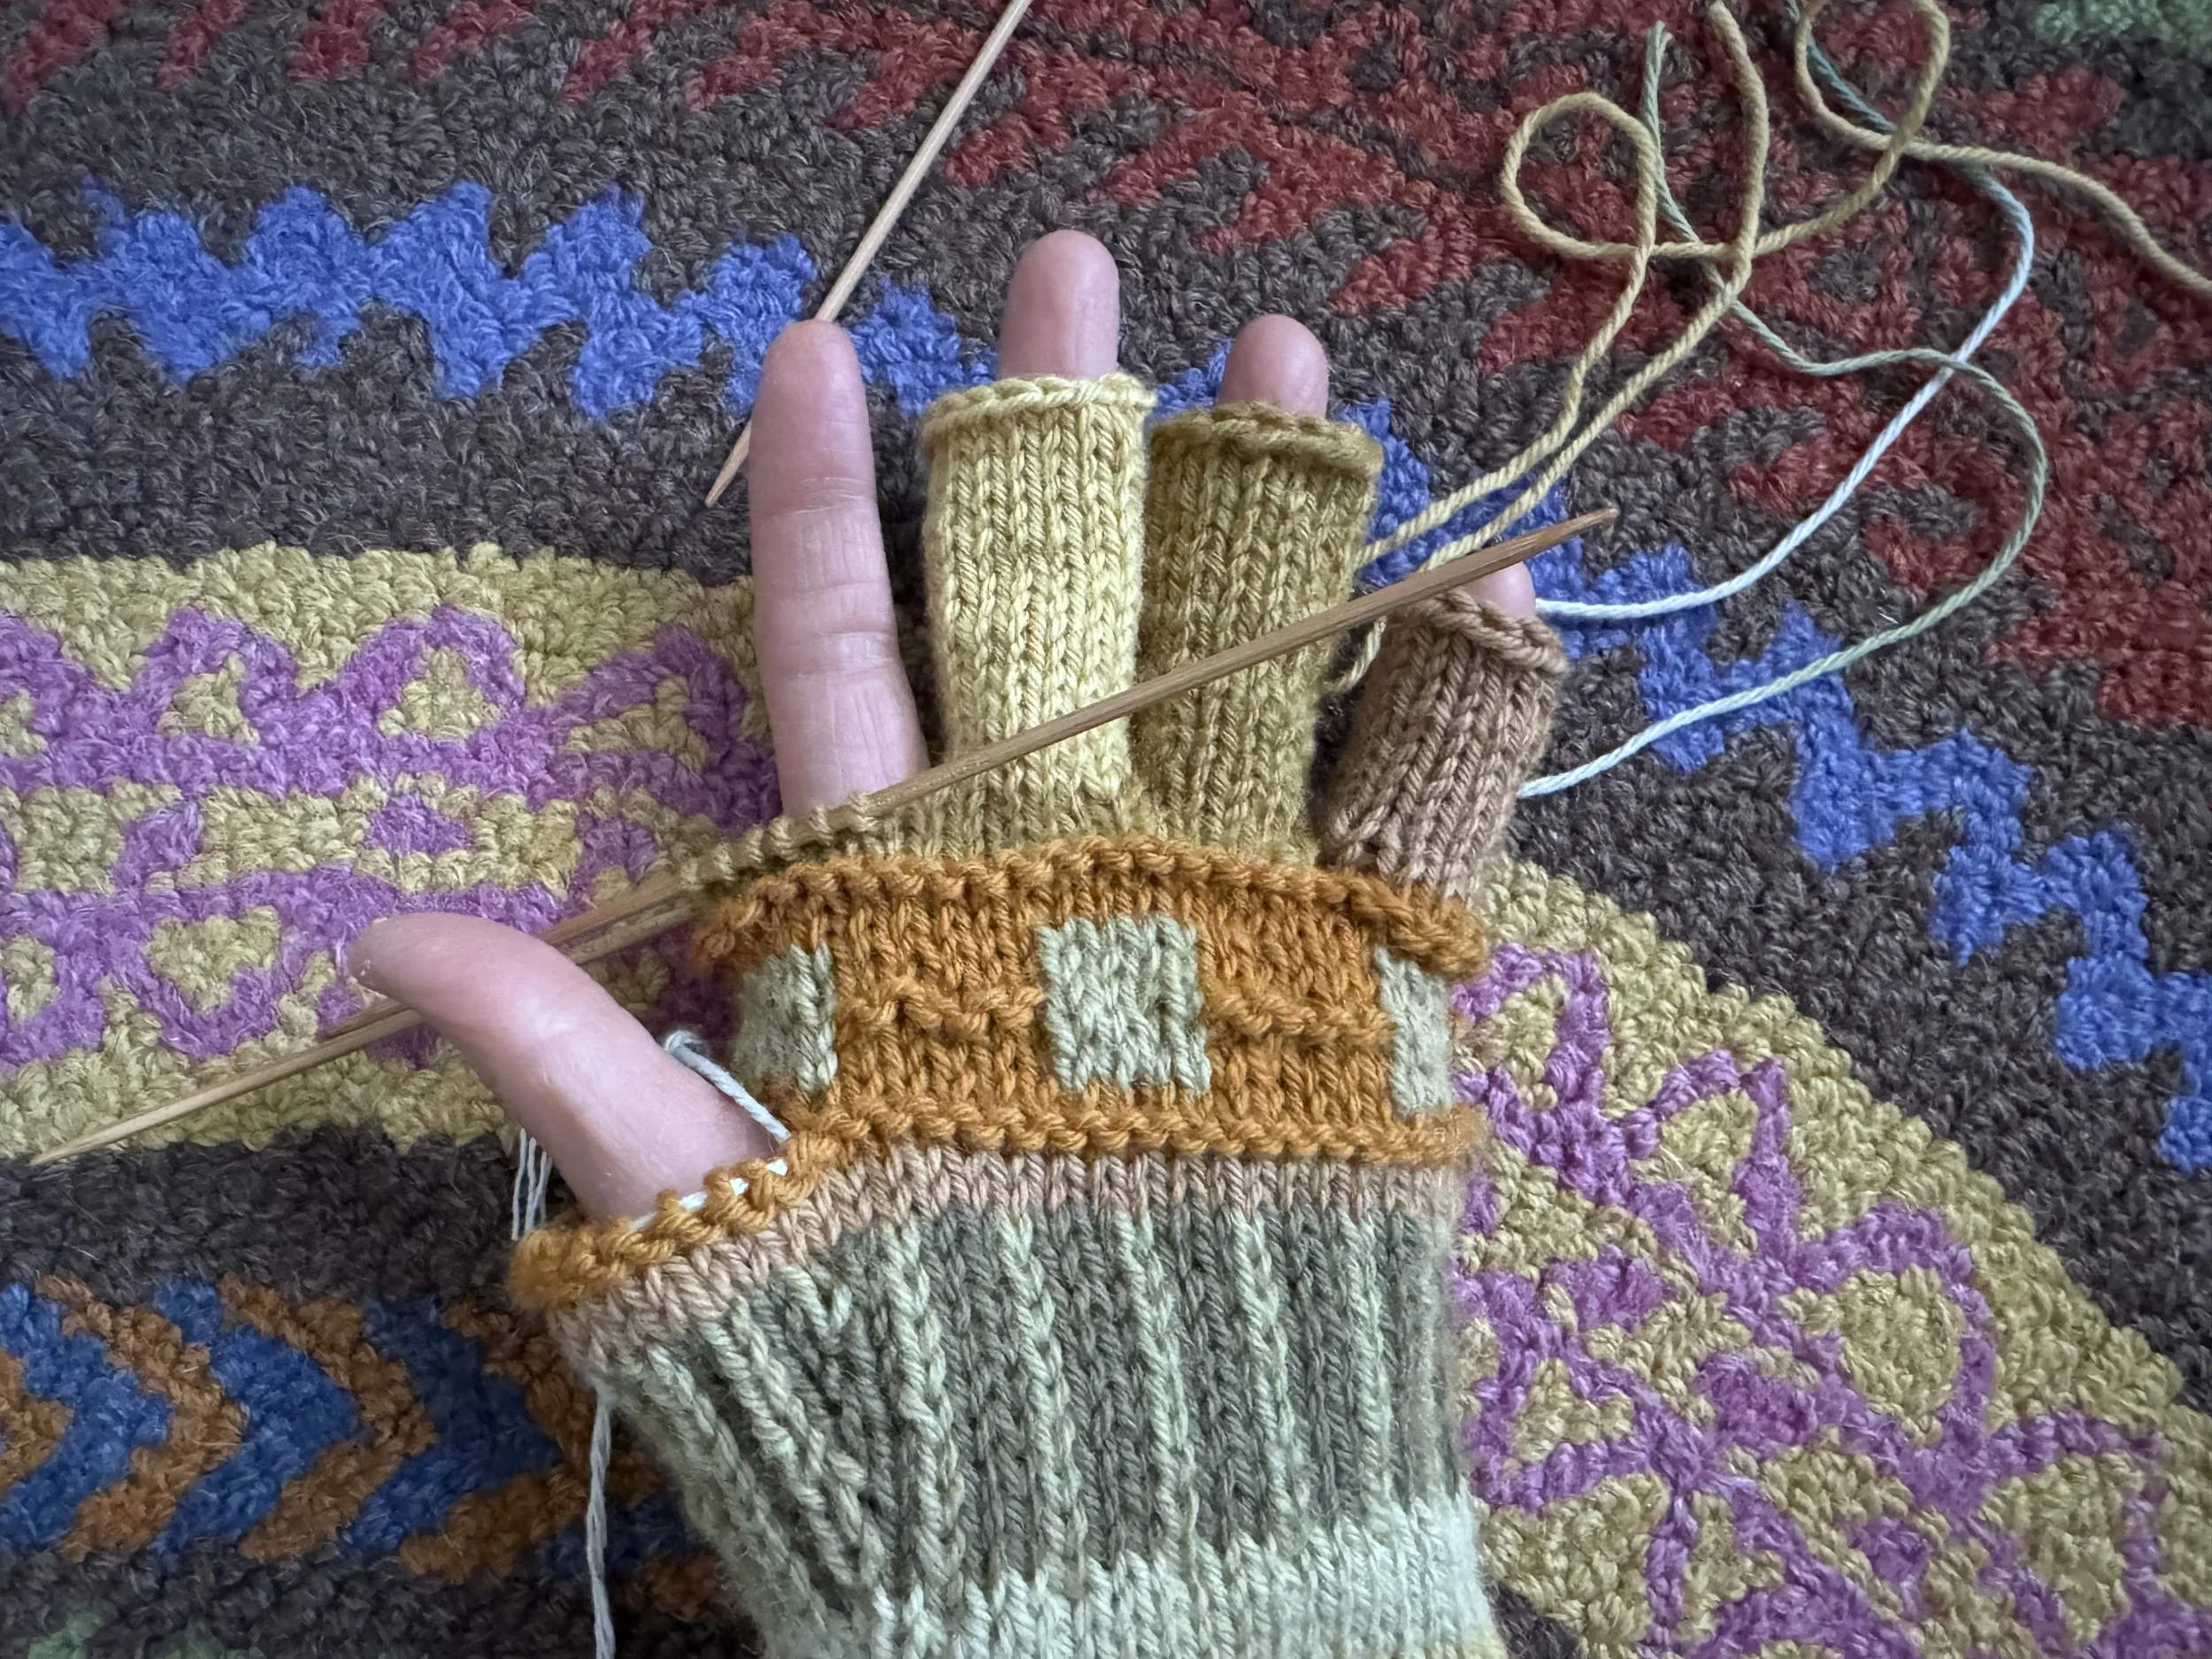
last one
I got all zen and had knitted 16 rounds for the middle finger before I knew what was what, so that one is a tiny bit longer.
The index finger is next. For this one, there are no interstitial stitches to cast on; just the 13 that are left on my waste yarn. But there are the 4-to-2 stitches to pick up when I get to the place where this finger joins the middle finger.
-
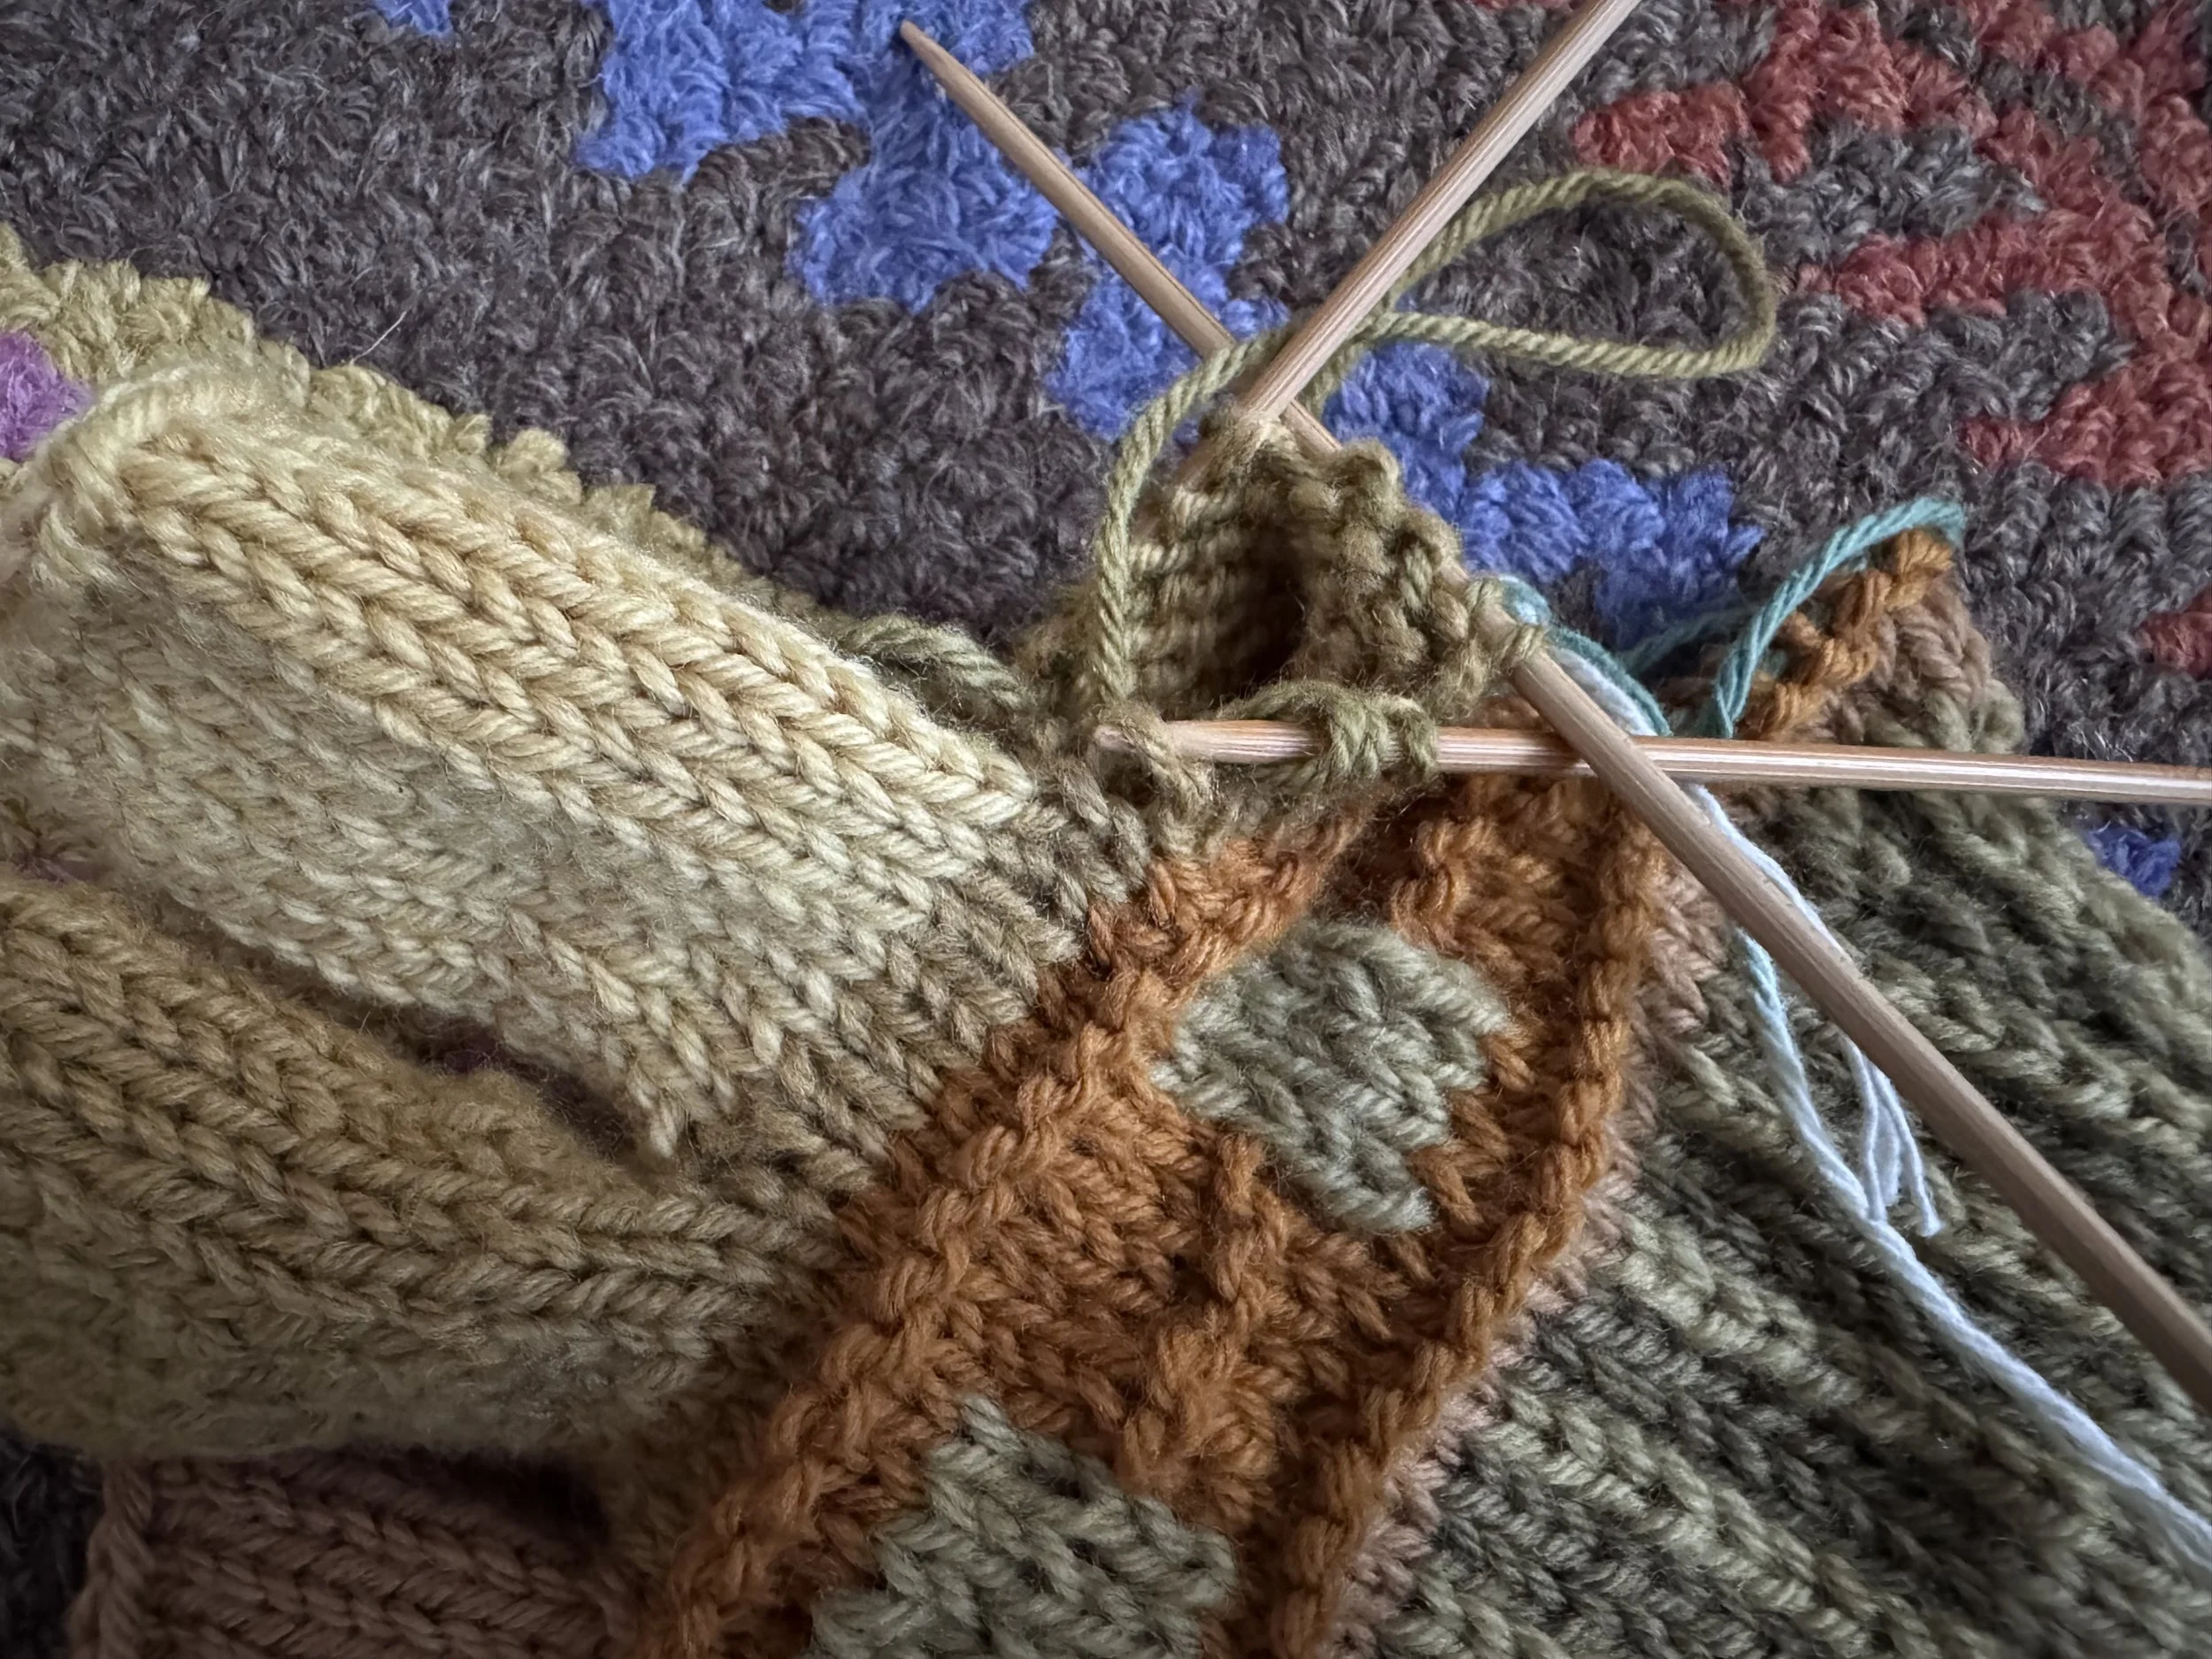
picking up first stitch
In case you are wondering how I do it, the tip of the needle is sitting between two stitches of the row just below where I am knitting. I will twist this before I knit it and that should take care of any gap.
-
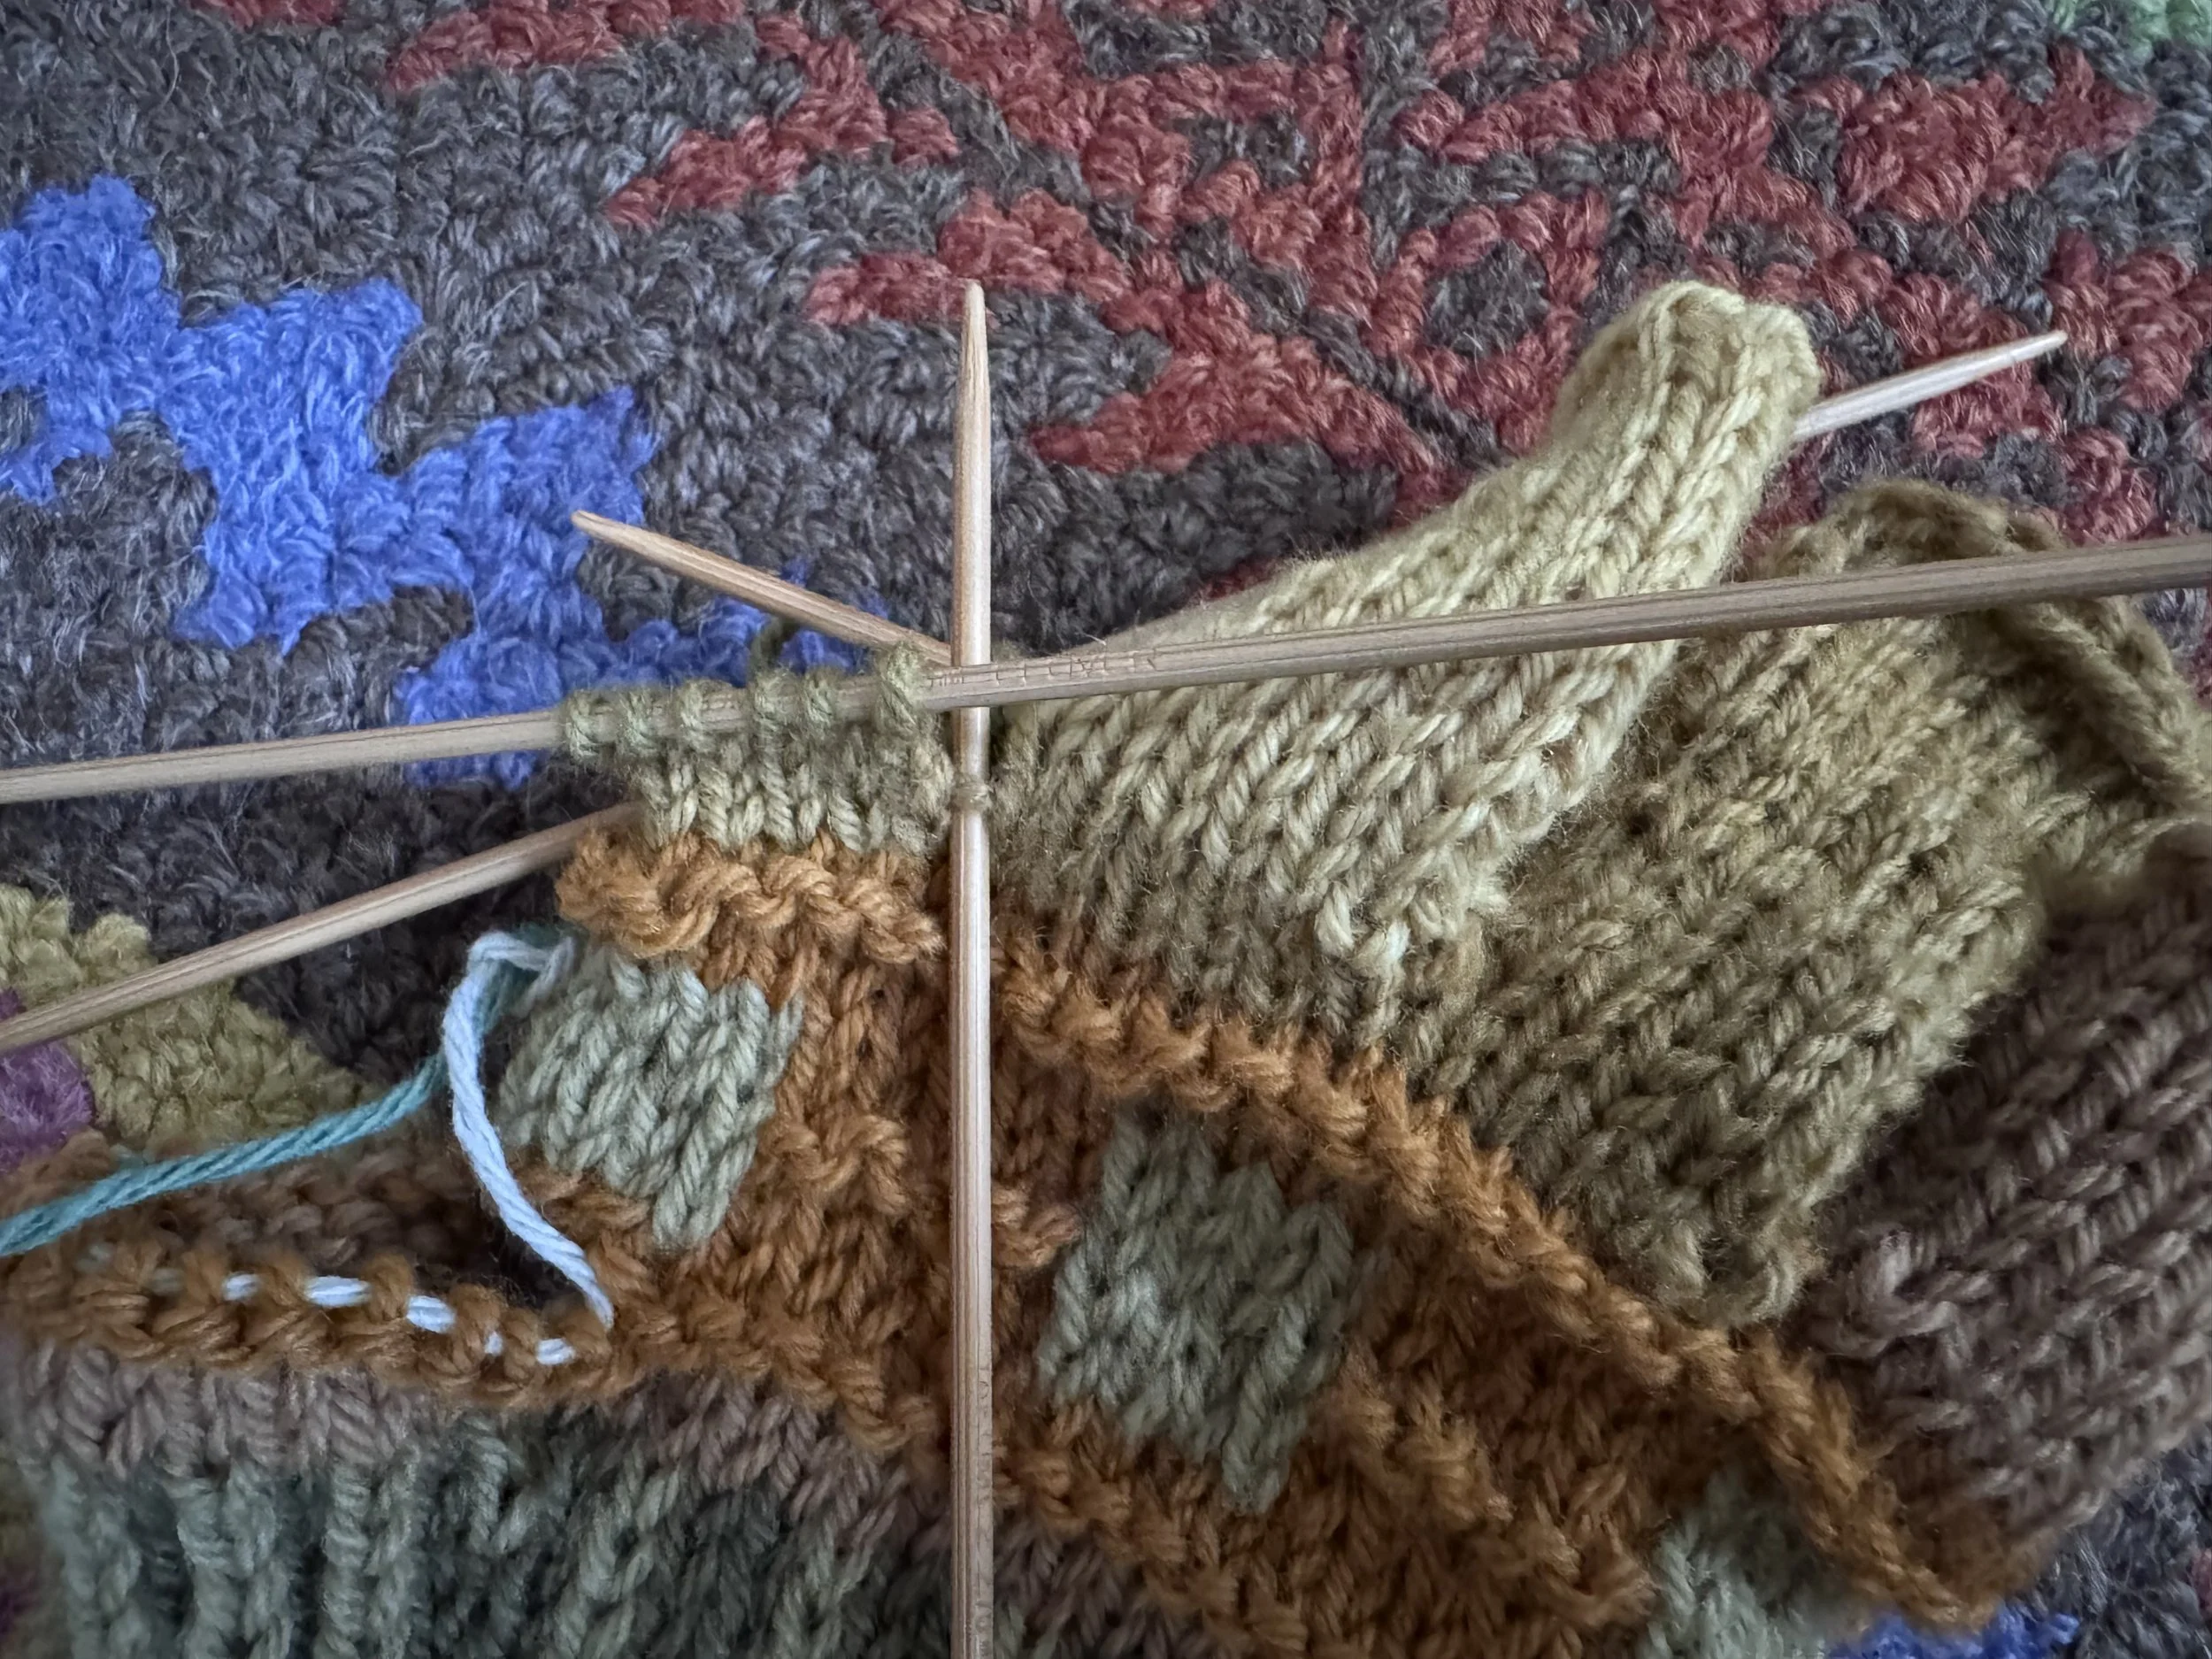
picking up the other stitch
This works the same way. After I pick up the 2 cast-on stitches, I put the vertical needle between the two stitches in the row below where I am knitting, and I will twist this little bar and then knit it, closing up the gap on this side.
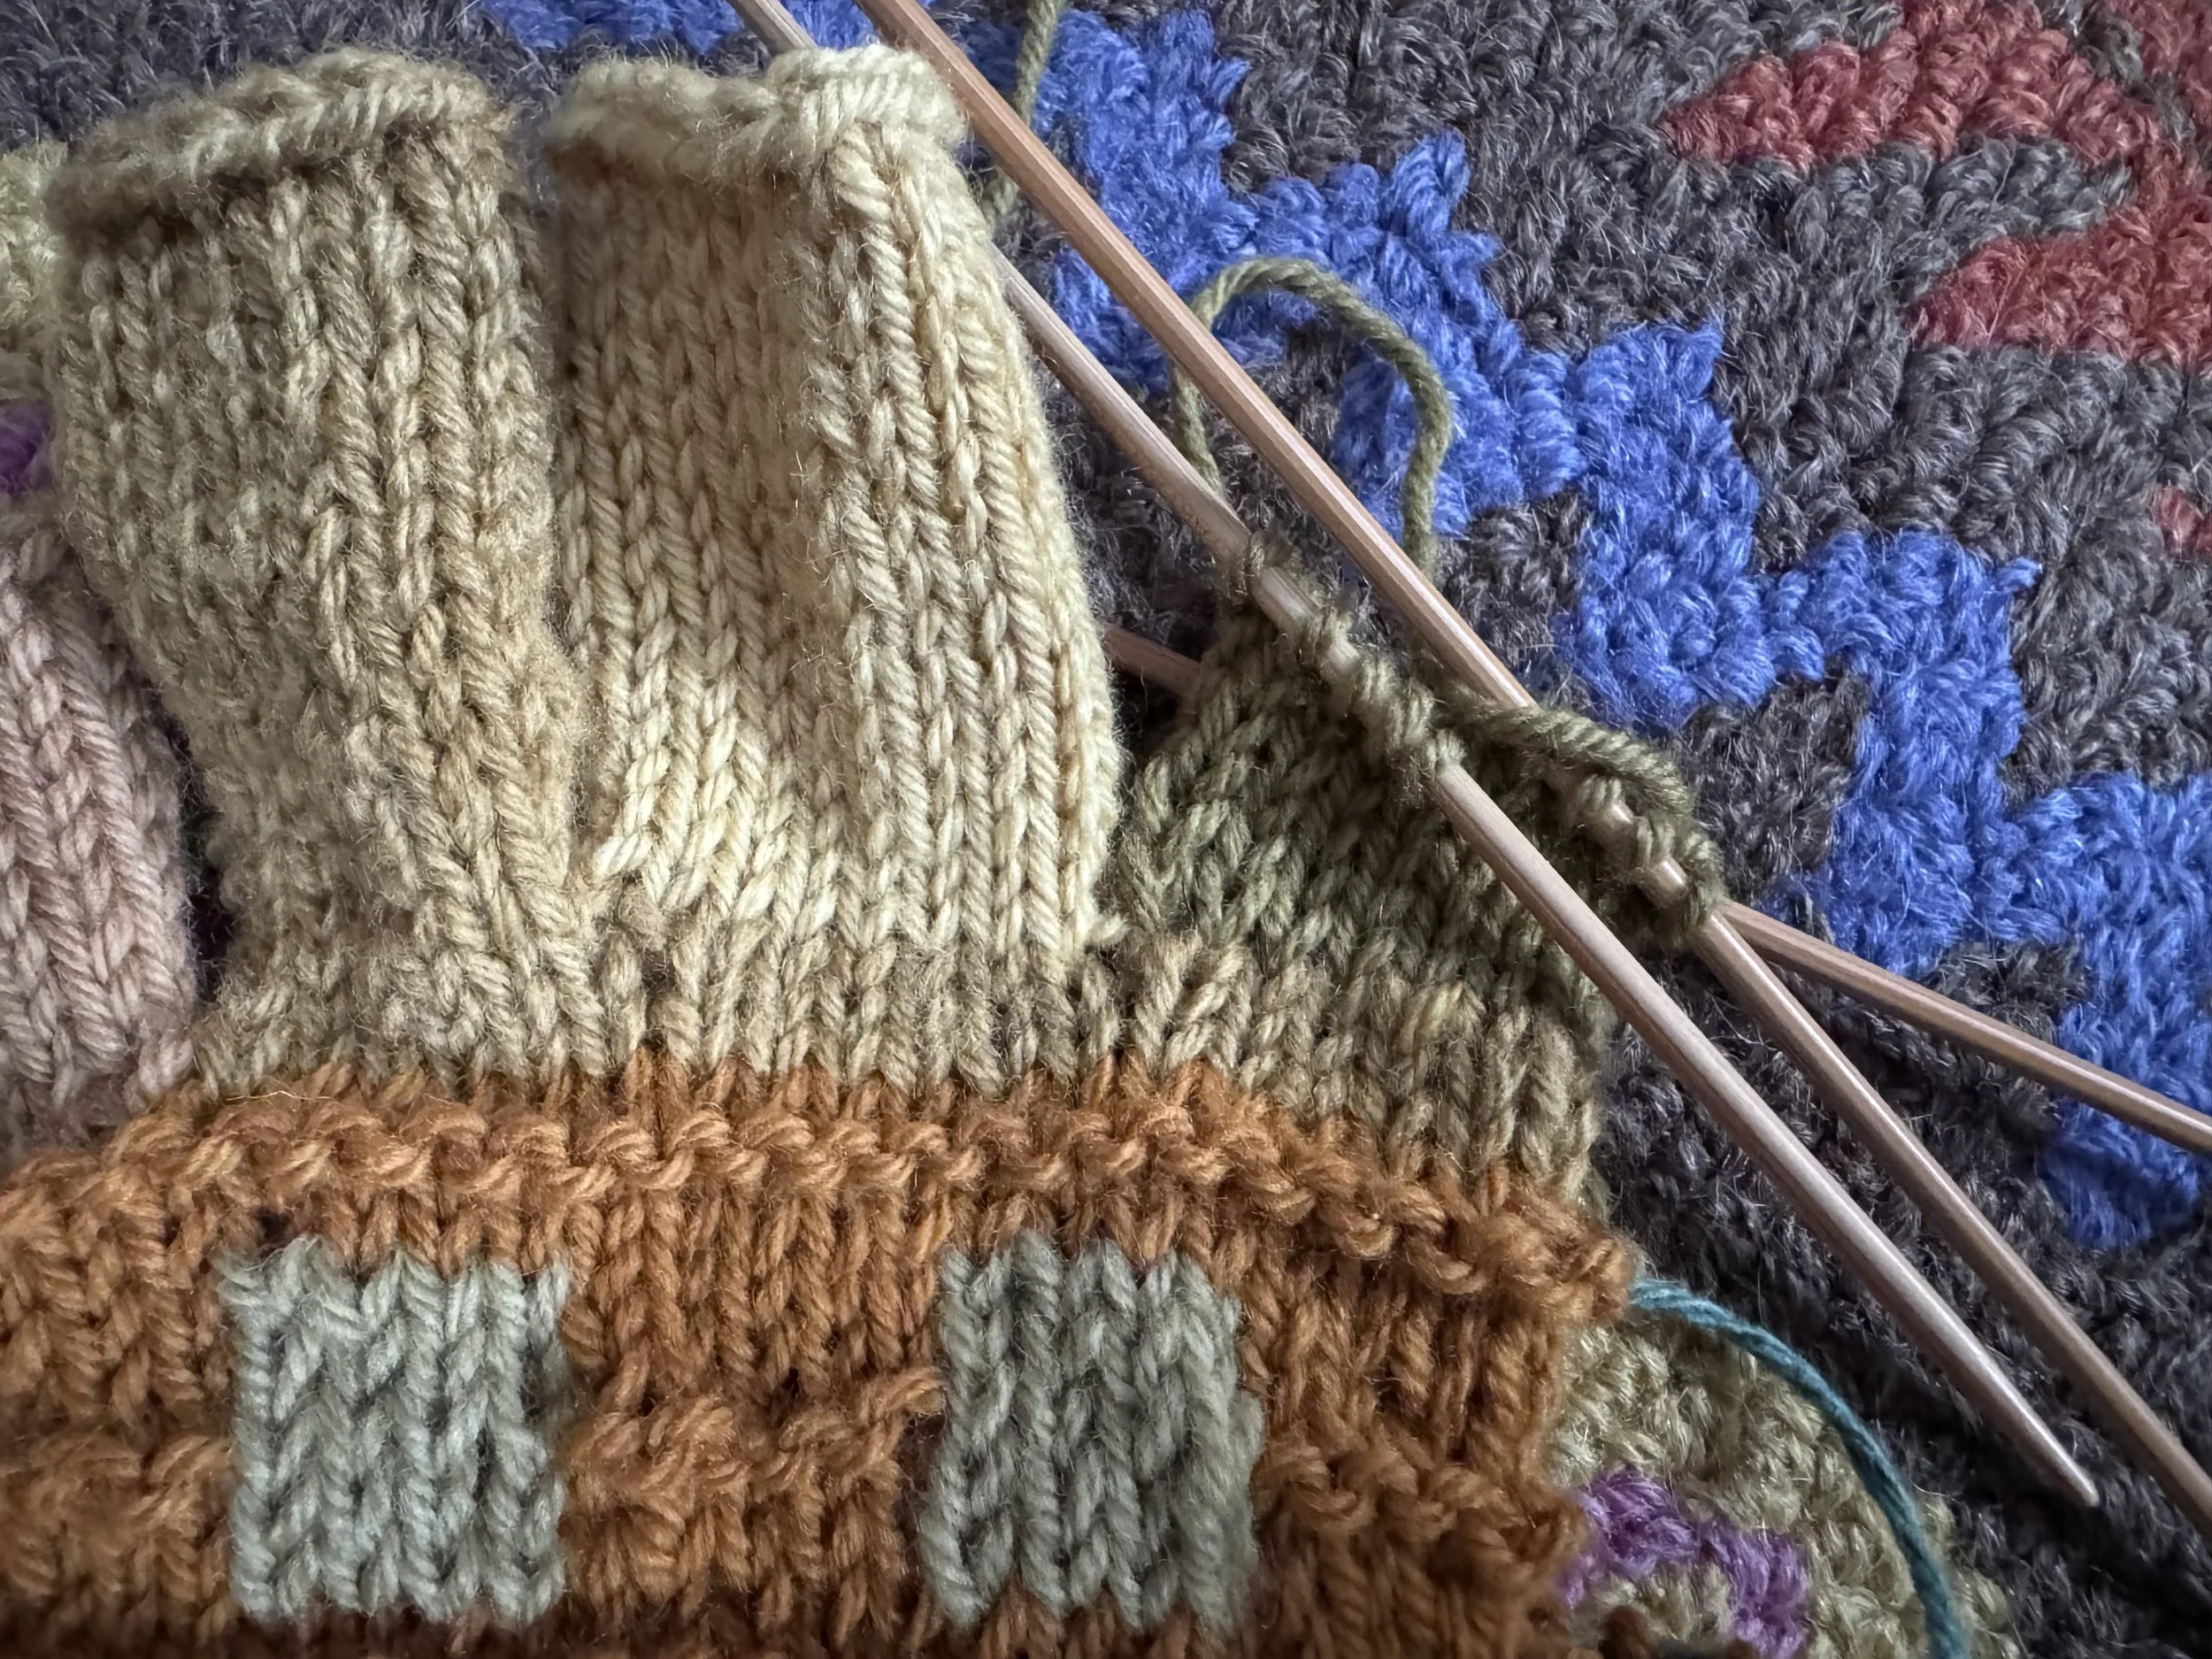
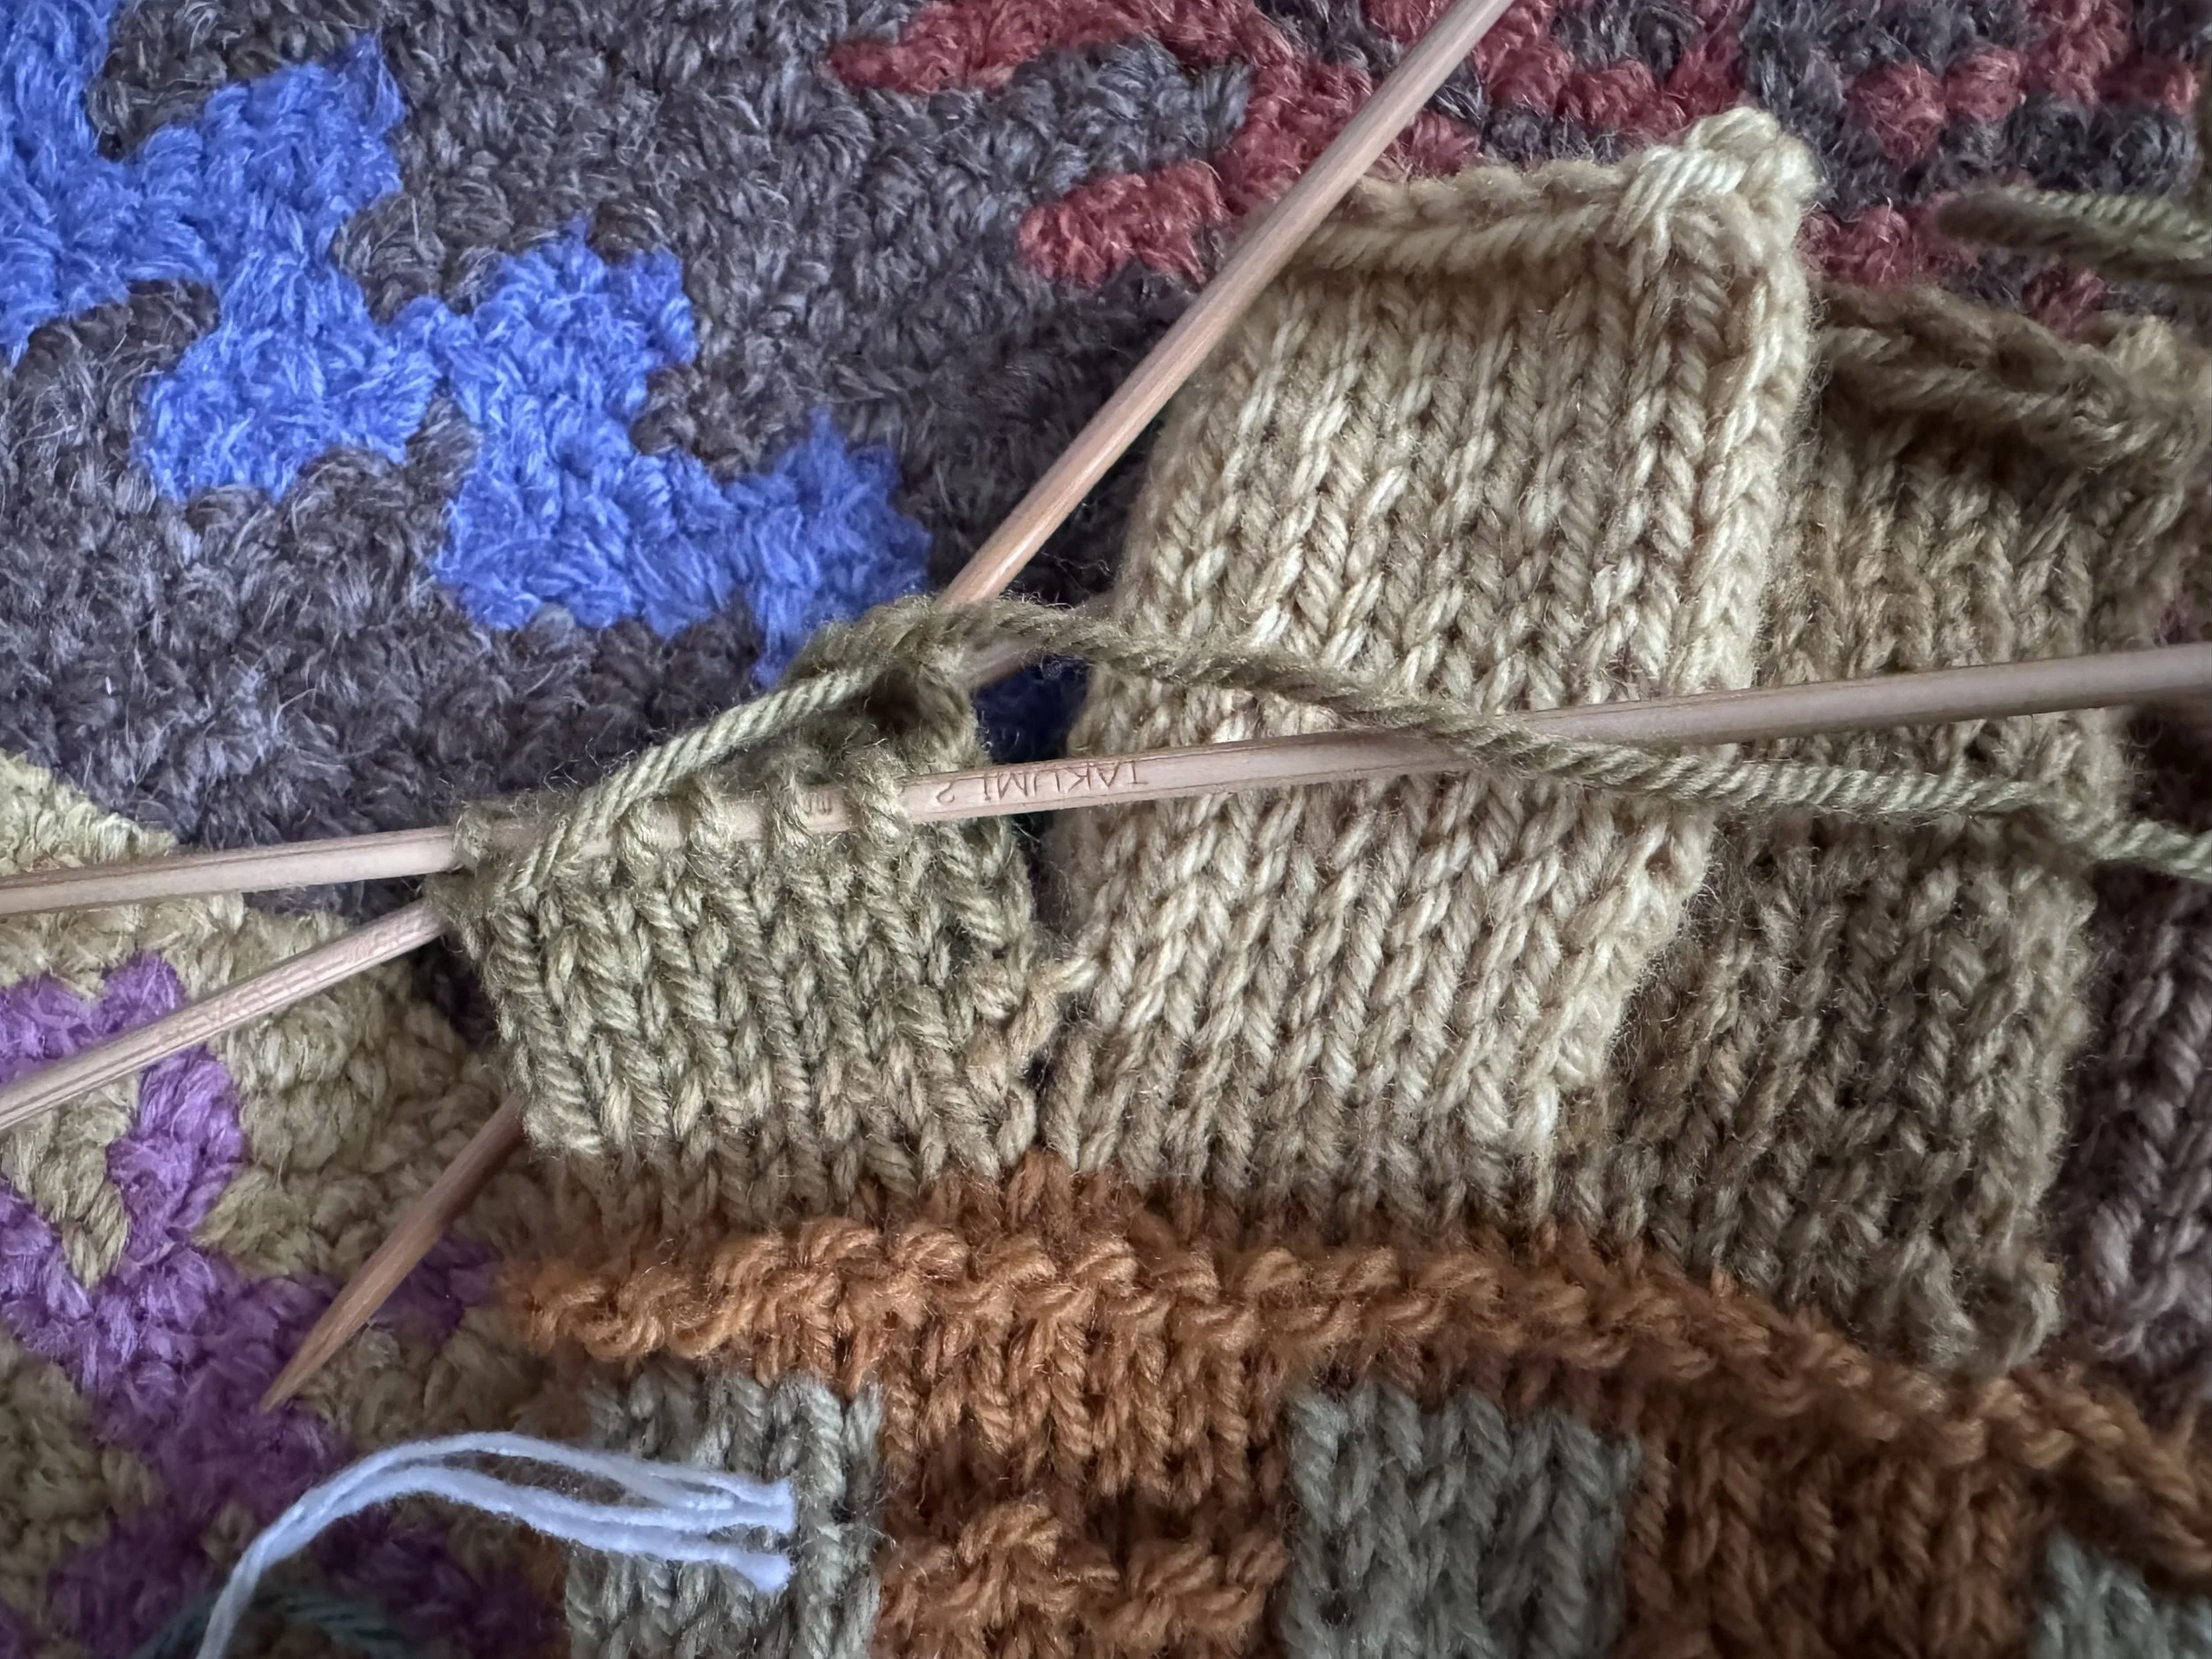
When there are 4 stitches left on the next round, I will work an ssk and then a k2tog.
-
first side
-
second side
-
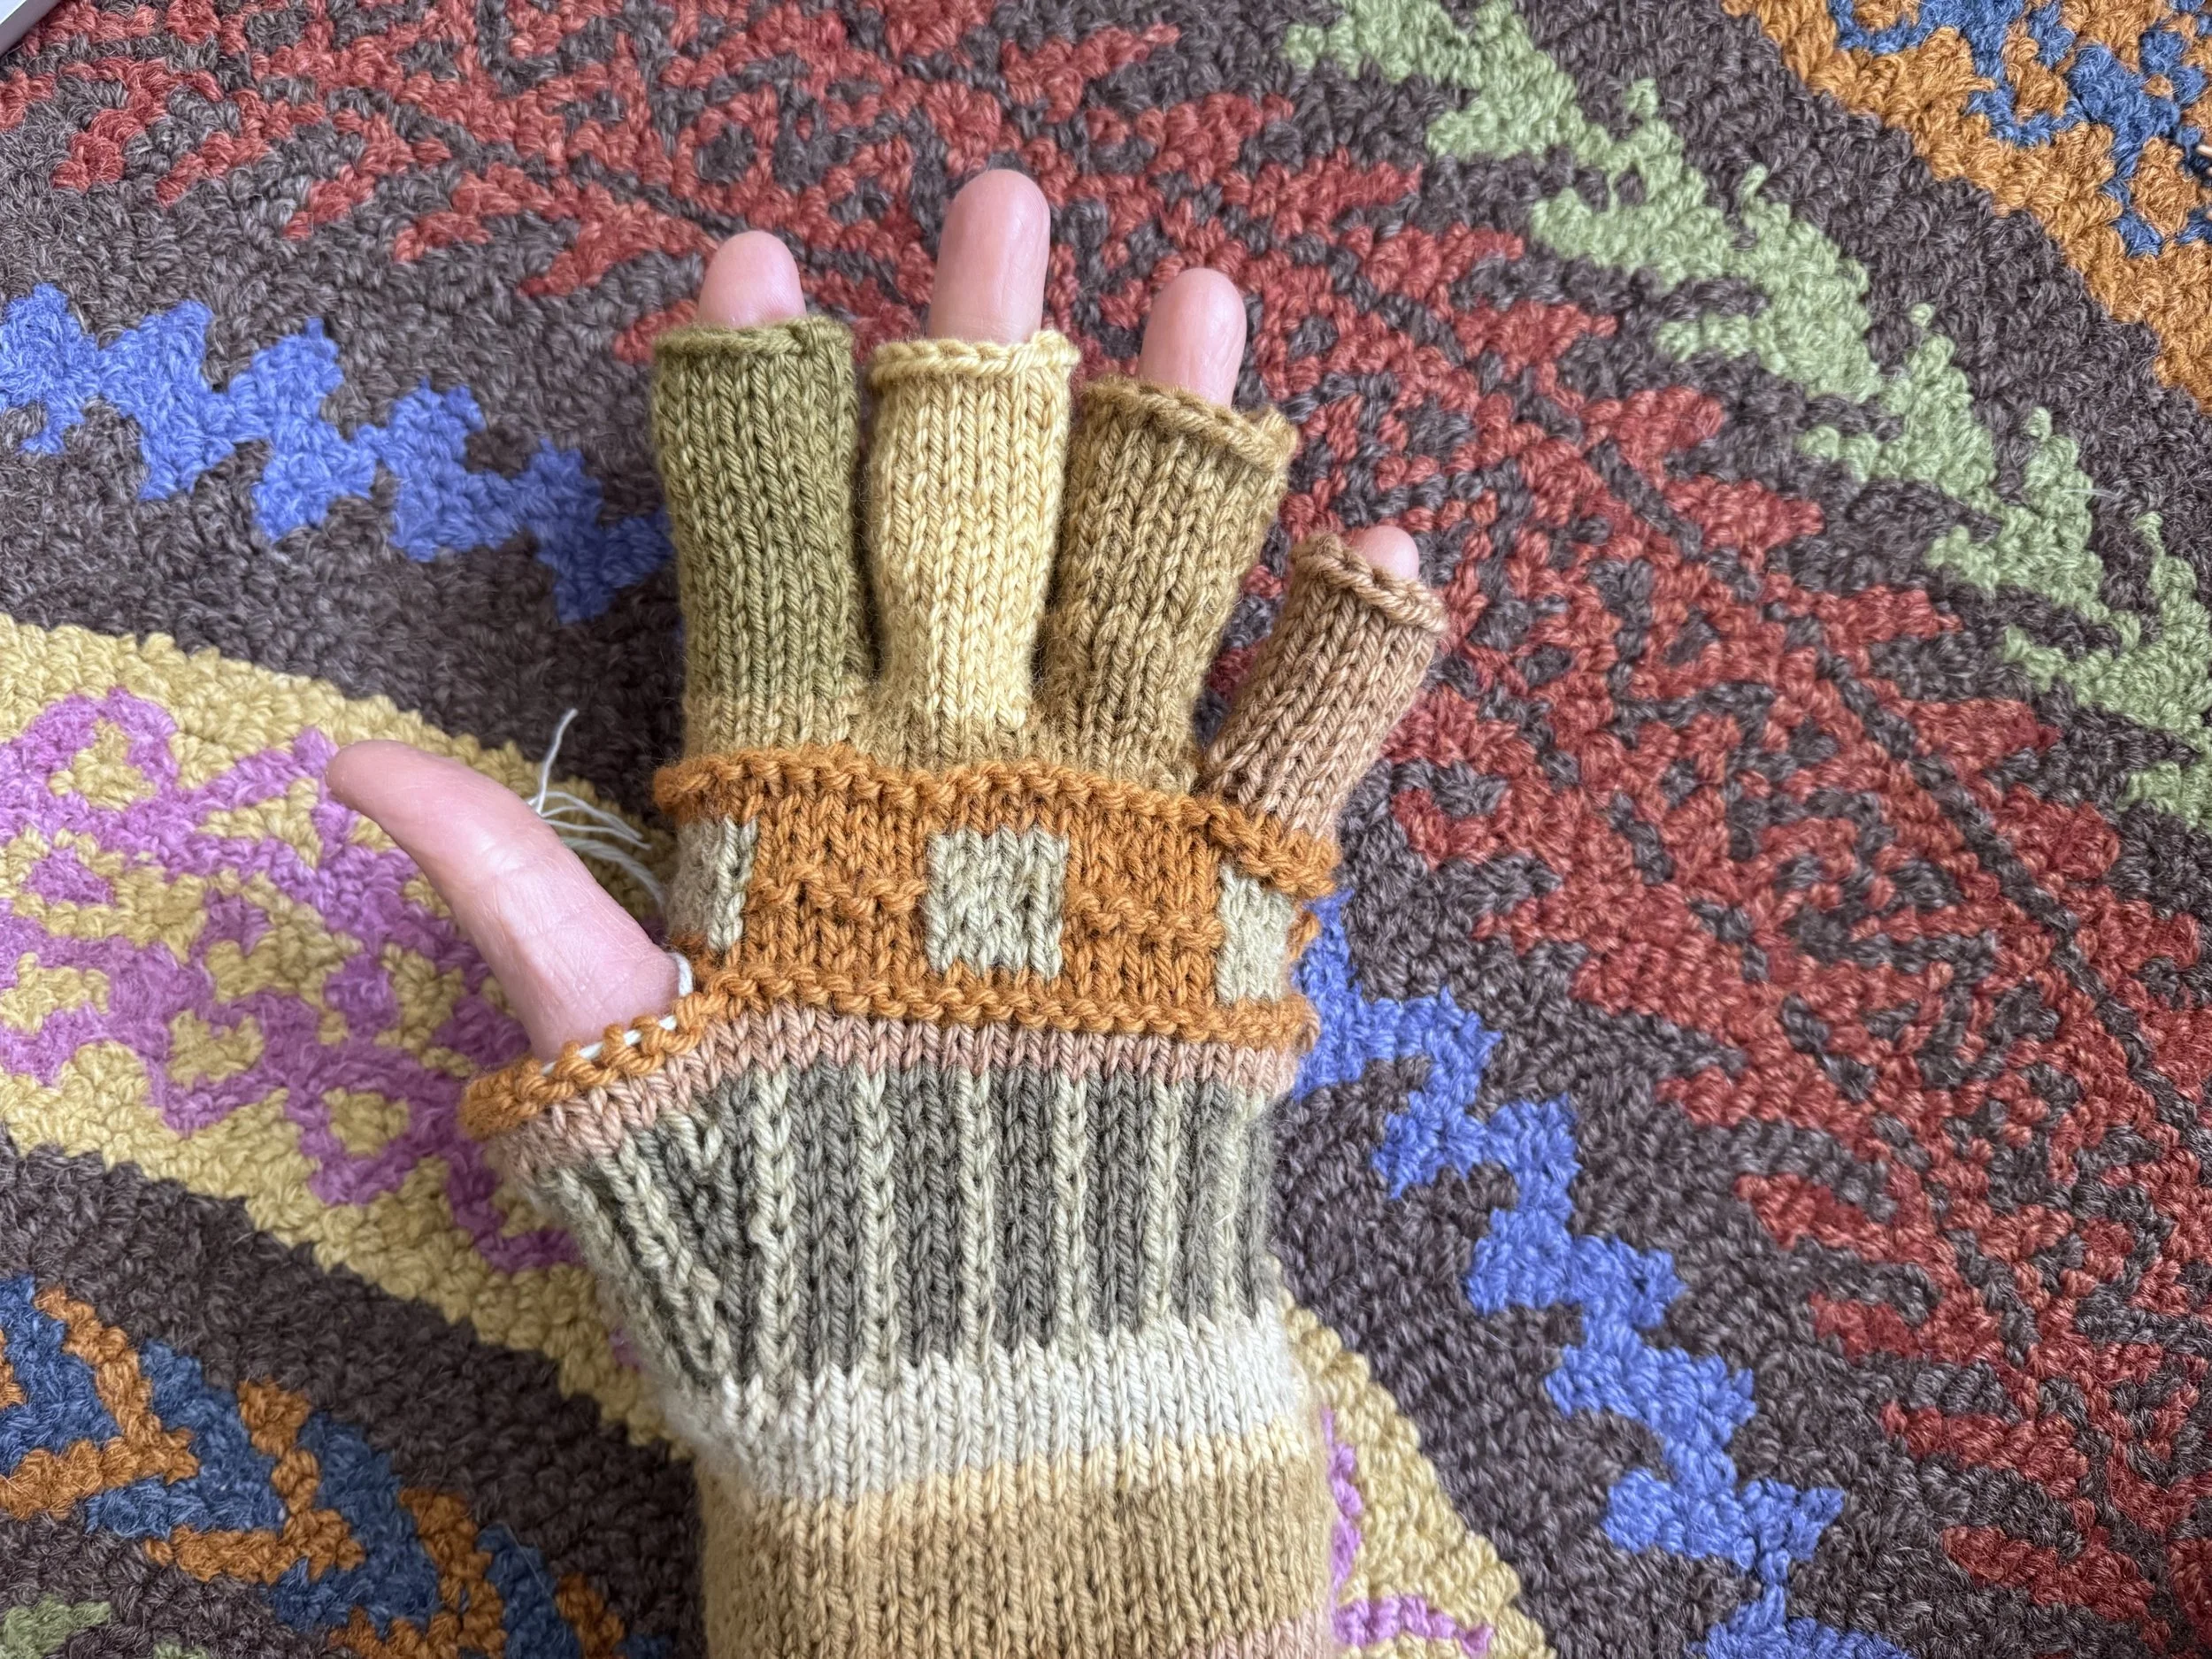
all four fingers done
I am going to finish the “mitten” part of the mittens before I move on to the thumbs.
-
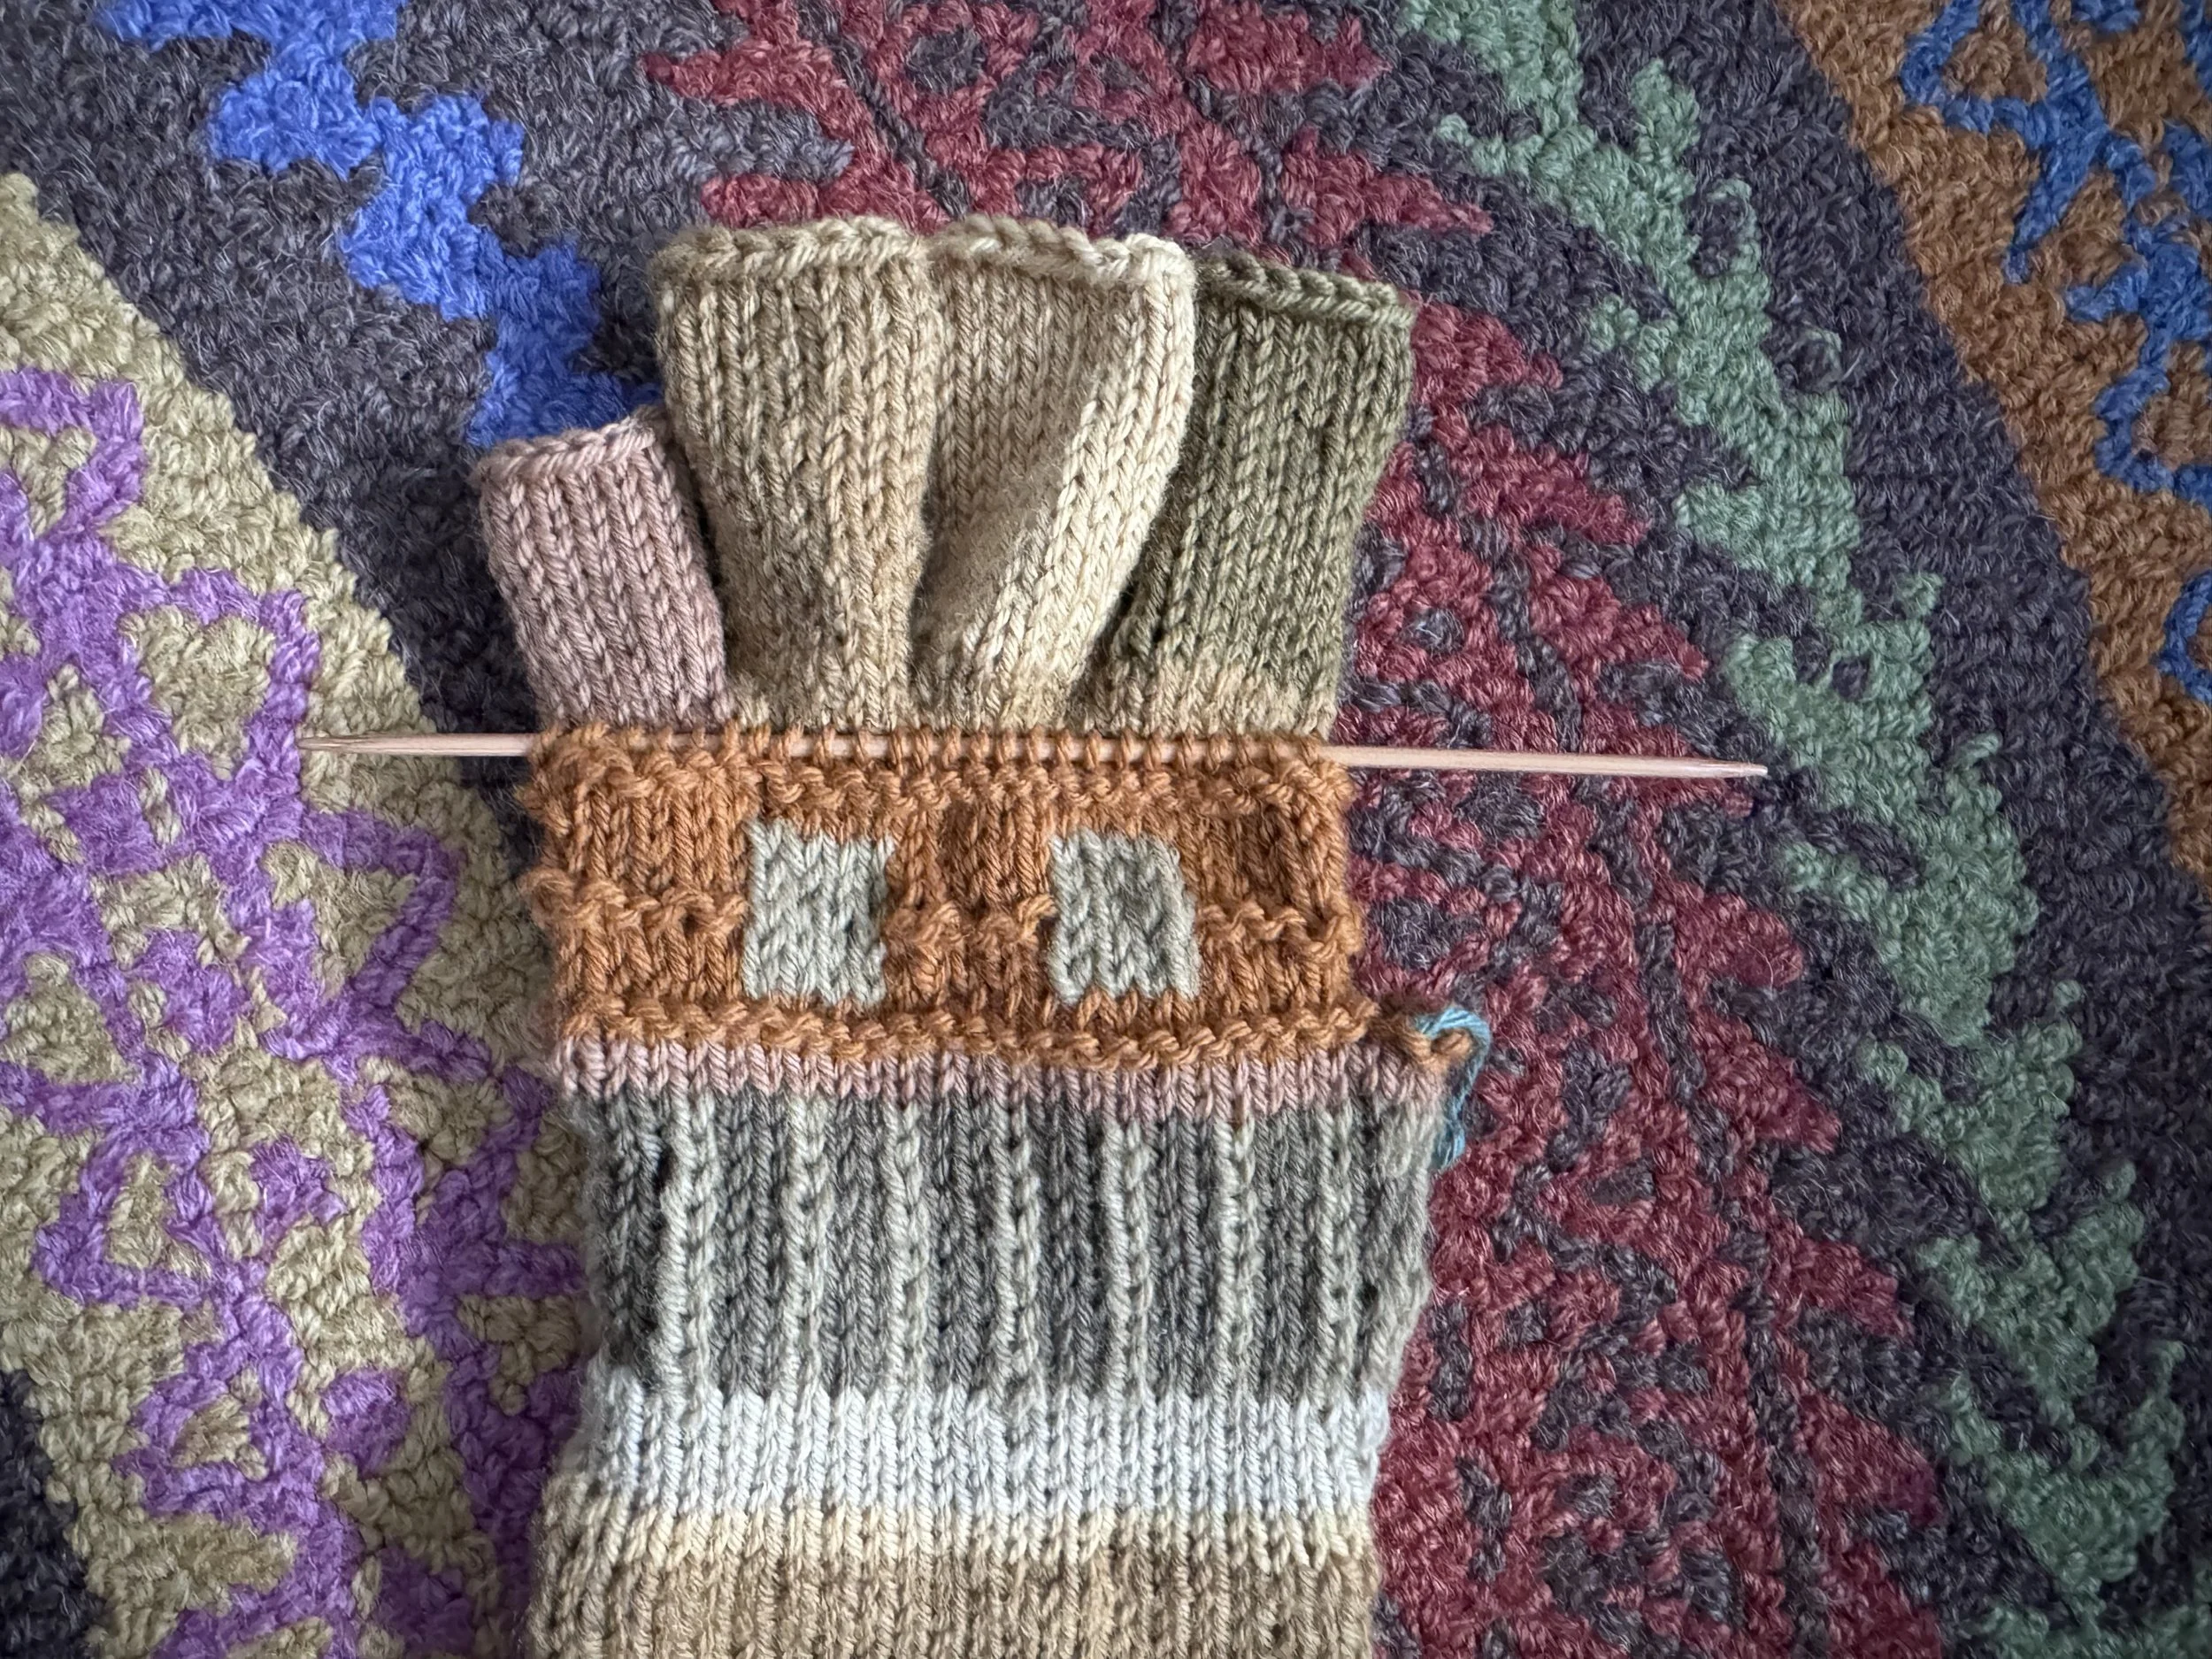
picking up stitches
I picked up 25 stitches (right loop of every stitch on the last orange round) on the back of the mitten; now I will knit them and then will cast on 25 more for the palm part (backward loop). The original mittens have, I think, 48 stitches, so 50 seems like a good number to try.
-
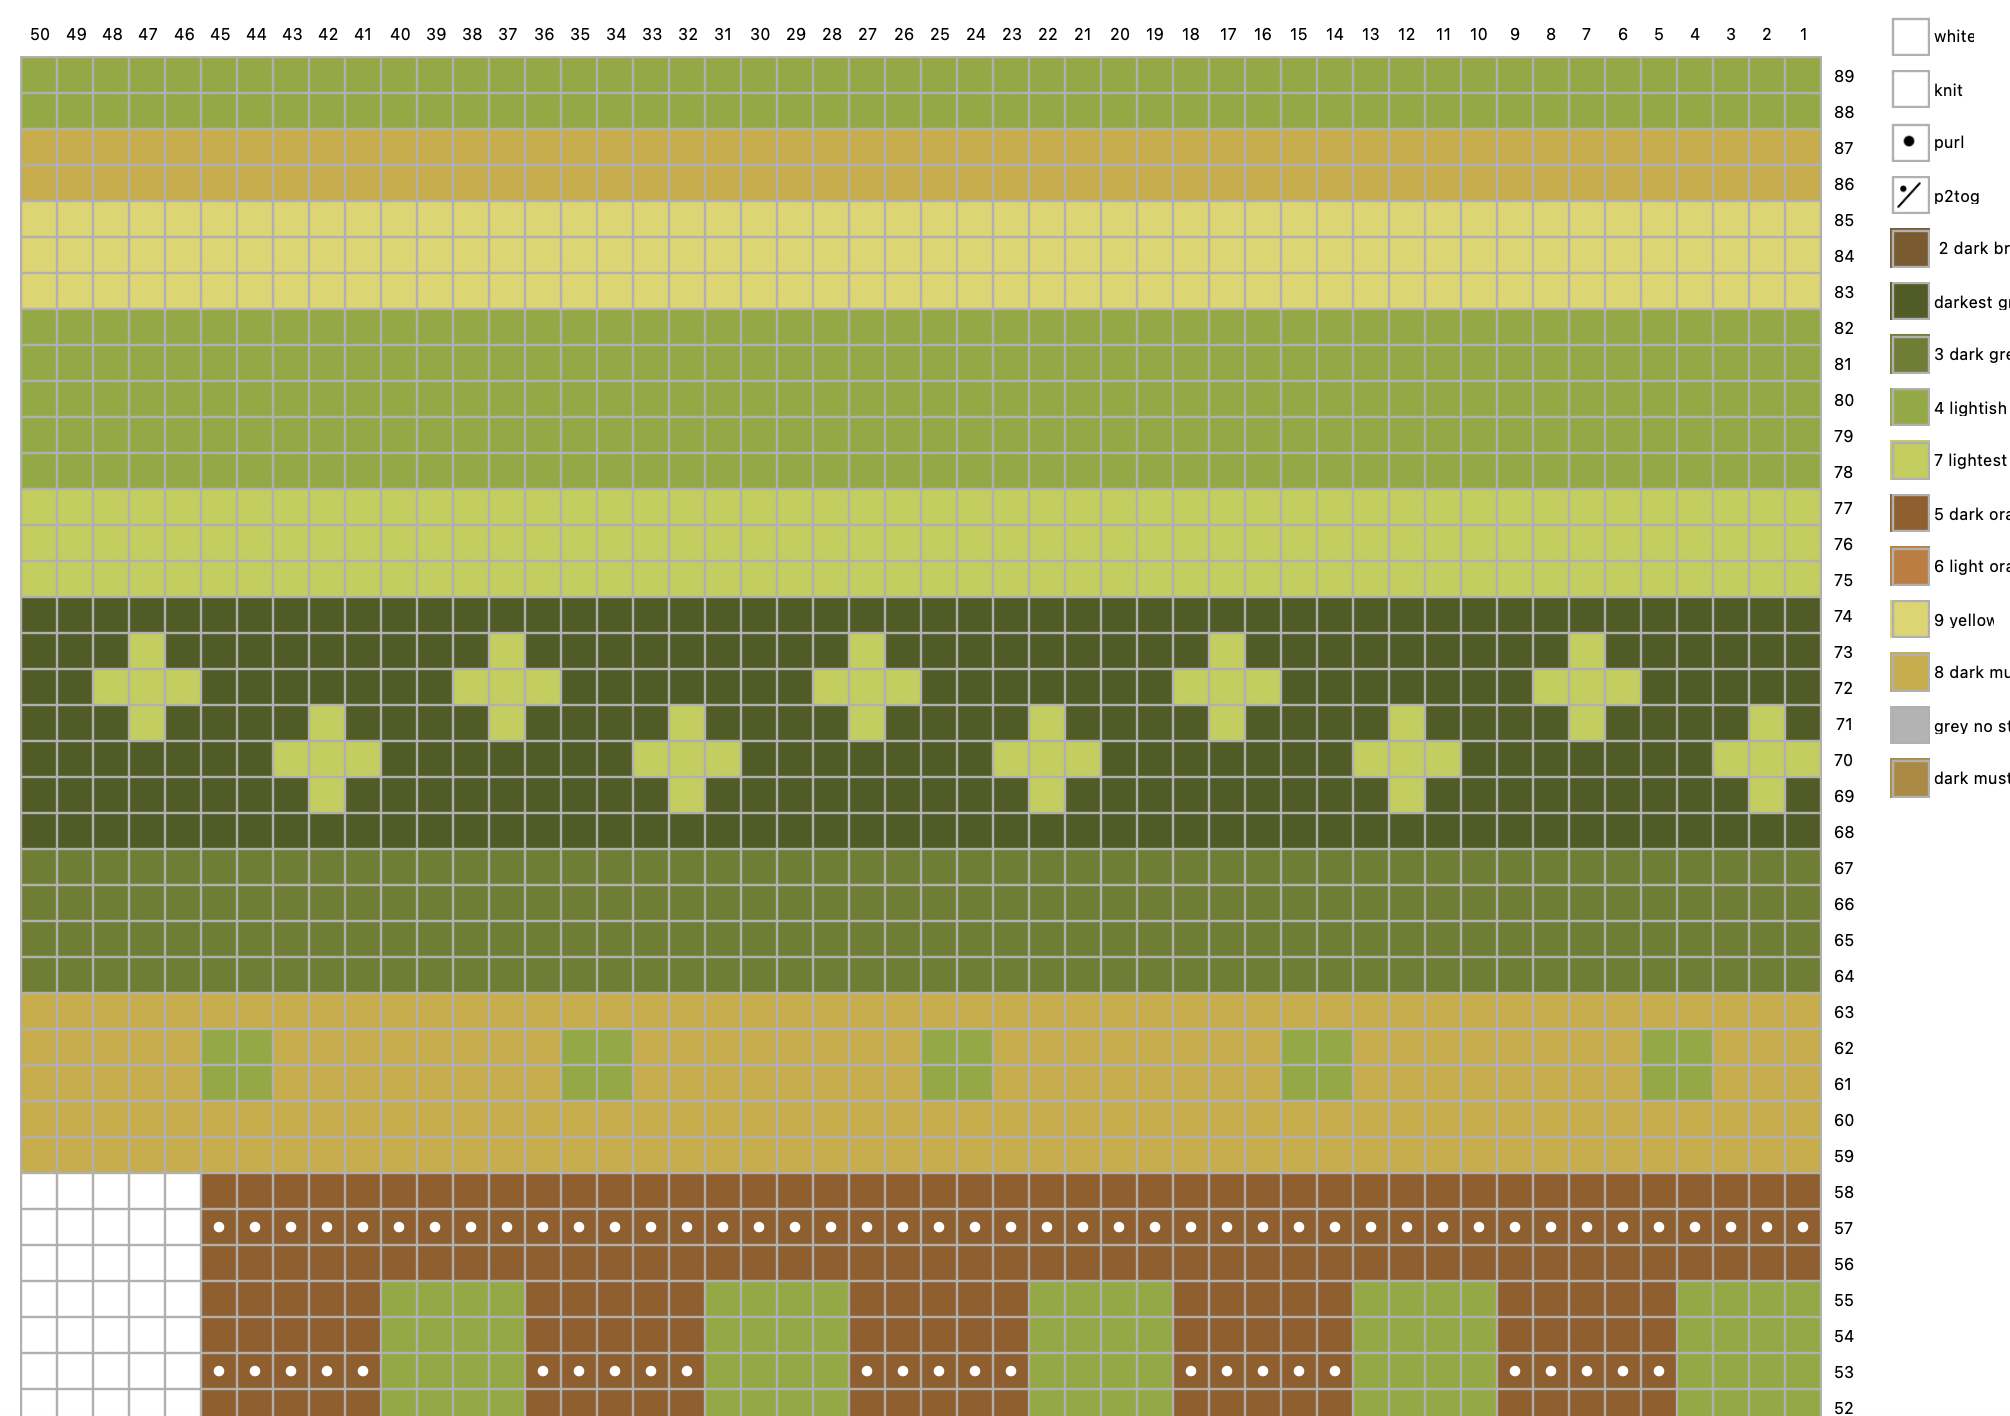
ah, but now I have 50 stitches
So I need to edit my chart, which has a pattern based on 45 stitches. Maybe I will just use a multiple of 5.
If you are reading the stuff on the right, you can ignore the “p2tog. I thought I needed it but don’t.
-
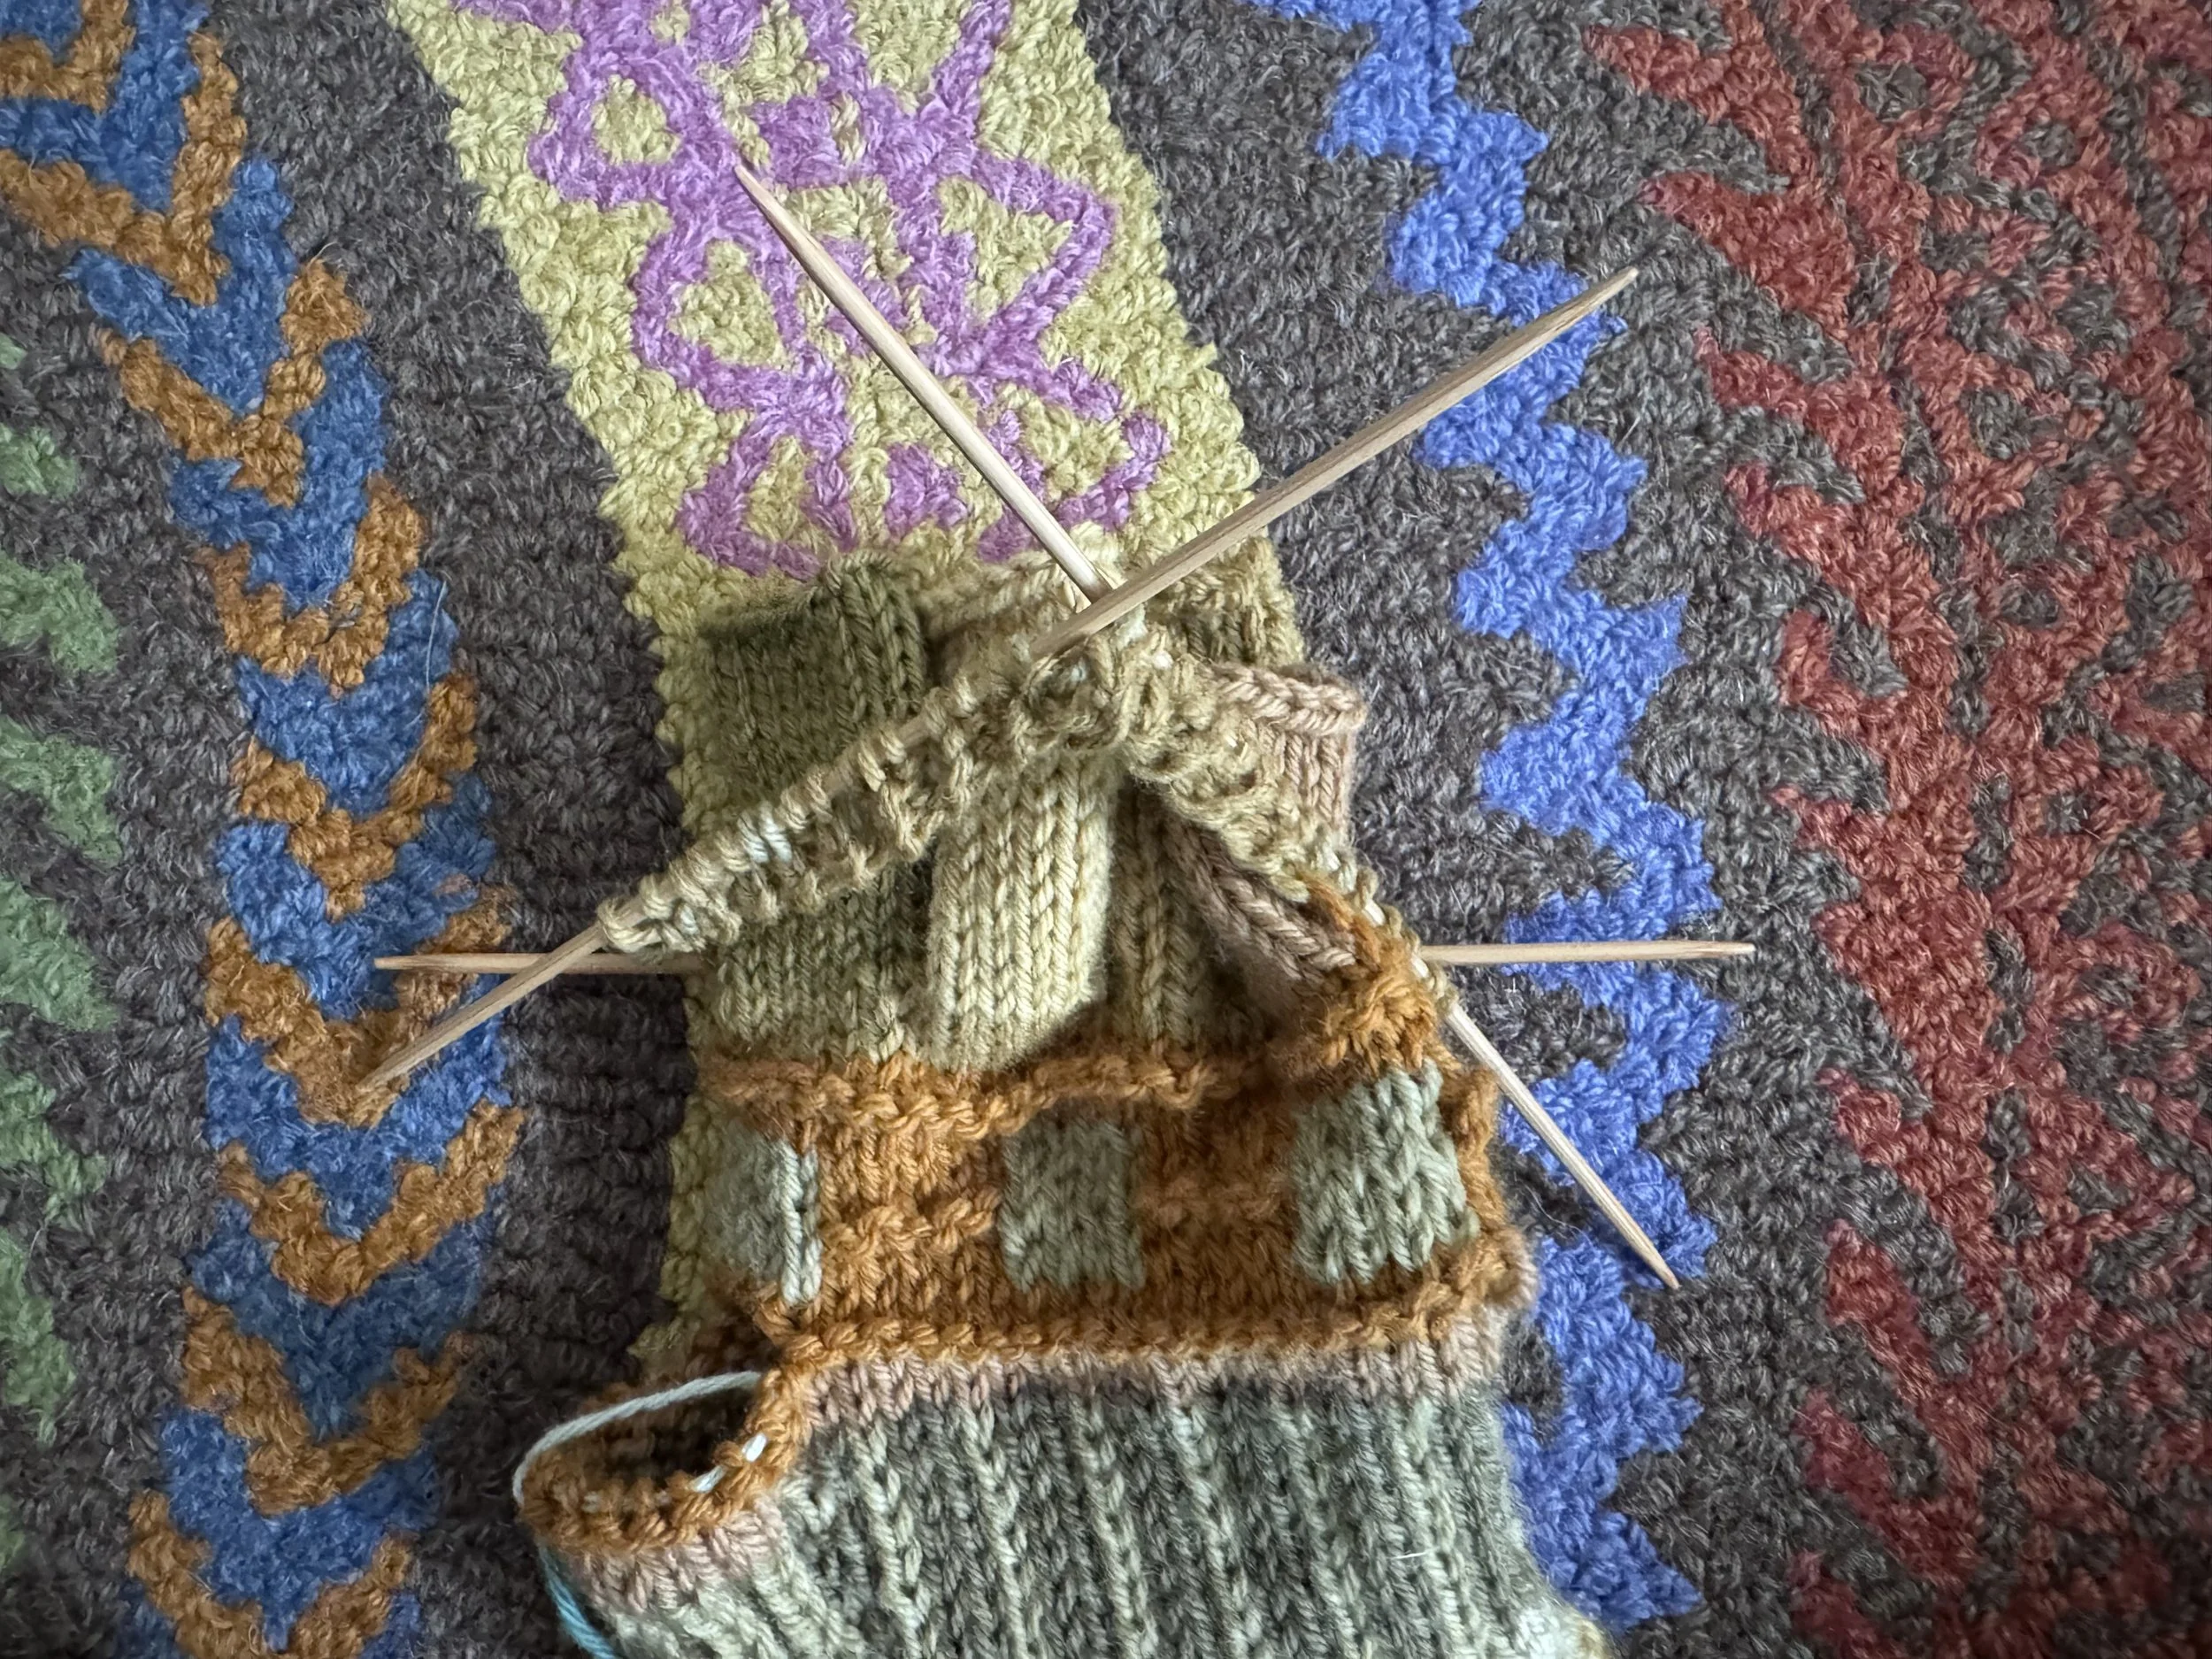
seems to work
I worked one round with just one color, to set up the k1 p1 ribbing before I added the second color. There are a few balls to juggle on these rows: working two colors on the rib feels a bit awkward, and I am trying to squeeze the four finger tubes into the space in the middle while they are trying to escape.
-
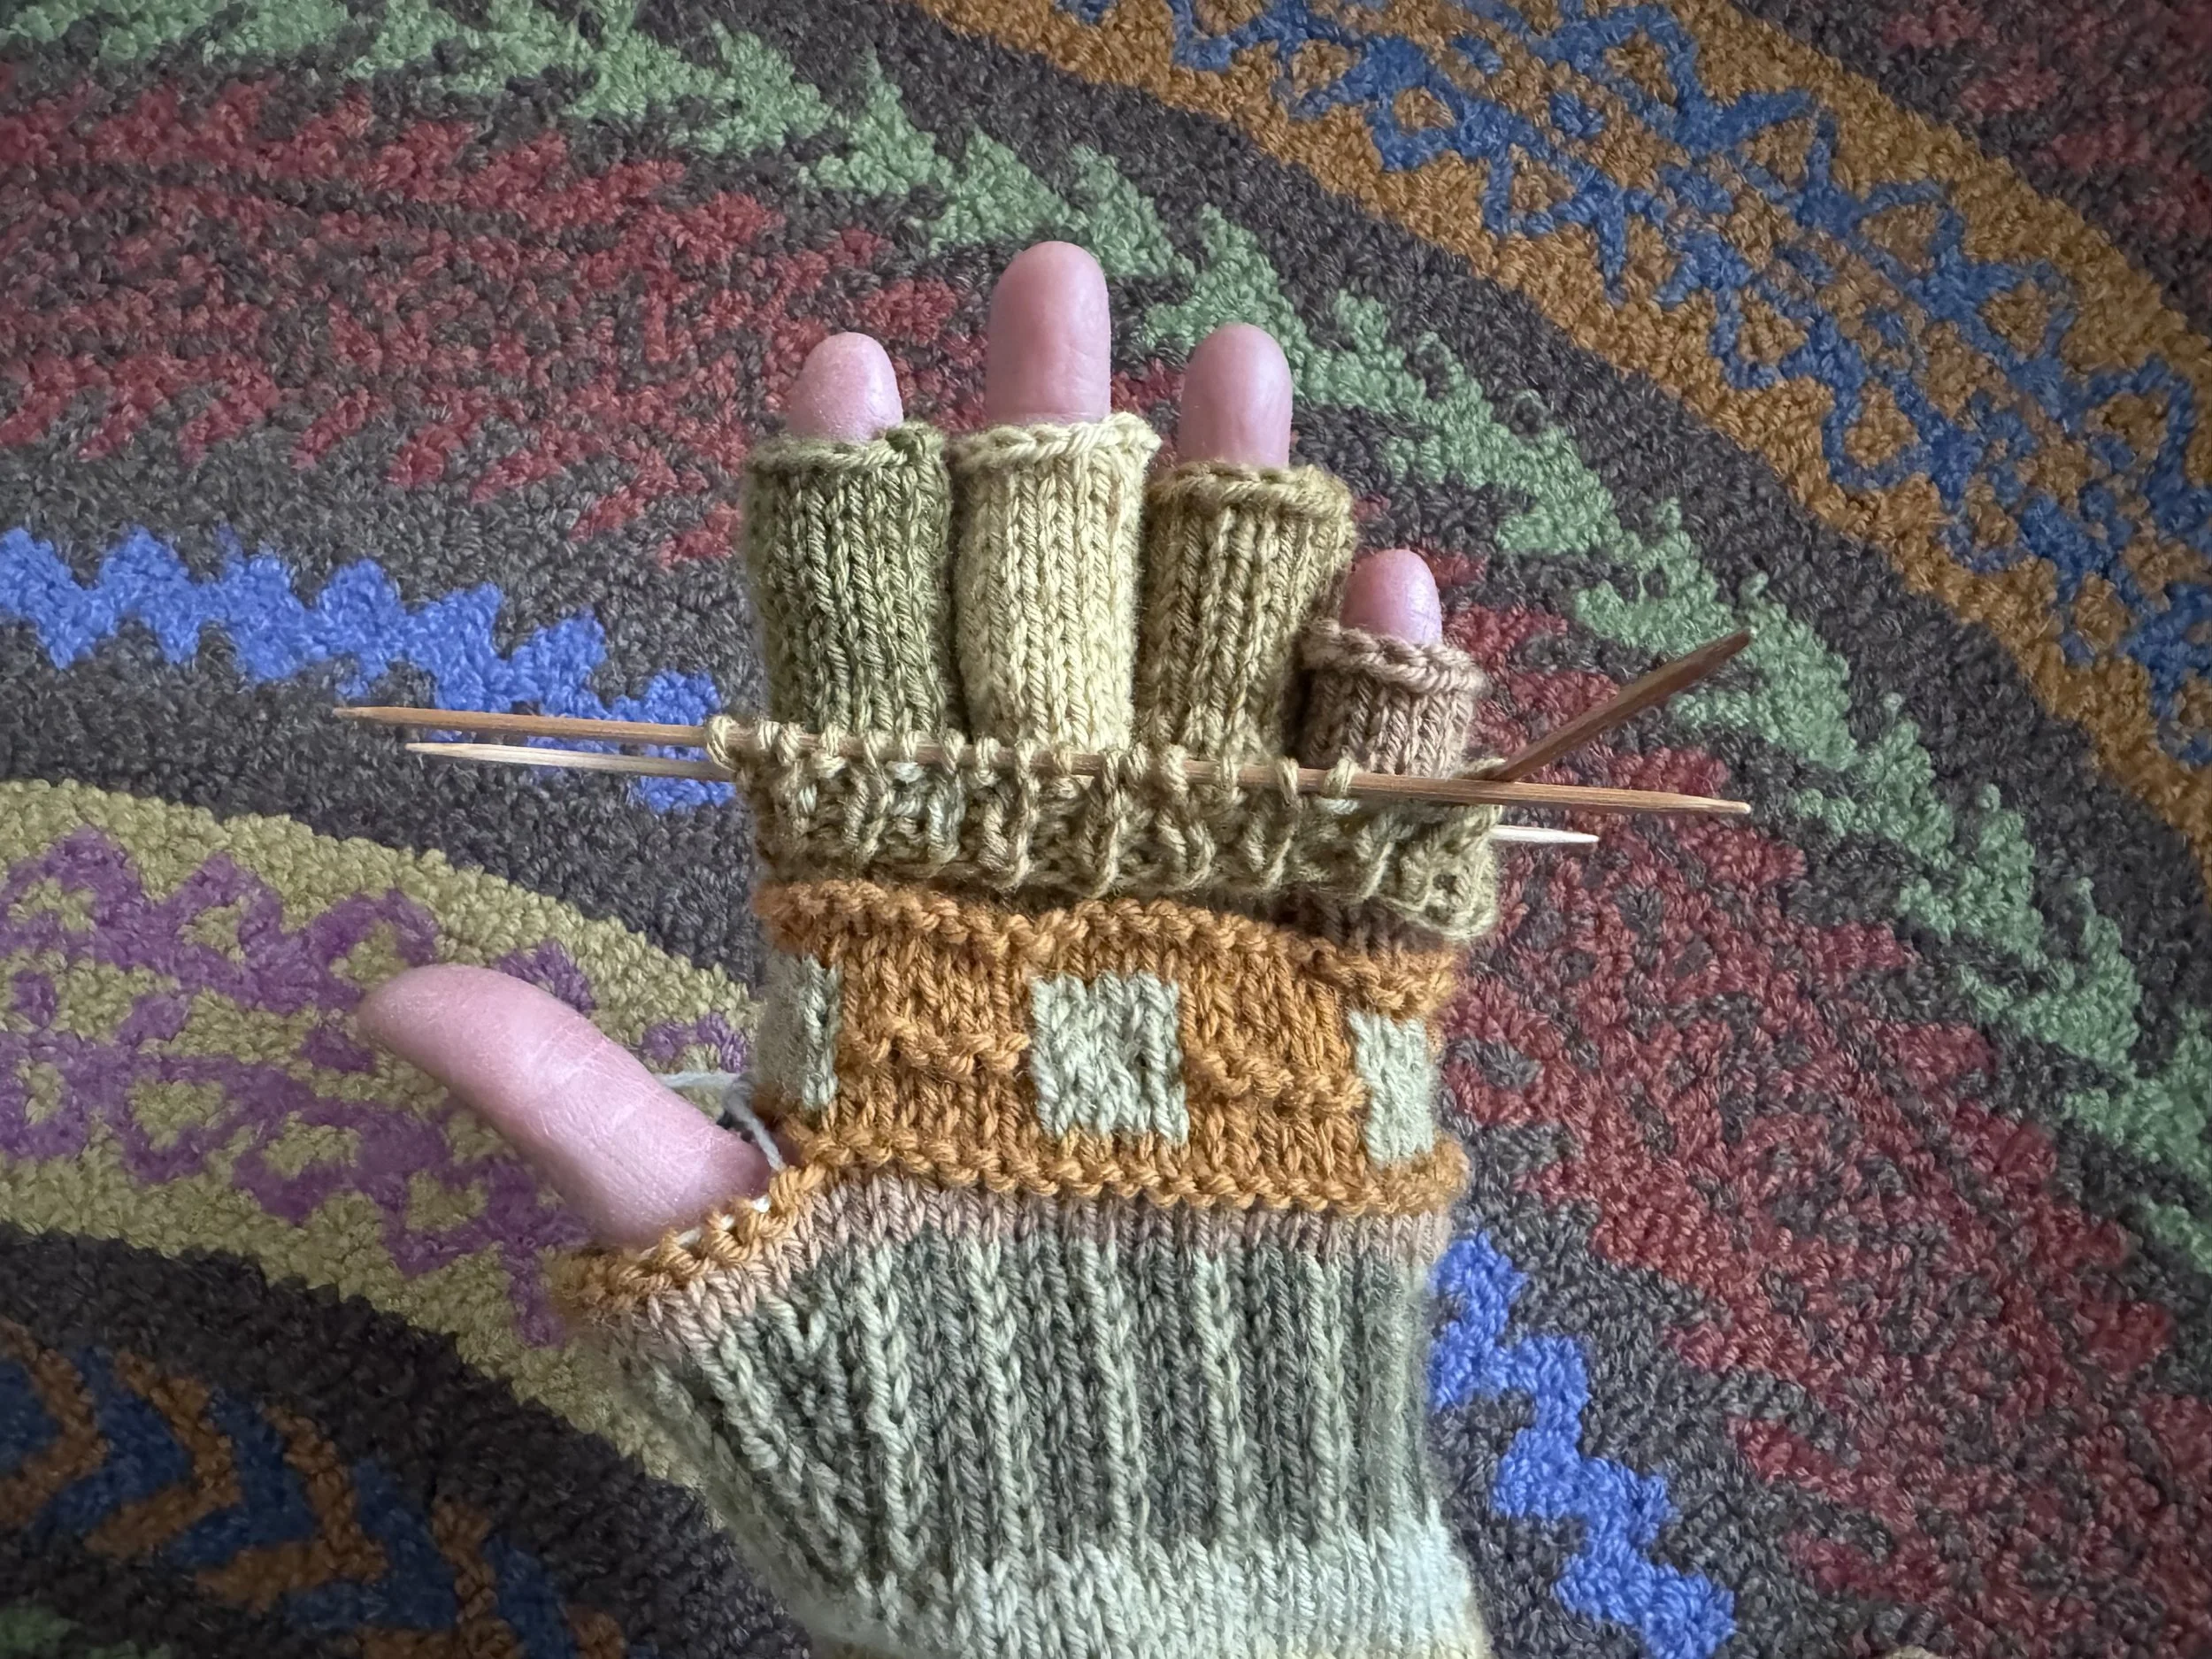
okay!
I think I am ready to get back to just happily following my chart. My old mittens seem to defer the top-of-hand decreases until near the bitter end, and I will follow in their footsteps. It makes sense to do so - there is so much bulk here that a sloped decrease would borrow trouble. Those fingers have already shown that they have minds of their own, and I will do some sever decreasing after I have knitted above and beyond them.
-
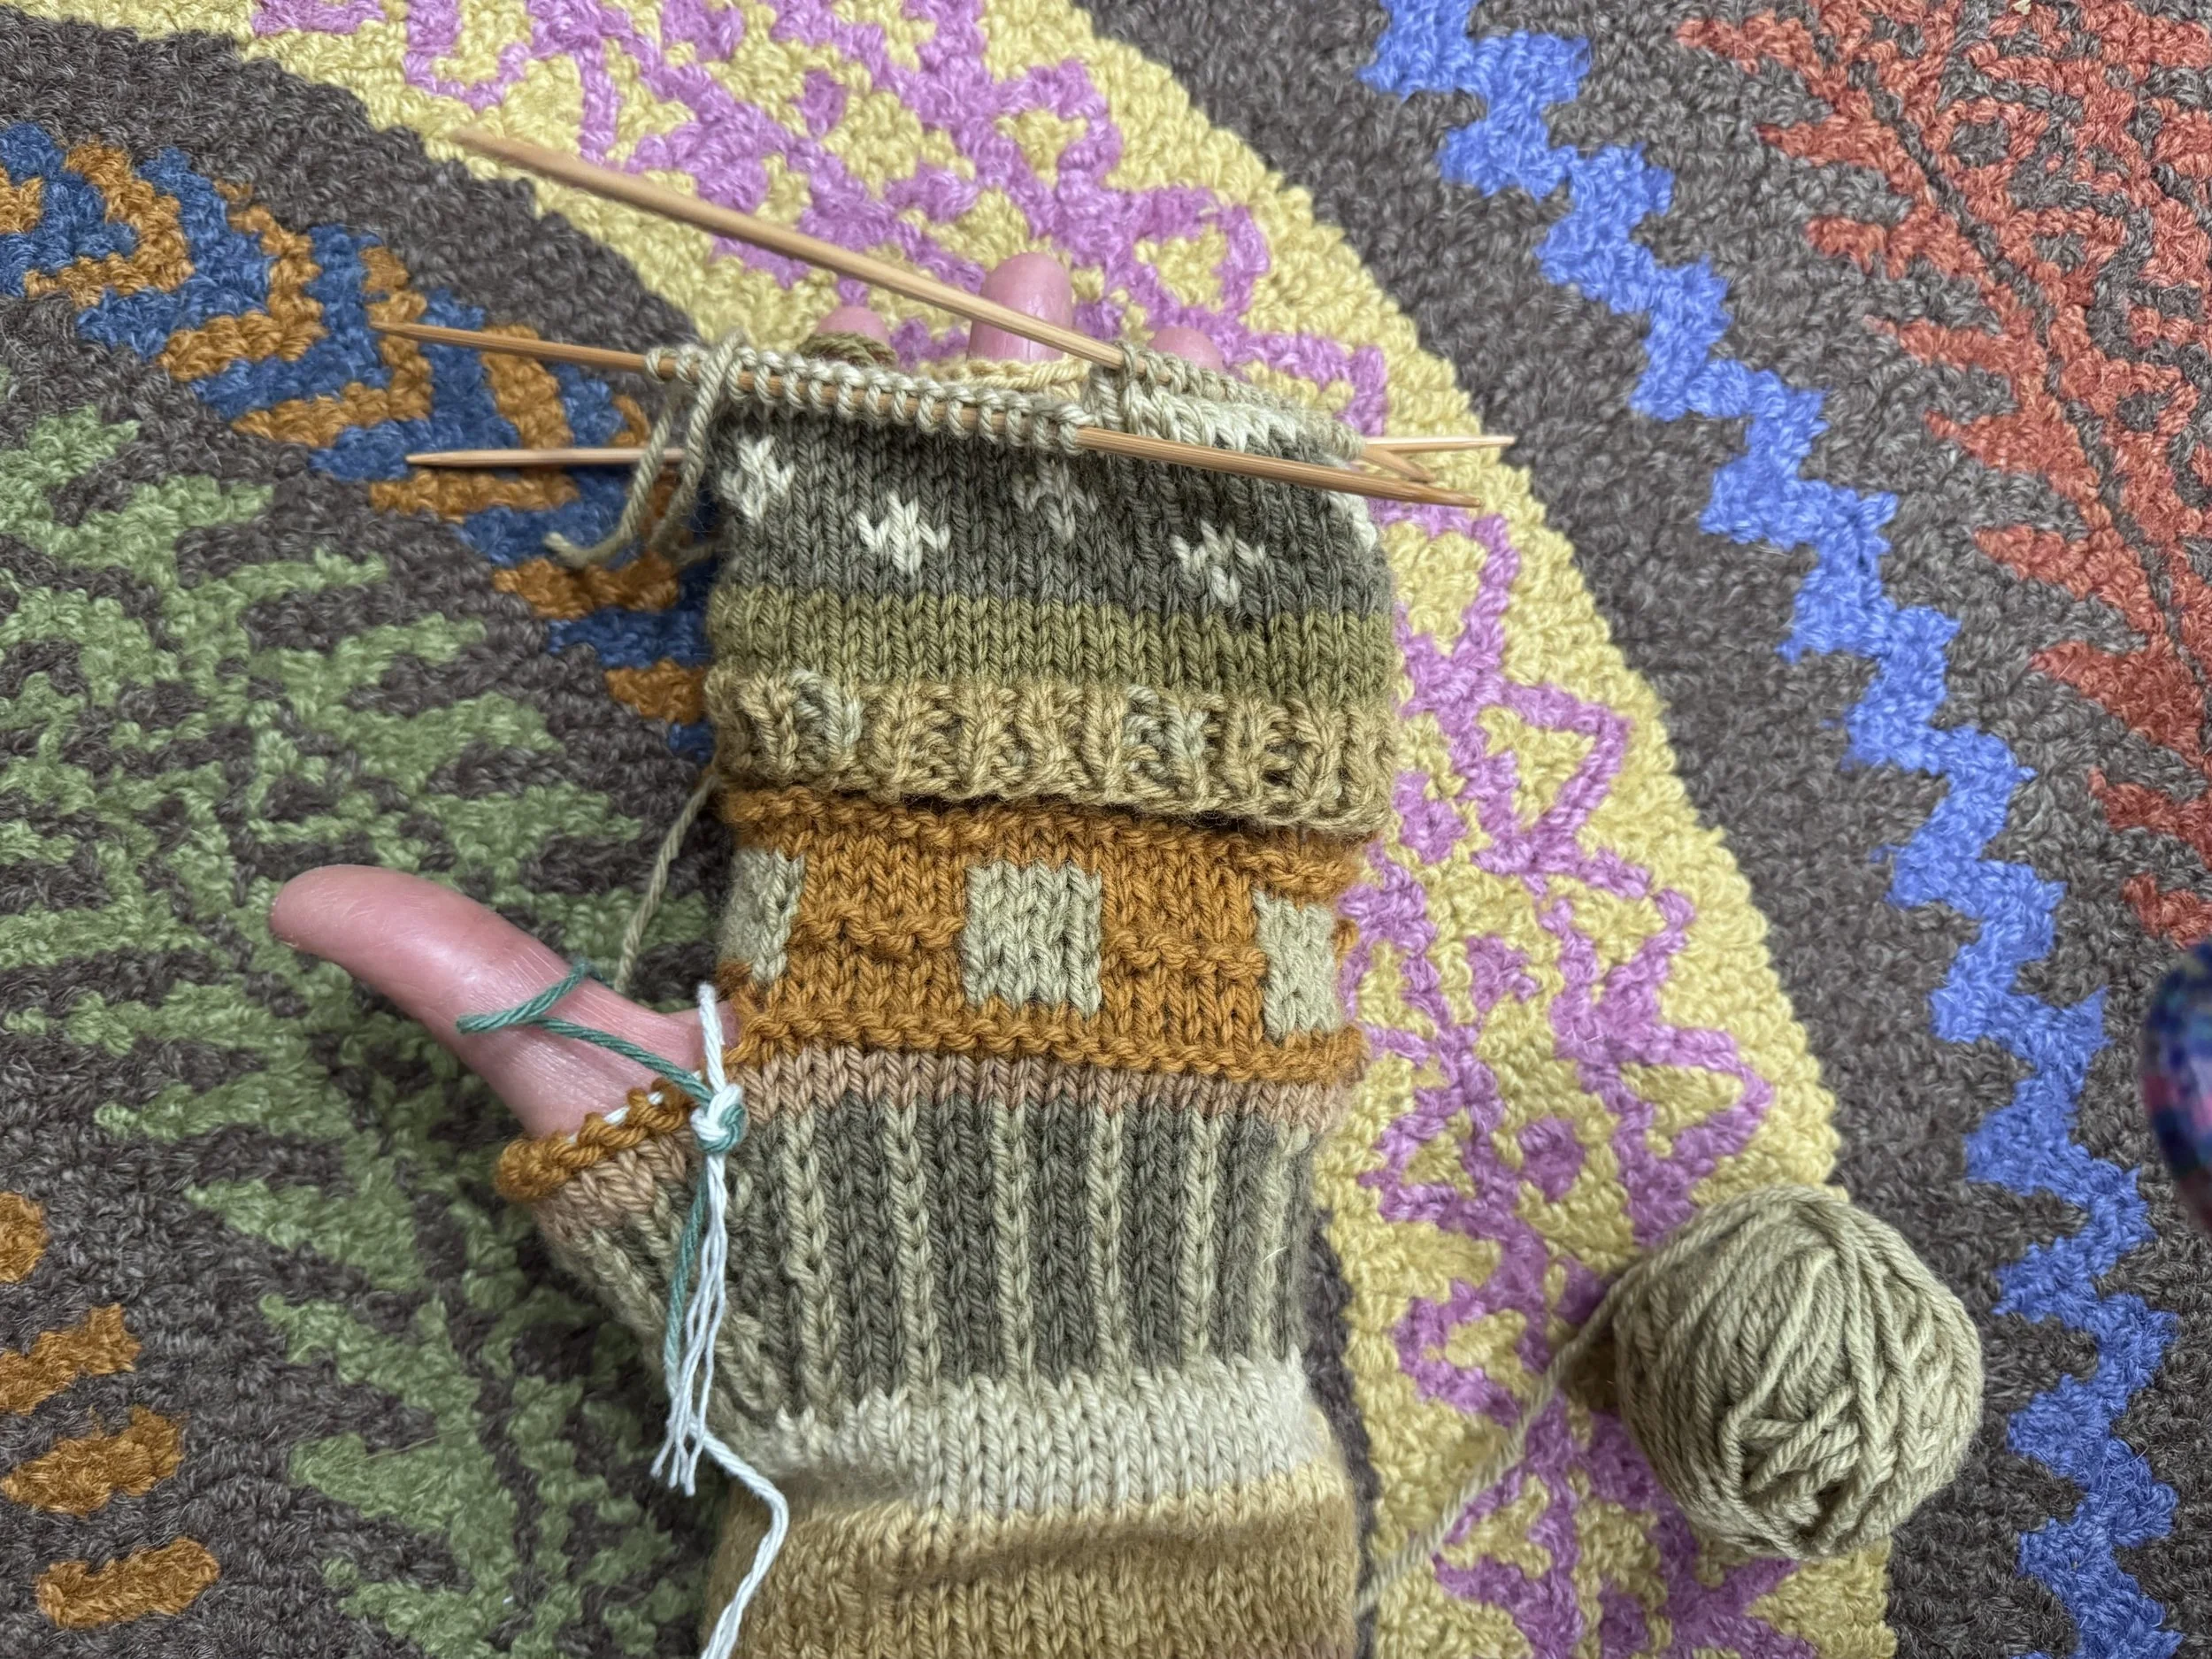
ready for the top
It looks like my old mittens have 4 decreases on every round, 2 at each side of the mitten. So I will work as follows:
ssk, k21, k2tog; repeat.
ssk, k19, k2tog; repeat.
Continue with ssk, k 2 fewer than last round, k2tog; repeat, until there are 6 stitches left. Break yarn, thread through blunt needle, weave through live stitches twice, and fasten off.
-
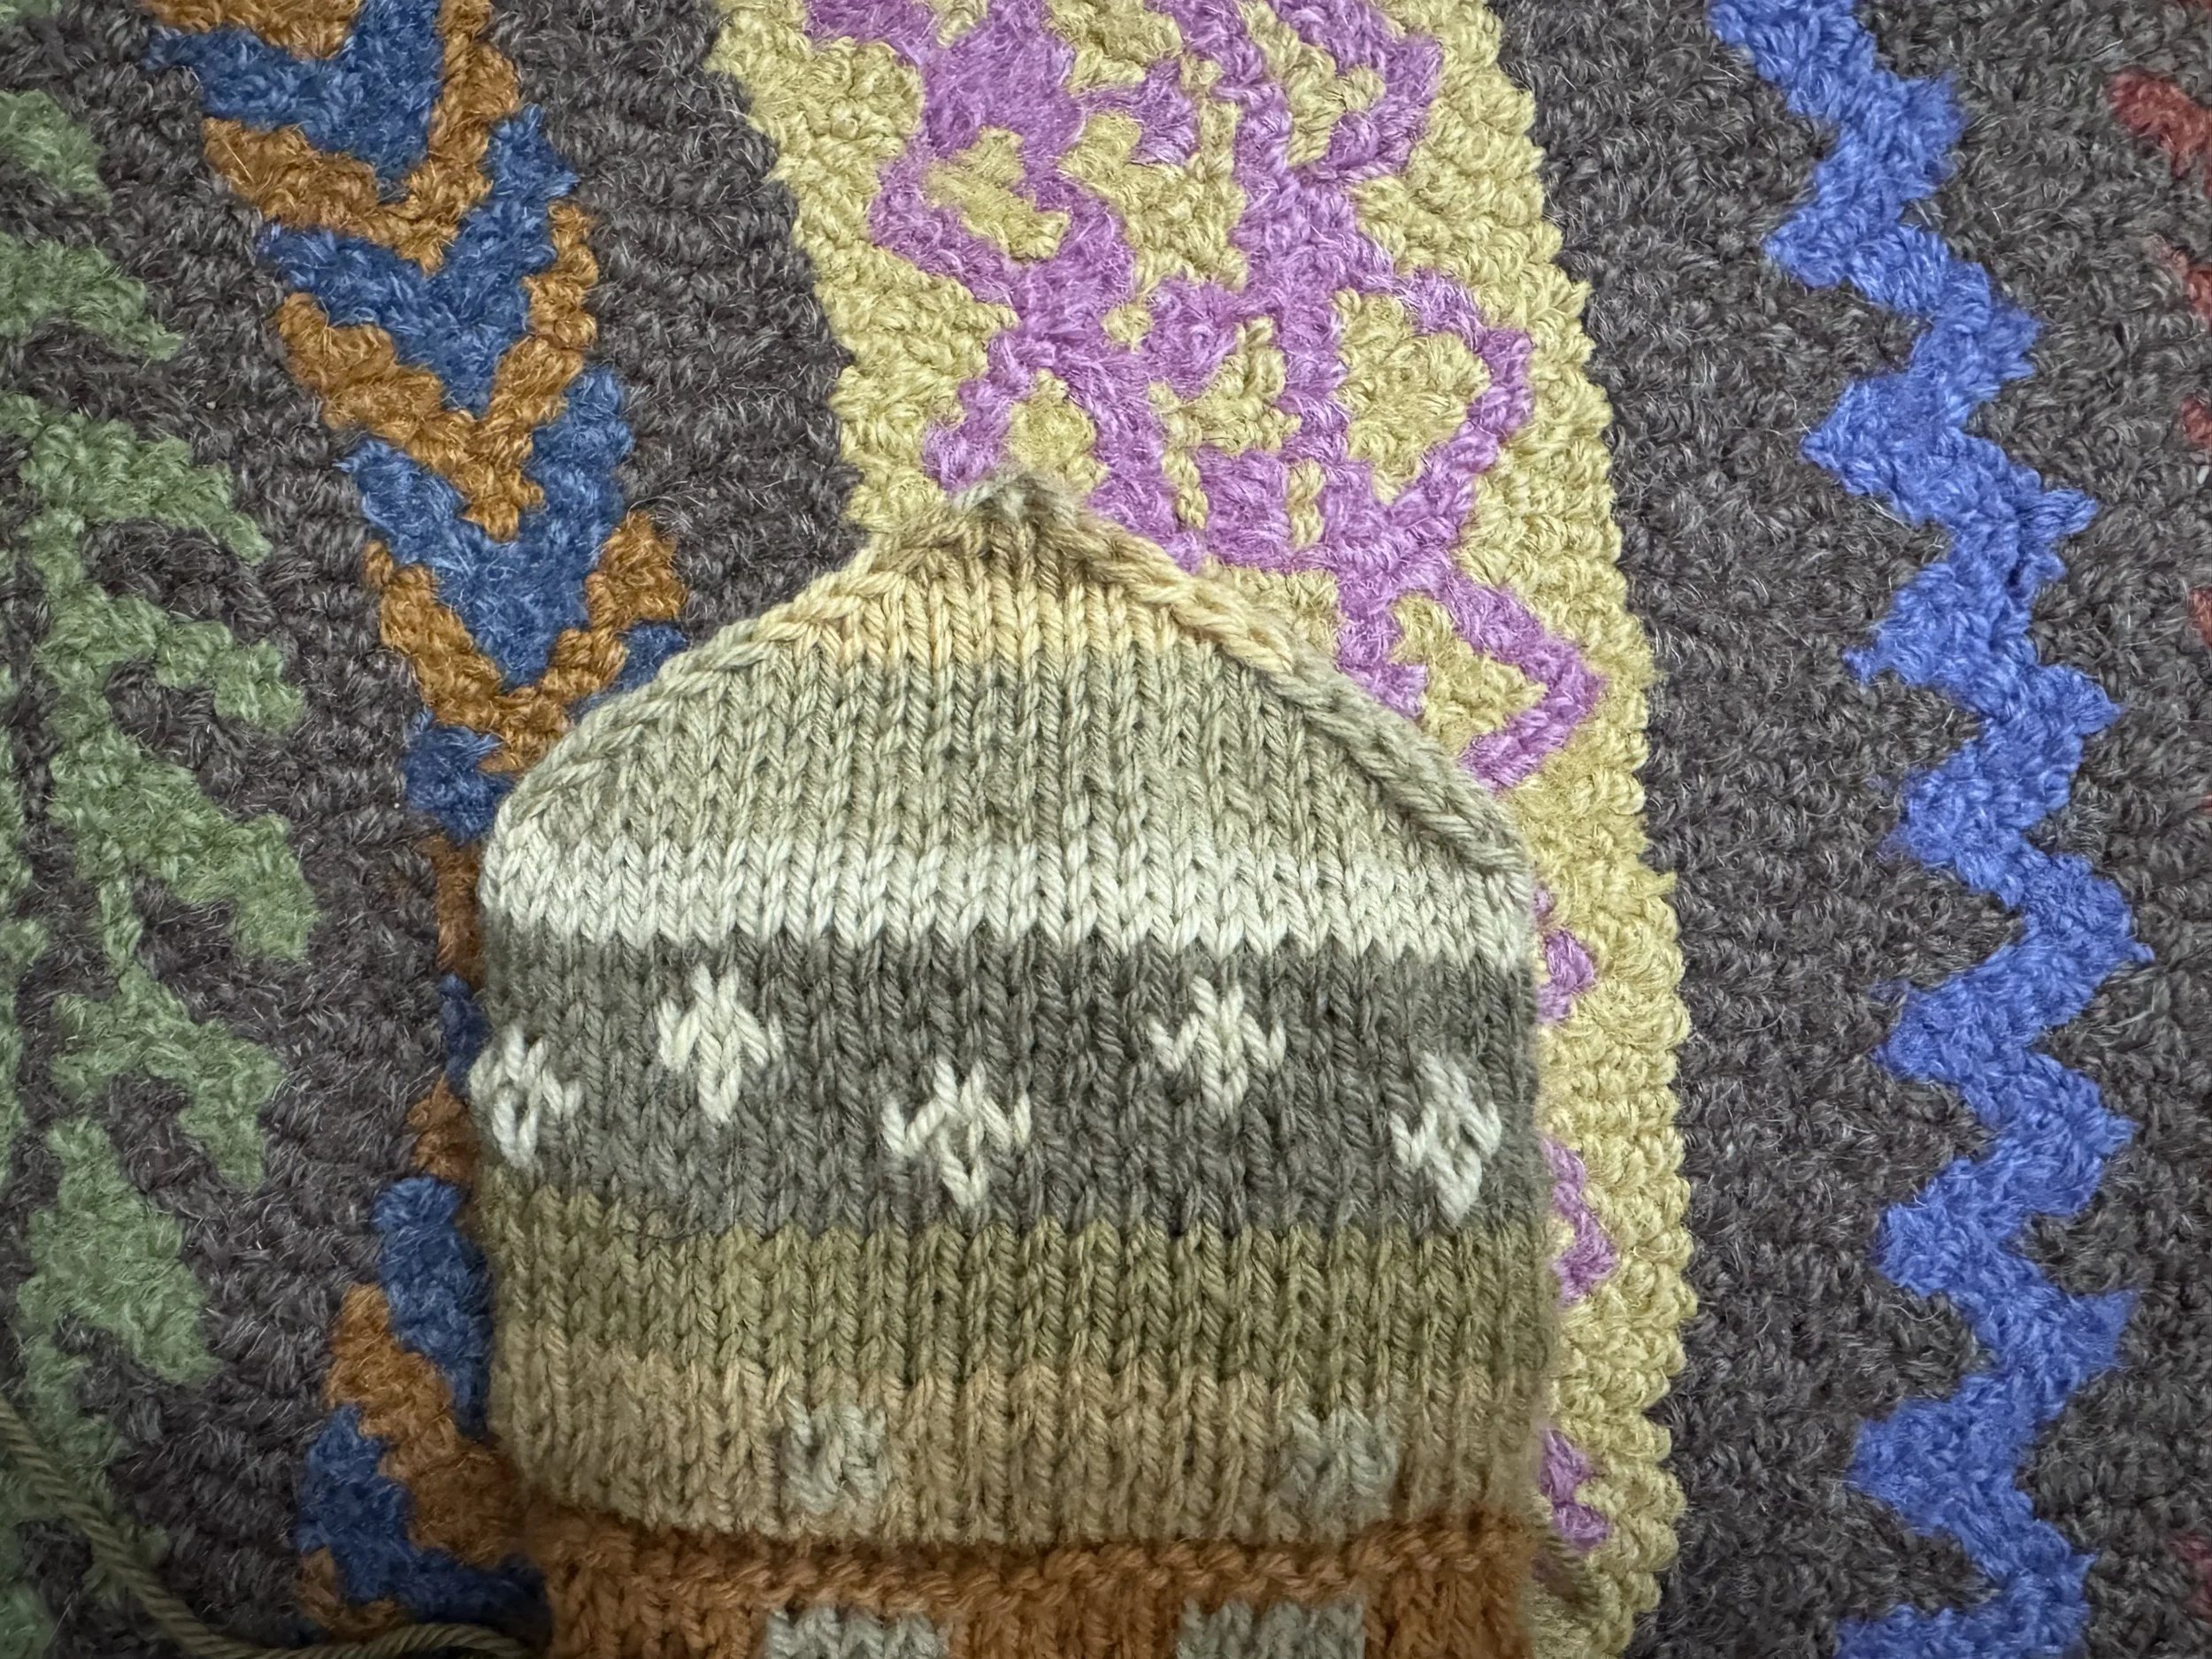
that worked pretty well
I maybe should have worked one round even after my first set of decreases, because I ran out of stitches with my last color. I am going to accept it and move on.
-
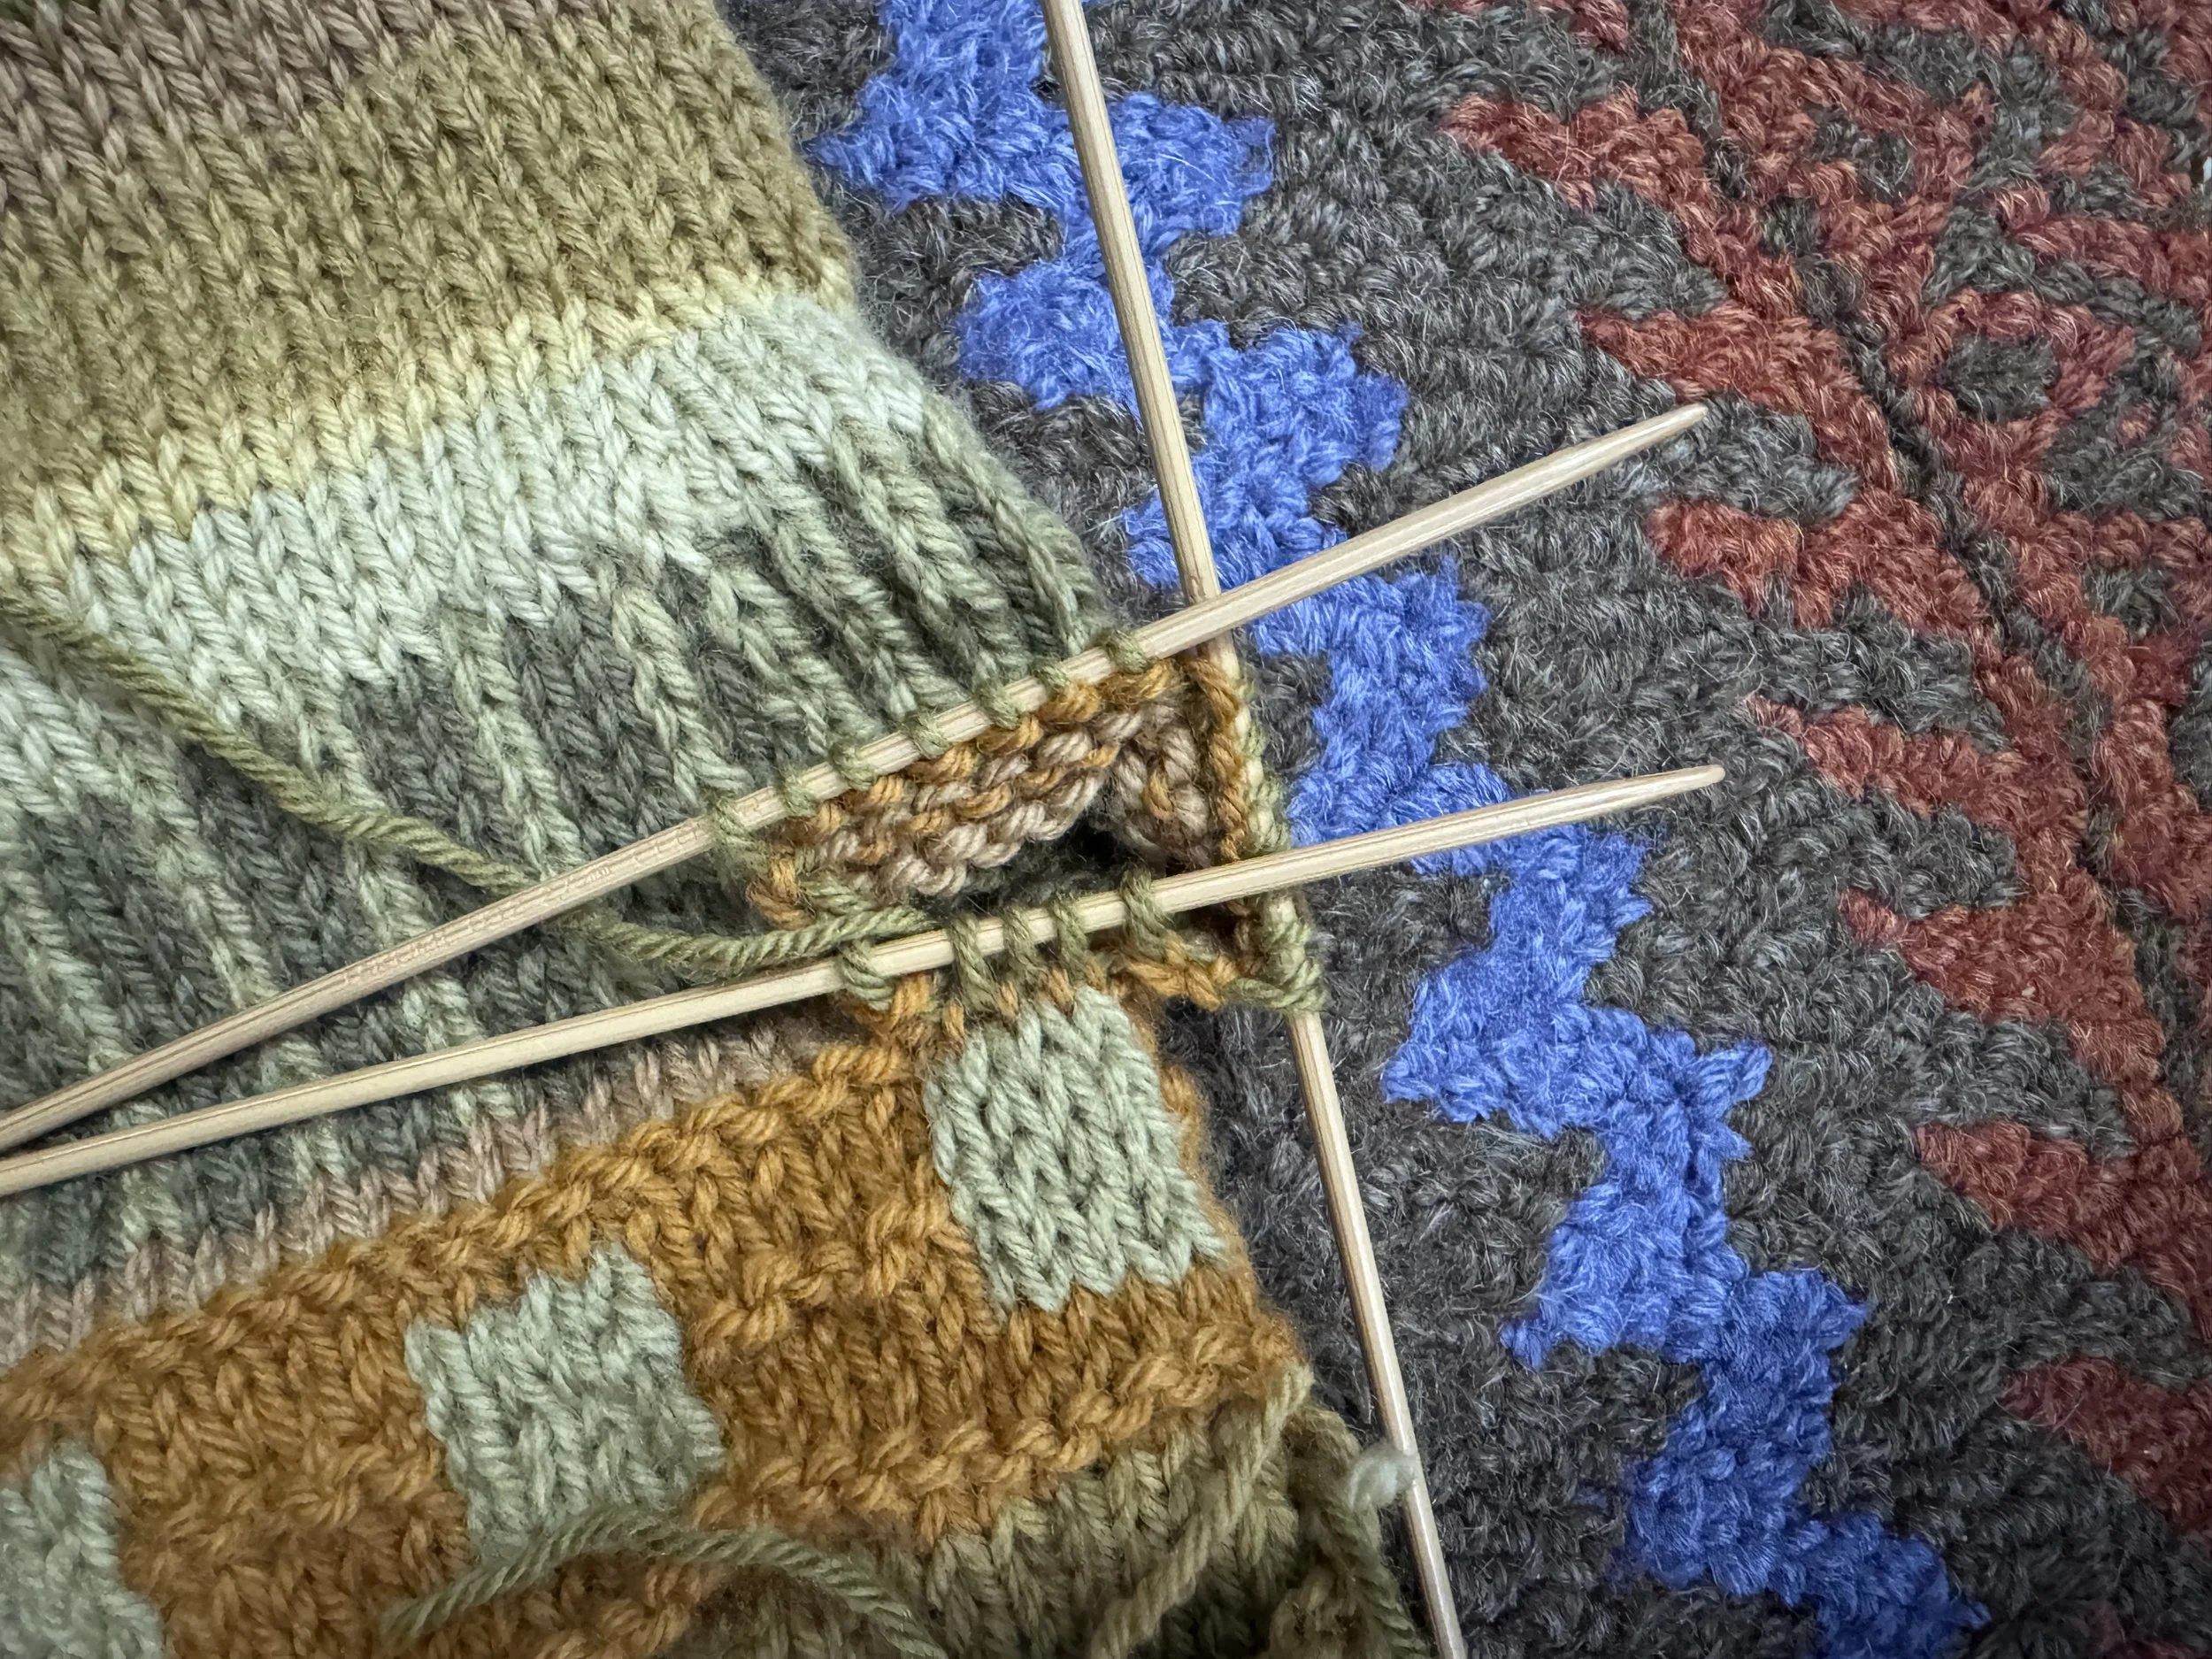
thumbs
For the thumb, I picked up the 15 stitches that were waiting on the waste yarn. I knitted them and then picked up 5 stitches in that gap: Three are the stitches that I cast on and the other two are sandwiching the inner three. As with the extra finger stitches, I twisted the picked-up yarn before I knitted the extra stitches.
-
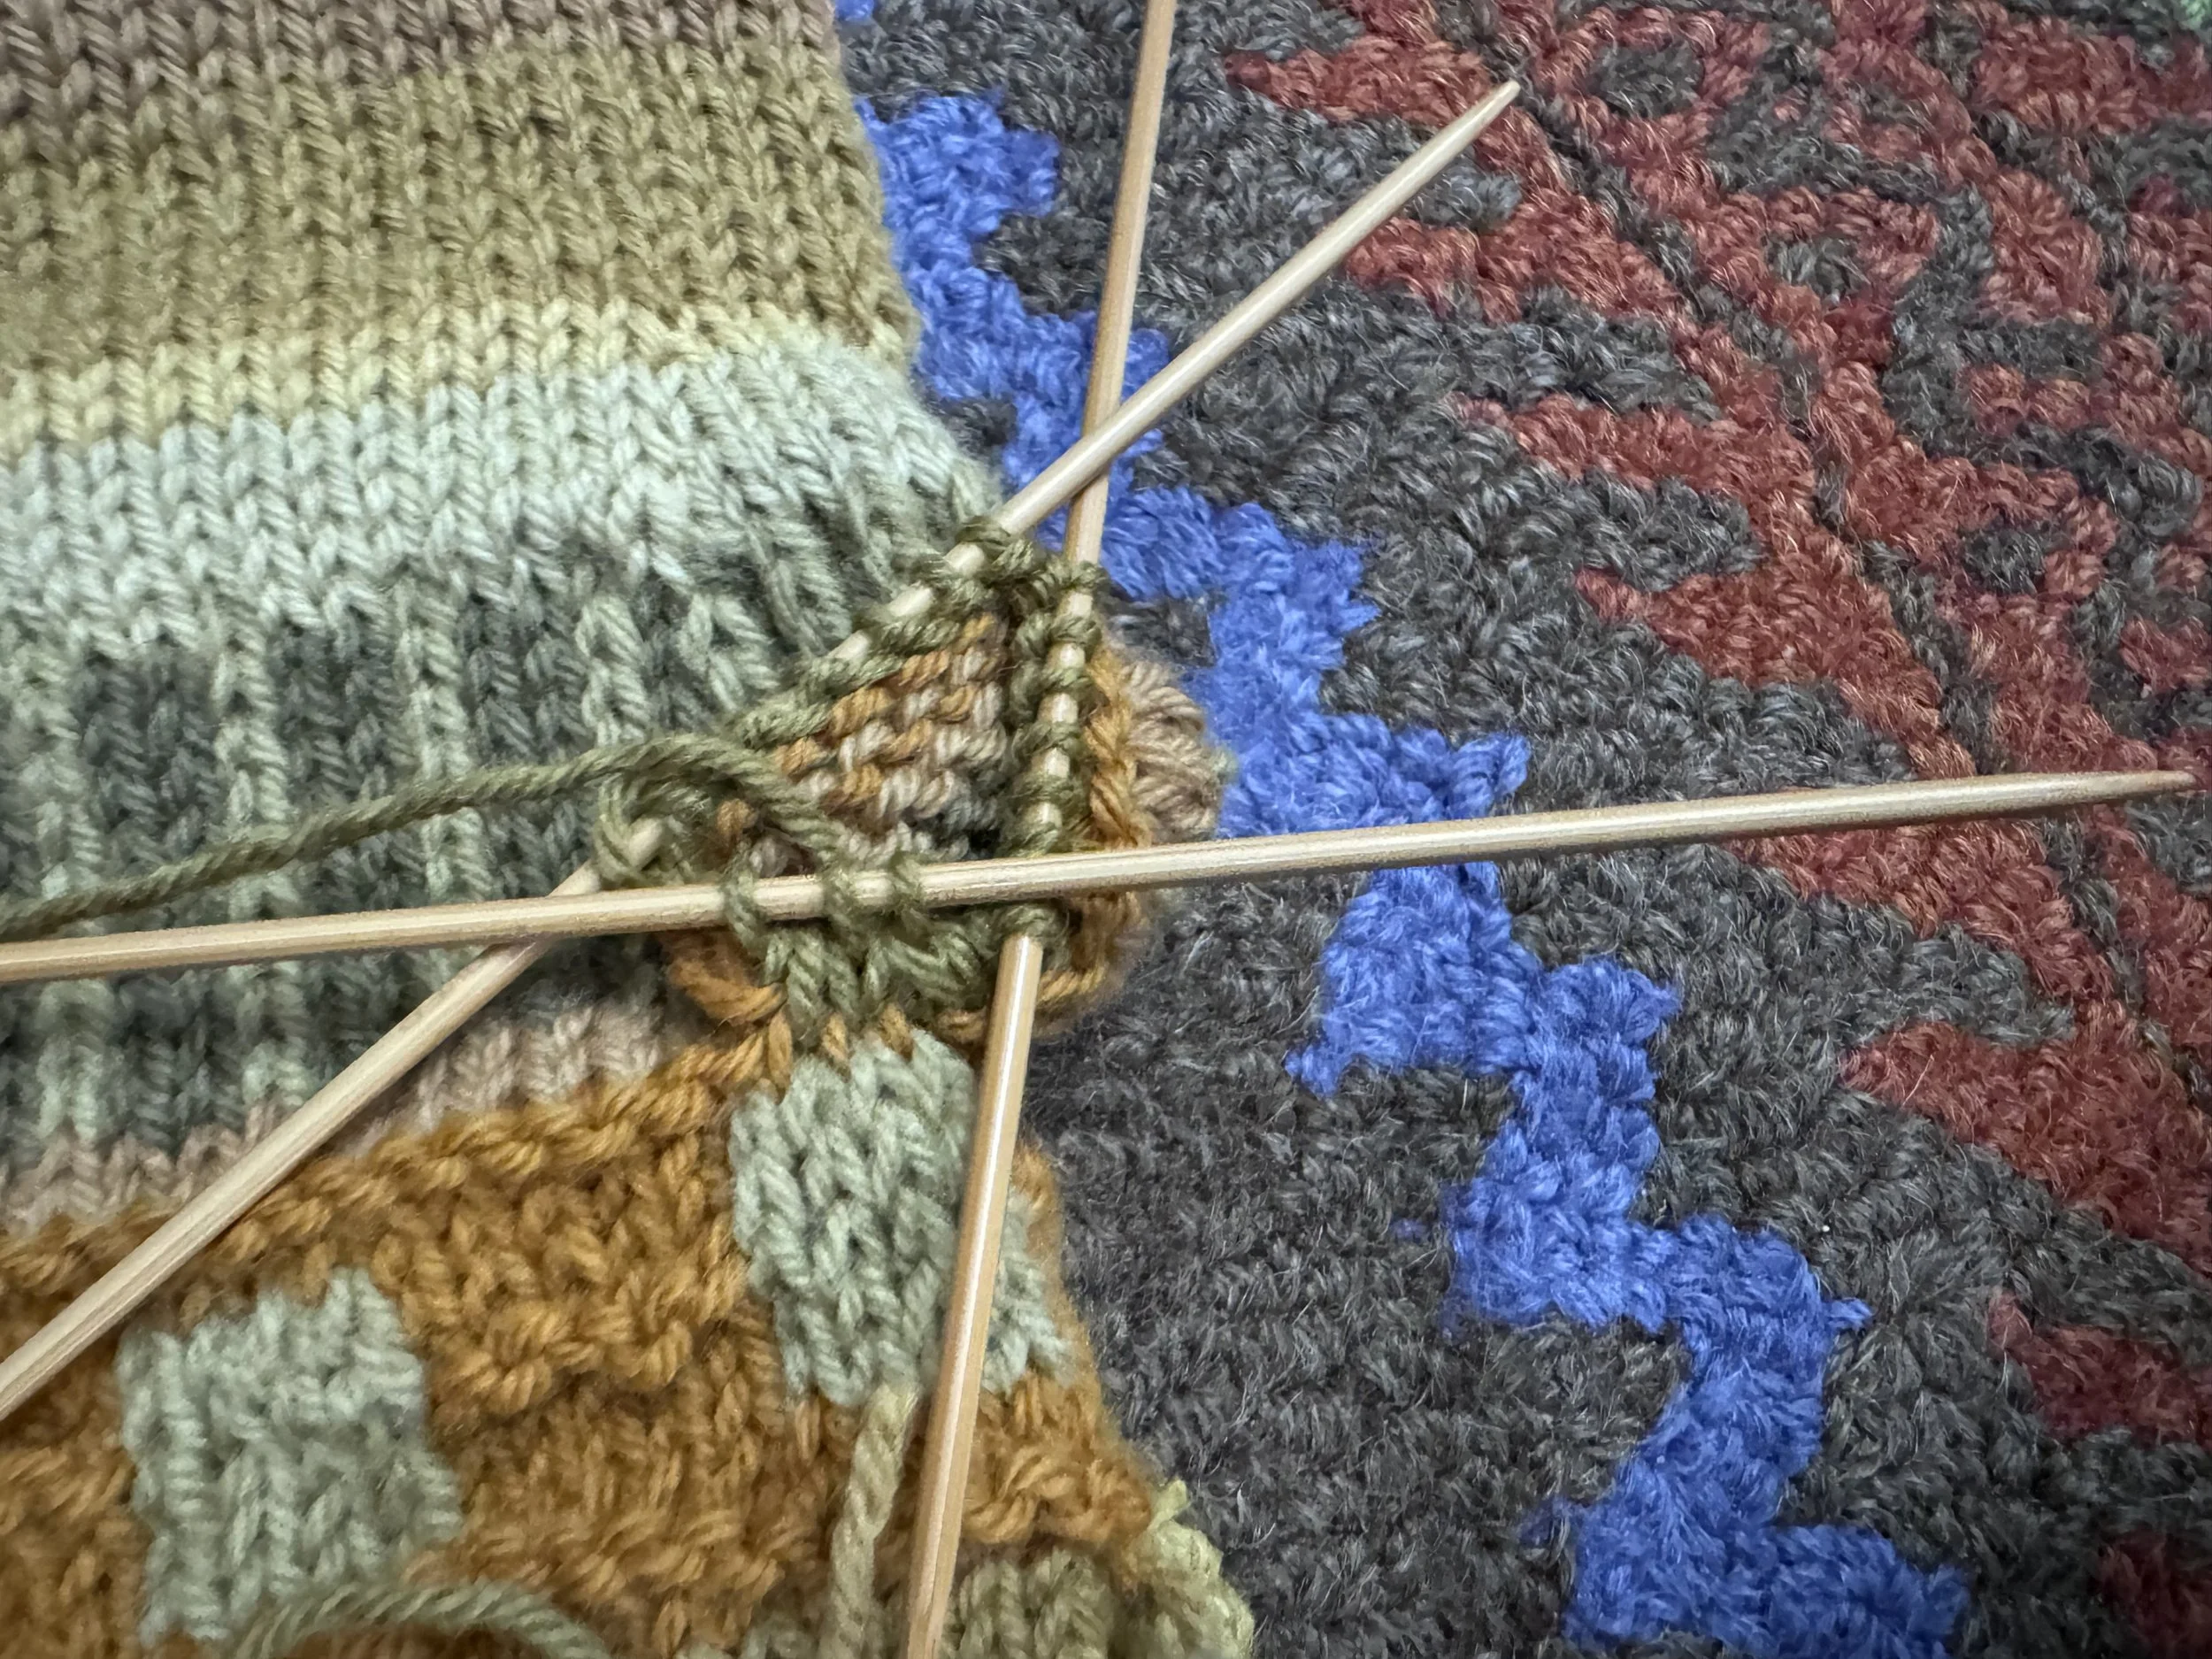
decreasing
On the next round, I knit my 15 stitches and then worked ssk, k1, k2tog. Now I only have the “original” 3 stitches; 18 stitches total.
I will rearrange the stitches now so that I have 6 stitches per needle.
-
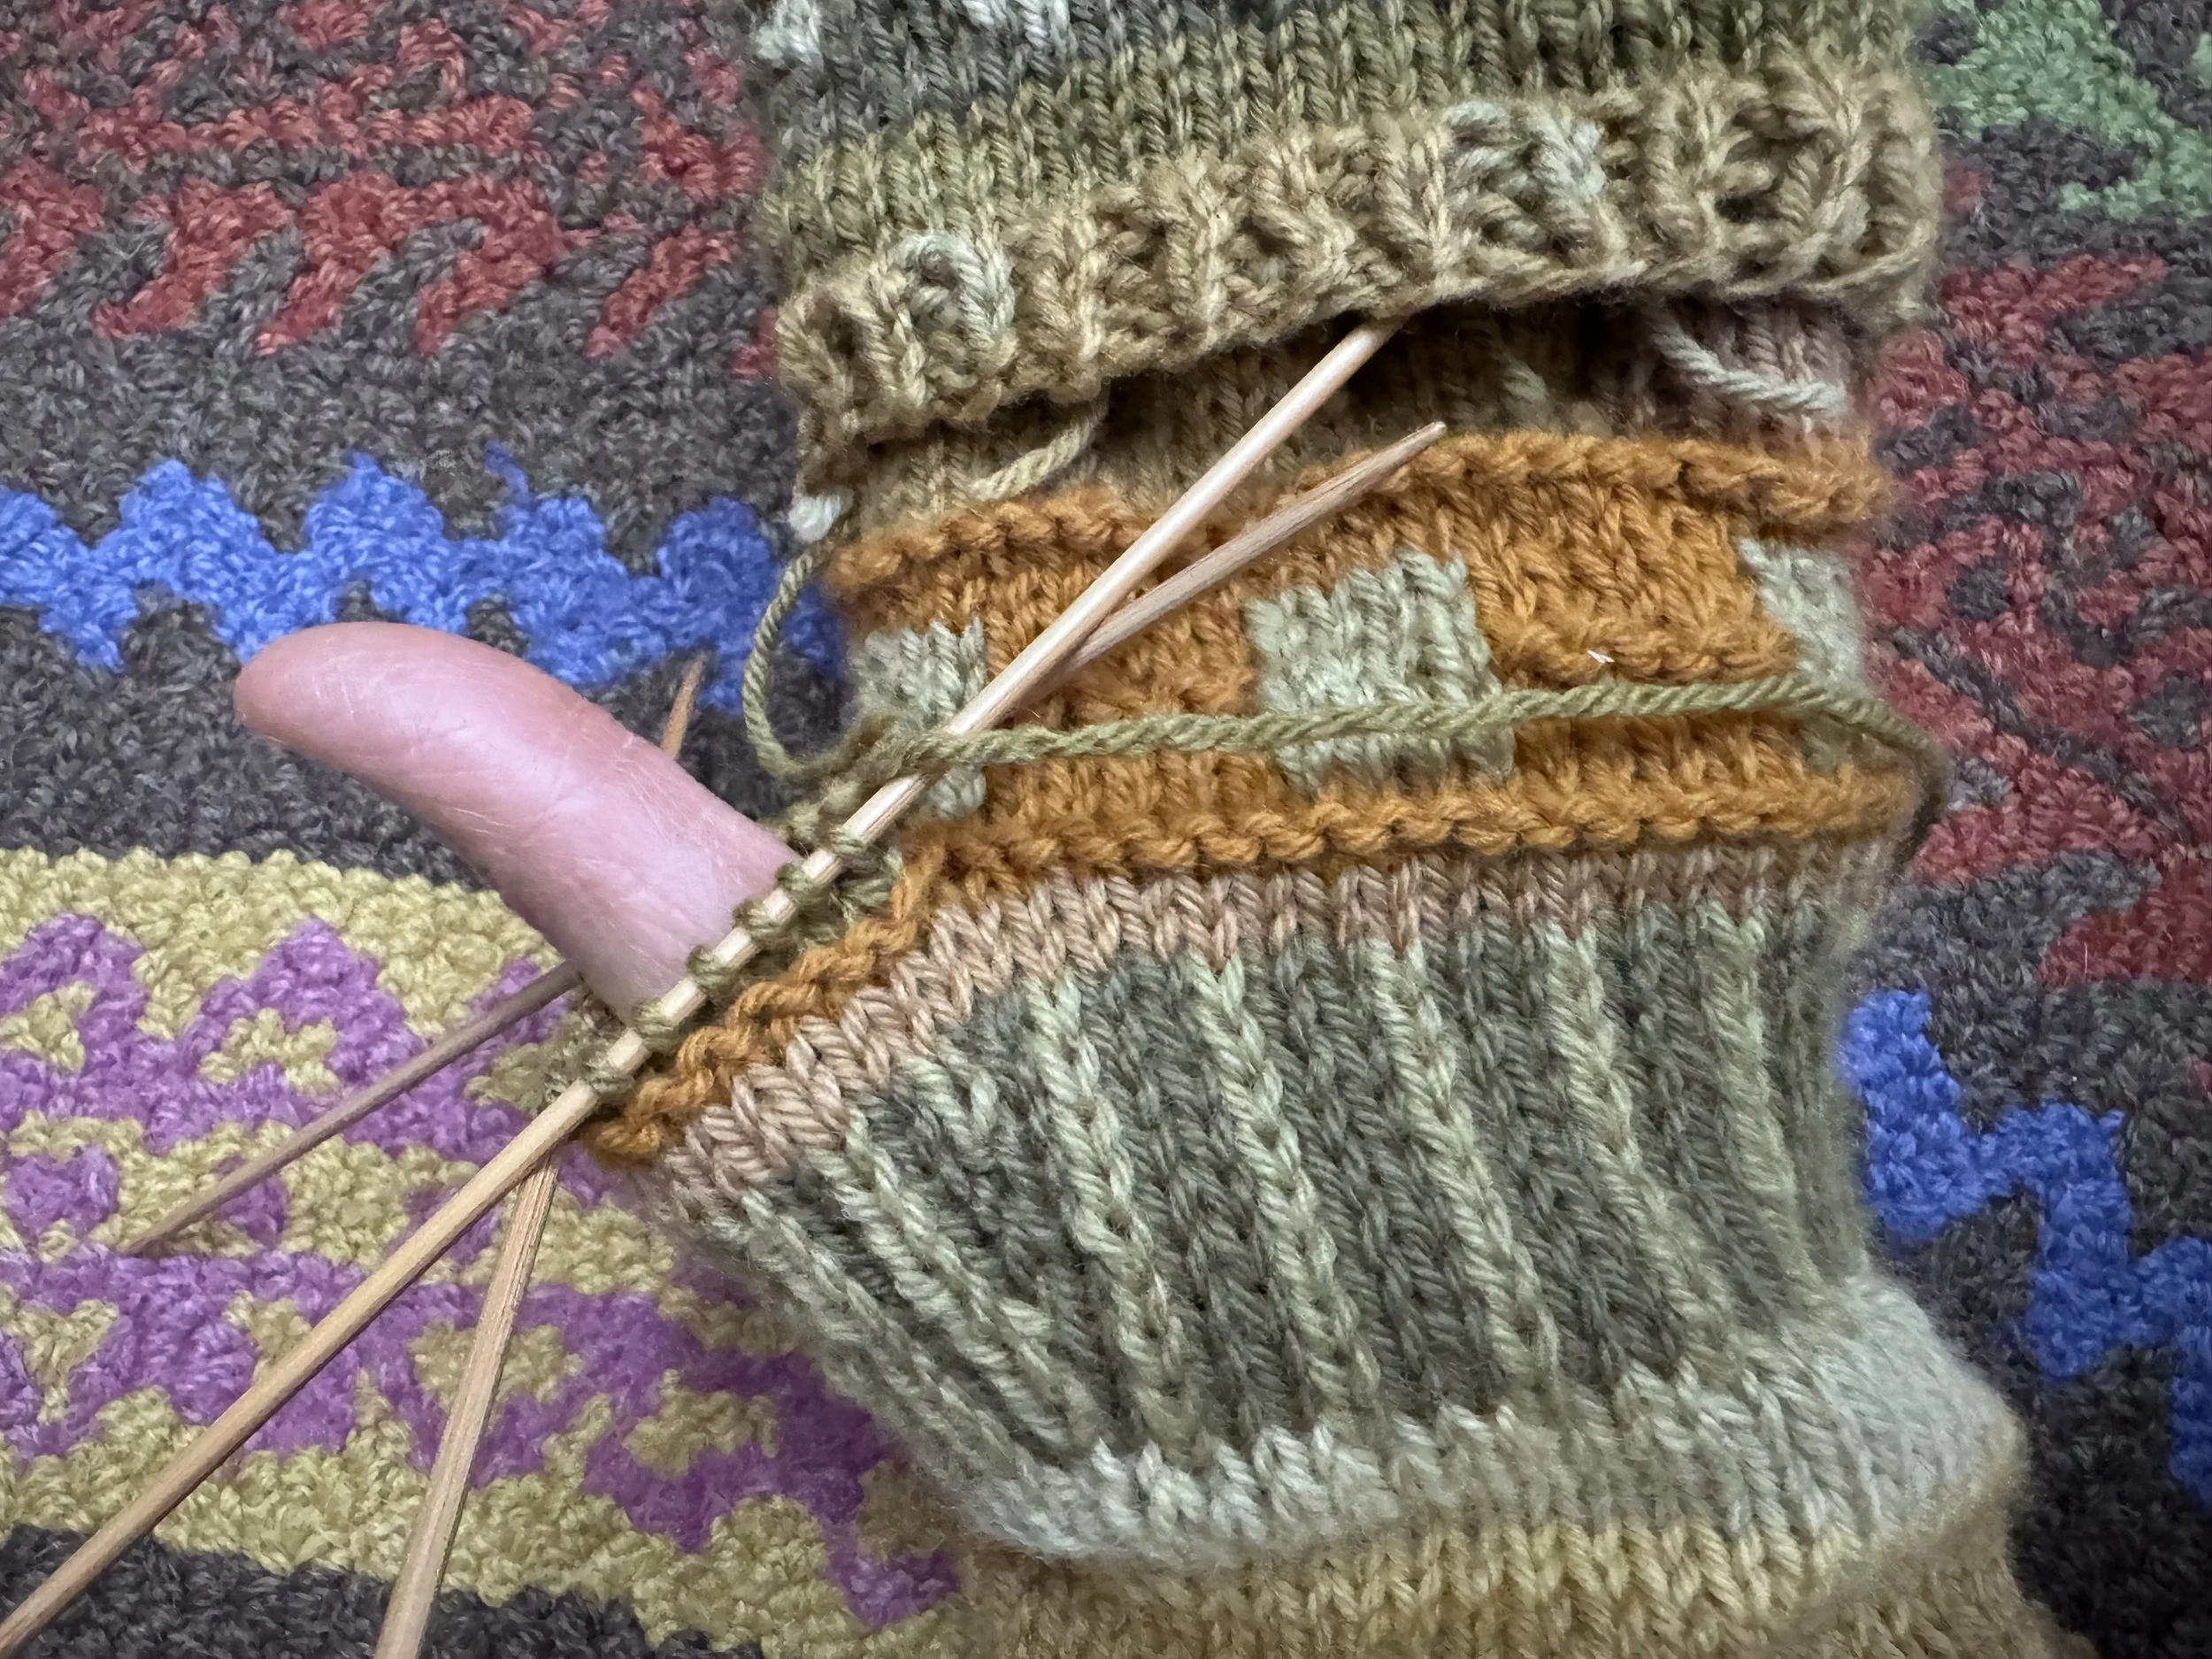
18 might be good
It is rather hard to tell at this point, but I might not need to decrease any more stitches. I was thinking that I might need to decrease 2, but the thumb seems to be a nice size, so I will keep all 18.
My old mittens had a hole (intentional) in the middle of the thumb but I am not going to replicate that. The fabric was weak around the hole and tore quickly, and even when it was new, the opening created quite a draft on a cold day.
-
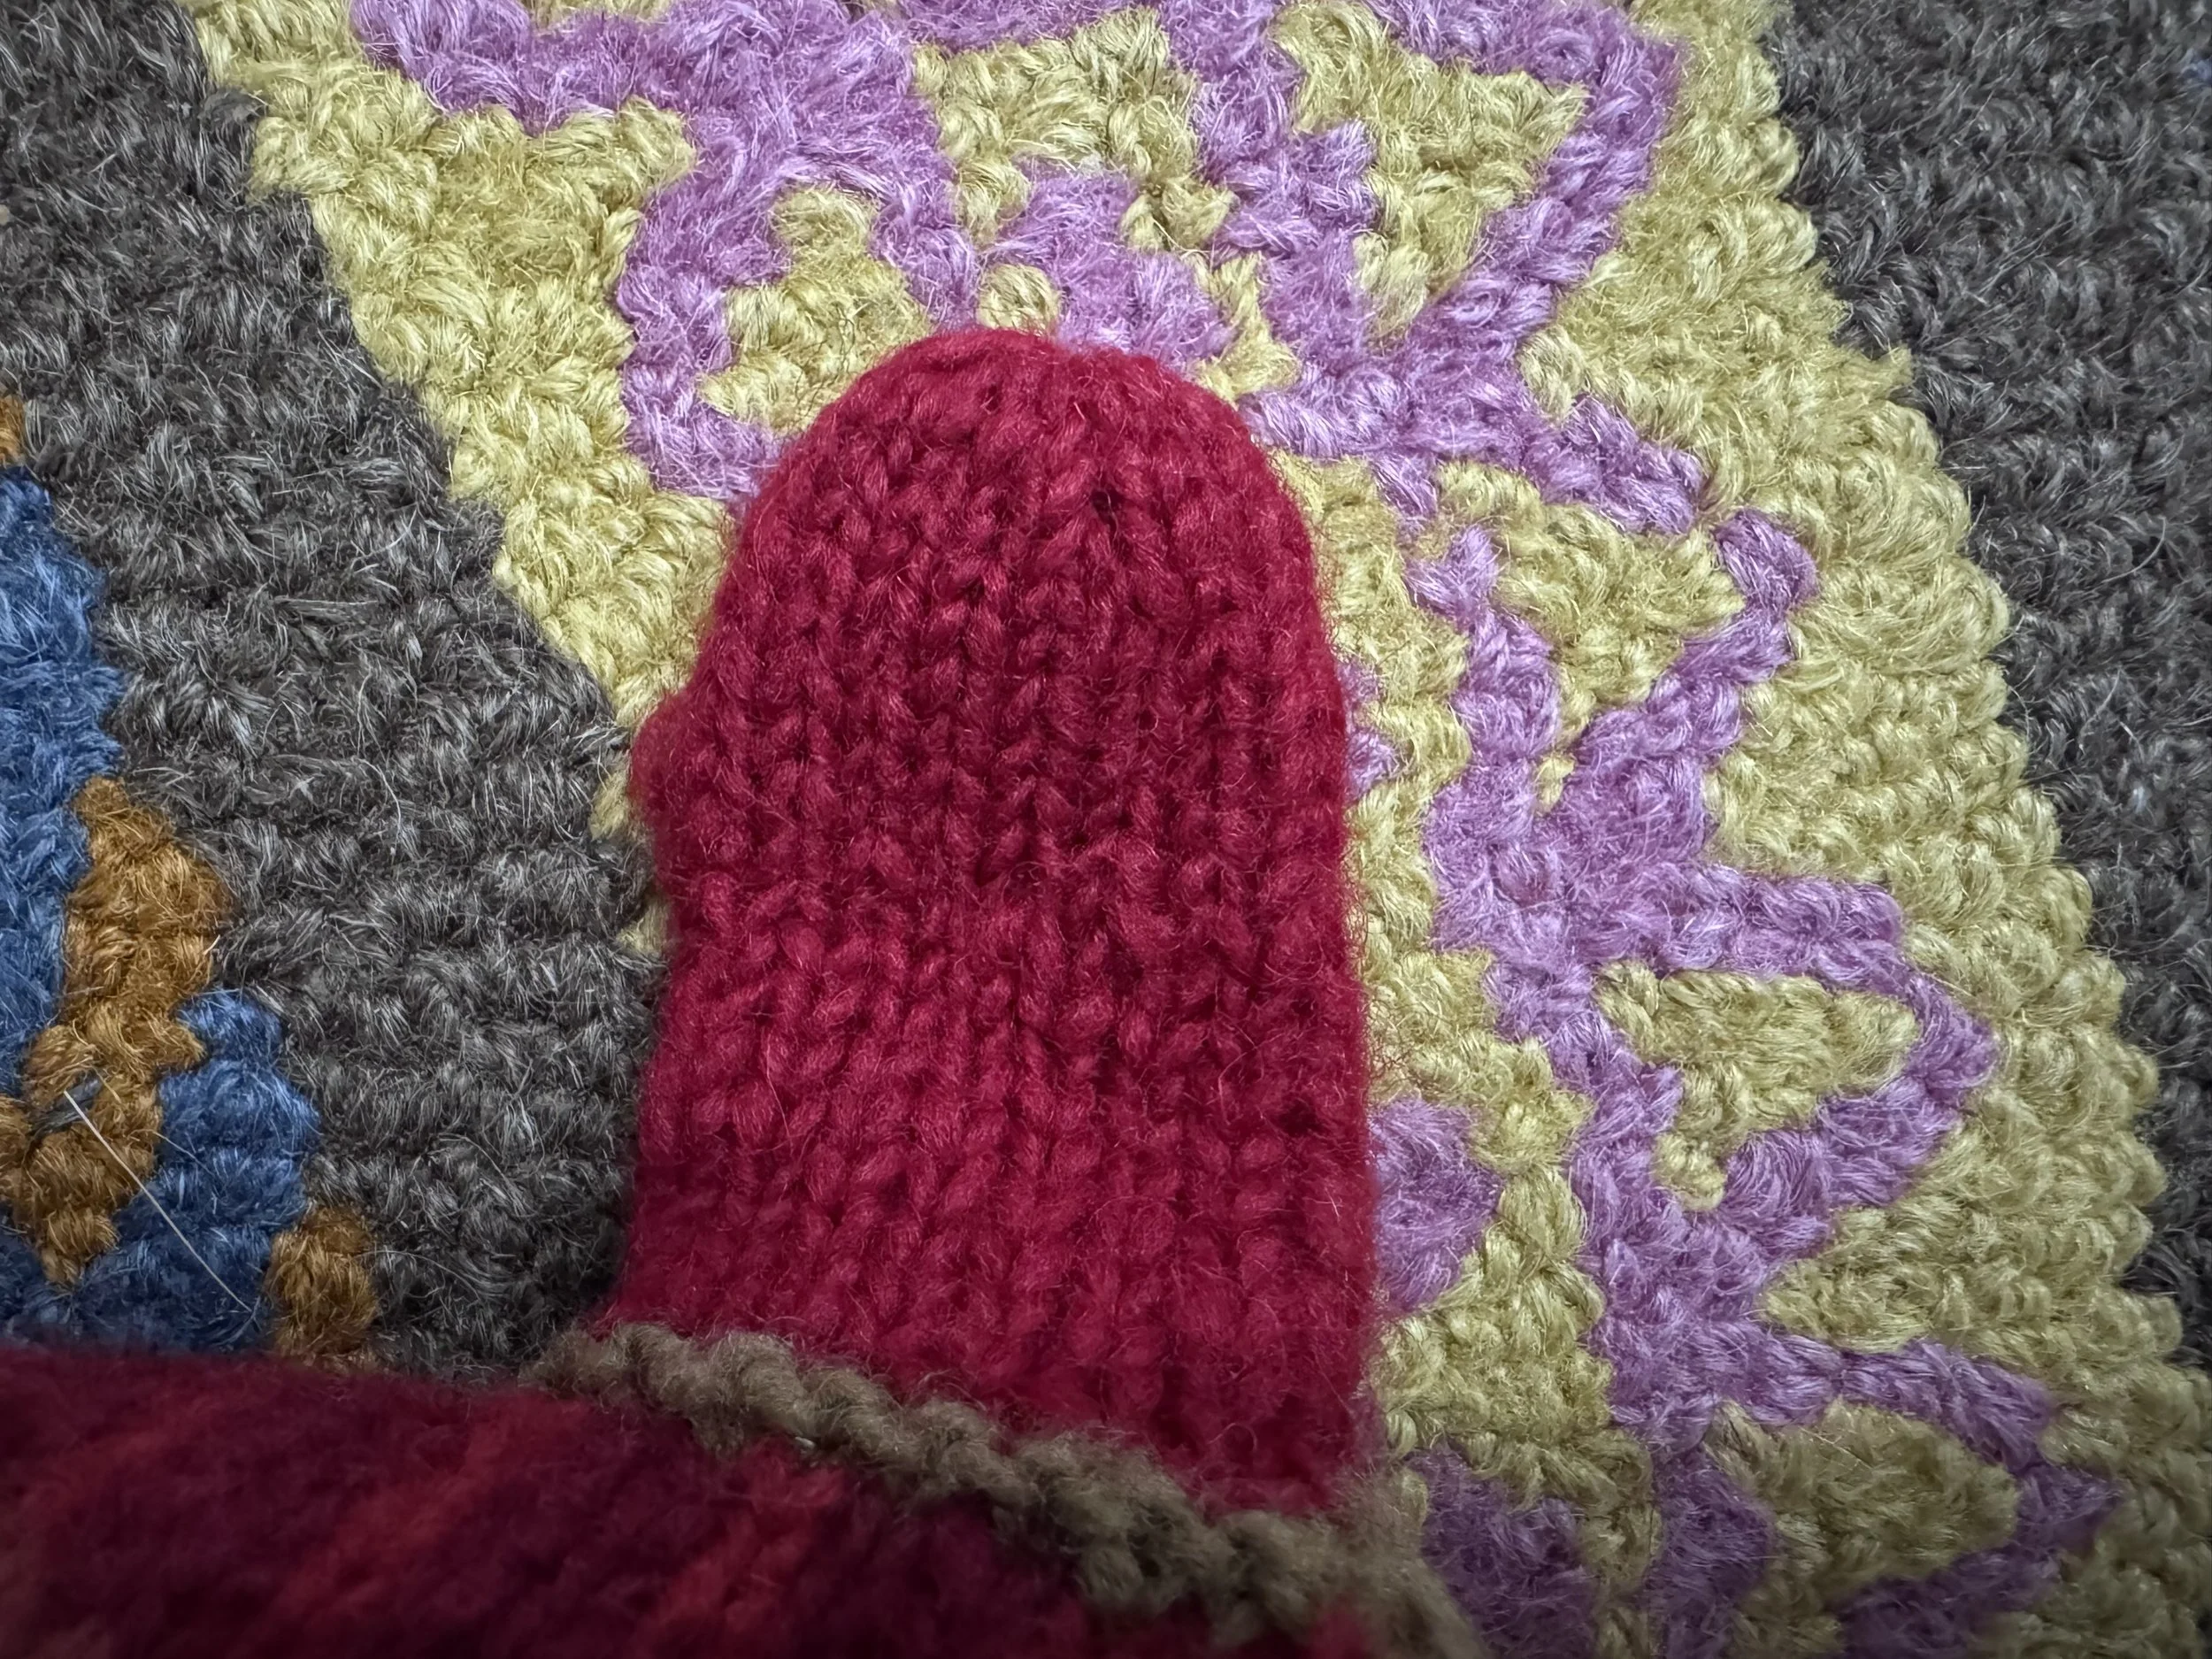
thumb top
The old thumbs seem to have only 2 sets of decreases, every round, on opposite edges of the thumb. They seem to start on round 17. There are only 15 stitches, not 18, on these thumbs, so I guess I need to think for myself here.
I will work 3 sets of decreases per round starting on round 17, (1 decrease every 6 stitches) and see what happens.
-
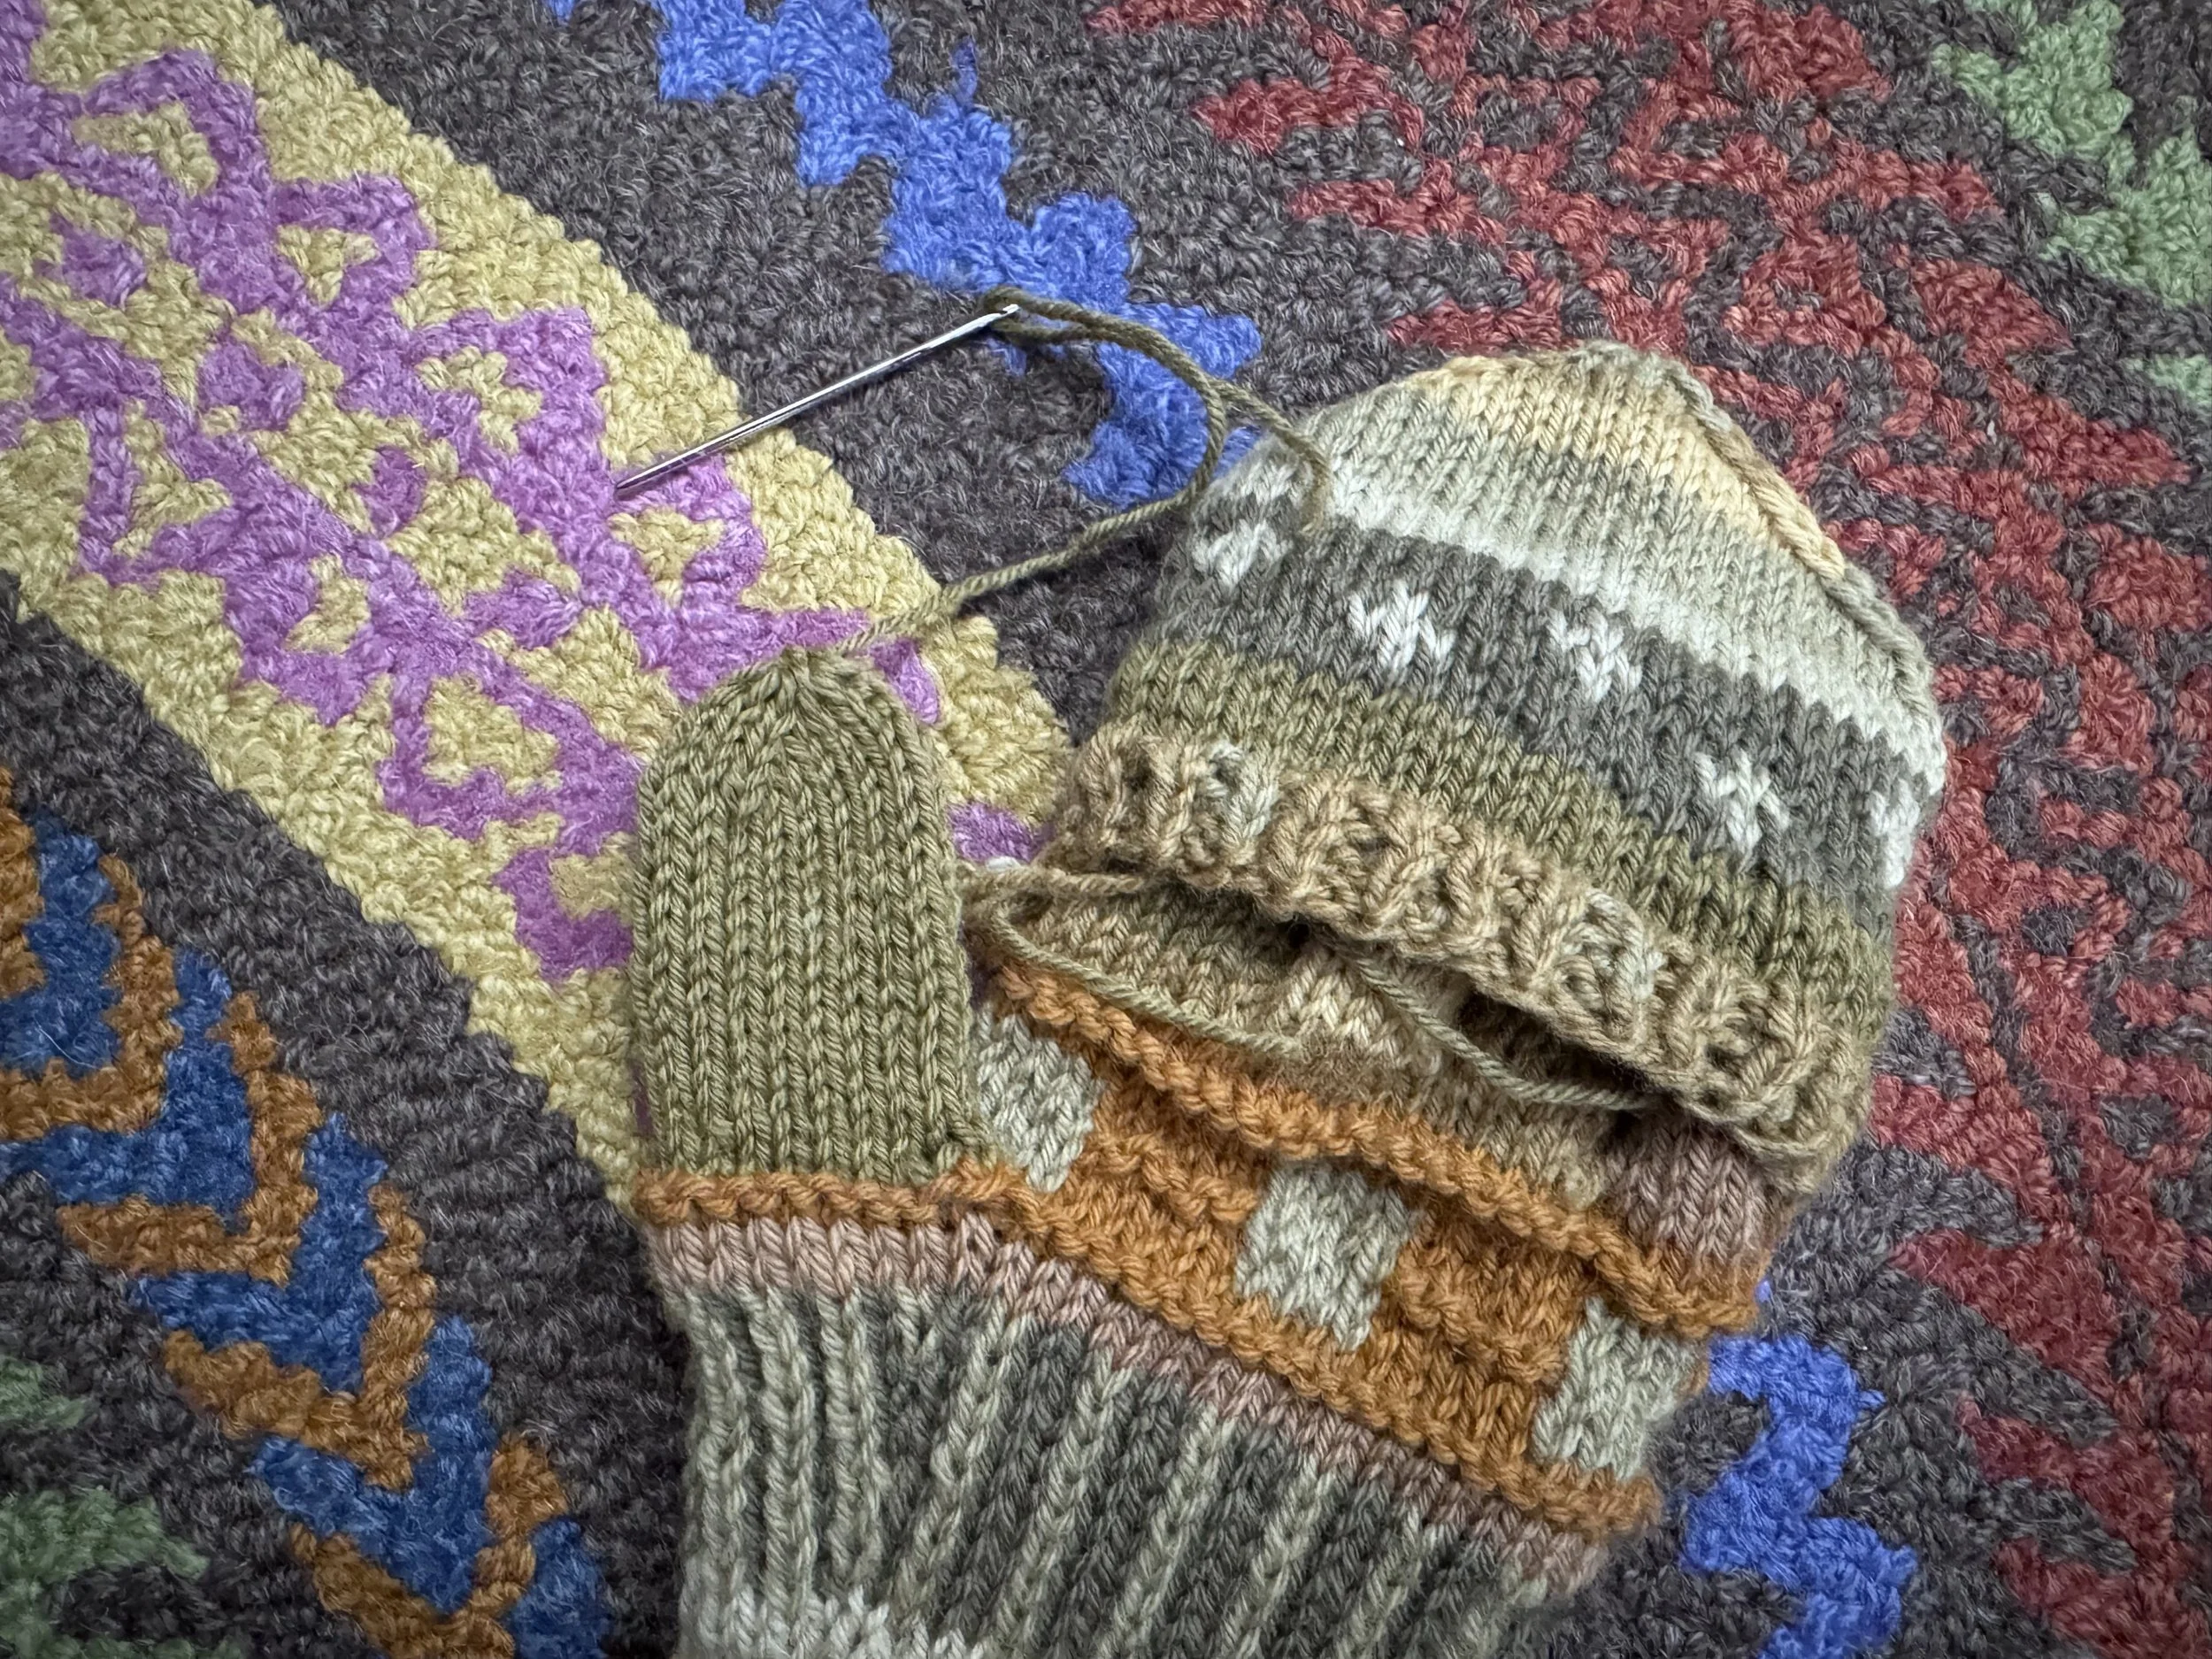
too short
I decreased 3 times, until there were 9 stitches left, but it felt too short. I could have done another decrease round, but that might have resulted in a pointy tip, not desired. So I took out the decrease rounds and worked round 17 plain, and then started the decreases on round 18.
-
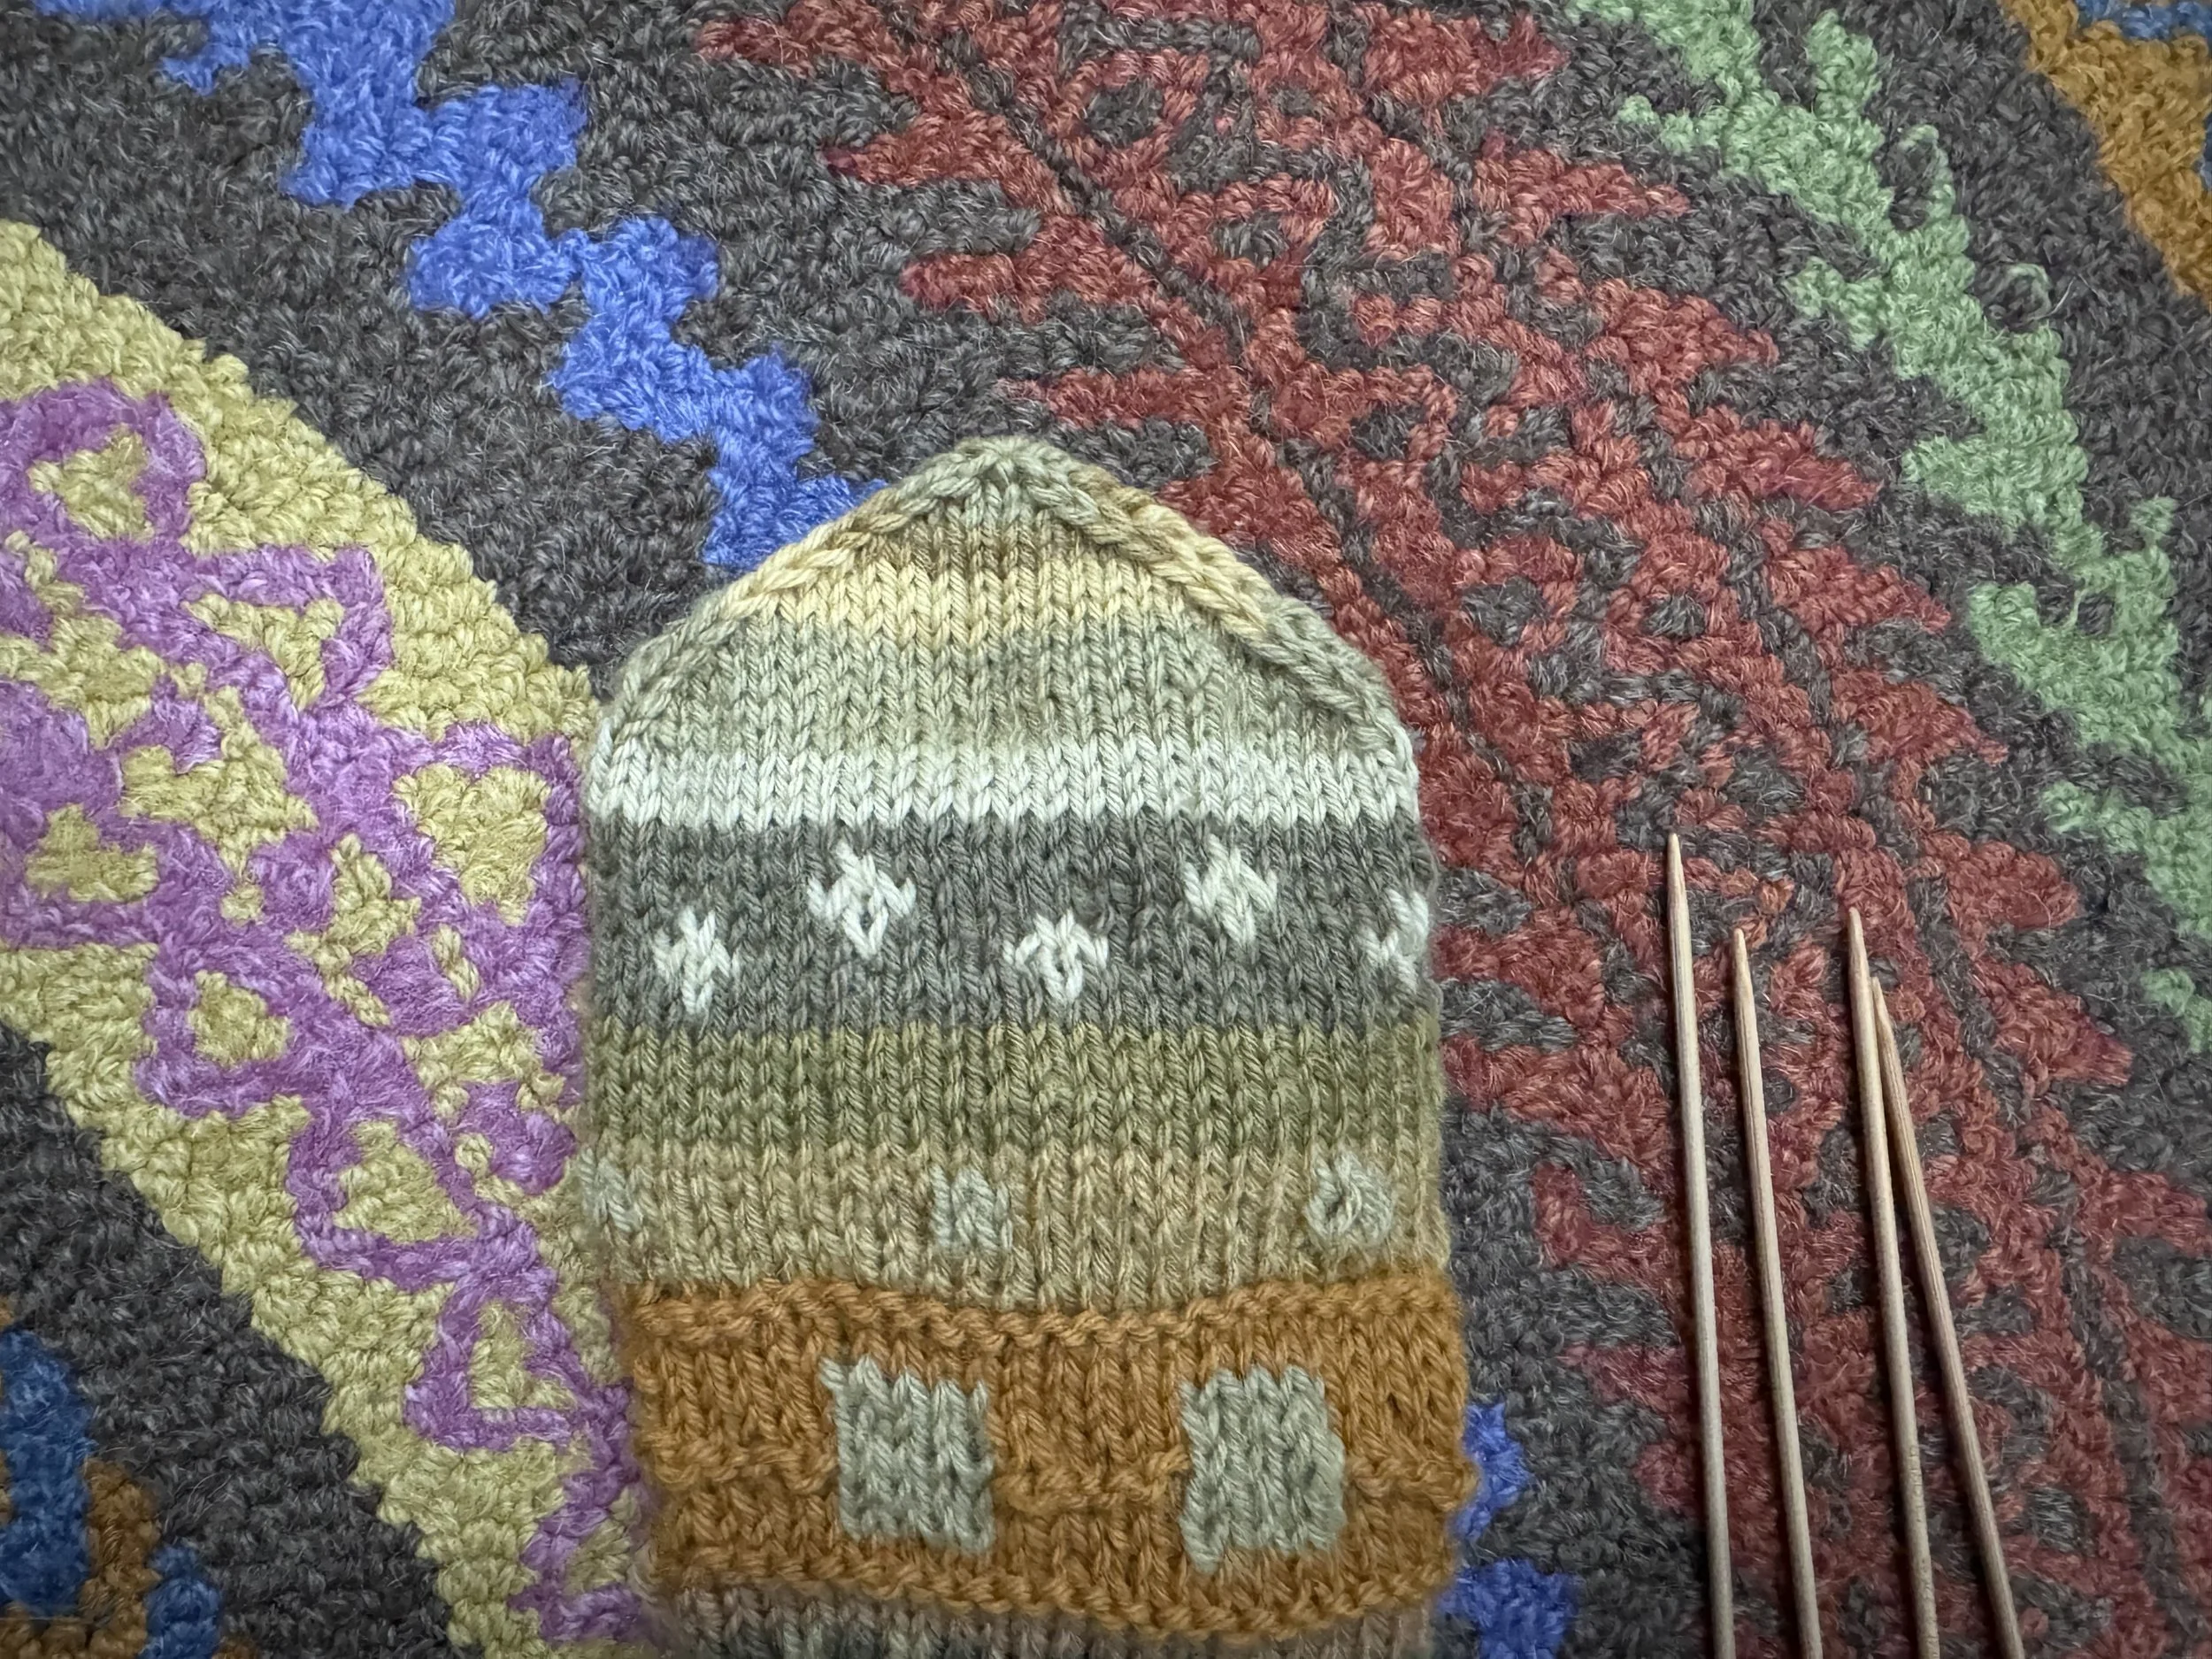
I decided not to accept that top
The tiny bit of green up there just looked stingy, and it didn’t take long to reknit it. I put in an extra even round (no decreases) right after my first decrease round, and that seems to do the trick.
-
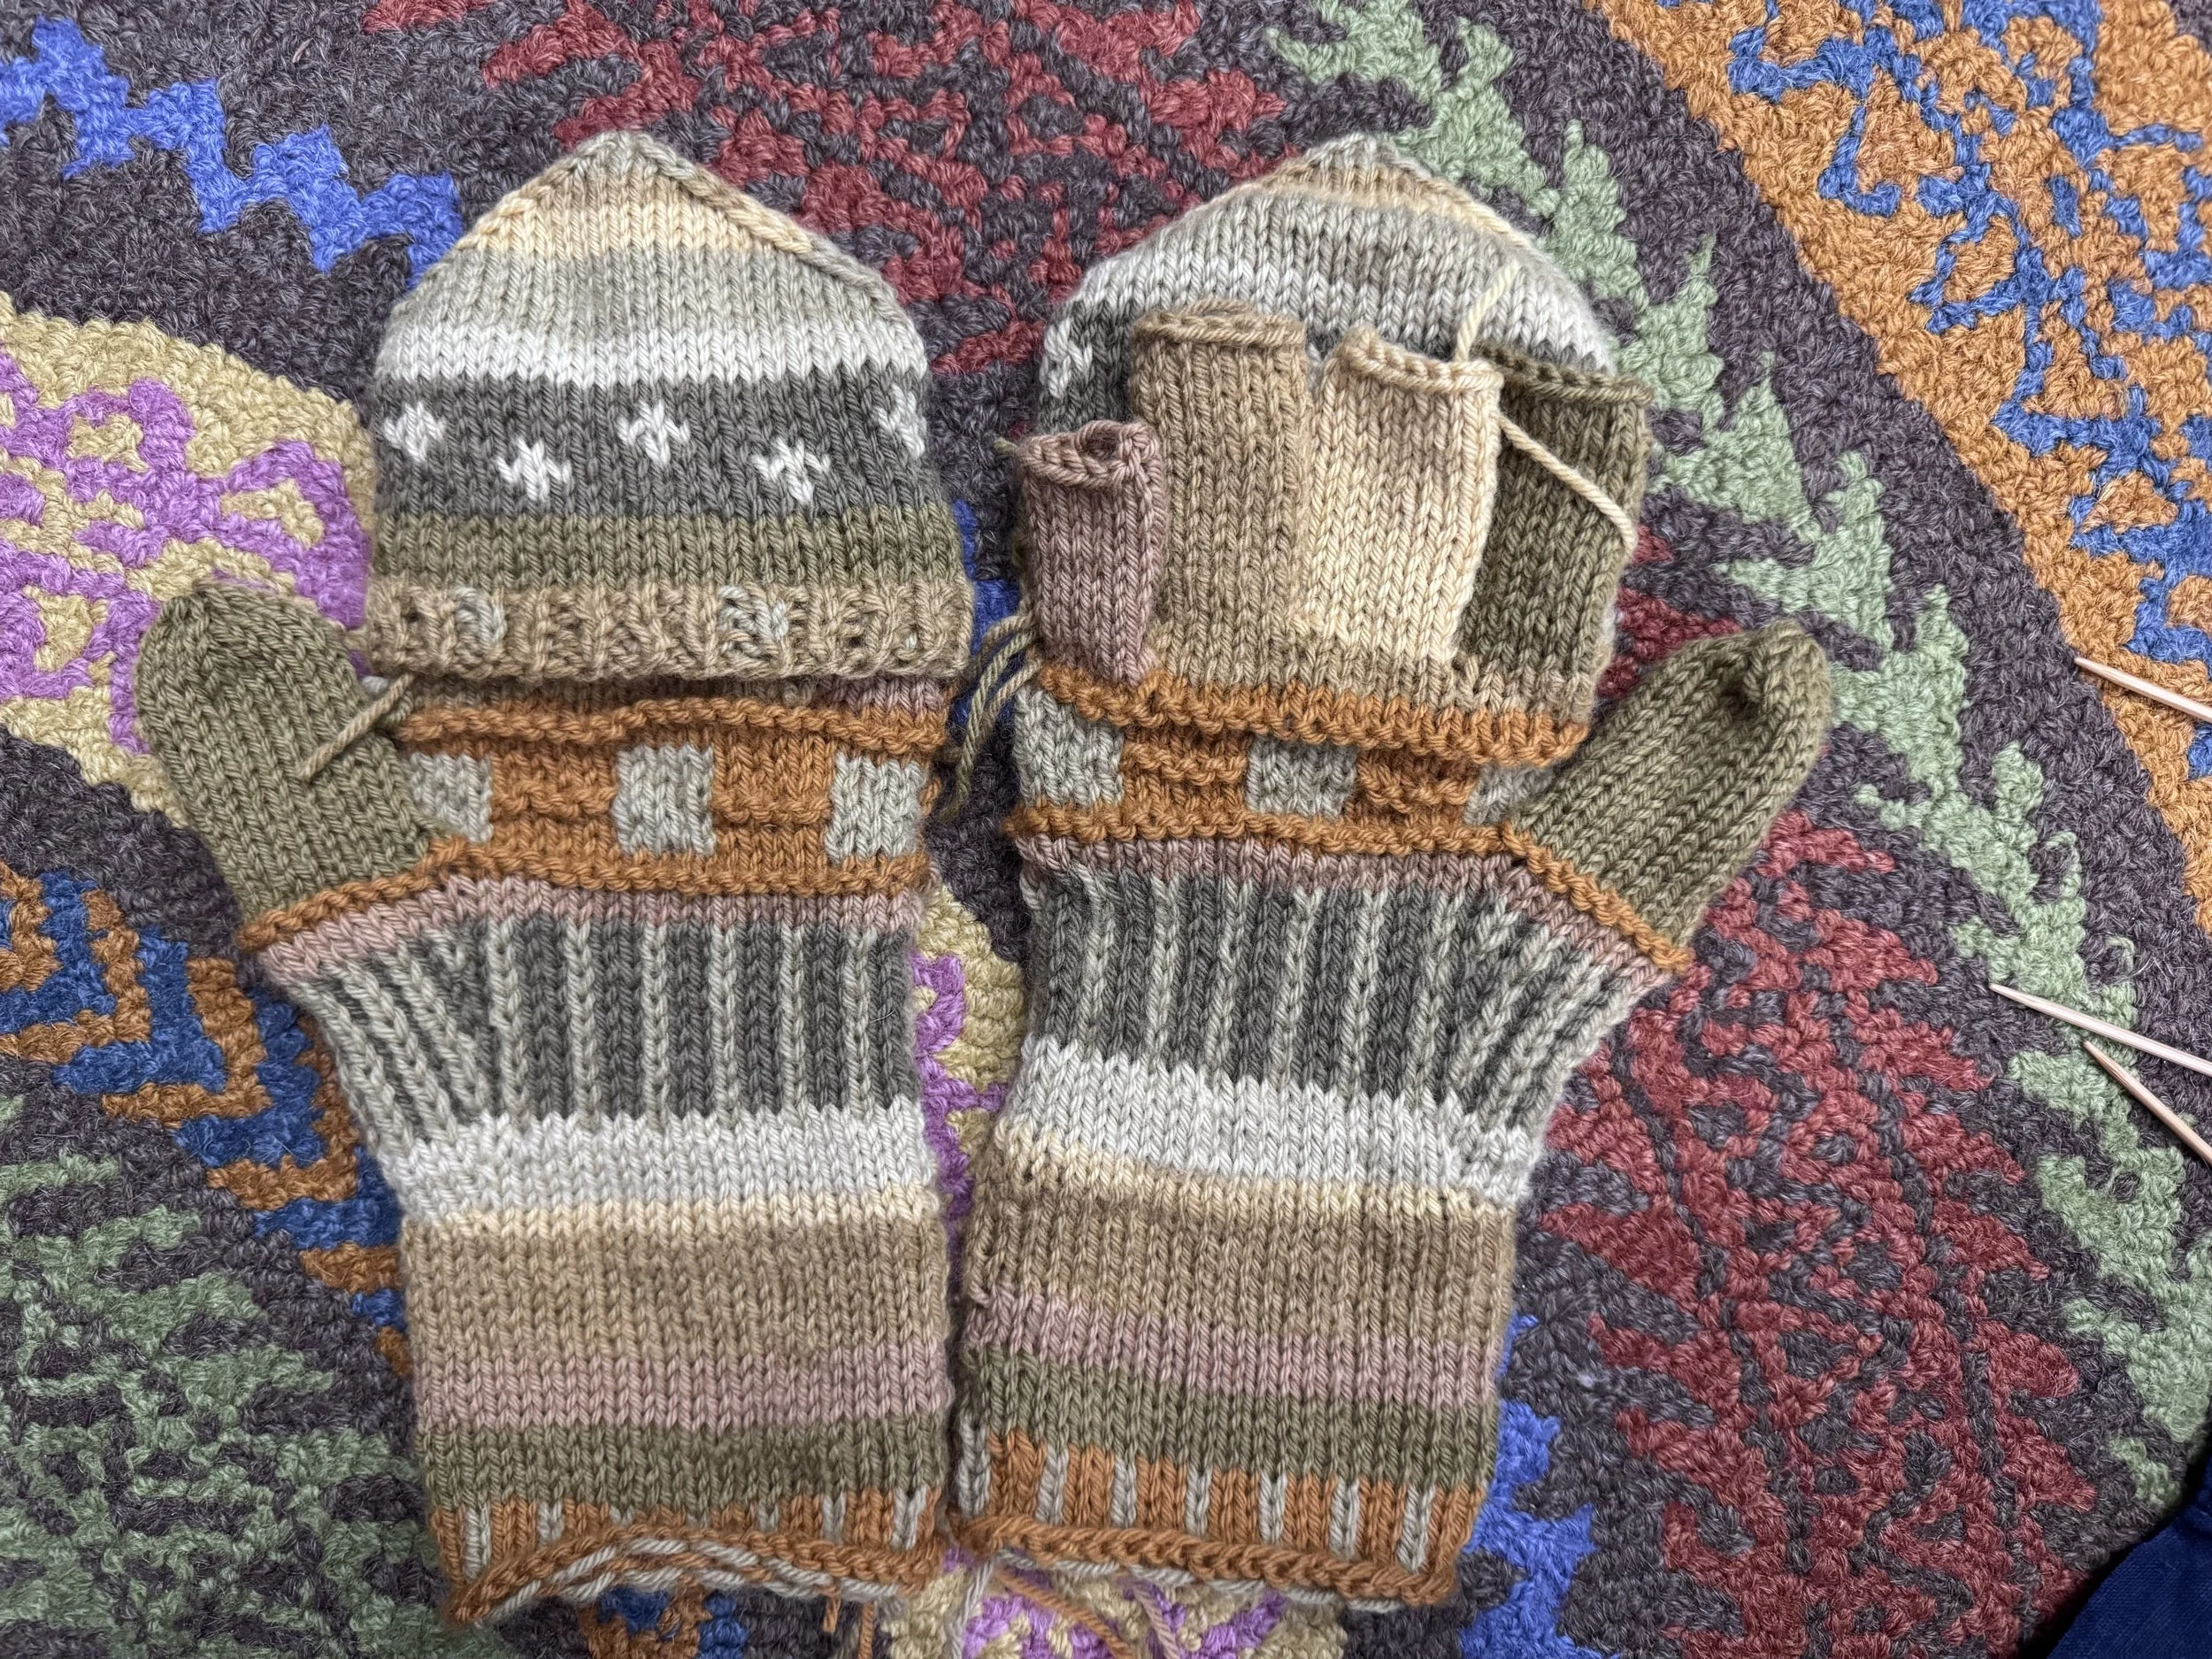
both done
I have been working on the right mitten too, and now they are both done (almost). I will disappear for a while to weave in all of the loose ends, and will return soon for some embroidery fun.