dyeing with walnut leaves
-
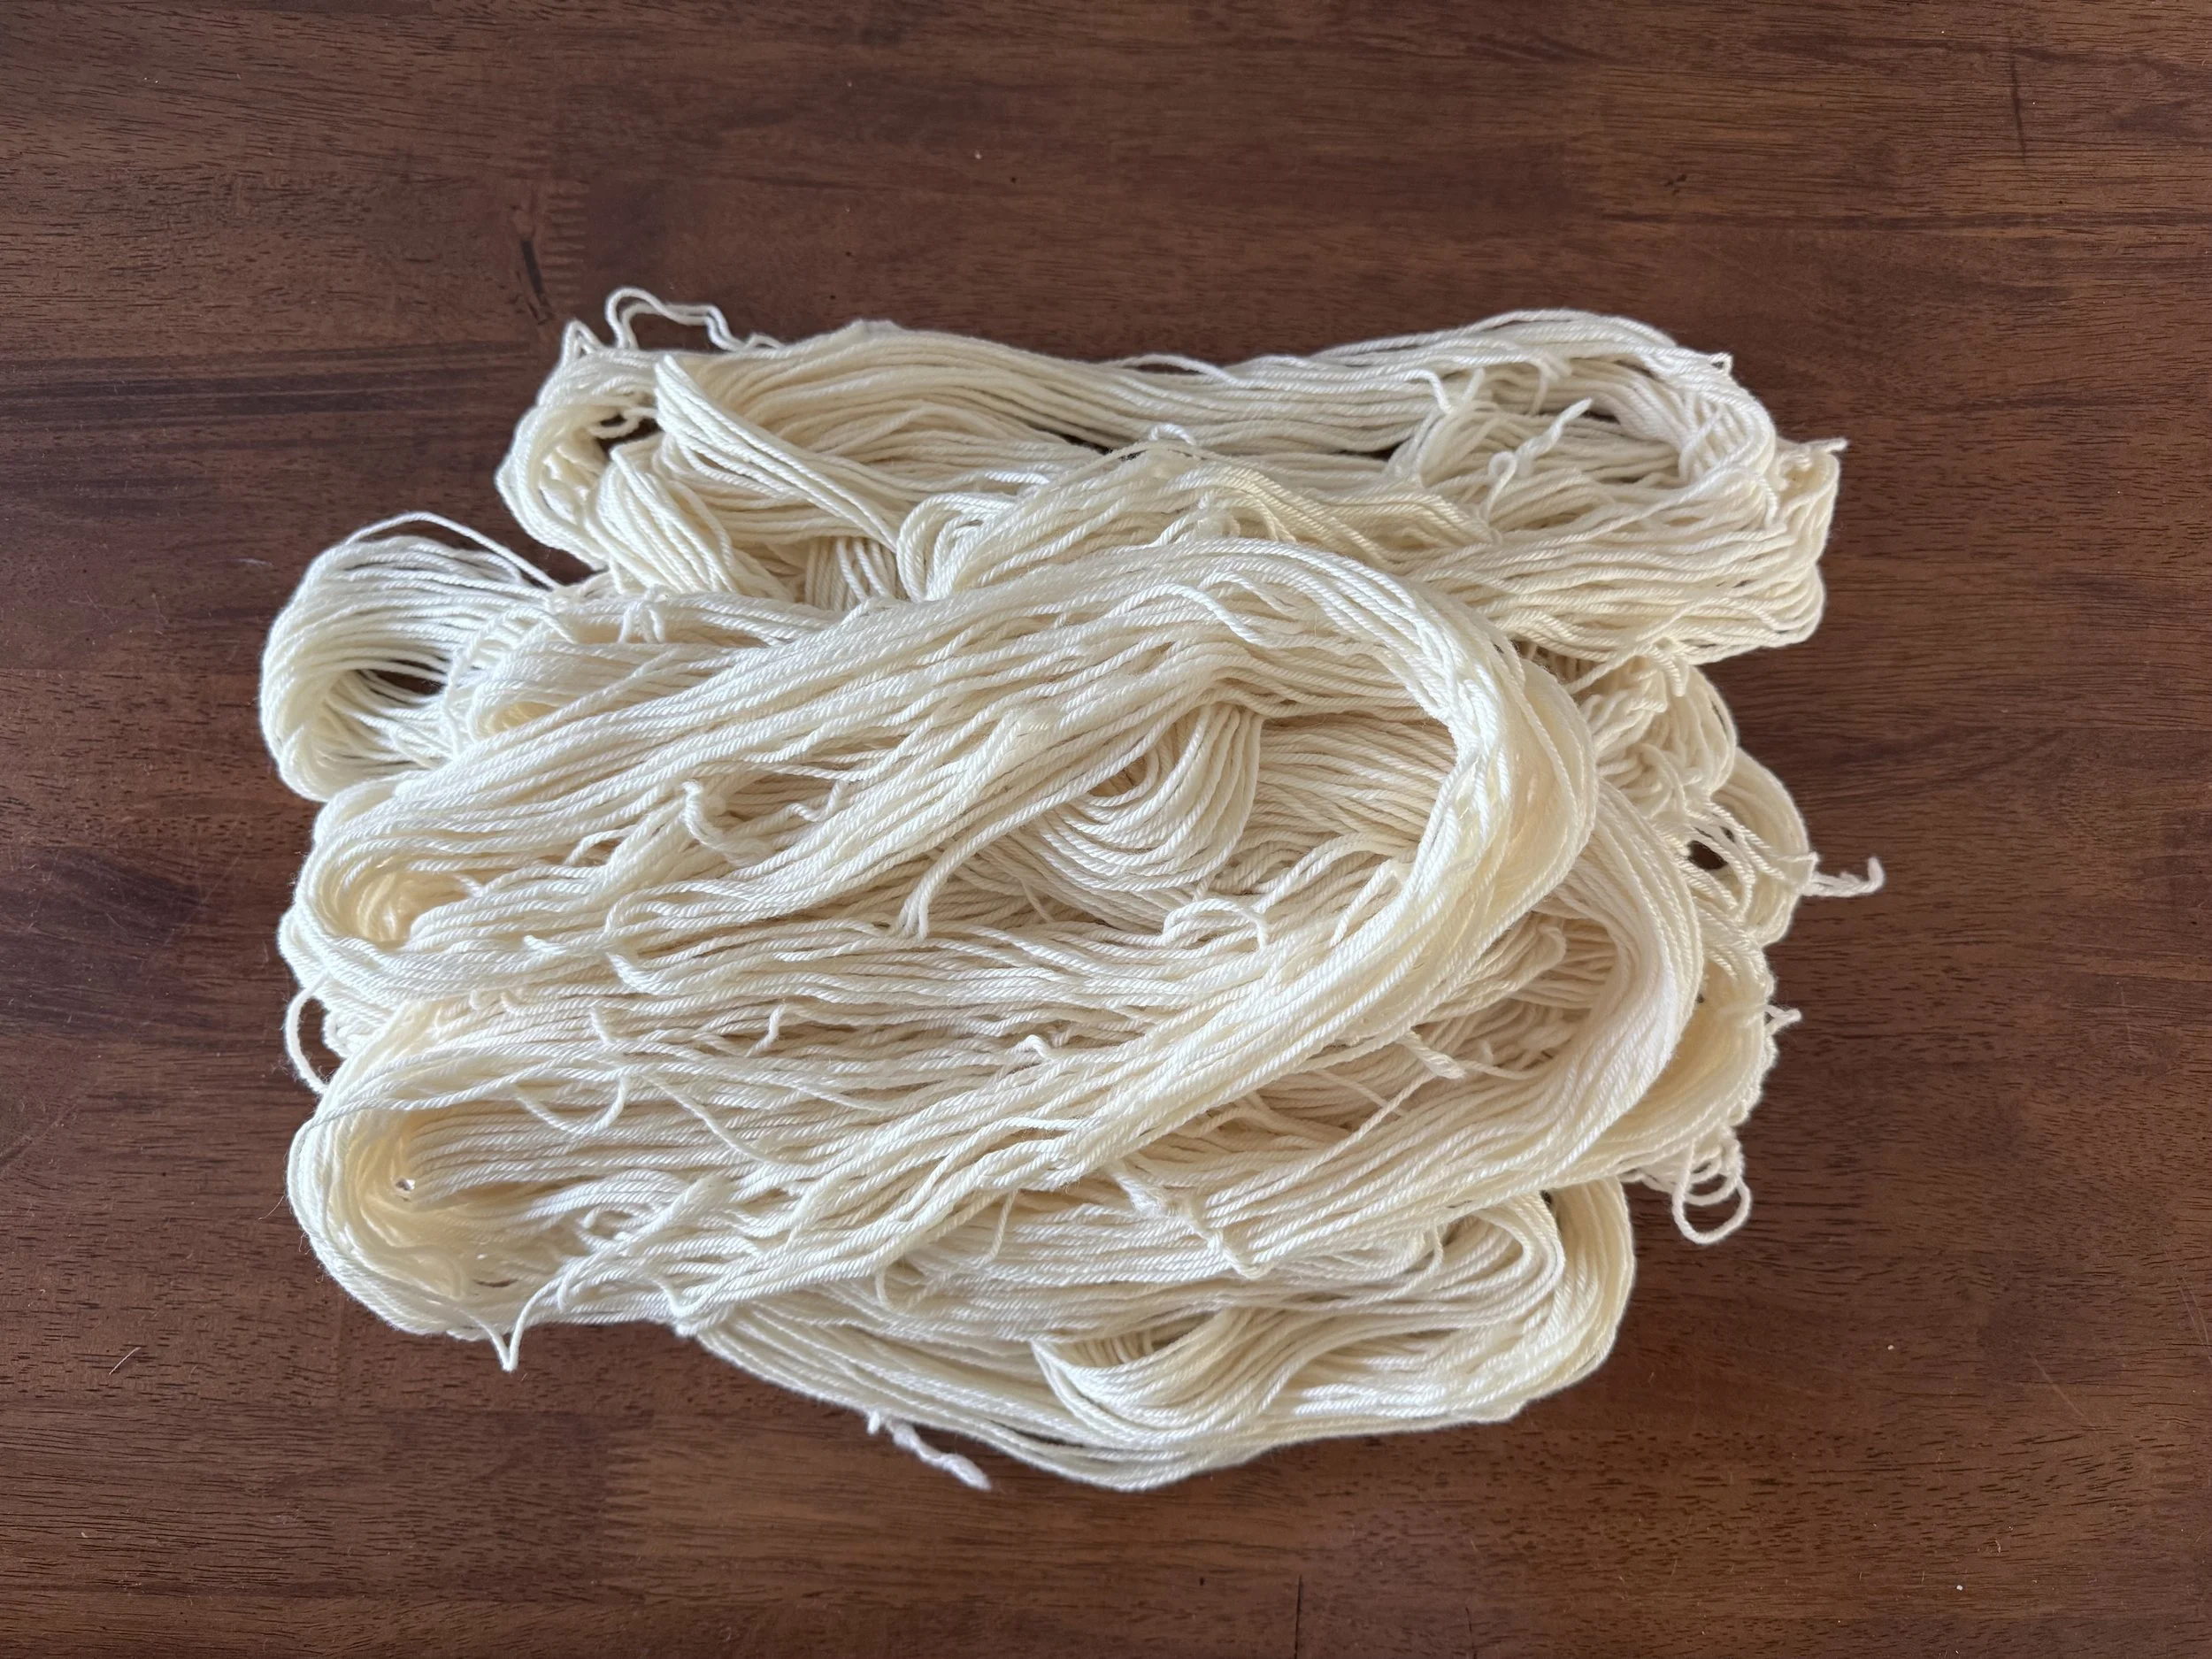
here is some wool
I have a bunch of Knomad merino minis - these are DK weight and I would like to use them to knit a pair of Minnesota mittens to replace a colorful pair that is old and worn. I thought it would be fun to see how many colors I can get from walnut leaves.
These mini hanks weigh 20g each and I will start with fourteen. I have already scoured them all but will only mordant ten of them. I want to dye four without mordant.
-
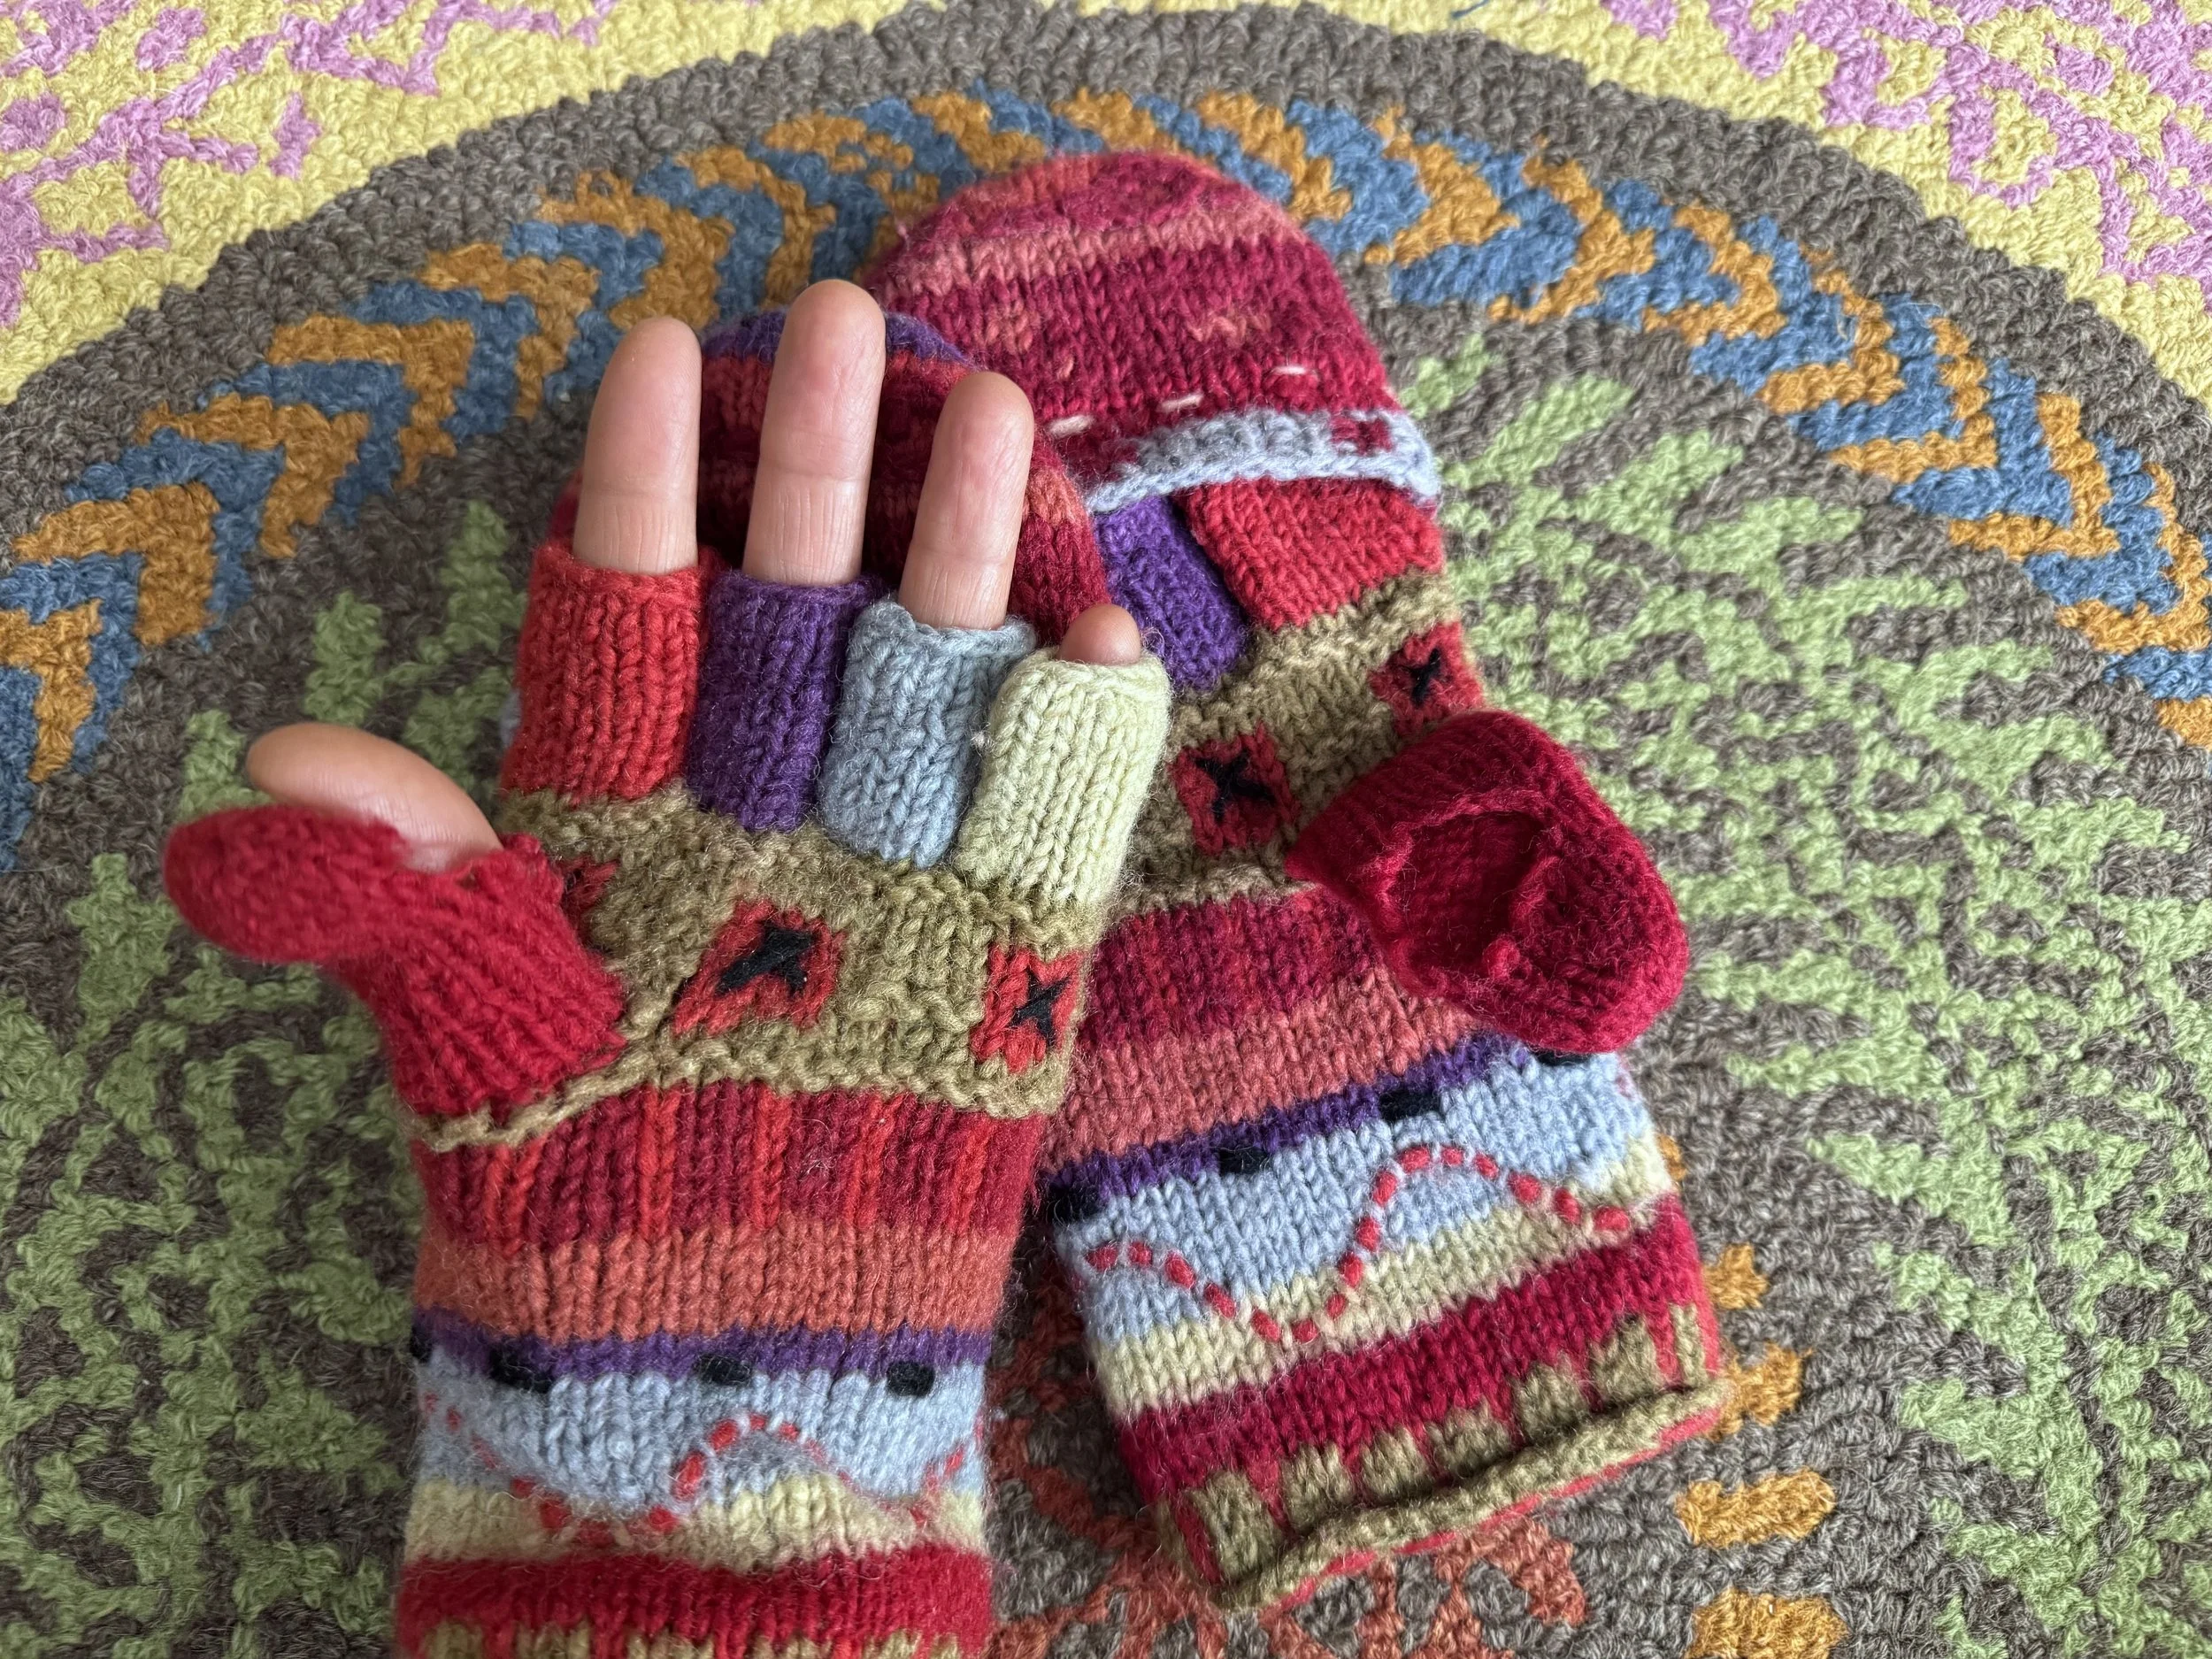
here are the old mittens
I could mend them and I probably will, but they are much-washed and have felted just enough to be a bit too tight for me. And, my eyes are so used to the textures of undyed and naturally dyed wool these days, the aniline colors seem a bit too strong and too solidly monochrome.
-
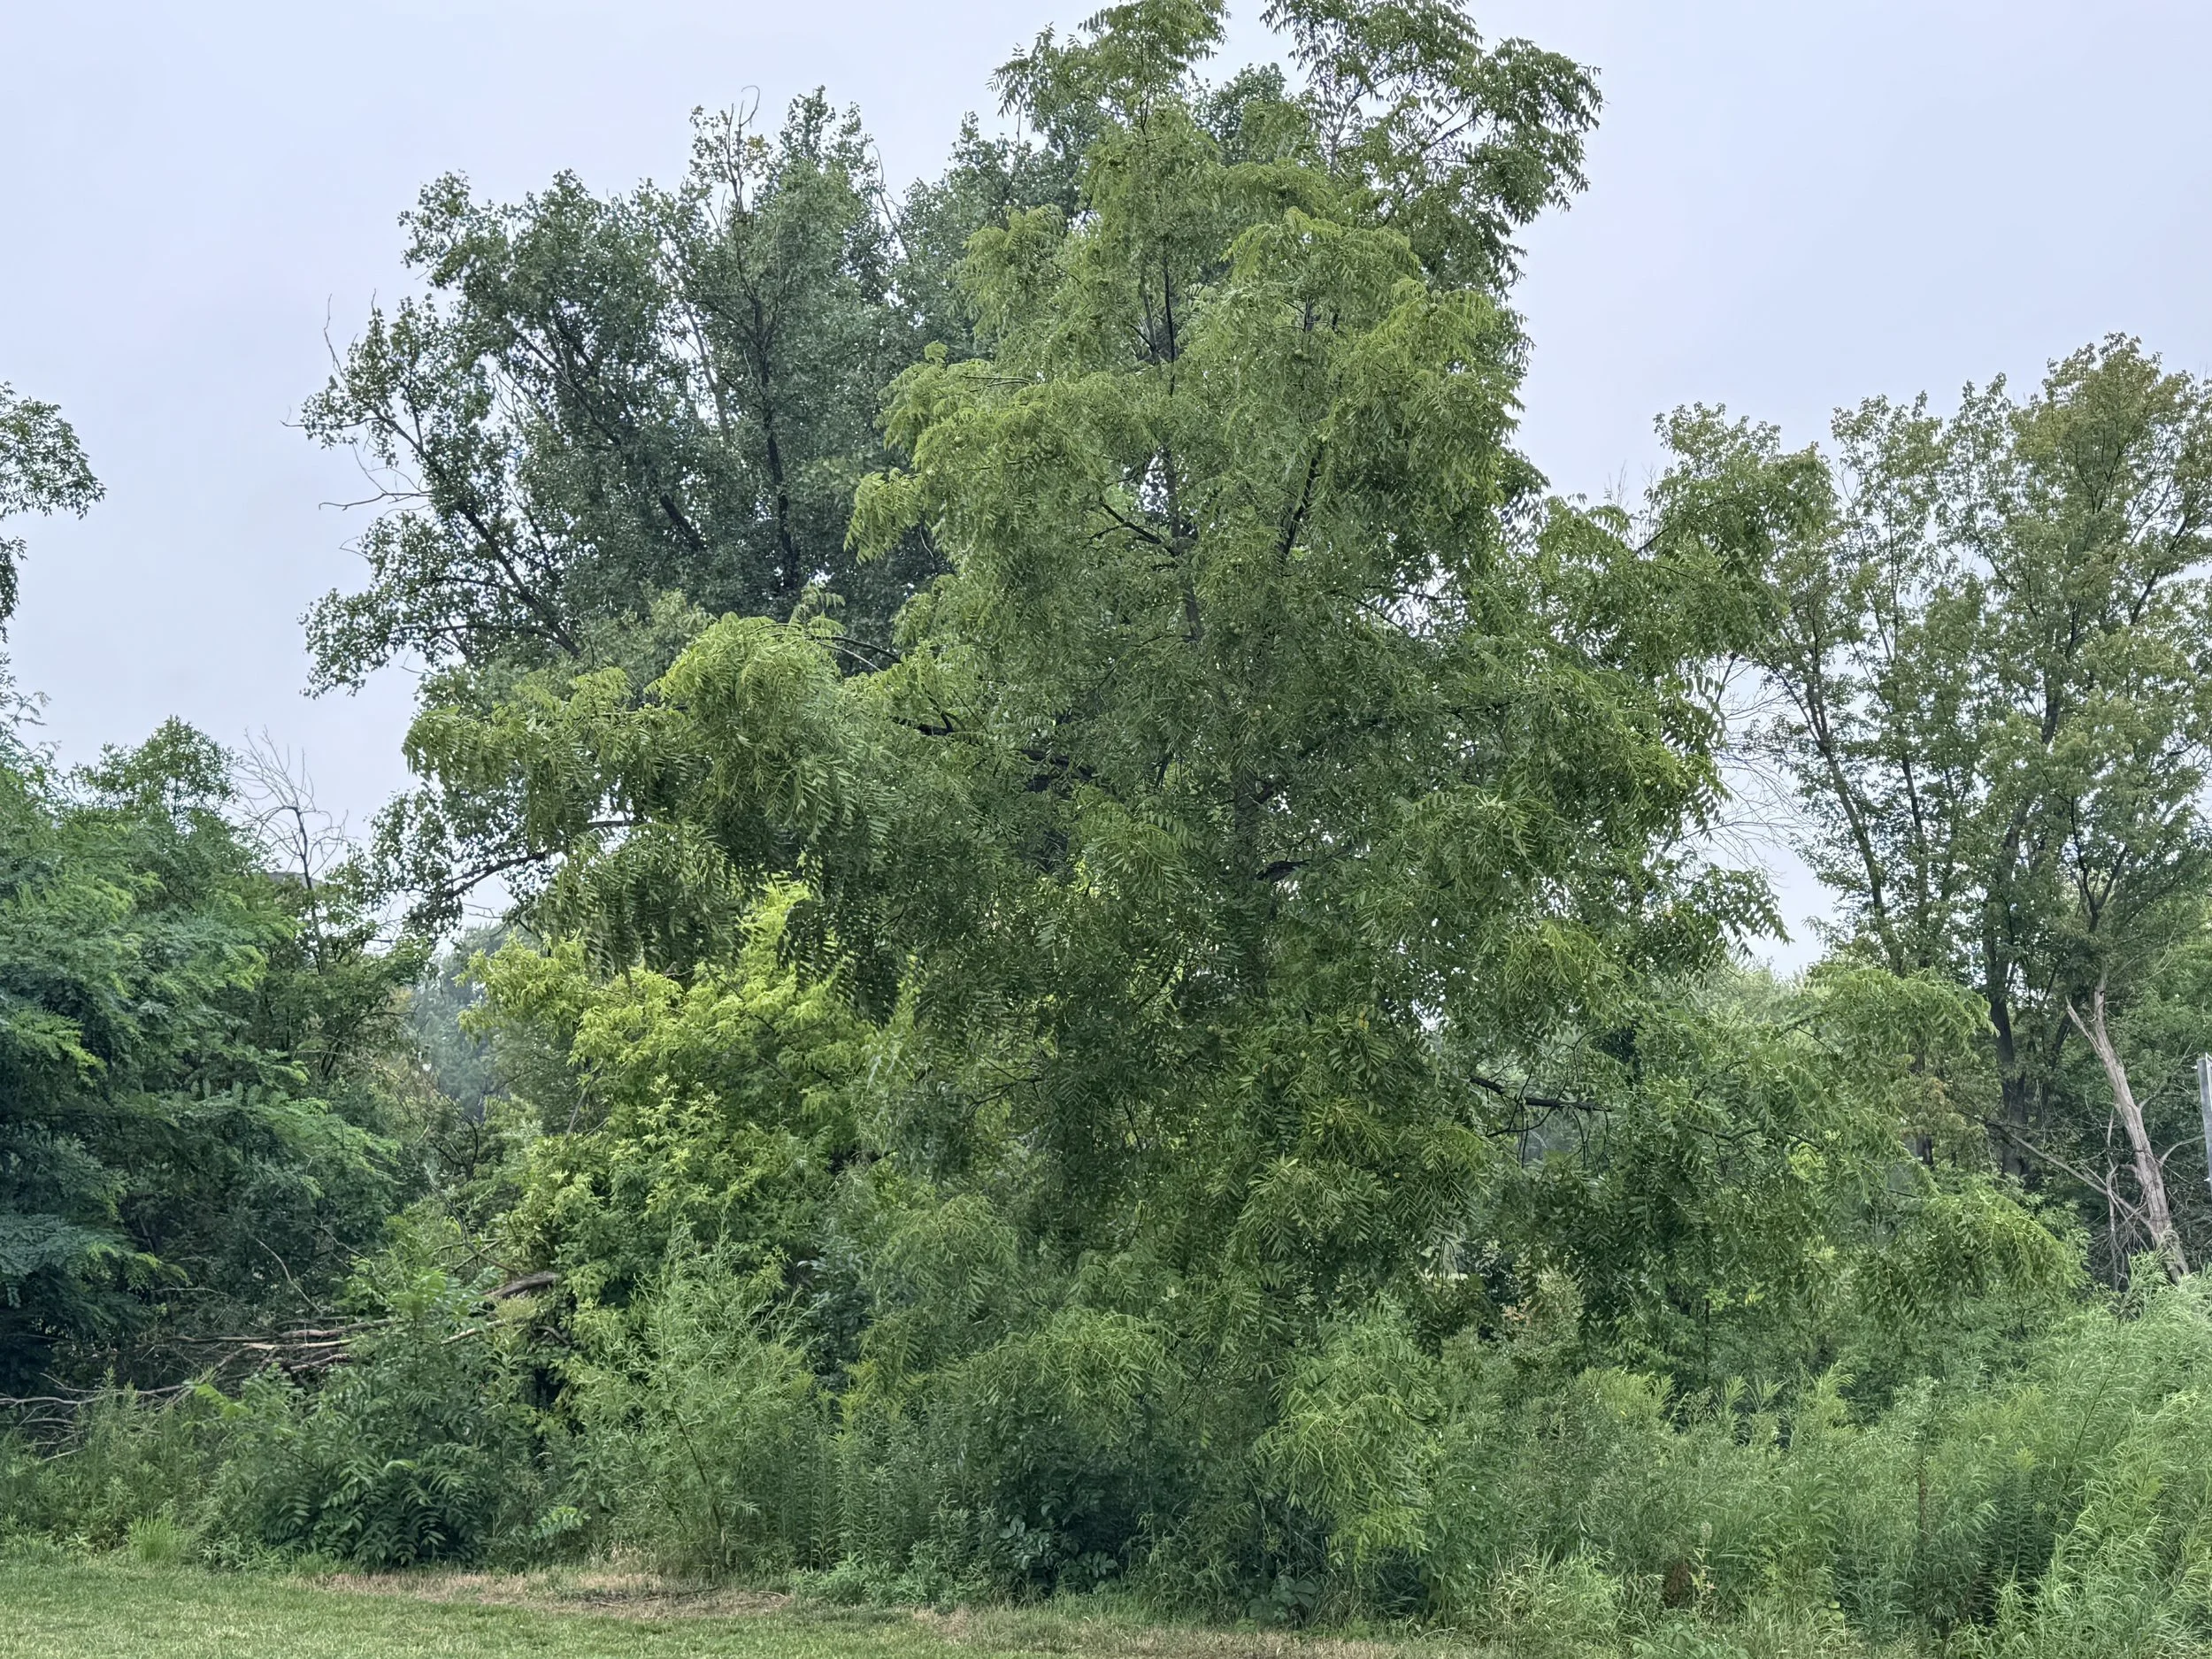
here is a walnut tree (on public land)
It has plenty of low branches that should probably be pruned next year, so they seem likely to be good donors. I am only going to take a few small branches. Walnut leaves make strong dye, and I don’t want to take any more than I need.
-
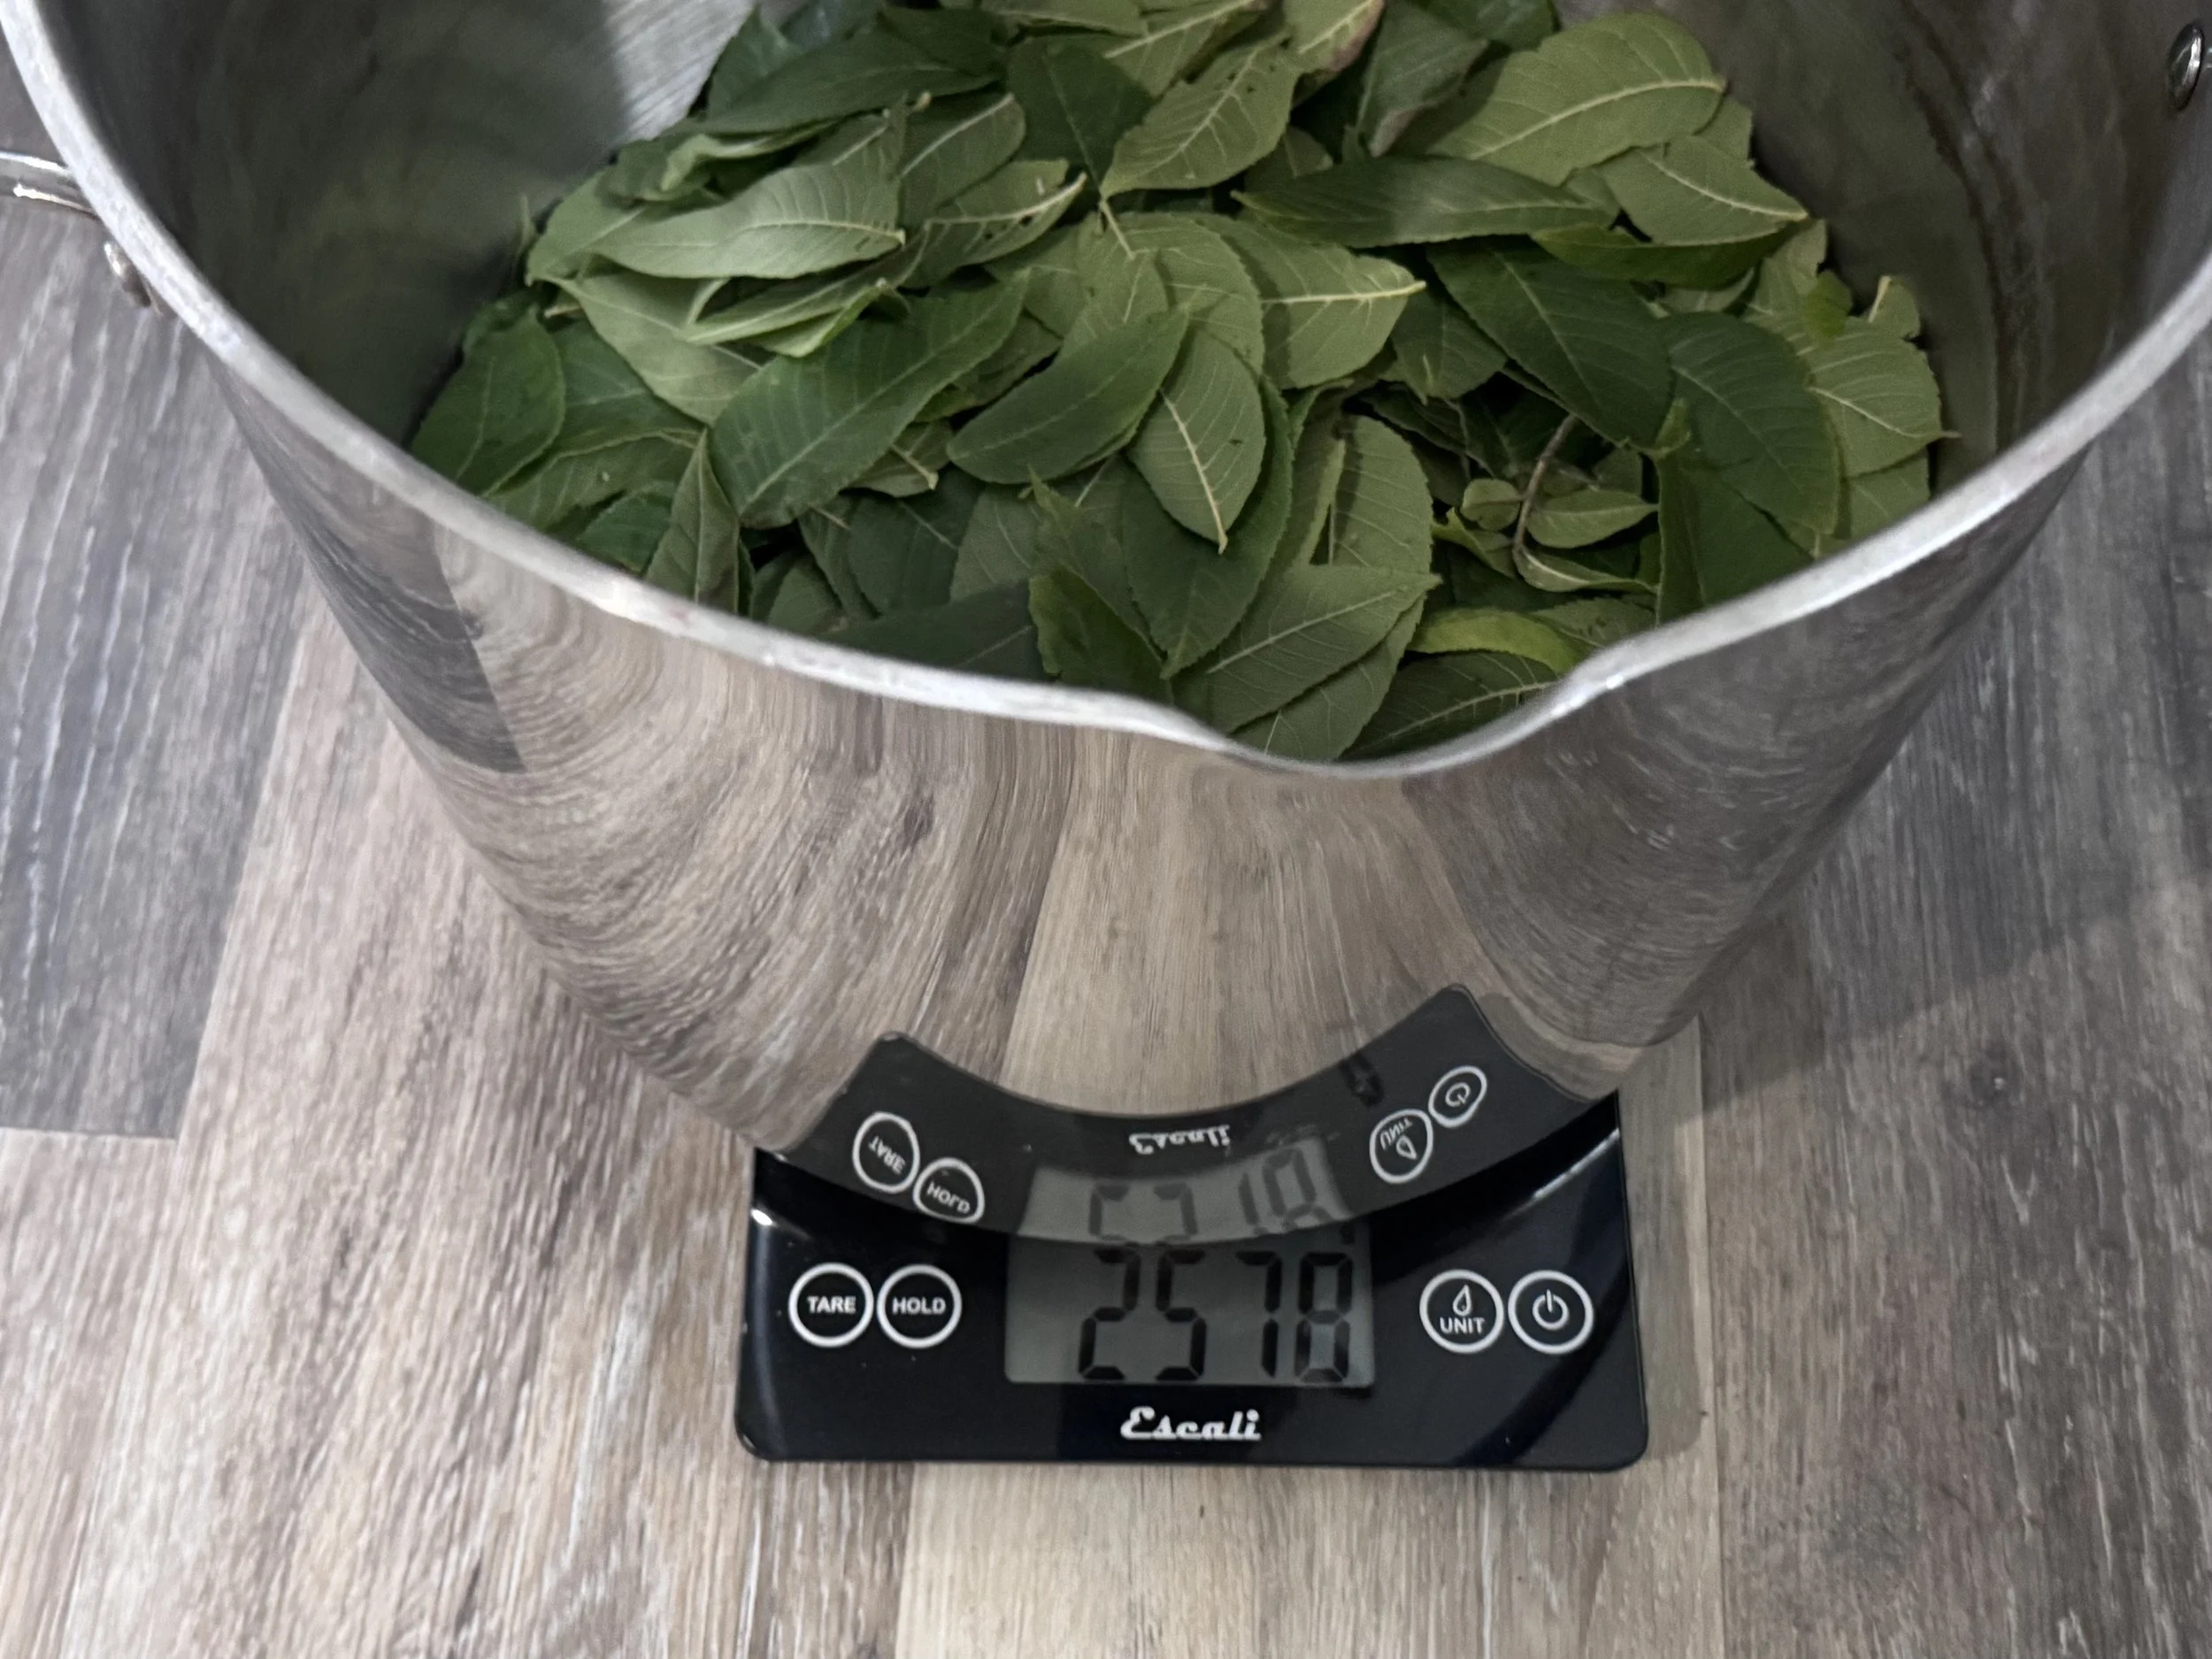
weighing the leaves
My pot weighs about 2333g, so that means I have about 2578-2333 = 245g of leaves. That will be plenty for this little project.
-
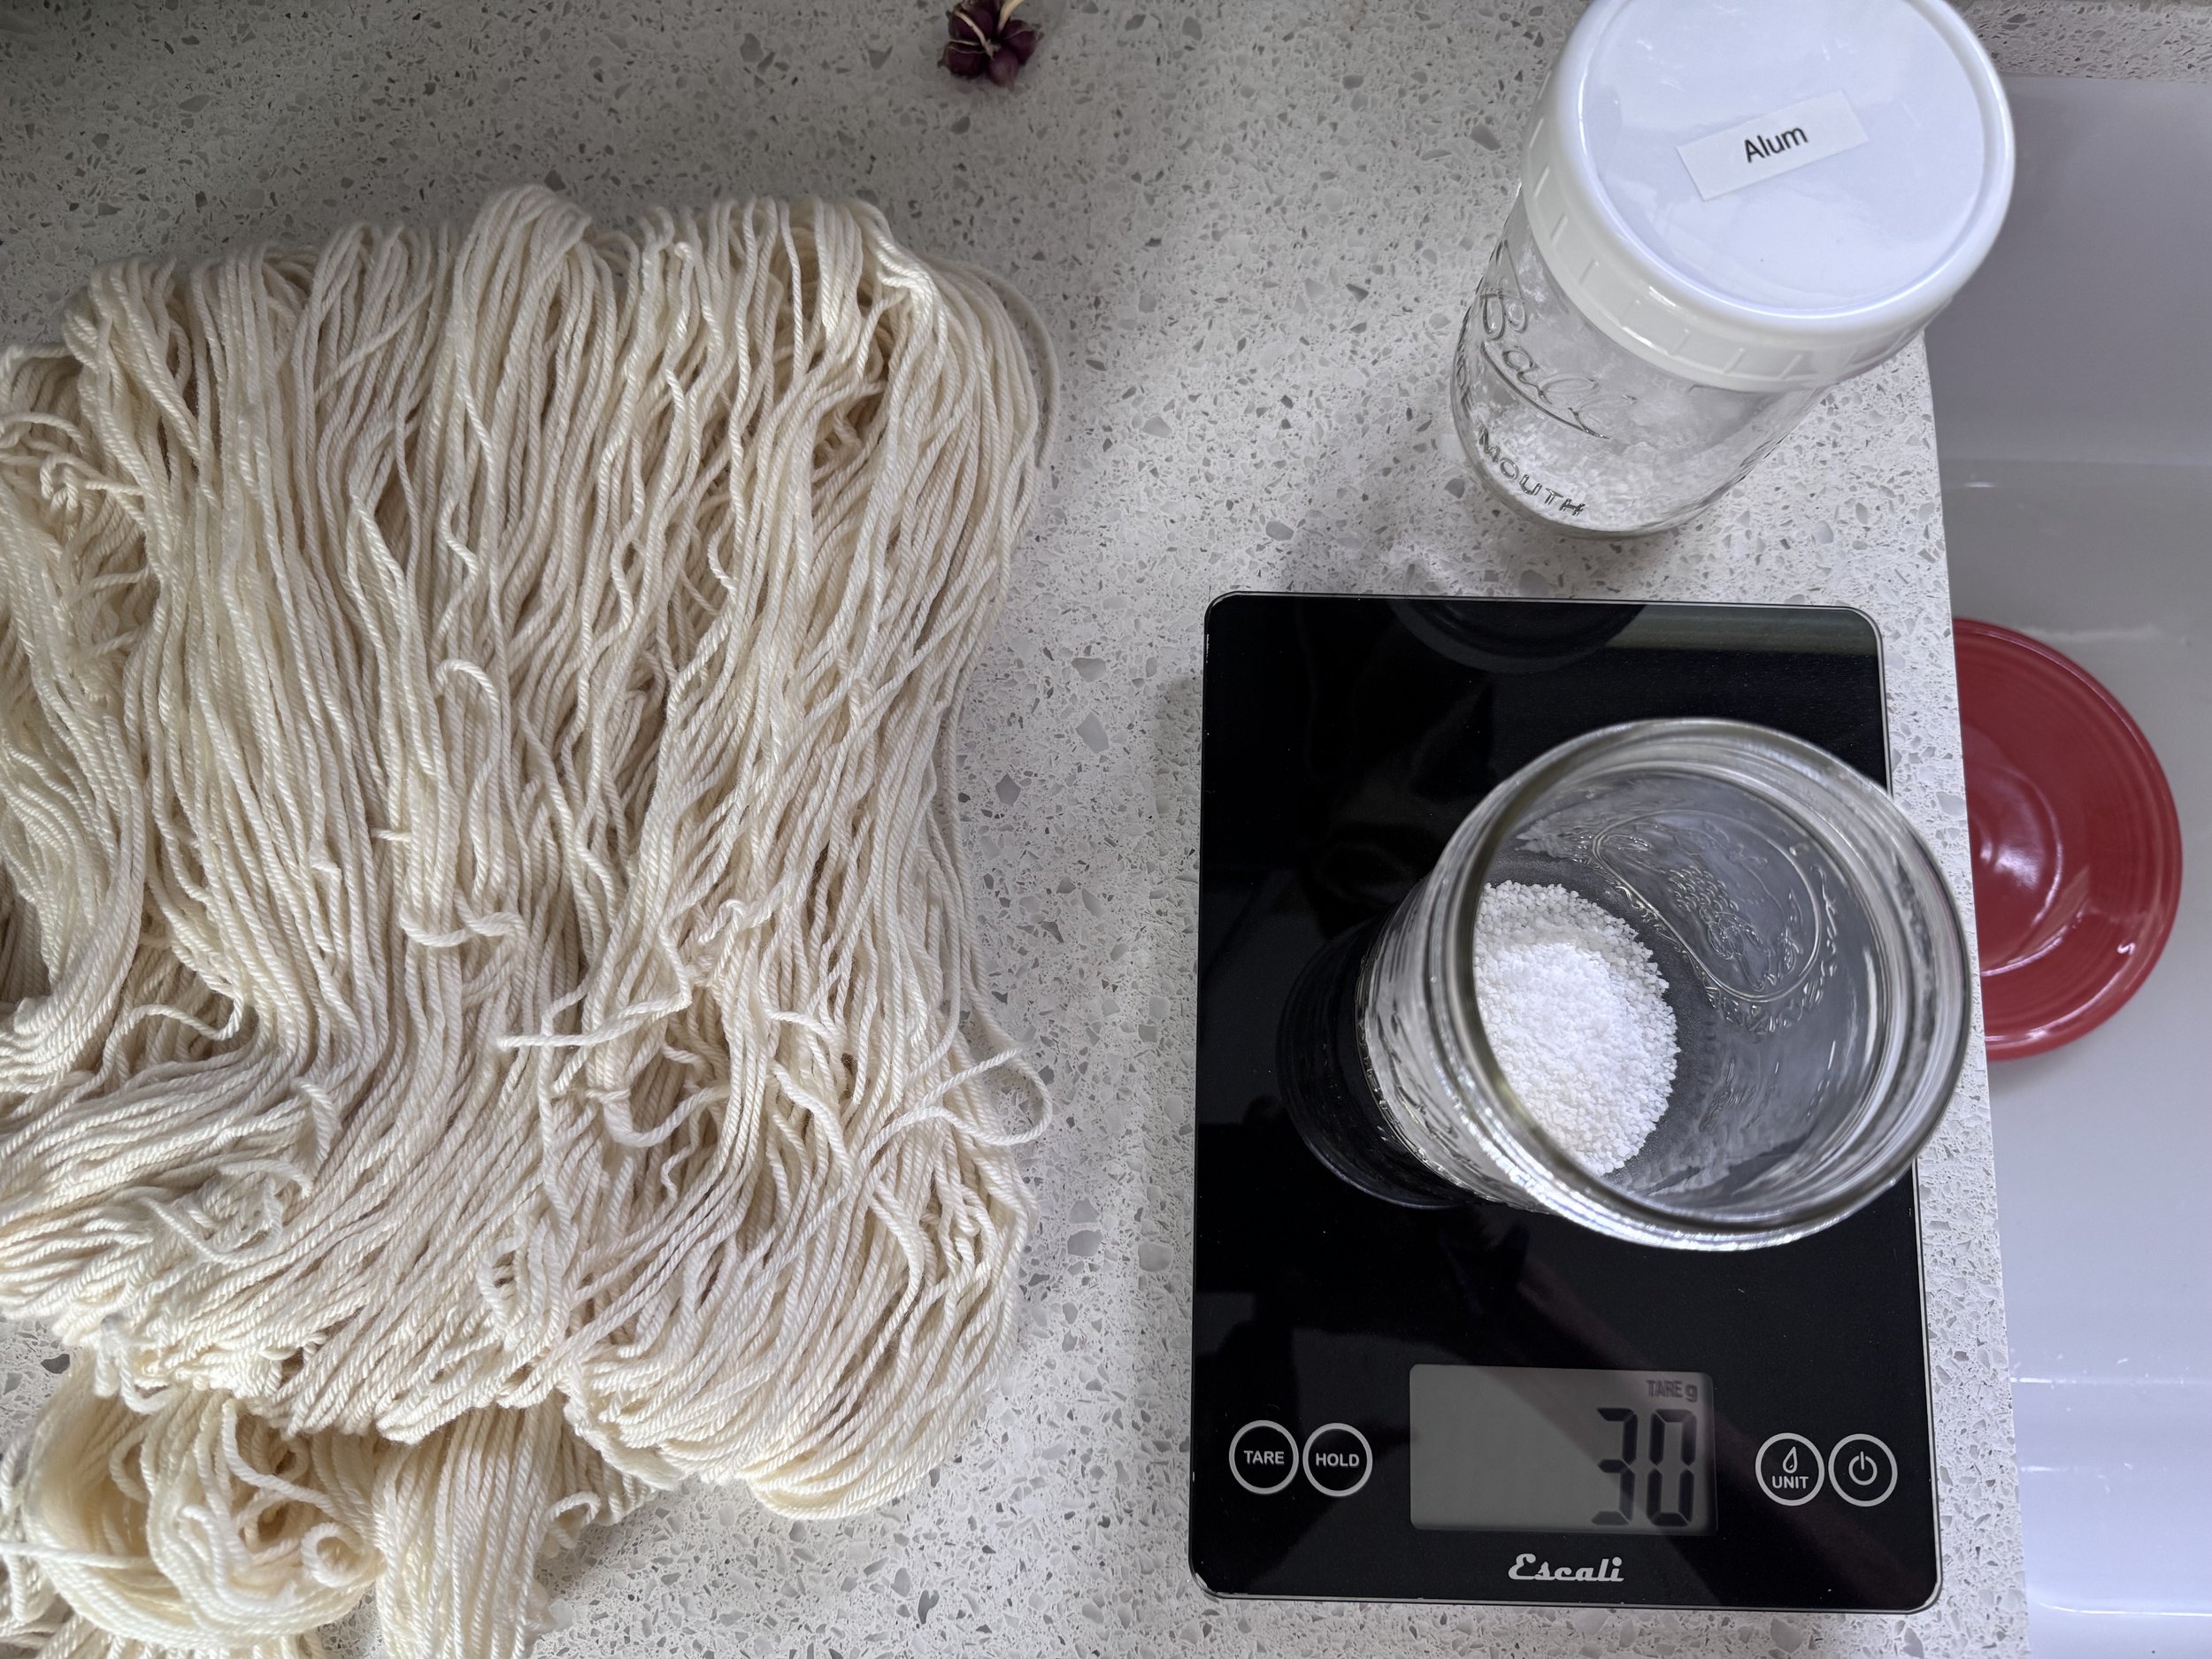
weighing the alum
I am going for the off-center photos today. I have 20g x 10 = 200g of fiber. 30g of alum seems like a bit much but we’ll go there.
-
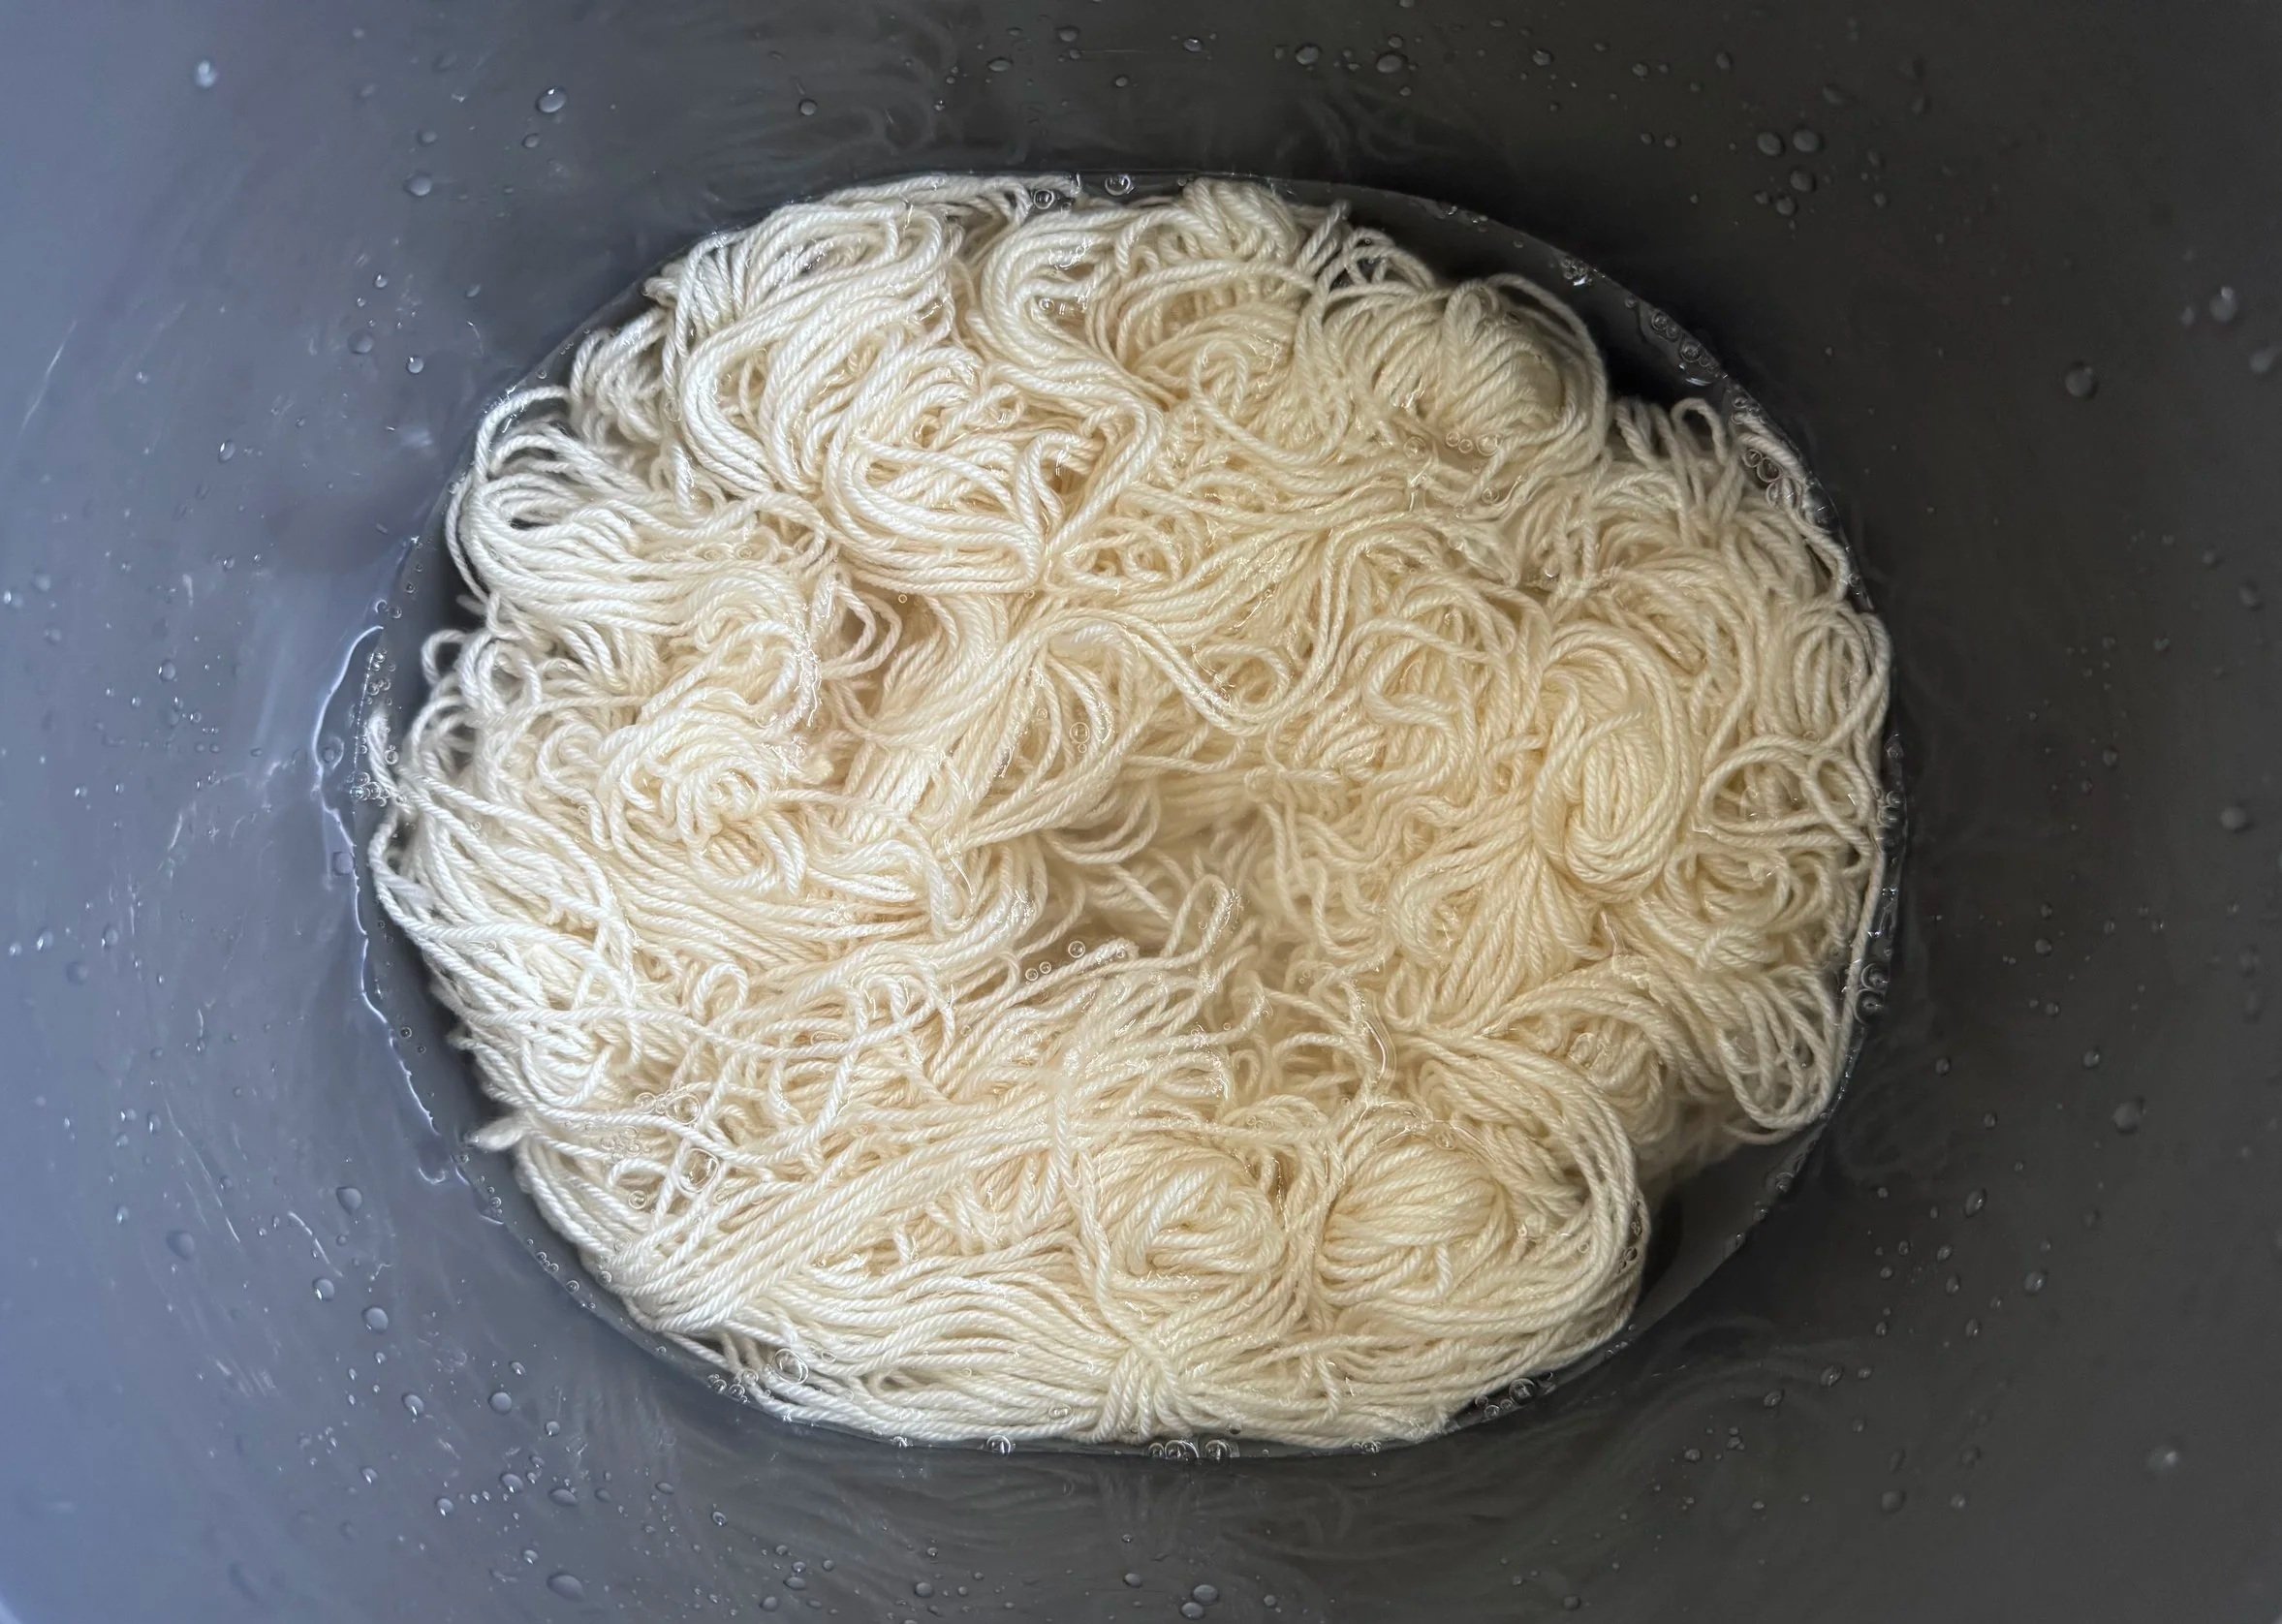
wet wool
It is always a good idea to wet your fiber before mordanting.
-
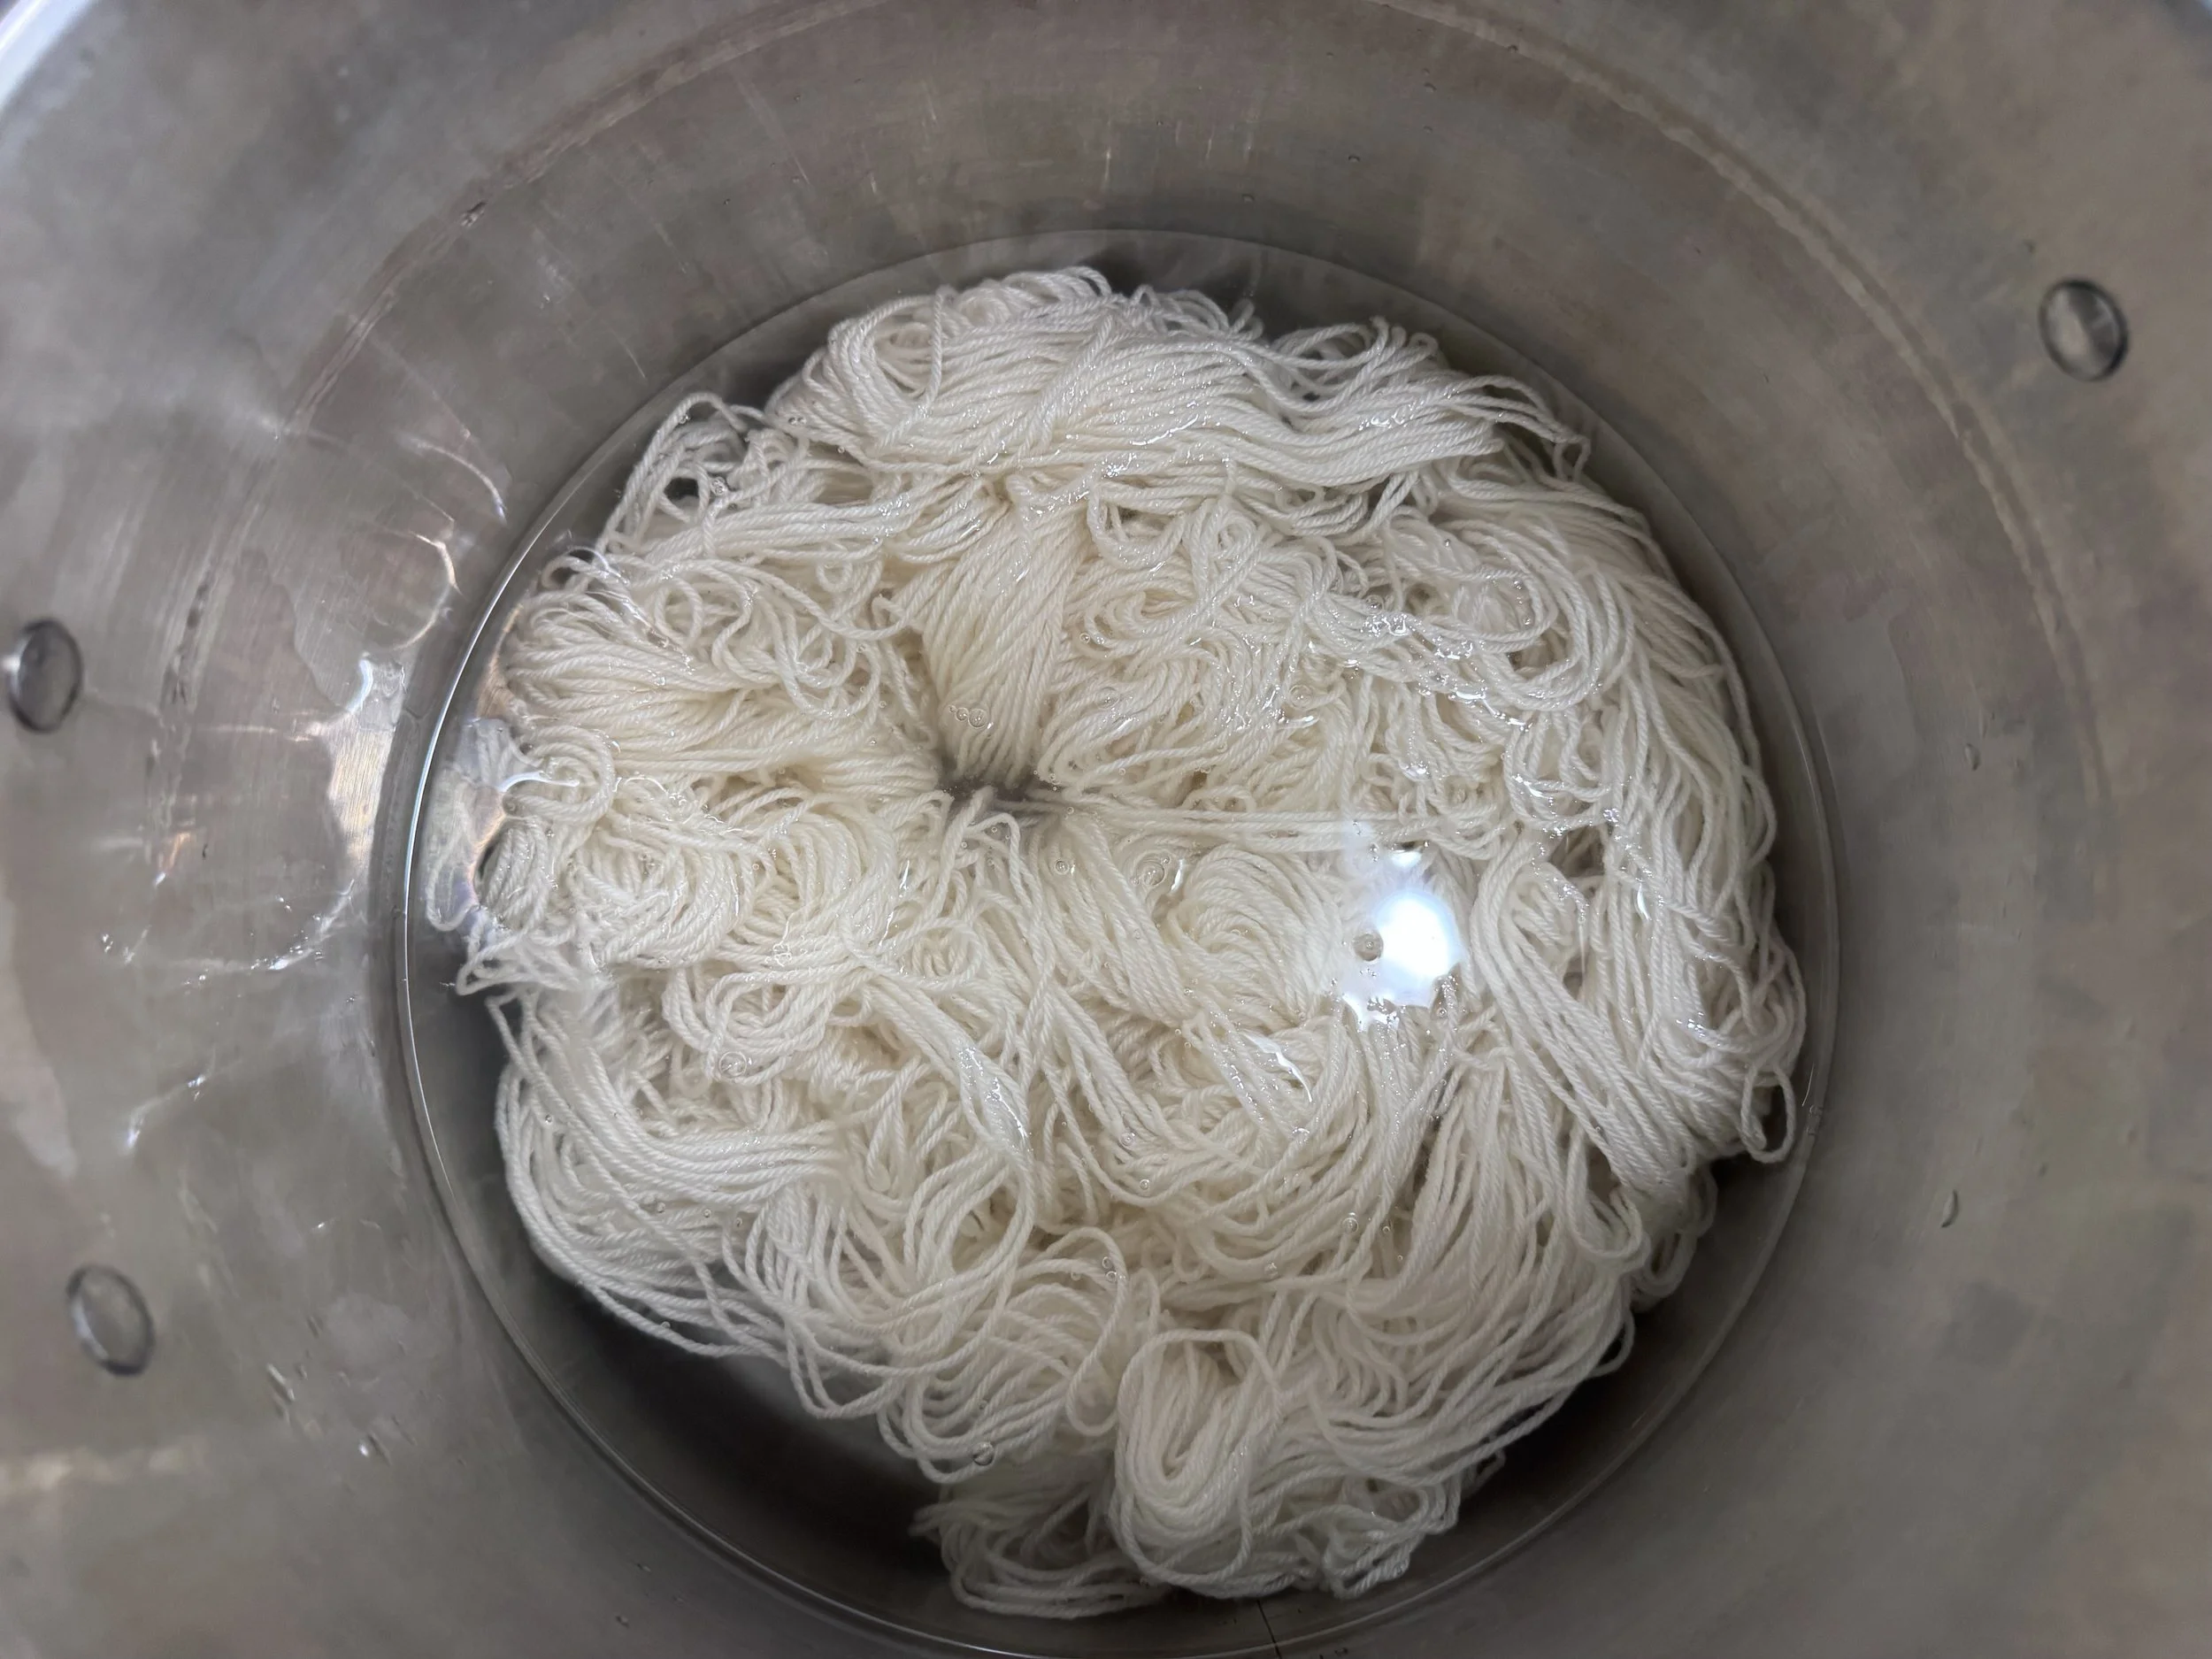
the pot looks so big
I will heat the alum-water to 180F and let the wool sit and consider its future for about 45 minutes.
-
-
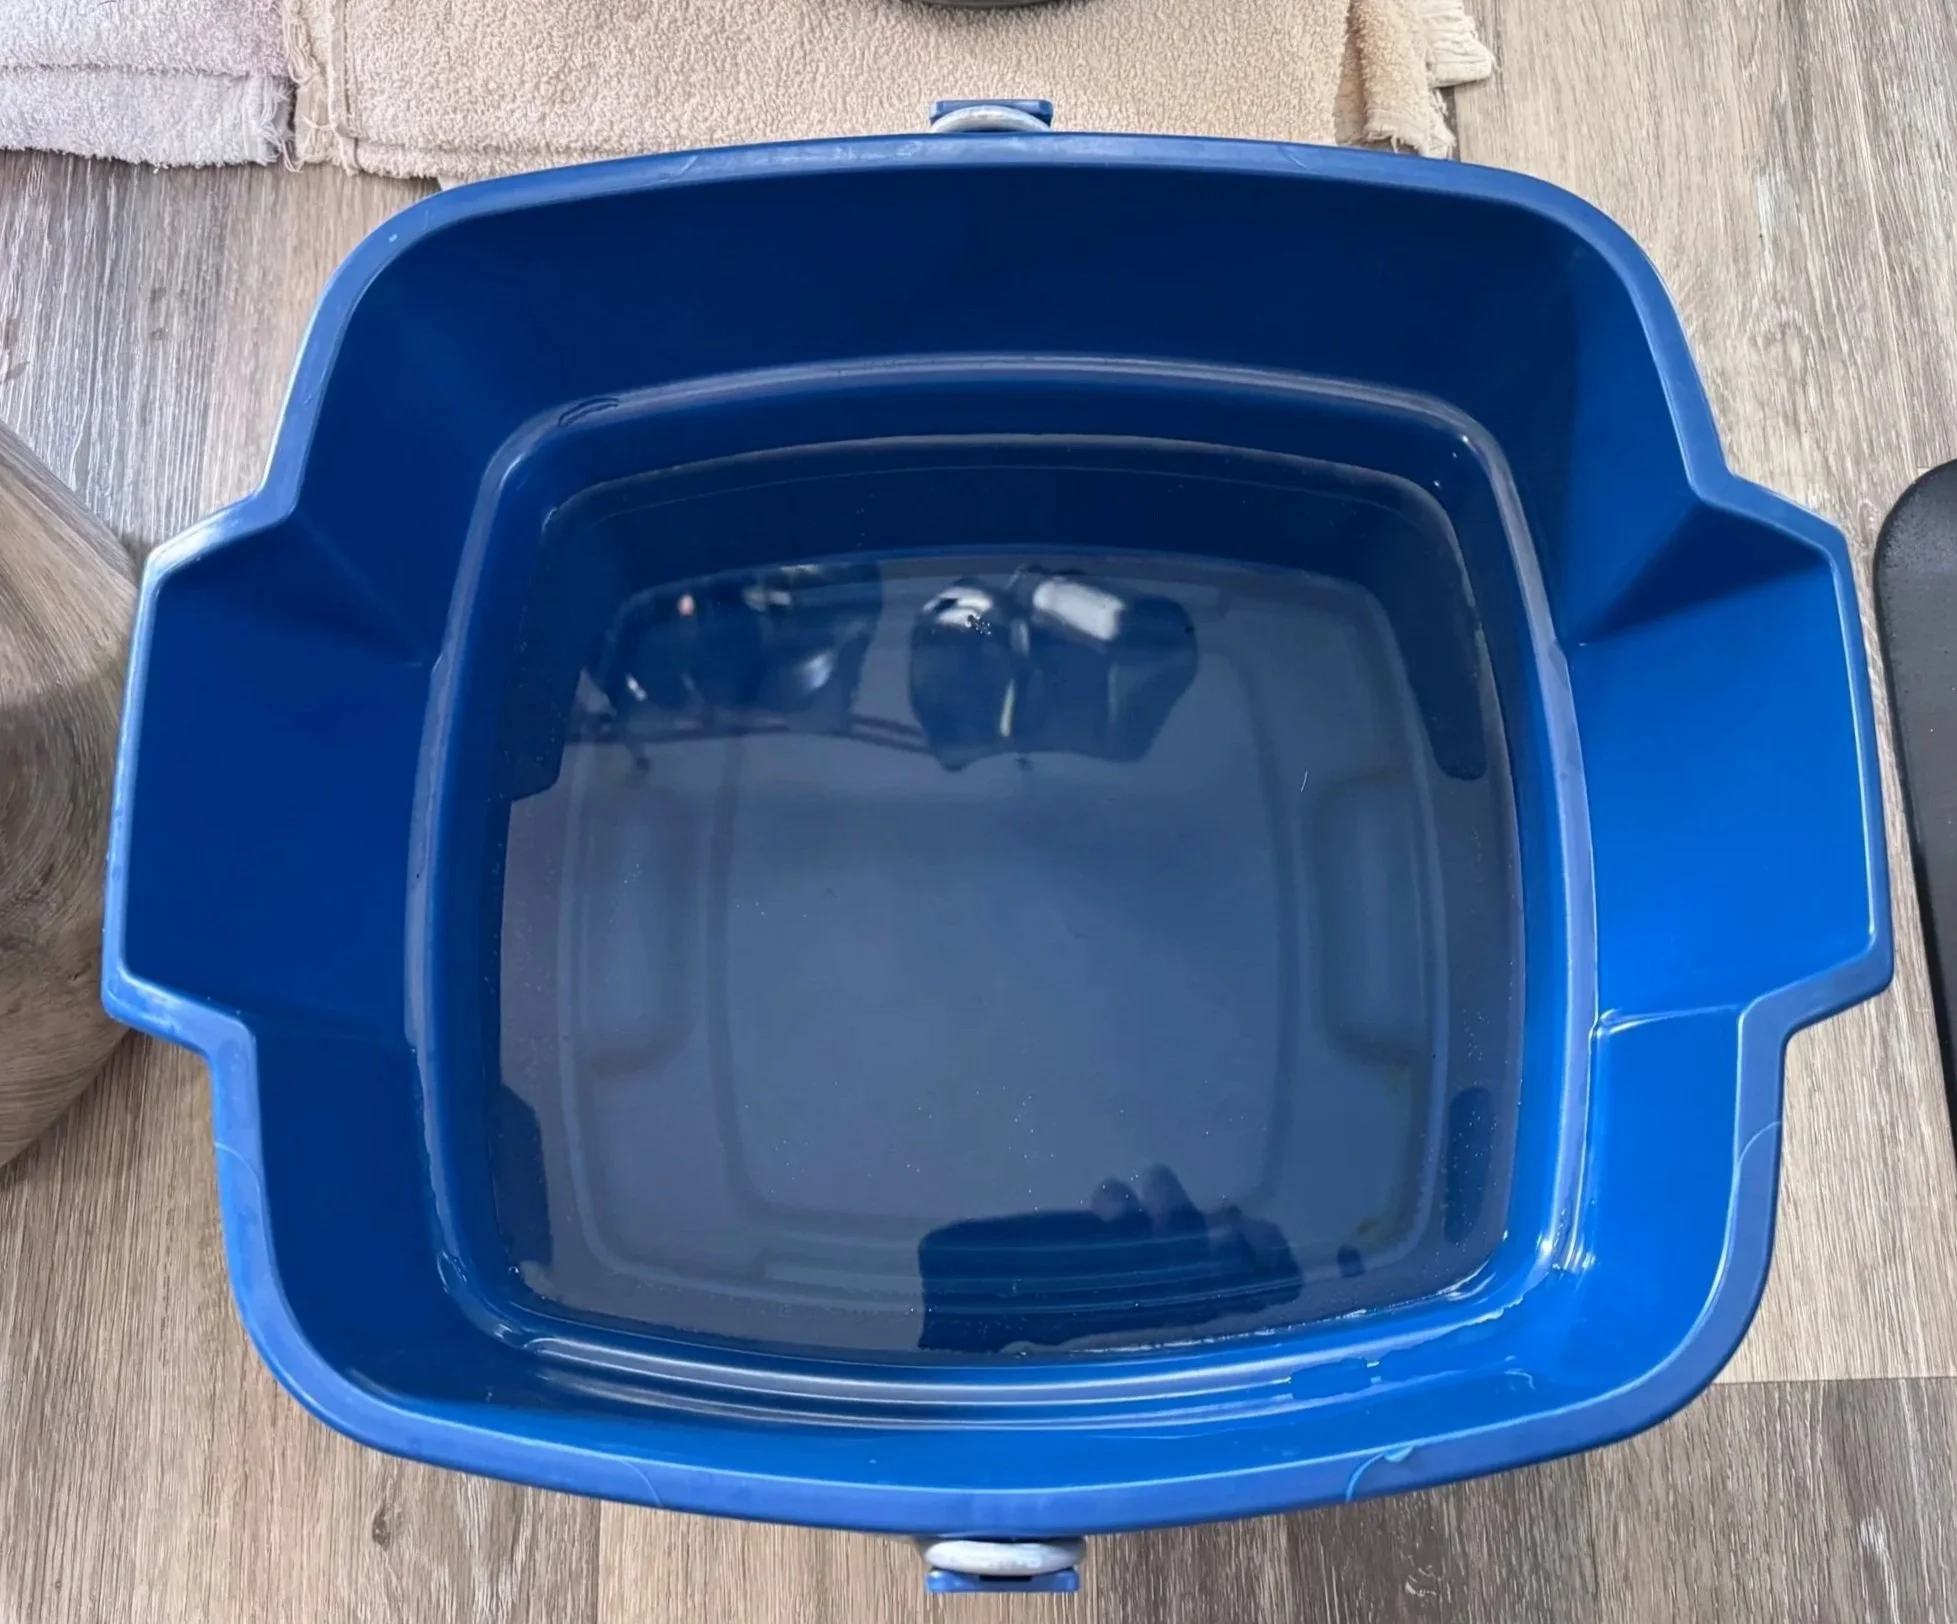
dehumidifier water
Whenever I can, I use rainwater or water from the dehumidifier for my dyes.
-
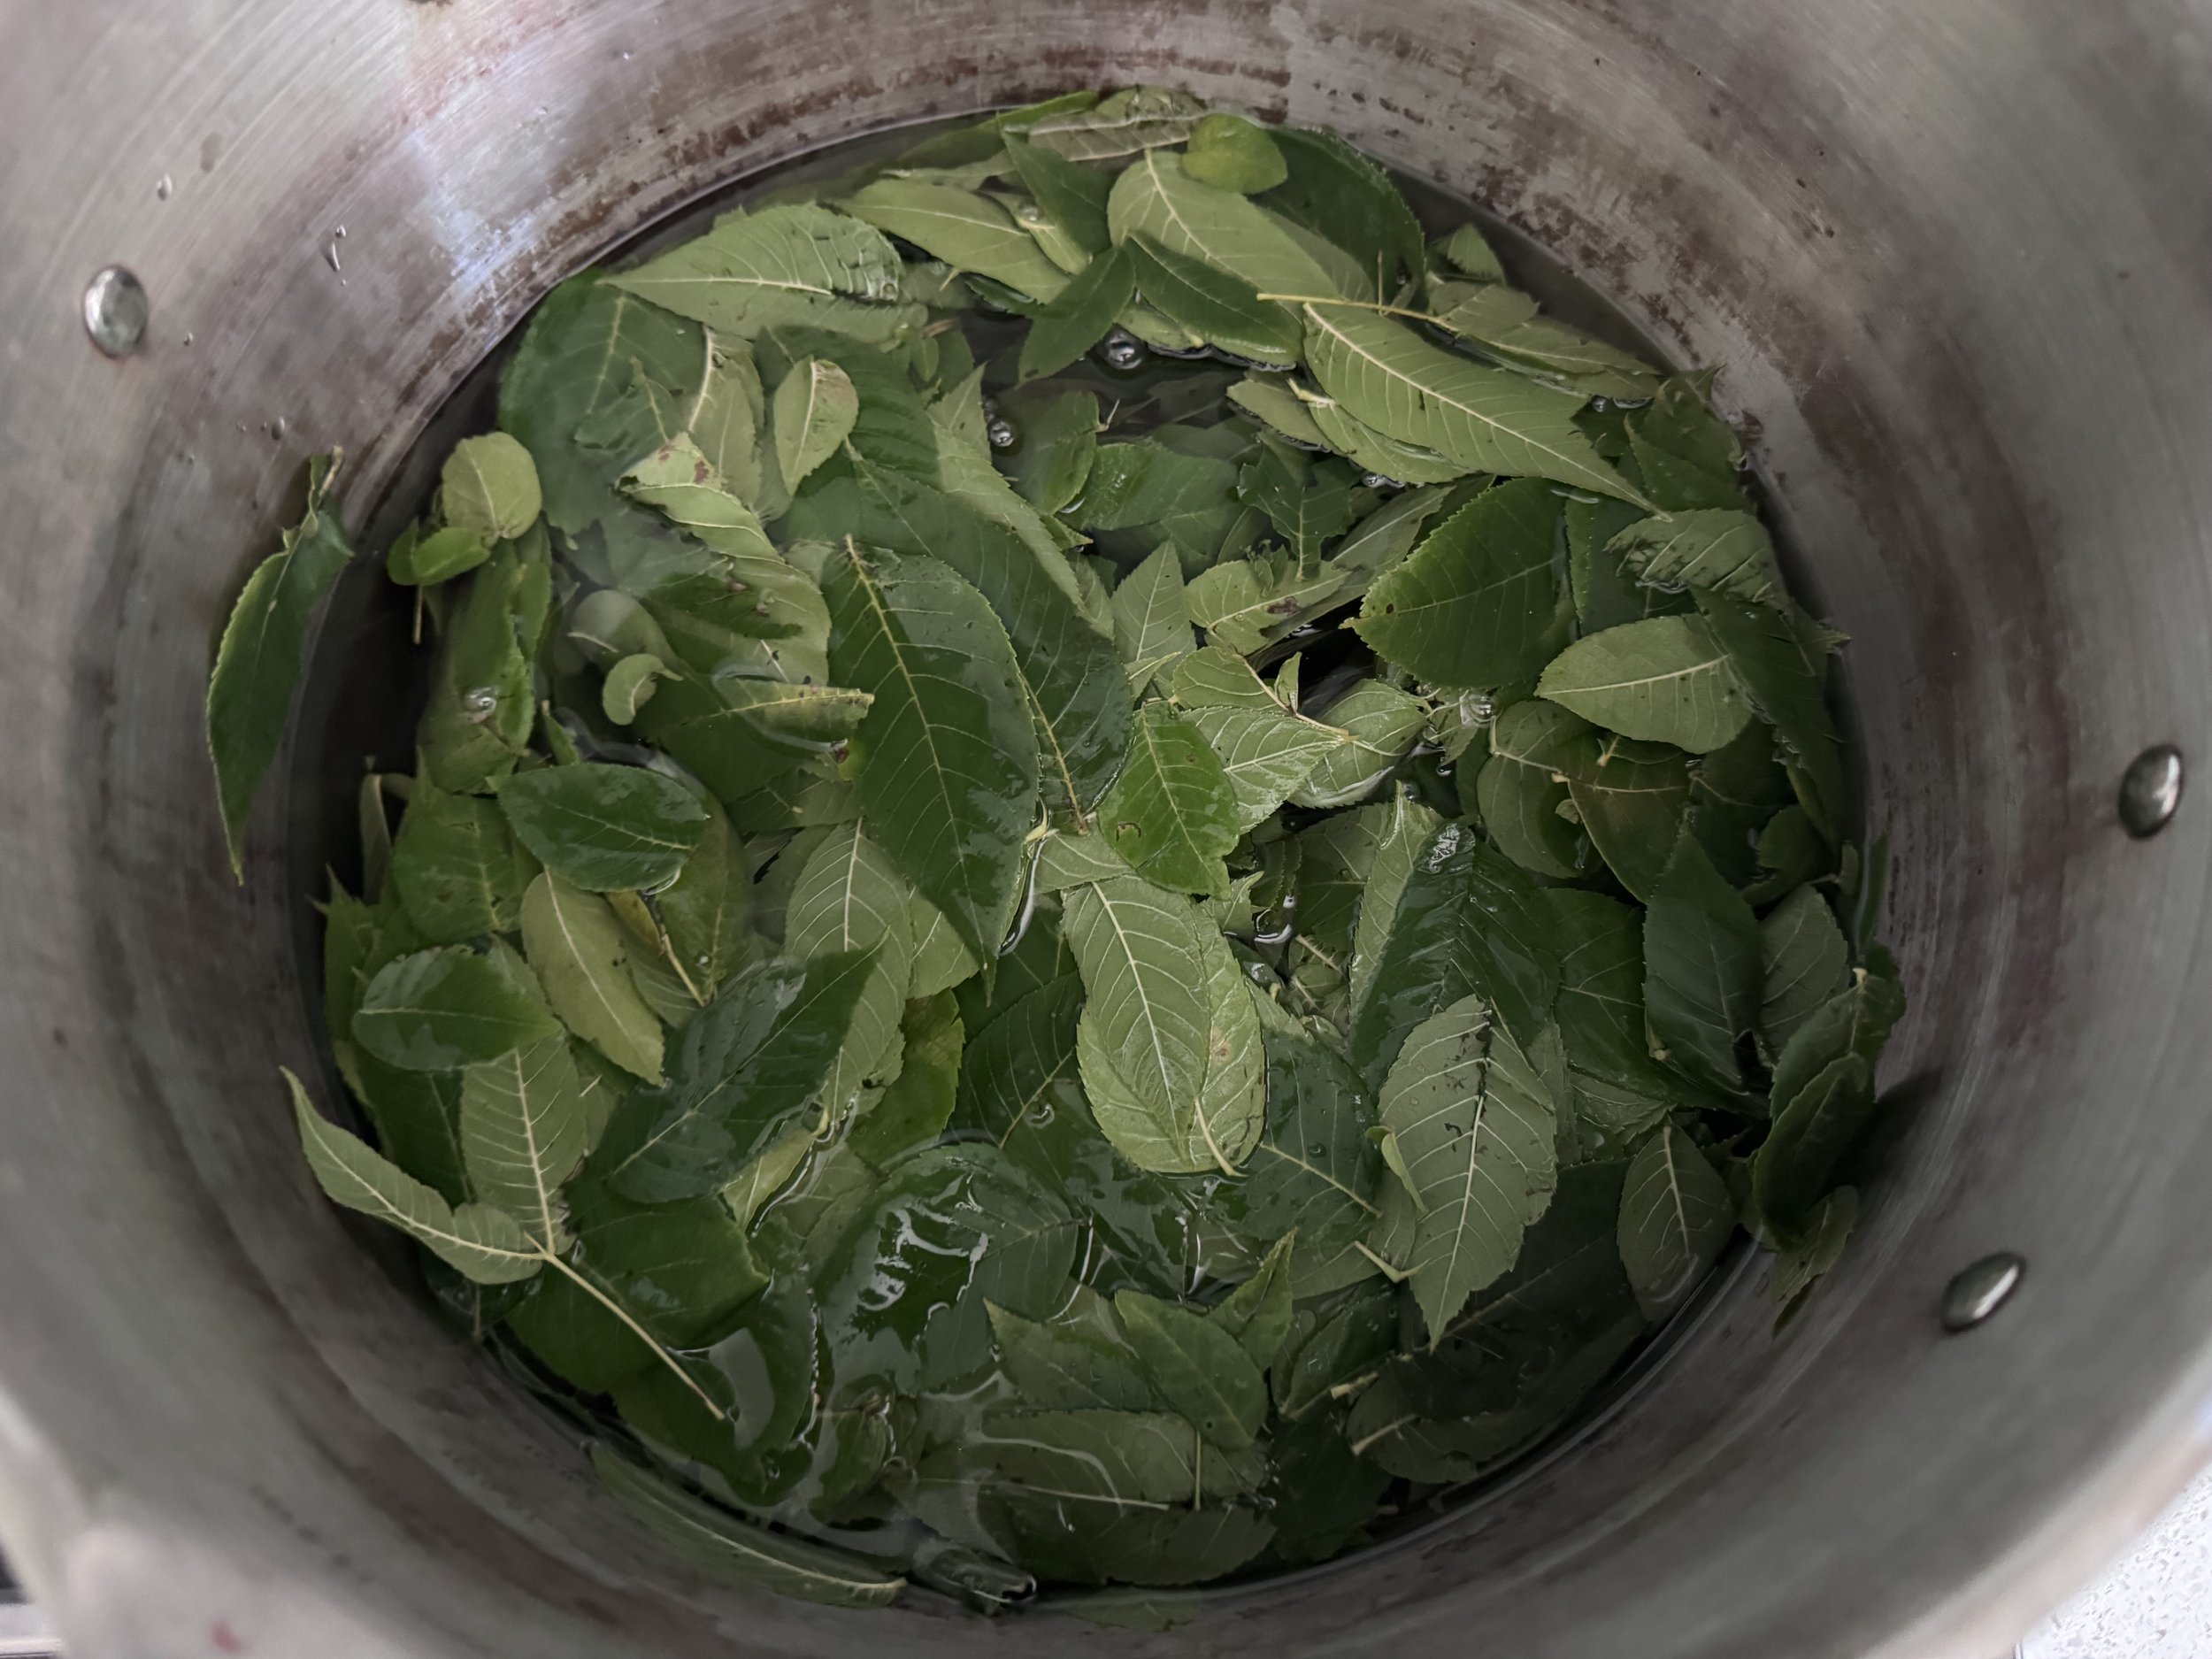
ready for heat
I will heat the leaves to just under a simmer and then hold them there for about an hour. Then if I am feeling thorough, I will cool them and repeat the process.
-
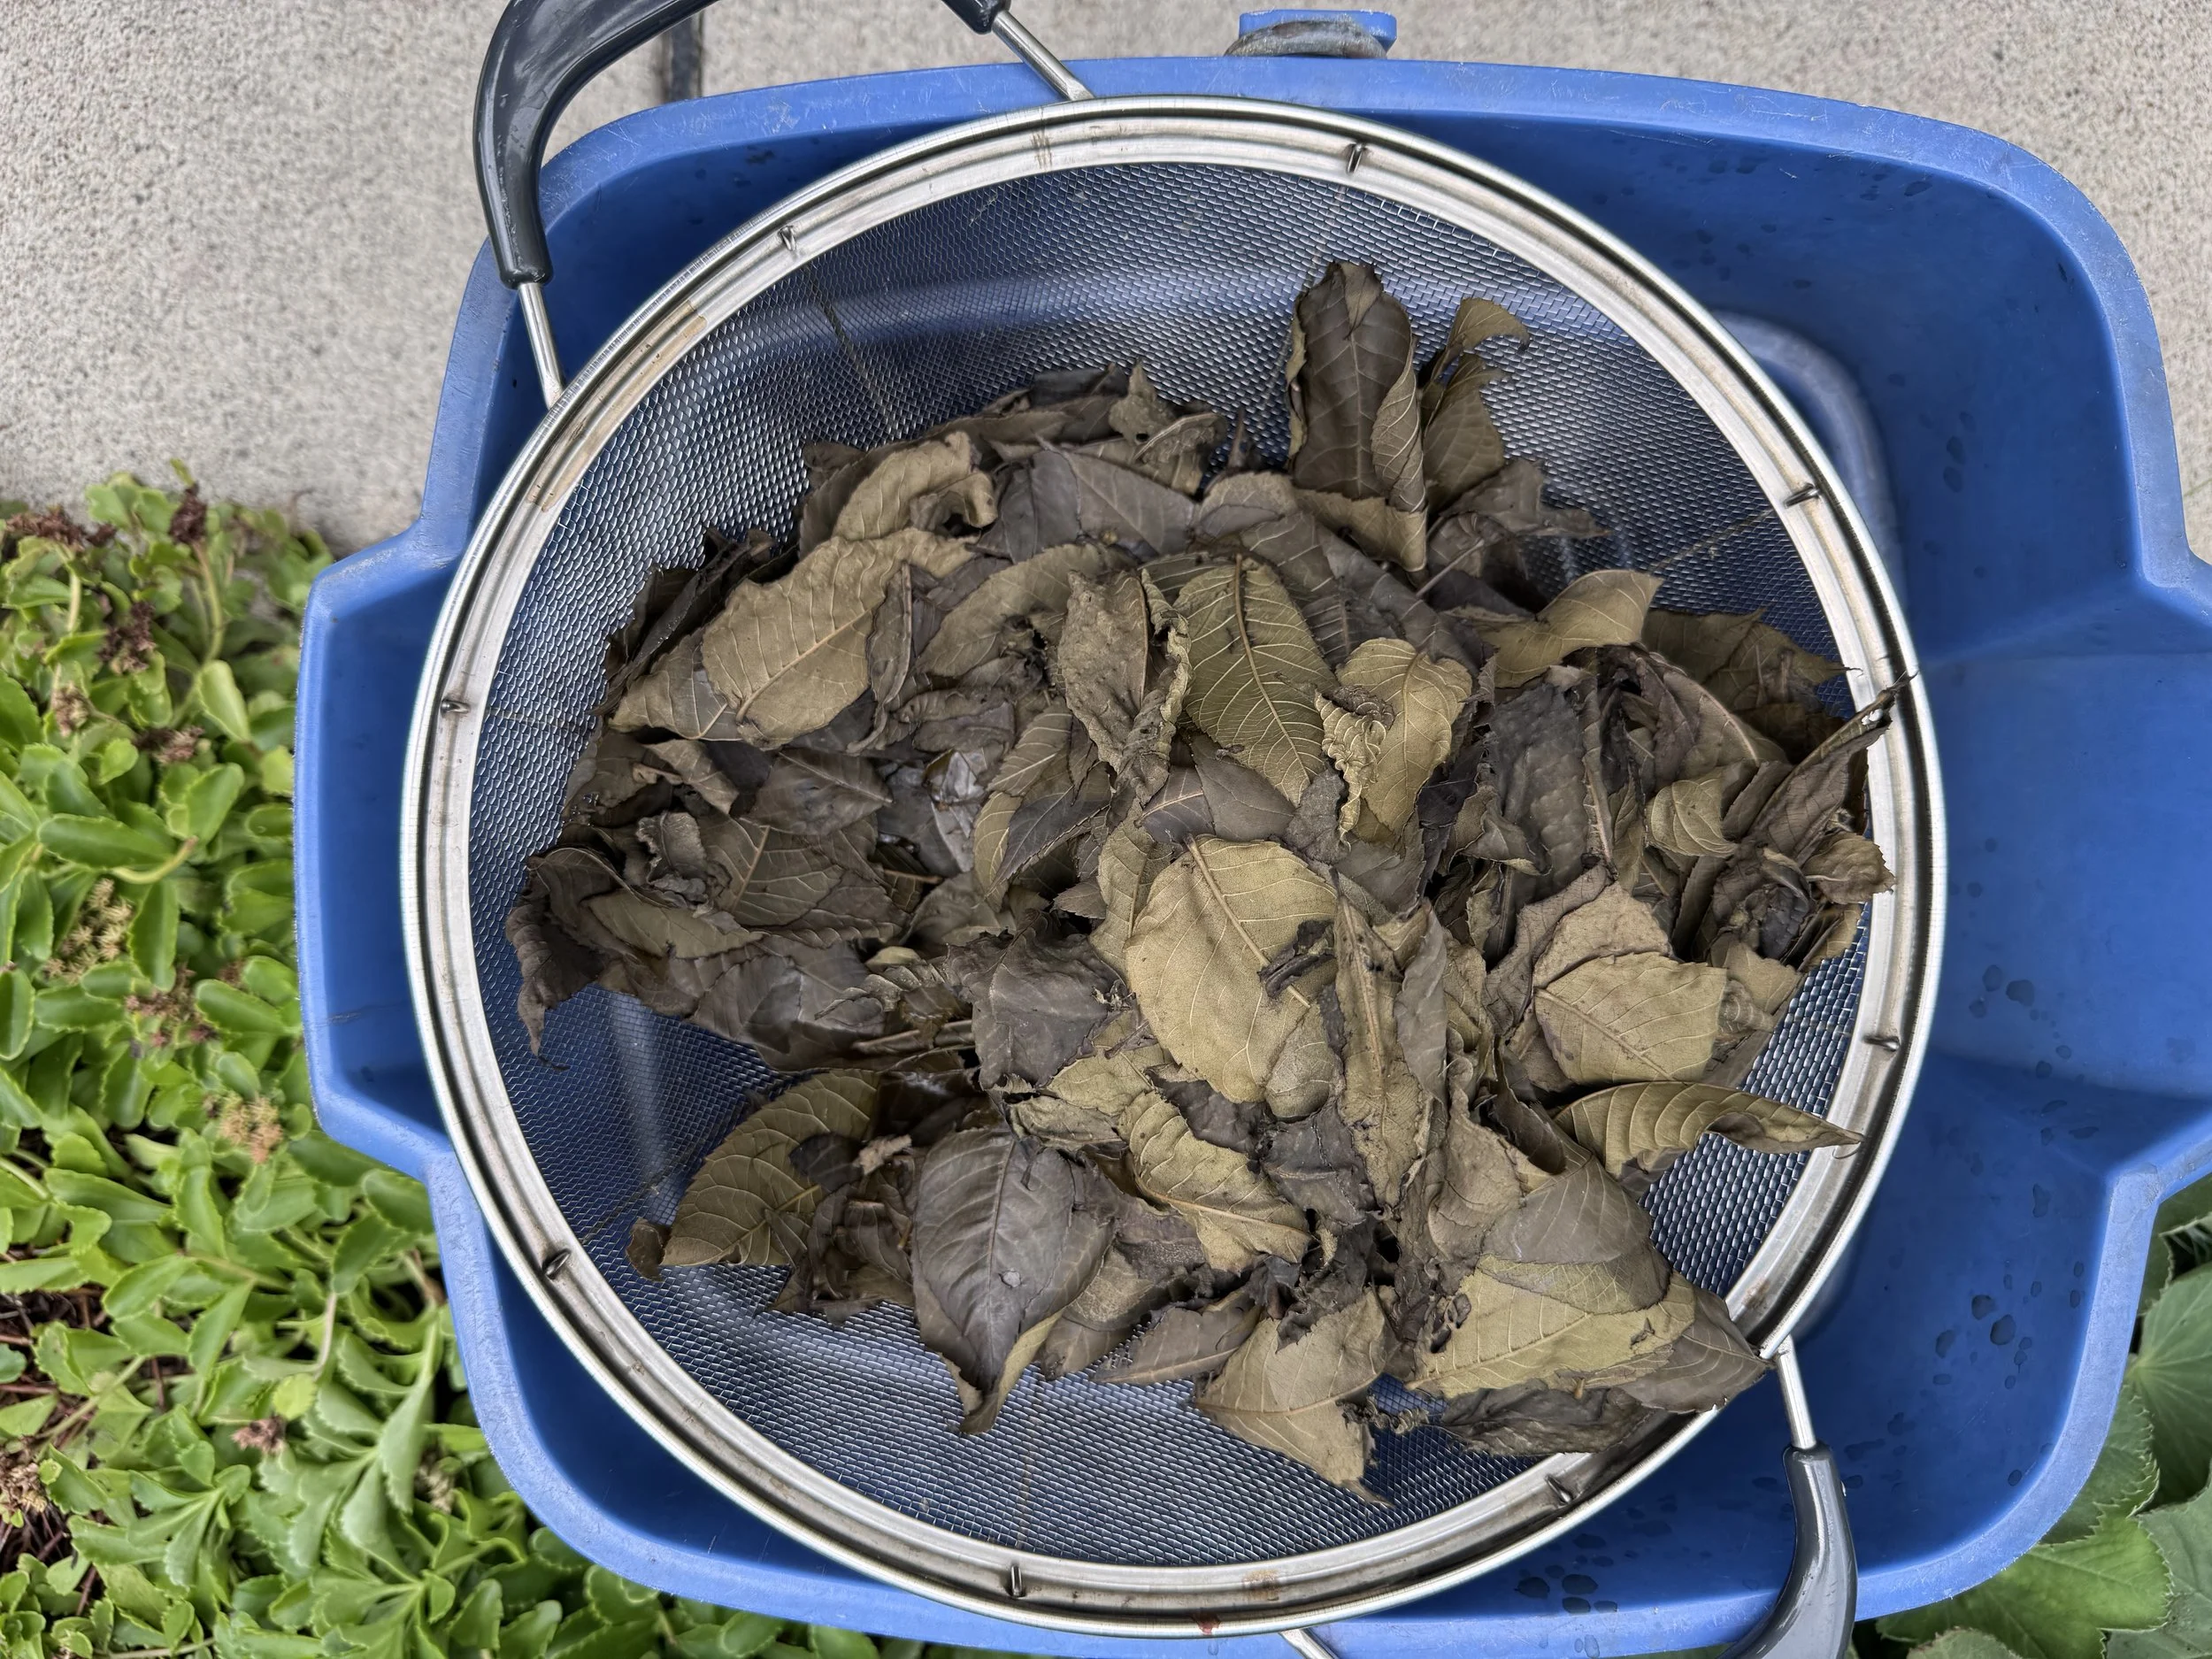
cooked leaves
I will save these and add them to the original dye bath for a second cooking once my first batch of yarn is finished bathing.
-
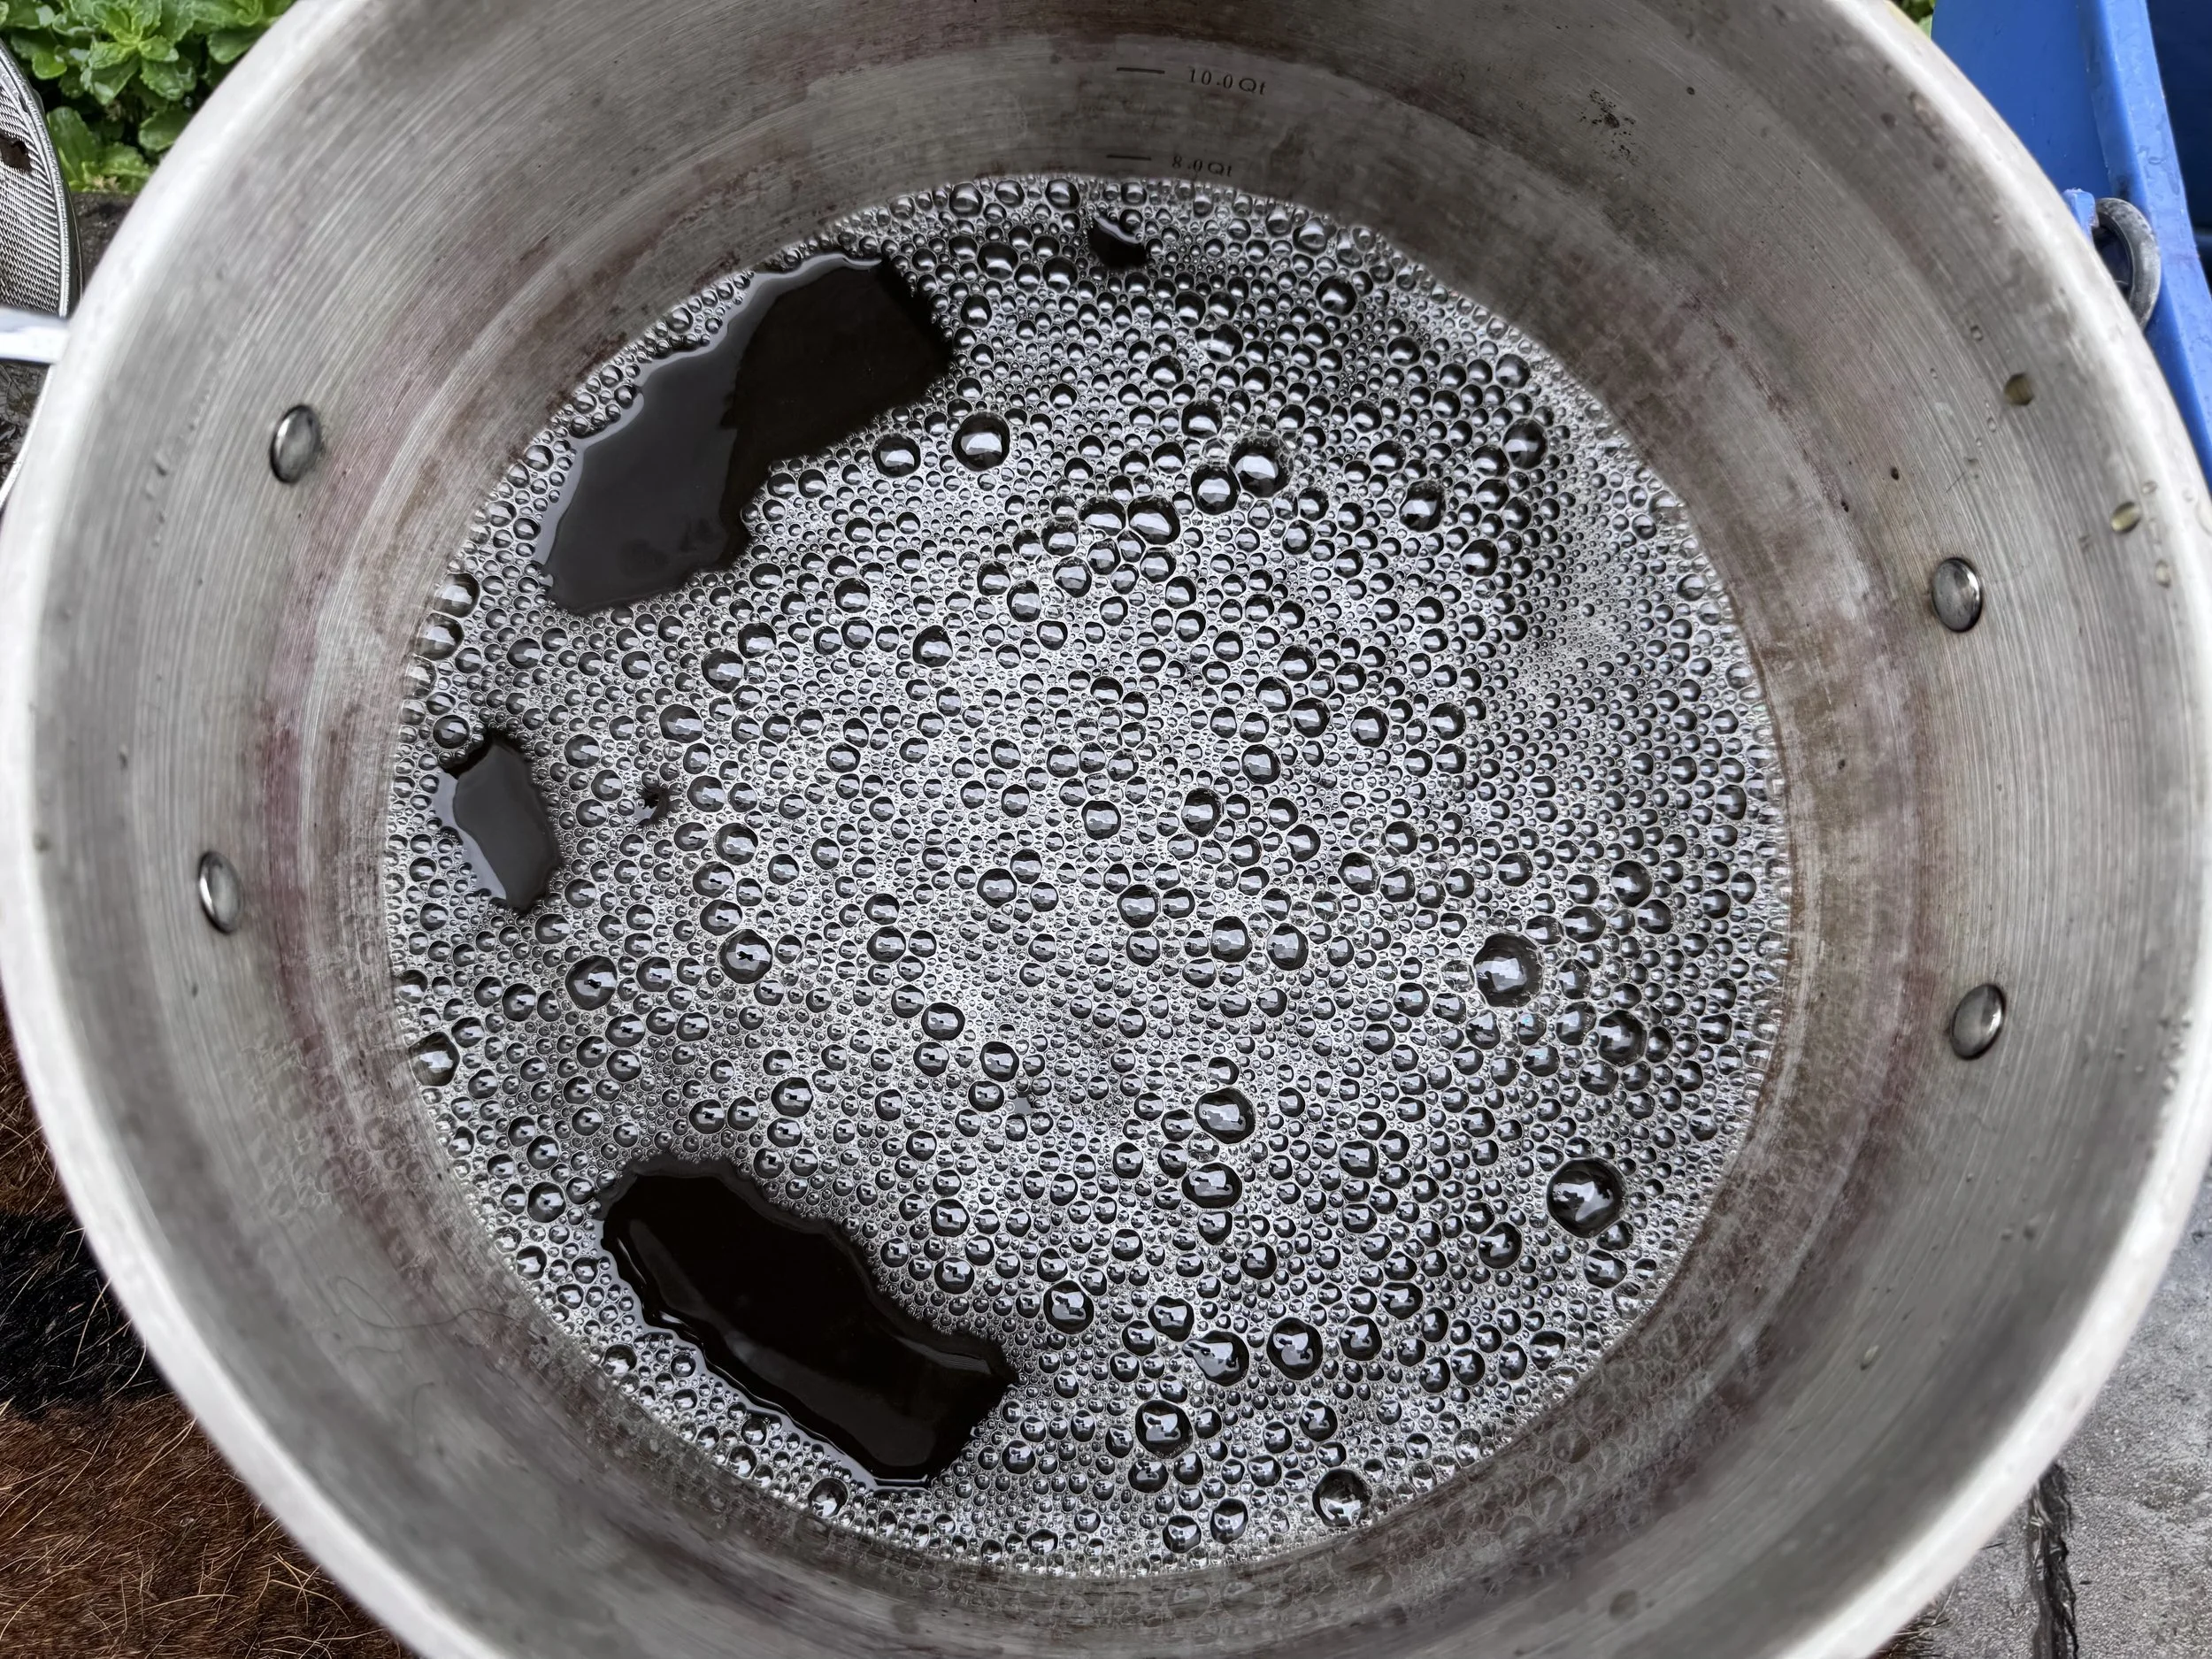
dye
And here is the dye, ready to go.
-
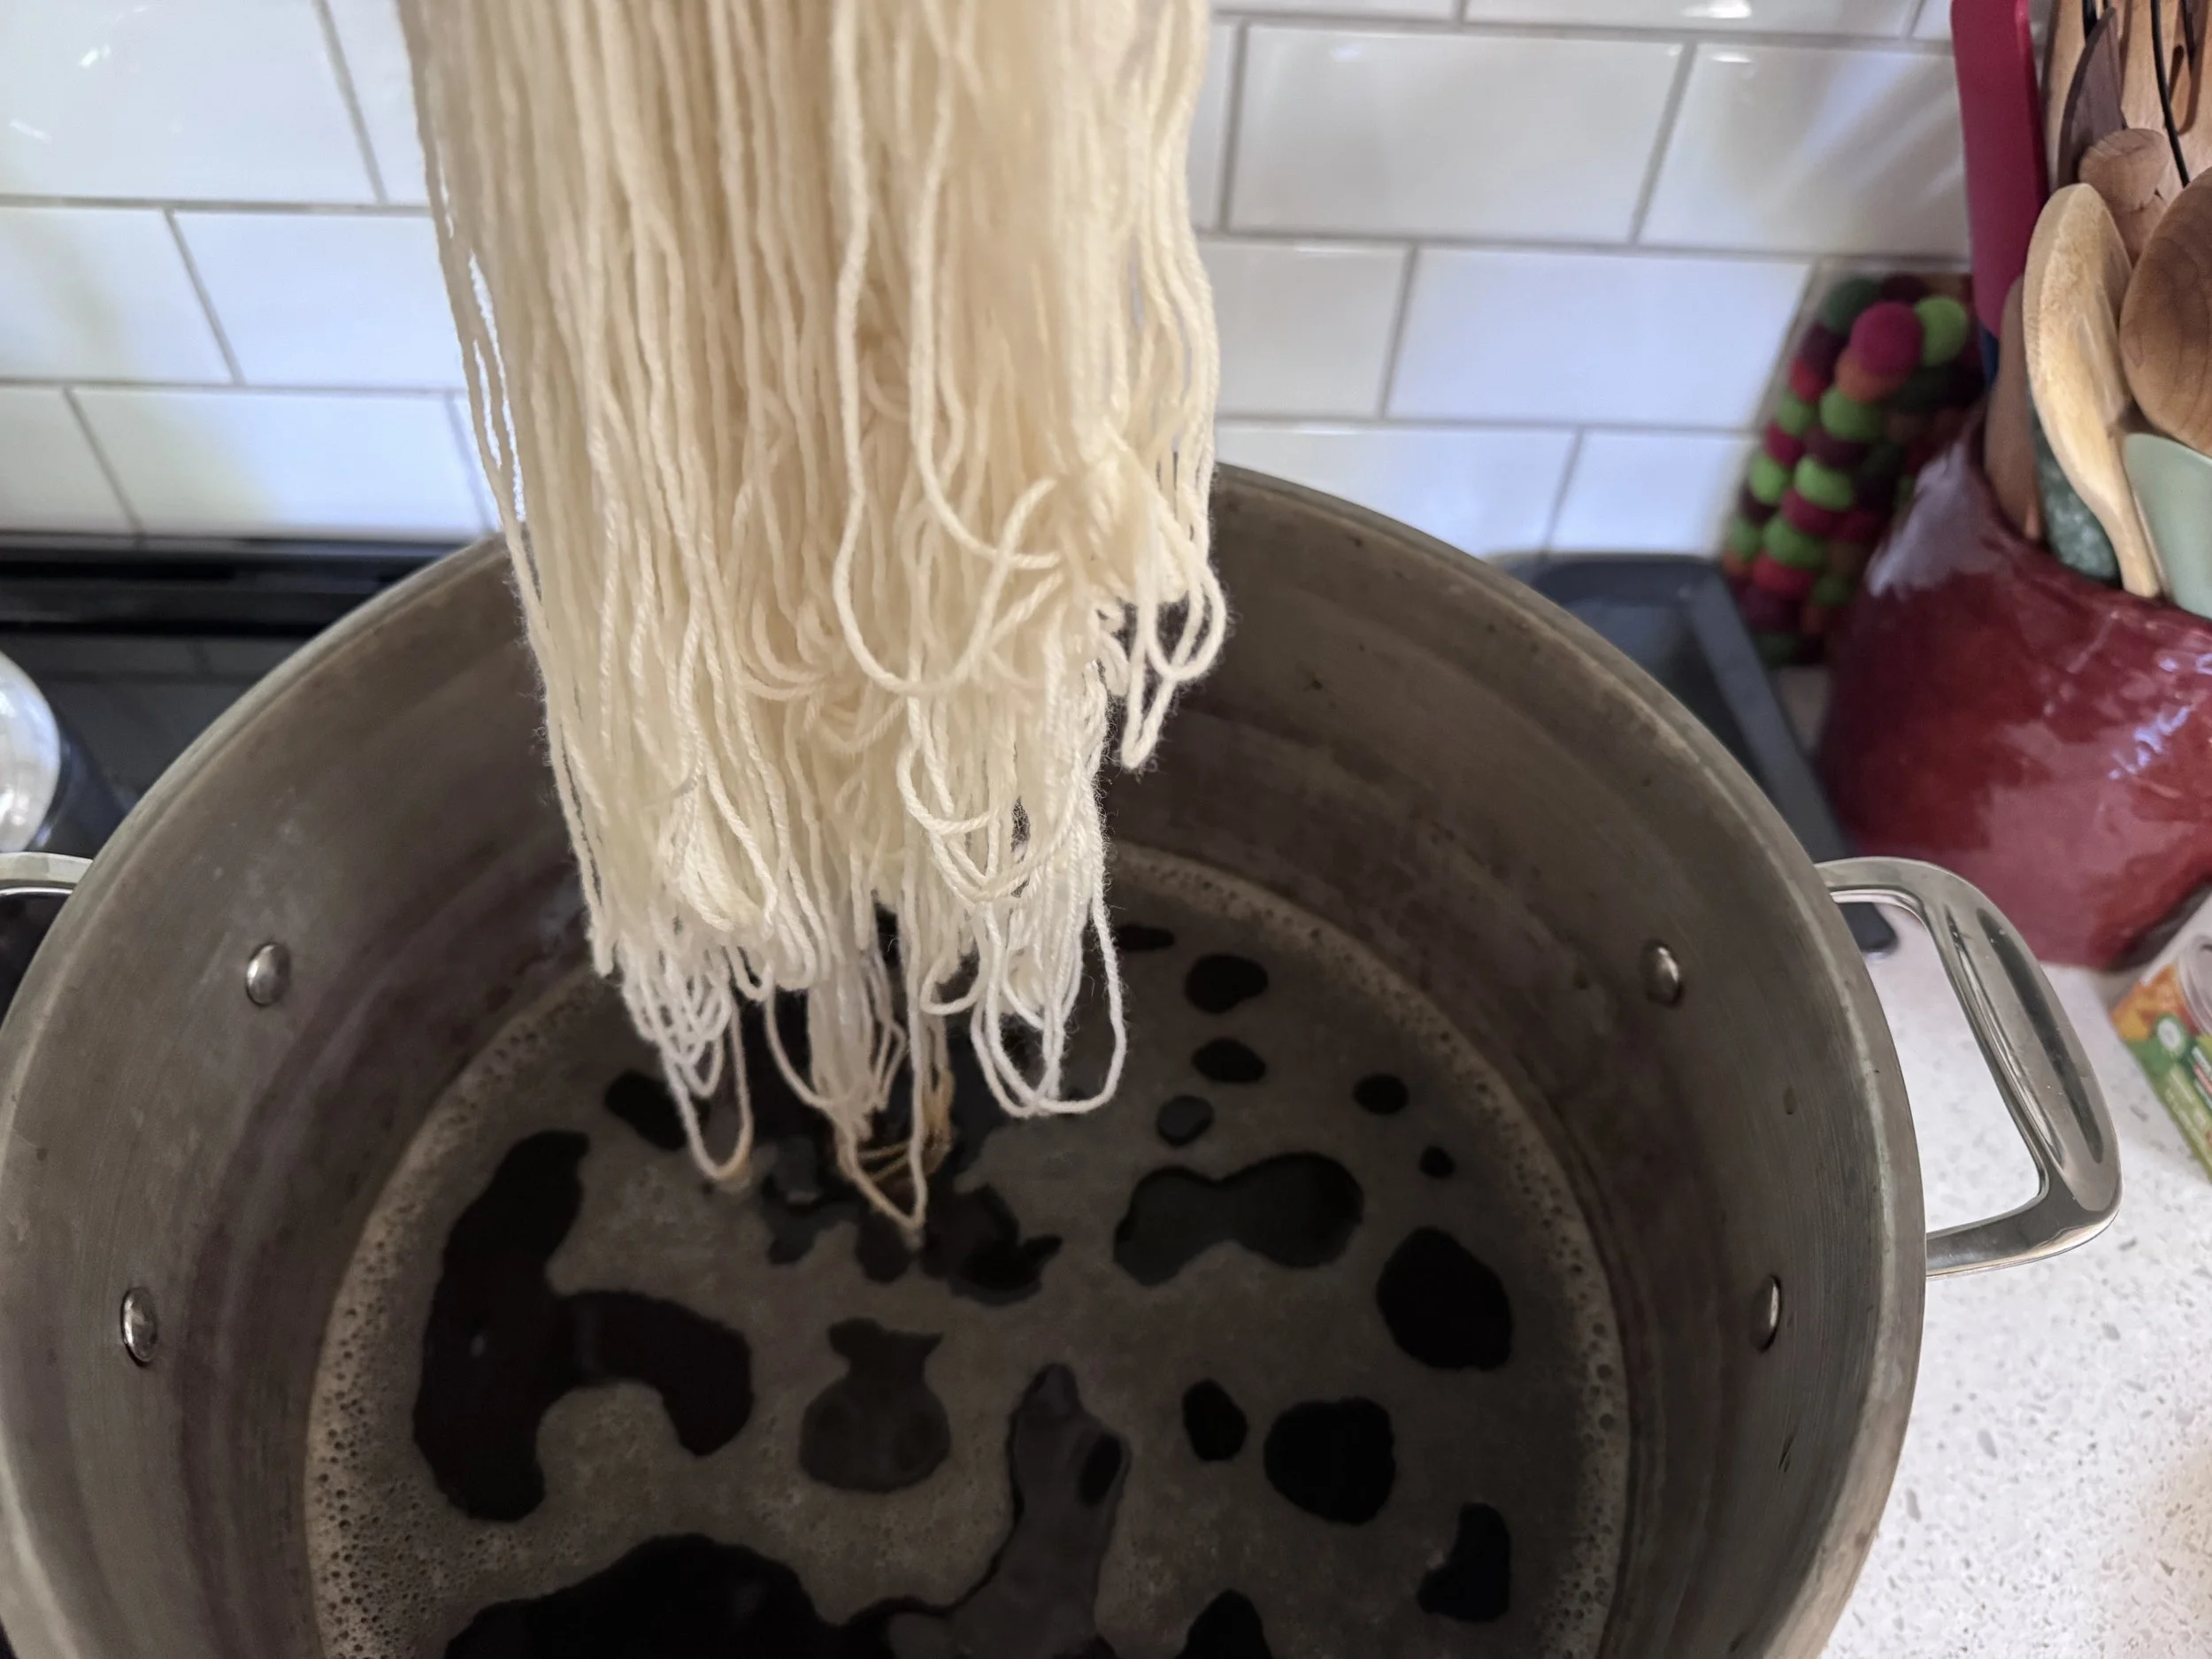
un-mordanted yarn
This looks unsettlingly like the mordanted yarn but there were only four of these in a little pile, so I am 99% sure that they did not go into the mordant bath.
I am only dyeing two hanks here. I will save the other two for the second exhaust.
-
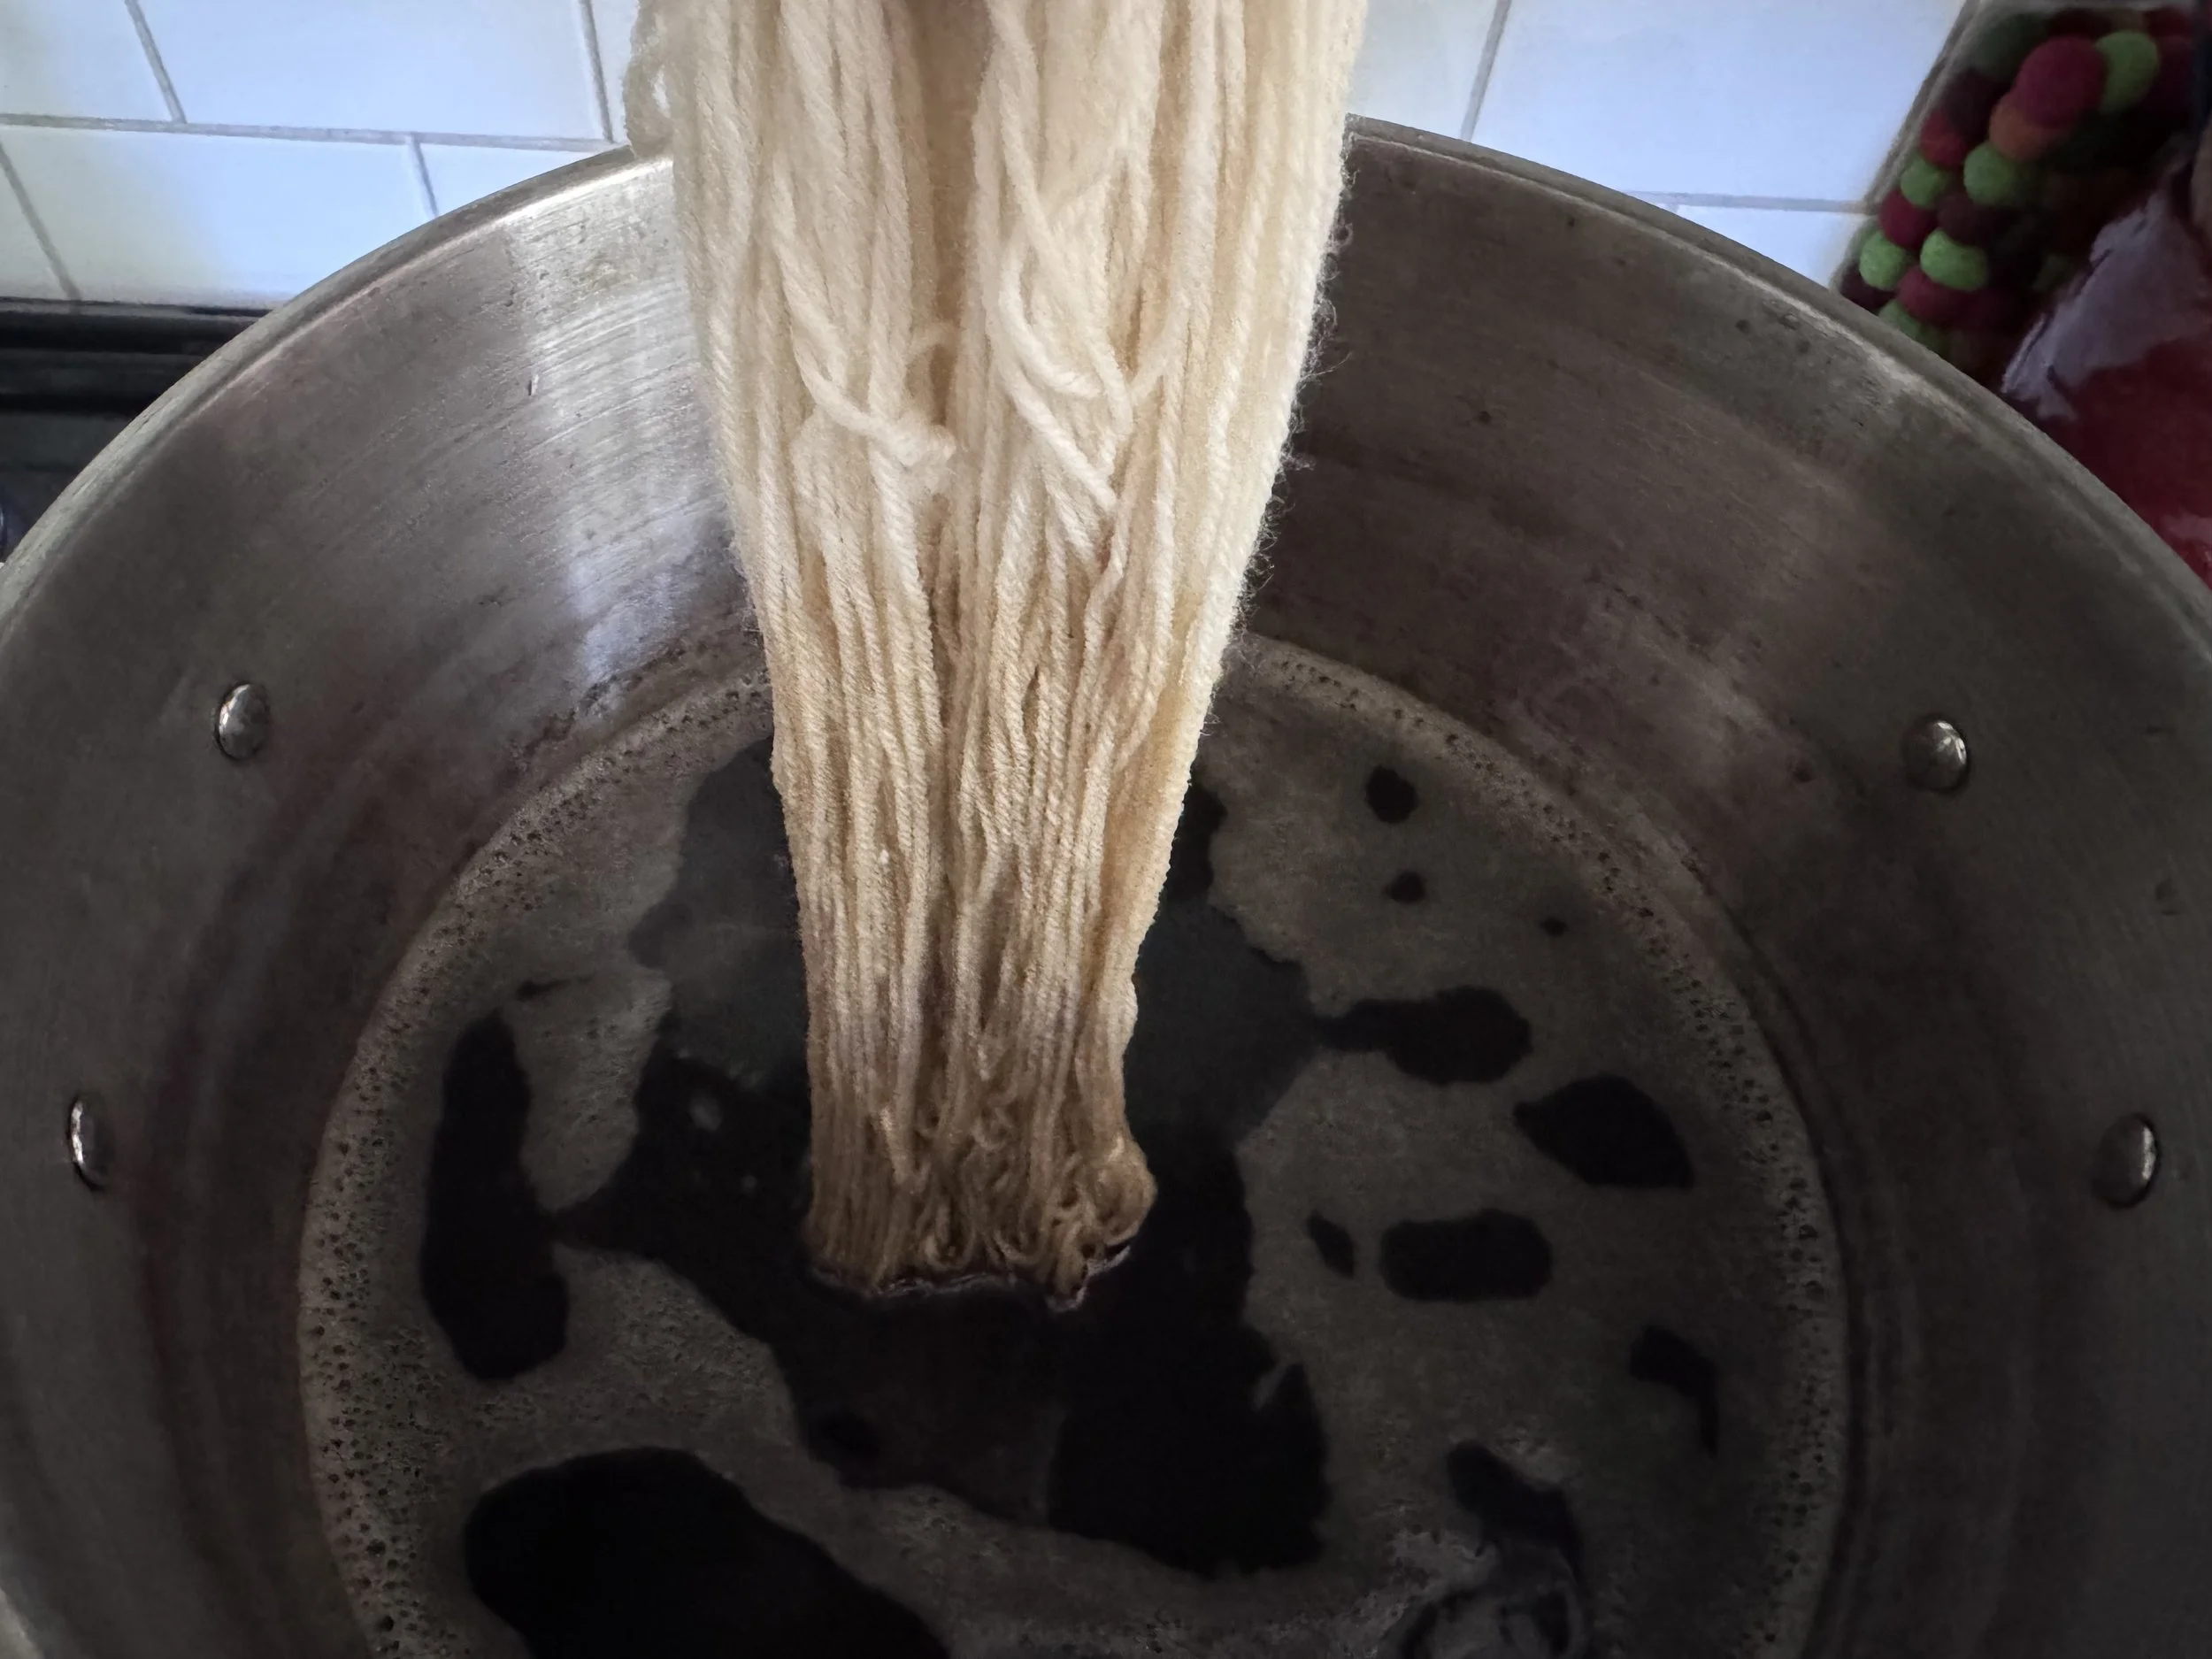
un-mordanted dipped
If things go according to plan, and you never know with natural dyes, this yarn will be a light brown in an hour or so.
-
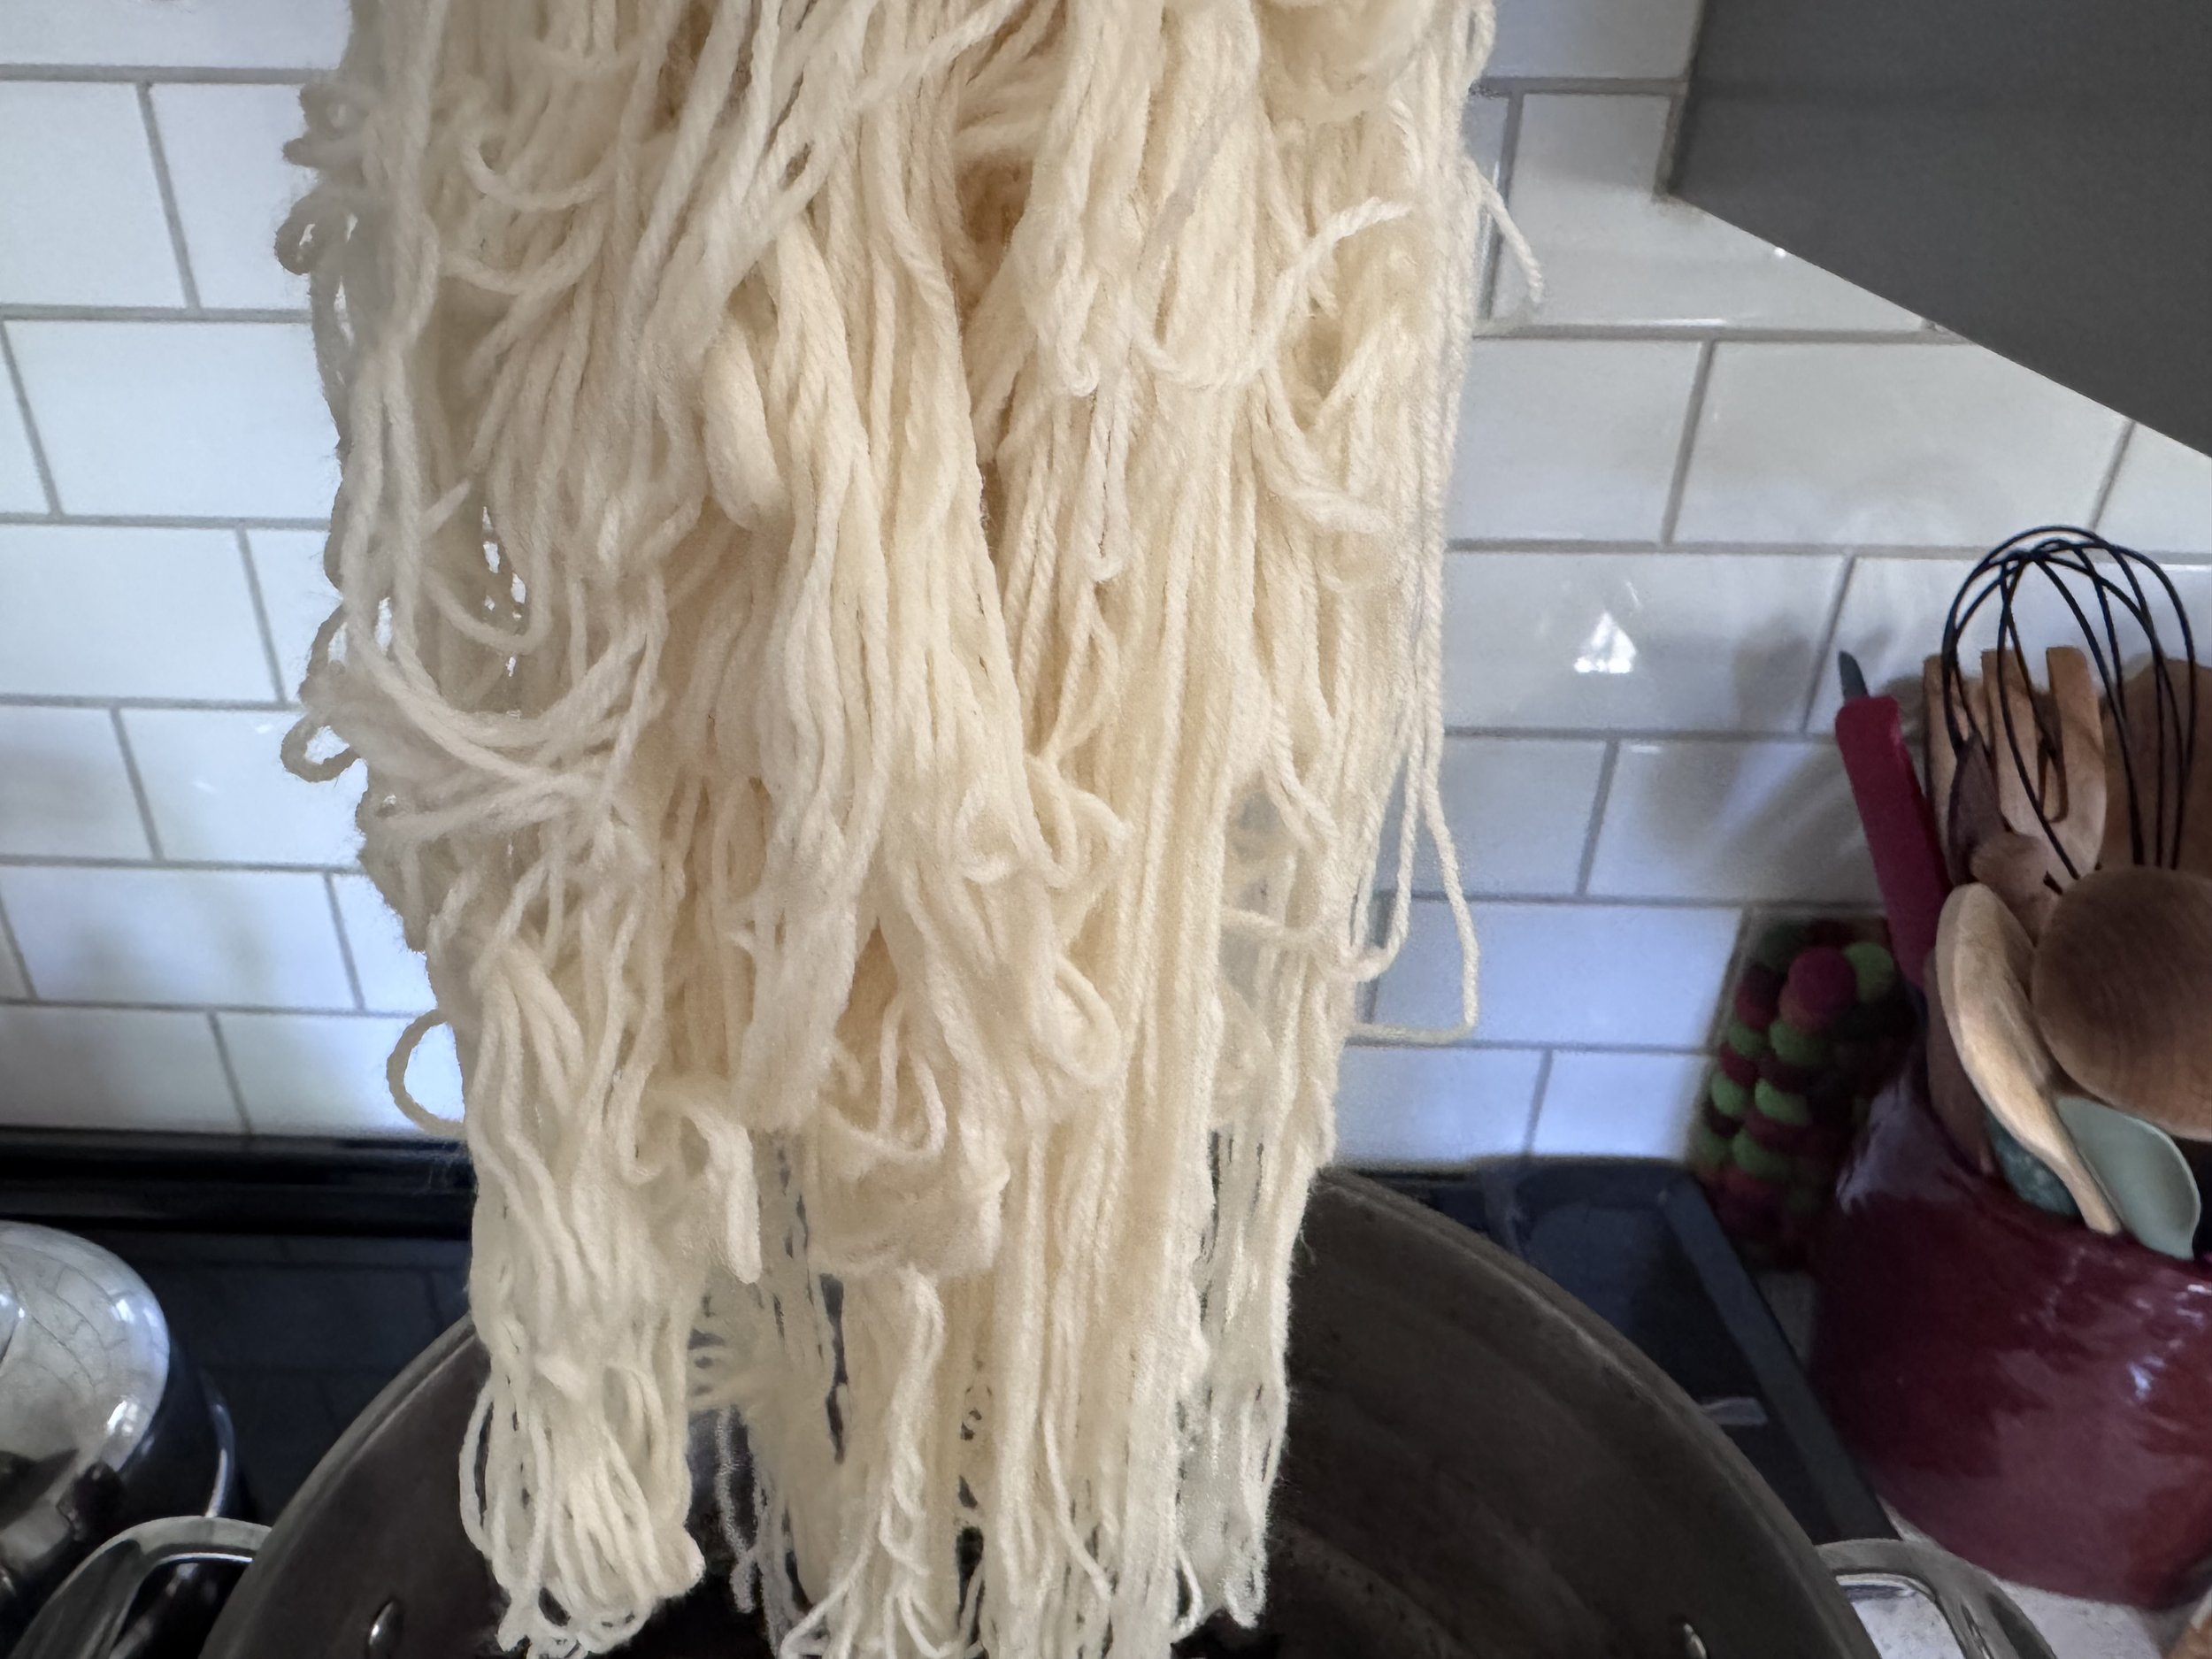
mordanted yarn
I am also going to dye five of my ten mordanted hanks now. The other five will go into the second exhaust.
-
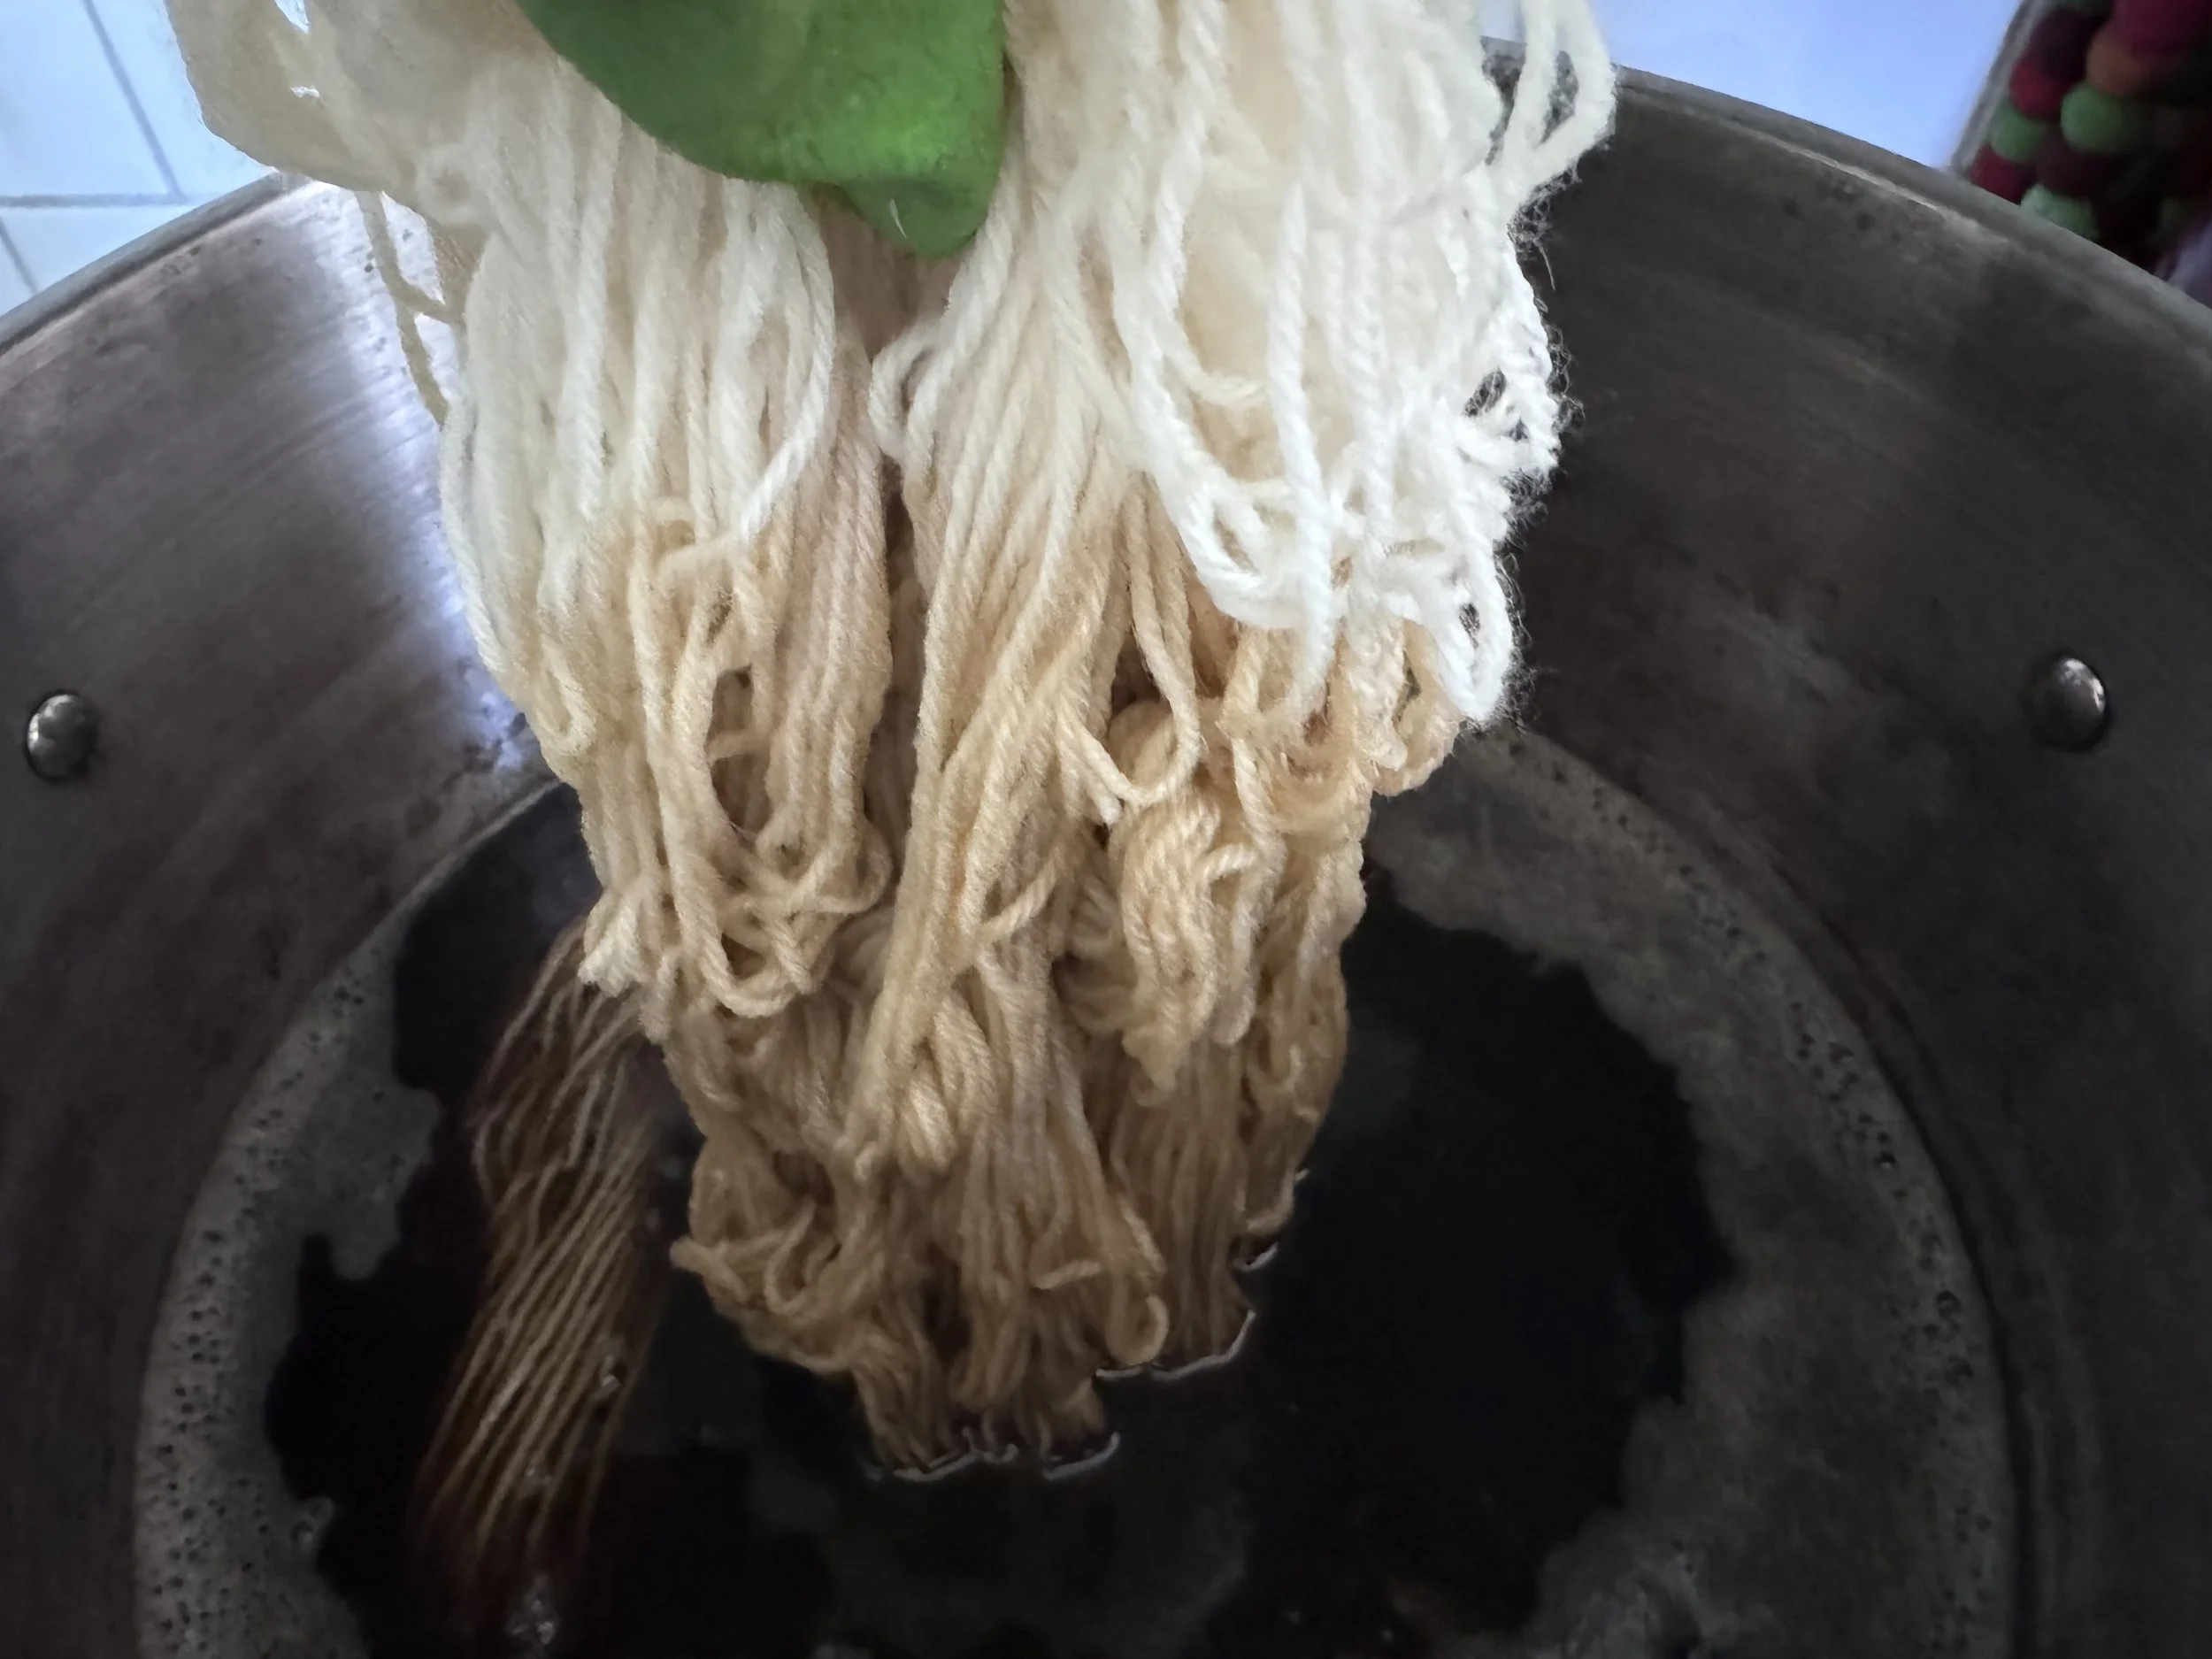
mordanted dipped
This looks a lot like the un-mordanted yarn, but we will see.
-
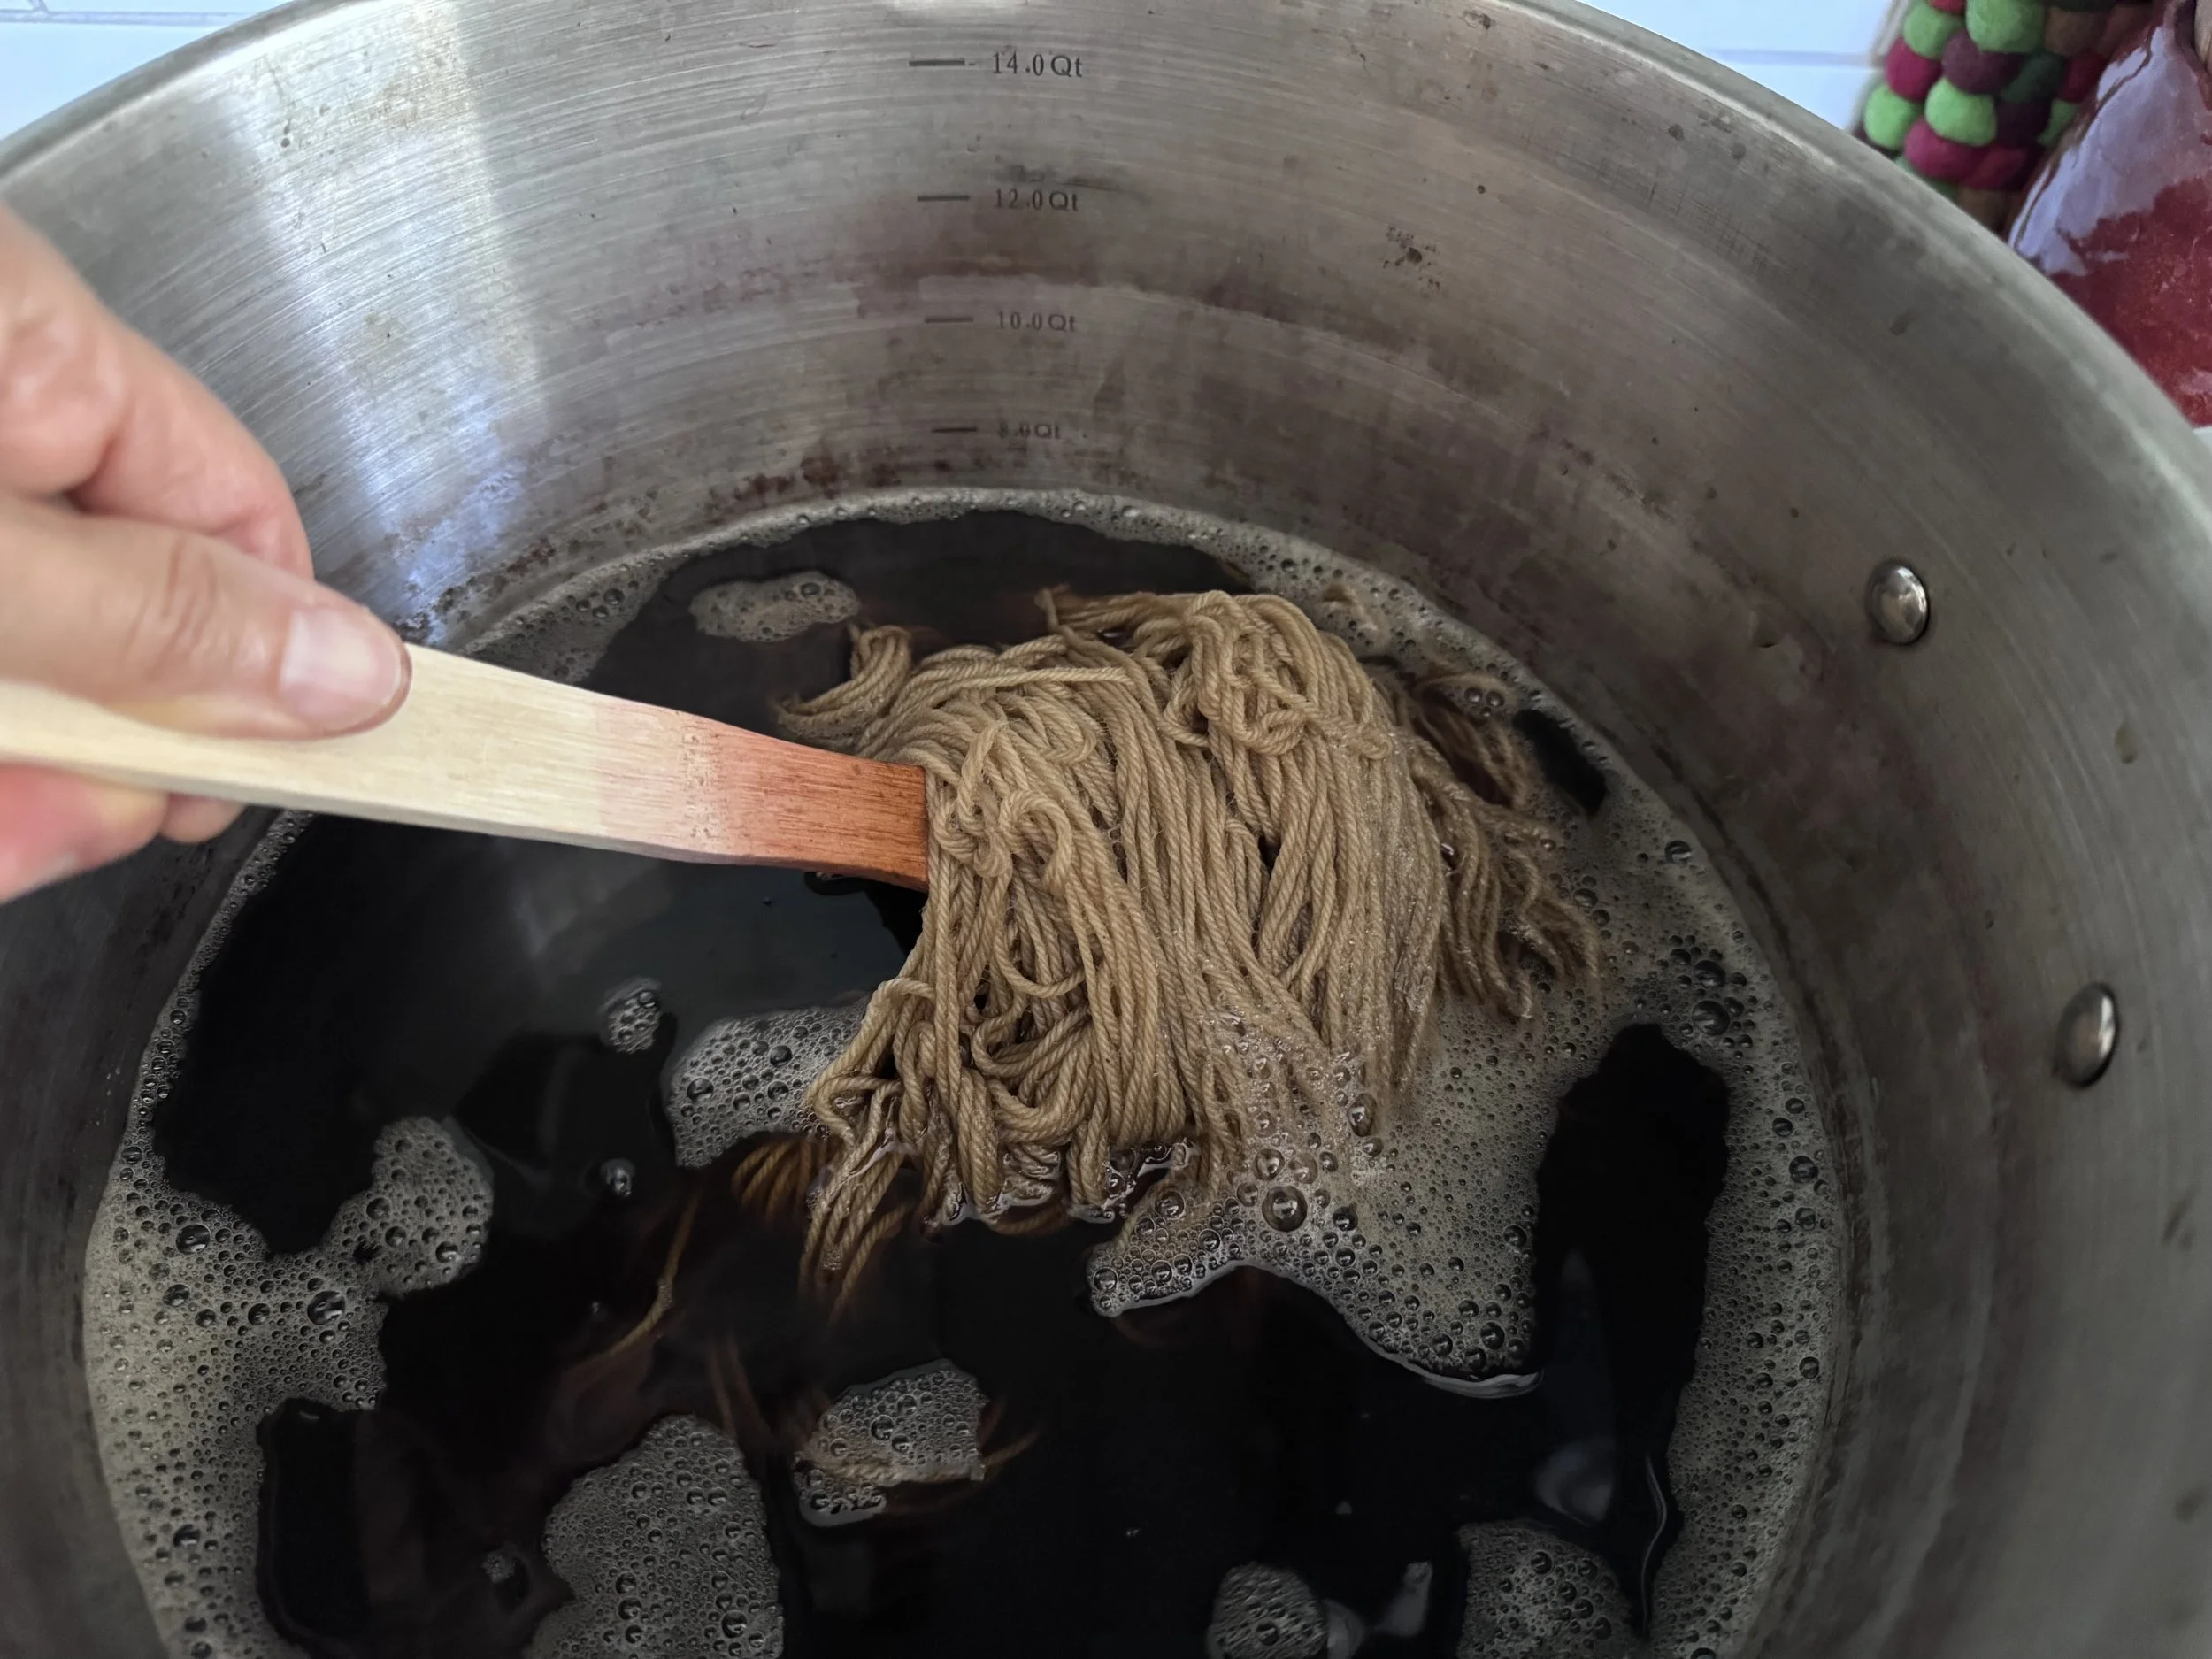
now we wait
I will heat this to well under a simmer and then keep it hot for about an hour. I don’t think that walnut dye likes to really cook.
-
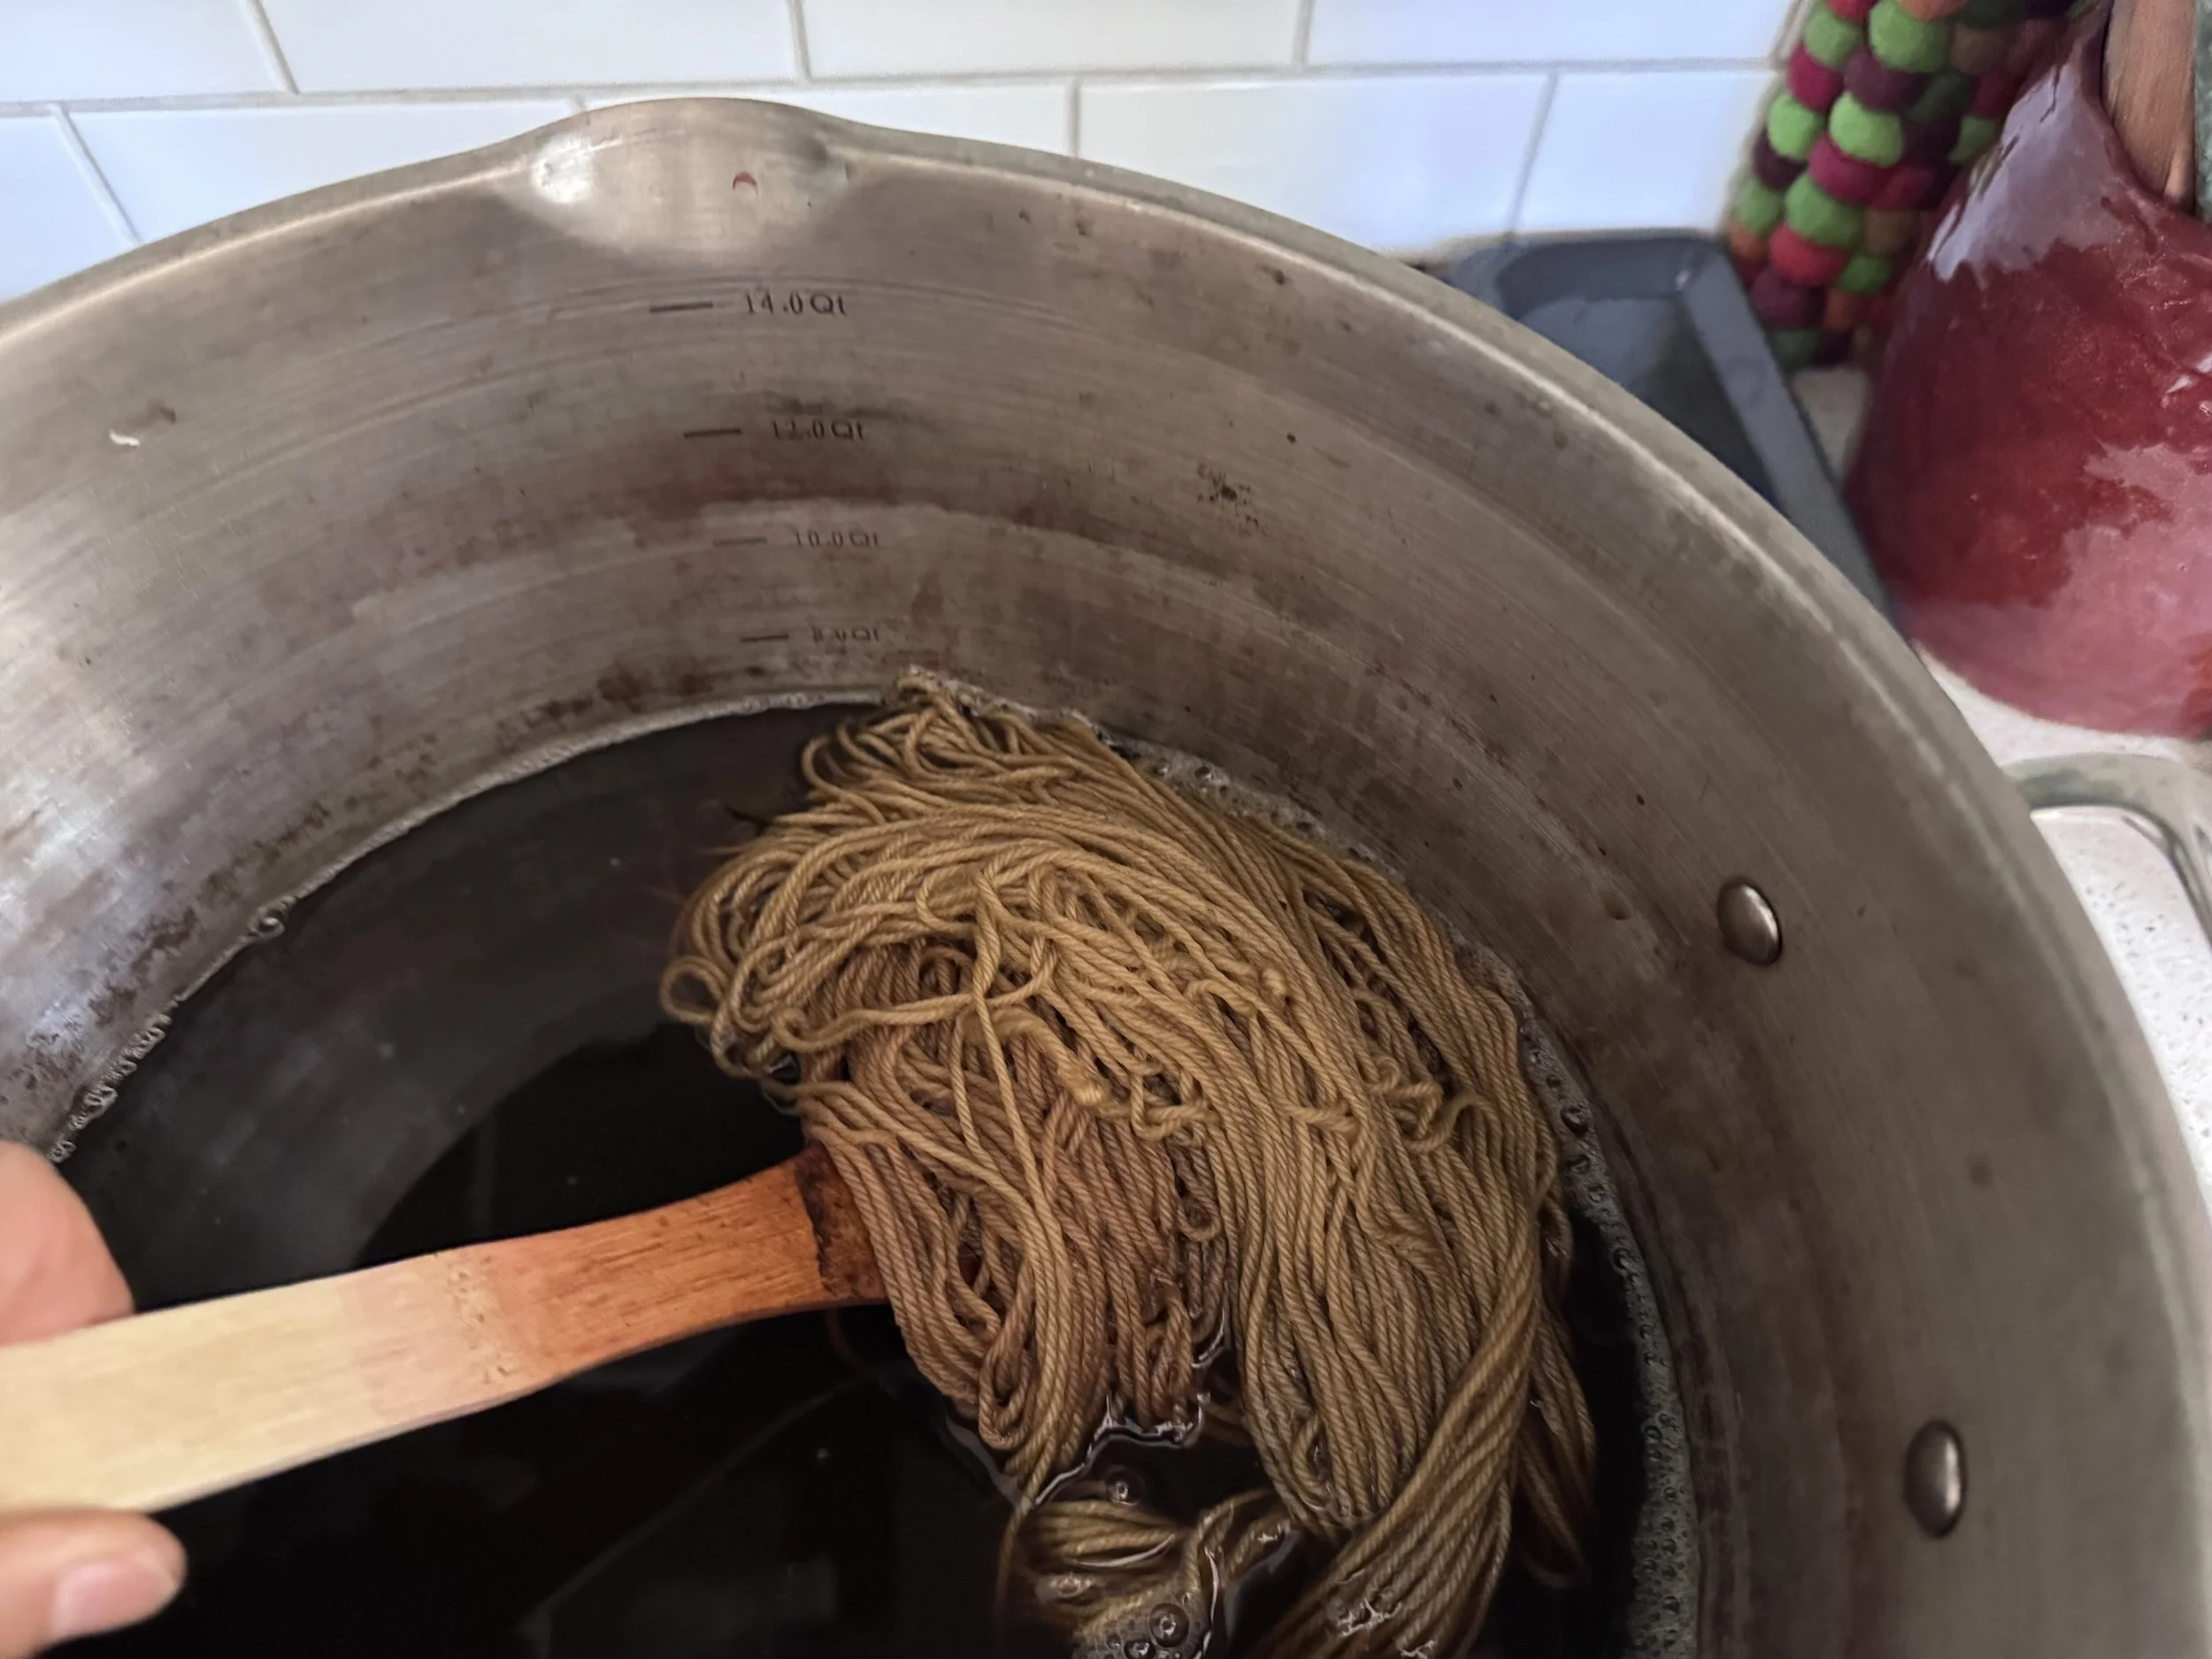
after 20 minutes
The dye is not very hot yet but the color is already developing well. I am assuming that the yarn to the right is un-mordanted.
-
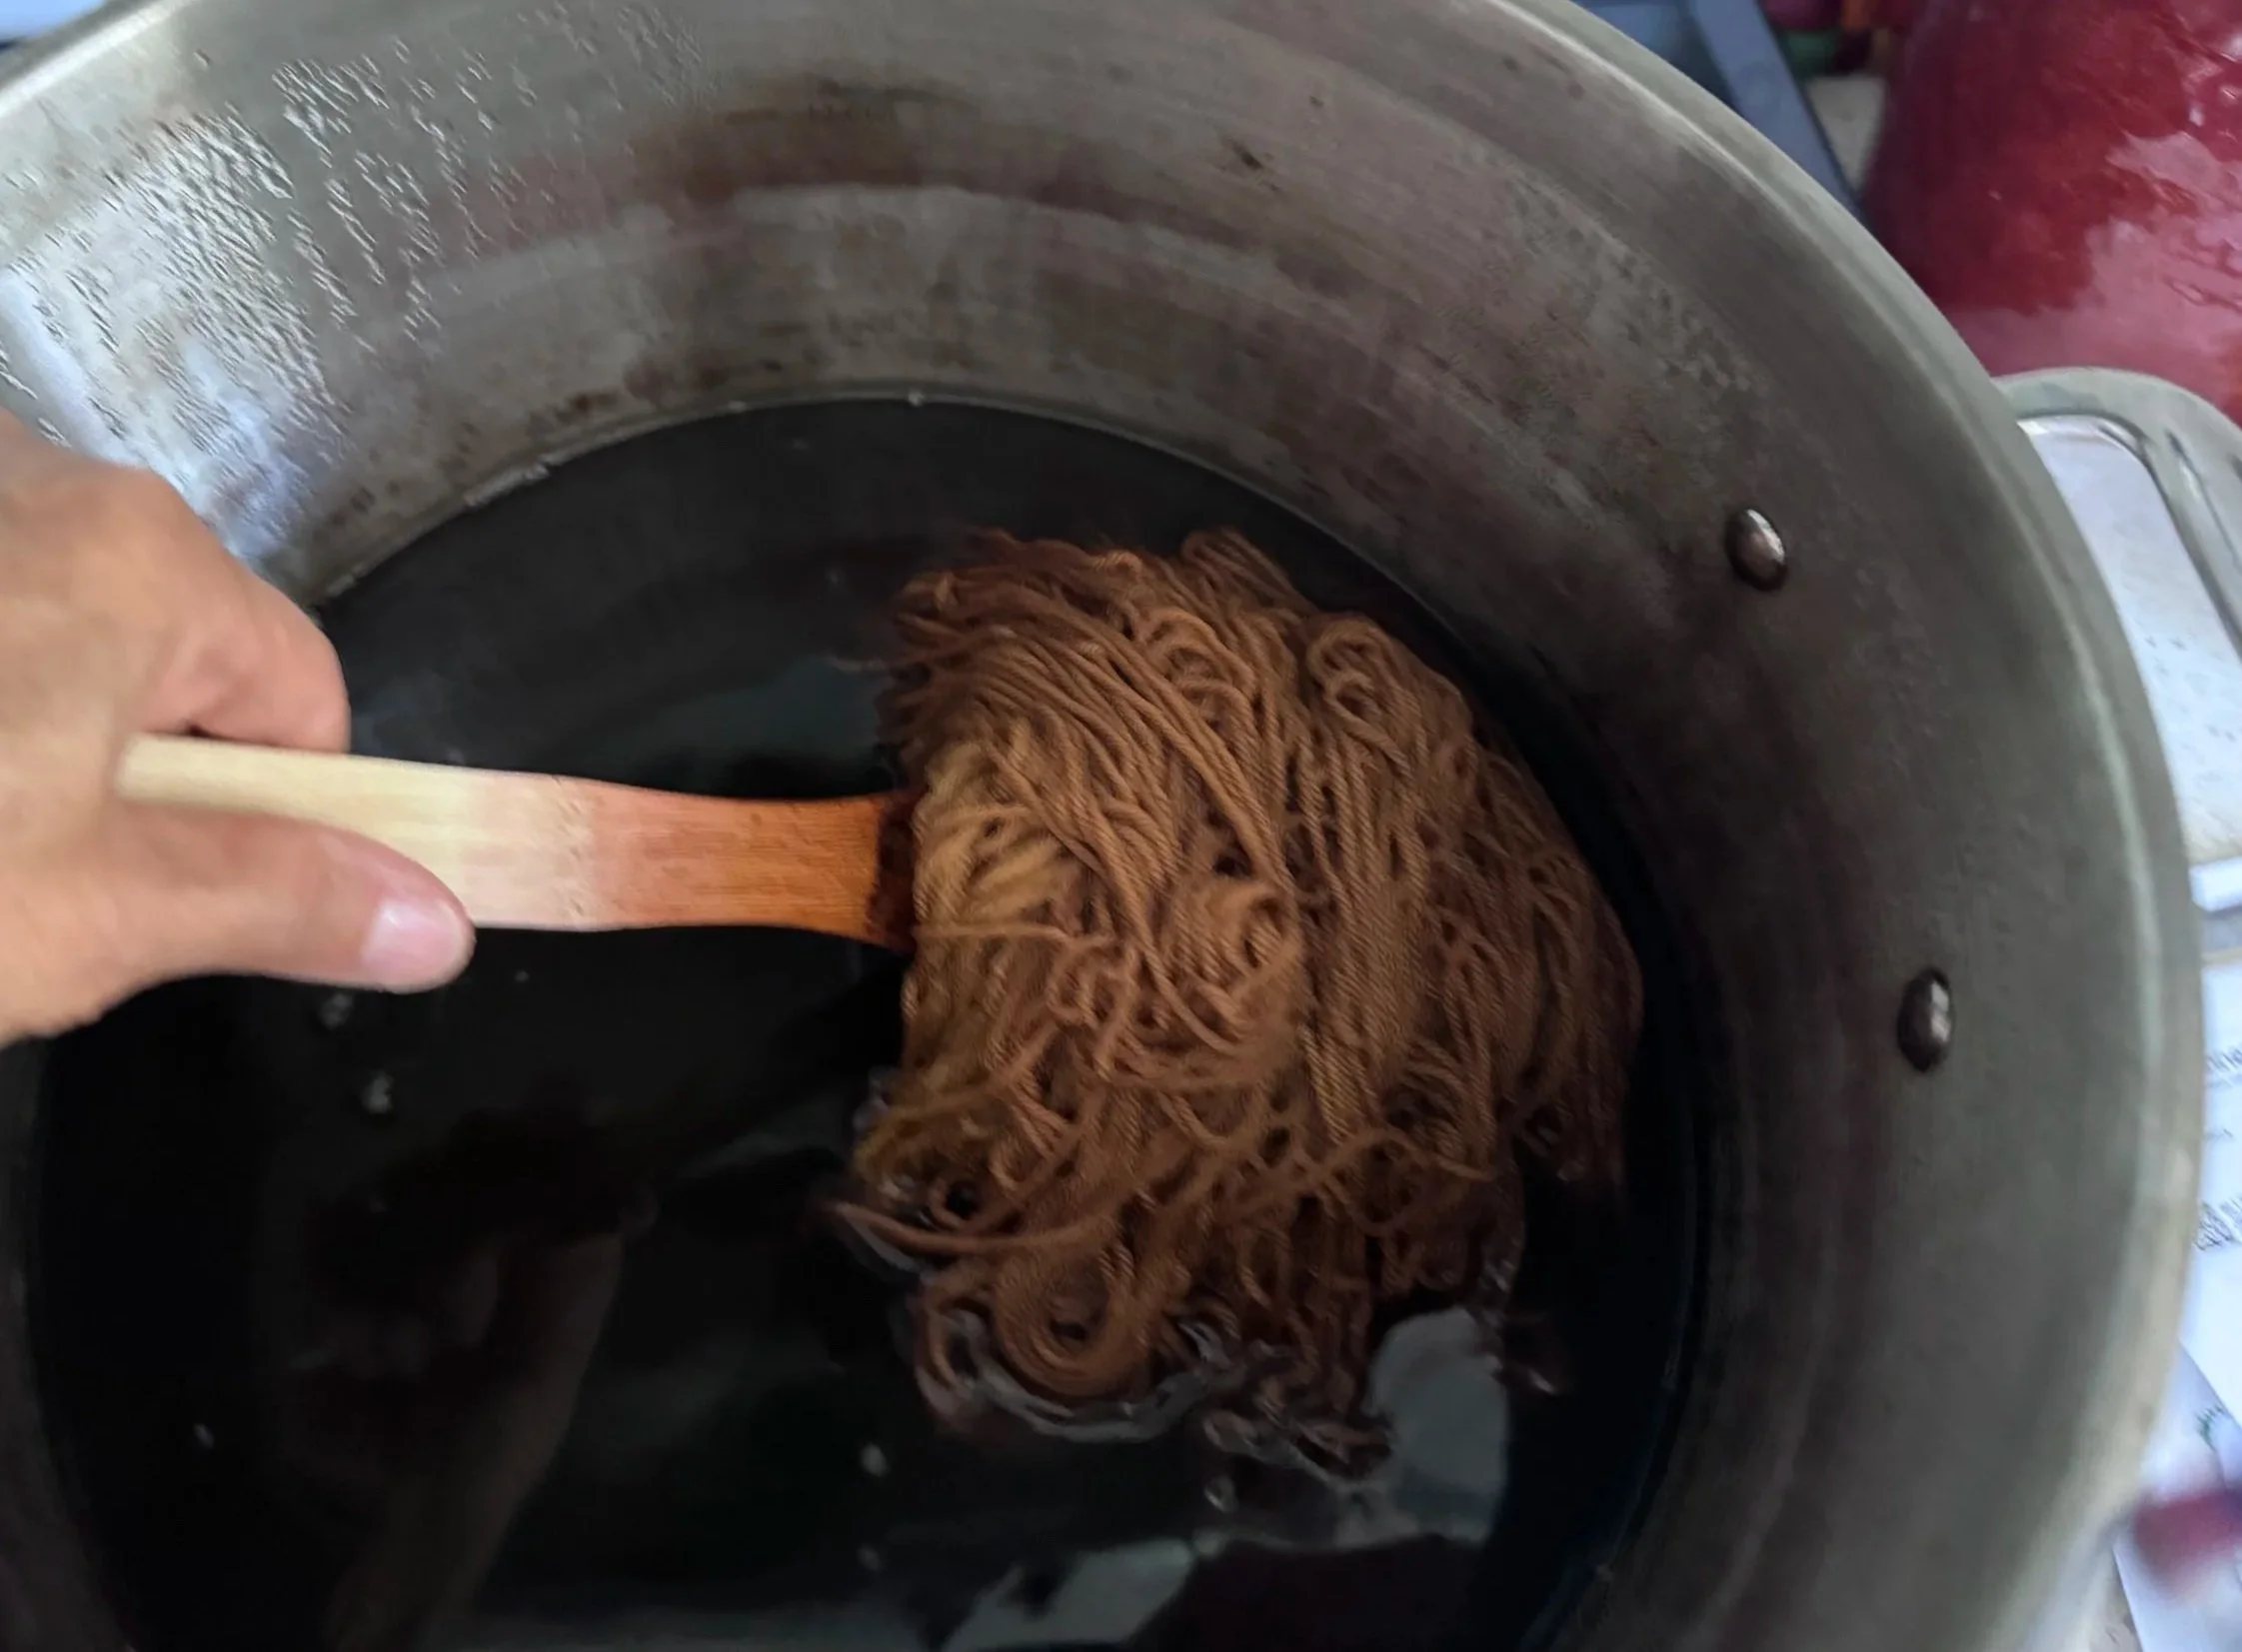
60 minutes
I can just see some lighter yarn underneath the richer shade. The colors look pretty much done, but in my experience, a lot of the color in walnut dyes washes out when the yarn is rinsed. It can sit in the dye for another half hour.
-
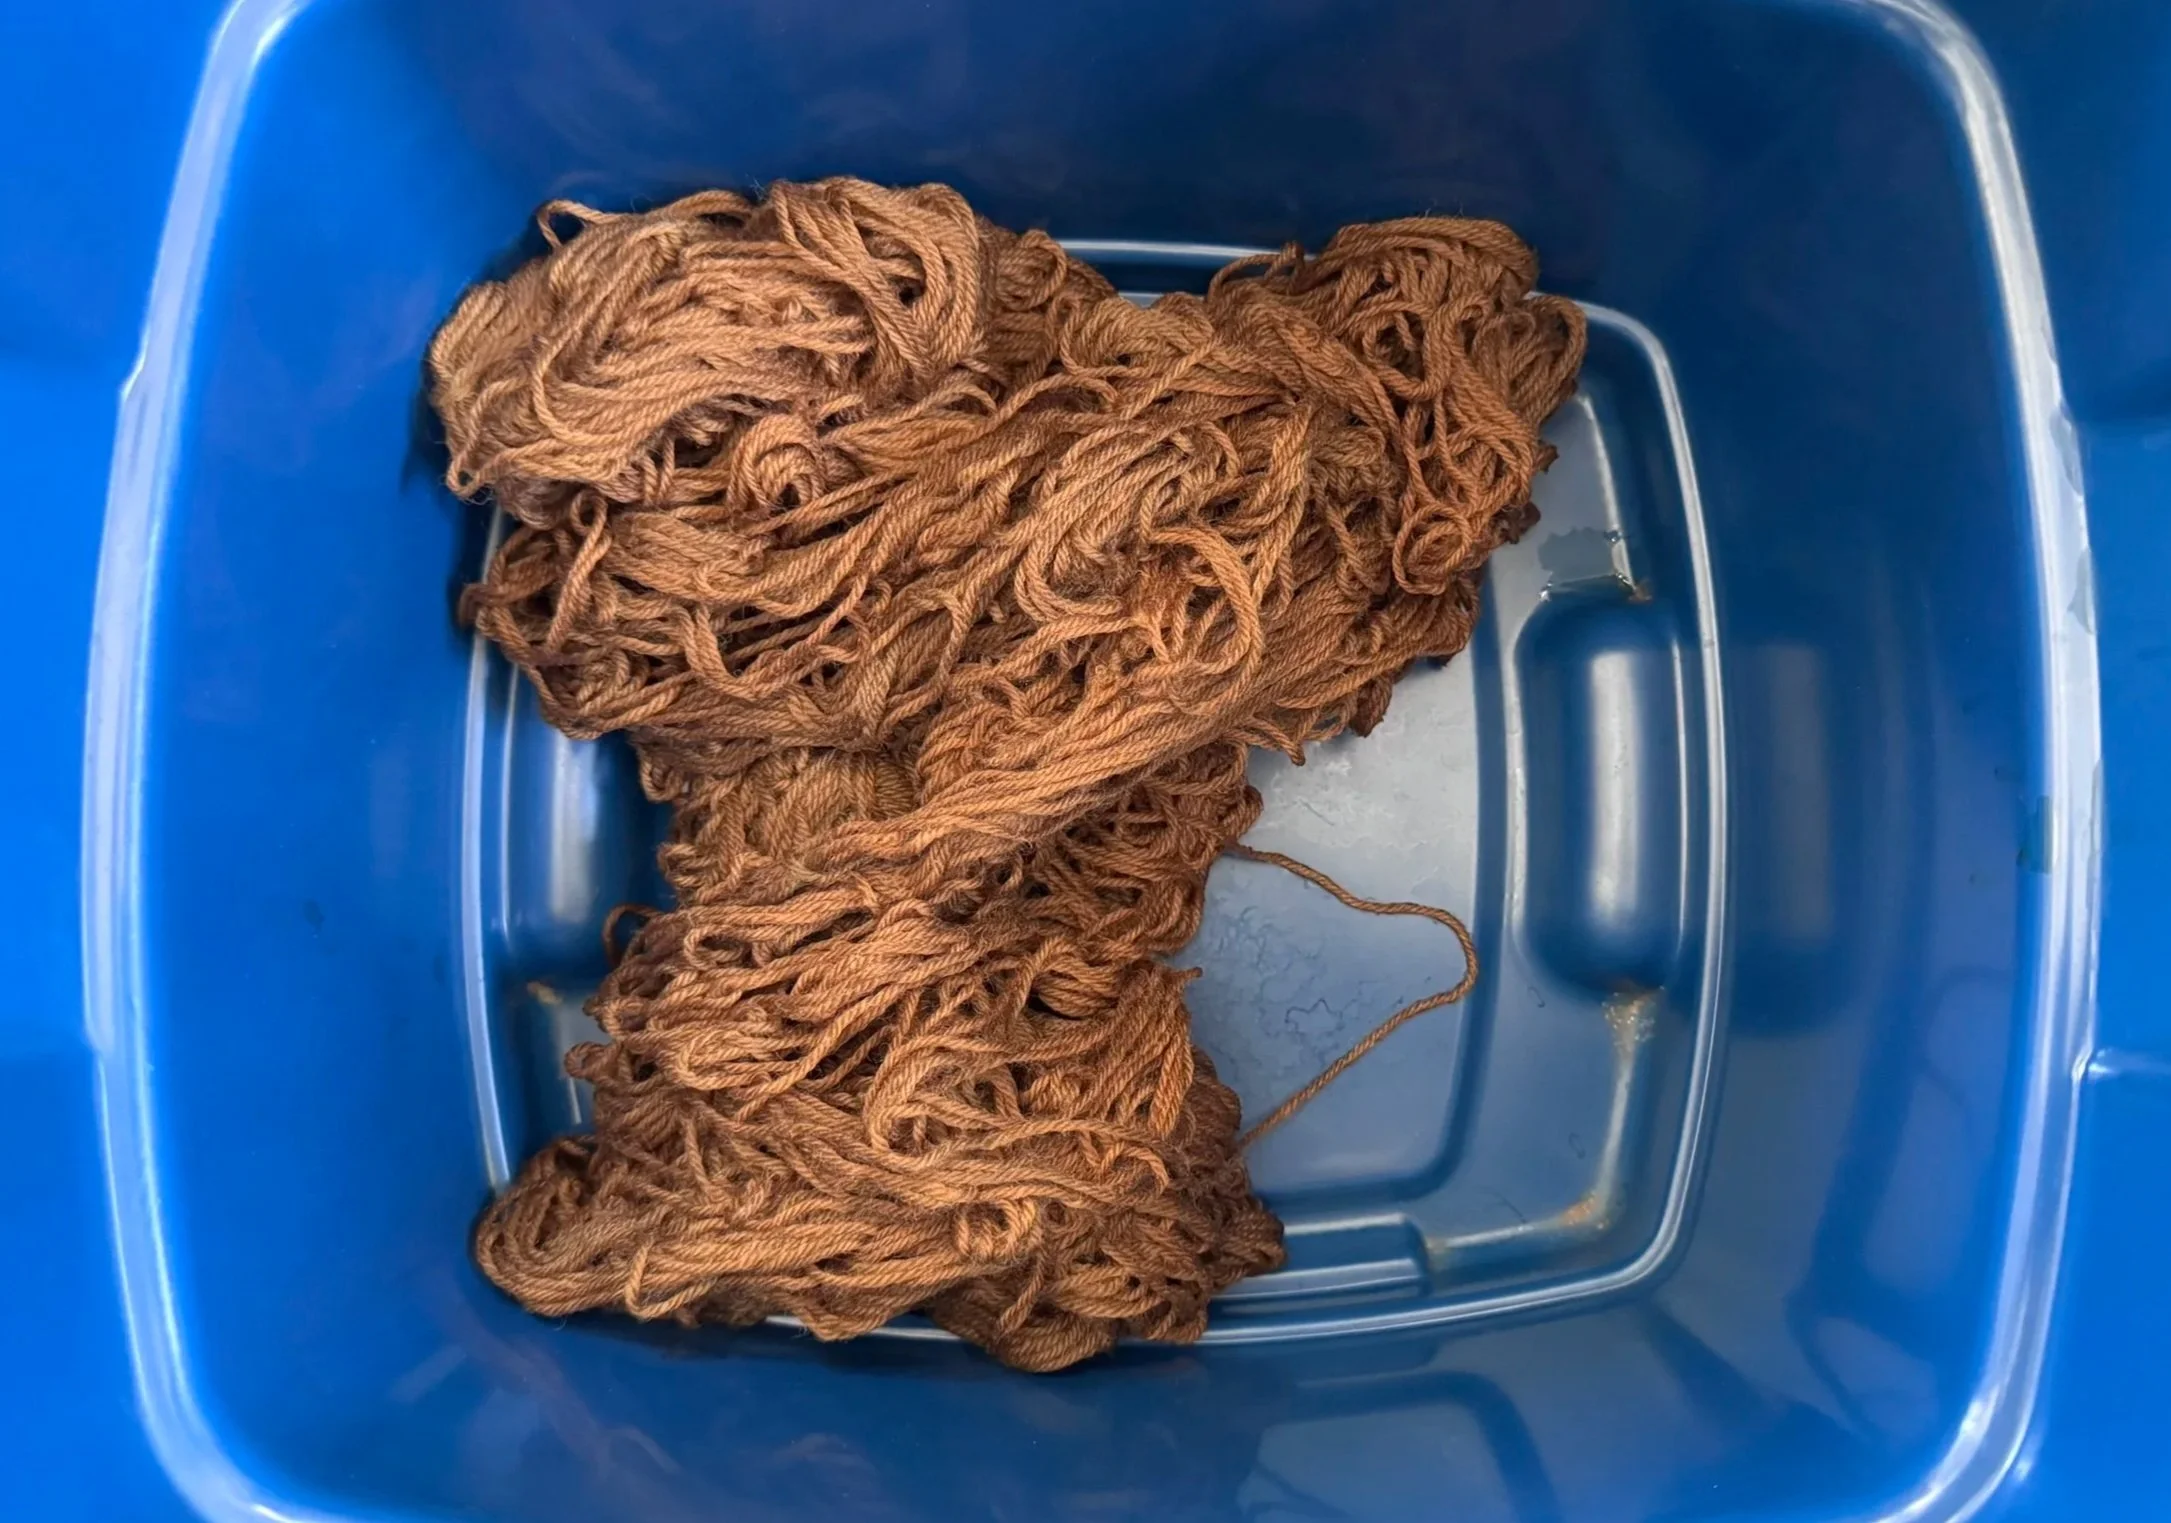
can't tell which is which
All of the yarn seems to be a lovely golden brown color. I will let it sit overnight and then rinse and wash it, and maybe two colors will emerge.
-
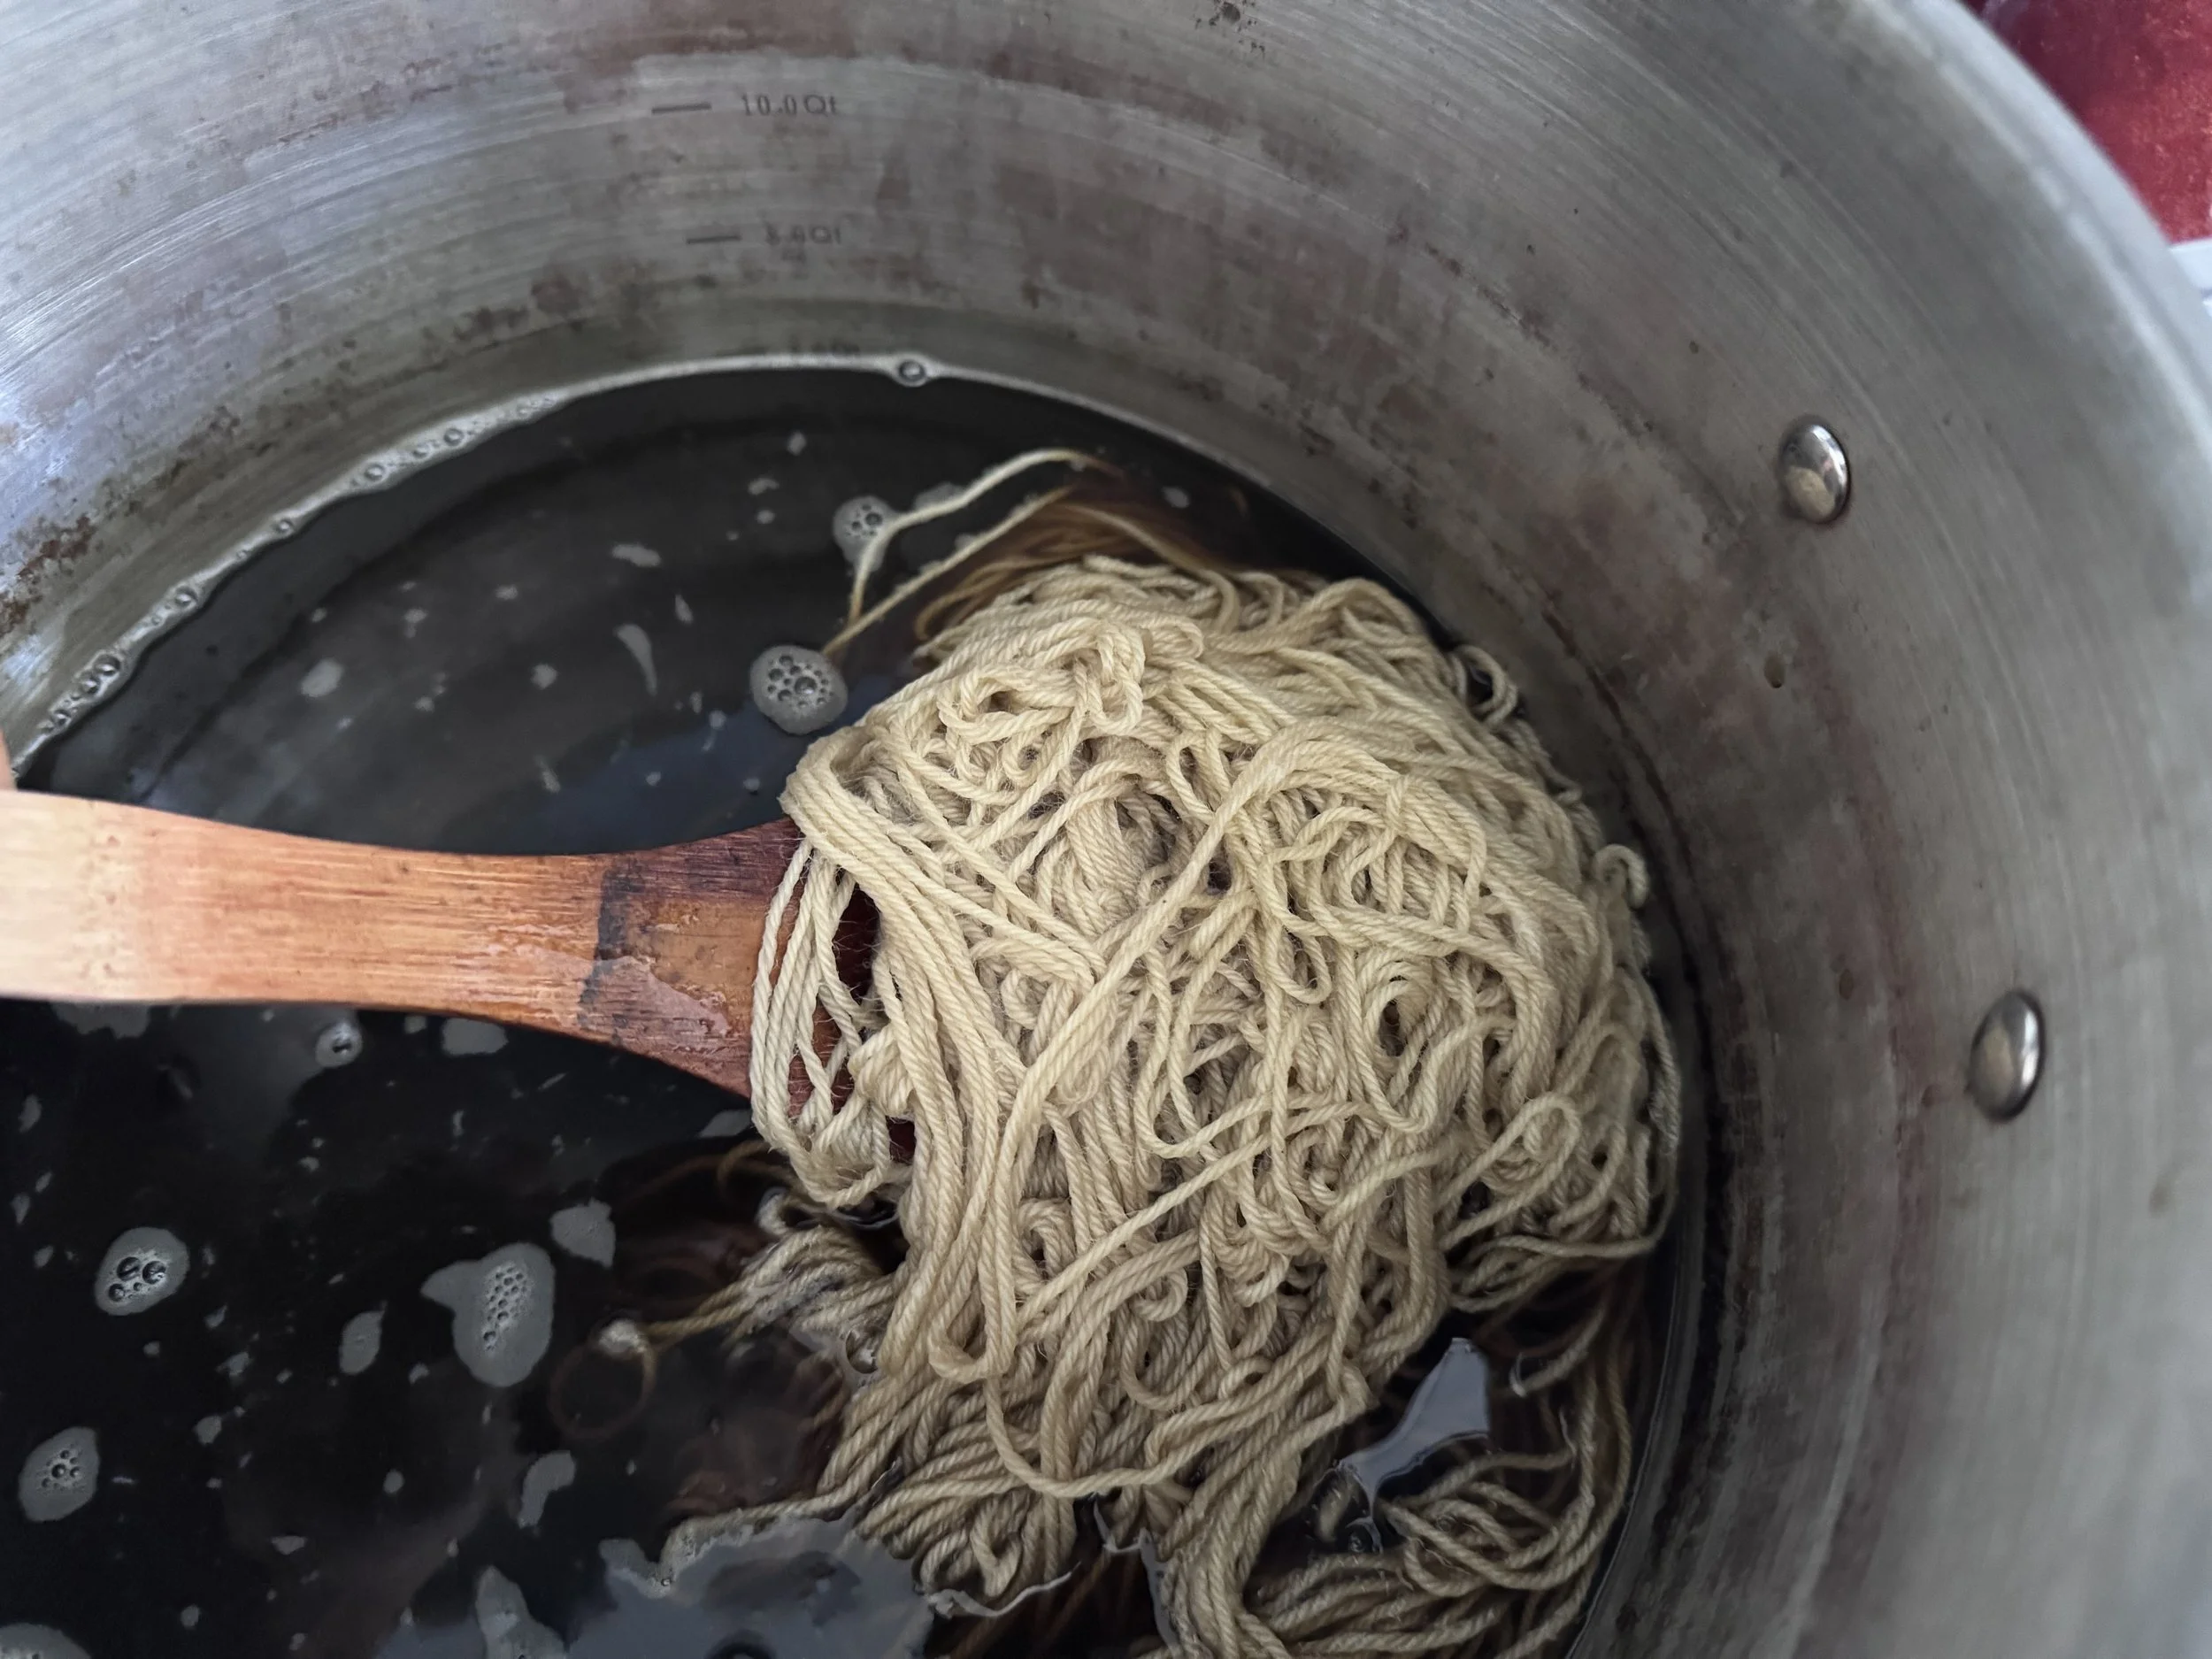
second exhaust
The other seven hanks have gone into the pot and things are looking greeny rather than browny.
-
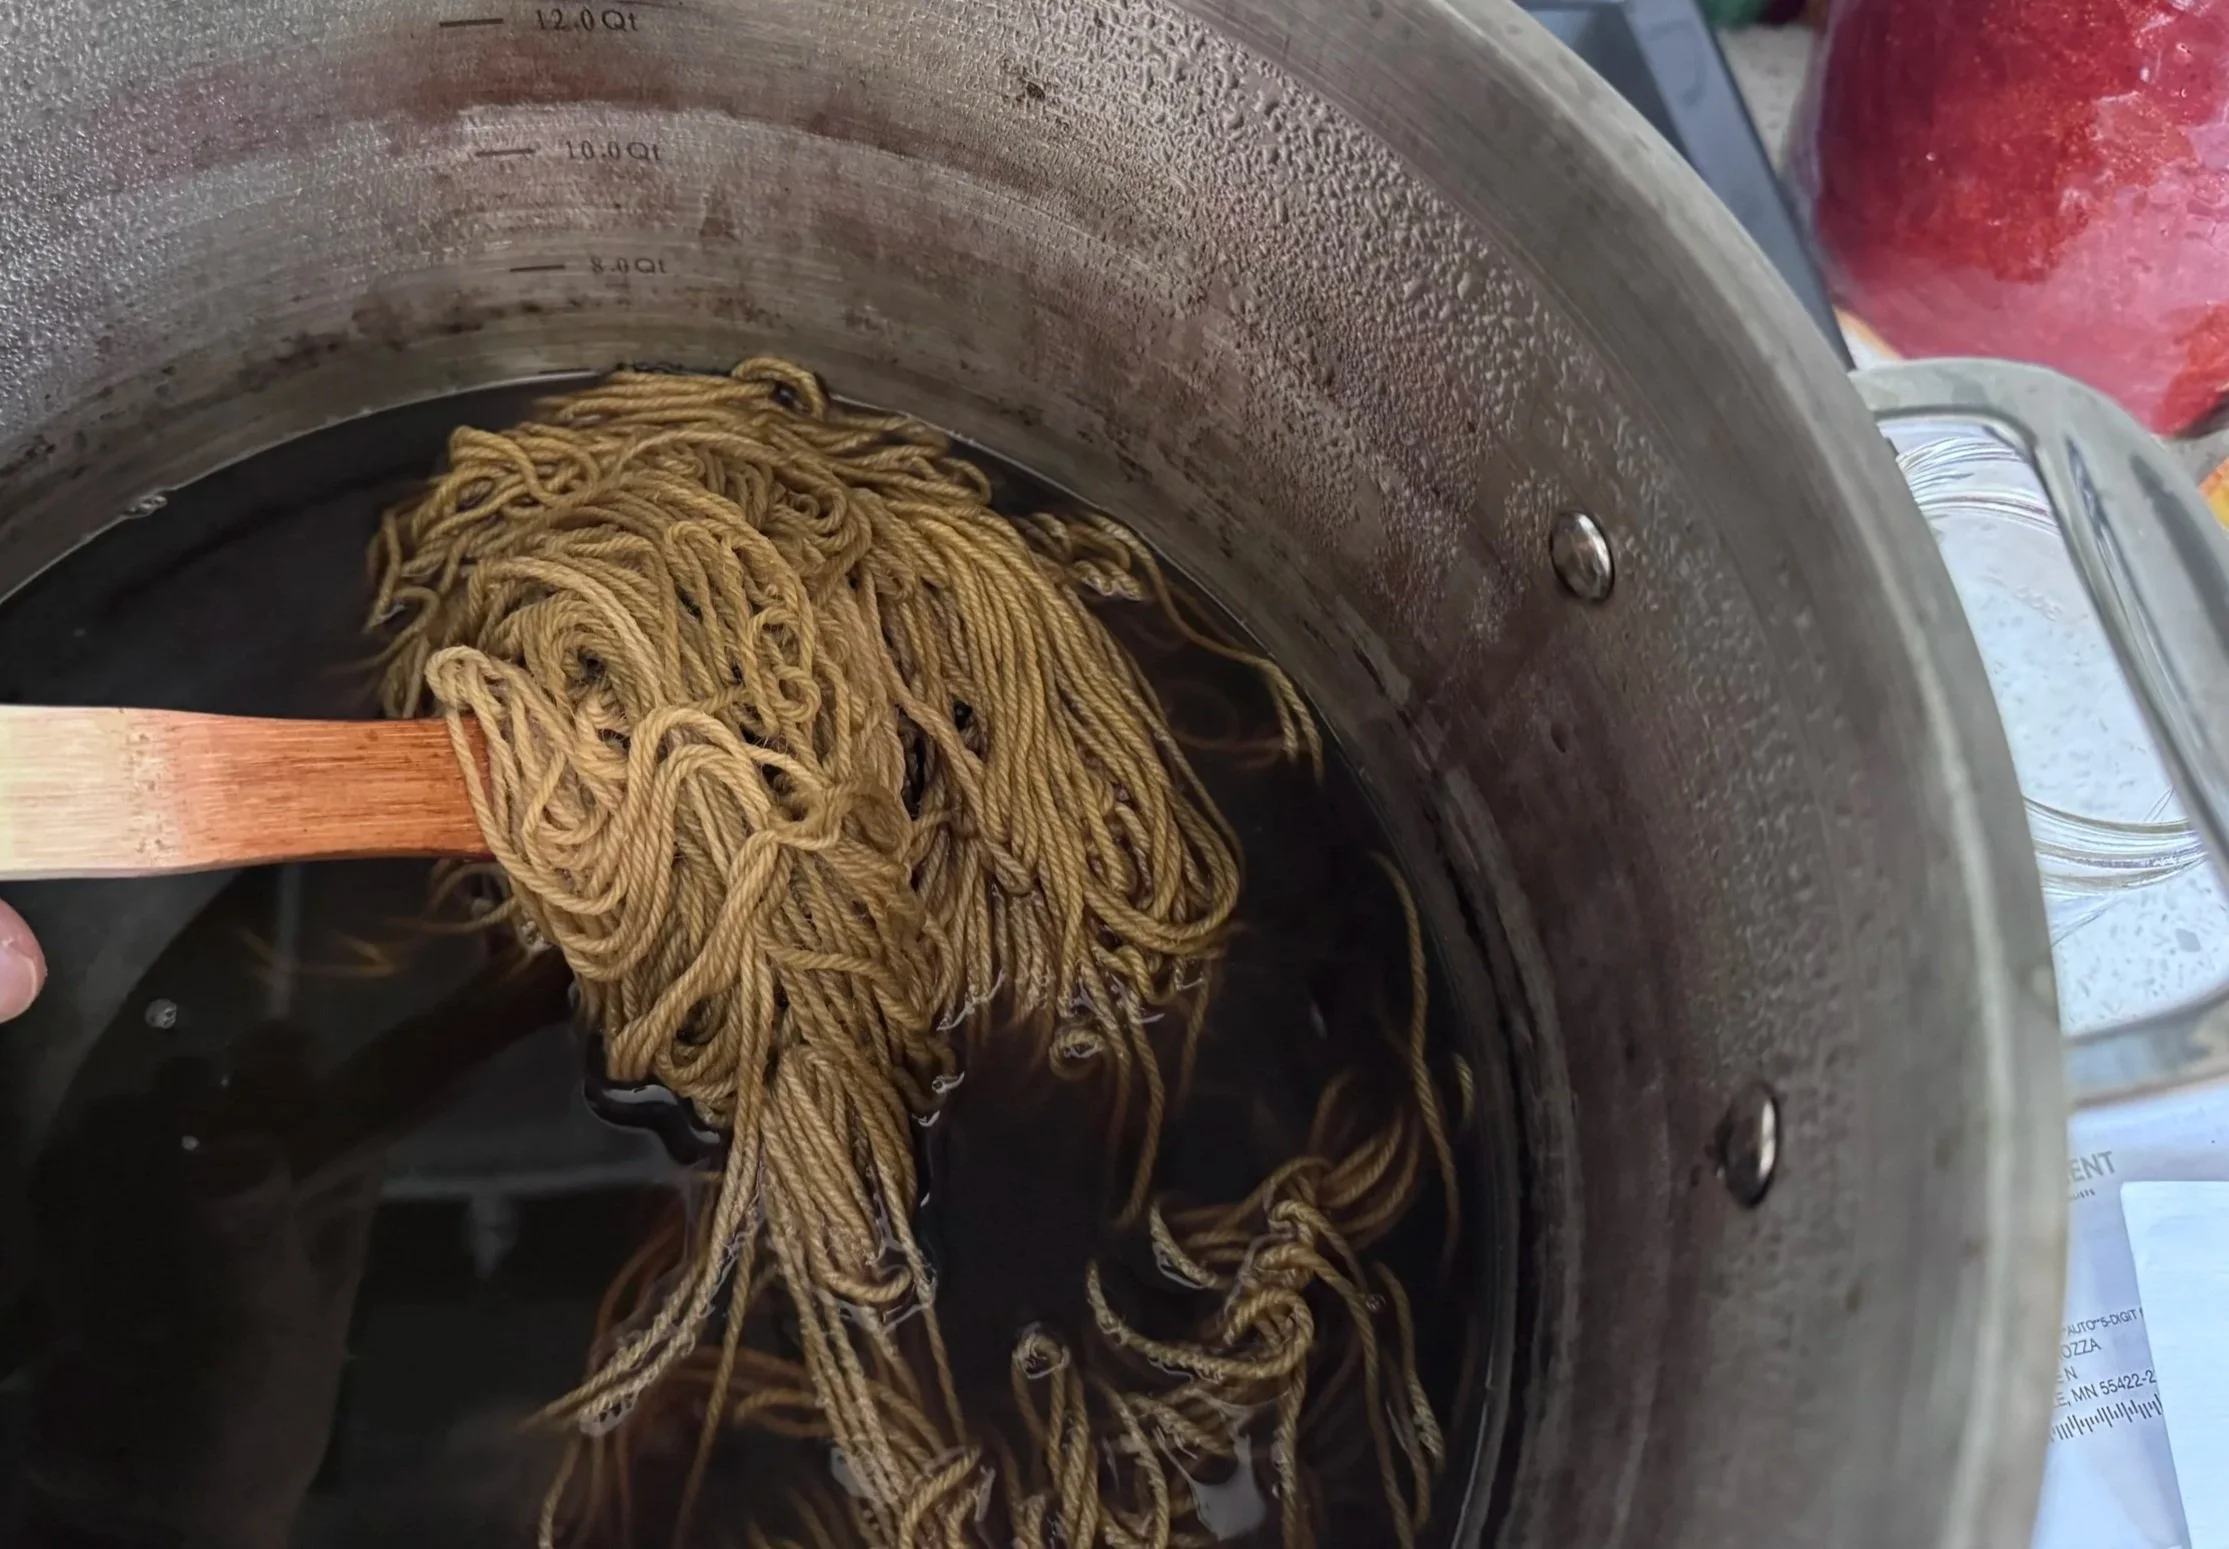
getting up to temperature
I will heat this for an hour and then let it soak overnight in the dye.
-
not green but ack, no photo!
It turned out to be much closer to the first exhaust’s color. It is just a paler or, rather, duller version of the first exhaust’s color.
-
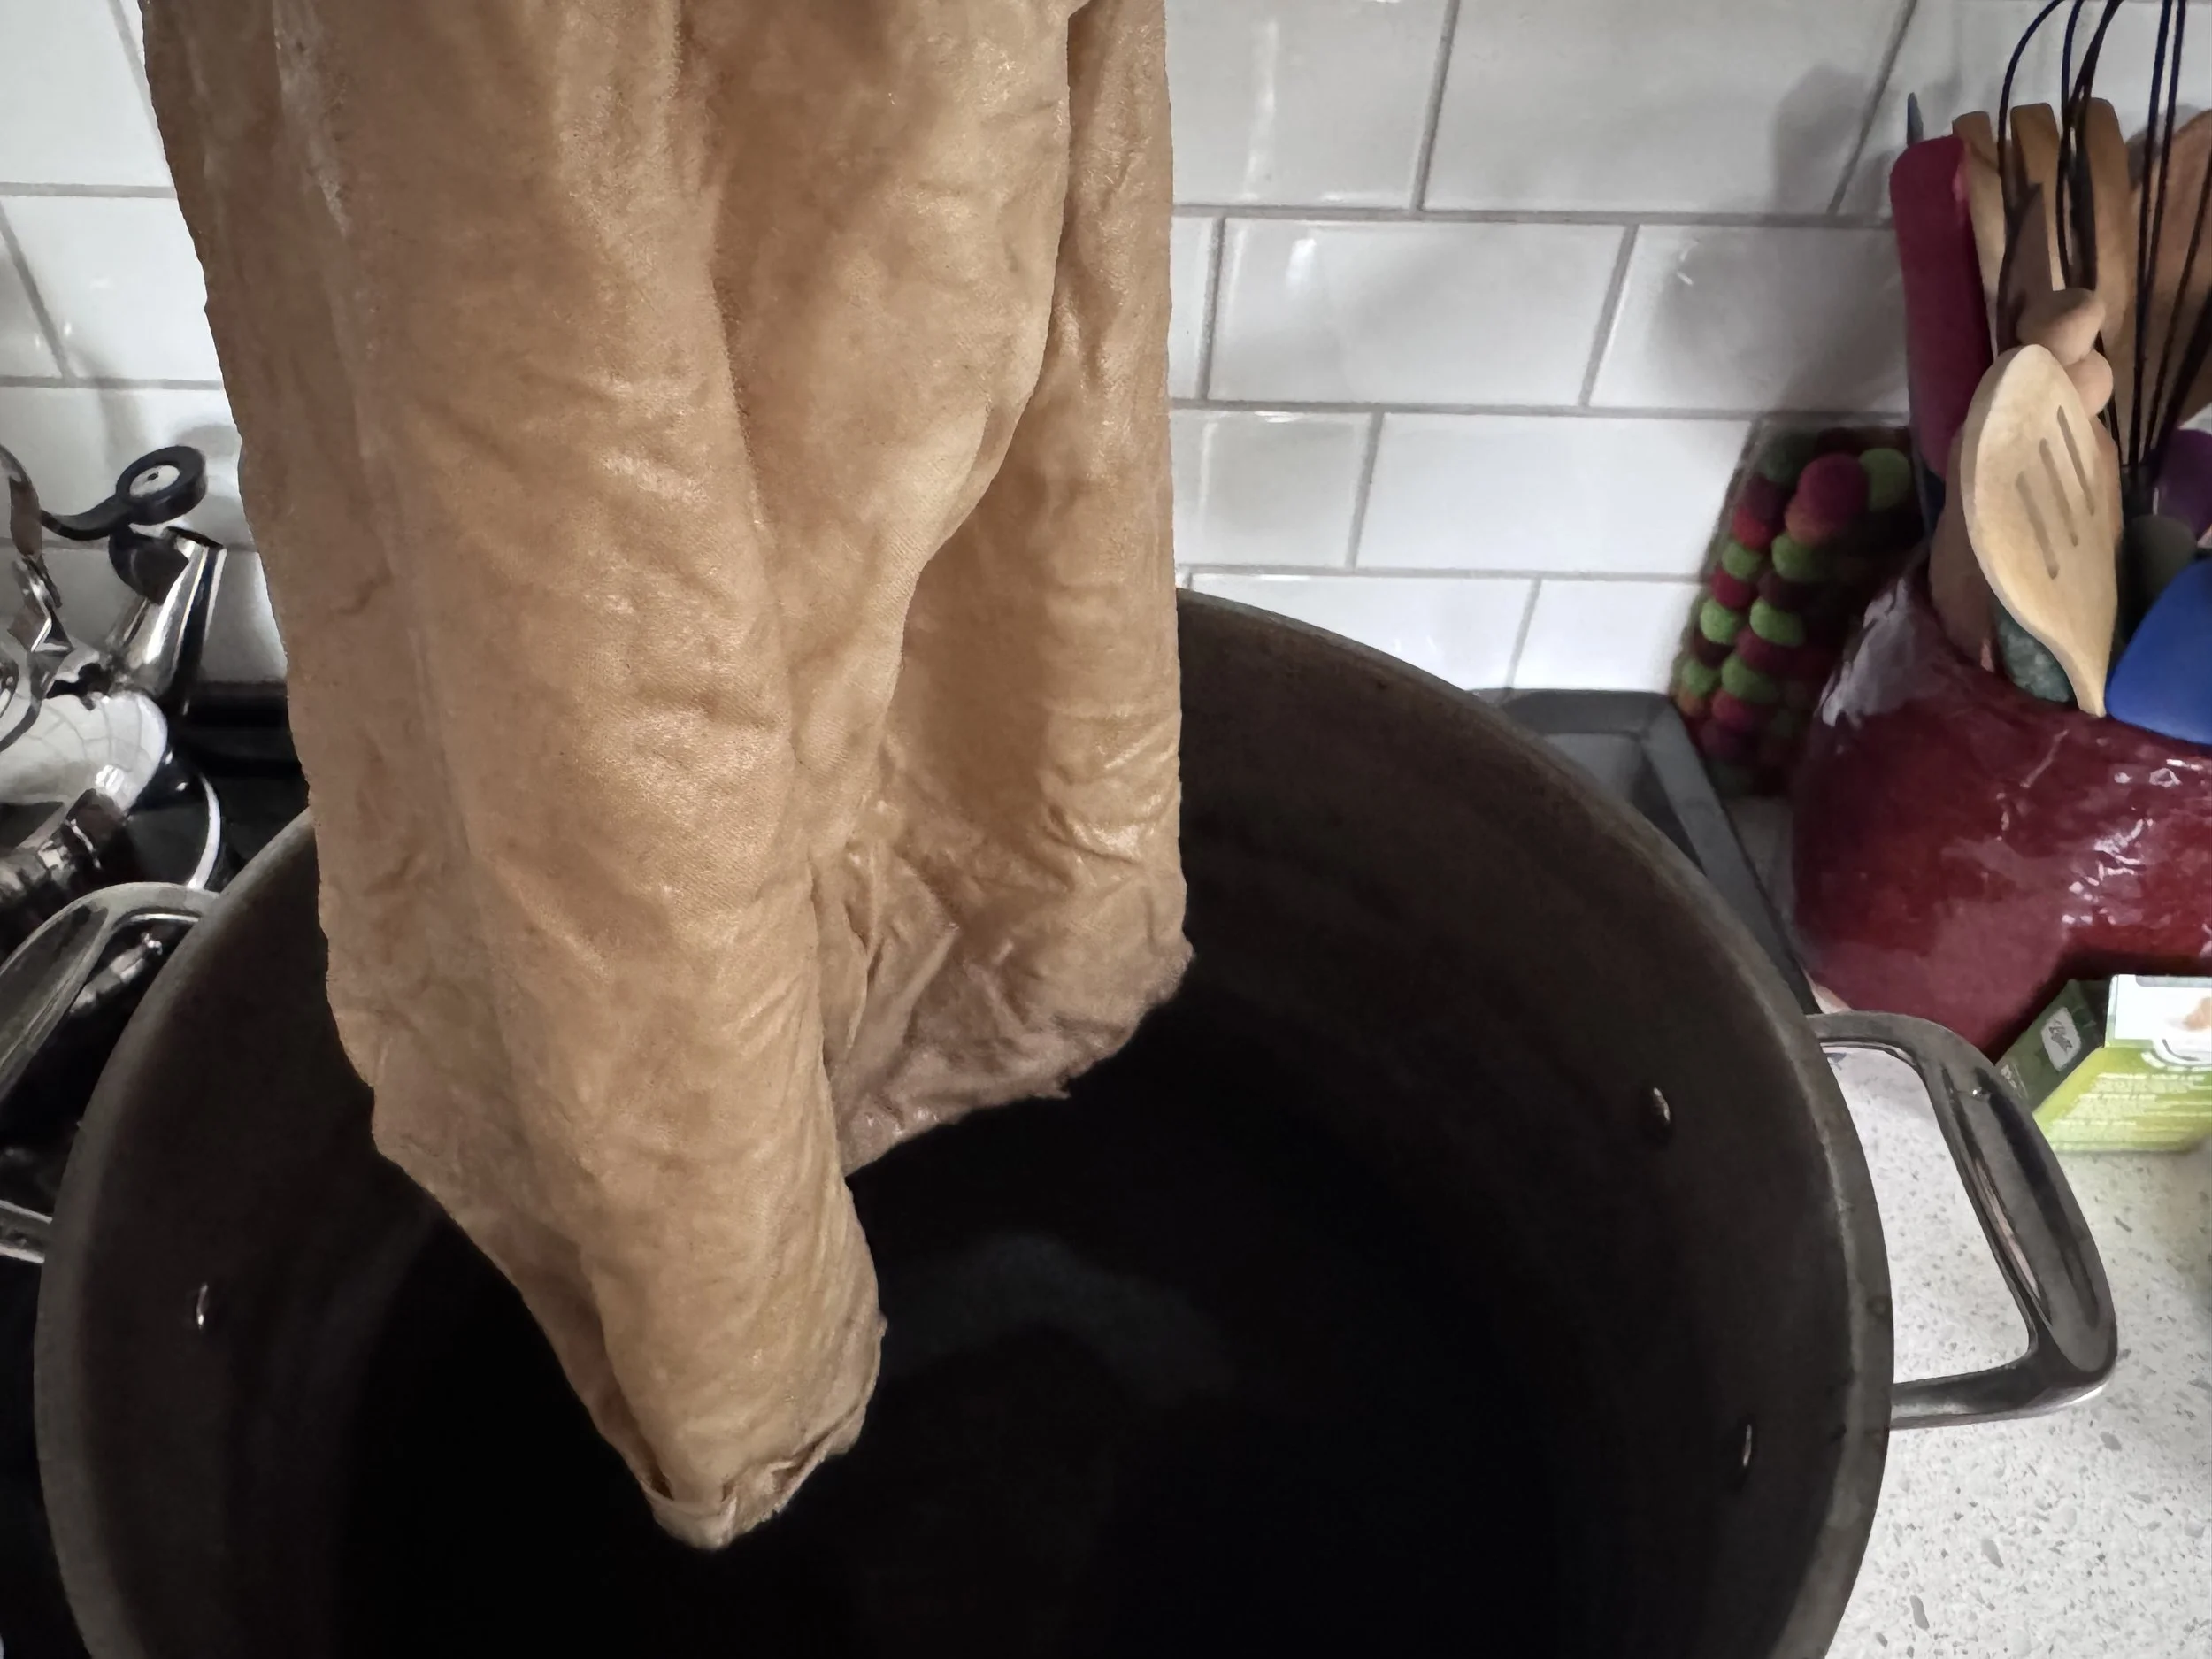
third exhaust
The dye still looks quite a dark green, so I am going to dig out some more fiber and dye another batch. This one will include some cotton fabric. I keep some sitting around, waiting for moments like this. It has already been scoured, mordanted with oak tannin, and then mordanted with aluminum acetate. It is in reality a rather paler color than it looks here, because it is damp. I hope some of the green transfers to it.
-
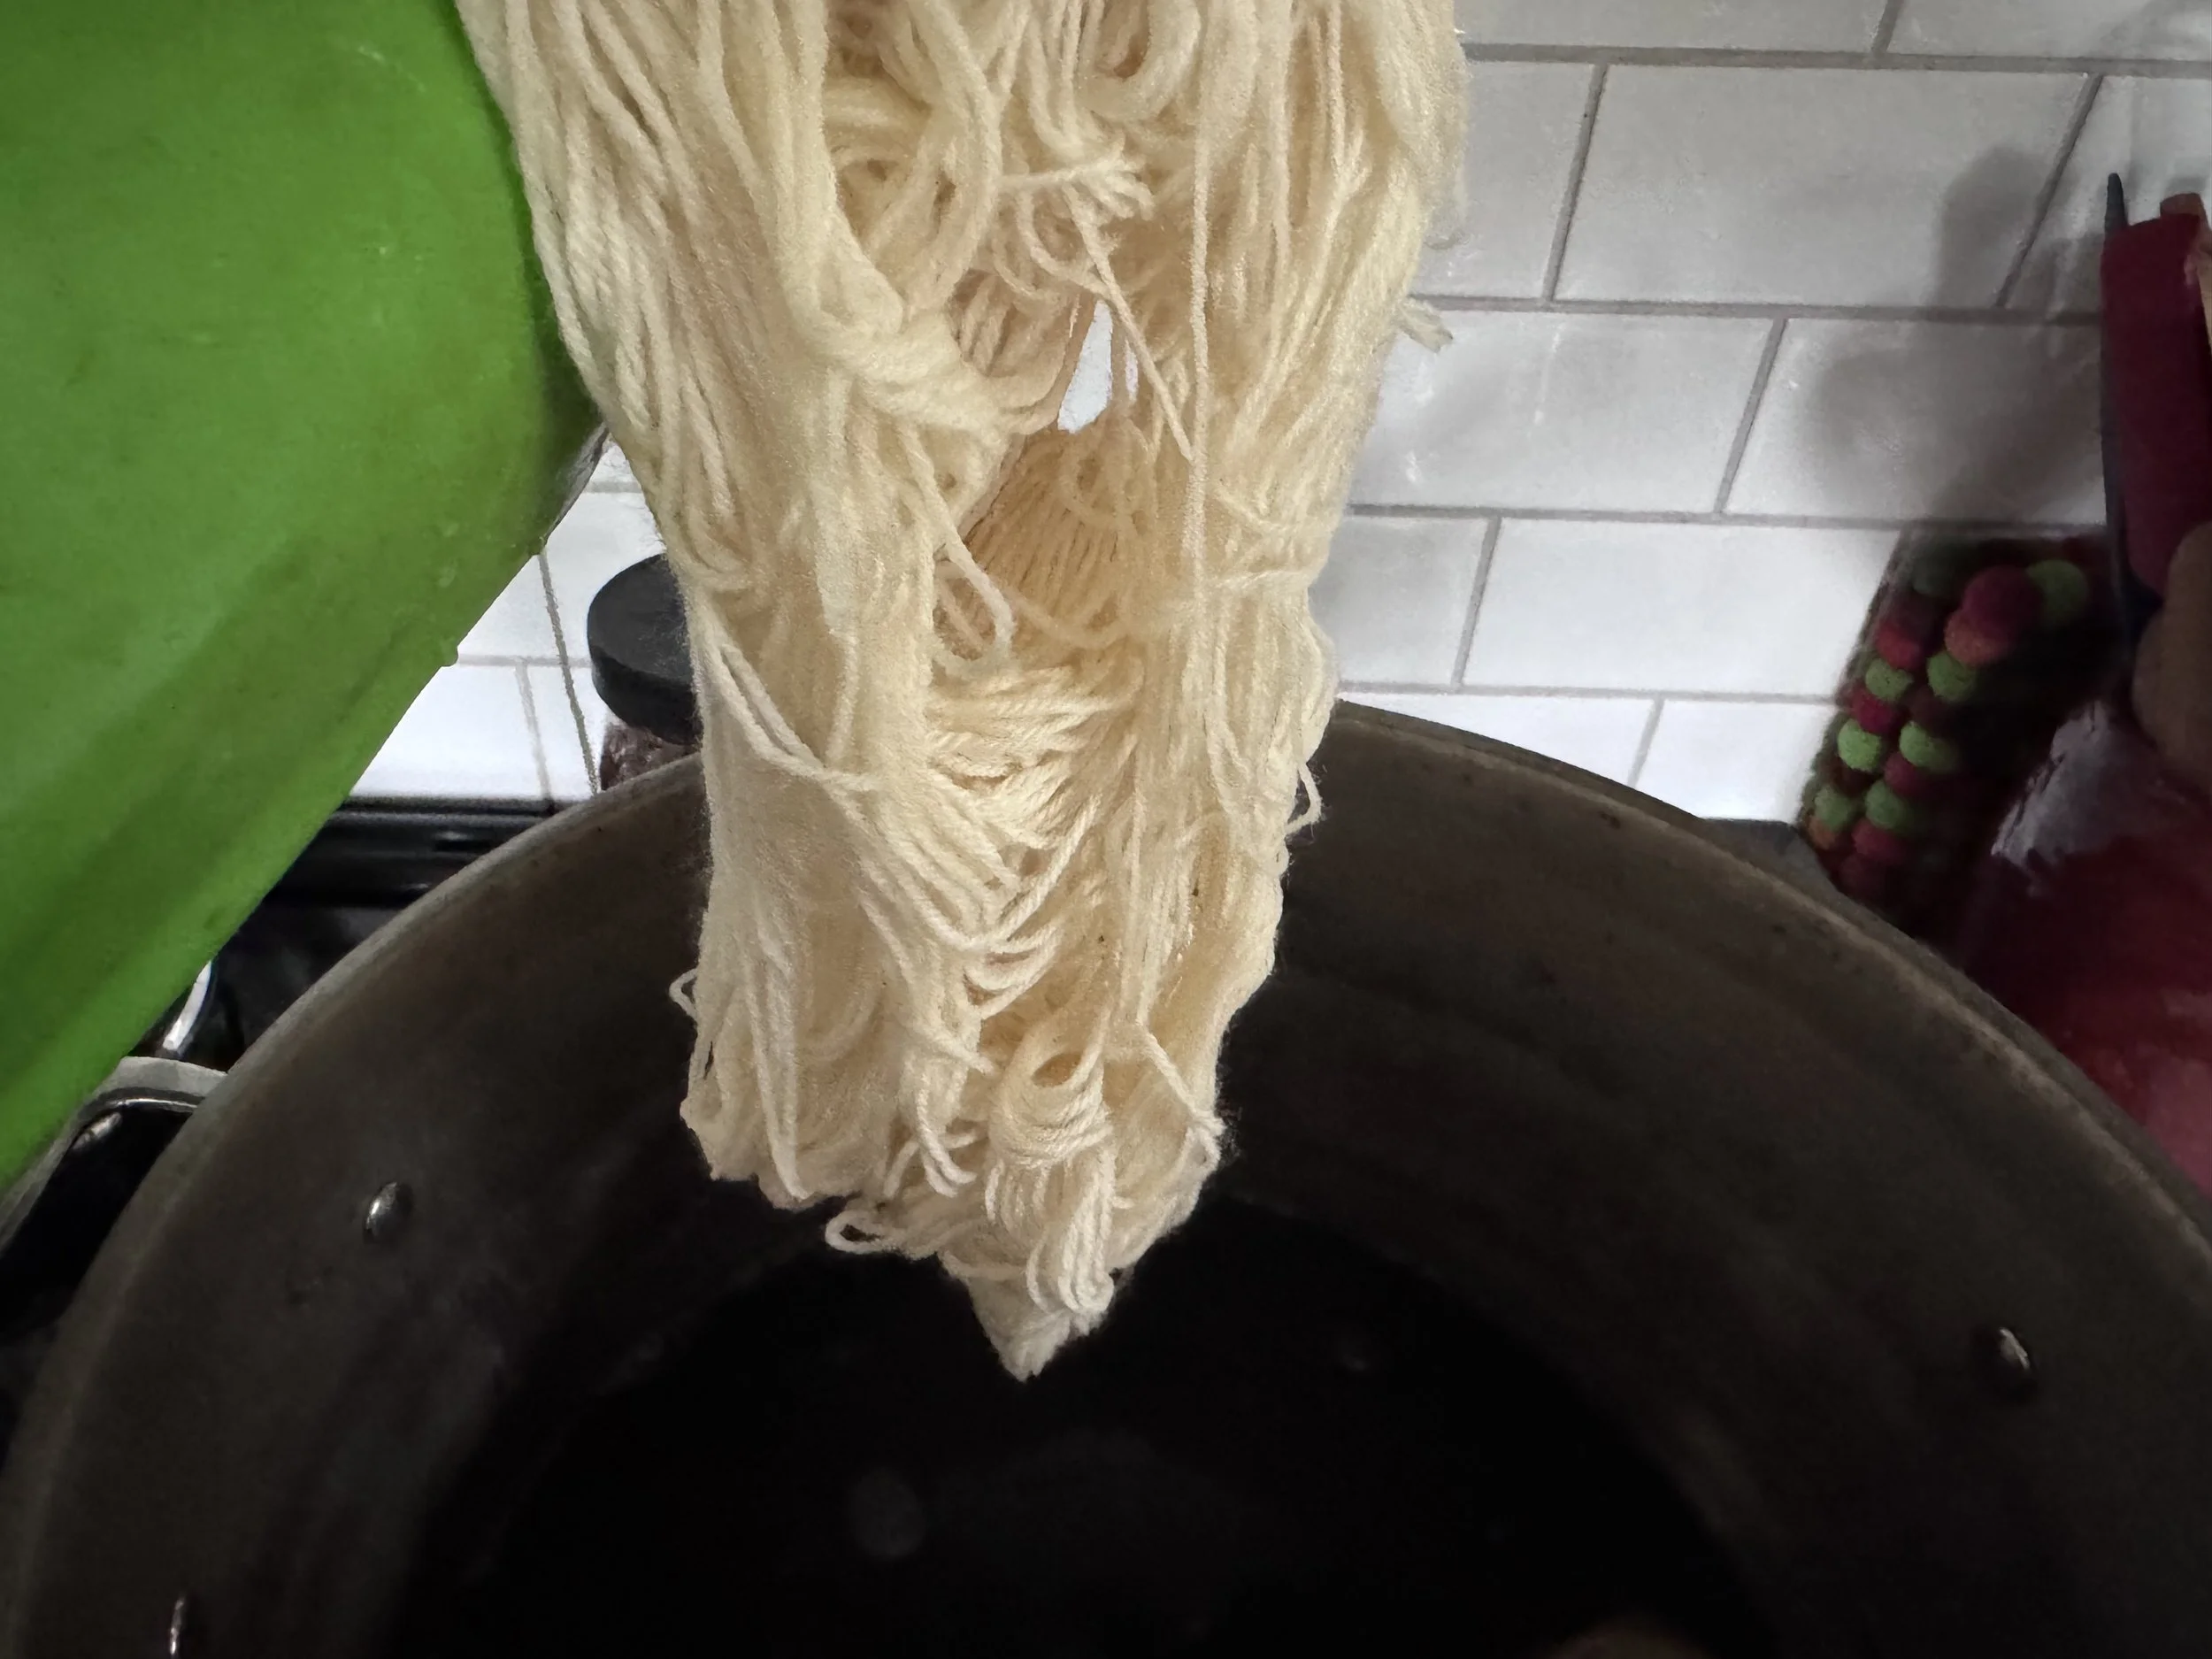
adding some wool, too
This is five more of the 20g hanks. I think they were mordanted but am not 100% sure. This exhaust was unplanned, so I rummaged about for some likely candidates.
I think I will take one out every 30 minutes or so, for the fun of seeing what color gradation I might achieve.
-
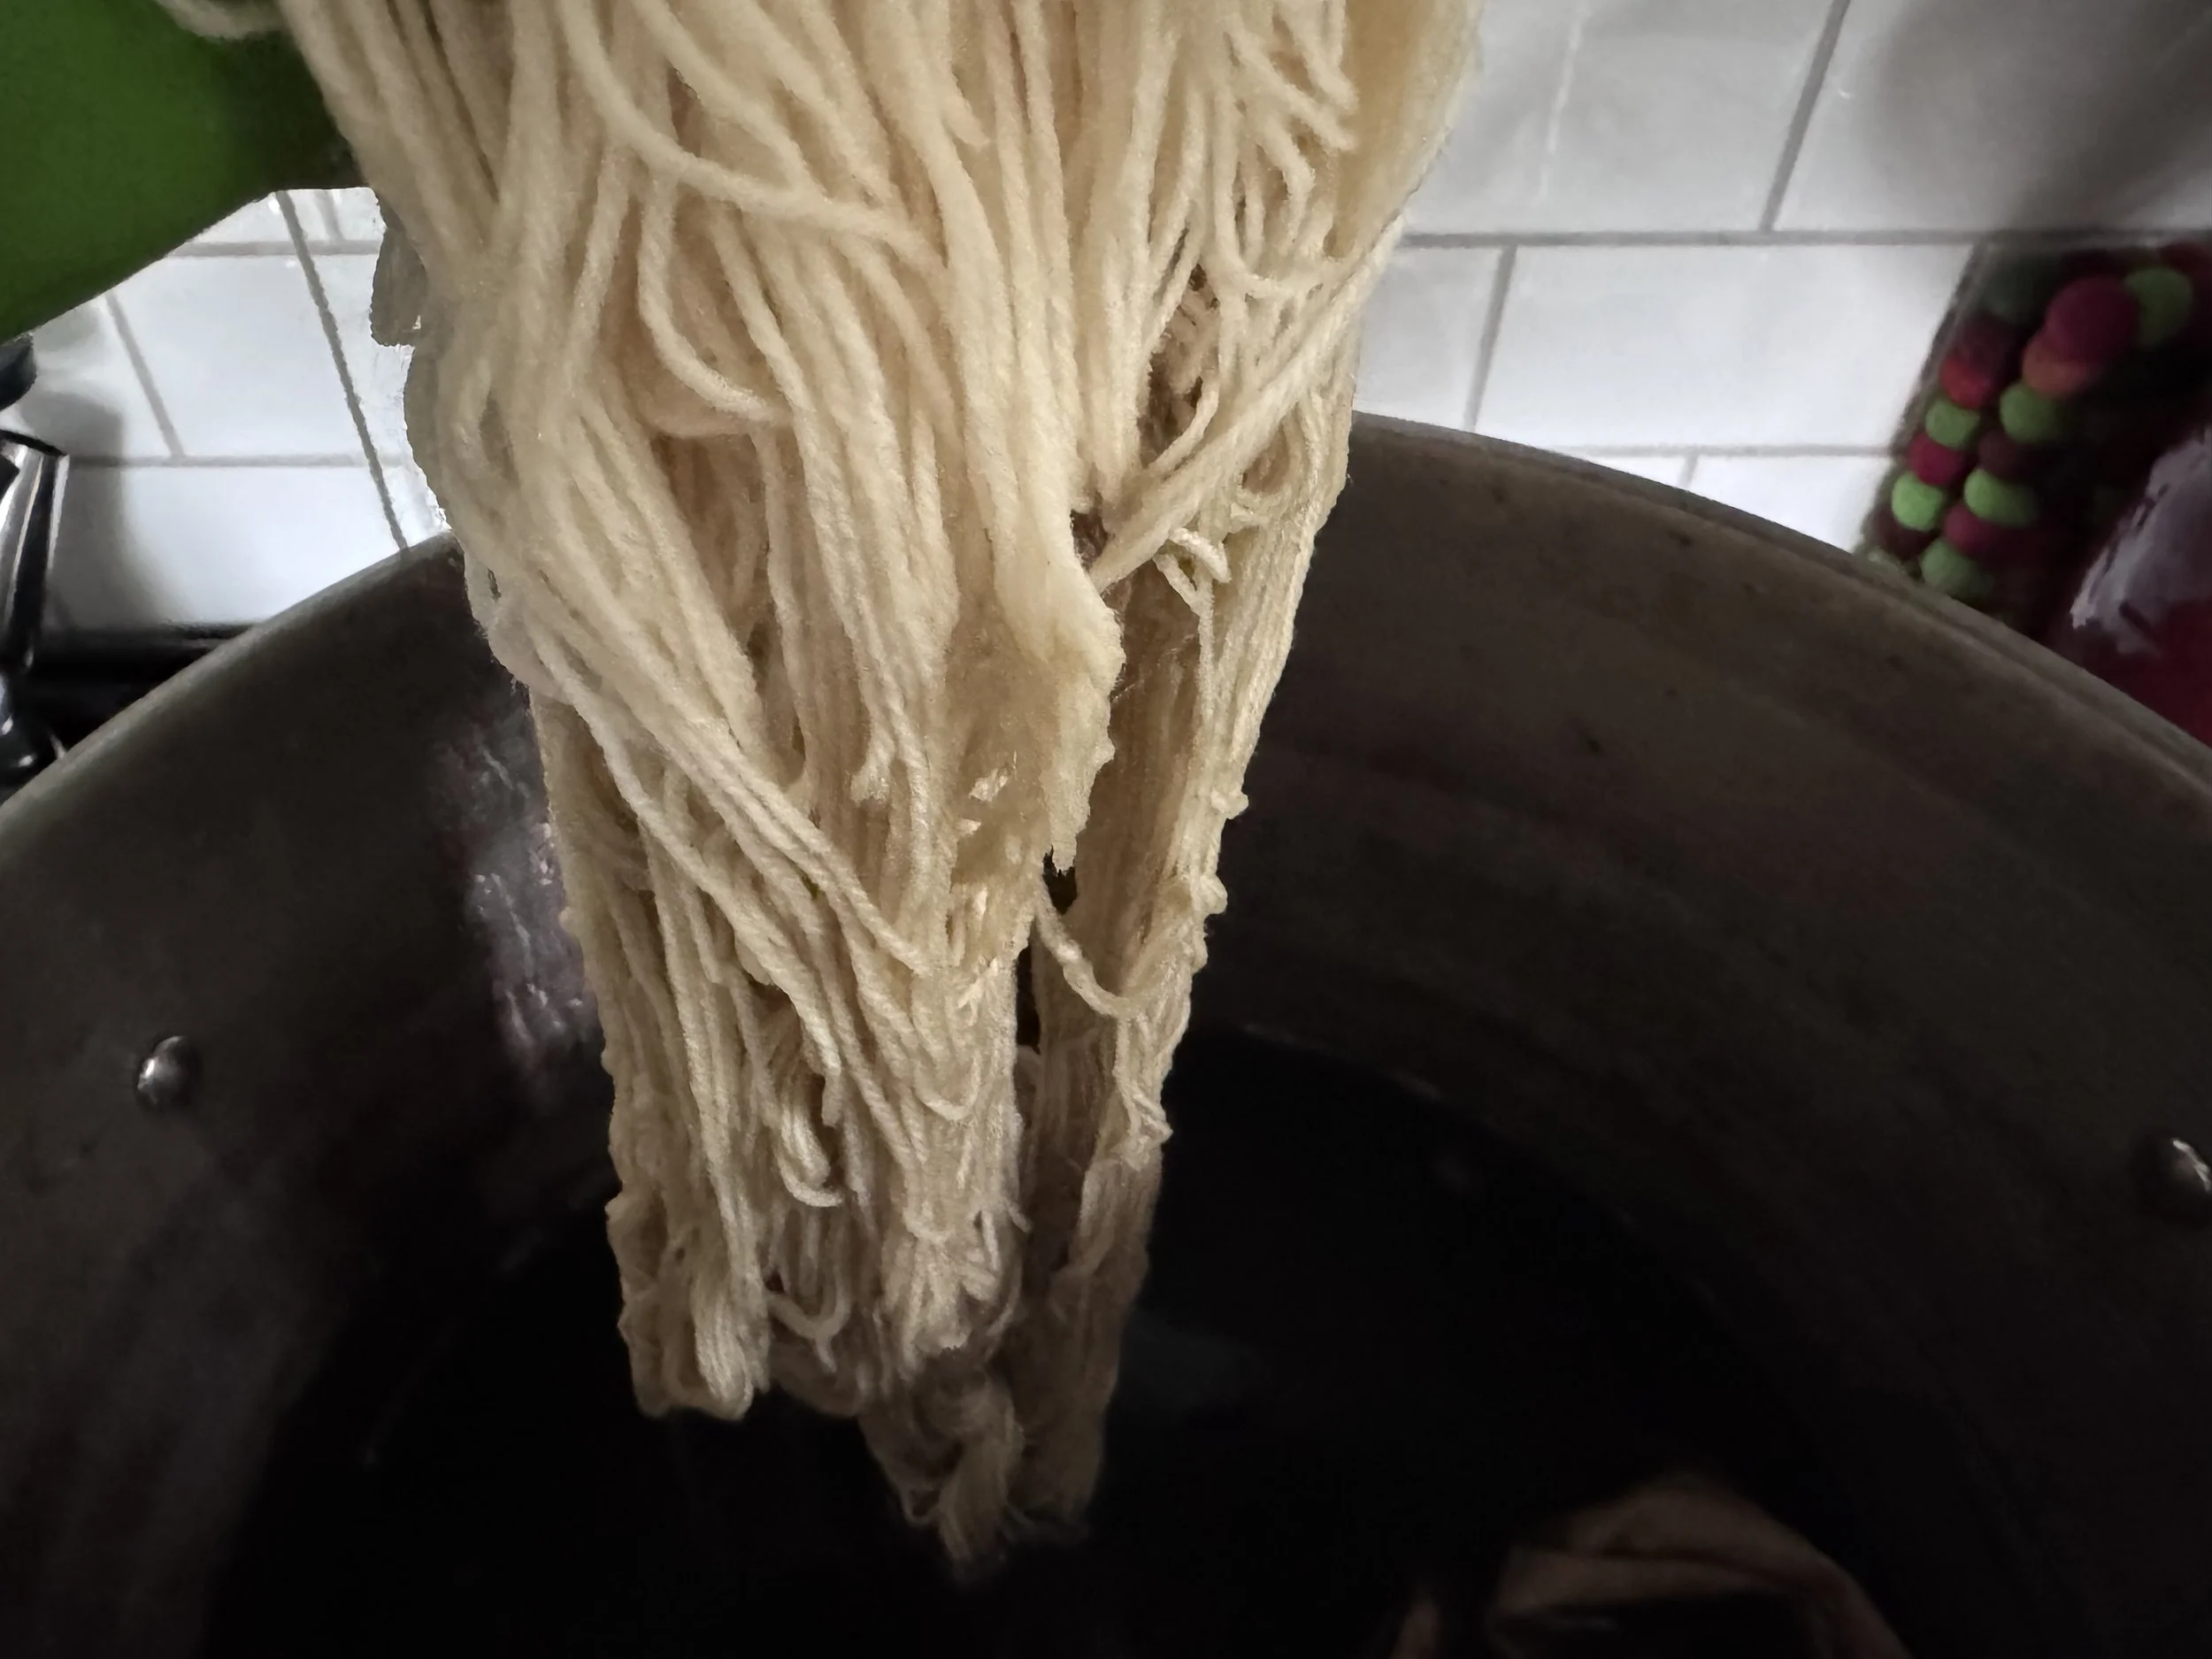
first dip is pretty pale
We shall see what we shall see.
-
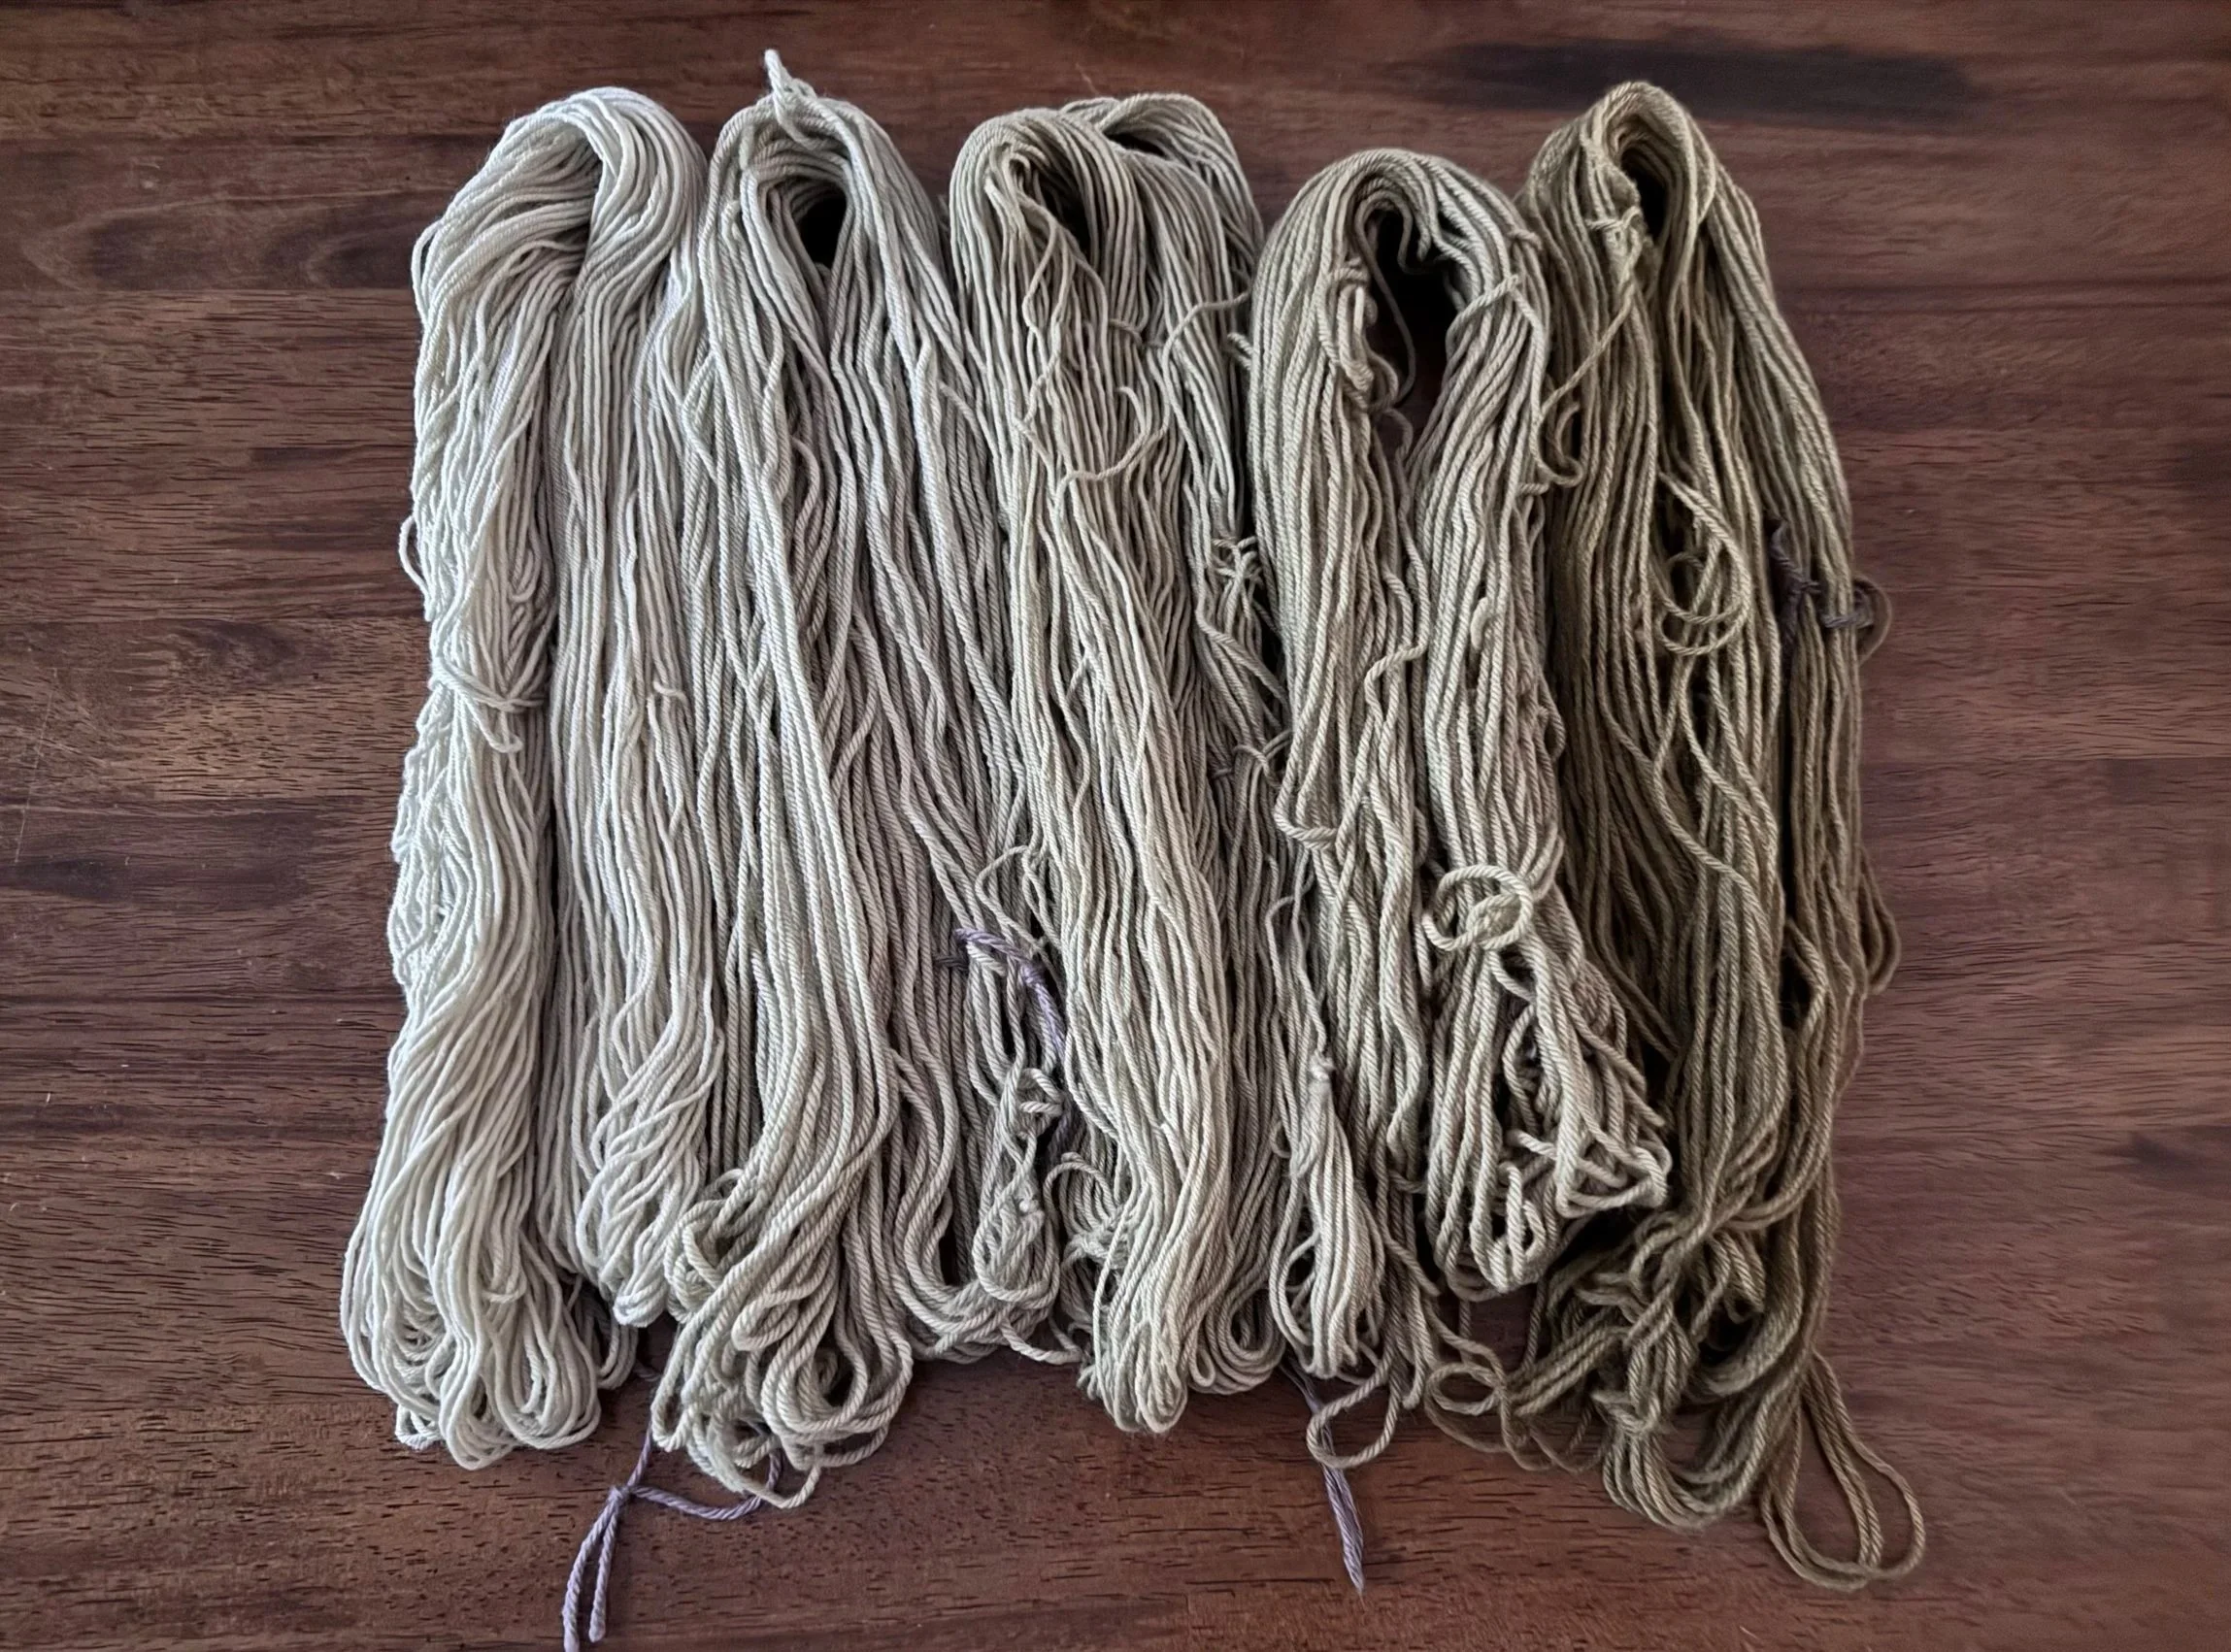
this is nice
I want to see what they look like outside in natural light.
-
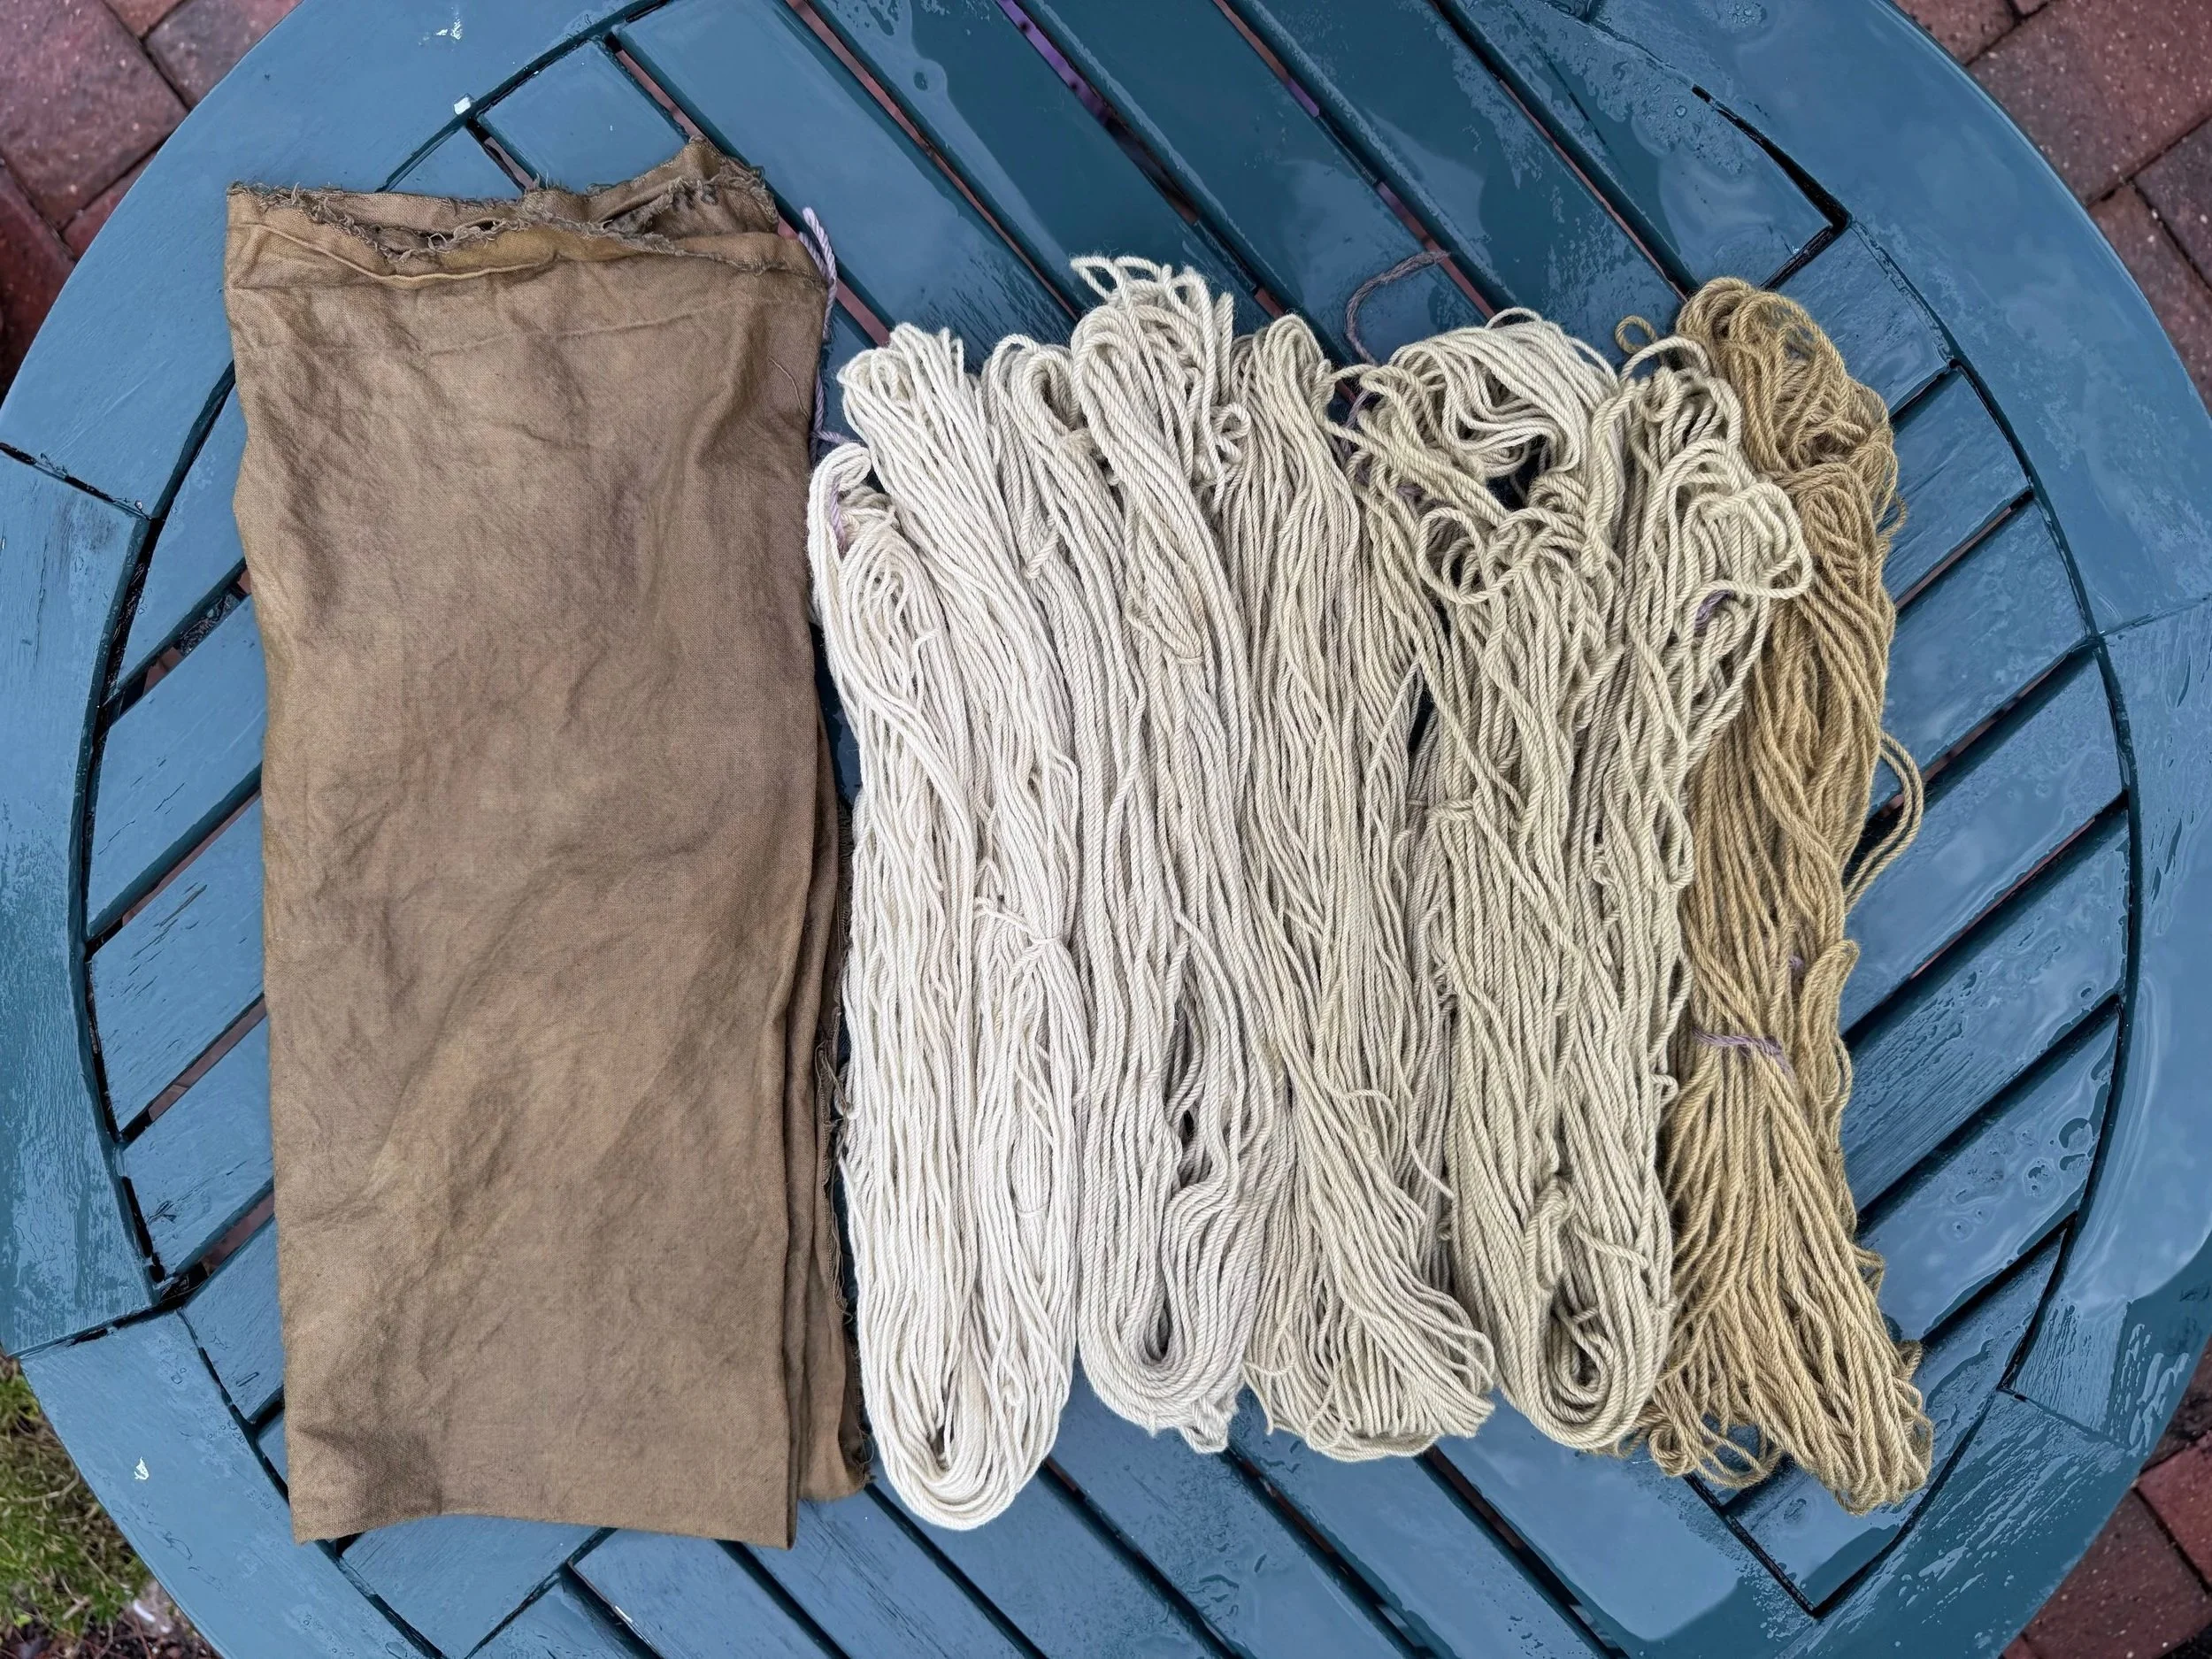
oh yes
And the fabric is splendid. I am going to dye one more piece of fabric and let it sit overnight, and then recook the leaves I saved after the first dye-making party.
-
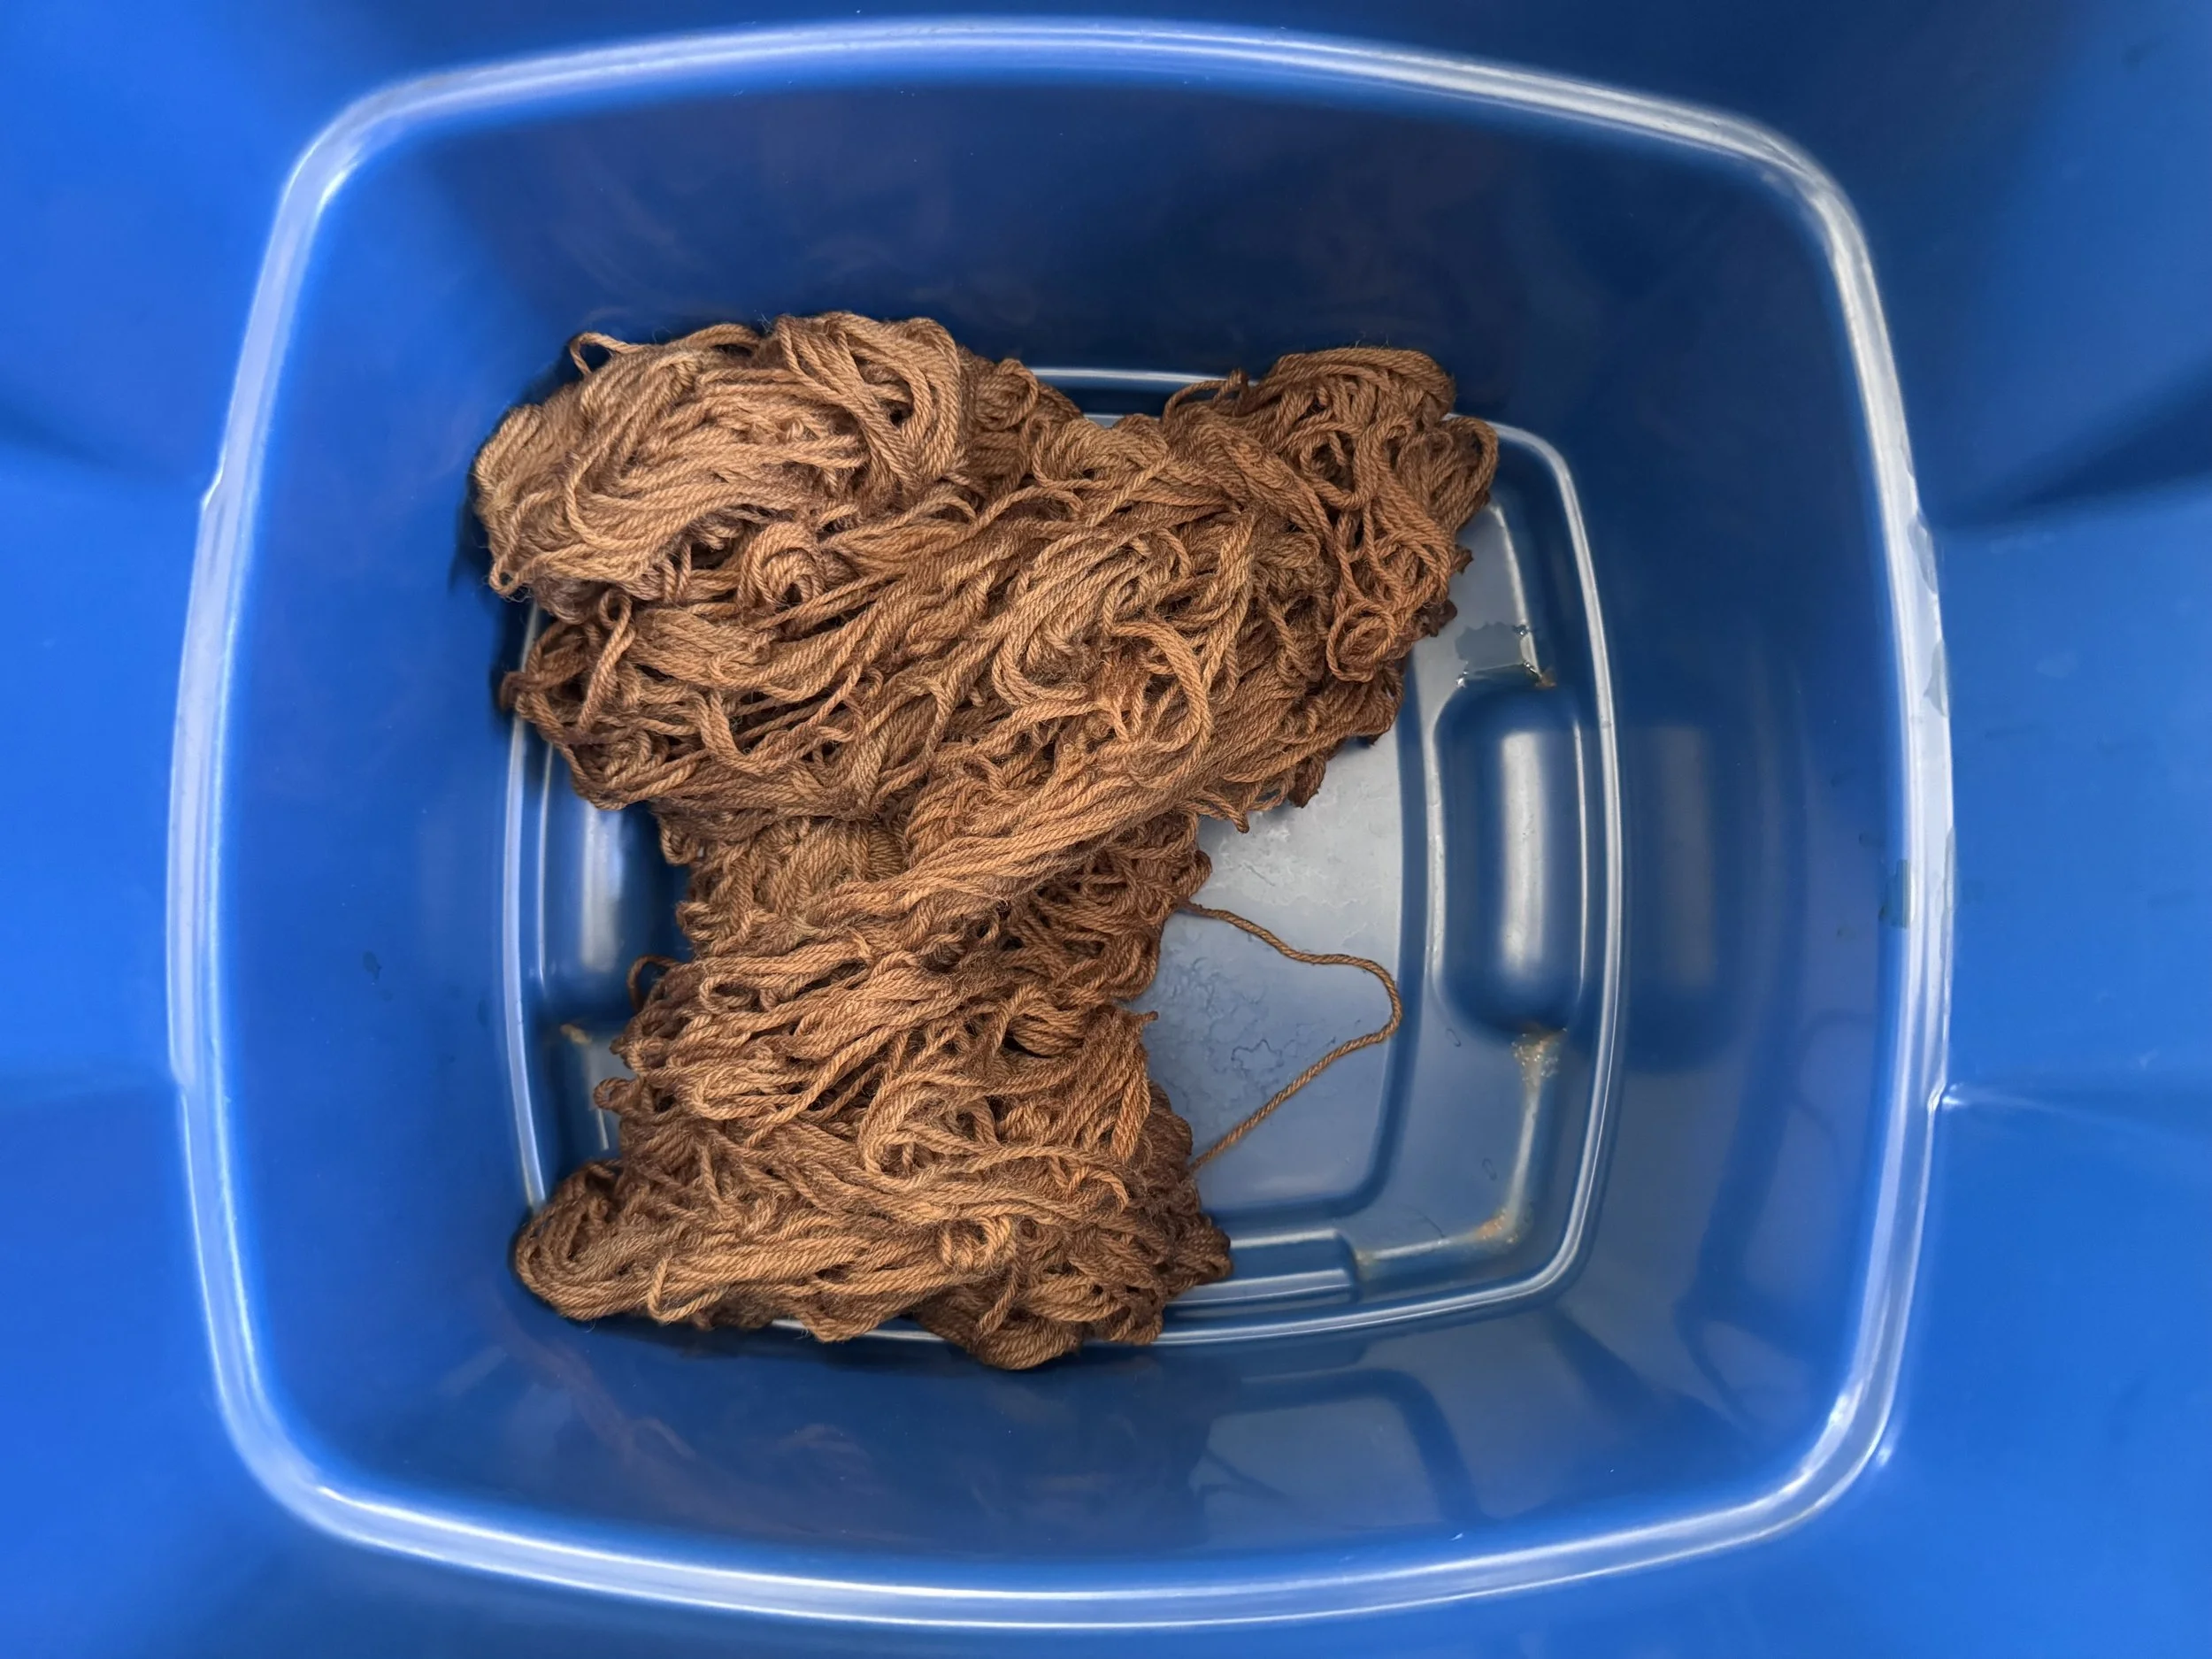
some candidates for iron mordant
While my dye receives a refresh, I am going to turn to my iron mordanting. Here I have:
1 mordanted hank, first exhaust
1 unmordanted hank, first exhaust
1 mordanted hank, second exhaust
1 unmordanted hank, second exhaust
I labeled them so that I can identify them after the iron dip. Learned to do that the hard way. Always label your stuff.
-
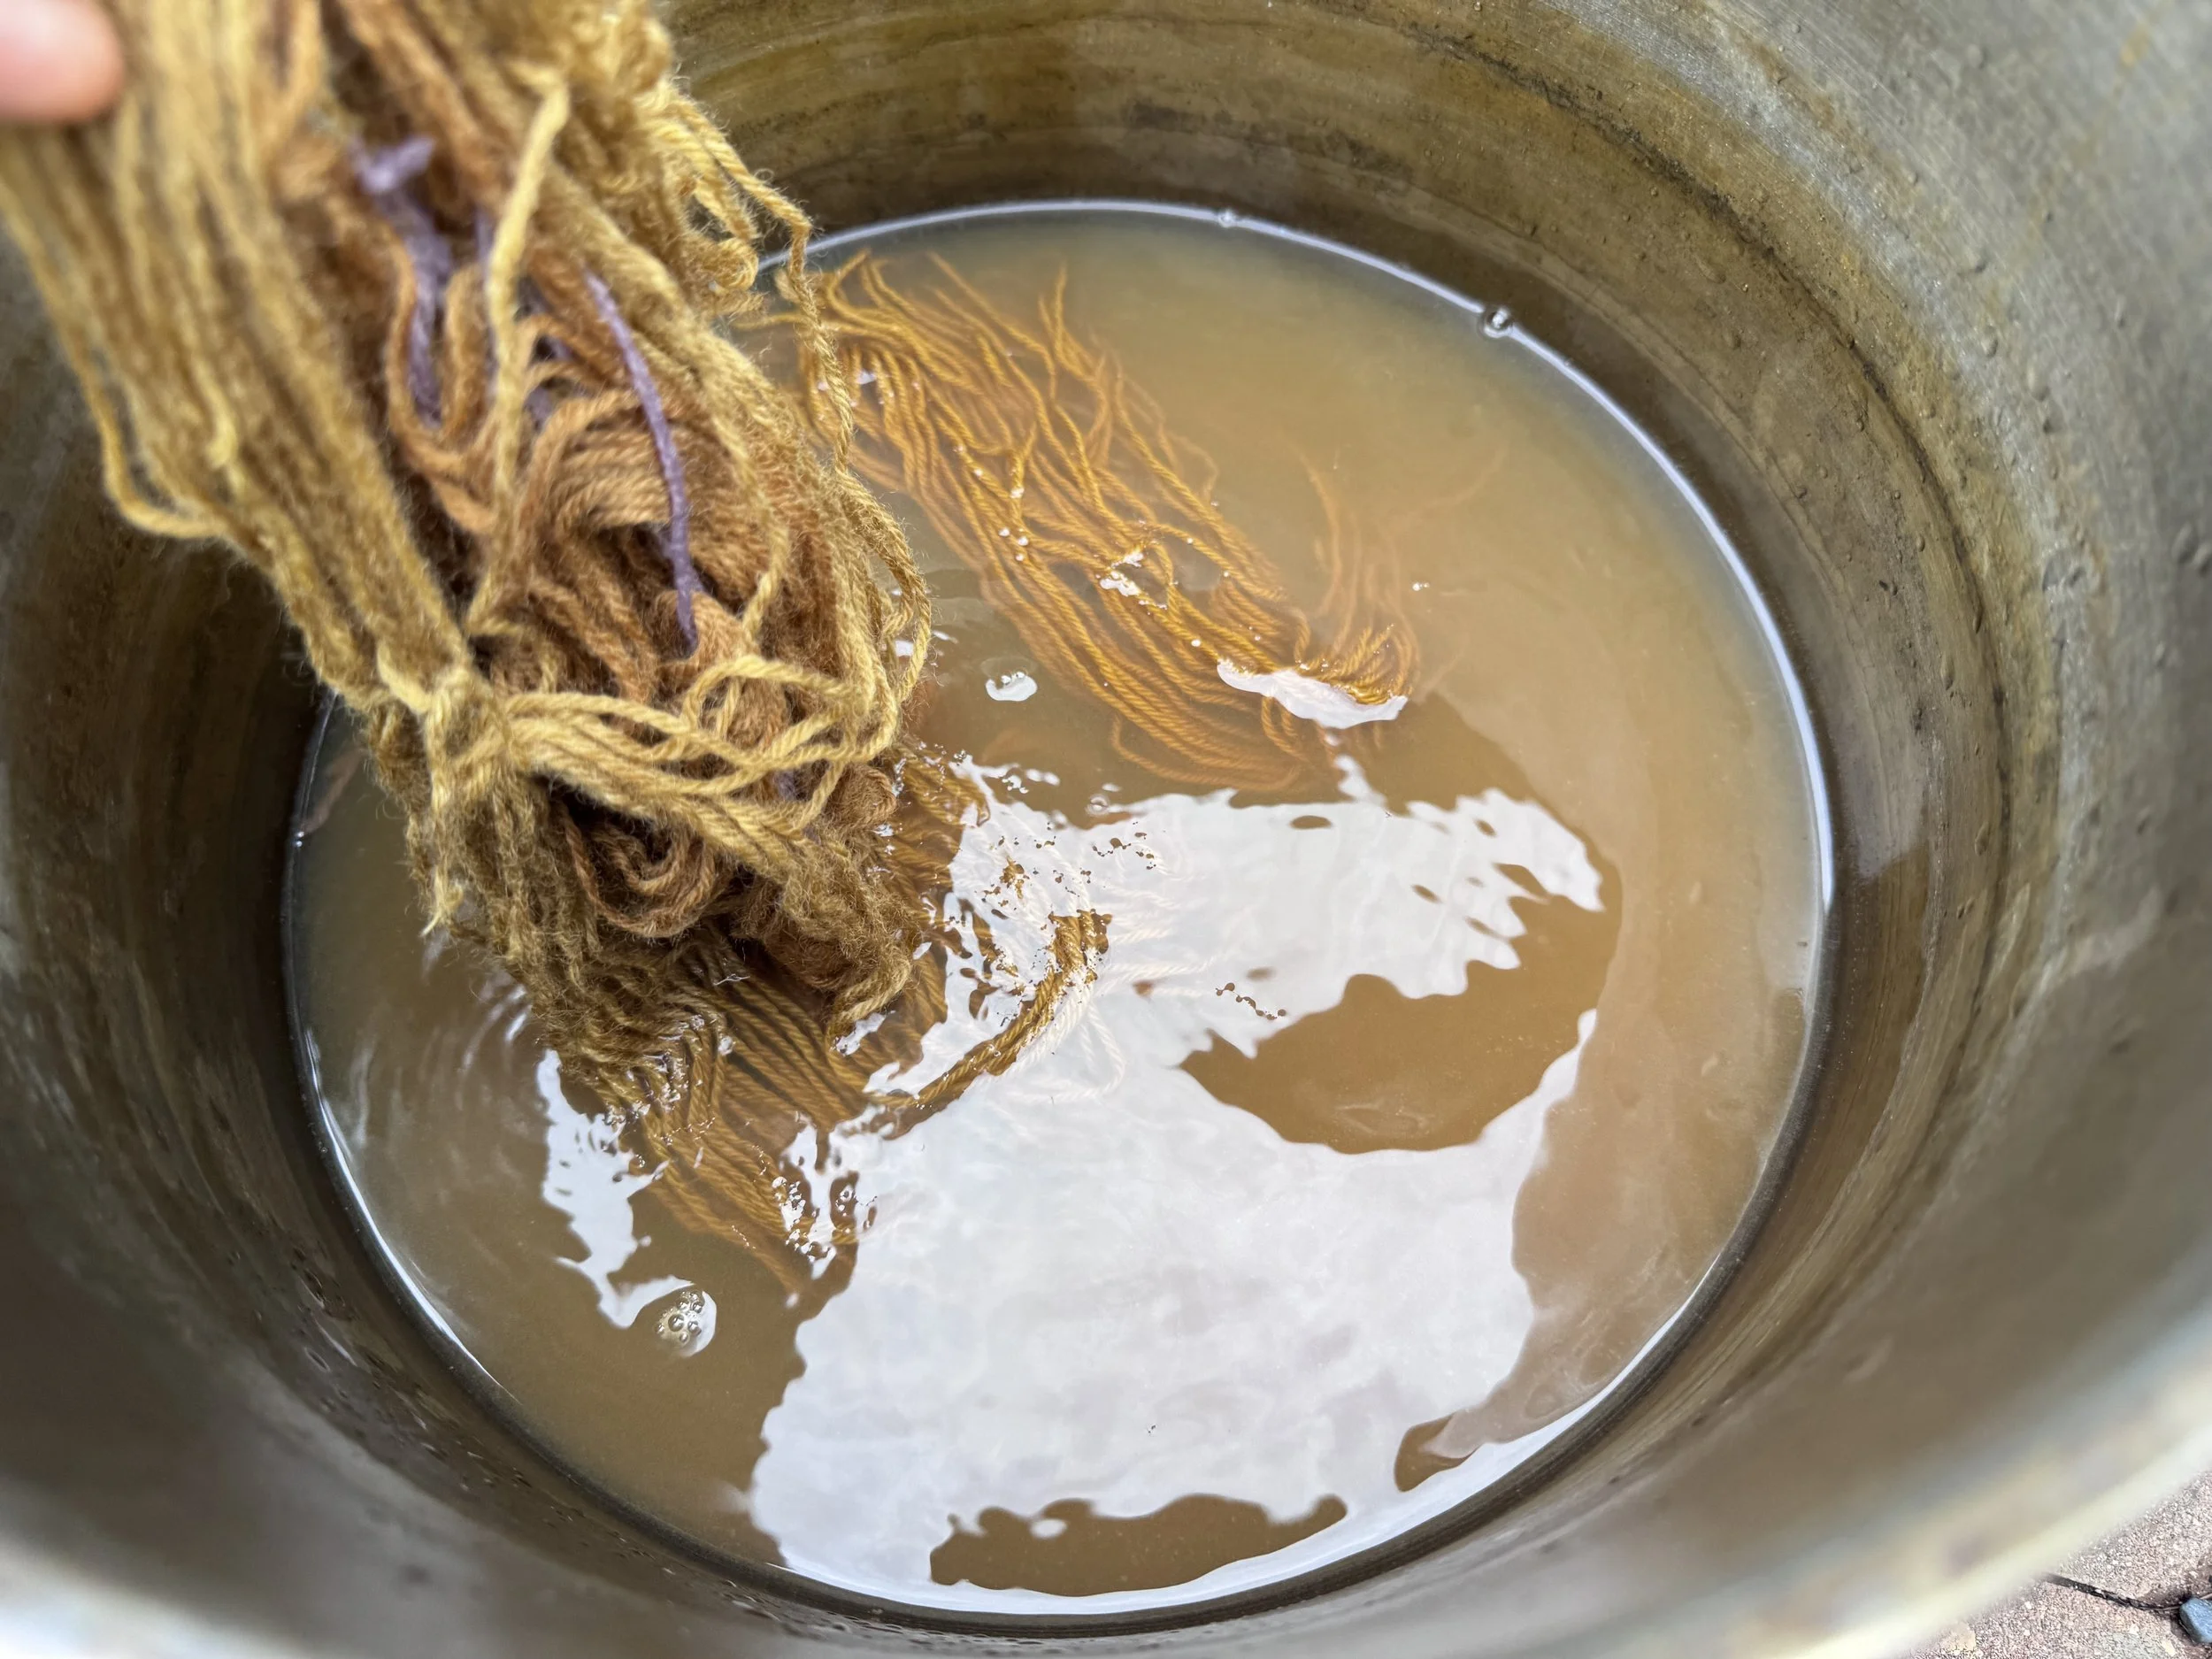
in they go
I bought fresh iron mordant this summer, so this should not take long at all.
-
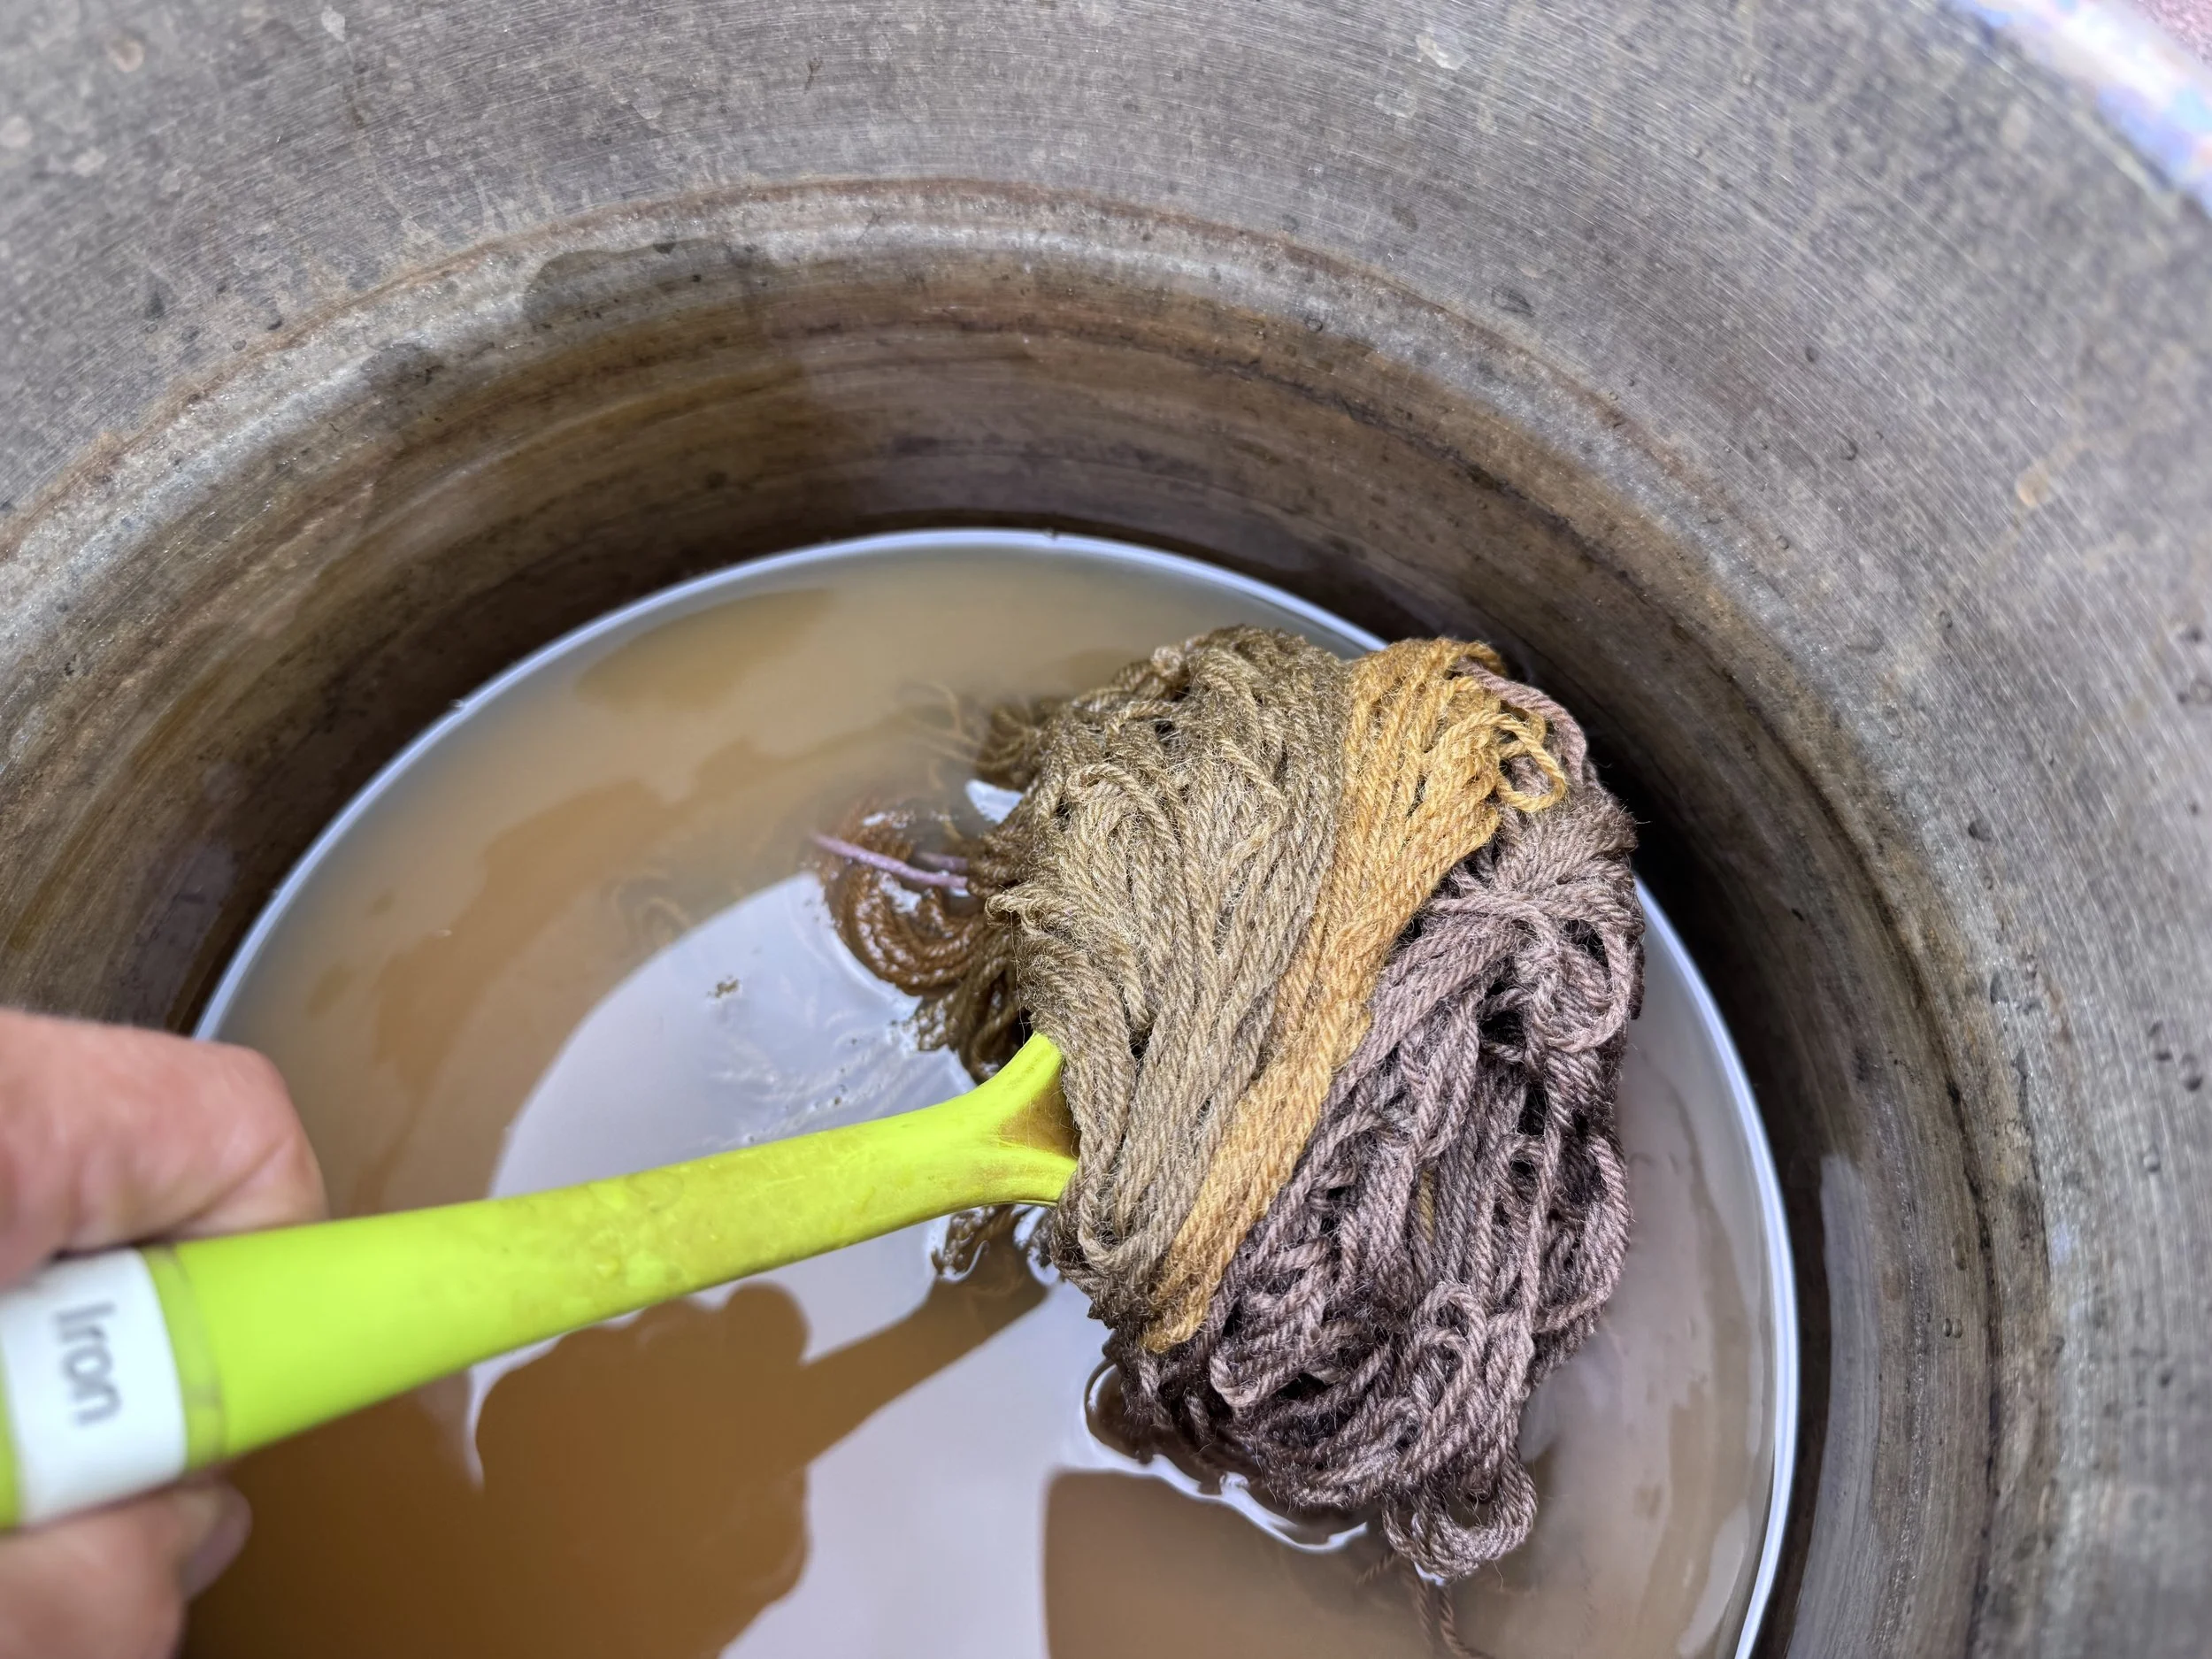
changing colors already
I really like the dark brown on the right. I wonder which one that is?
-
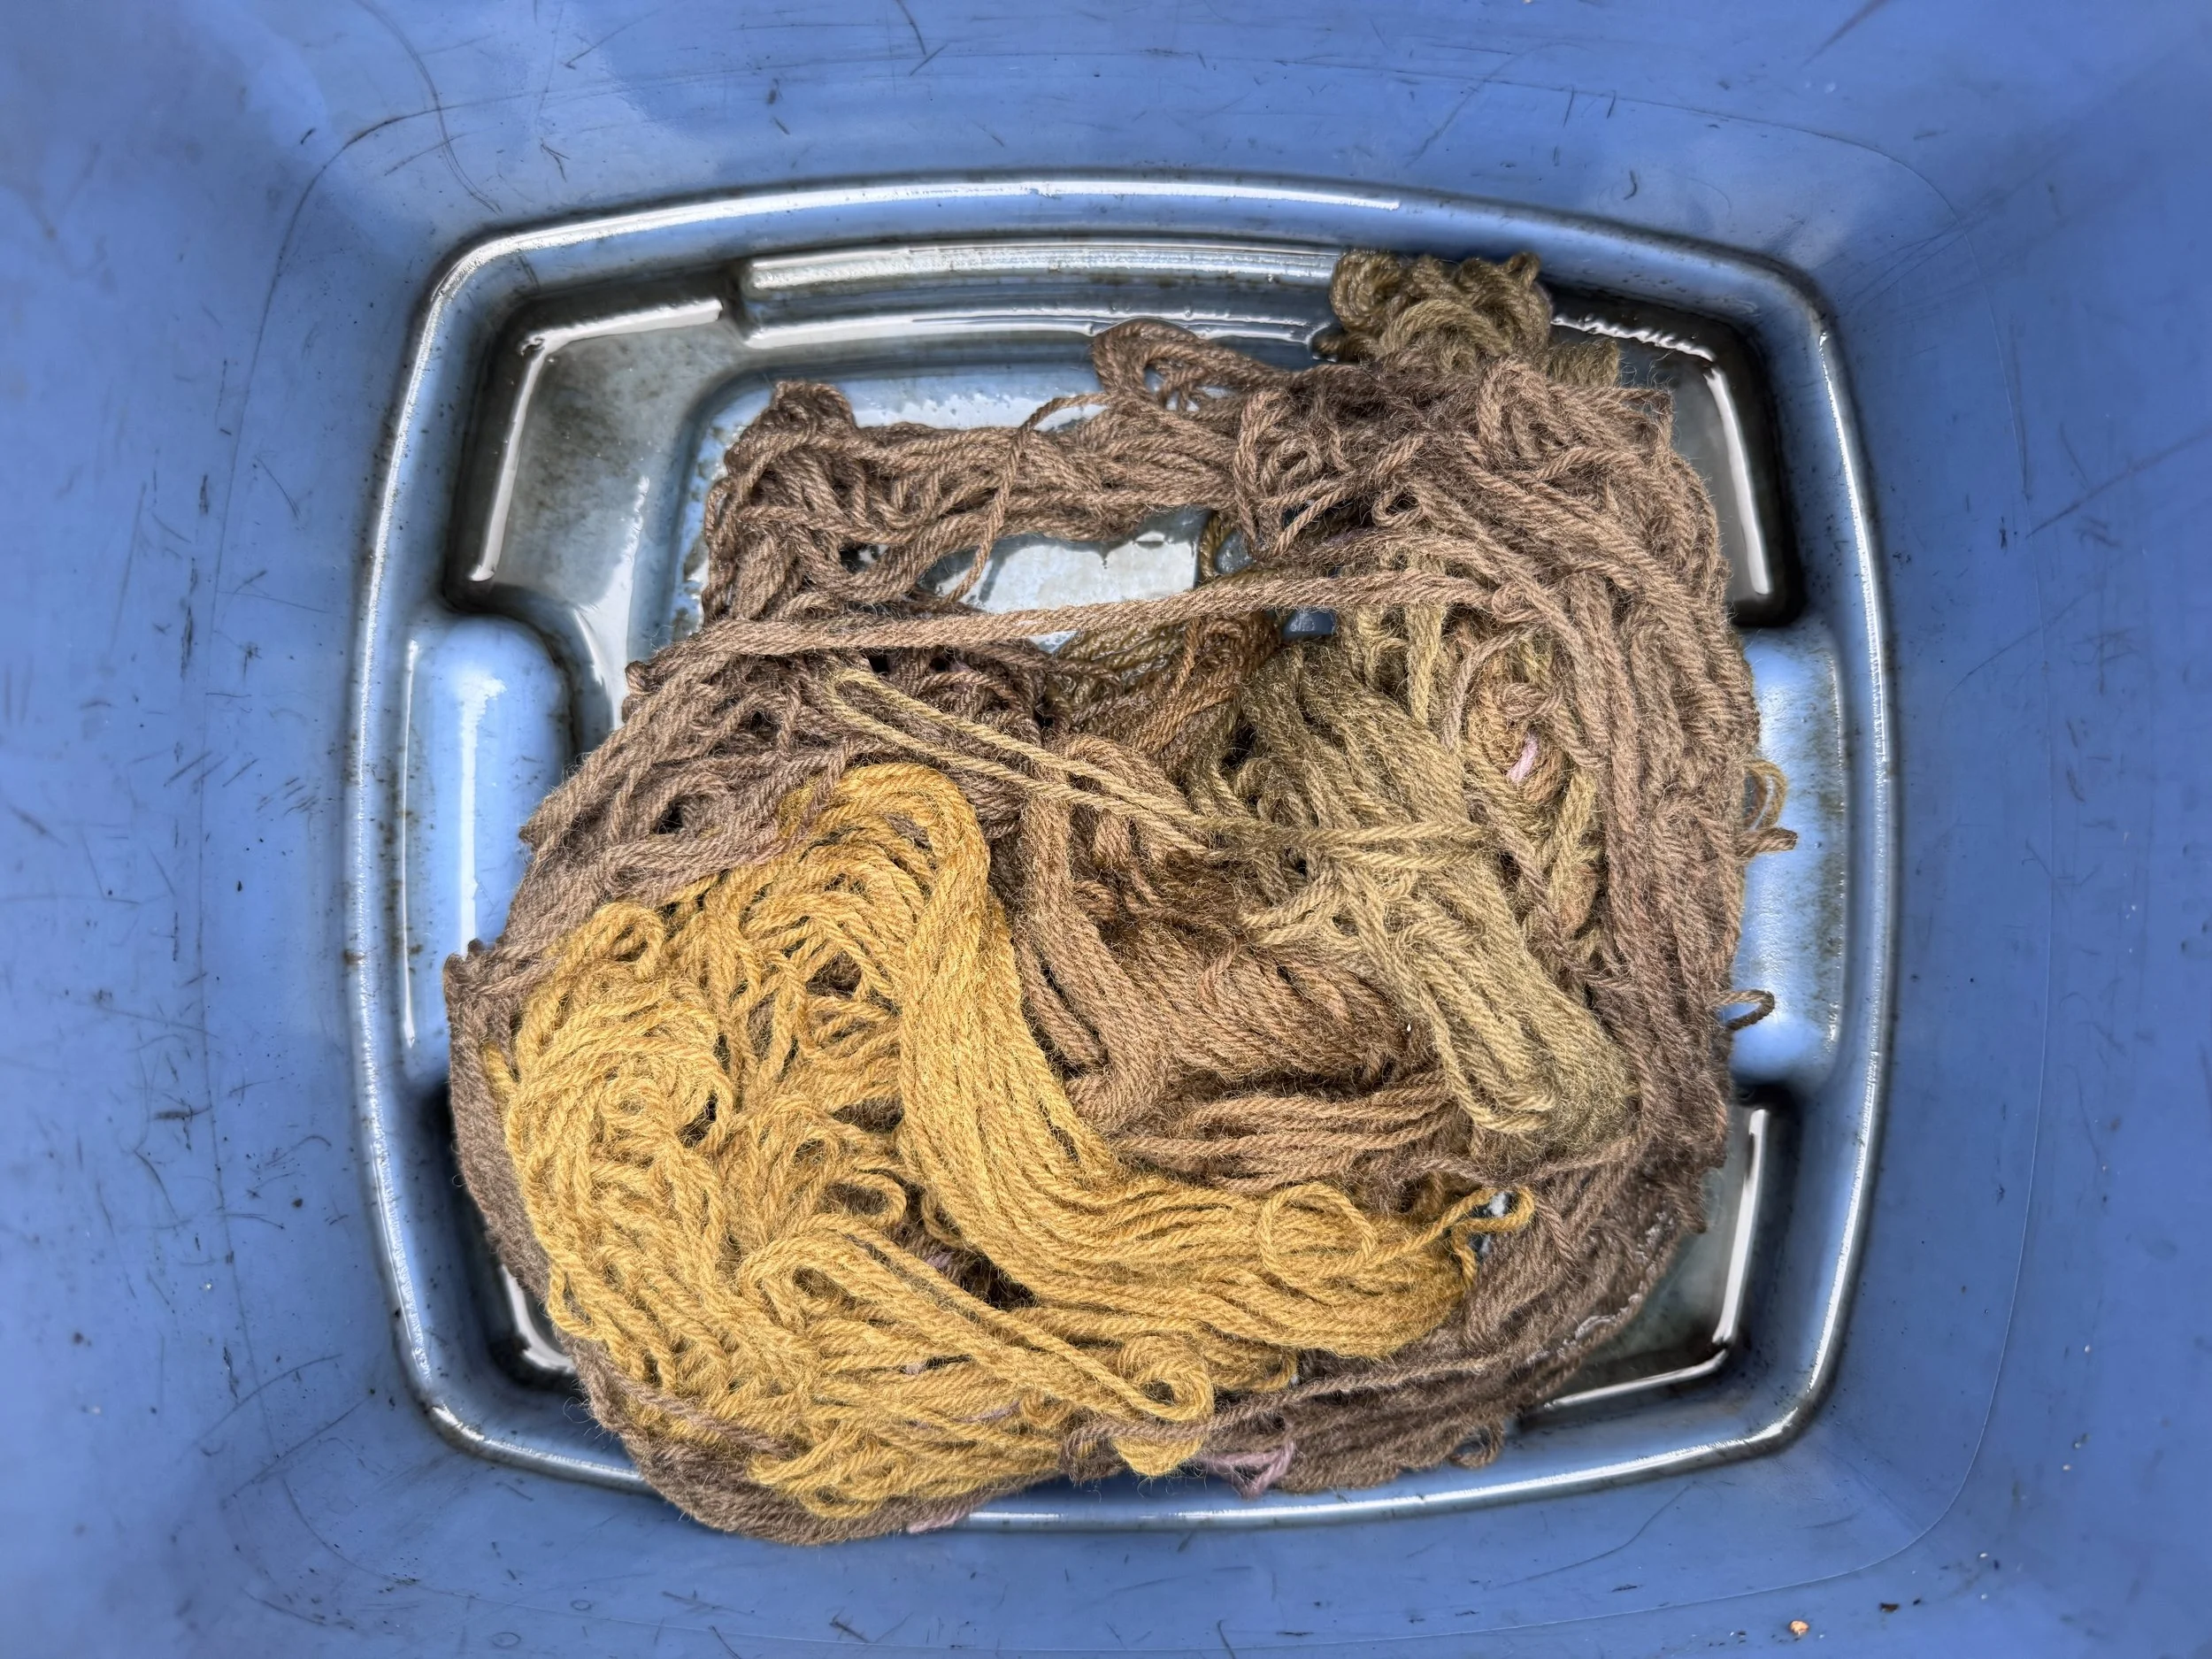
that took three minutes
No kidding. I will let them sit for a bit and then rinse them, and then let them sit in soapy water for another bit, and then rinse them again.
-
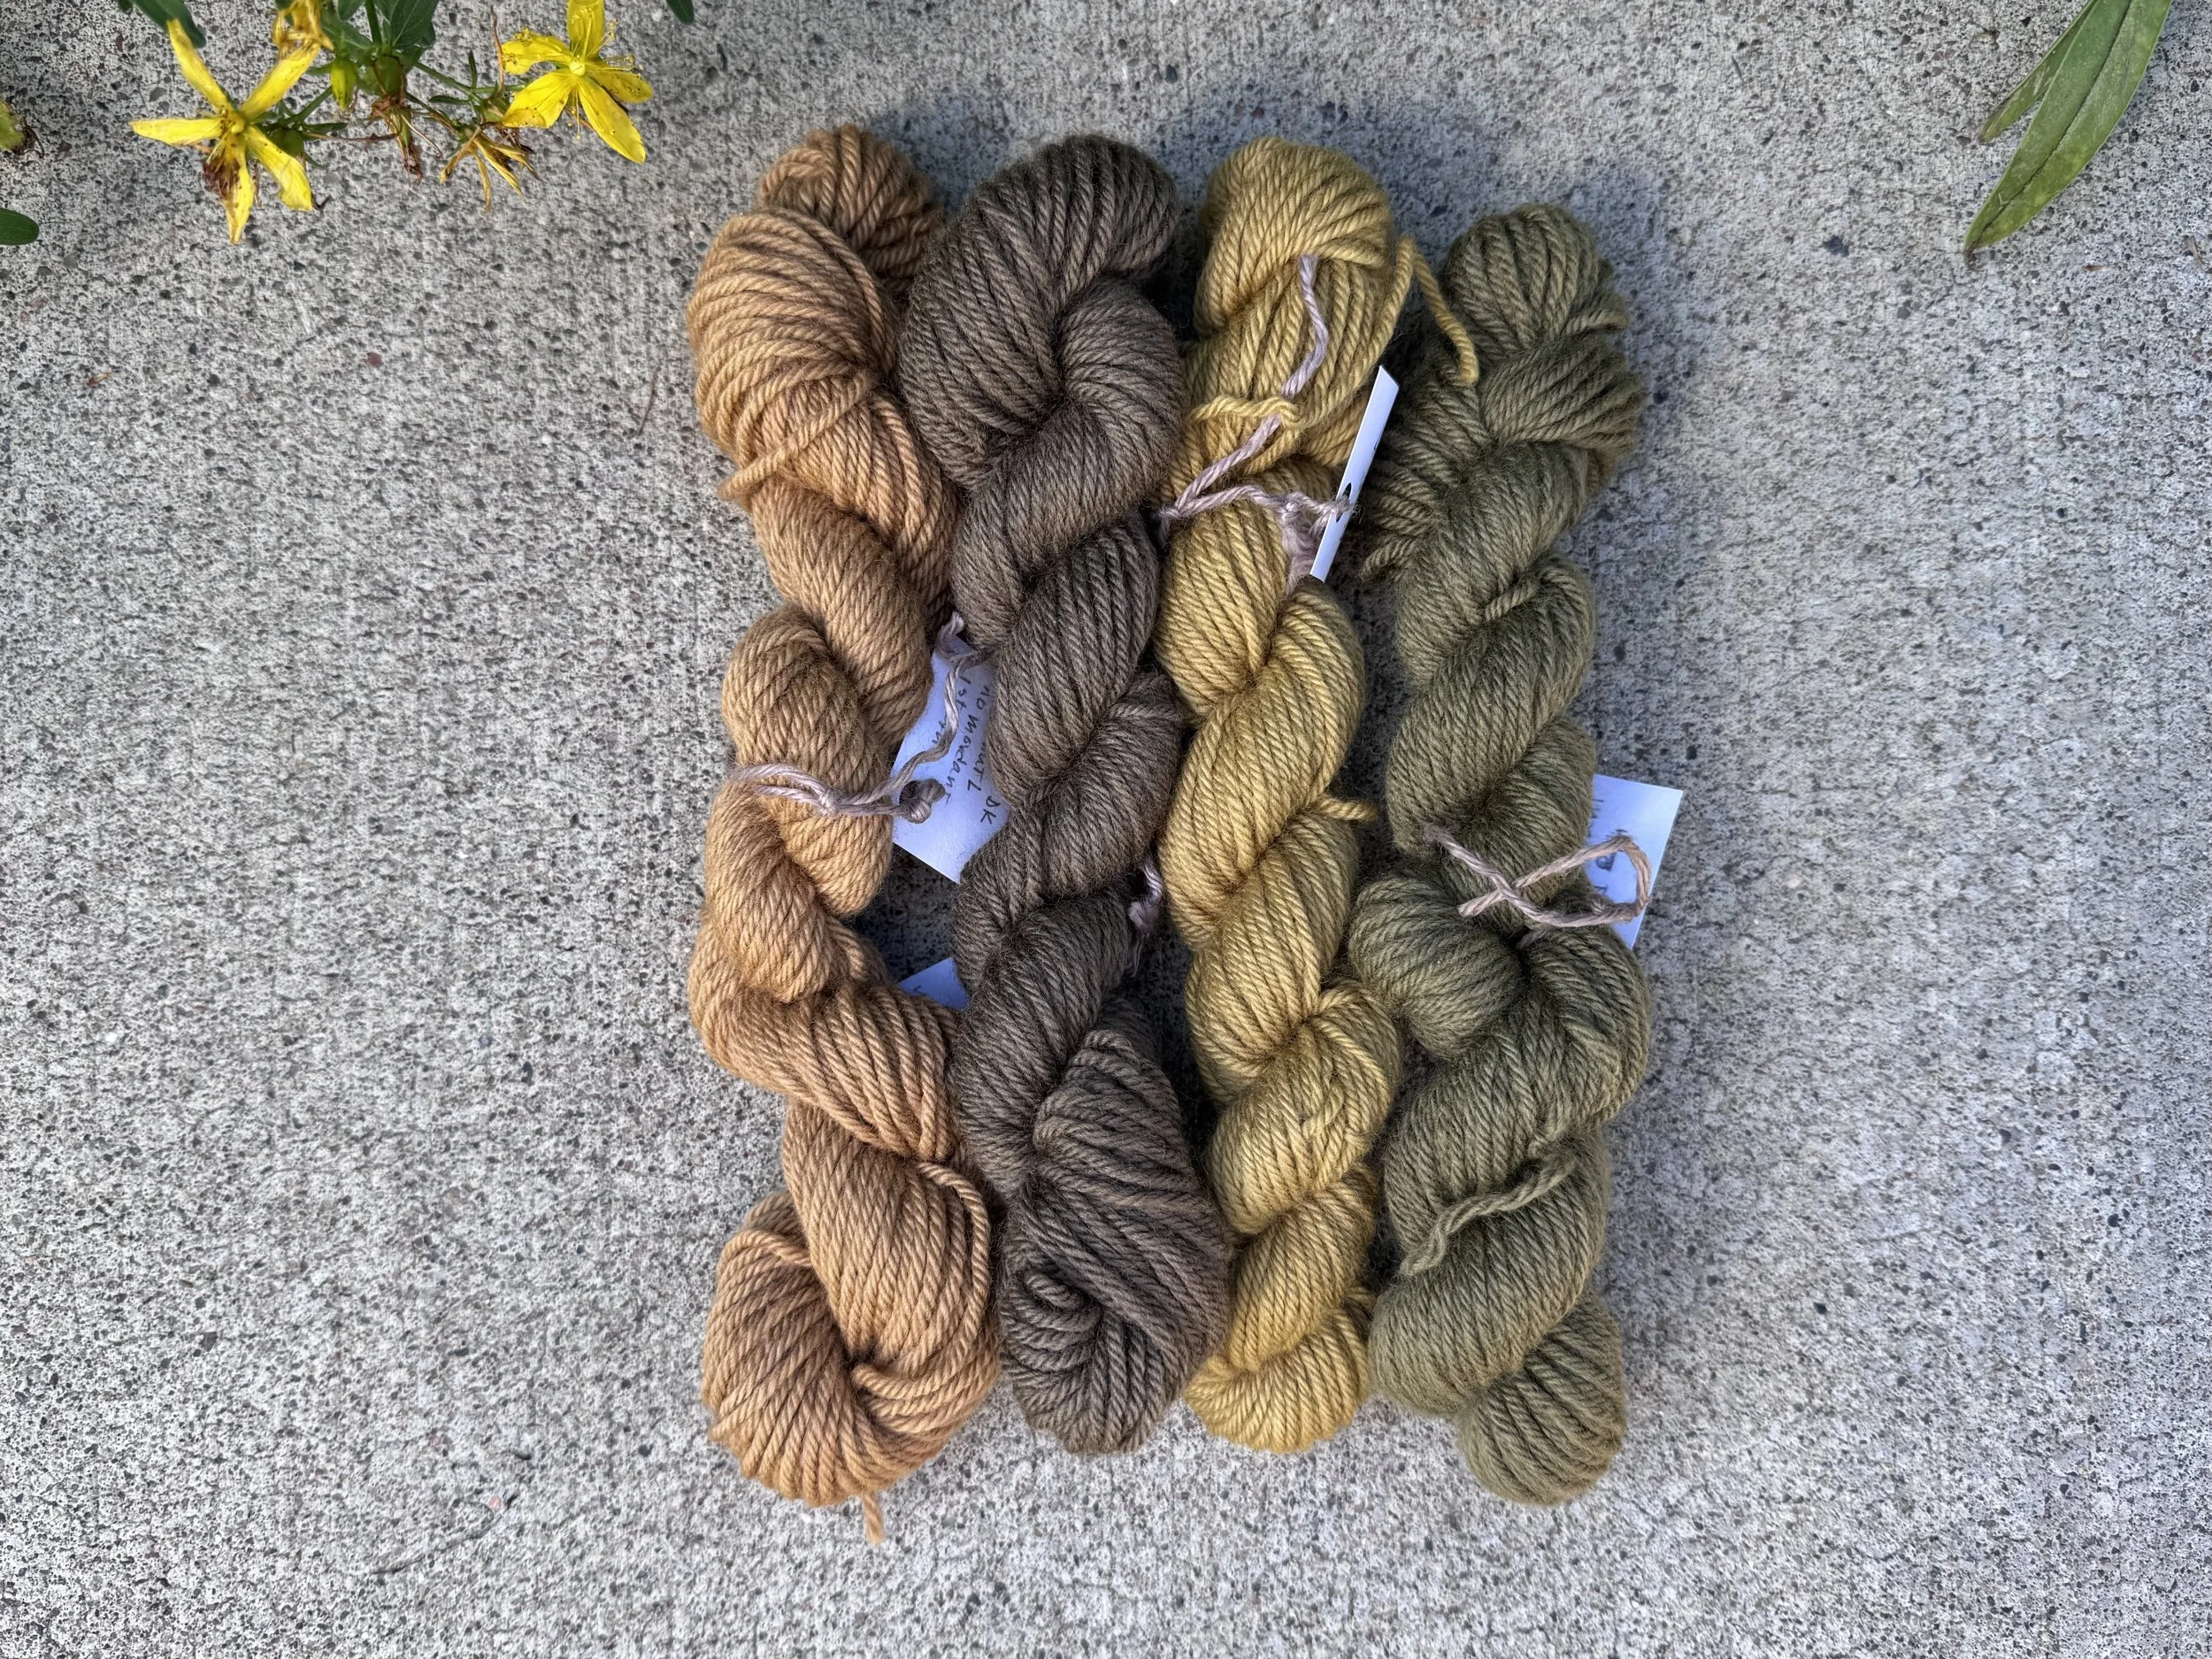
all four, no mordant, first and second exhausts
The wonderful brown comes from the unmordanted first exhaust plus iron. I am definitely trying that again next year.
-
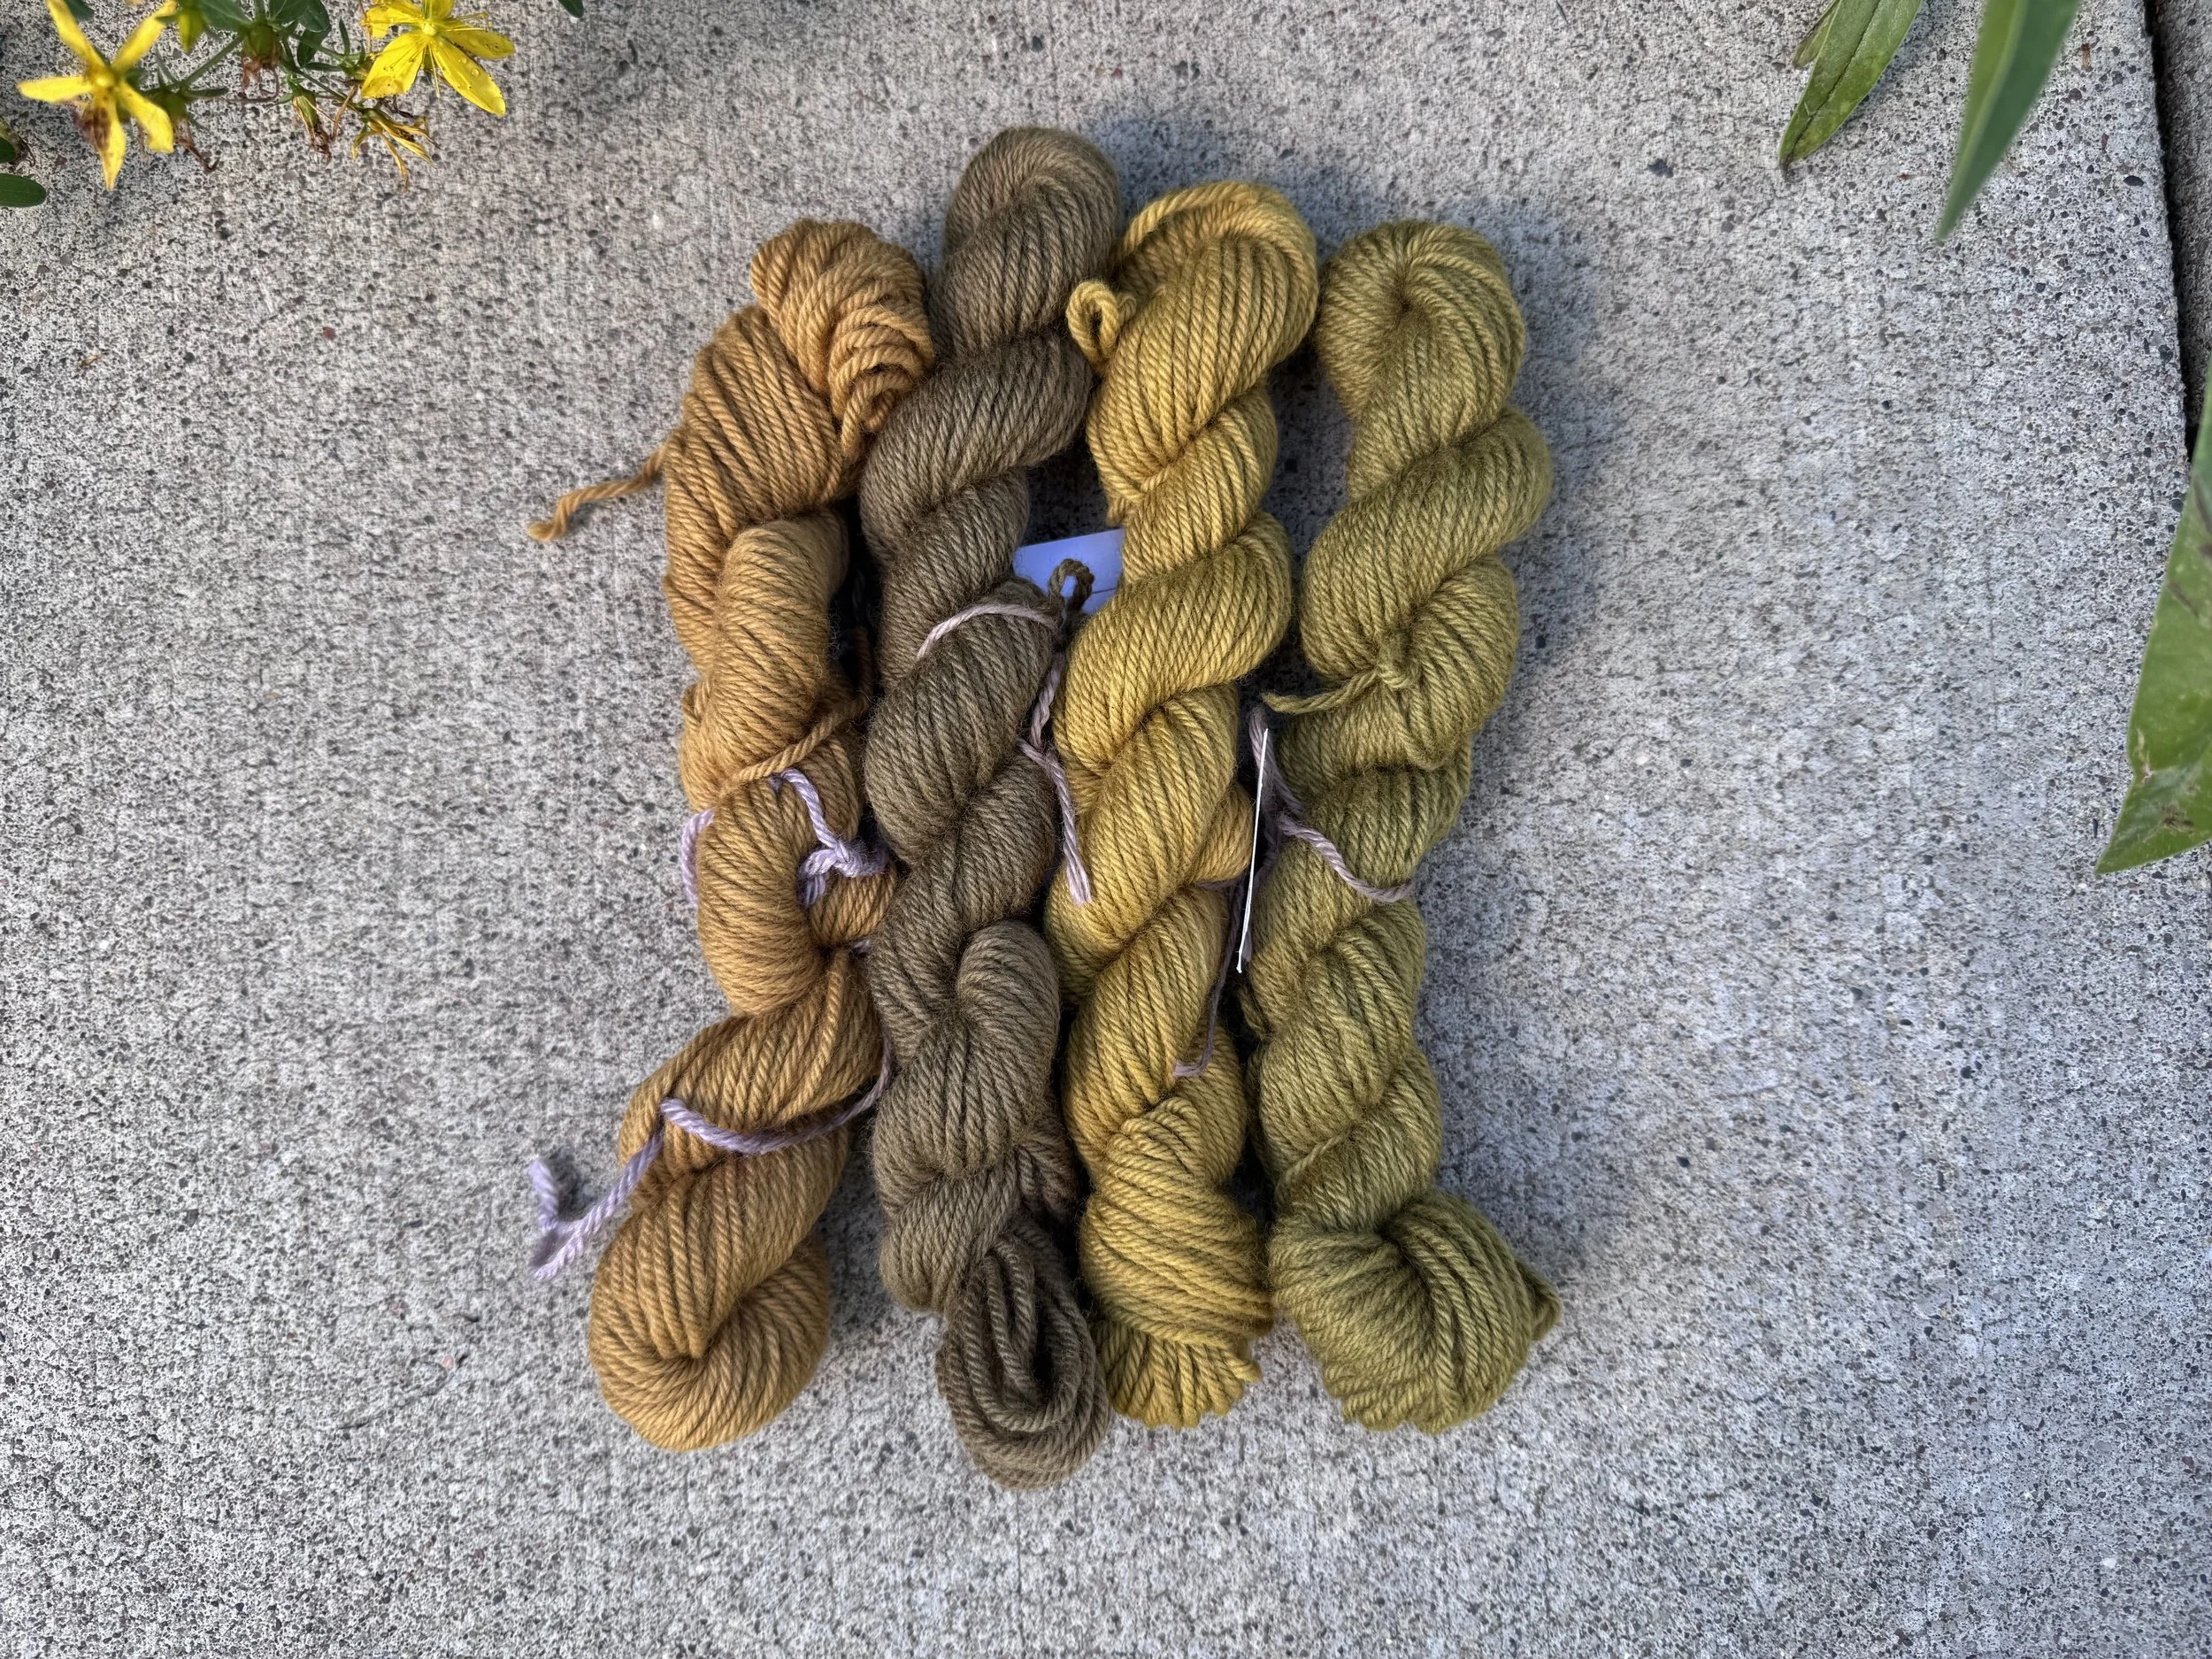
all four, mordant, first and second exhausts
We are heavy on the golds and greens. I wonder, maybe I should overdye some of my extra hanks. But in the meantime, I will re-cook the leaves and make some new dye.
-
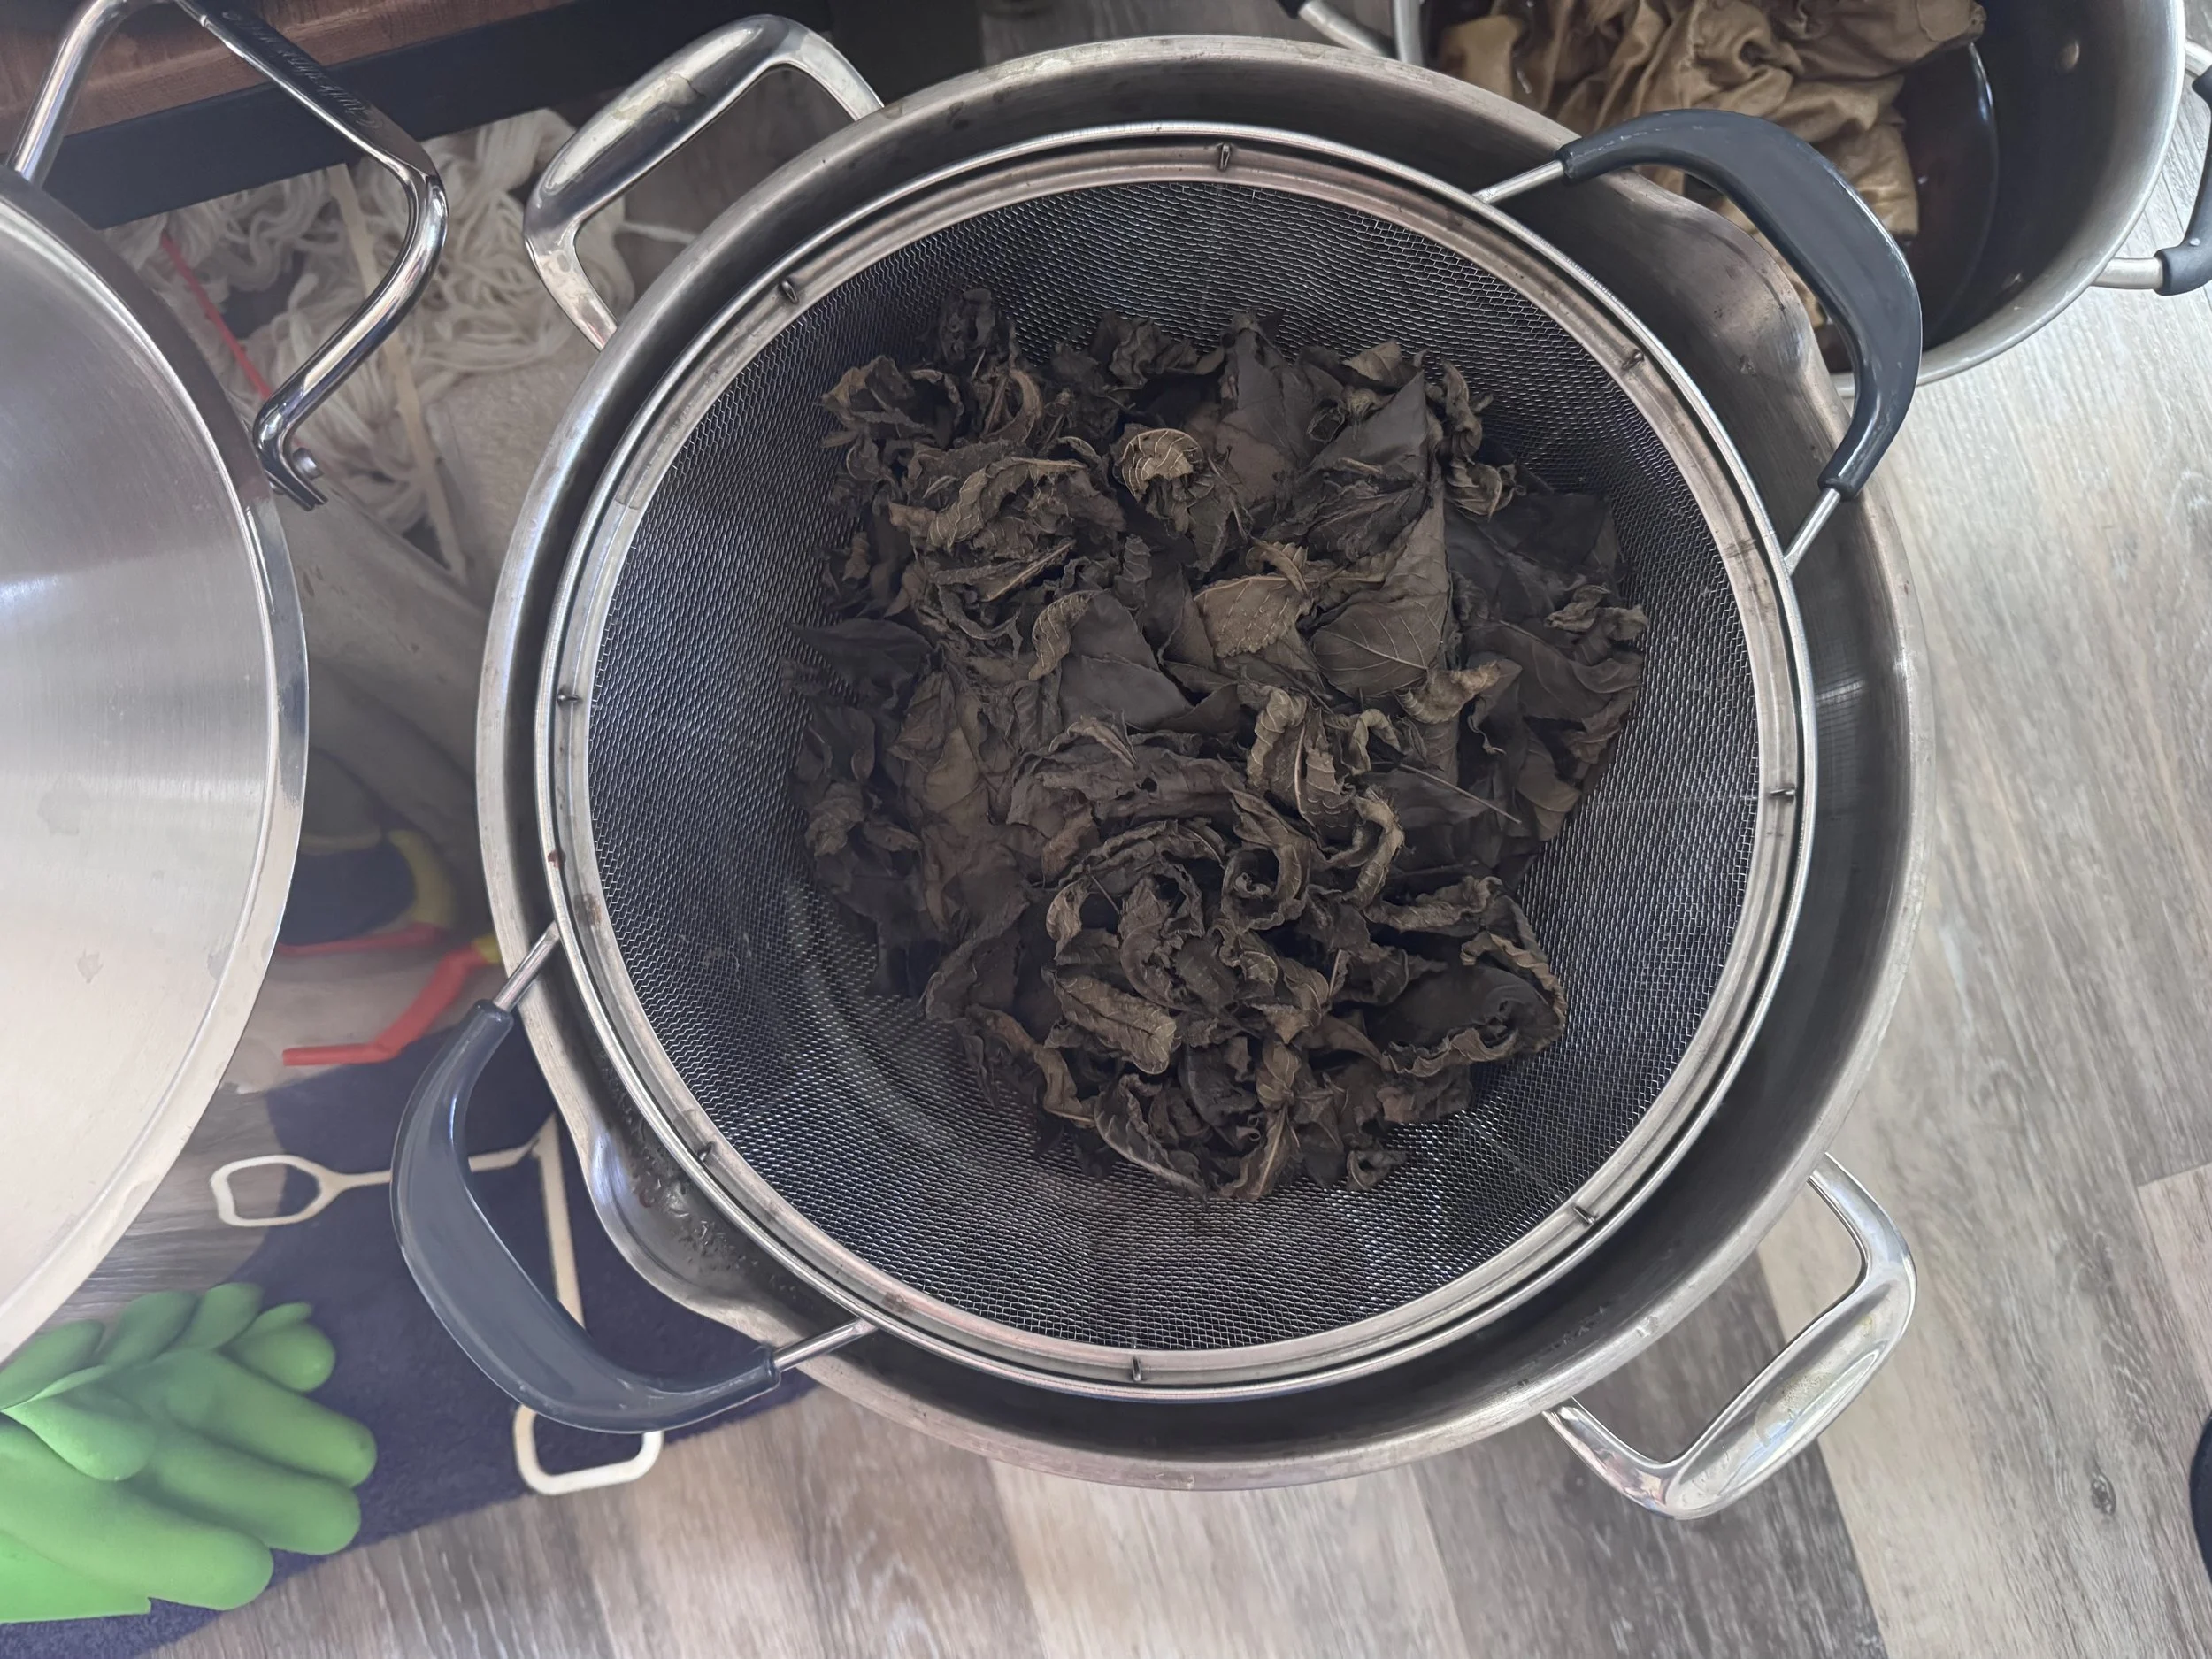
the leaves have been waiting
They have been sitting outside for a few days. We had a bit of rain finally and they smell like the woods.
-
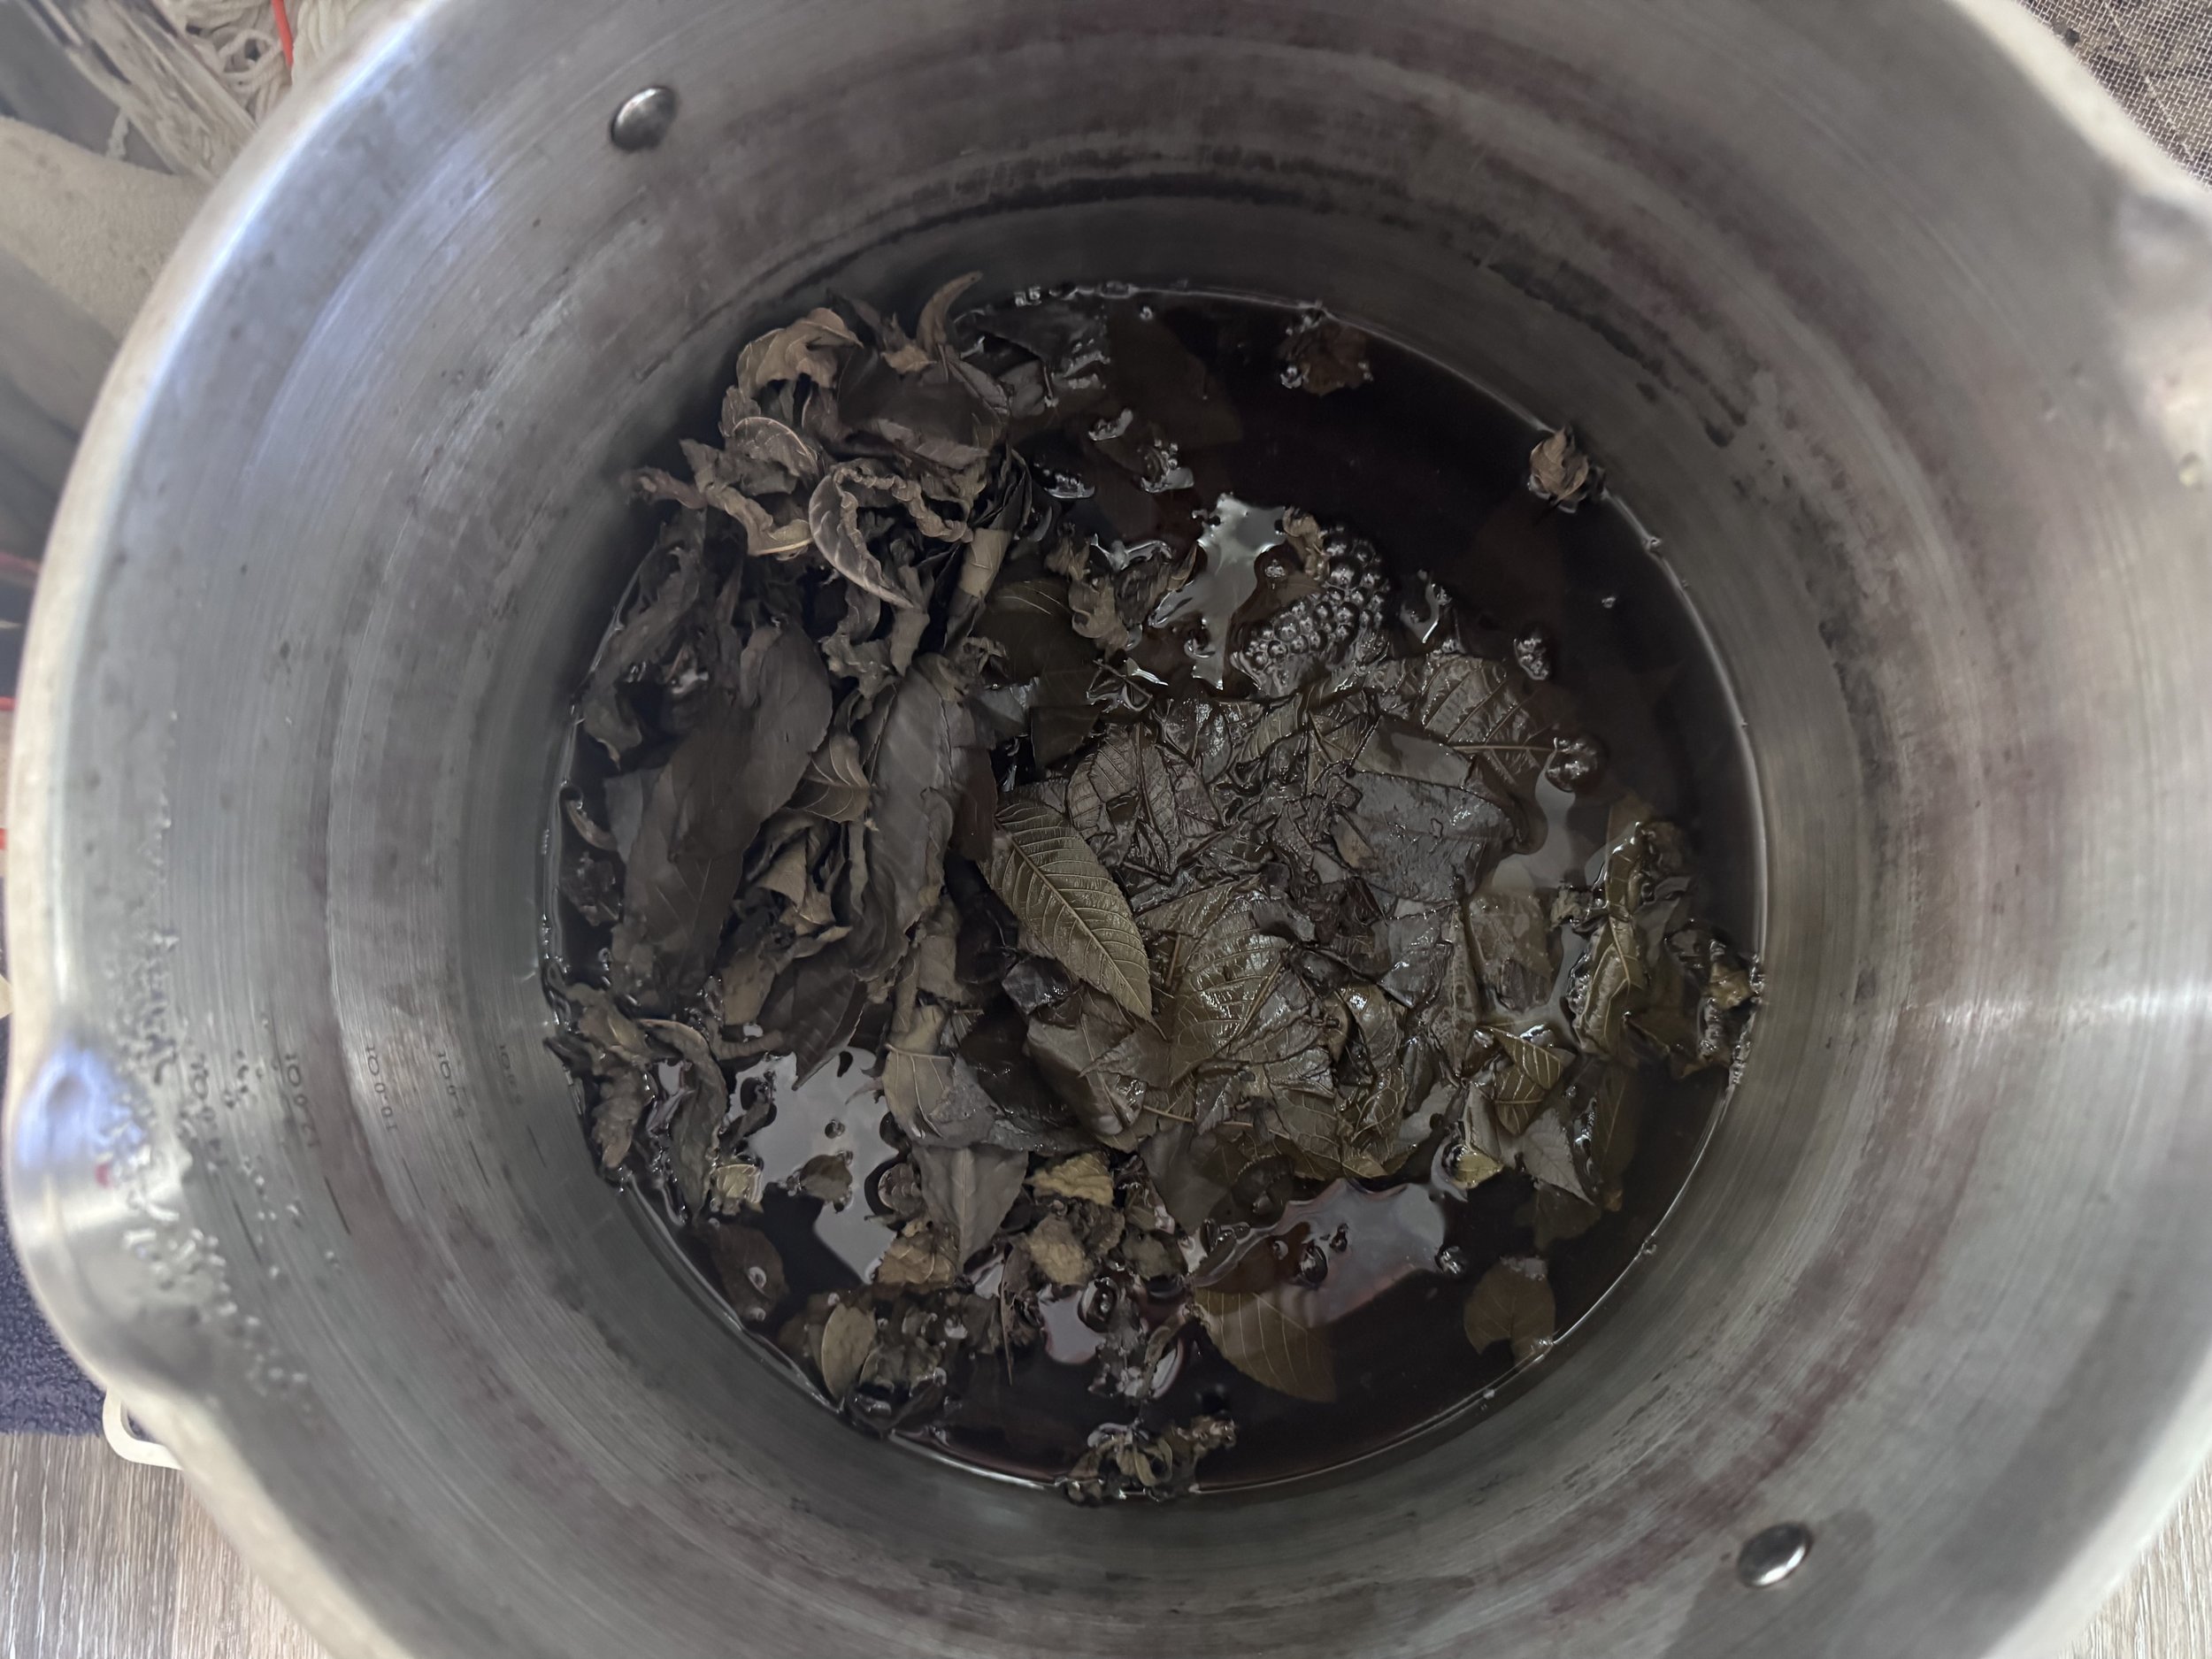
doing it again
I will heat them to just under a simmer for an hour and then let them cool, and then repeat the simmer-stand-cool process again.
-
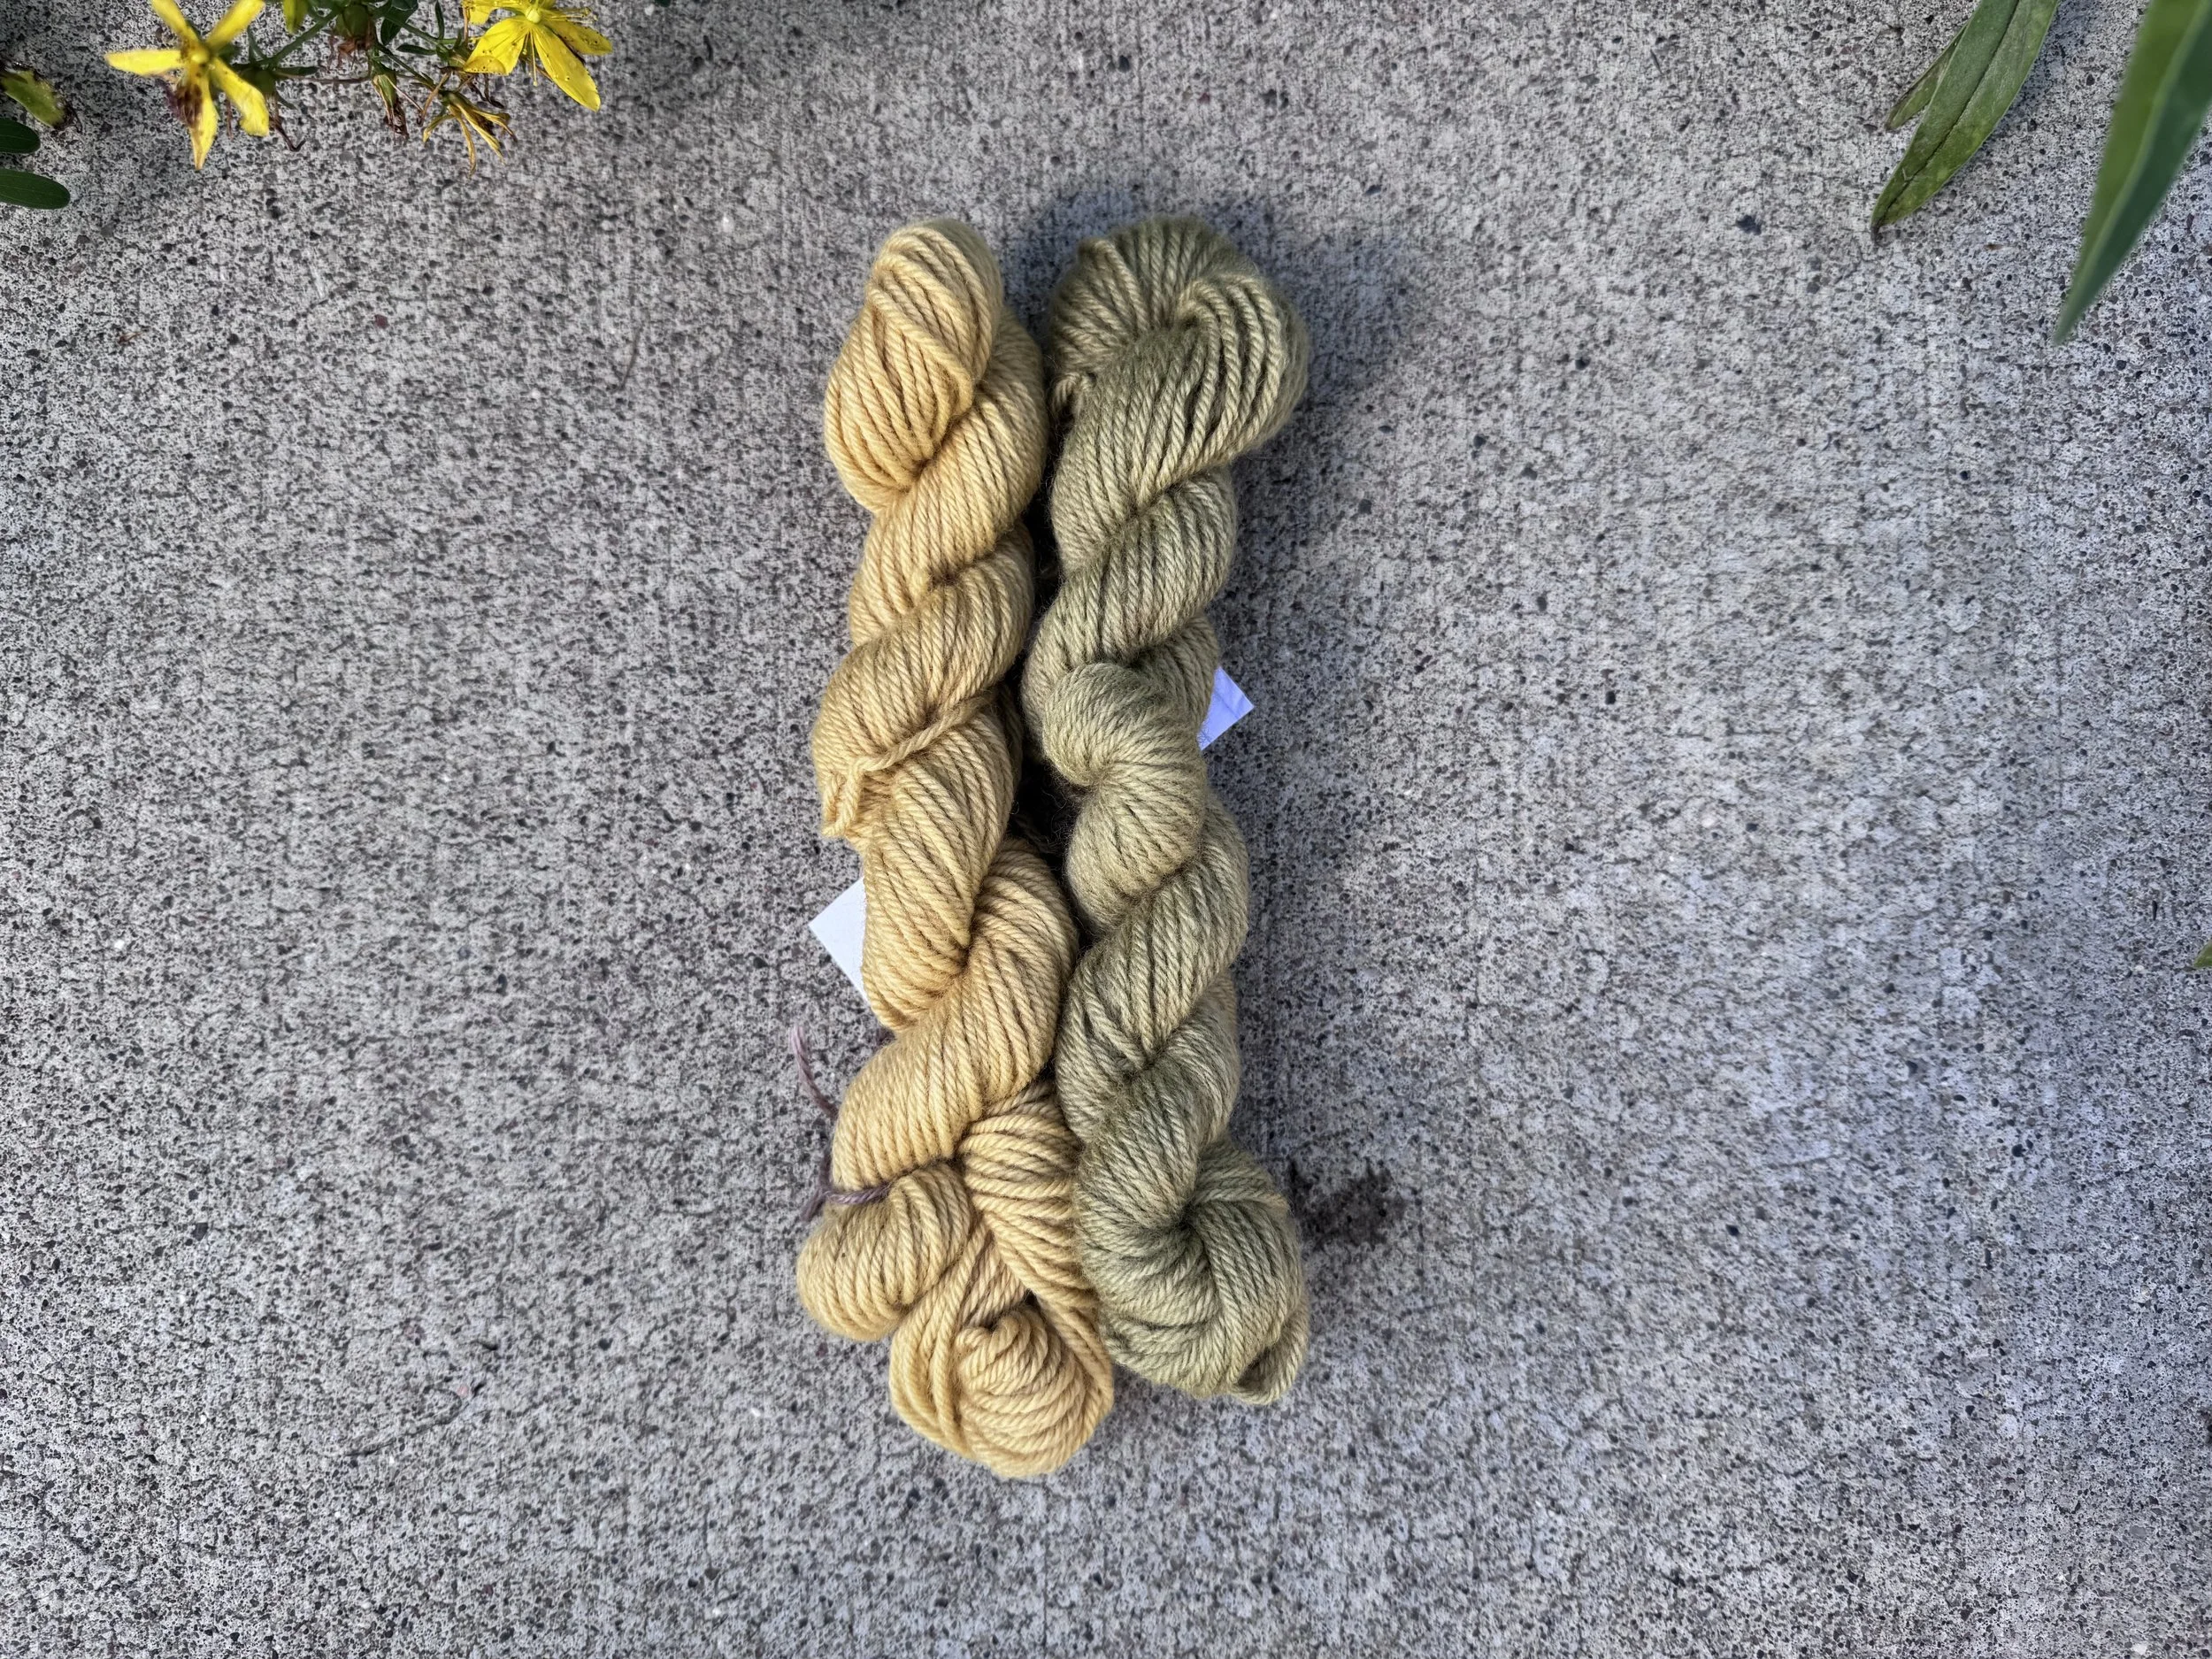
second cook: plain and iron-mordanted
I actually have six of these, three without iron mordant and three with. I think I will overdye some of them with other dyes from my garden. I have a couple of extra hanks from my first go as well and will overdye them, too.
-
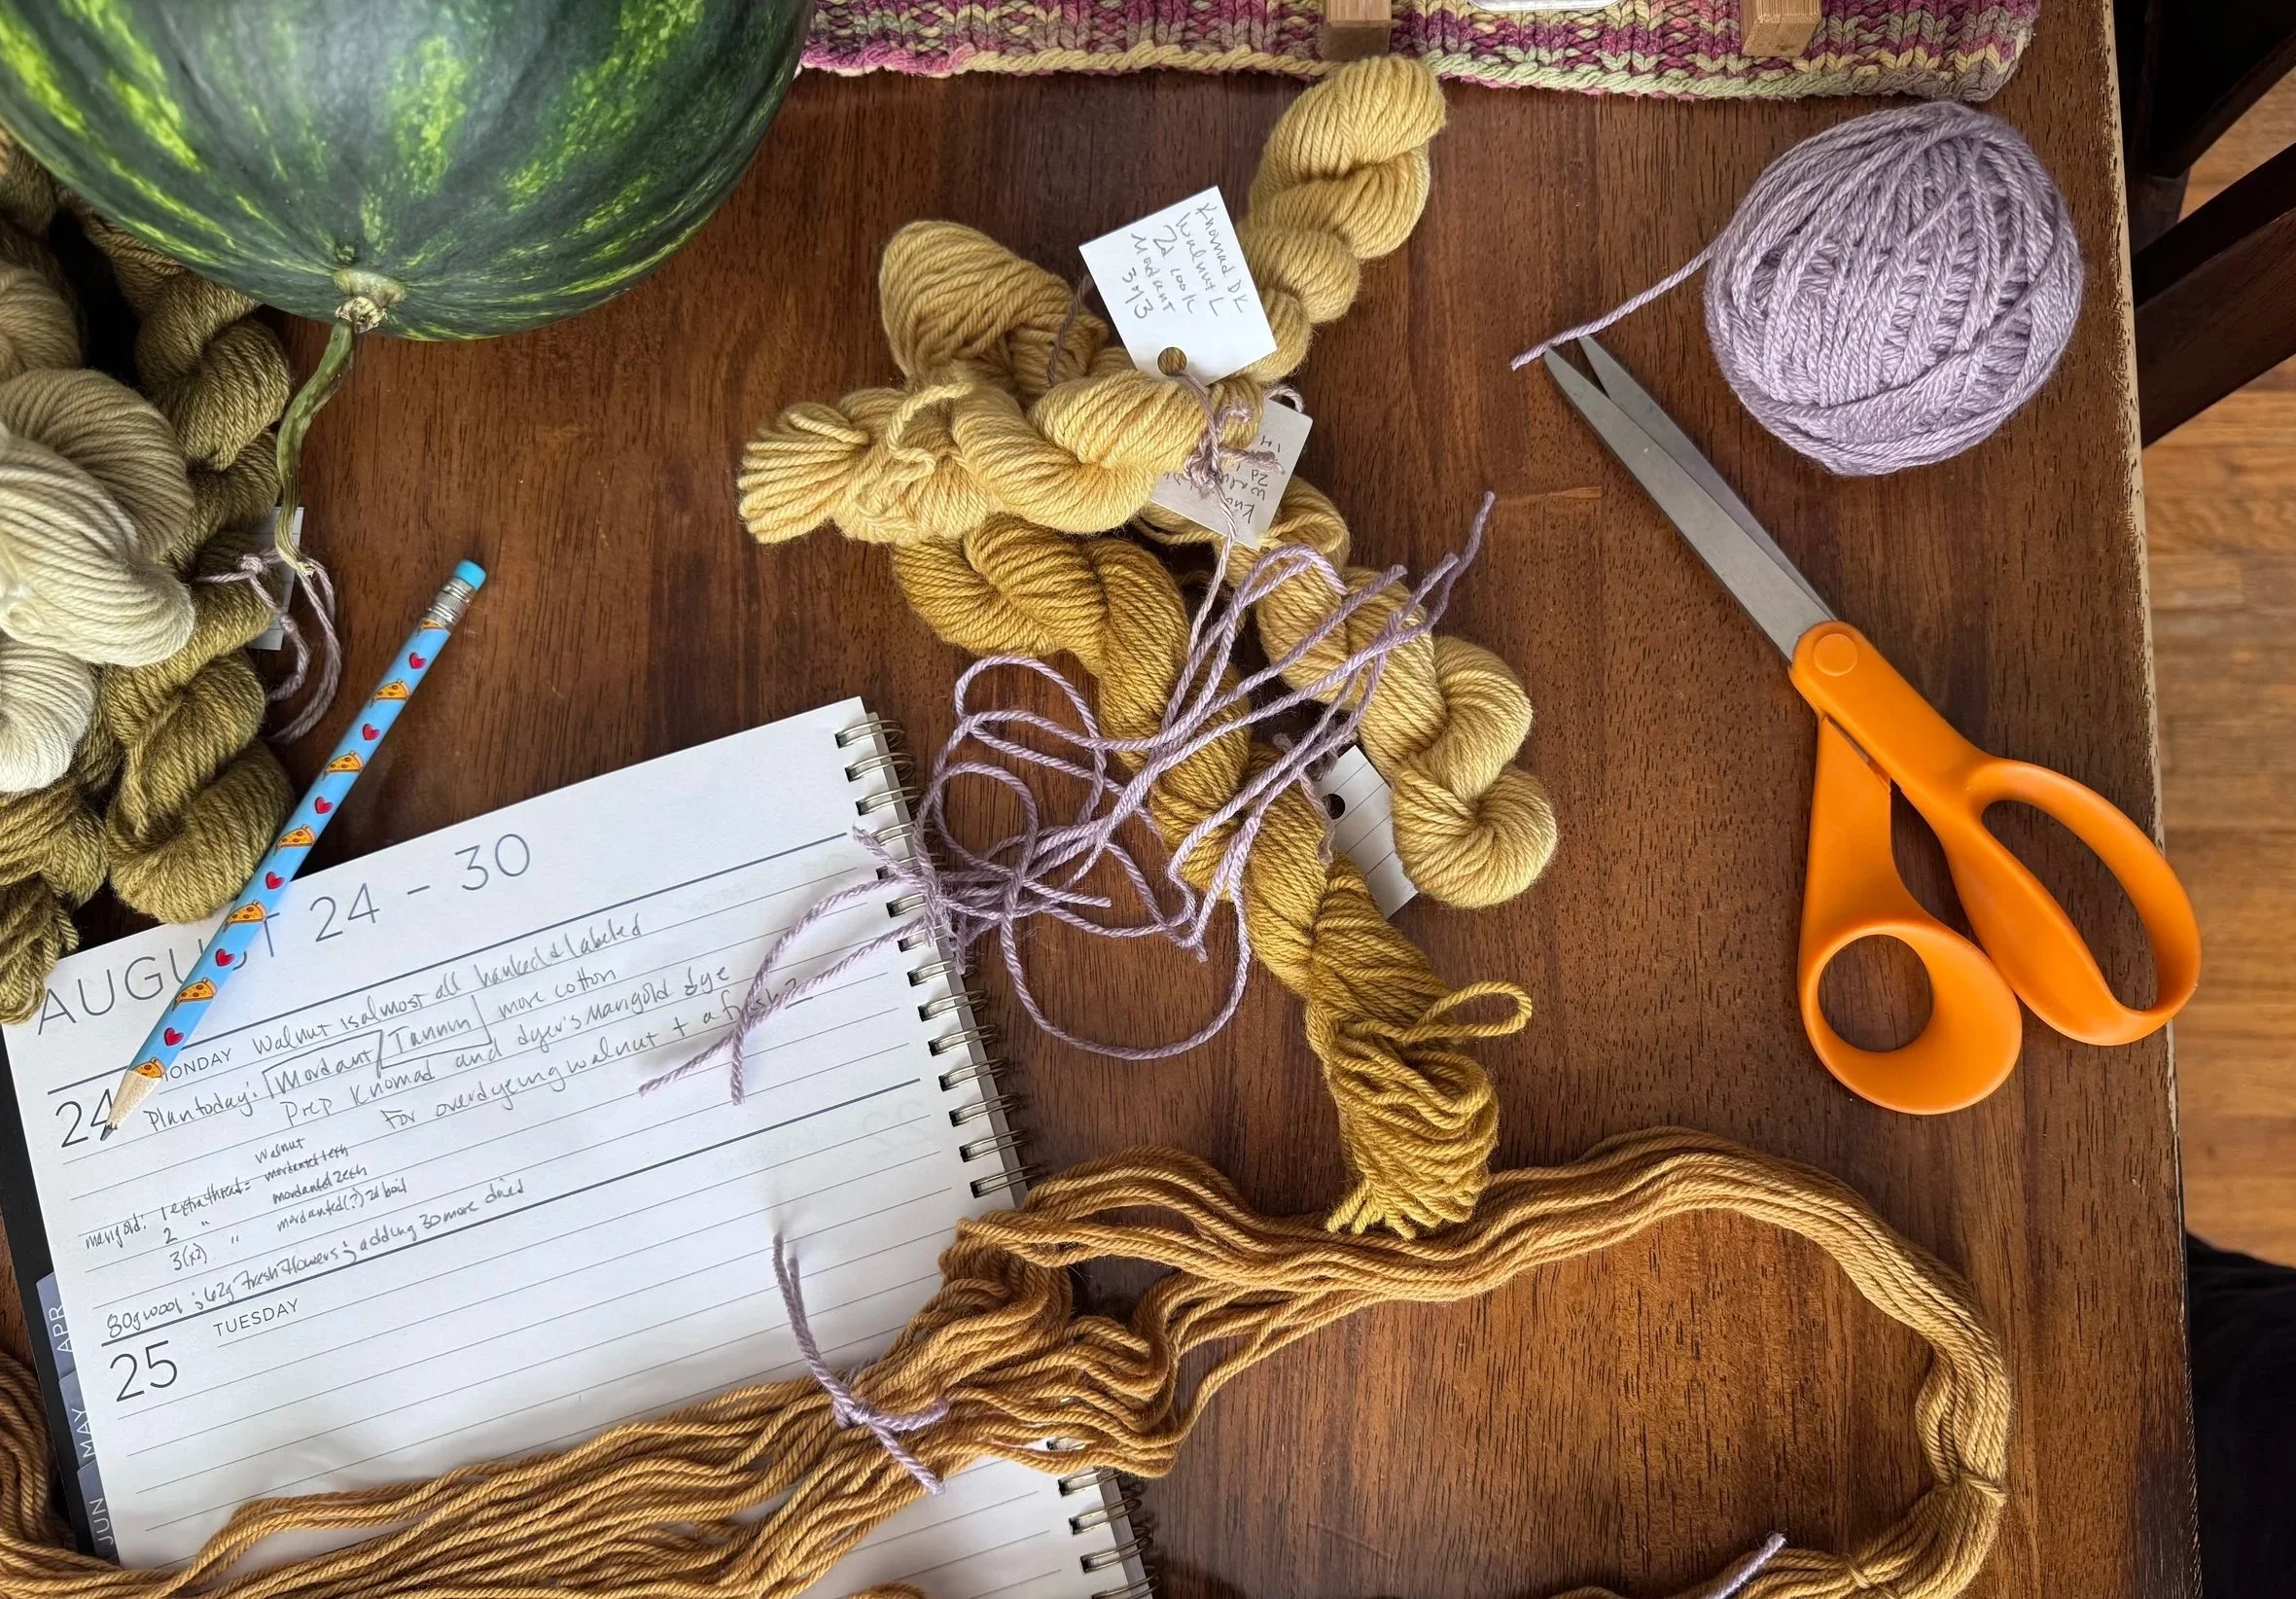
some candidates
Here I have:
1 mordanted hank, 1st exhaust
1 mordanted hank, 2nd exhaust
2 mordanted hanks, 2nd cook of leaves
I plan to overdye these with some dyer’s marigold flowers that I have been collecting for the last month or so.
-
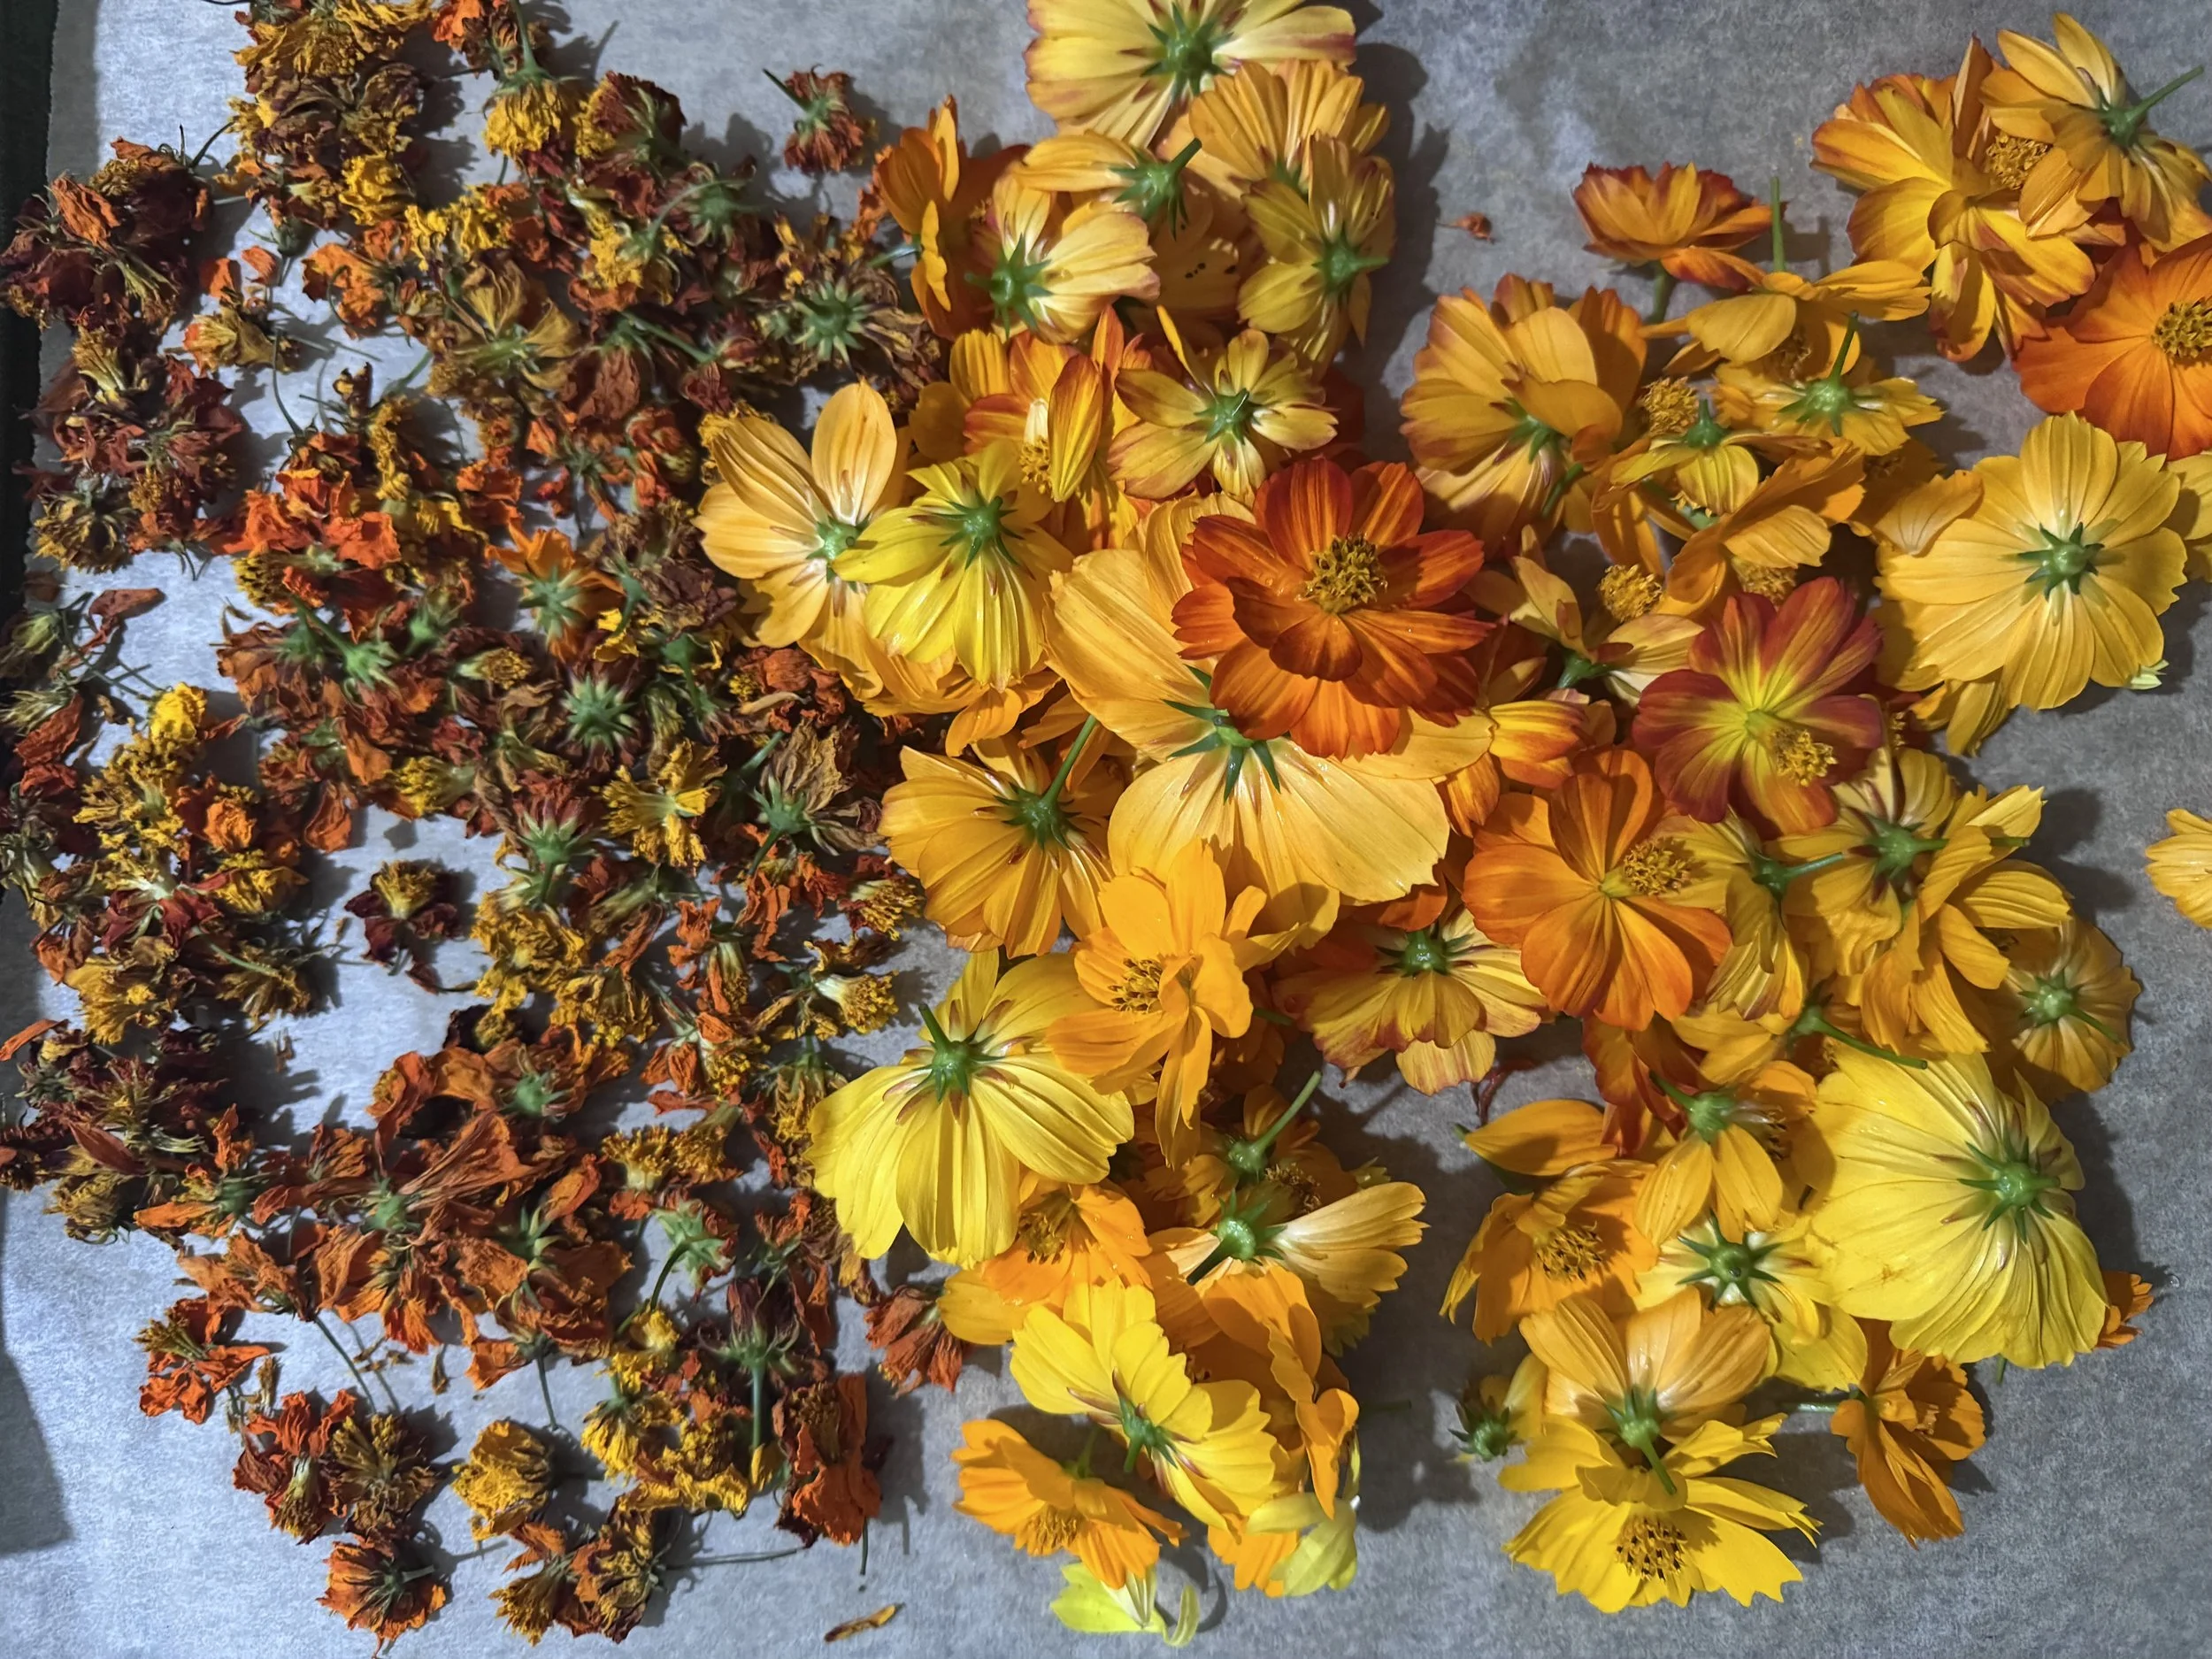
dry and fresh
I pick a bunch of these every couple of days, leaving some for the bees, and let them dry in my basement on parchment paper
-
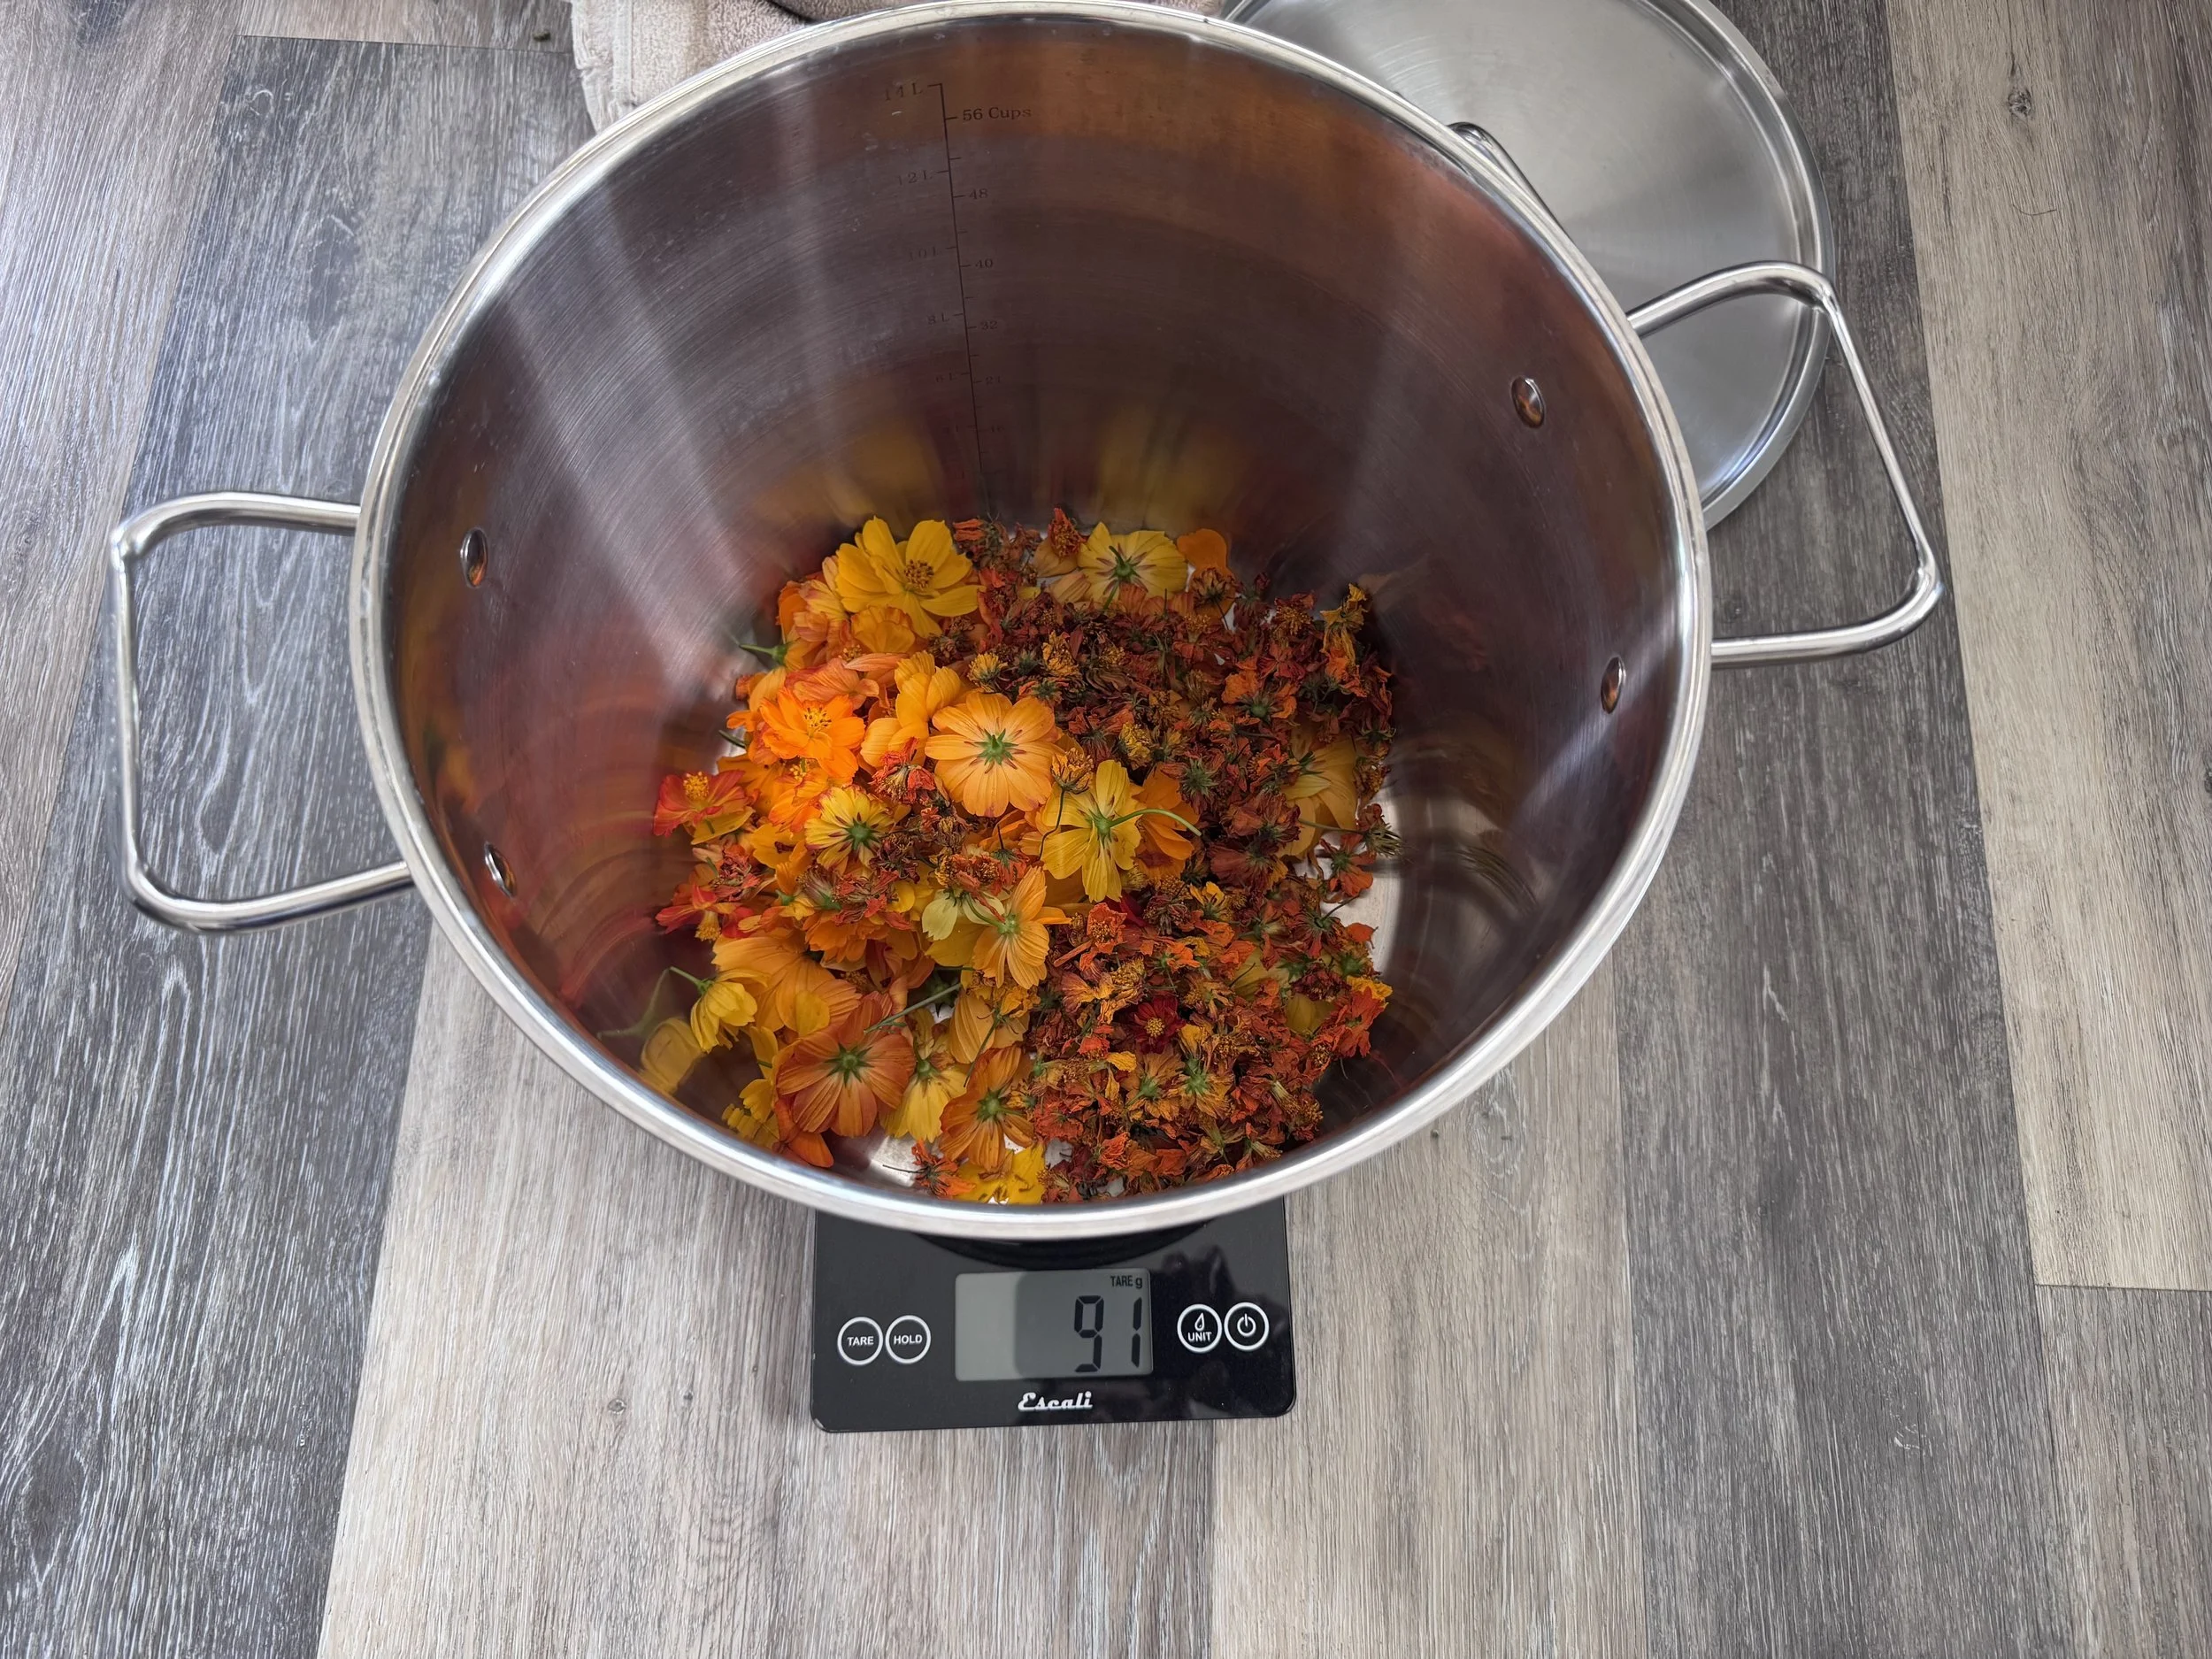
80g of fiber, 91g of dyestuff
I picked about 65g of fresh flowers this morning and then added about 25g more of my dried flowers. They lose a LOT of water weight when they dry, so the dry ones will have a greater concentration of dye.
I have 4 x 20g of fiber, so this will make a quite strong dye. I hope.
-
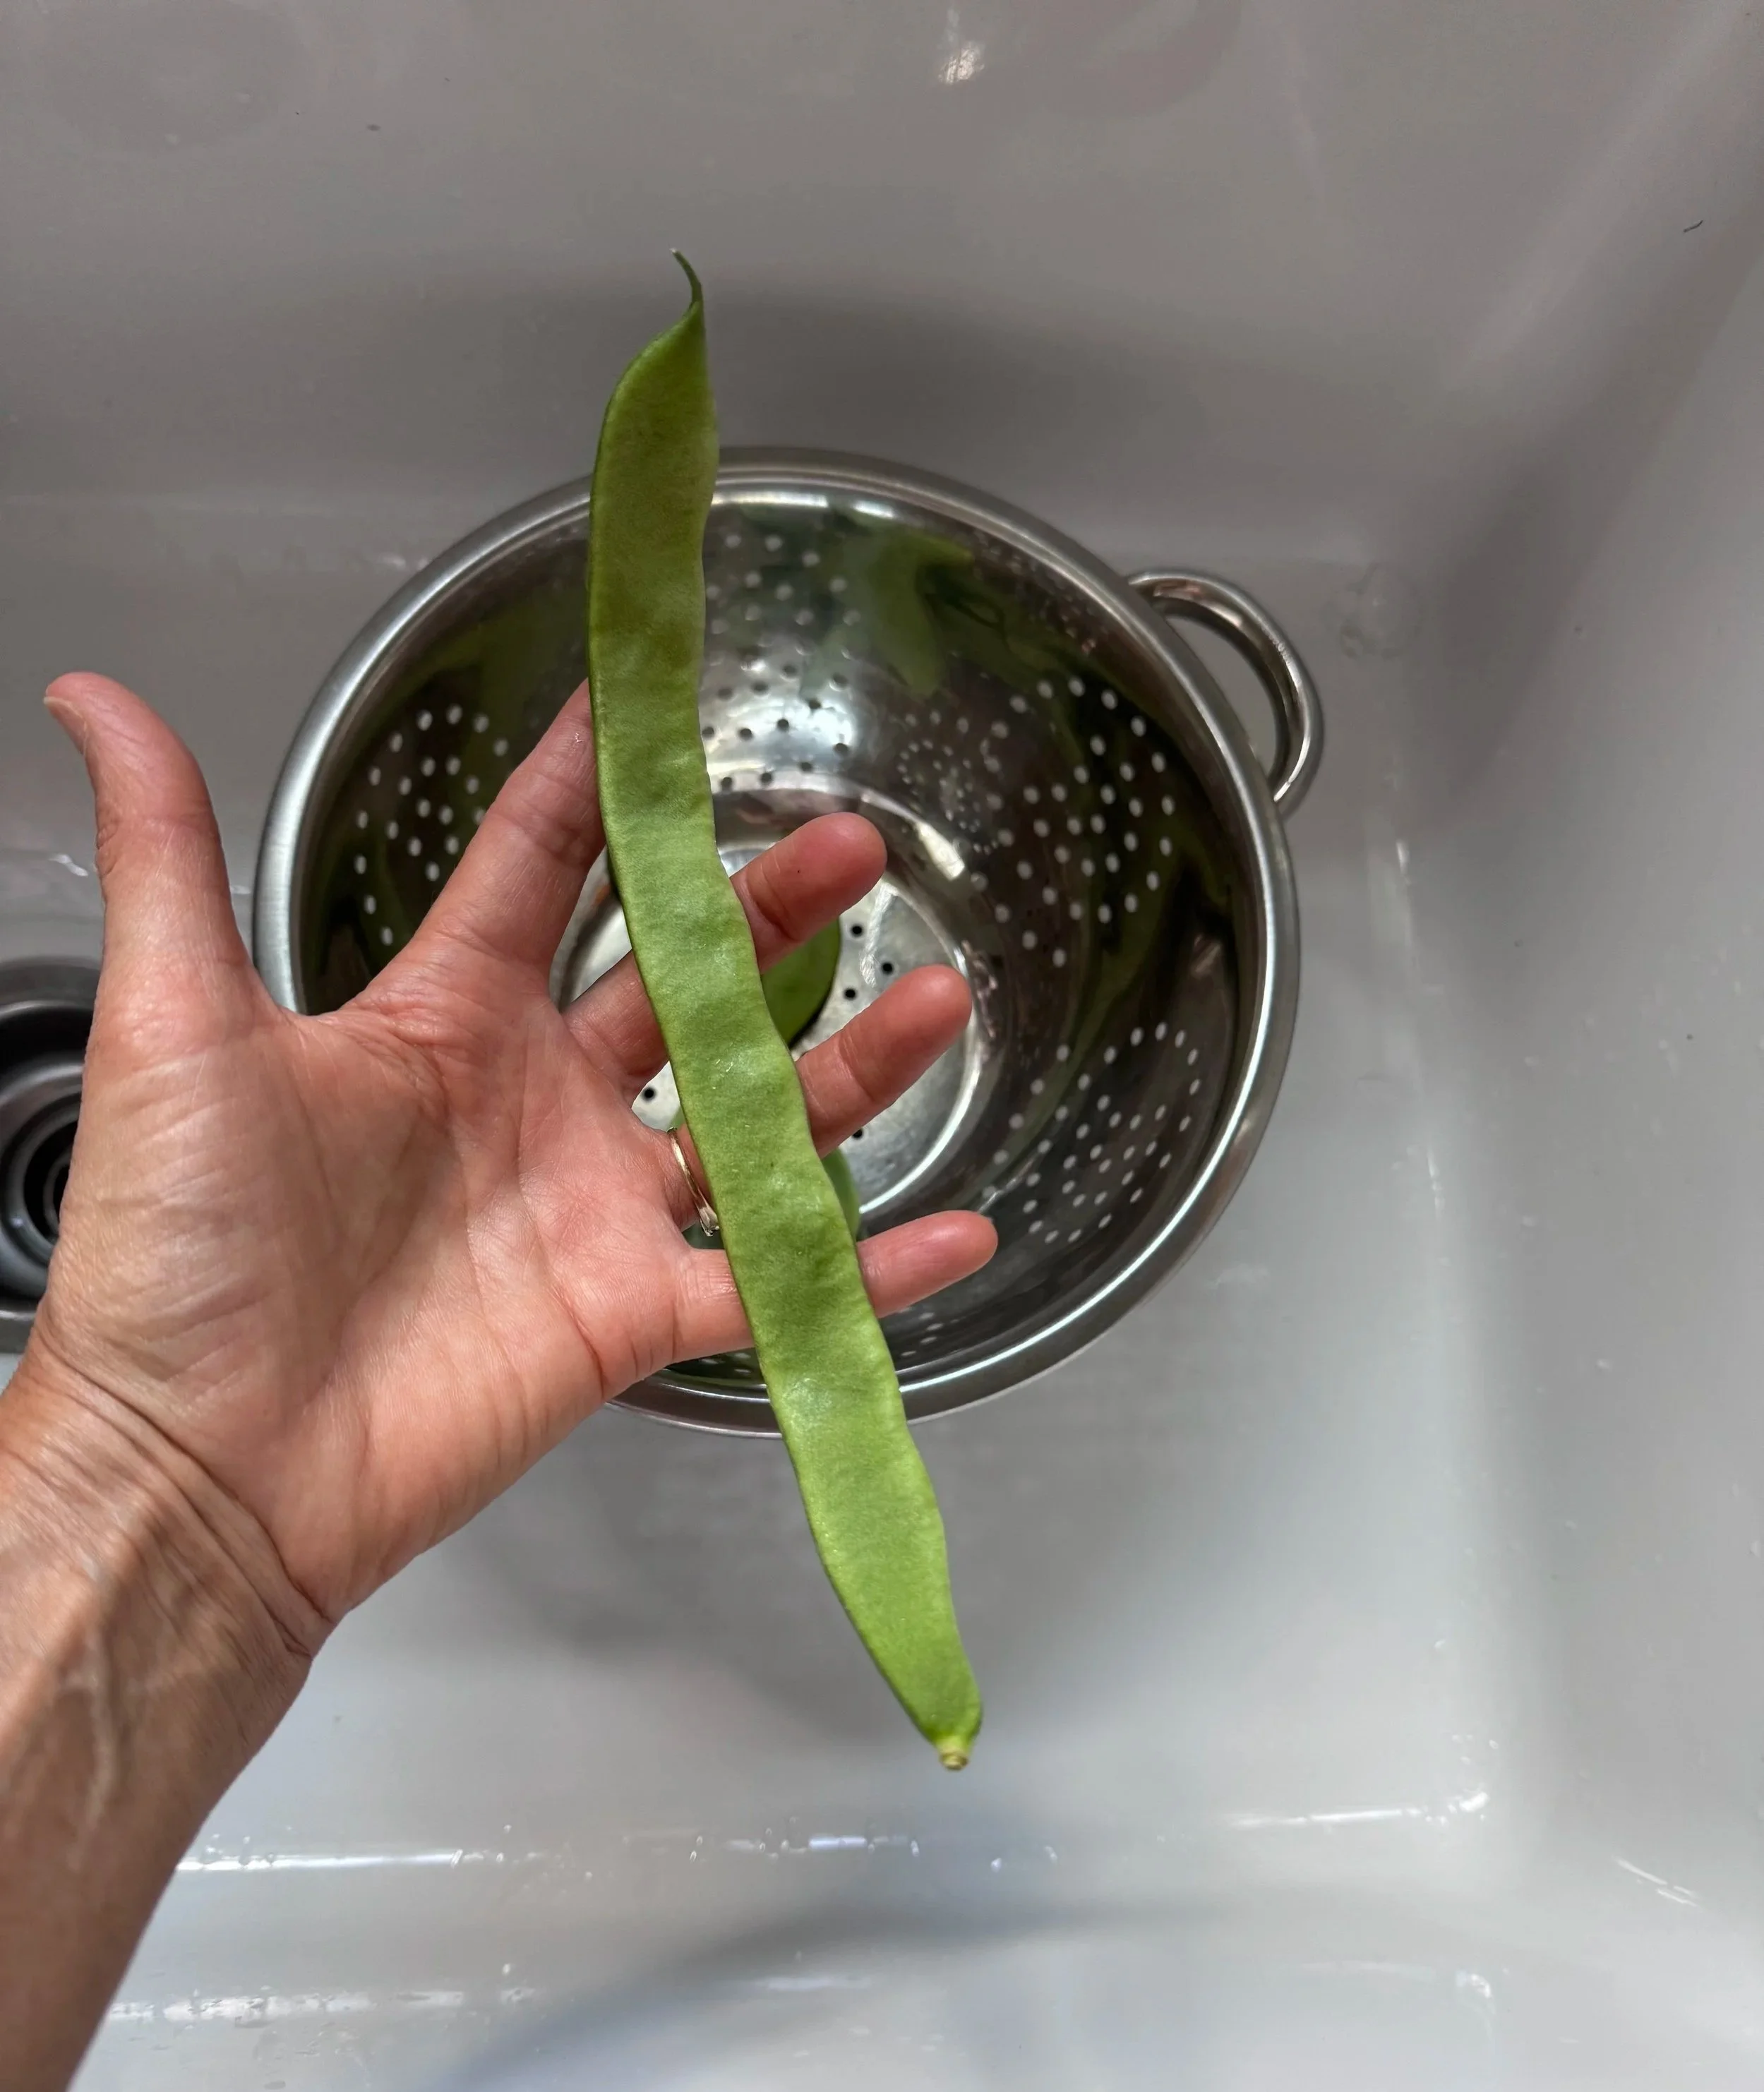
by the bye
Big beans this year.
-
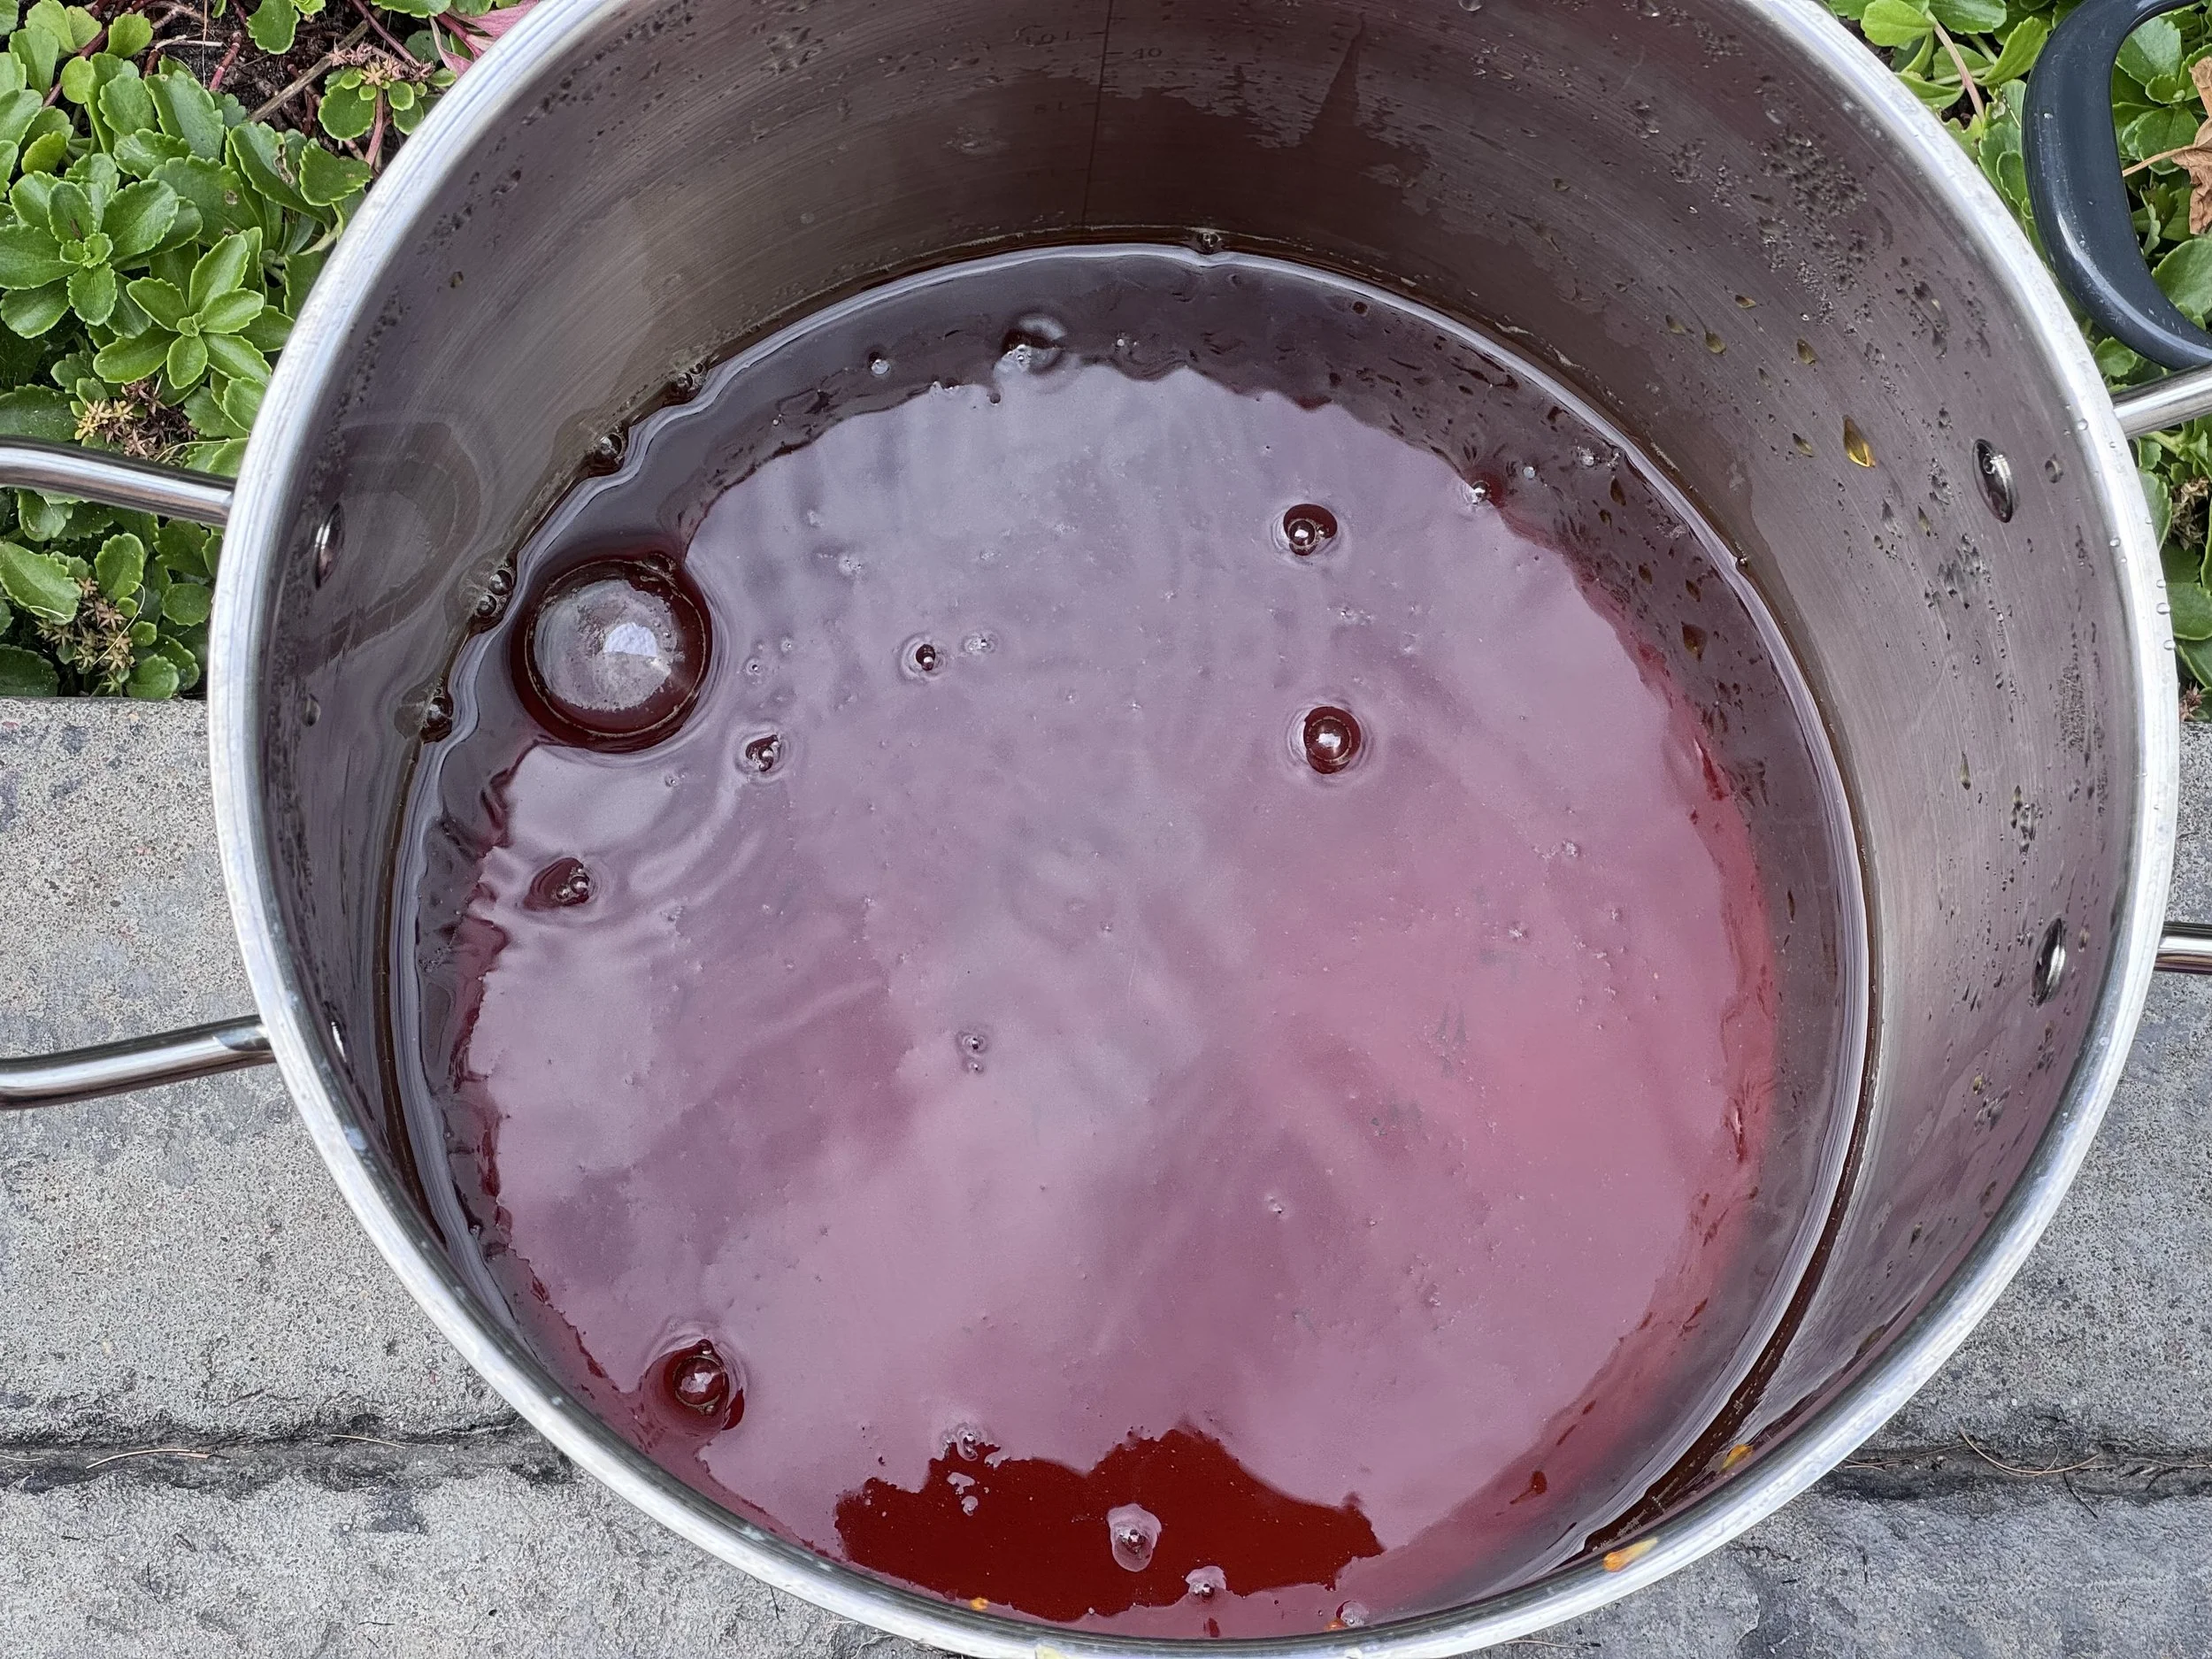
the dye is ready
I heated the flowers to under a simmer for about an hour and then let them sit overnight in the pot, and then I strained them this morning. This looks promising.
-
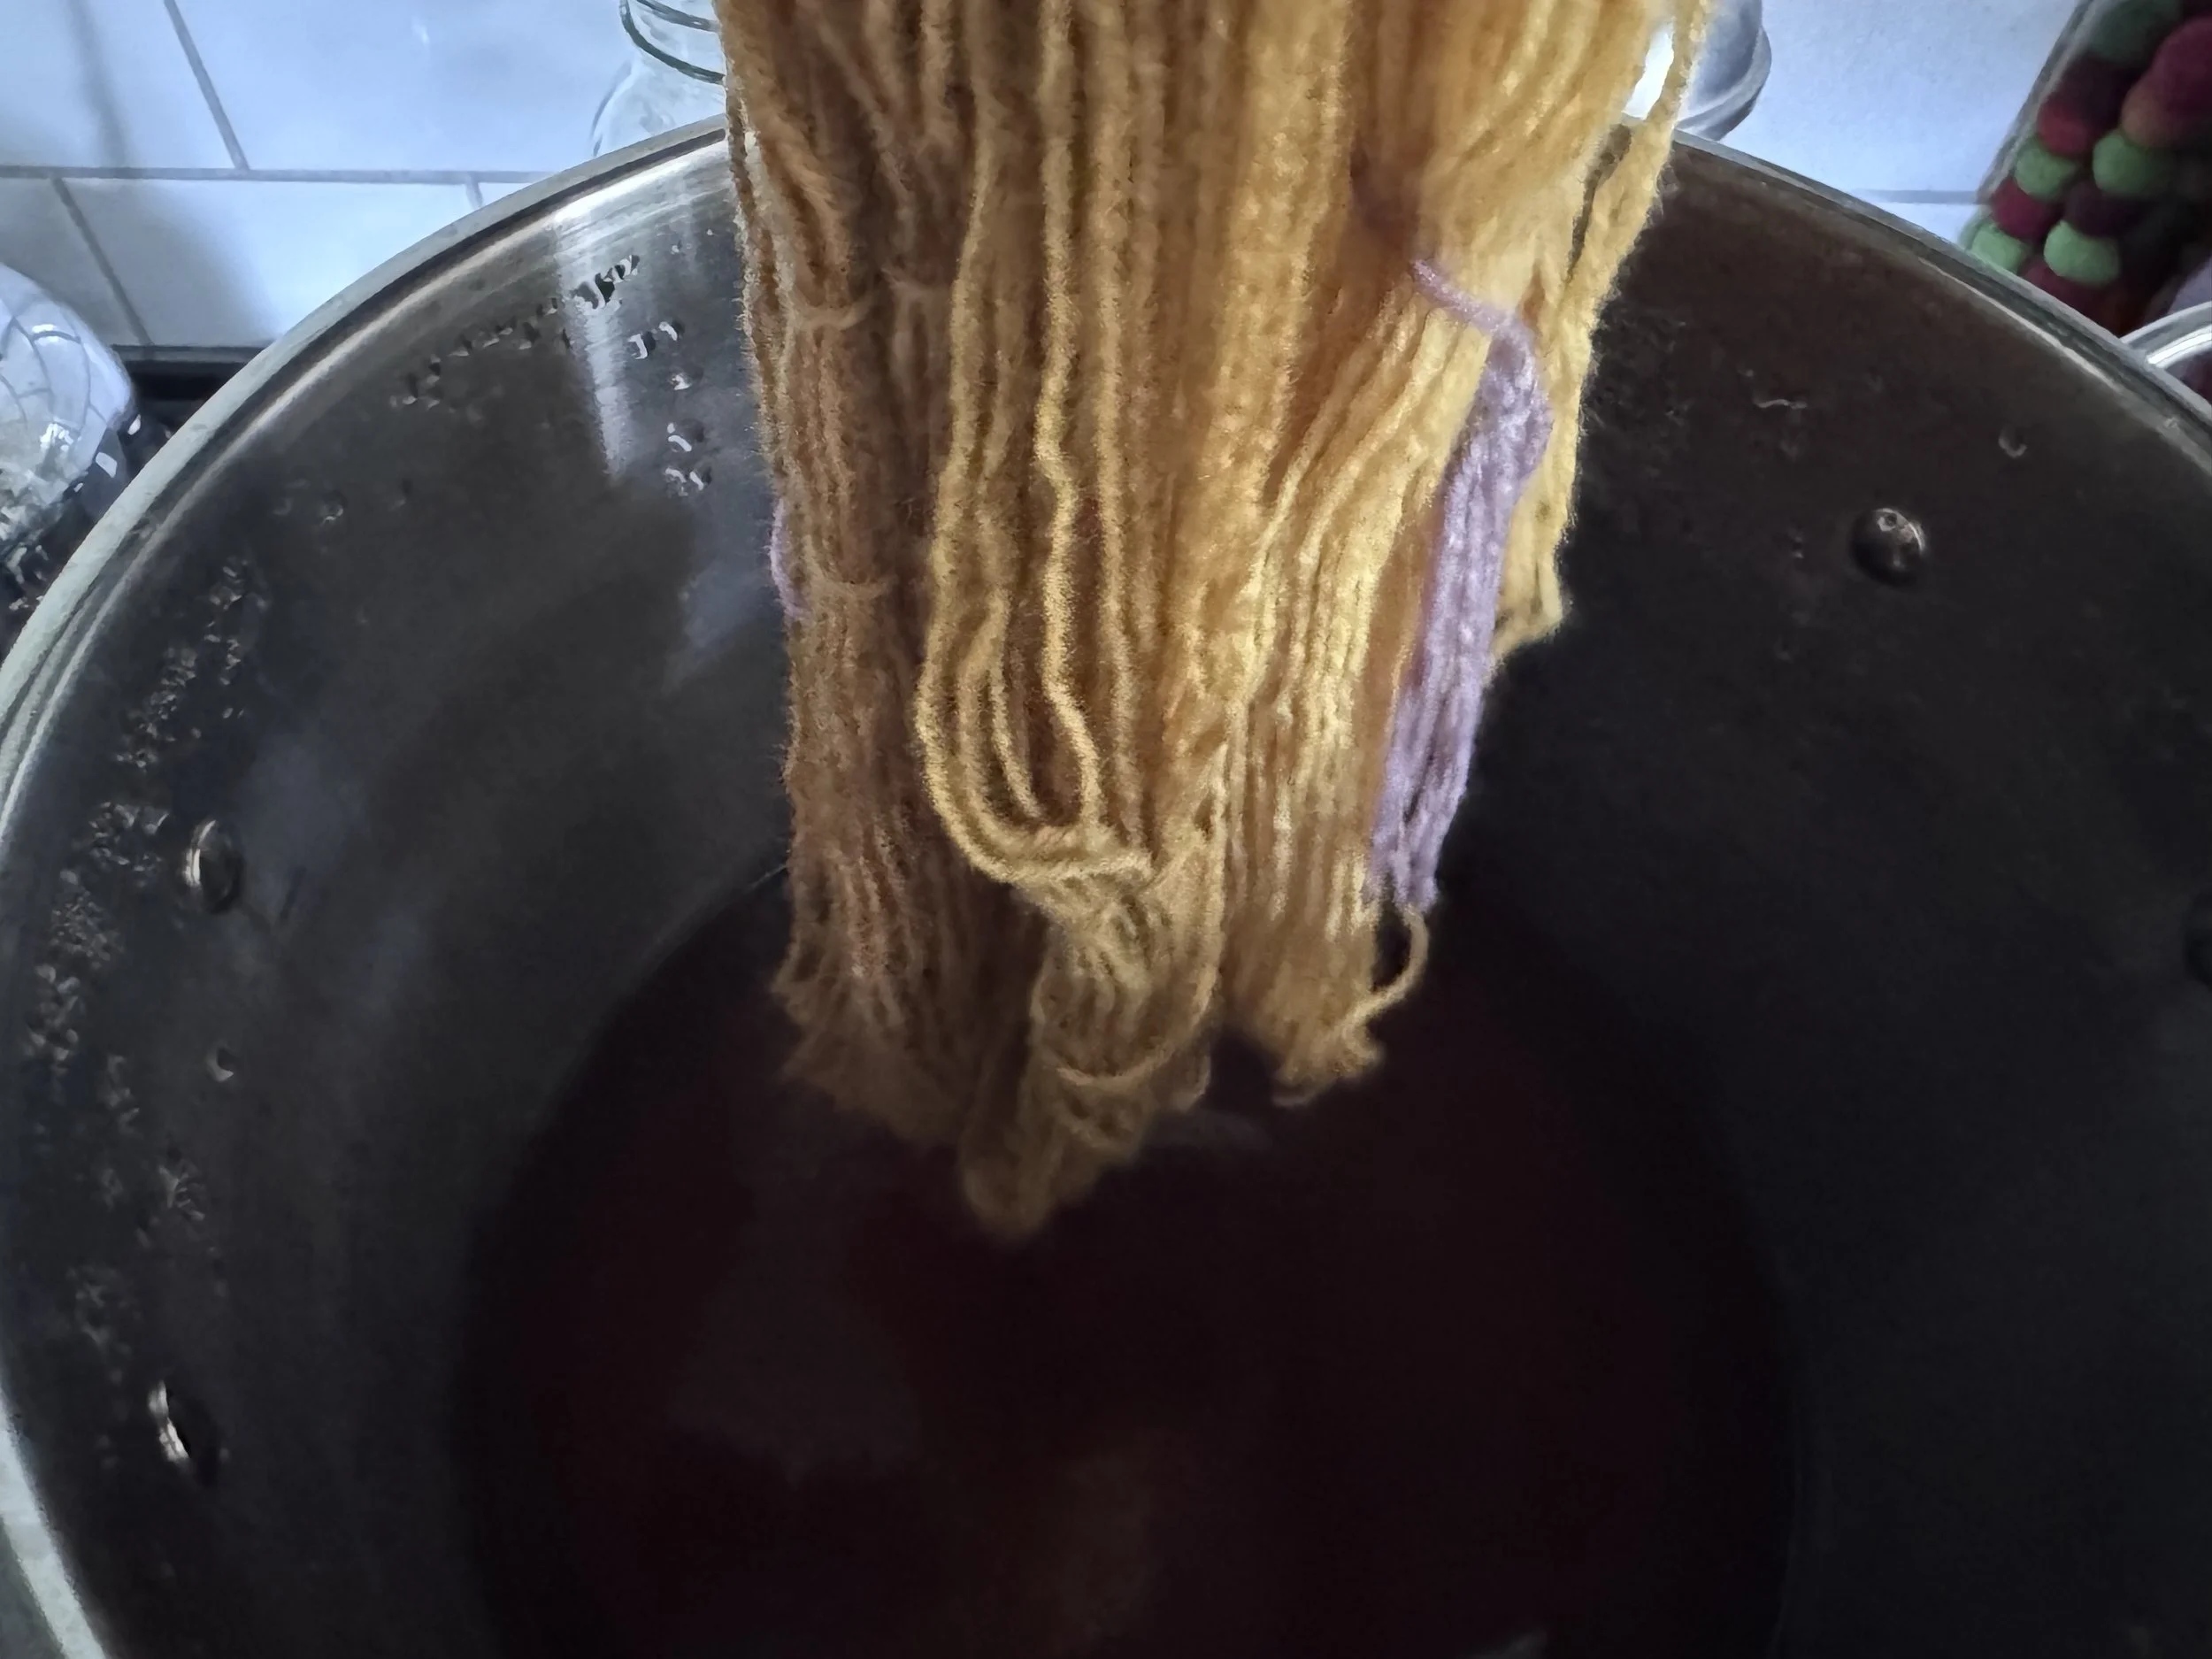
in we go
I will bring it to just under a simmer and let it sit there for an hour or two, and then let it soak overnight.
-
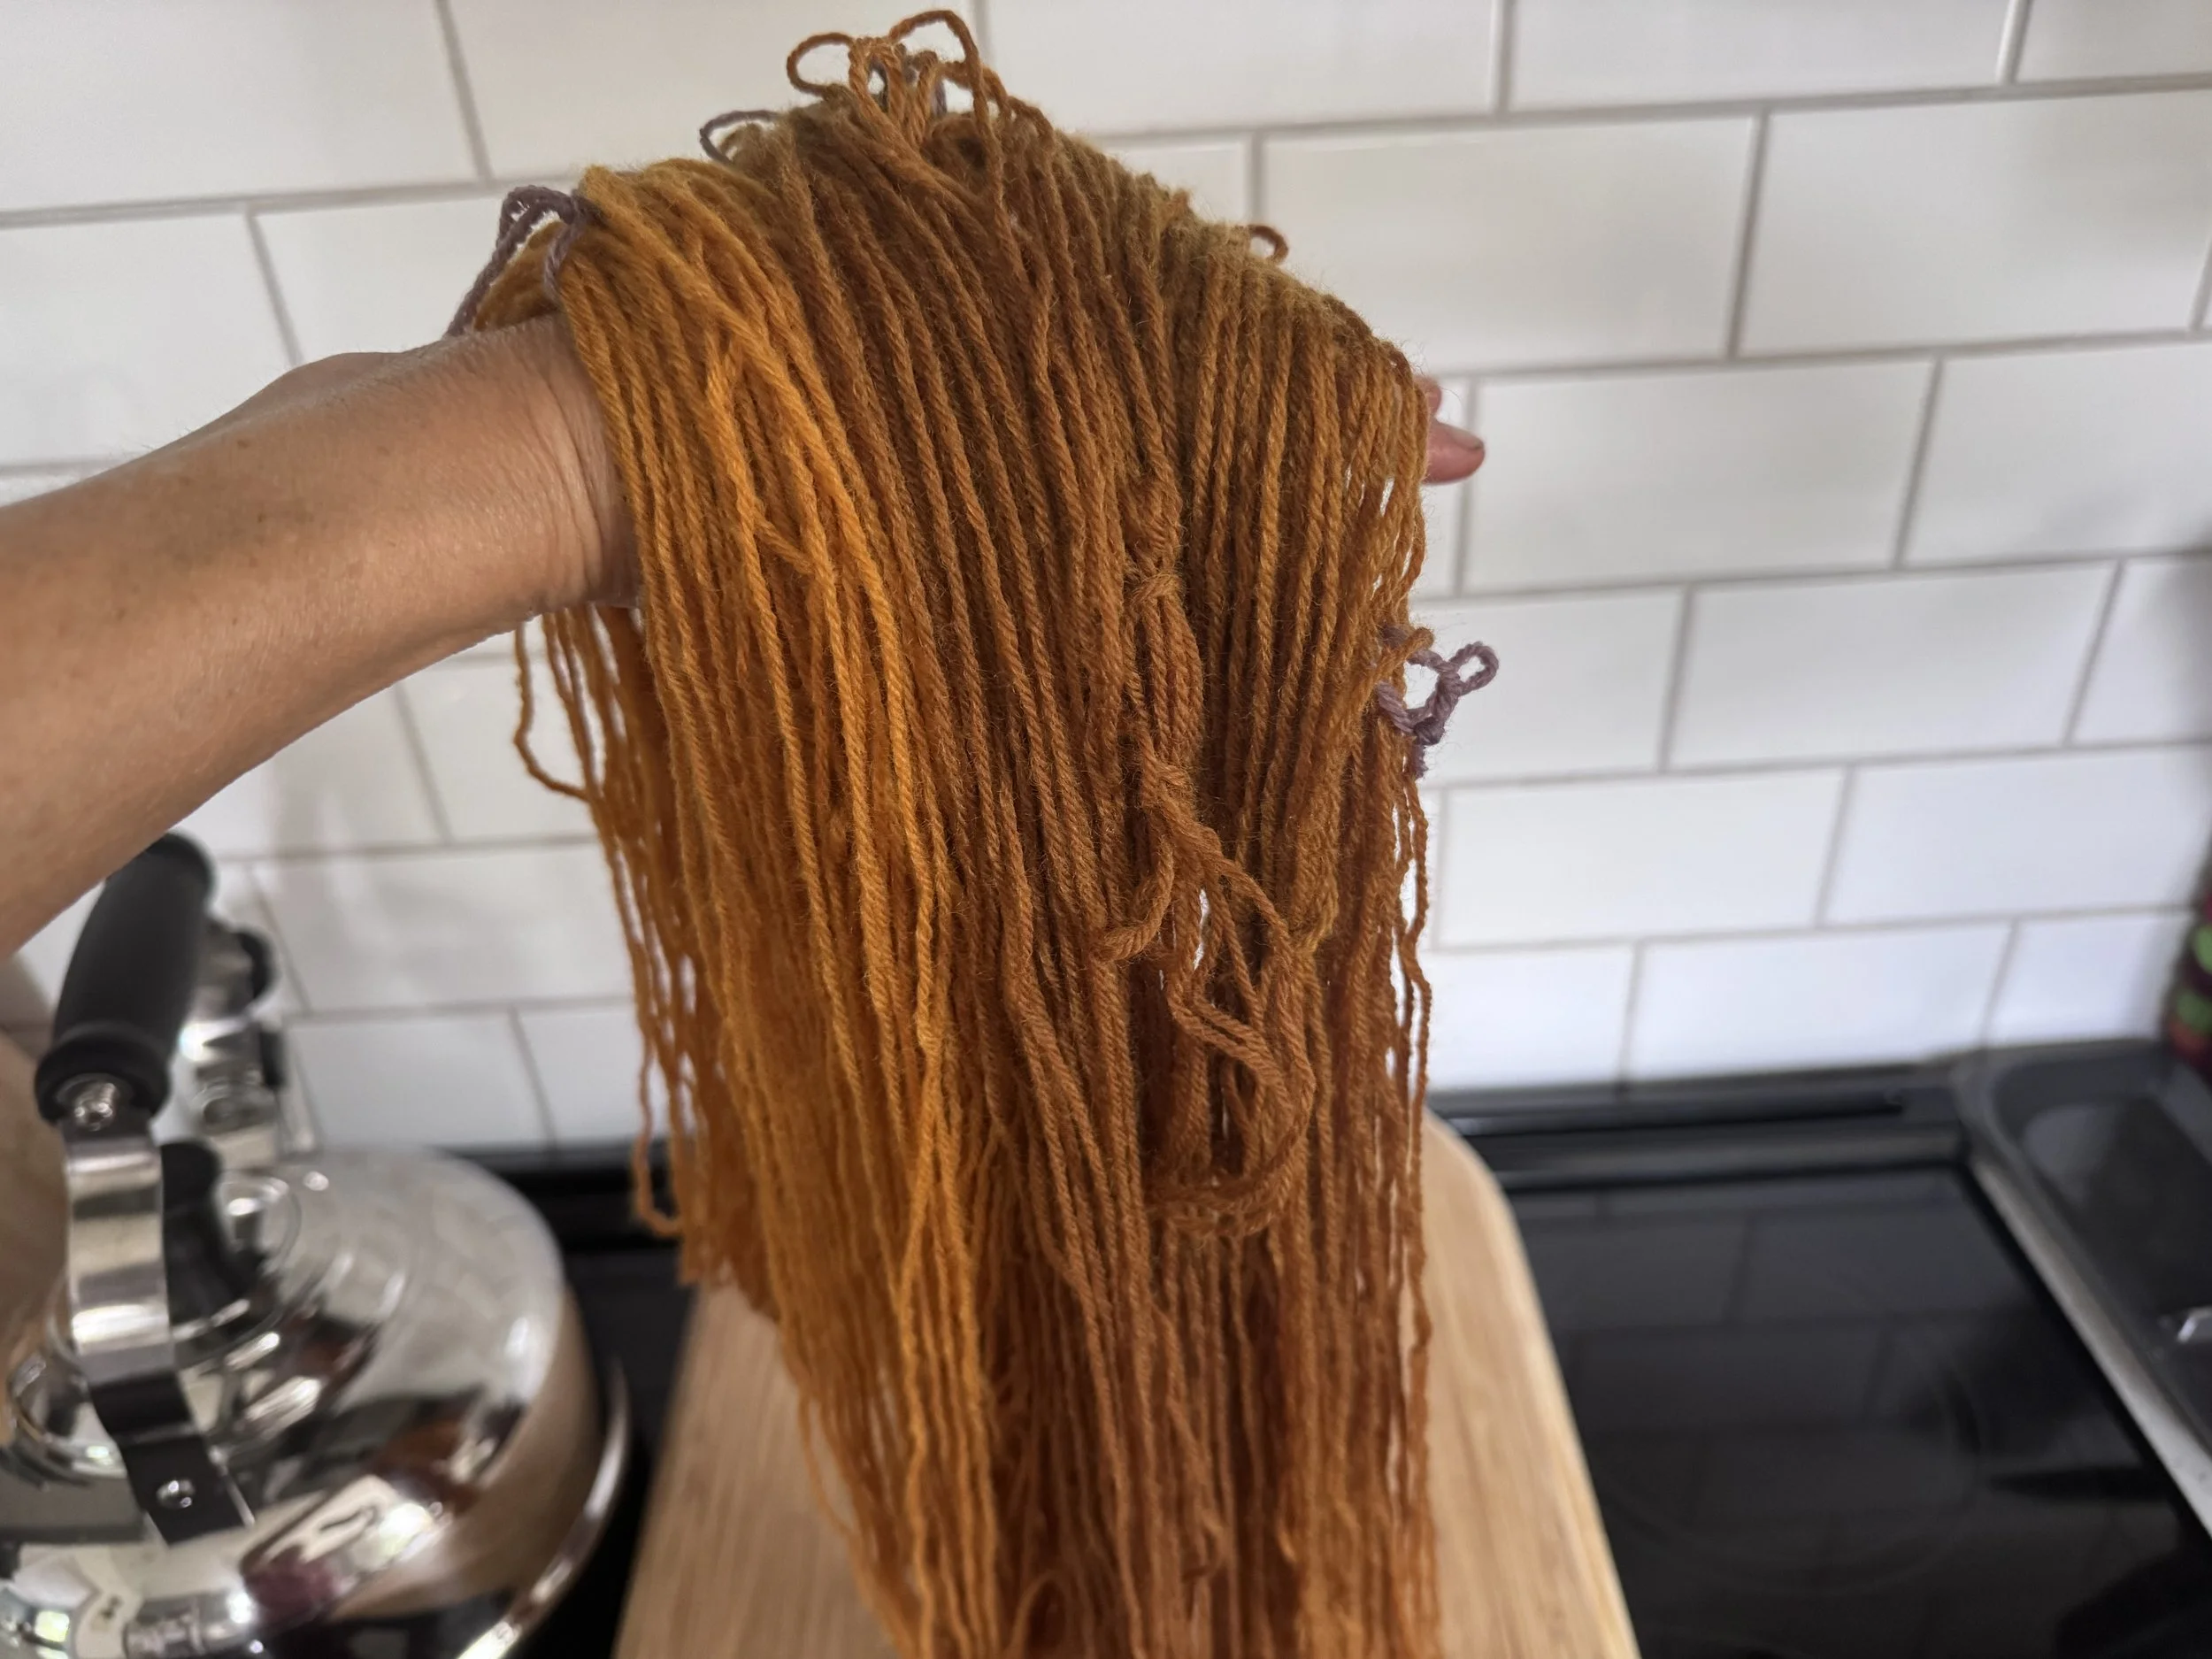
vibrant!
It will probably lose some of its color in the rinsing, but it looks good.
-
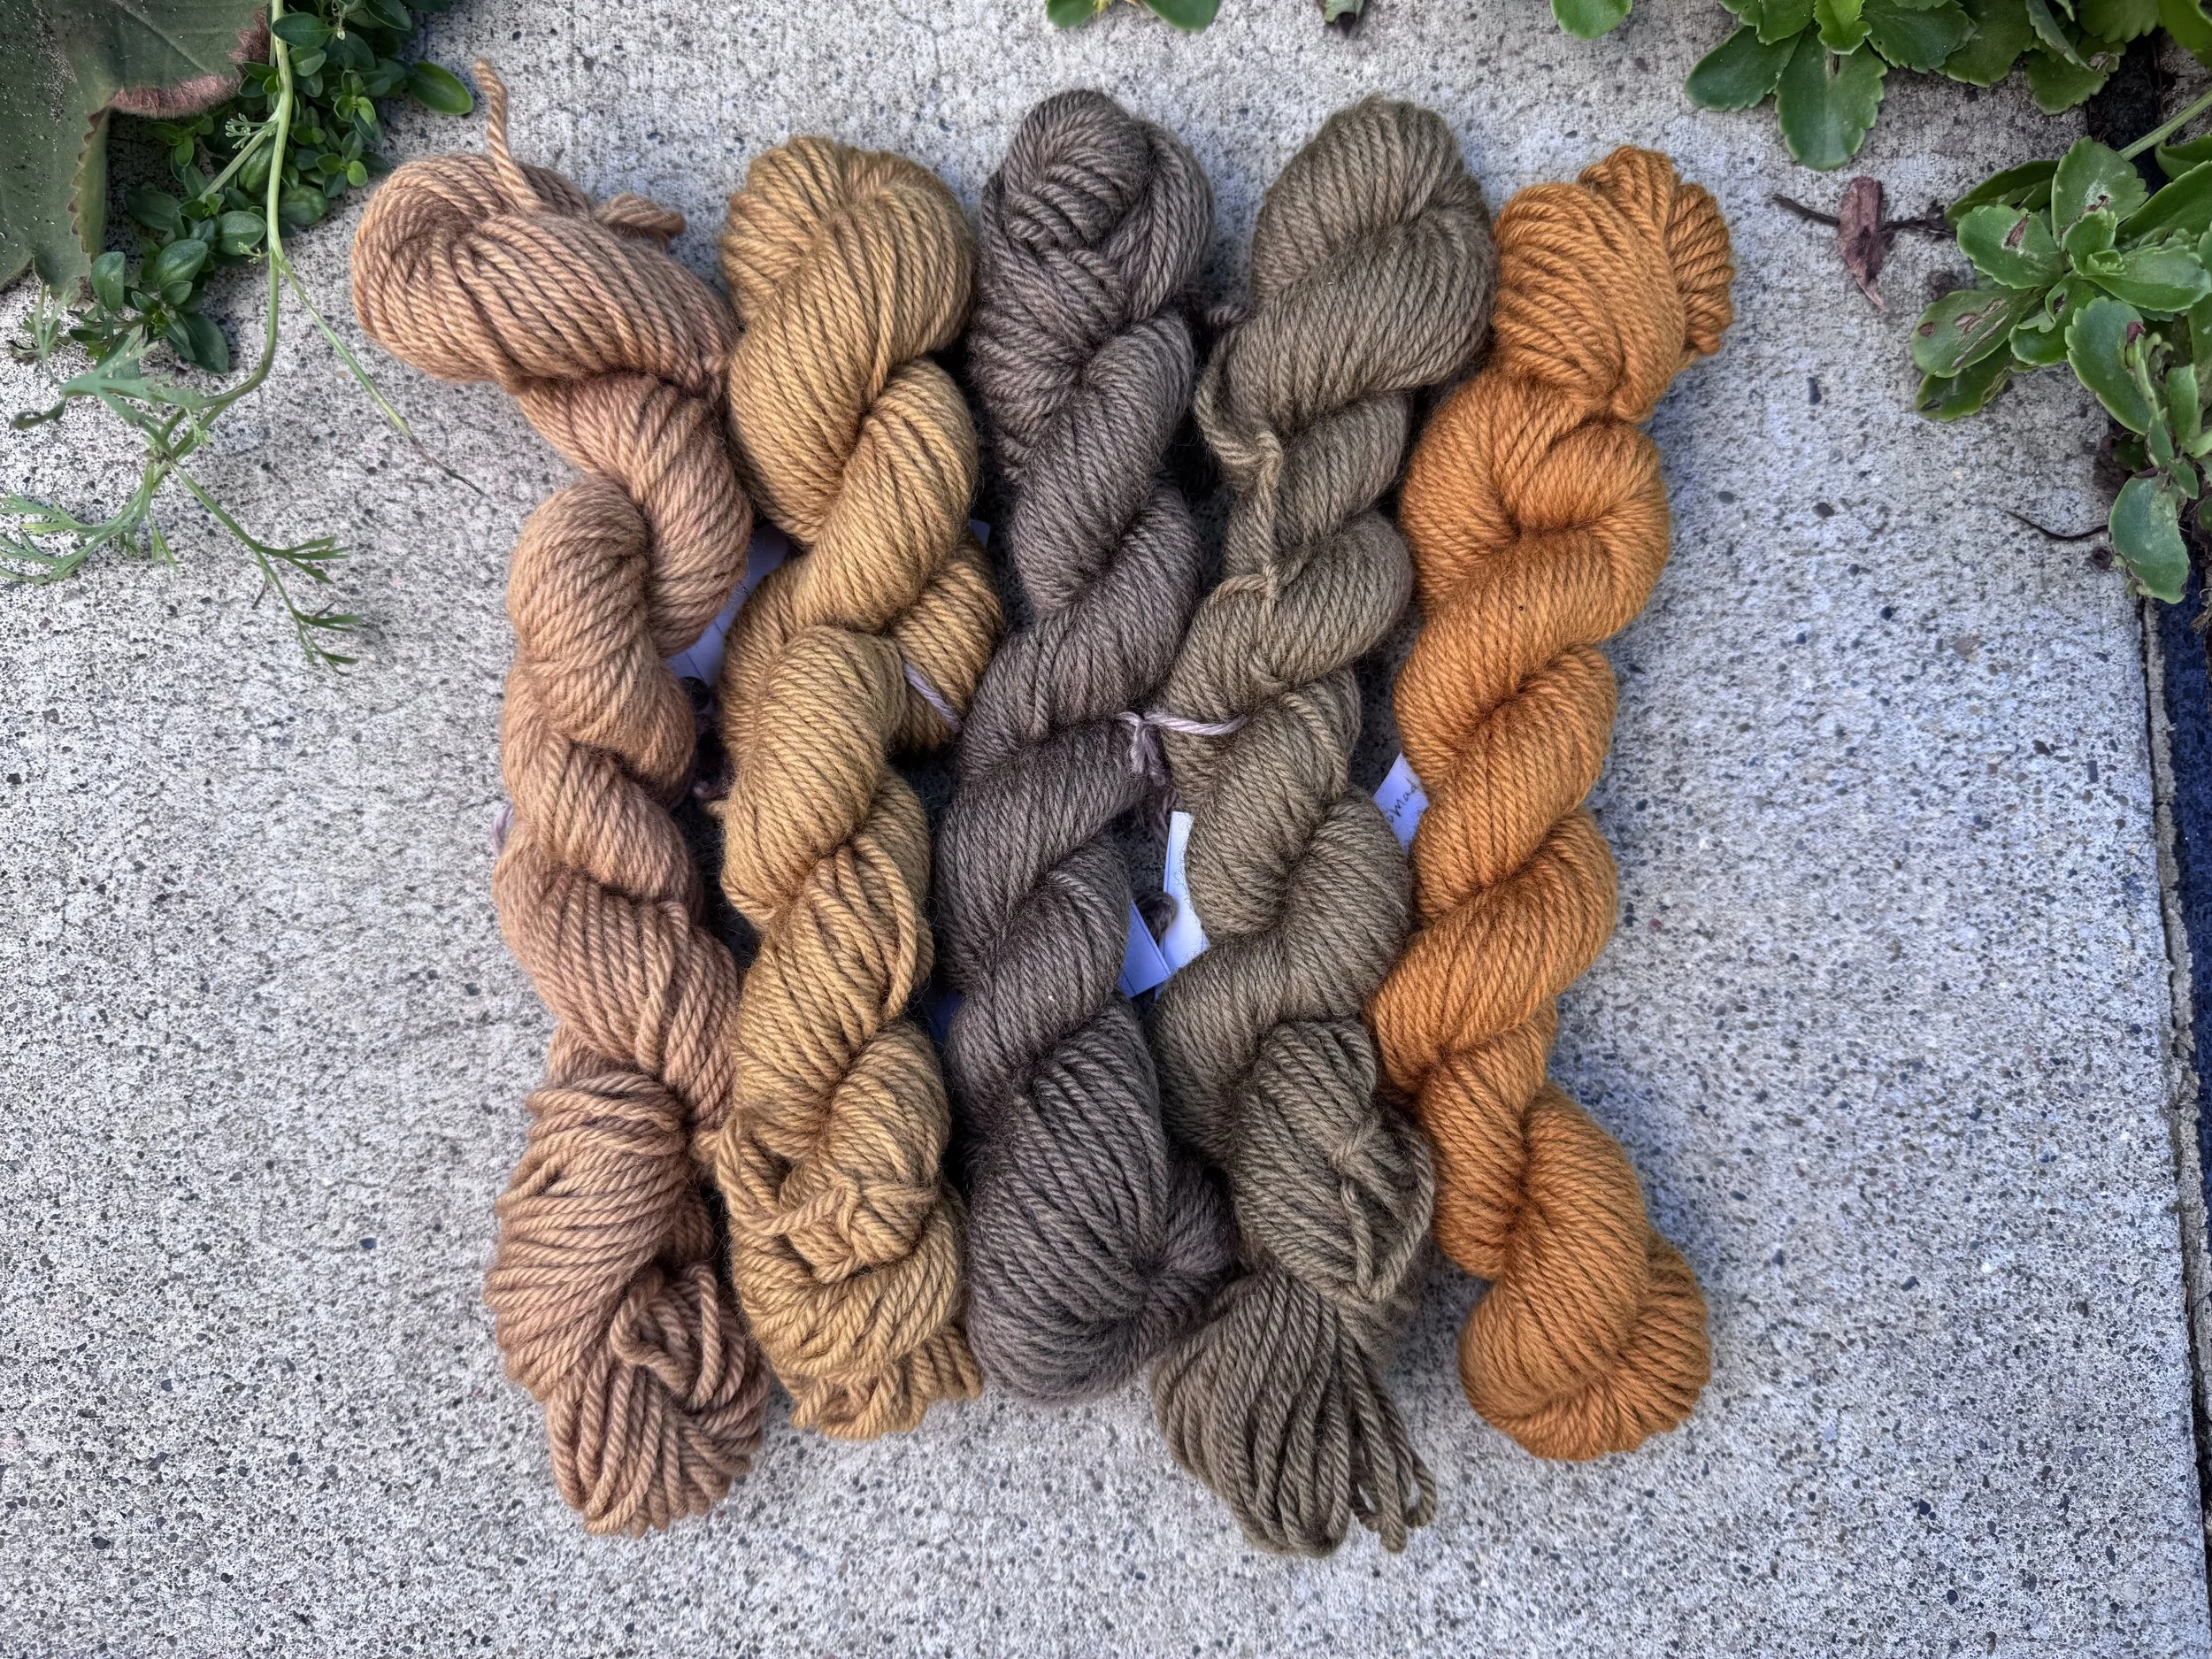
taking stock: first exhaust
These are the colors I got from (left to right):
1) no mordant; 2) alum mordanted; 3) no mordant plus iron; 4) alum mordanted plus iron; 5) alum mordanted plus marigold
-
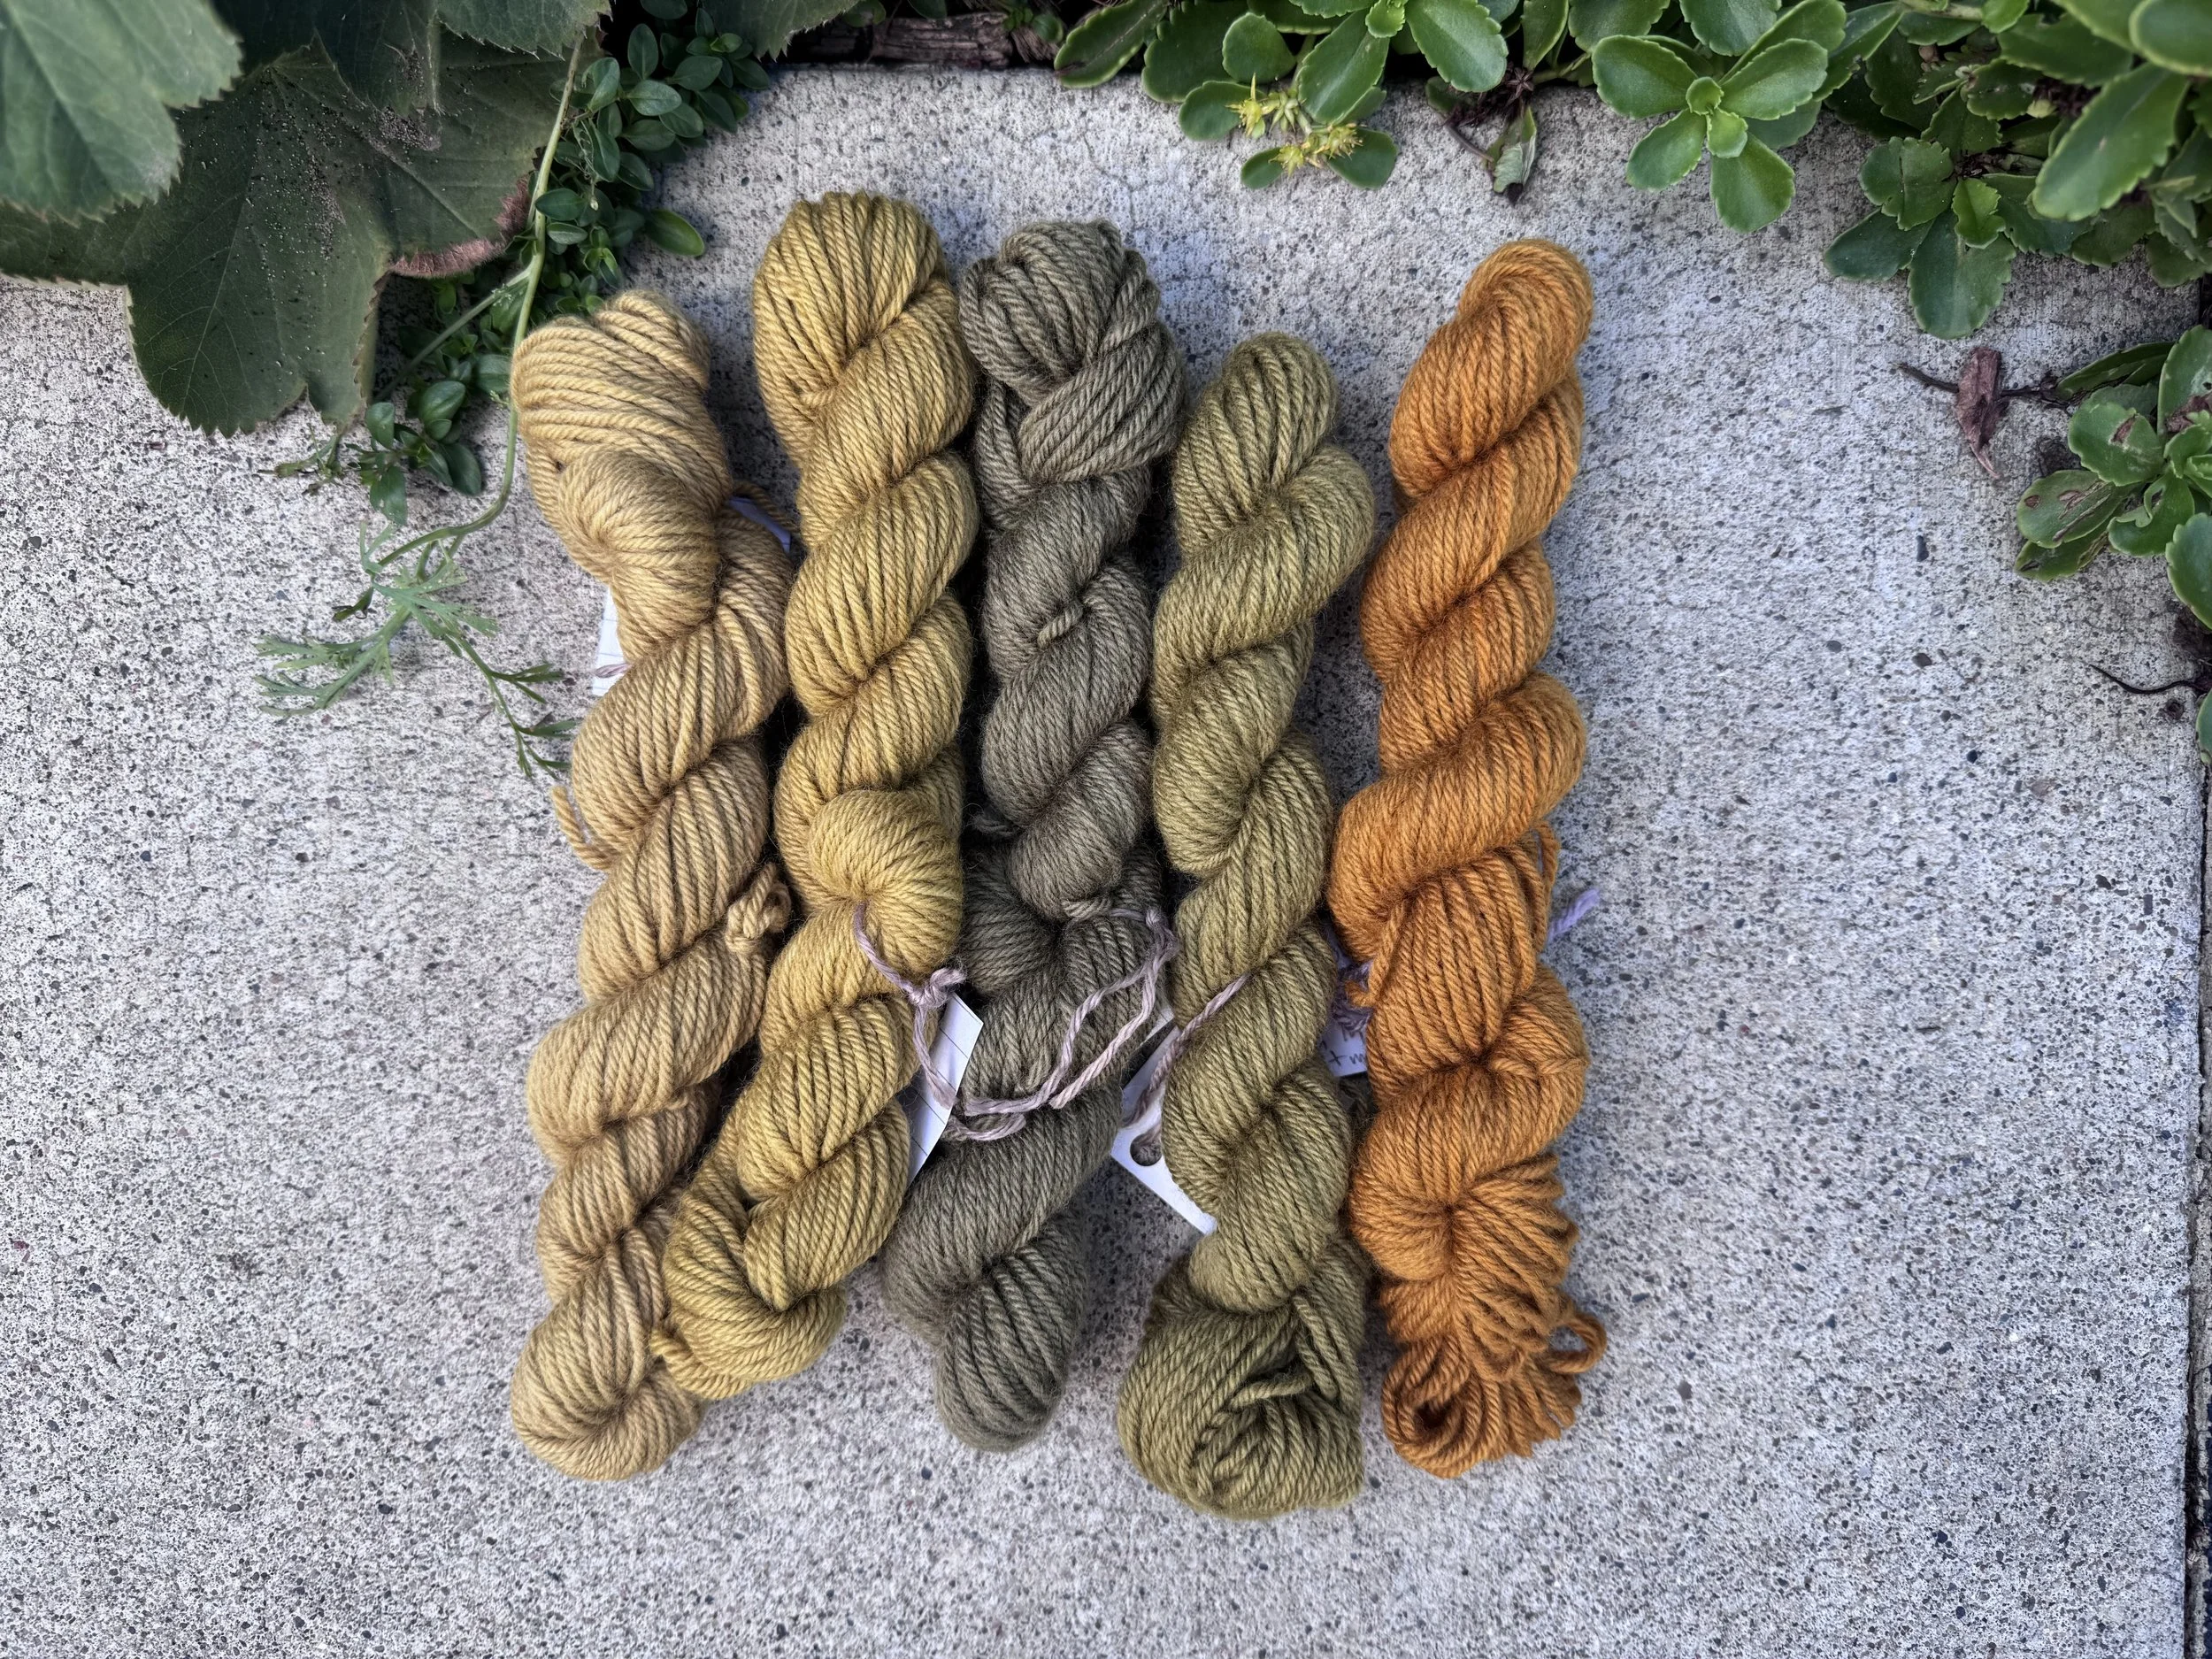
second exhaust
left to right:
1) no mordant; 2) alum mordanted; 3) no mordant plus iron; 4) alum mordanted plus iron; 5) alum mordanted plus marigold
-
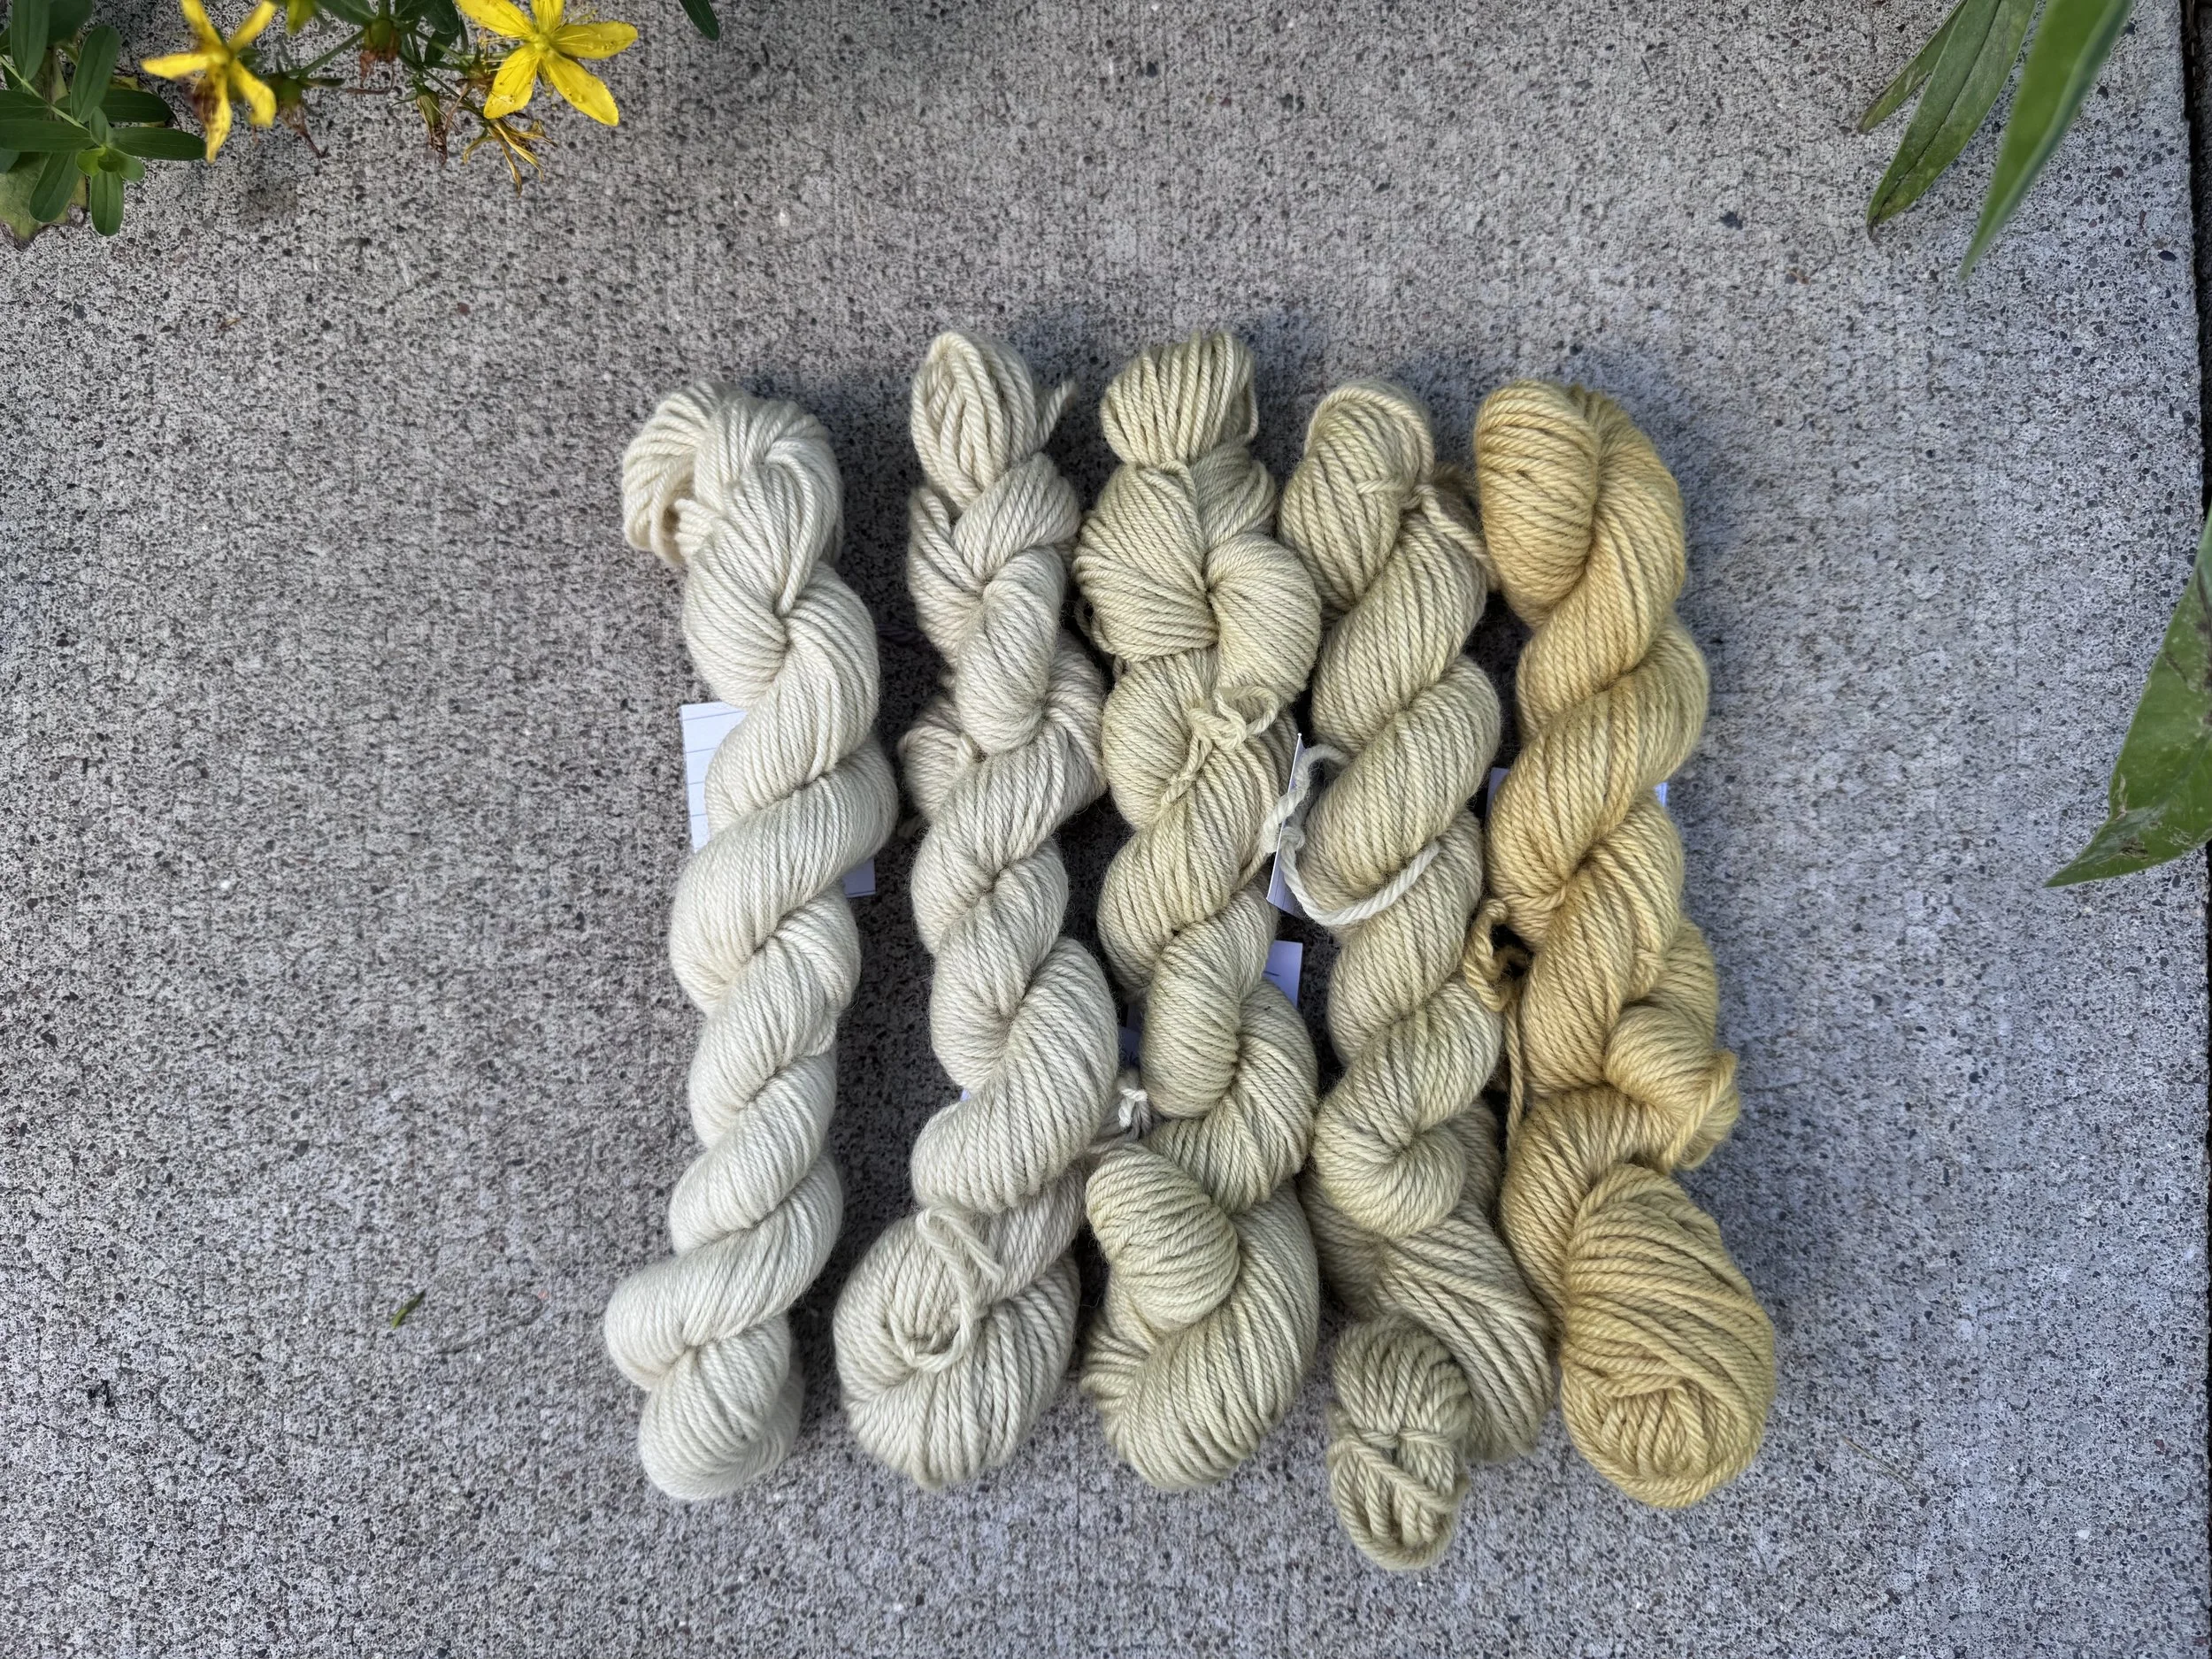
third exhaust
All alum mordanted; left to right:
1) 30 minutes; 2) 1 hr; 3) 1.5 hr) 4: 2 hr; 5) 16 hr.
The last hank turned quite yellow after it was rinsed and dried, maybe because I kept it in the pot overnight and not for just a few hours?
-
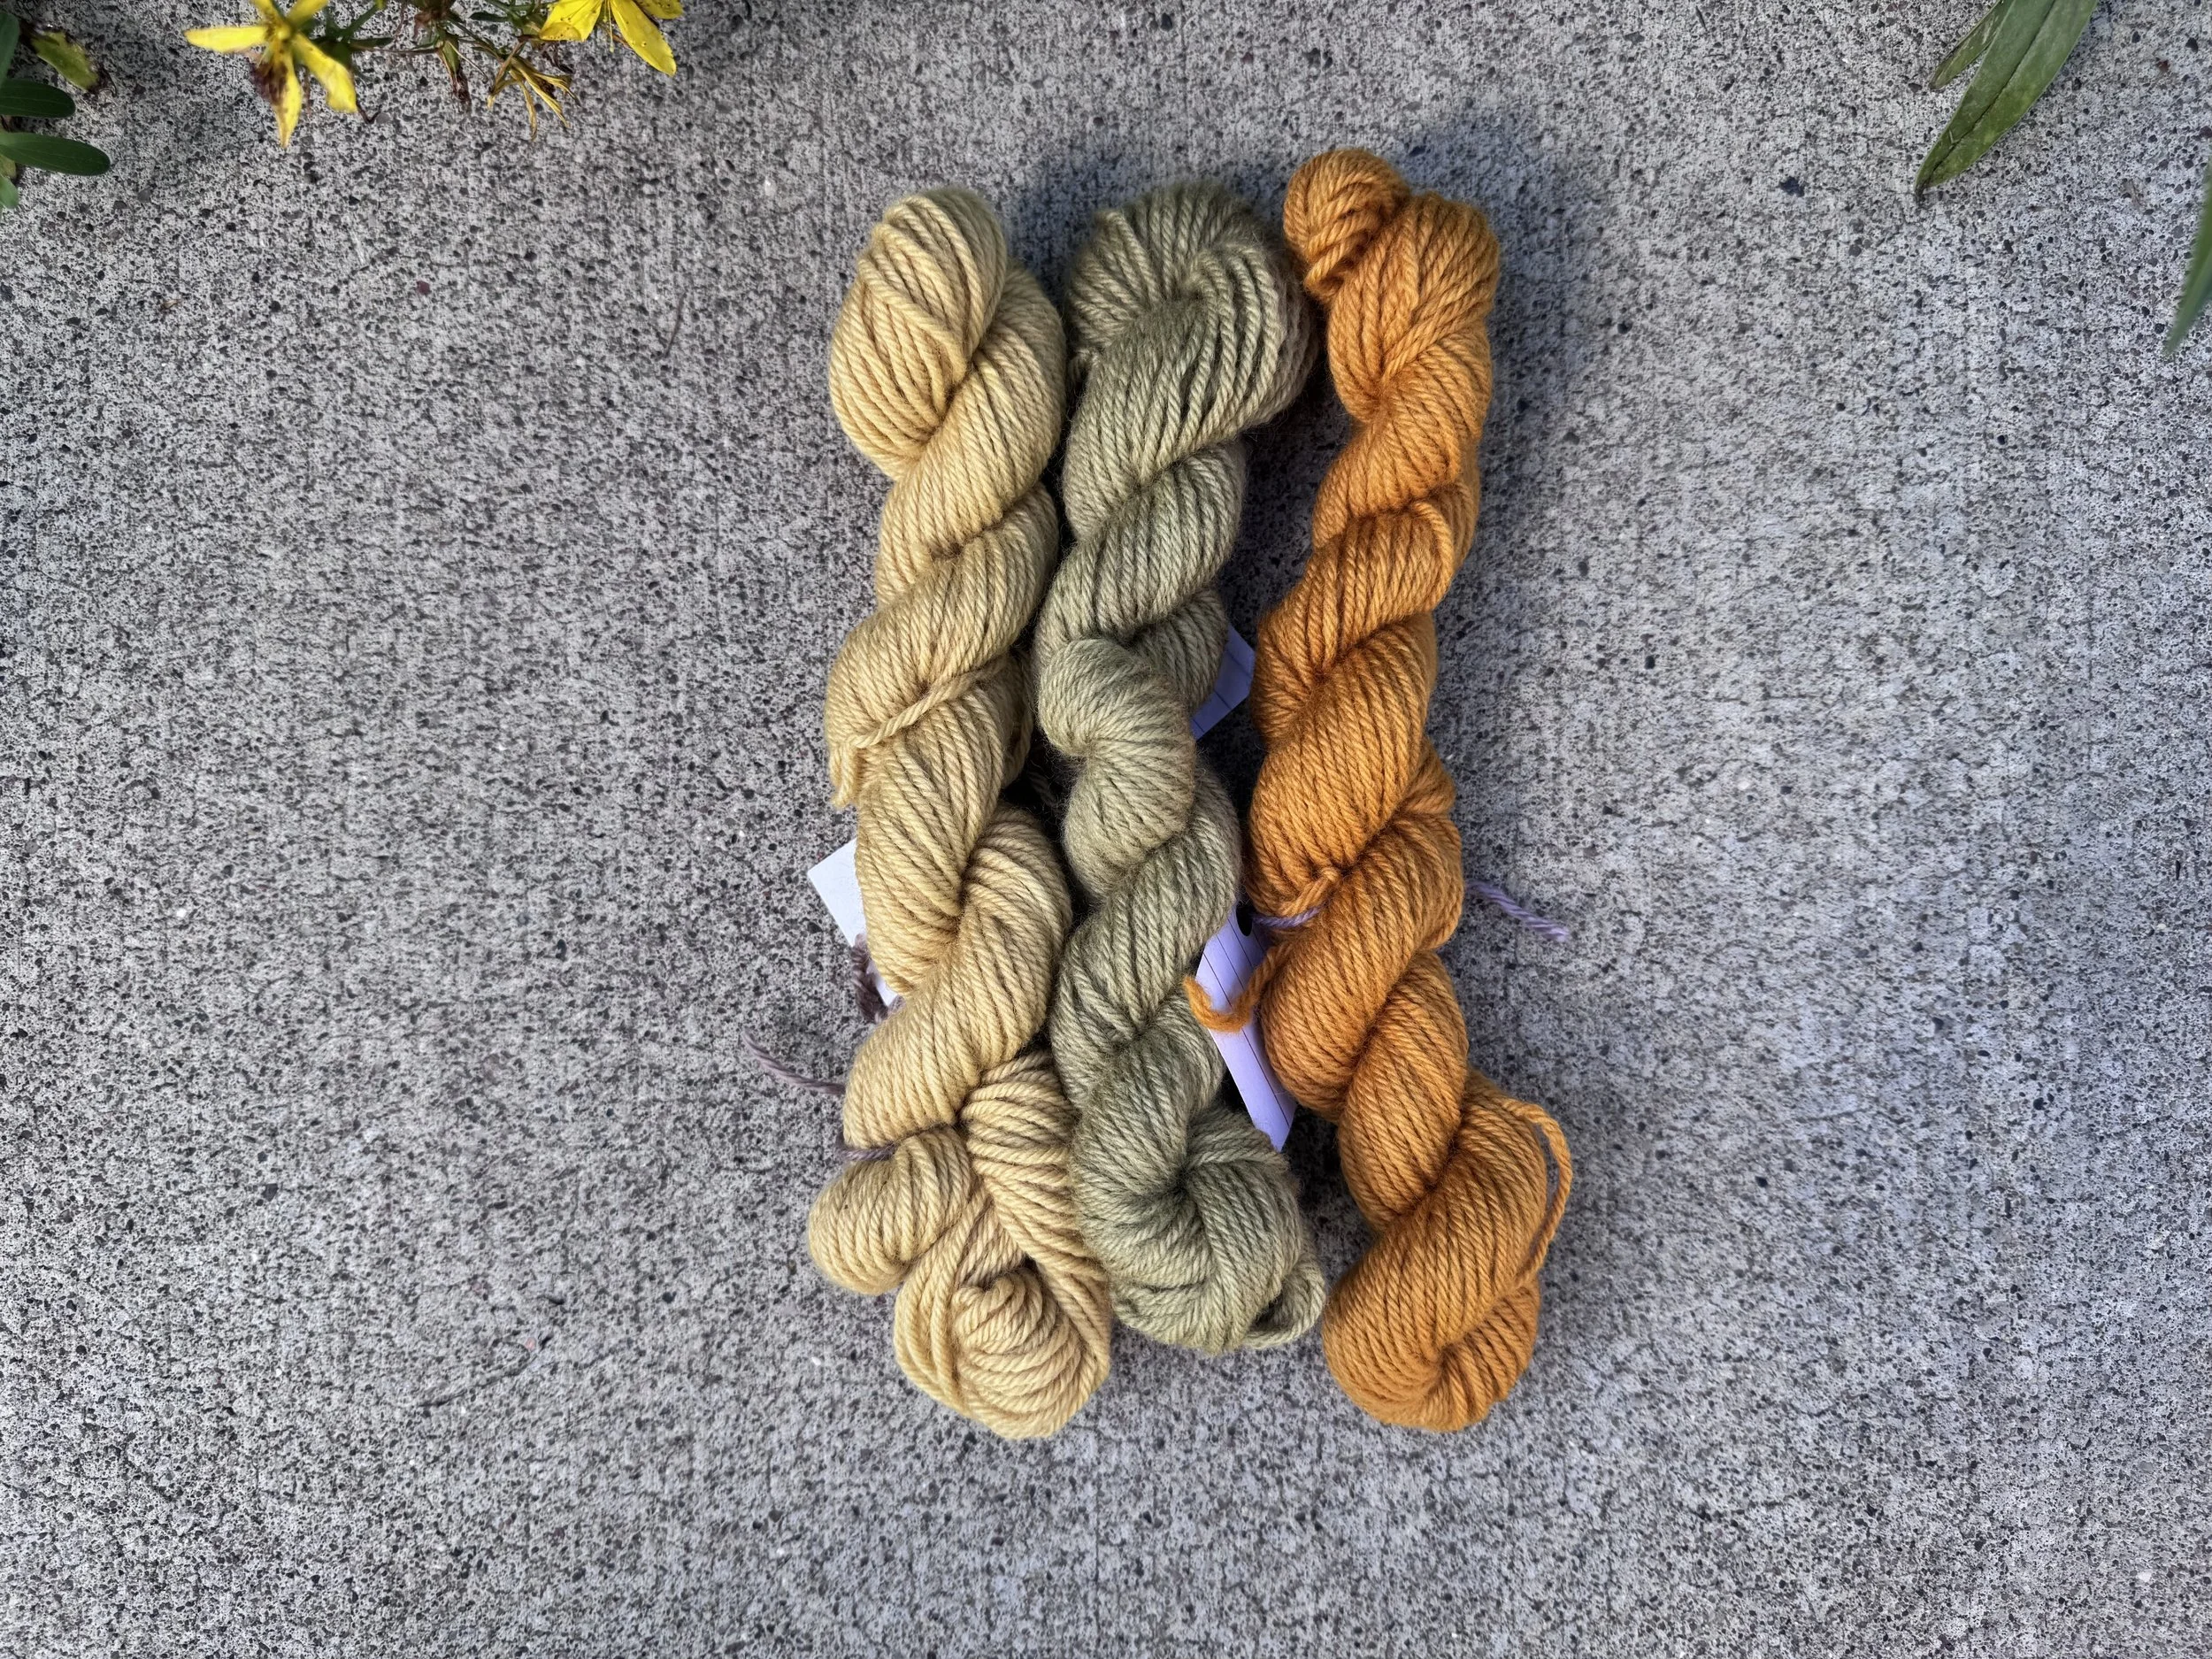
second cooking of leaves
from left to right:
1) mordanted; 2) mordanted plus iron; 3) mordanted plus marigold.
-
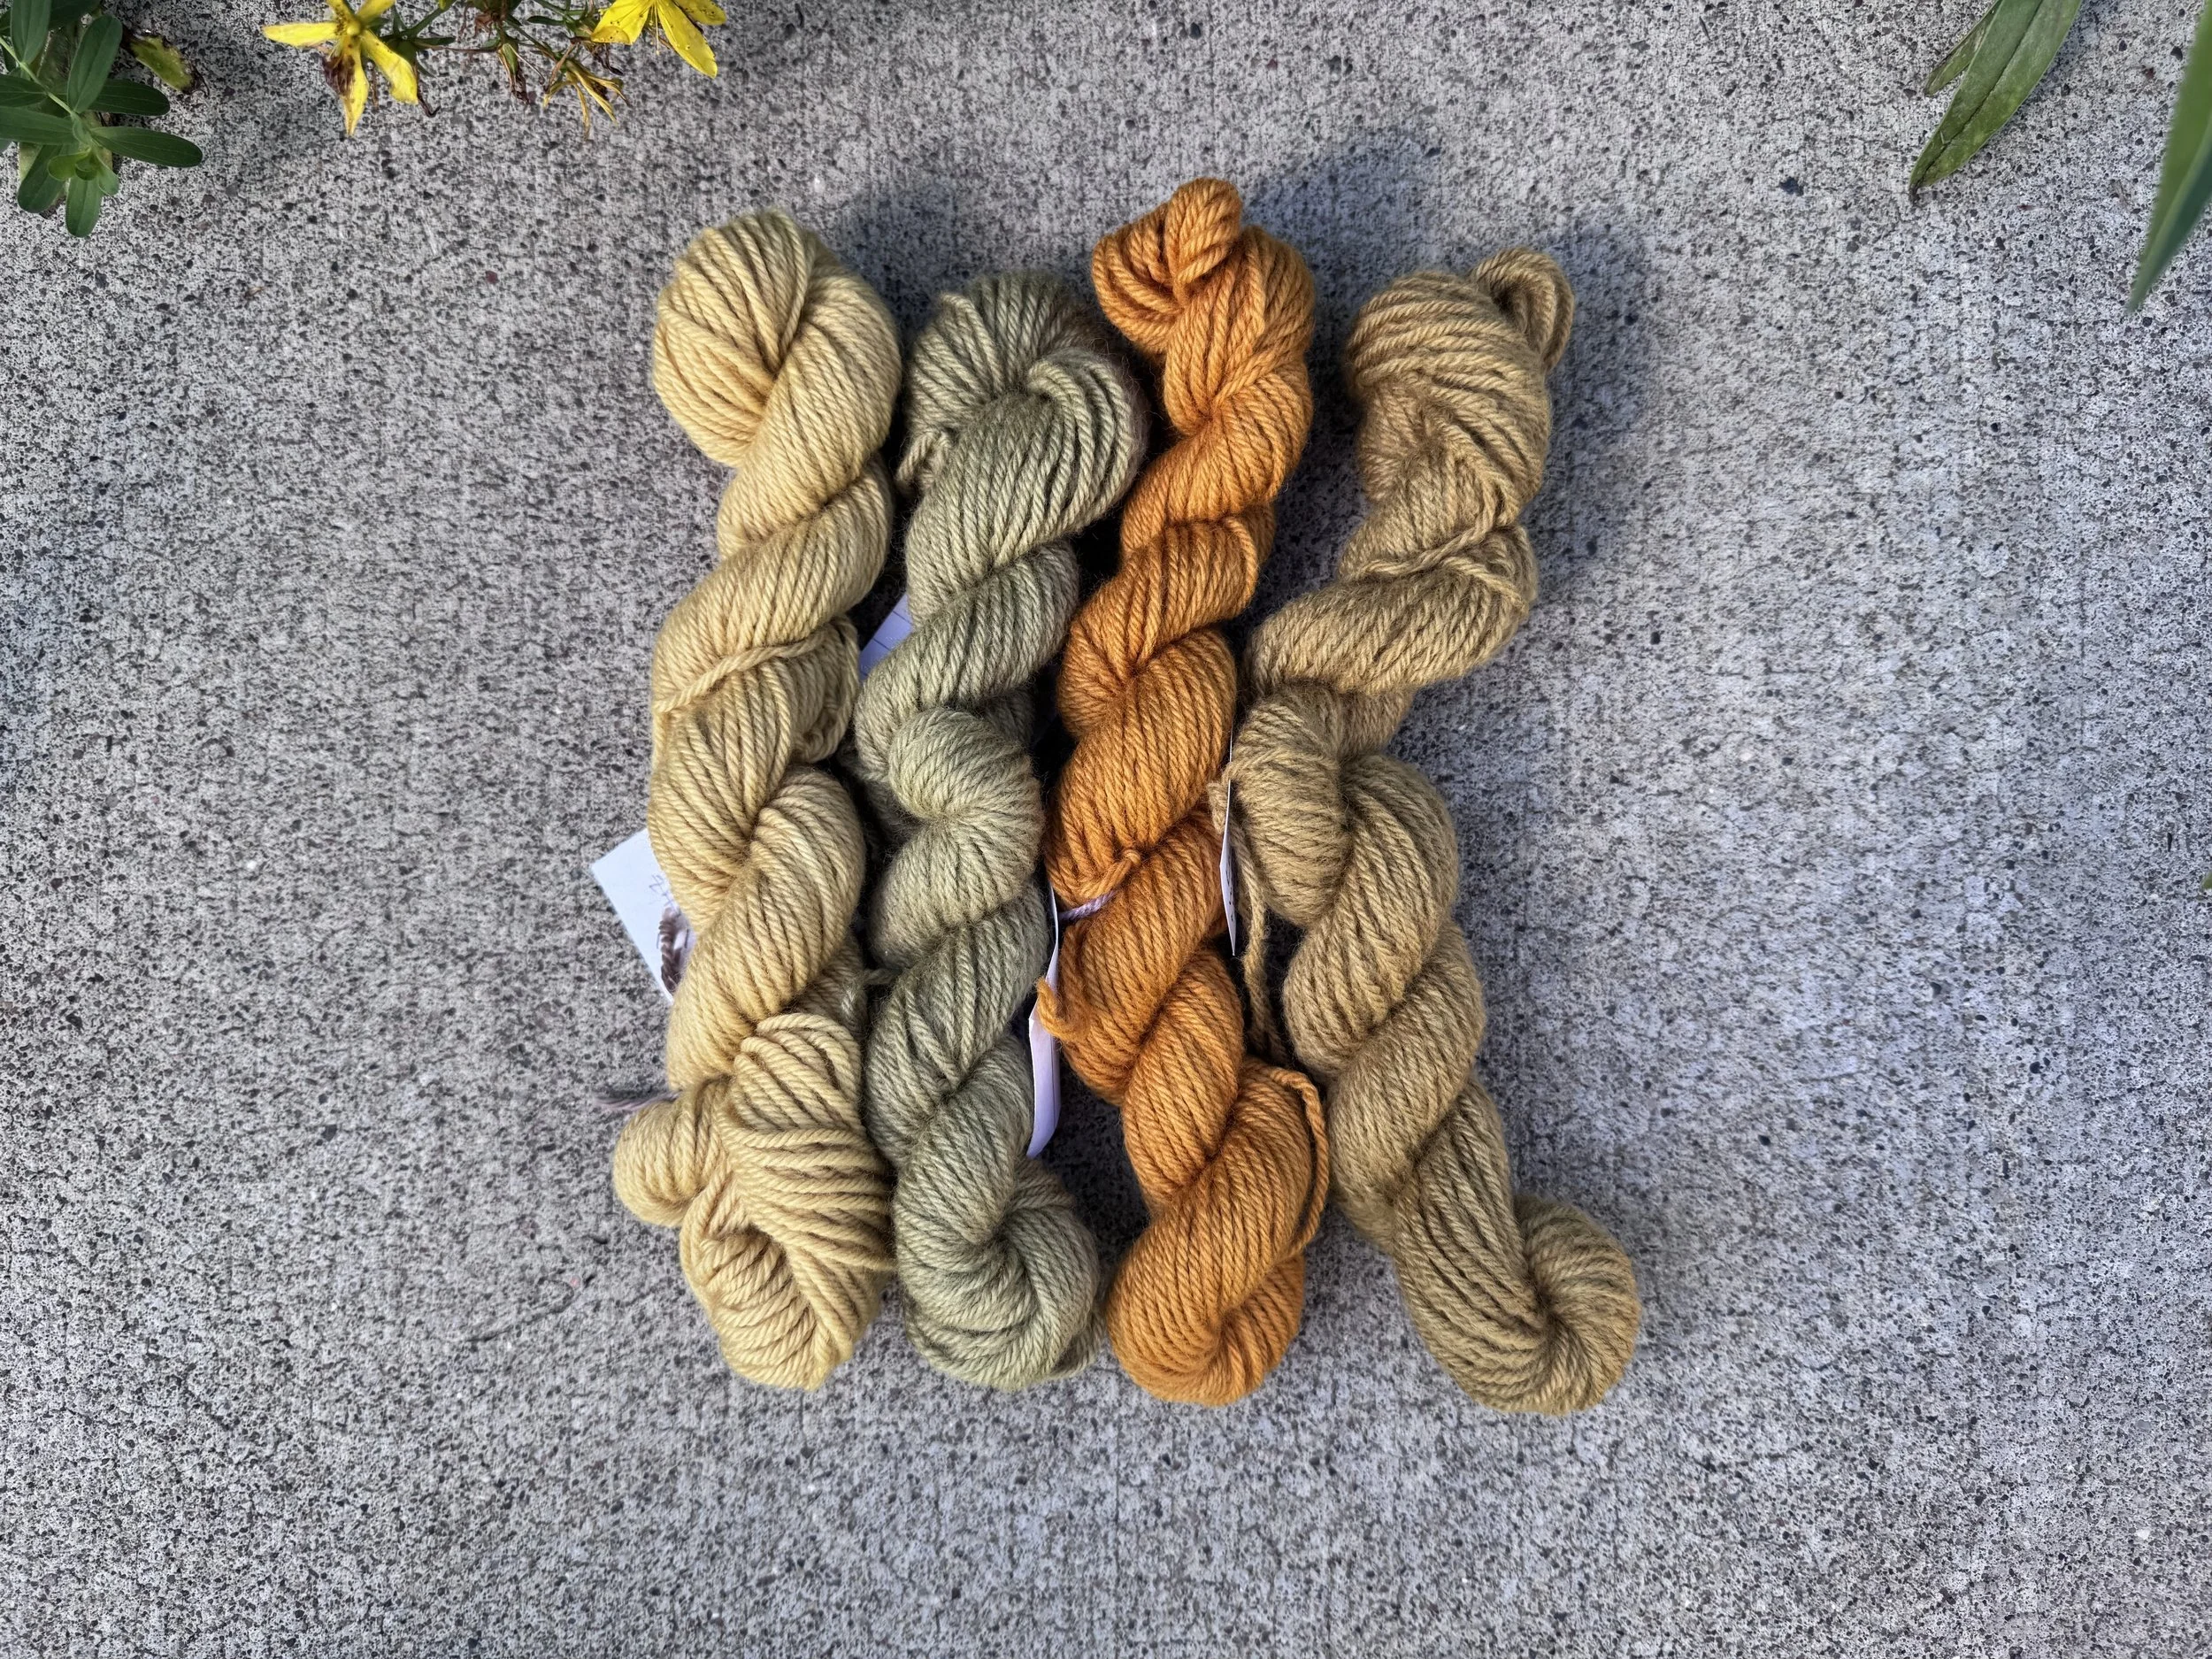
all of the "second cook" yarn
same as above, but at the right we have mordanted plus iron plus marigold. The yarn felted just a bit with all of the attention I gave it, but it will still knit up just fine.
-
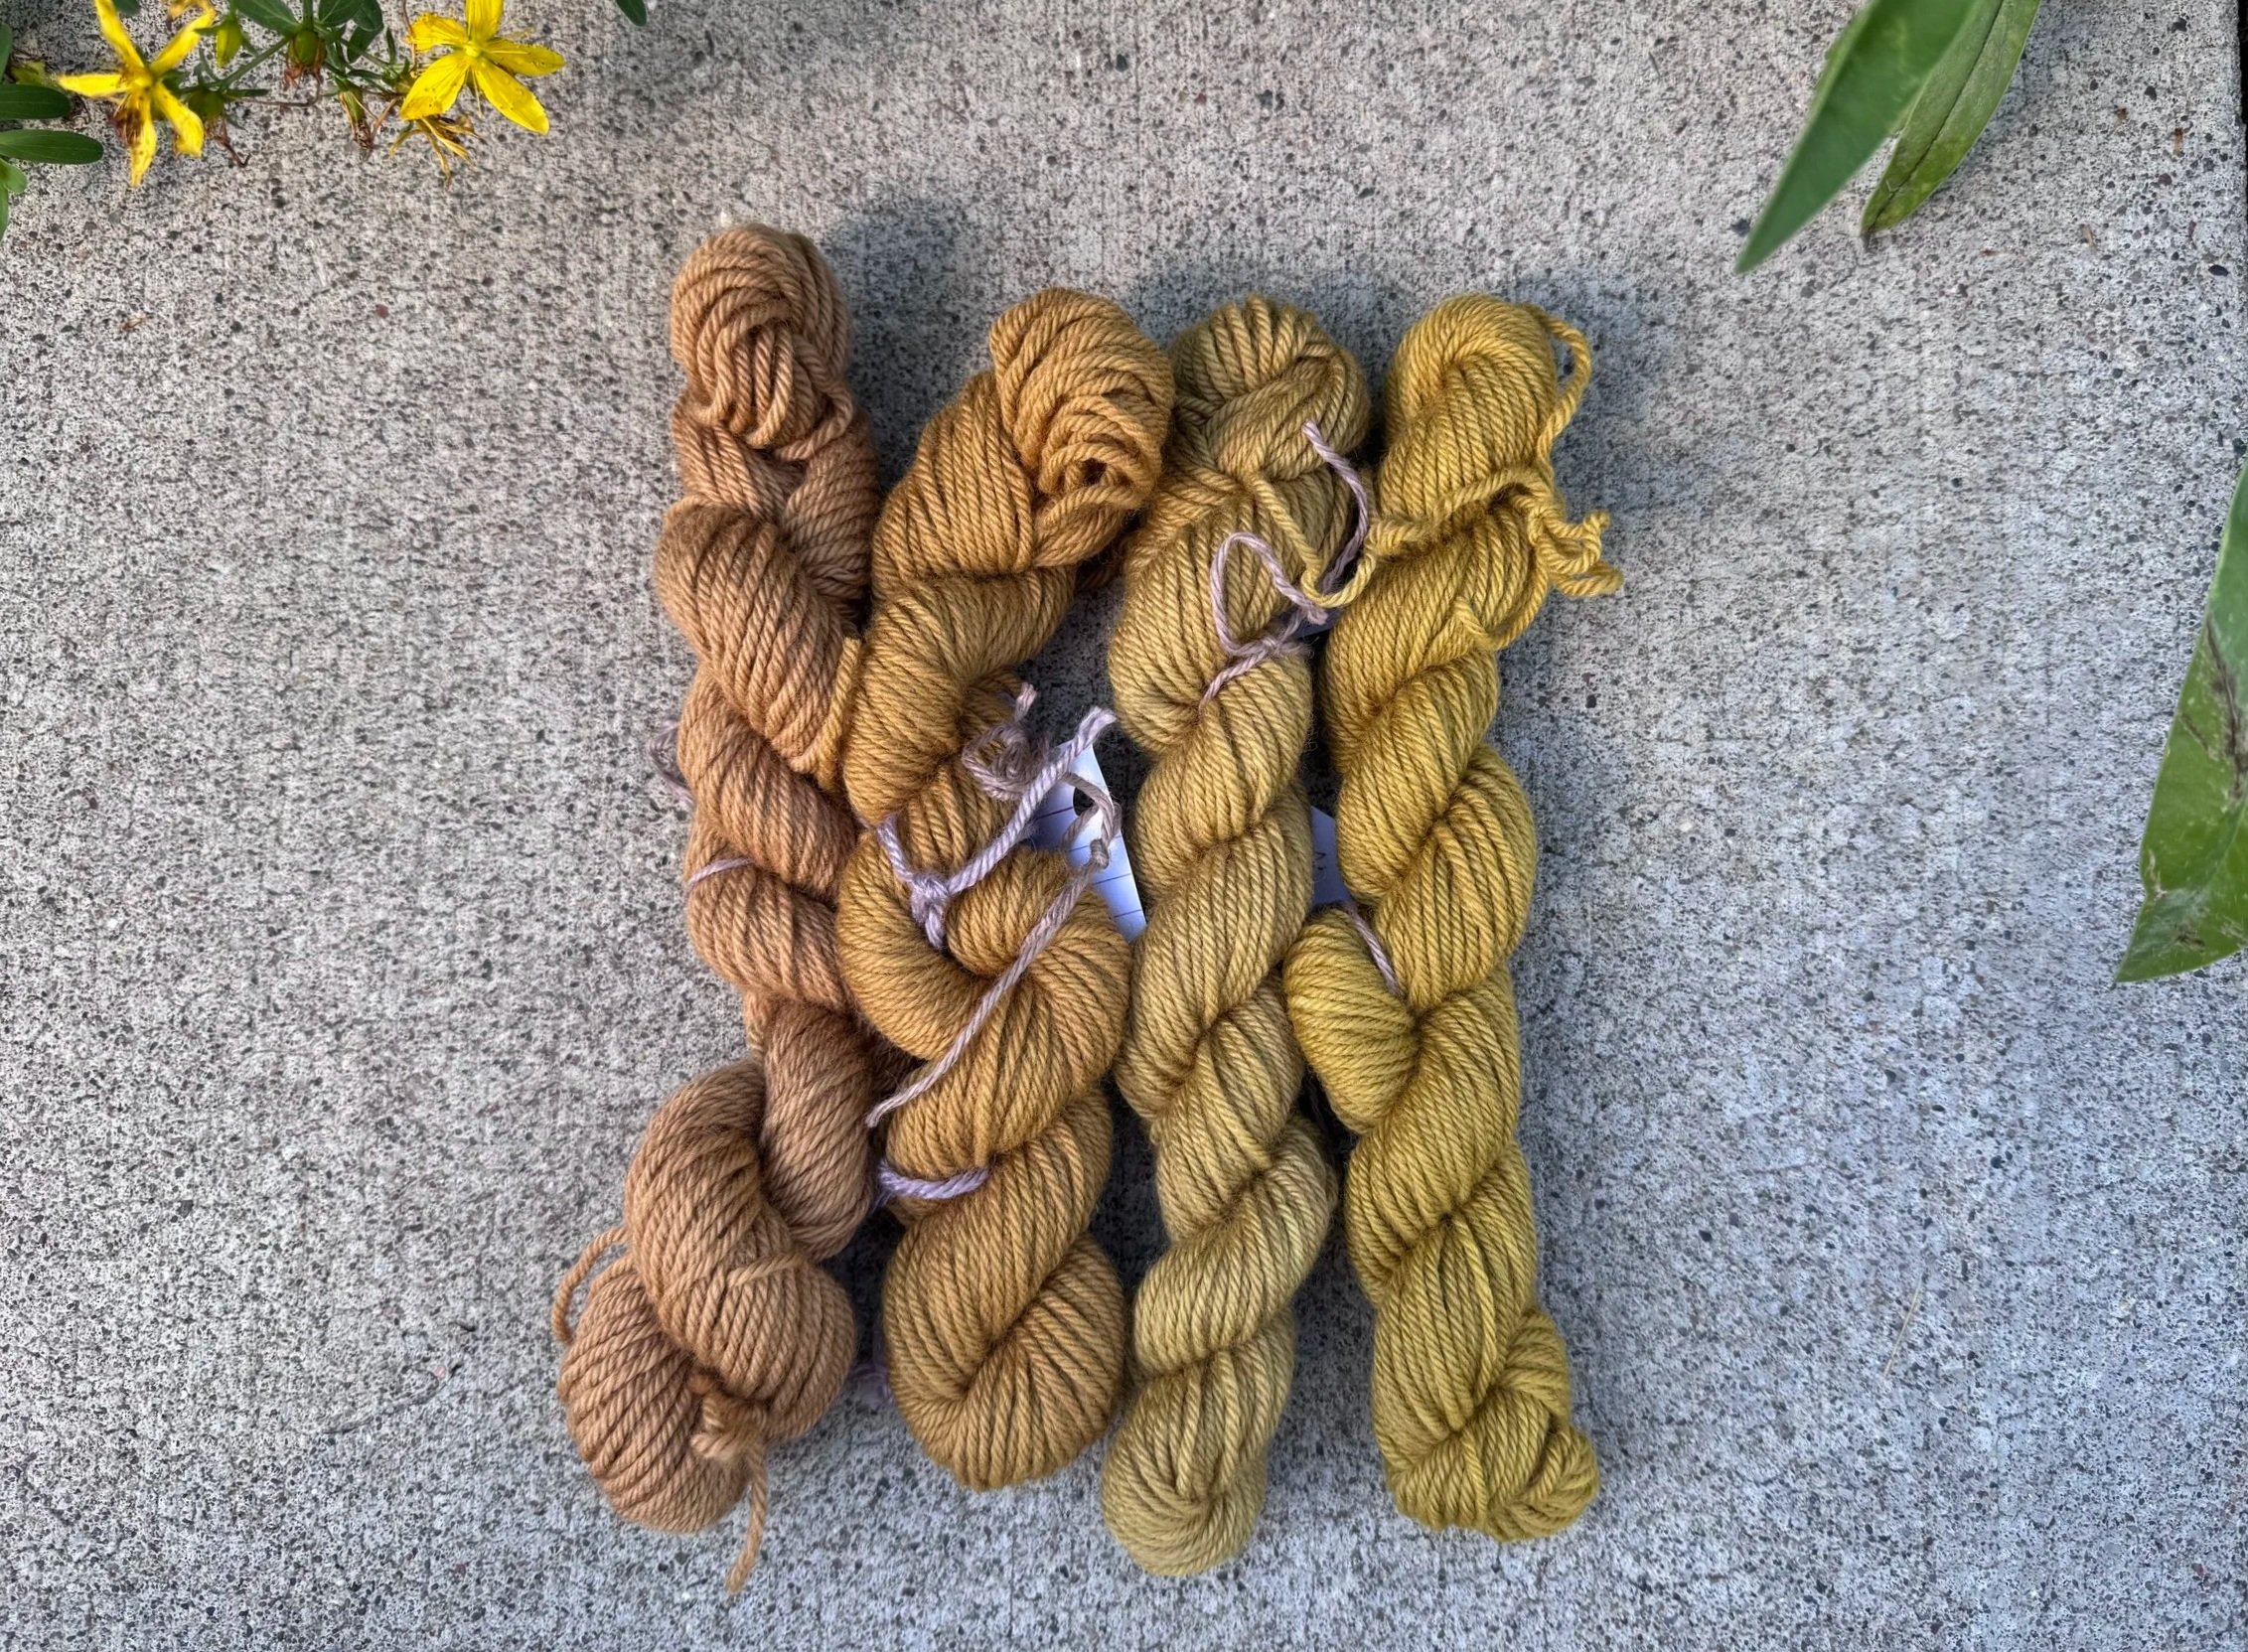
comparing first and second exhaust, no iron
left to right:
1) first exhaust no mordant; 2) first exhaust mordanted; 3) second exhaust no mordant; 4) second exhaust mordanted.
-
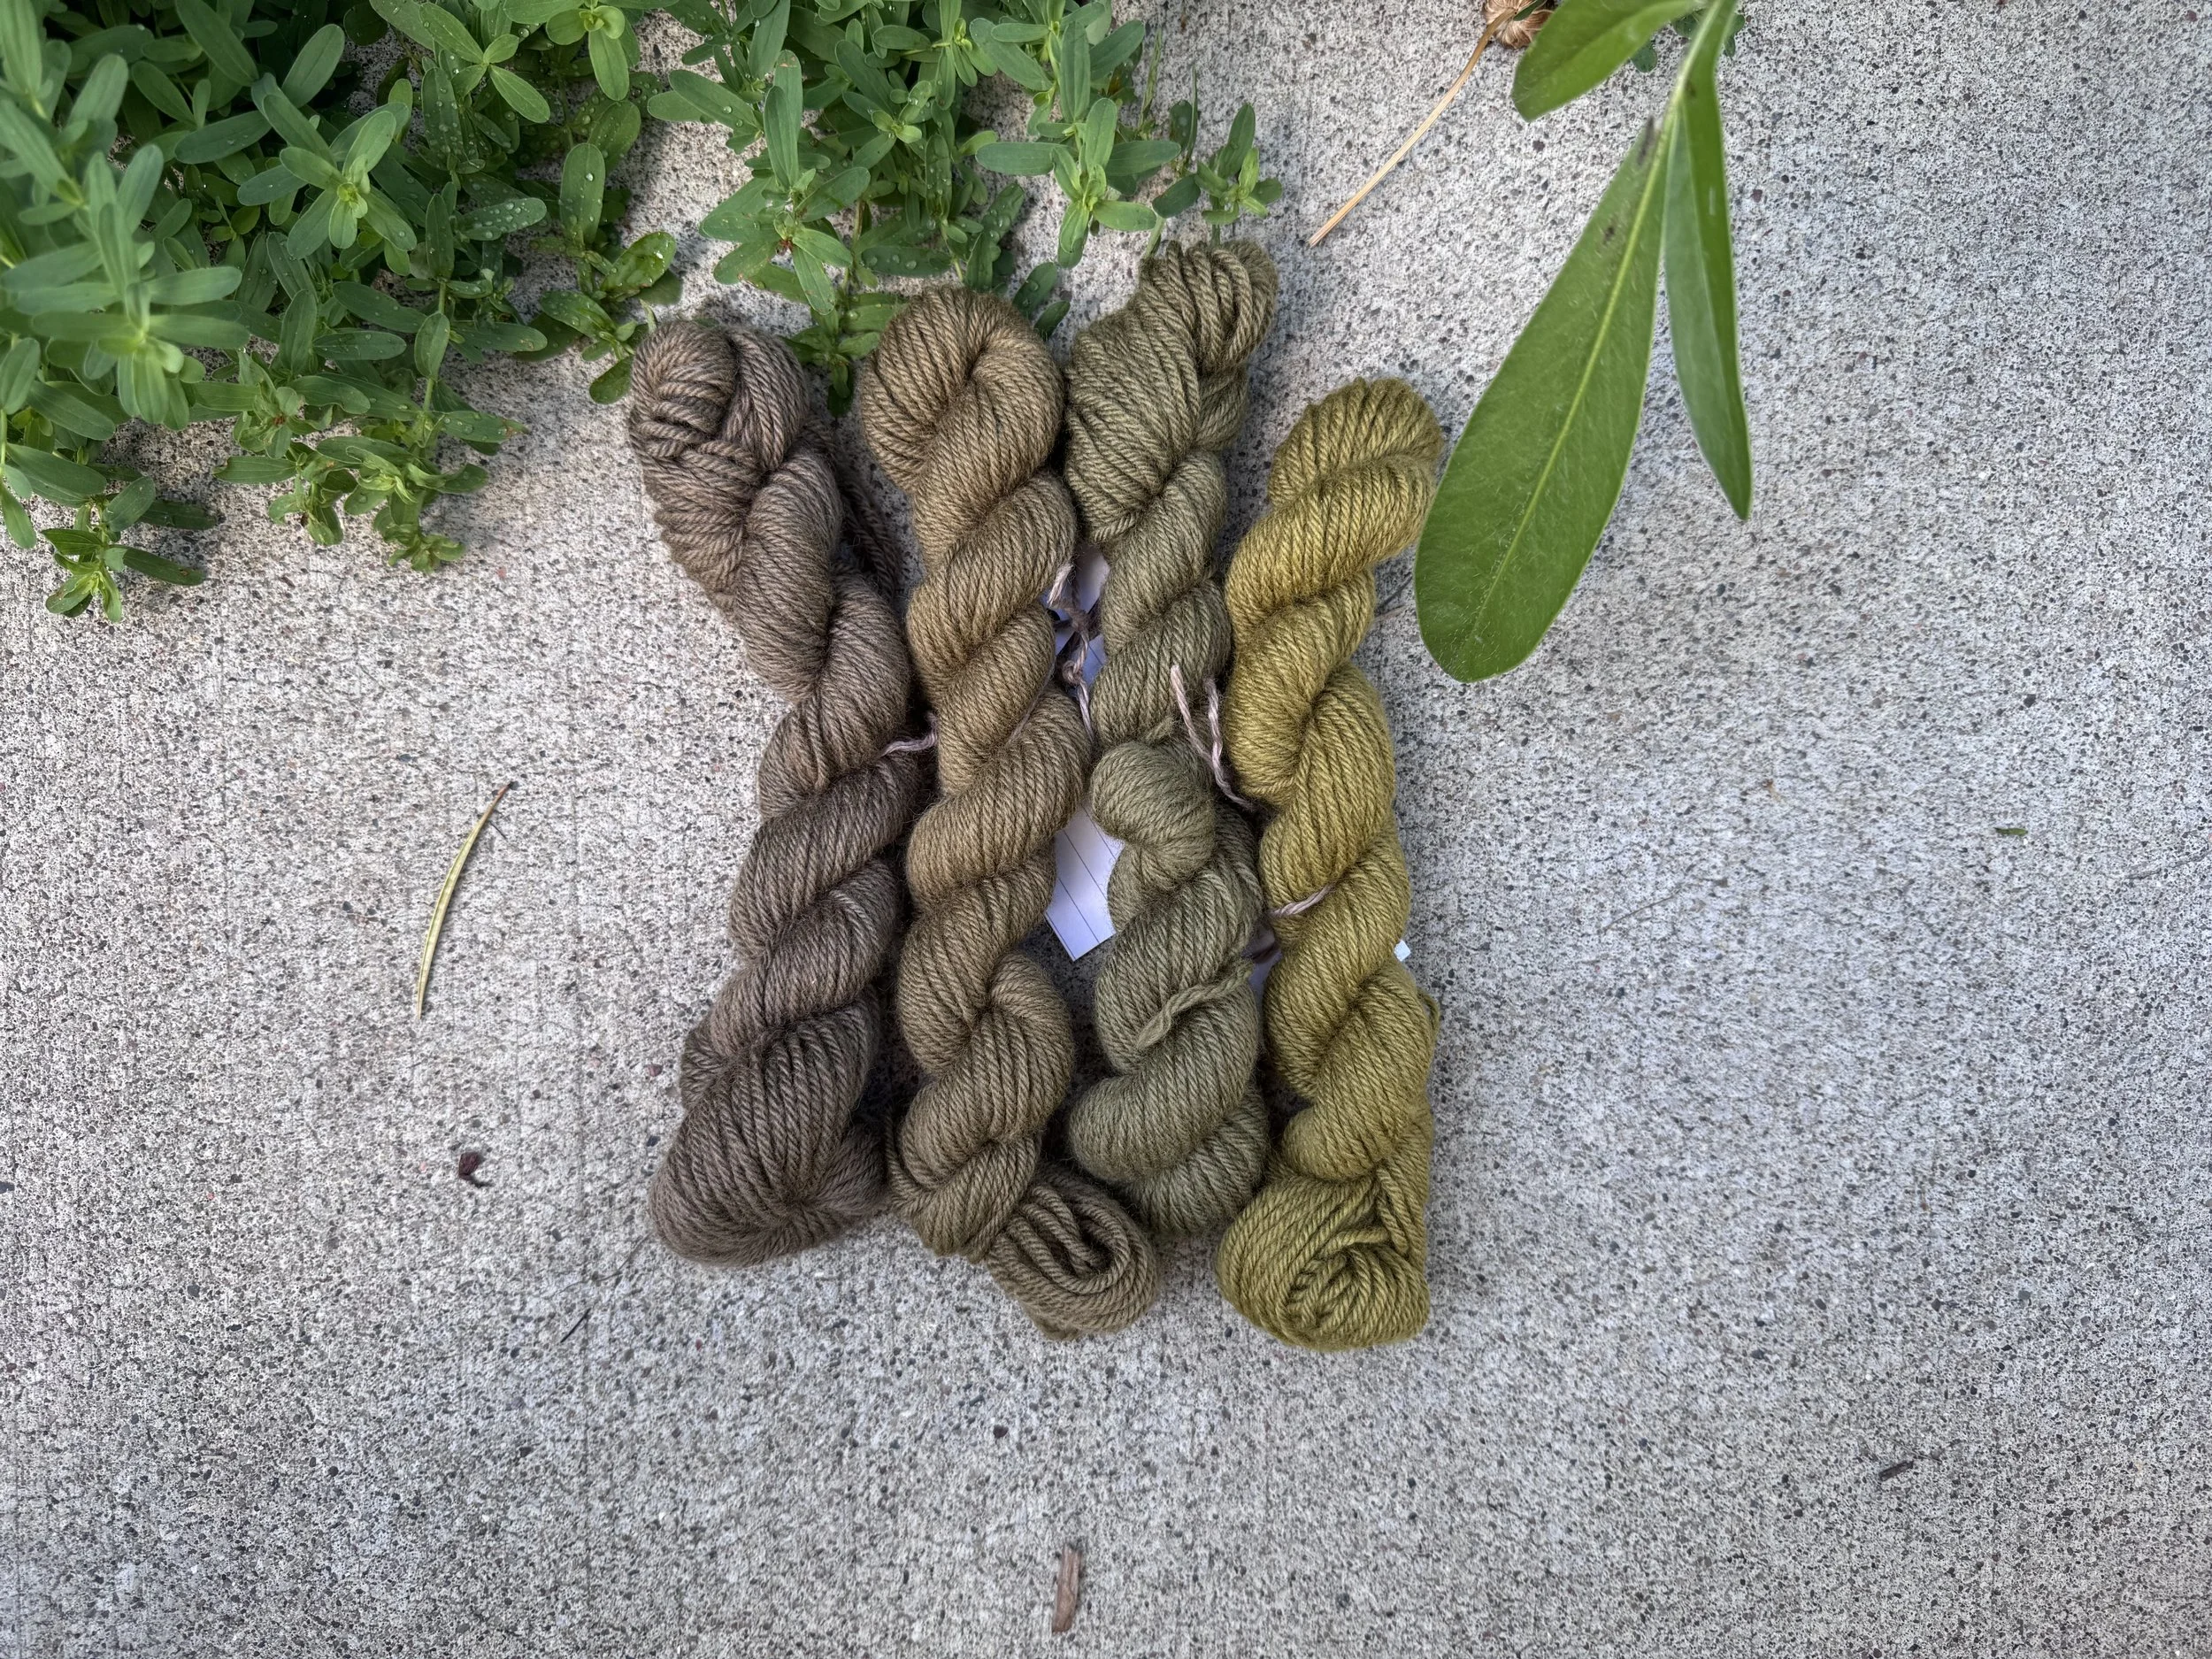
comparing first and second exhaust, iron mordant (after dyeing)
left to right:
1) first exhaust, no alum mordant, 2) first exhaust; alum mordant, 3) second exhaust; no alum mordant; 4) second exhaust, alum mordant.
-
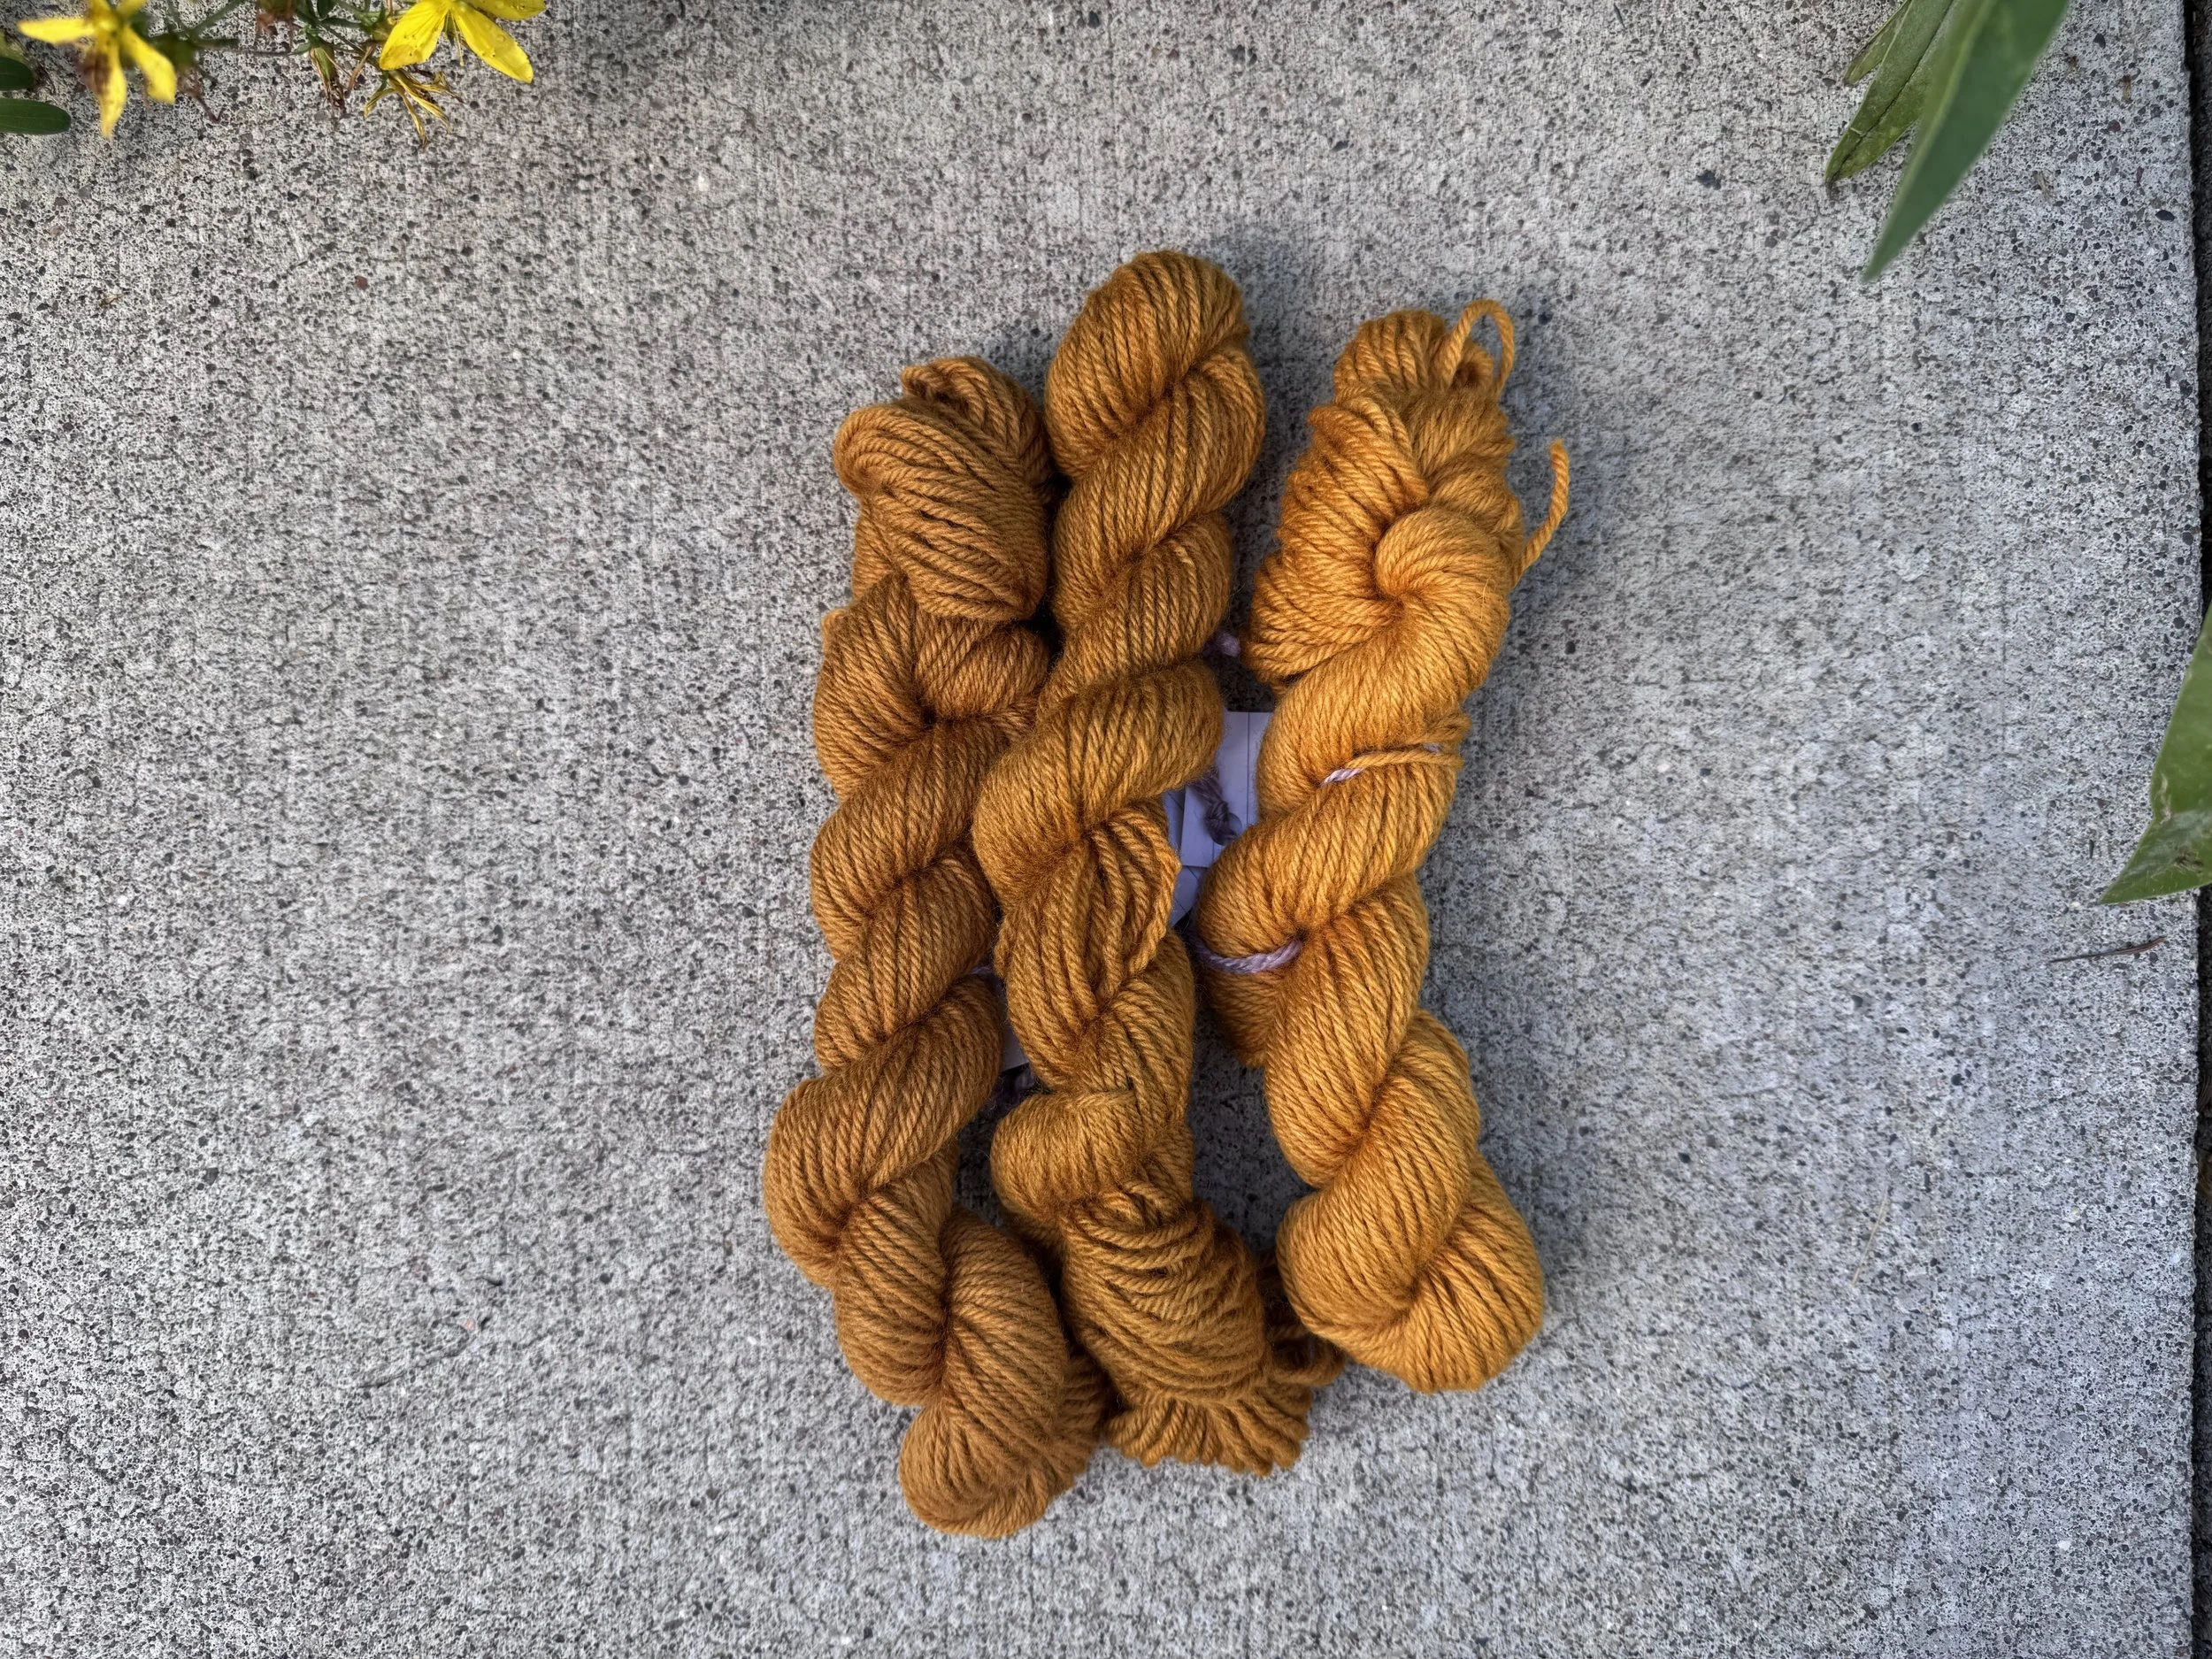
comparing marigold overdye
From left to right (all alum mordanted):
1) first exhaust; 2) second exhaust; 3) second cooking of leaves.
-
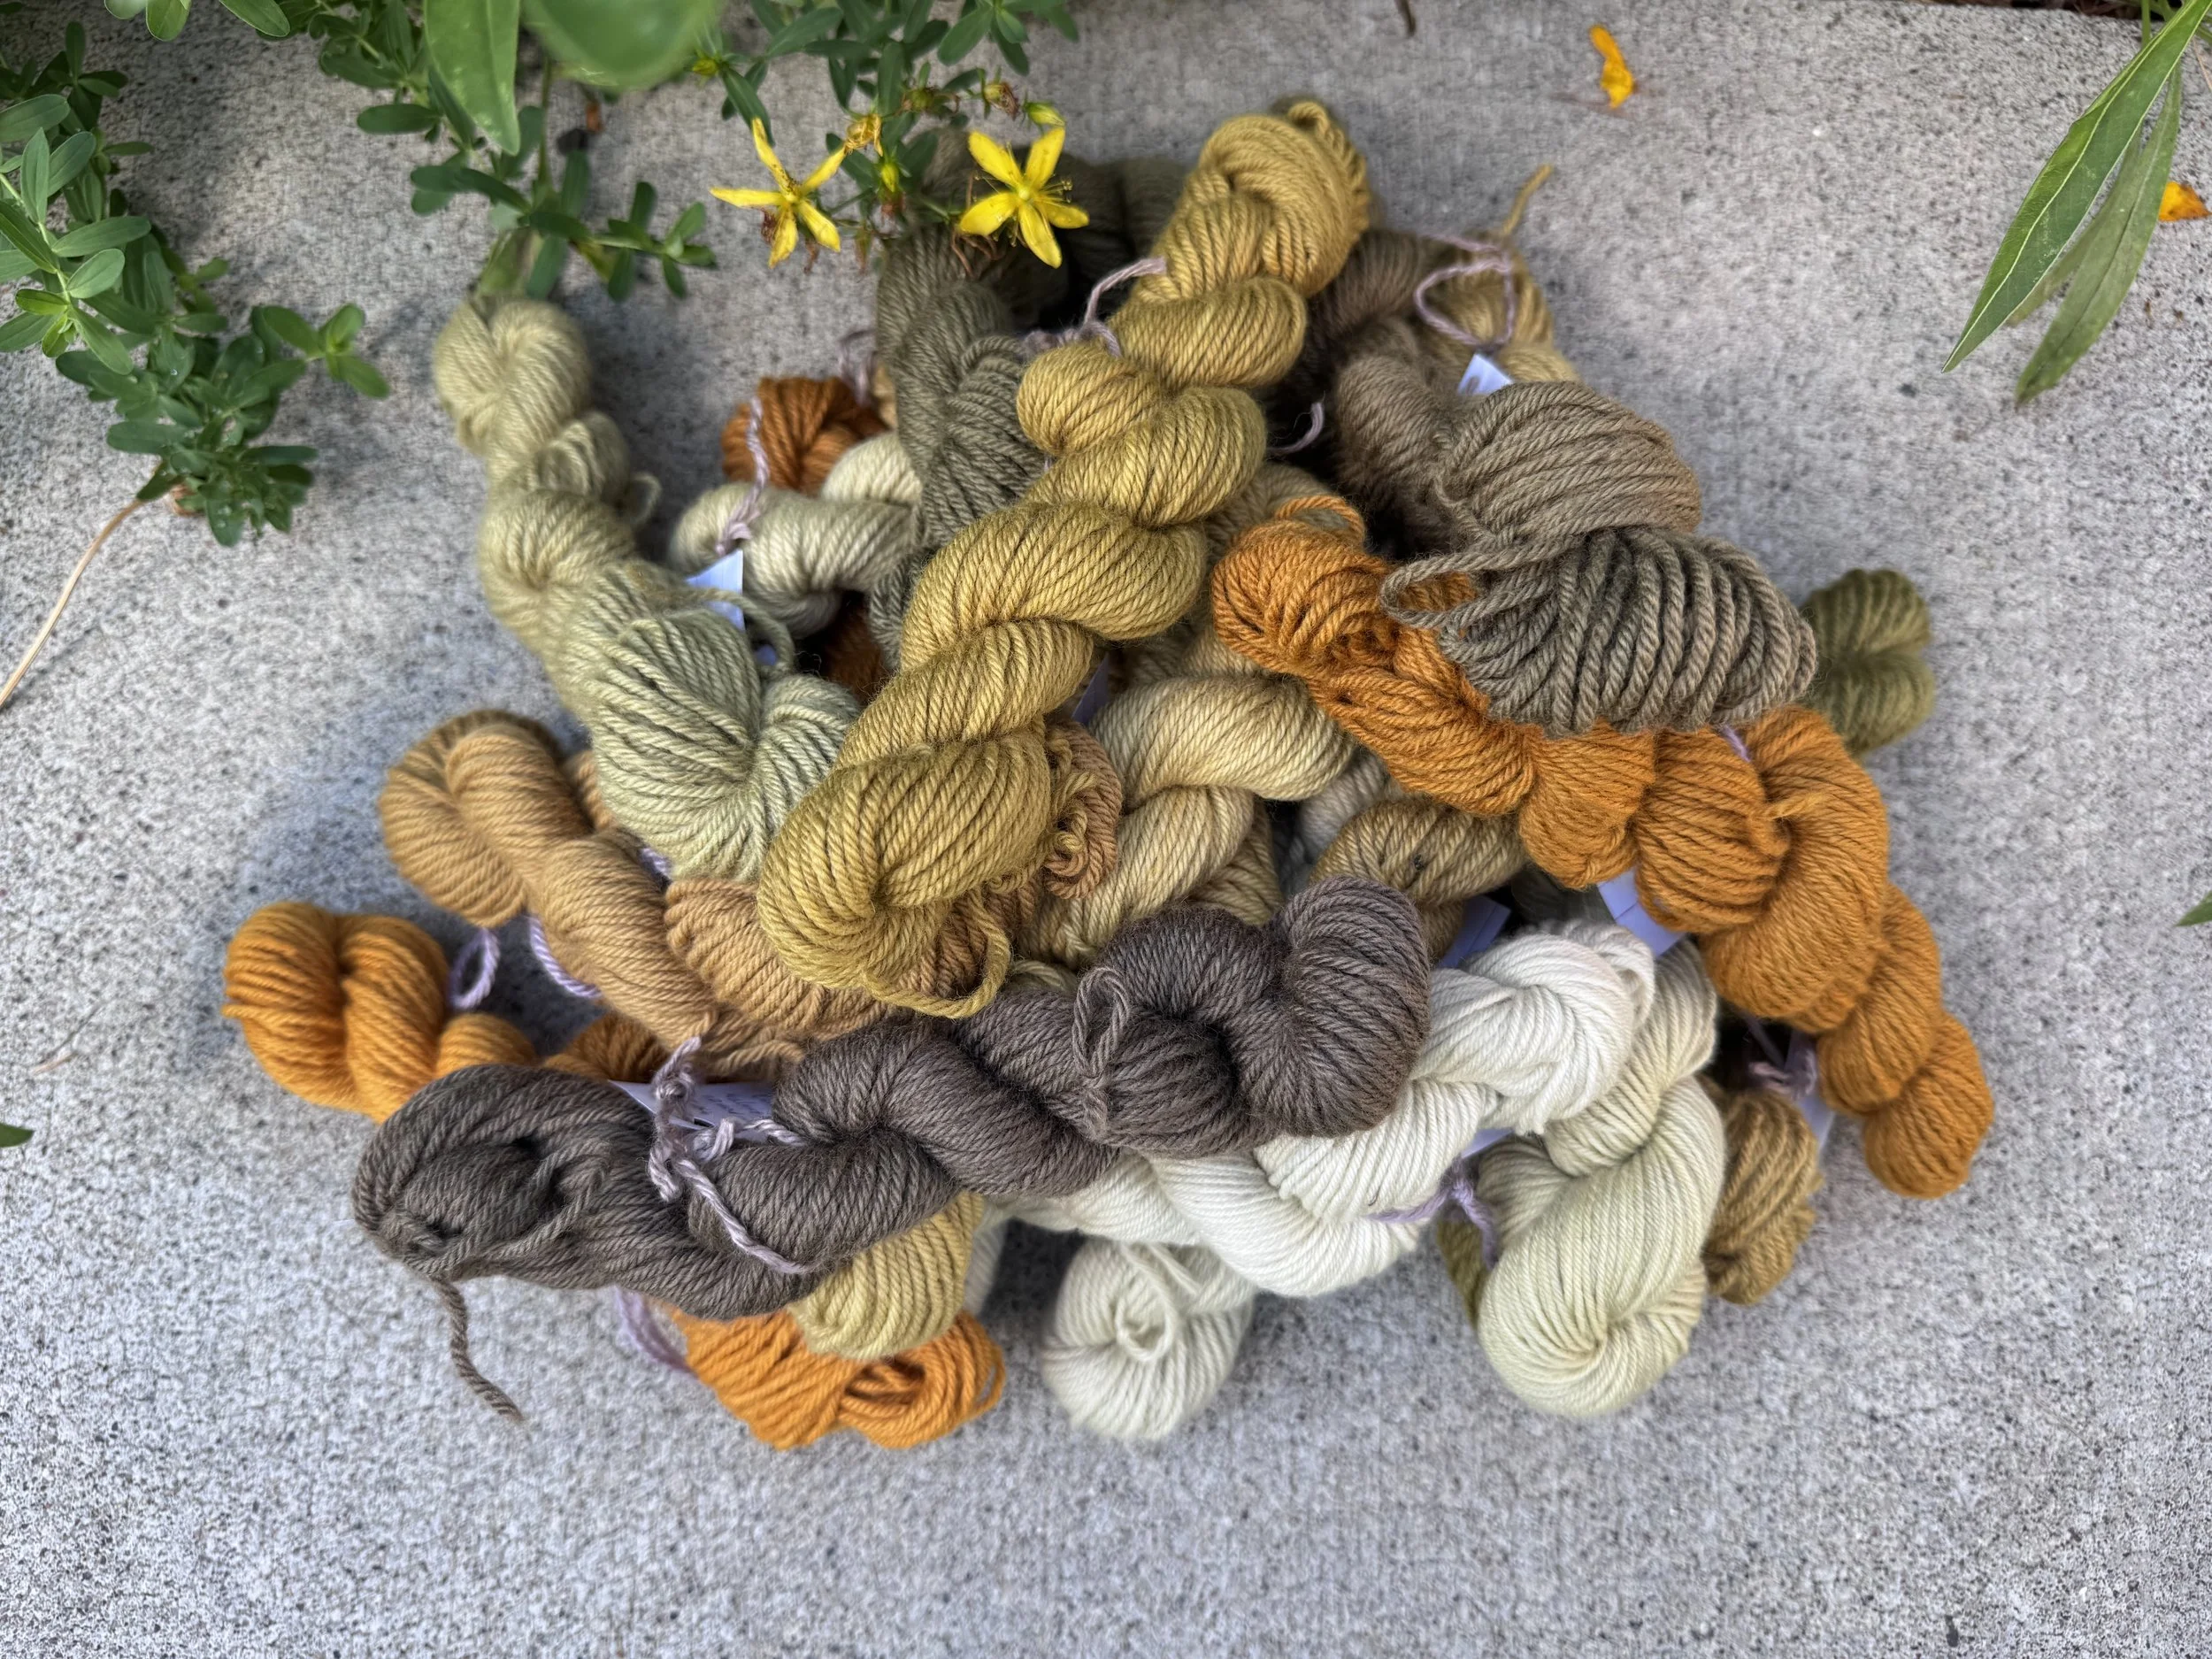
all of them
I should be able to squeeze a few mittens out of these!