modifying pirate hips
-
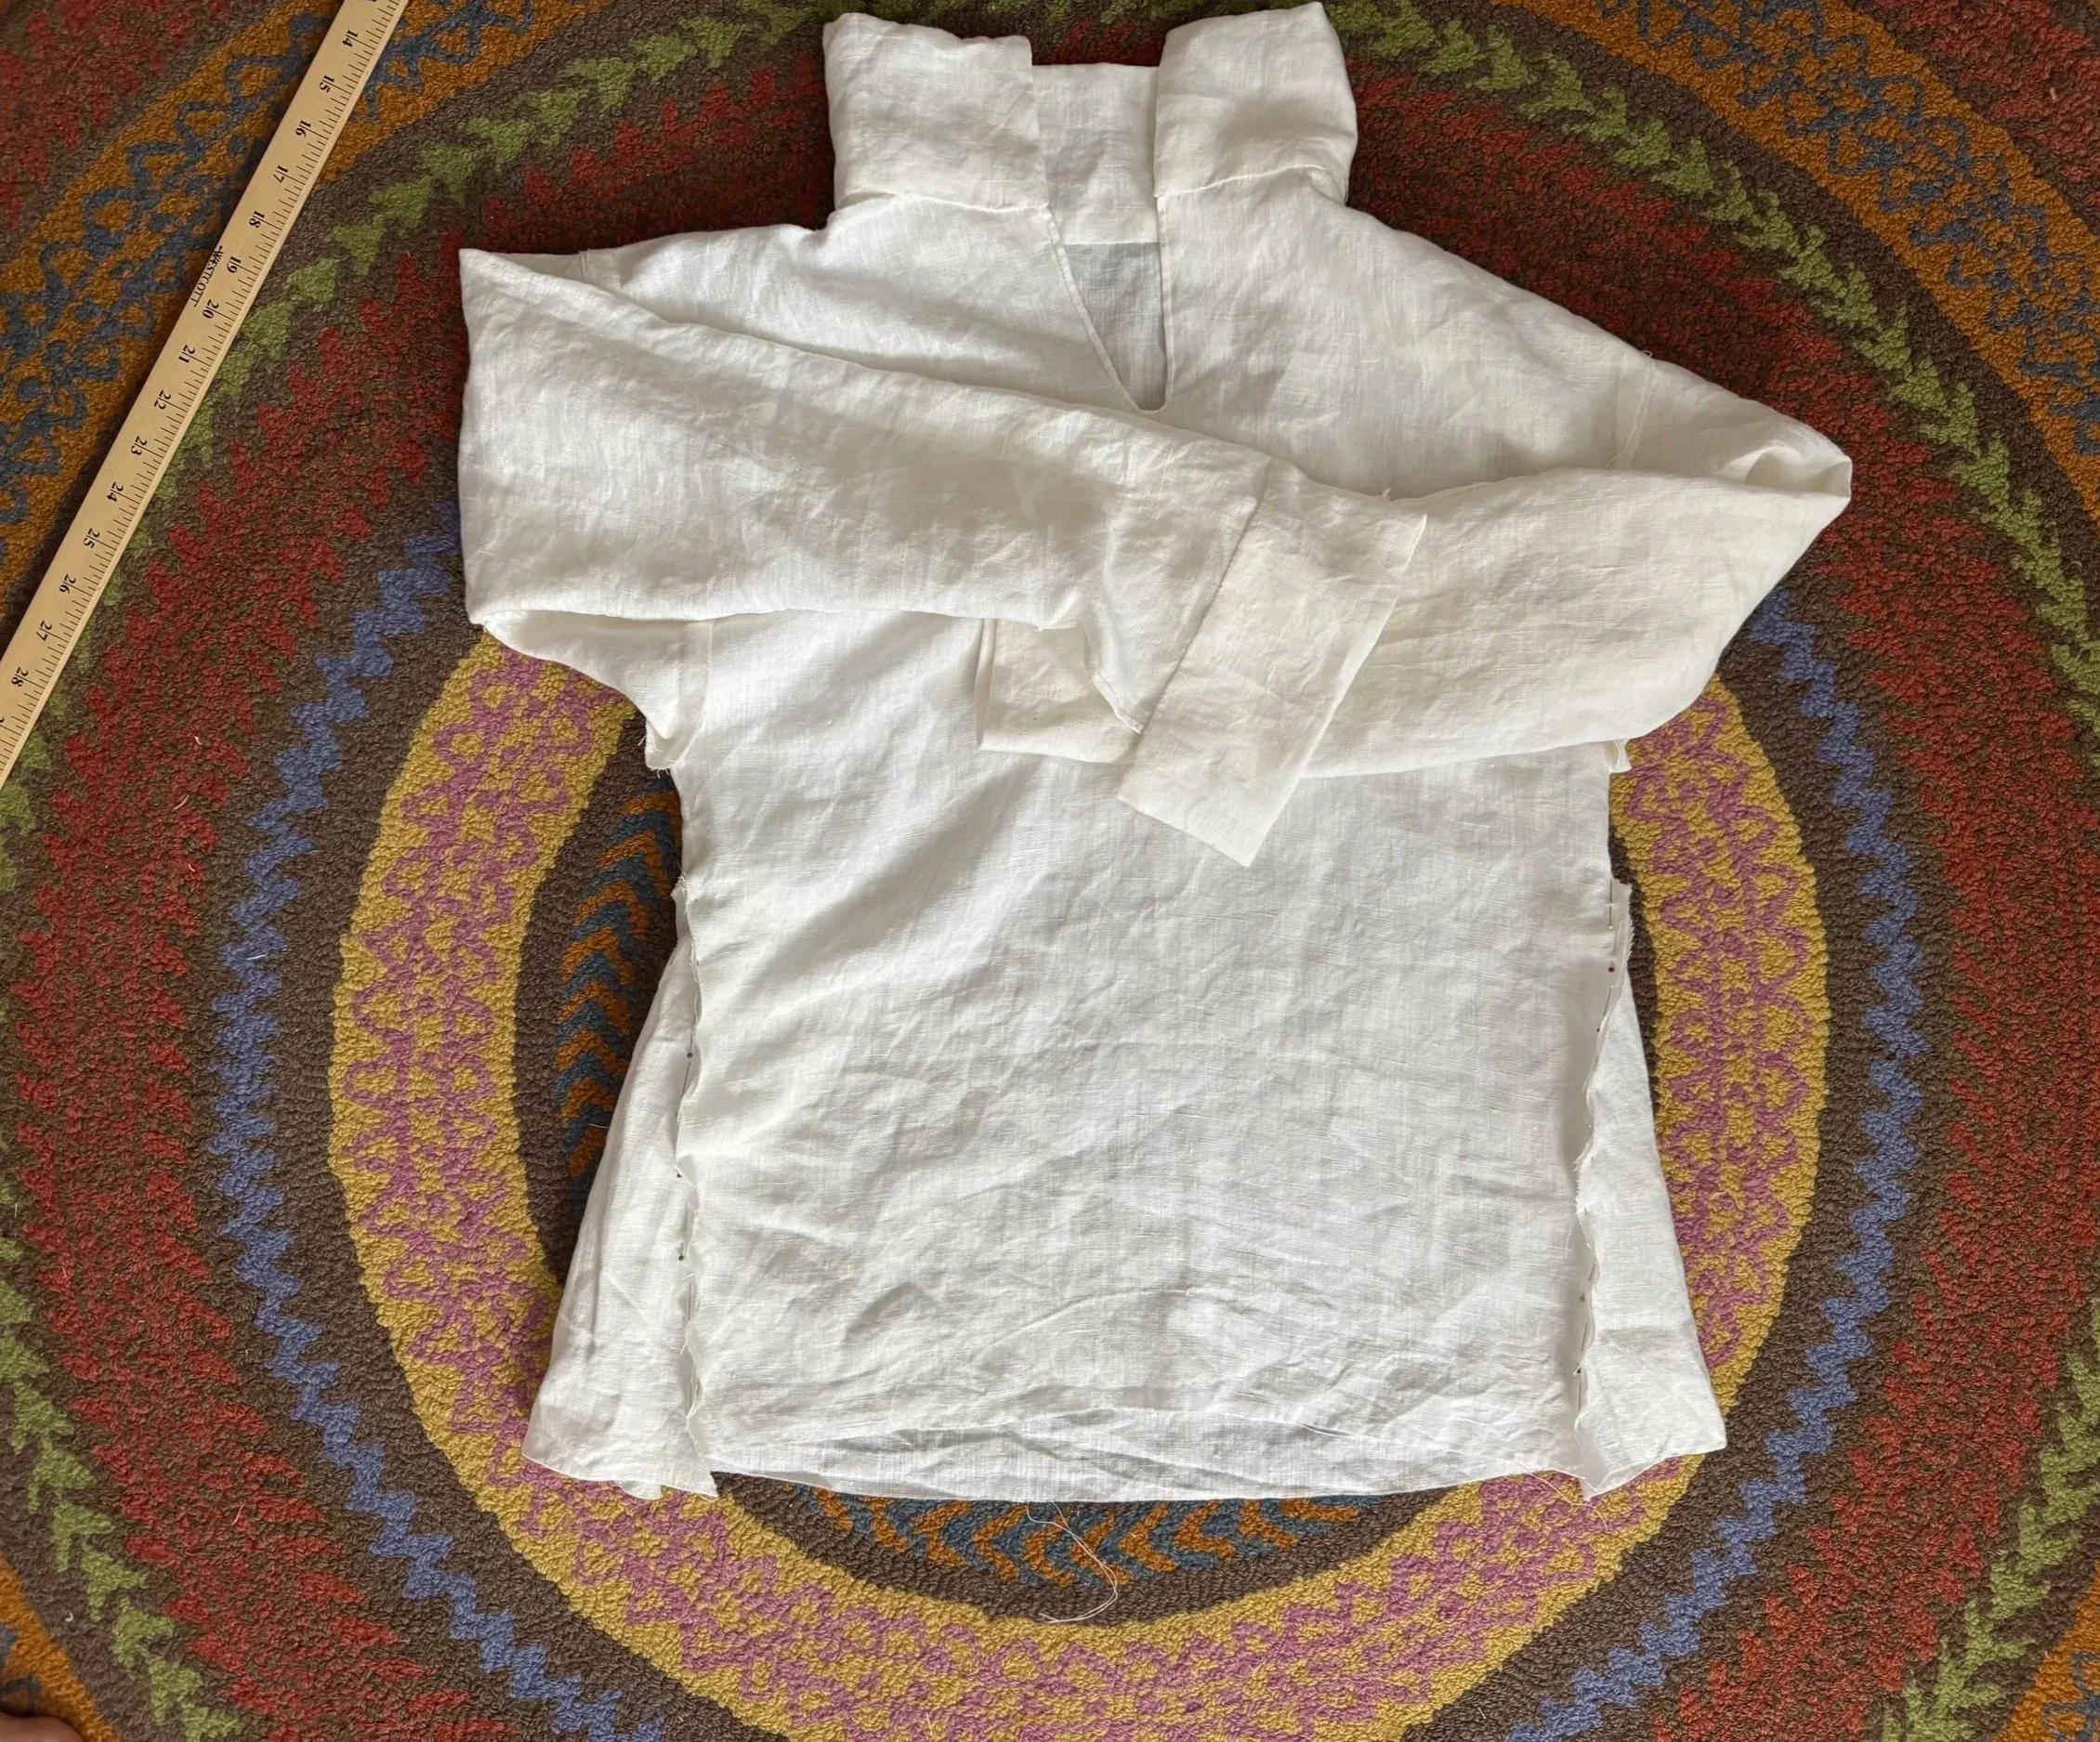
a hip issue
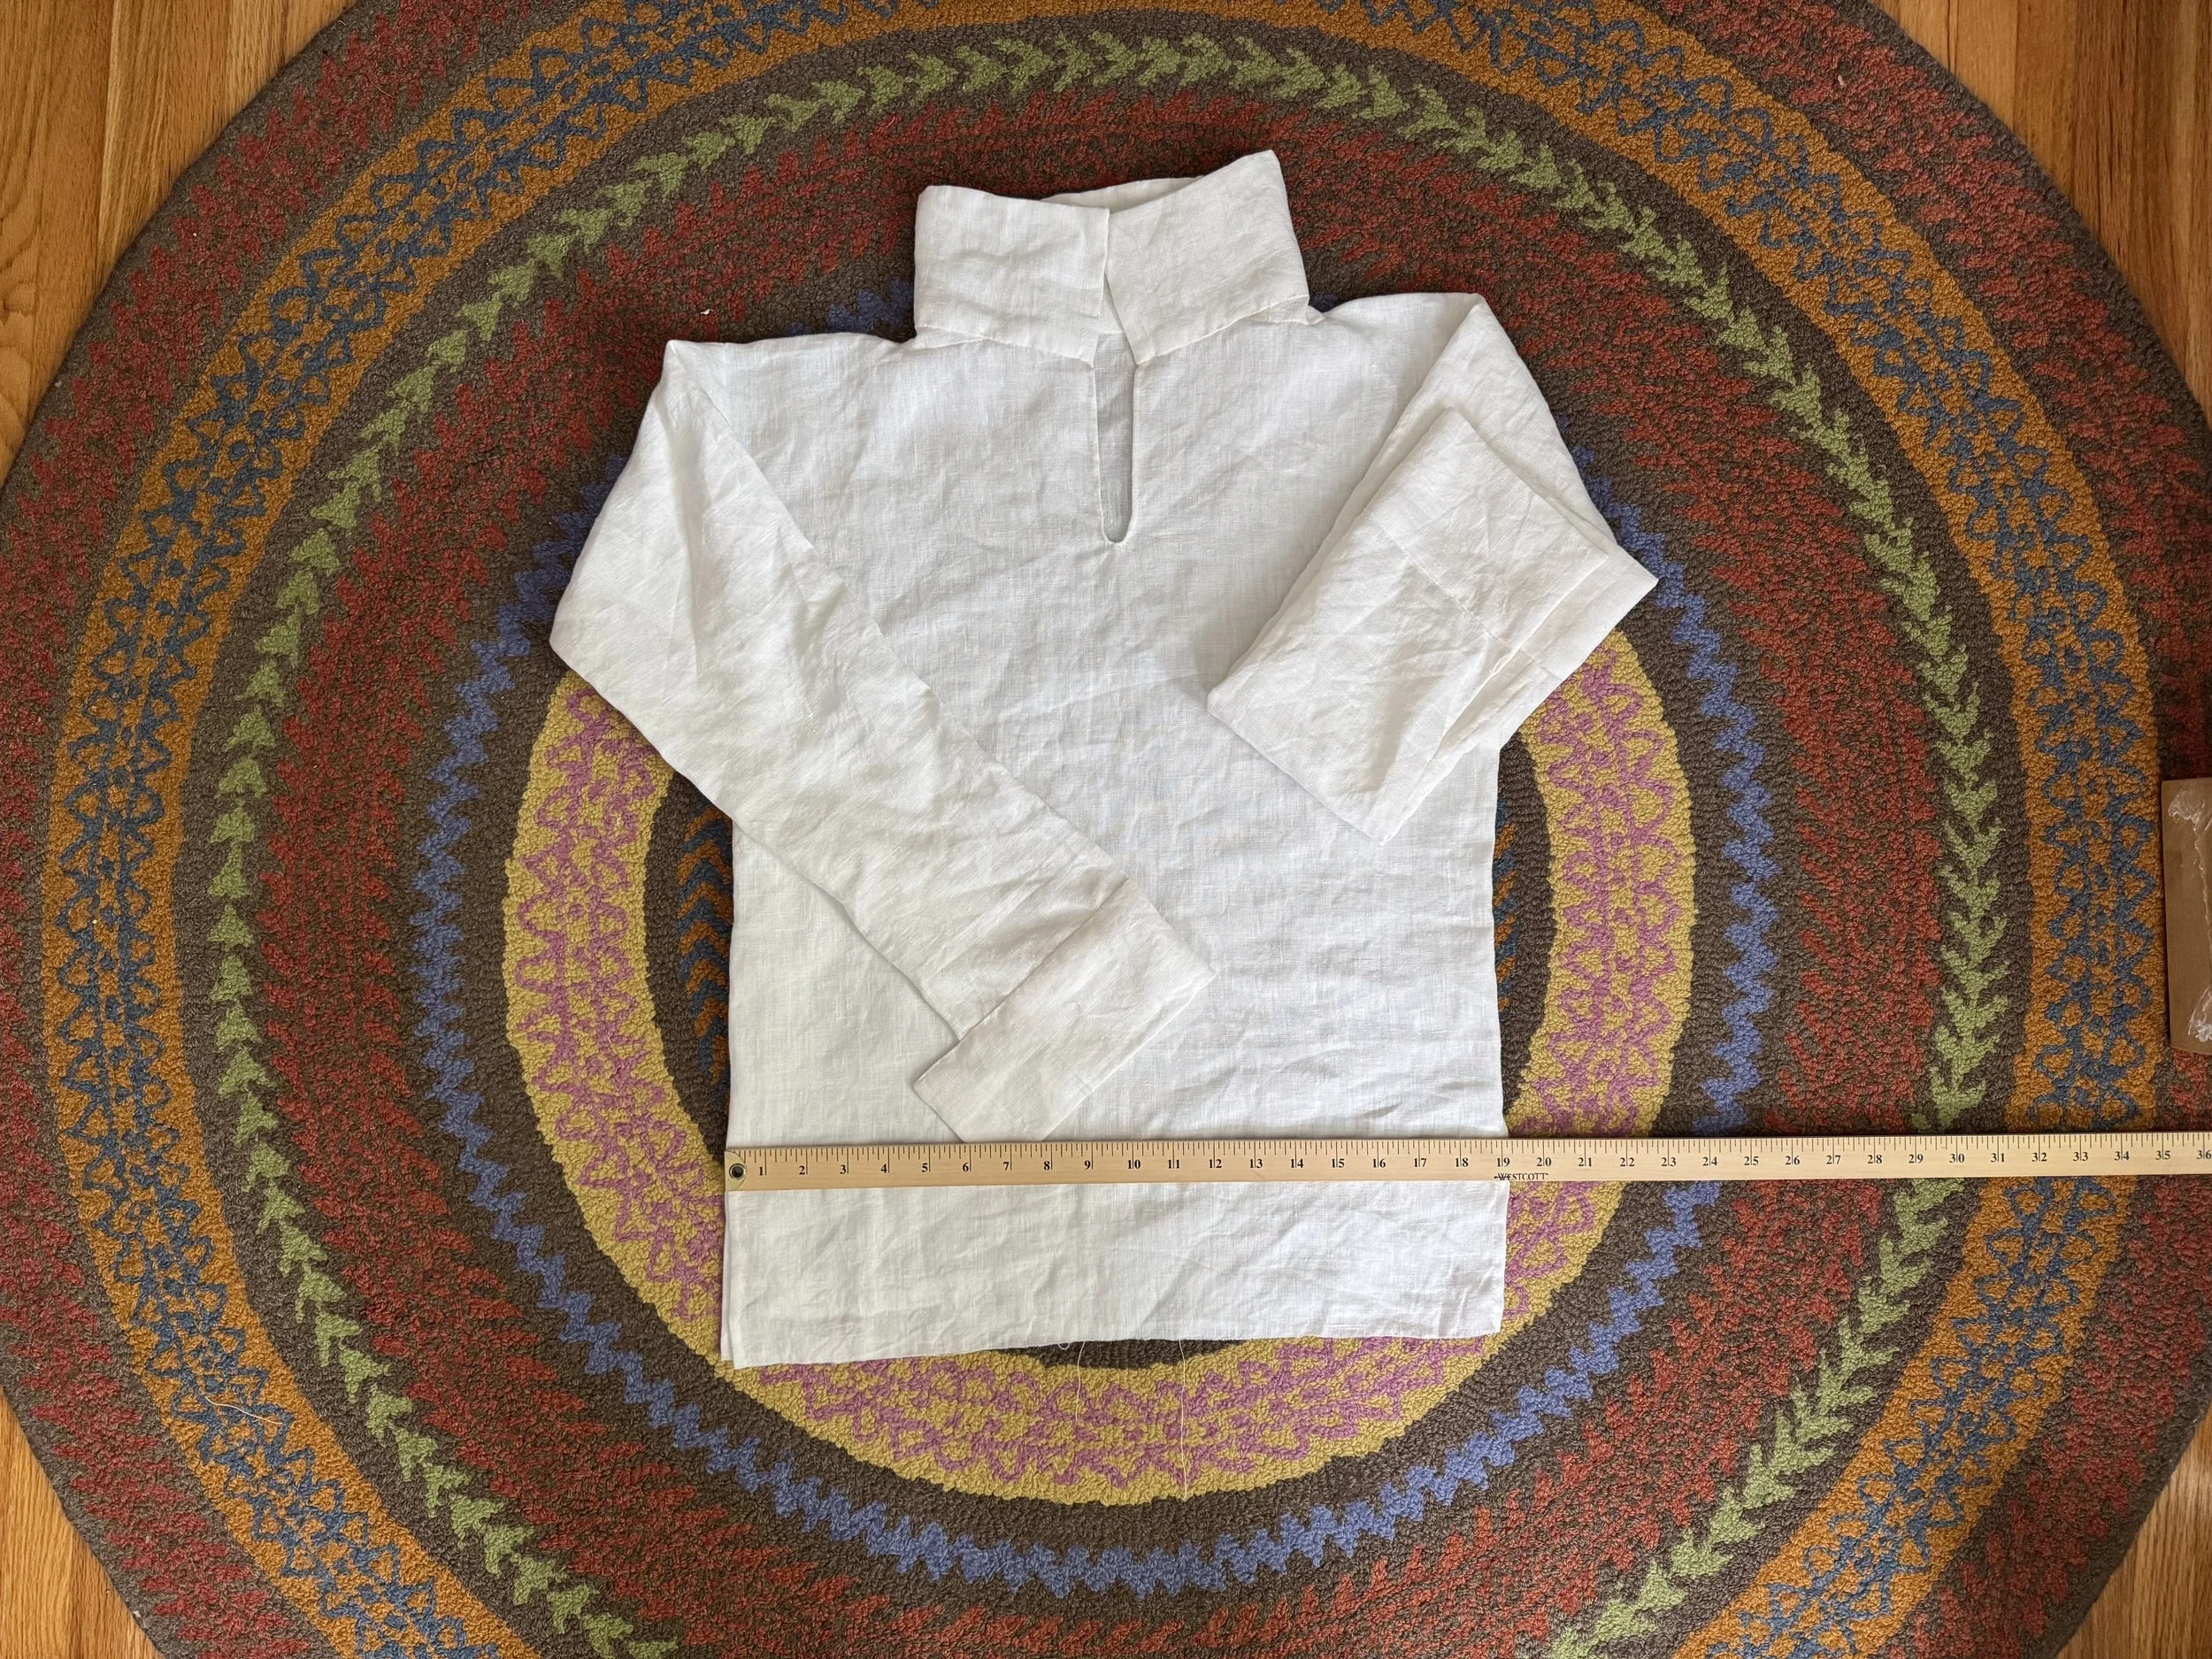
This is my fourth pirate shirt (yes, I have a problem) and it is more or less patterned after the second one I made (link is coming!). But. The body width on this shirt ended up about 1” narrower than on my brown shirt, and I don’t like how it feels on my hips.
-
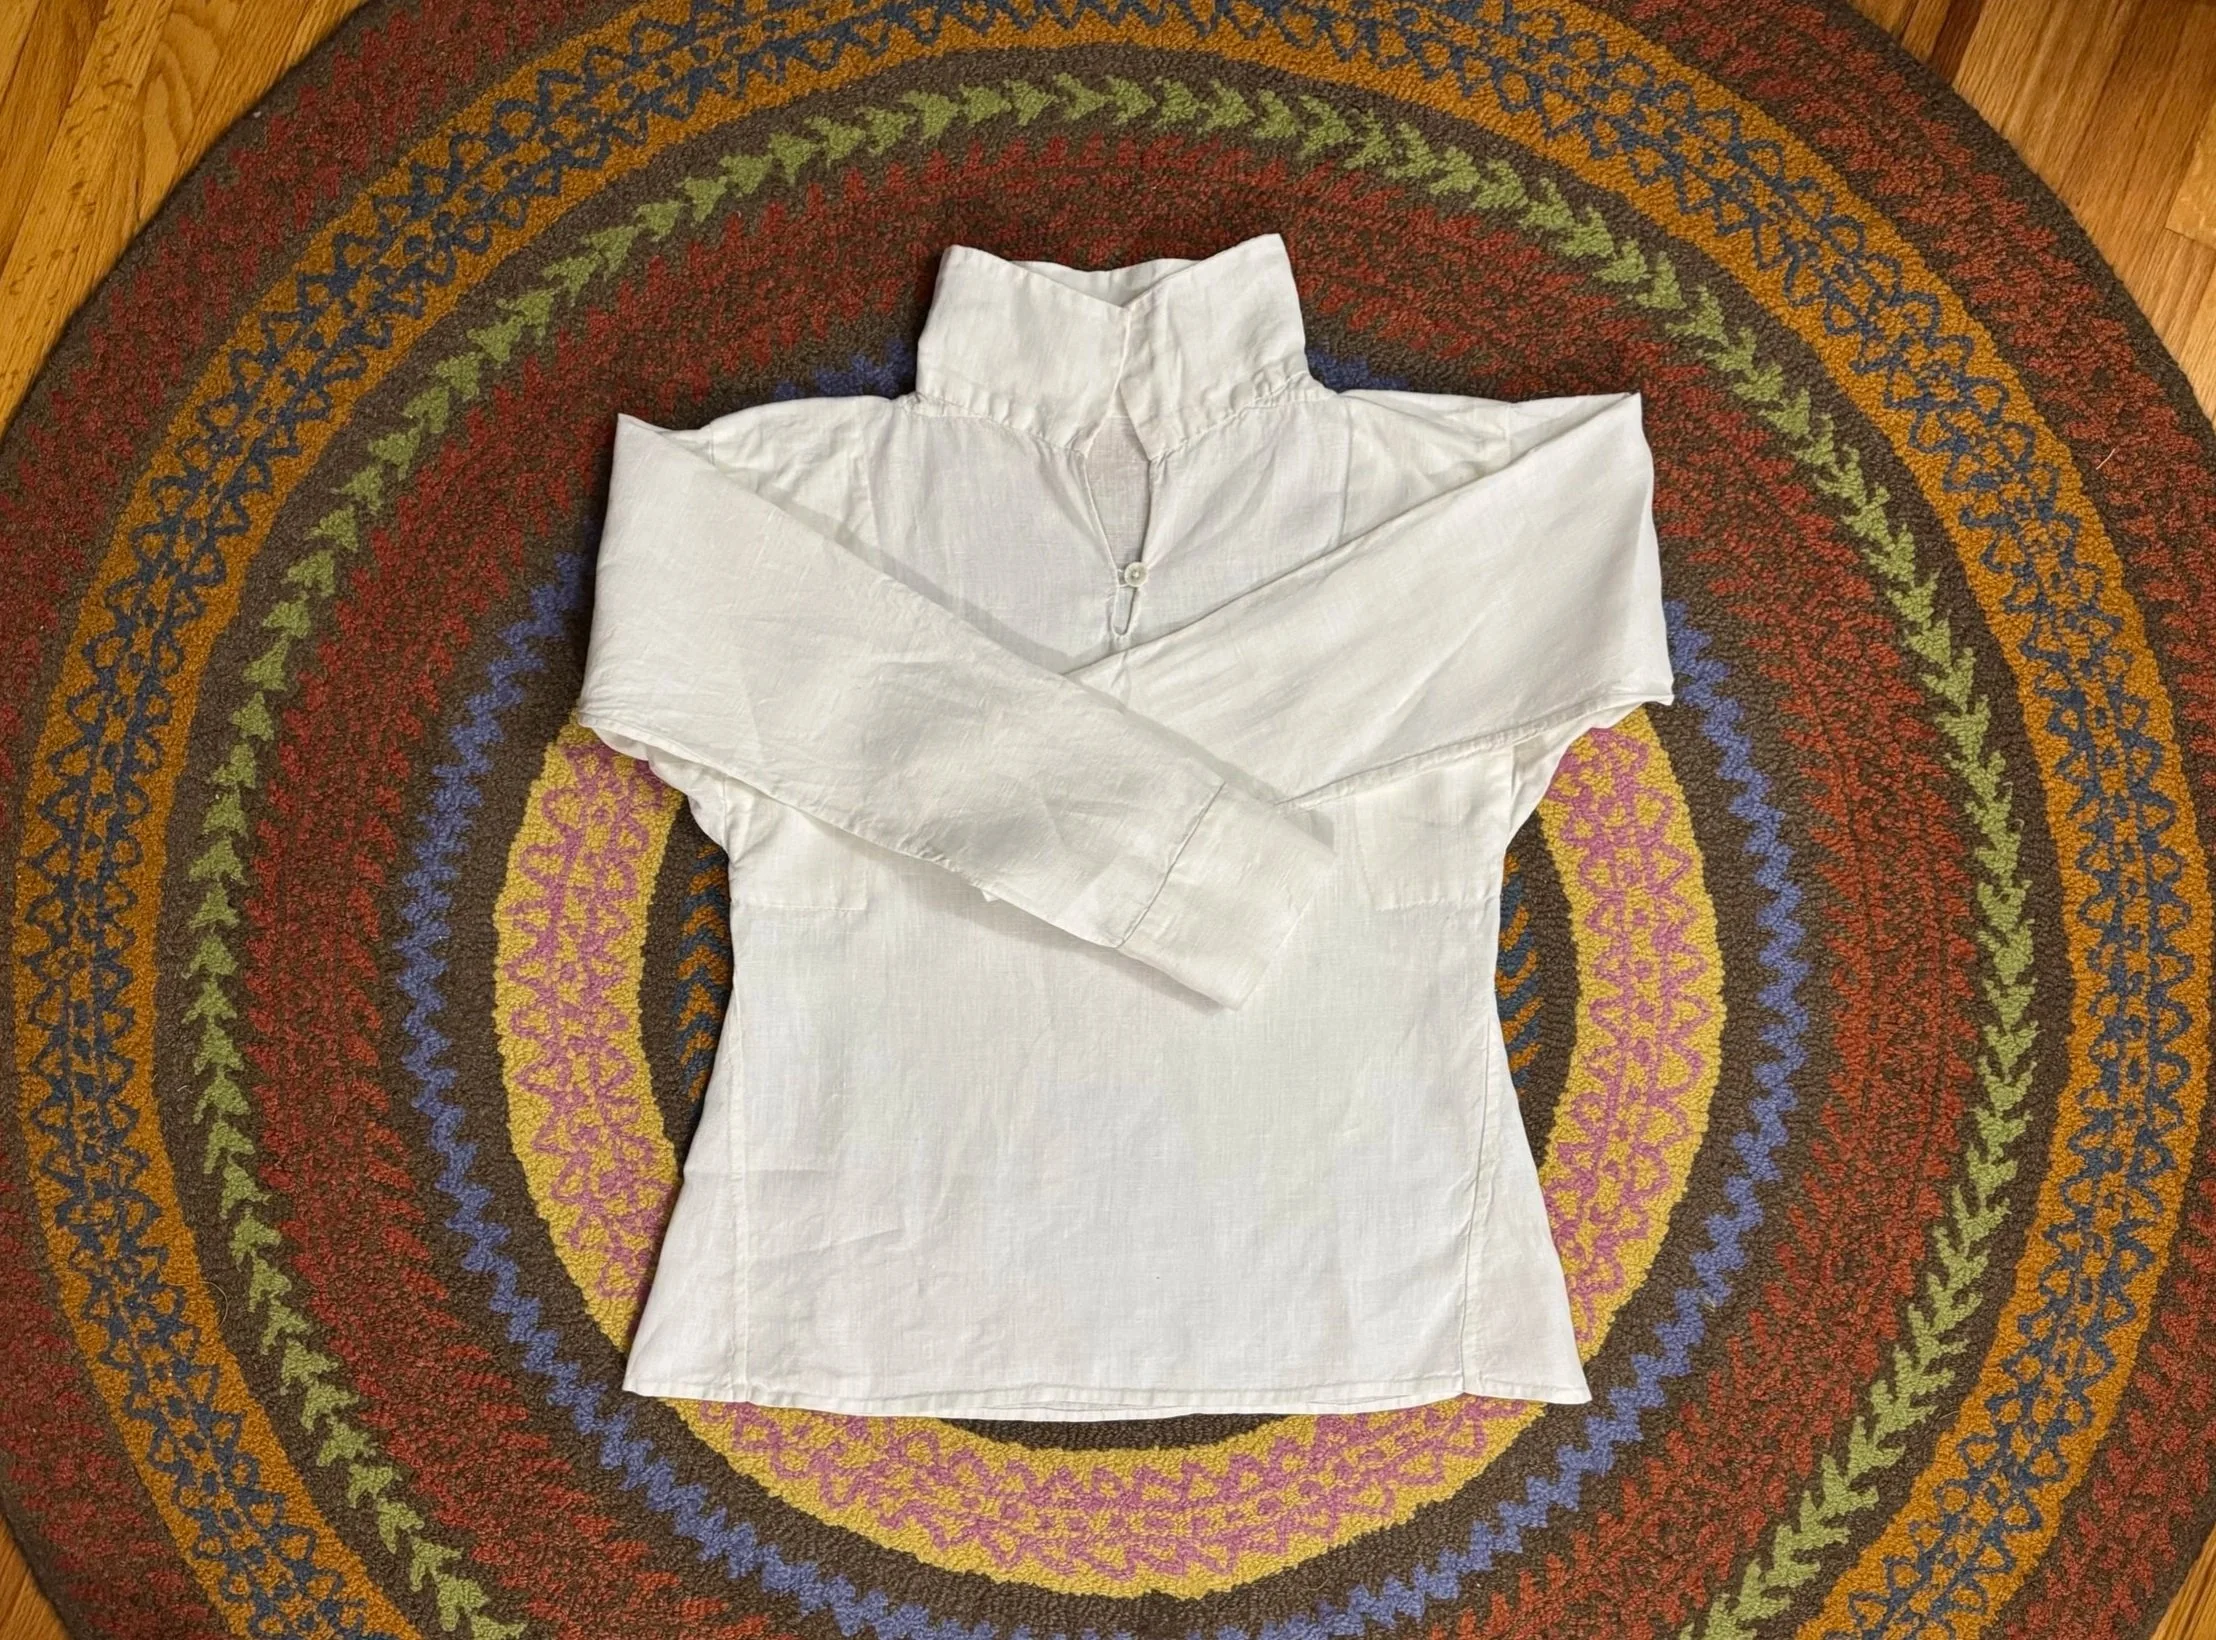
this pirate has a slightly curved neck in front
One modification I made is that I cut out tiny longish triangles from the neck before I put the collar on. I am hoping that it lays in a more relaxed fashion under the pirate chin.
-

So, here is the issue
I have a 38” shirt and I want it to be at least 40” at the hips. I want some swoosh. I could cut the thing from chin to chaps and insert a strip of linen the desired width, but I sort of already did that on my first pirate shirt.
-
how about a godet?
Instead, I could make a triangle that is about 6” at the base, and sew it into the sides of the shirt (after removing my beautifully felled side seams).
-
A flat-bottomed piece will rise at an angle
So I will need to be sure to give myself plenty of spare fabric.
-
8" seems safe
I get to pull thread, yay, and make some rectangles.
-
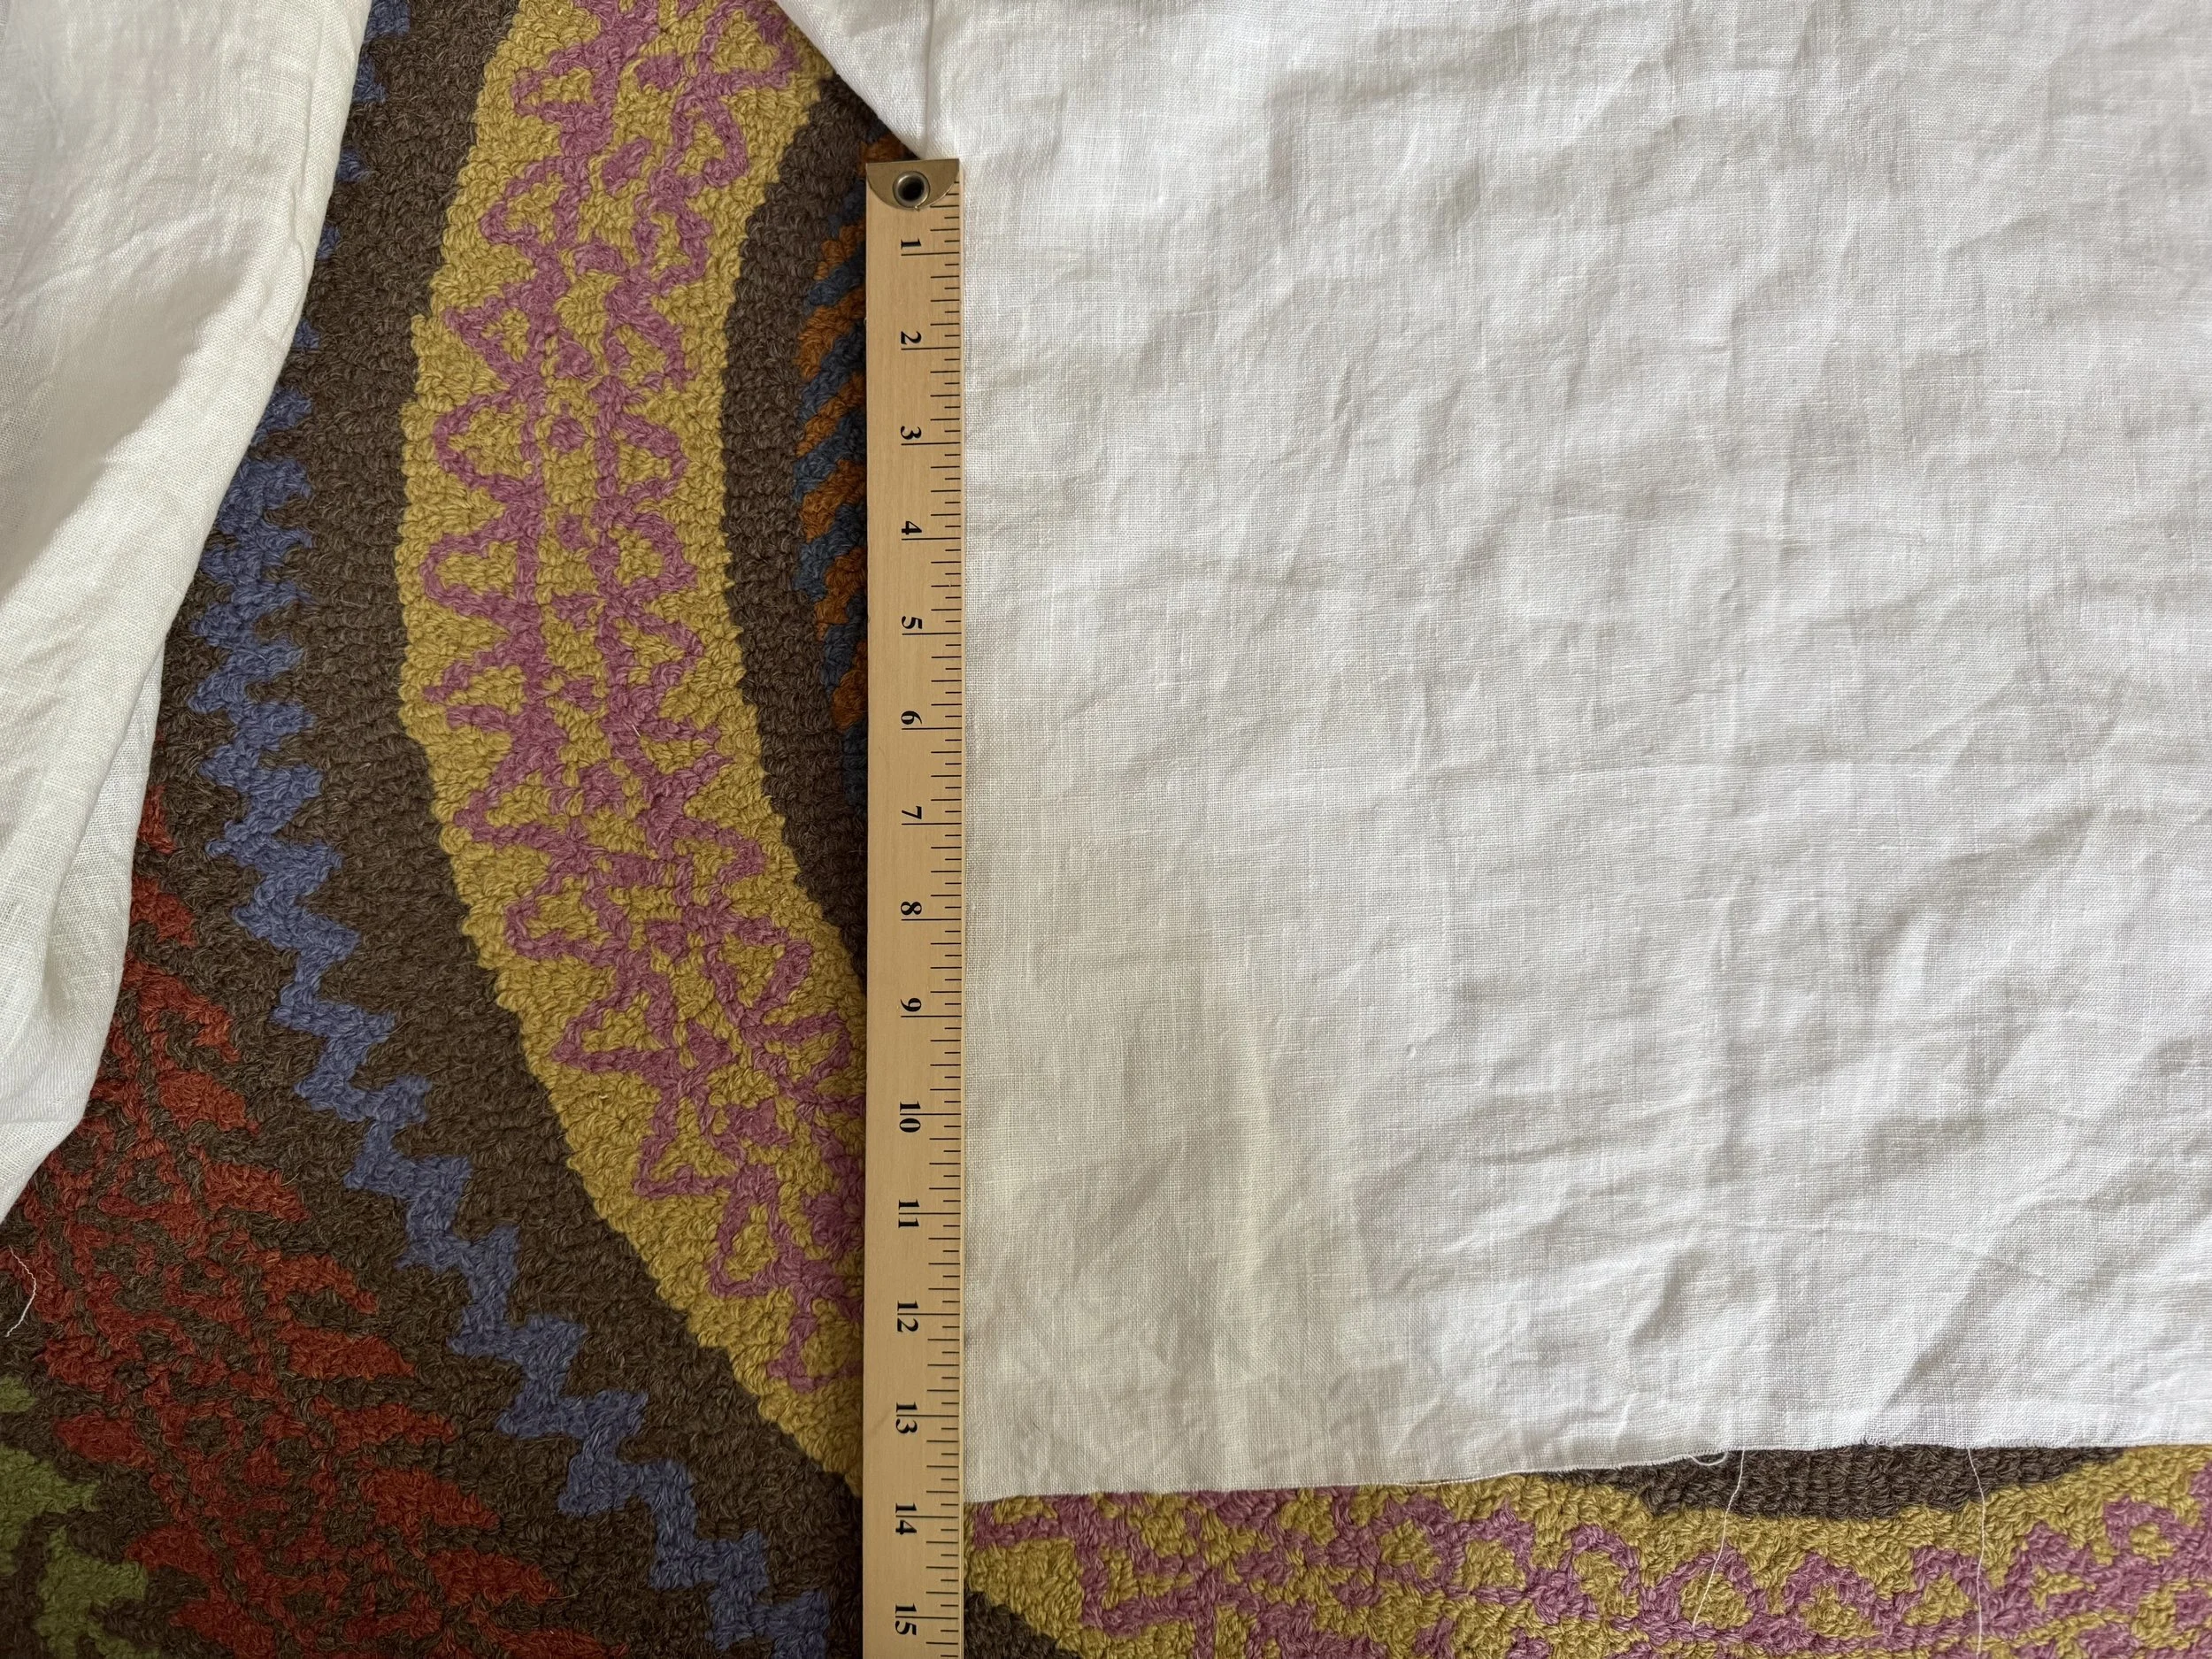
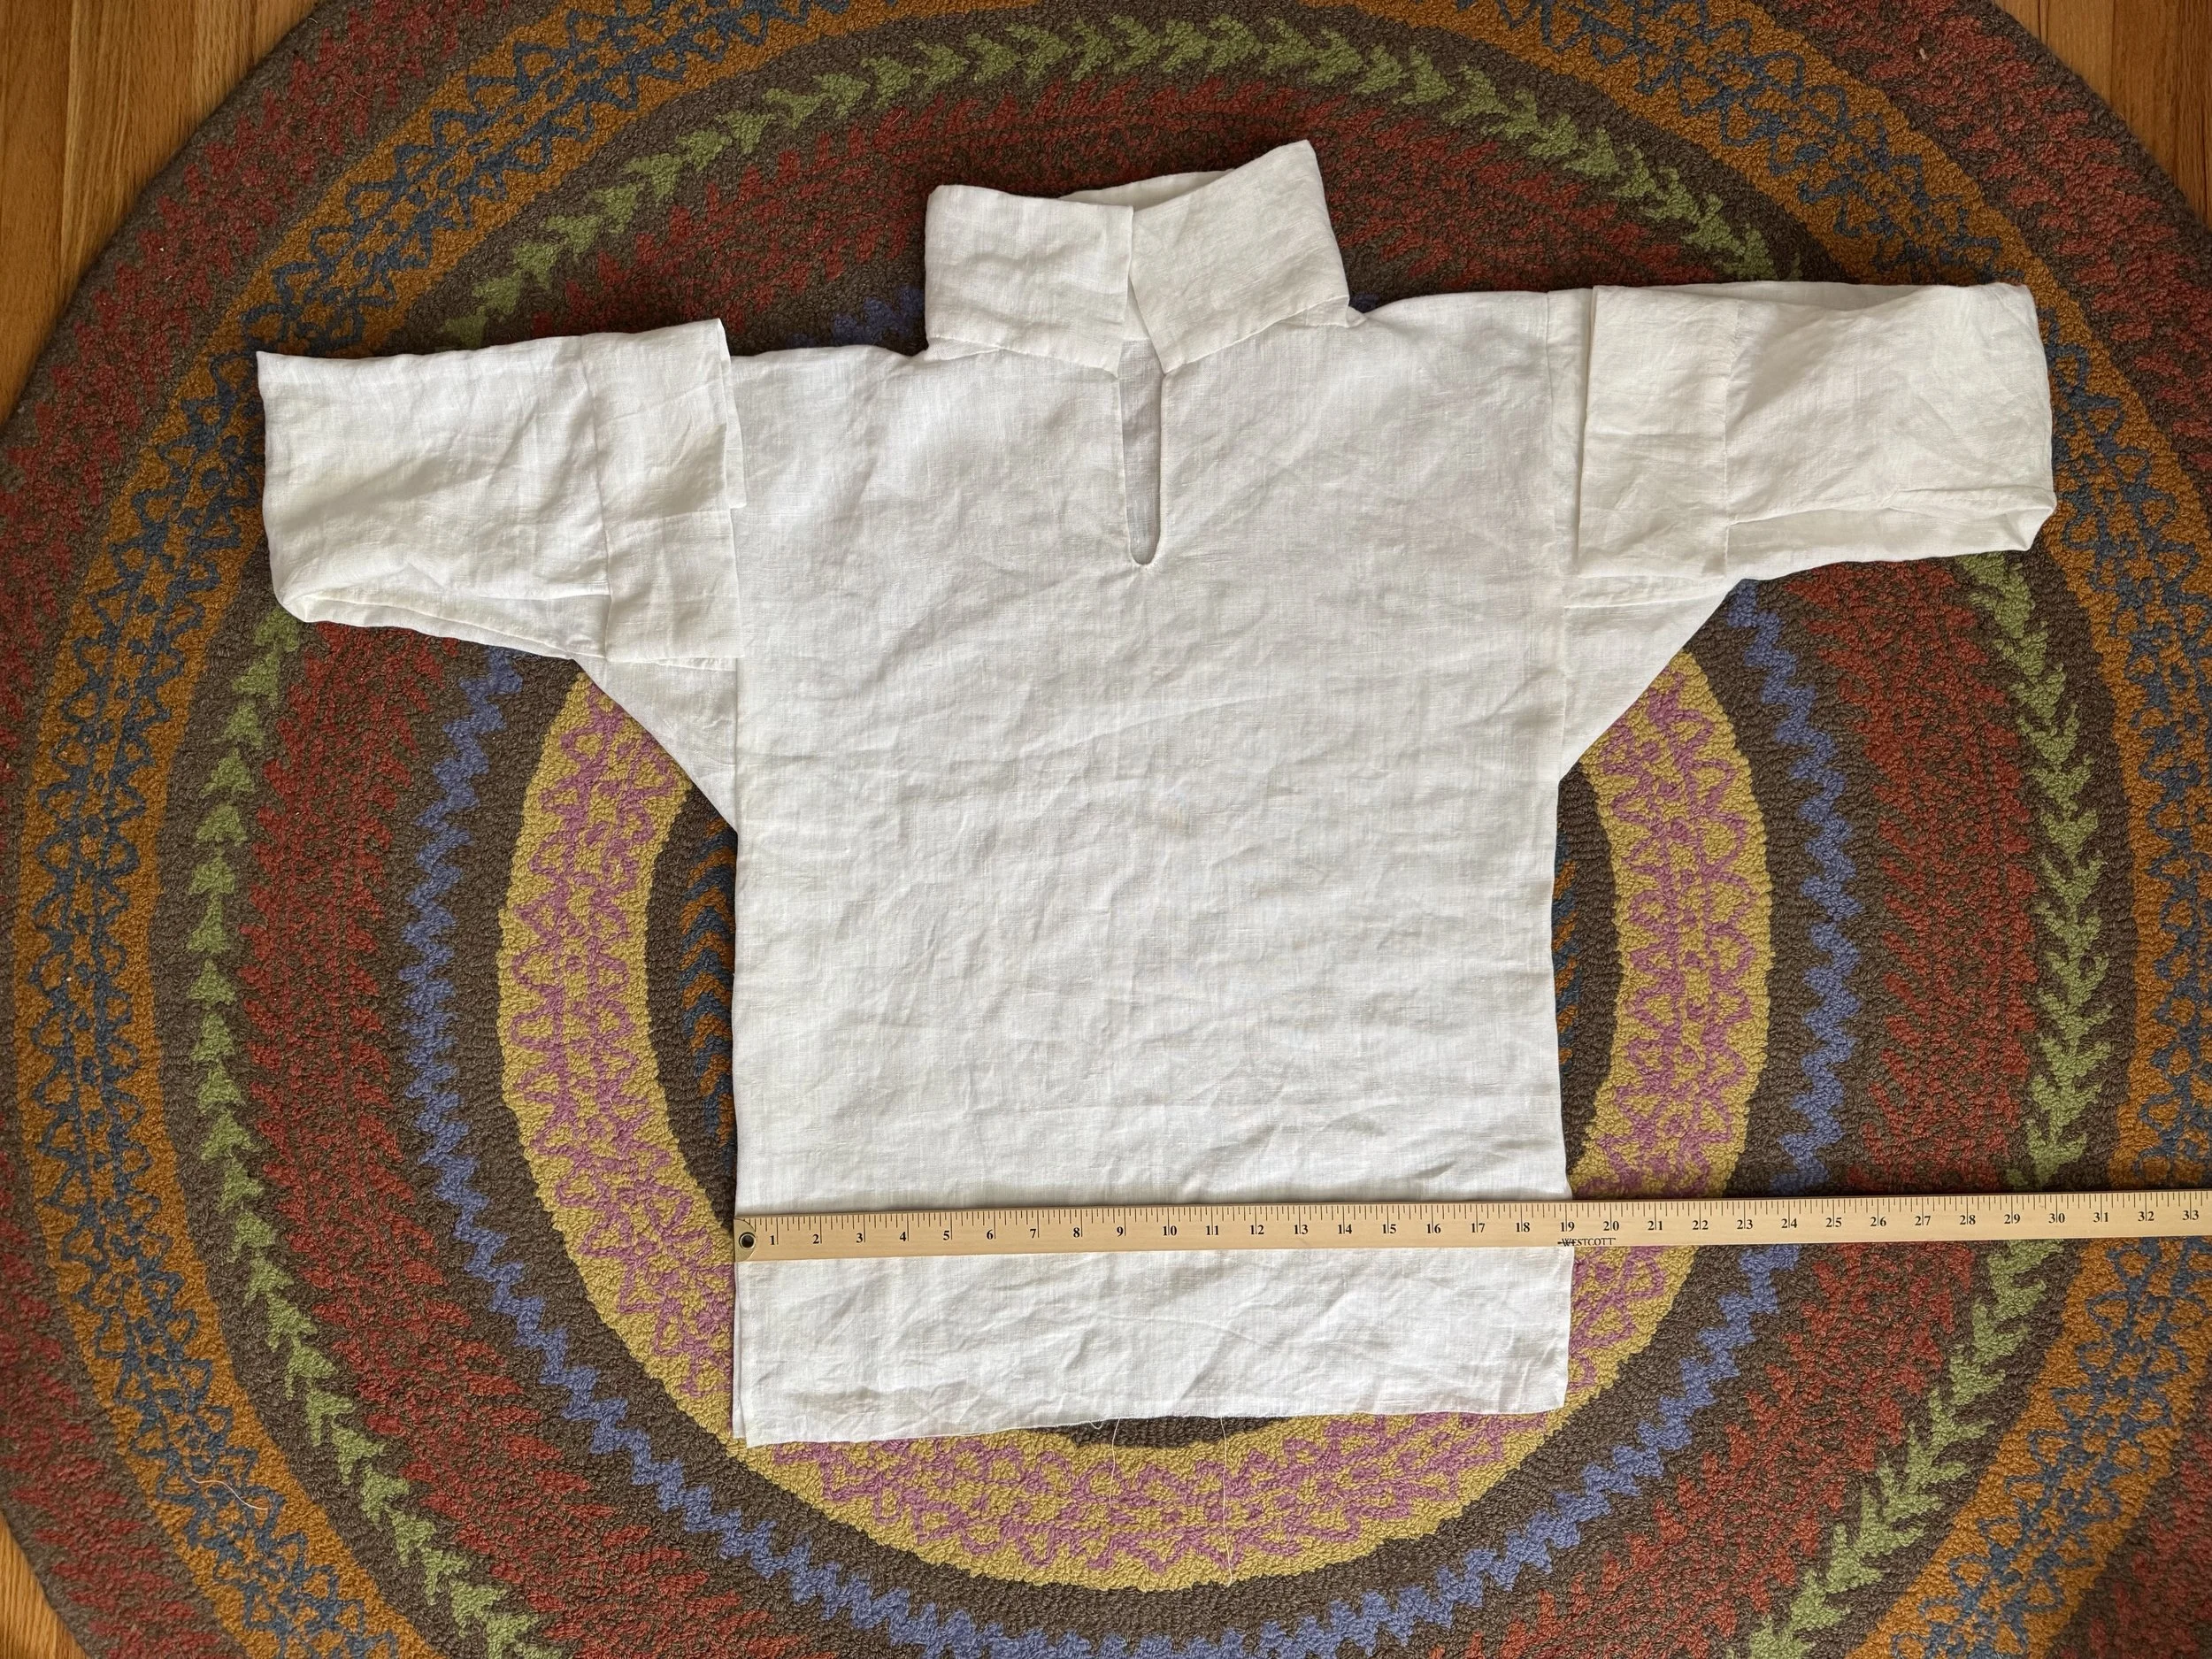
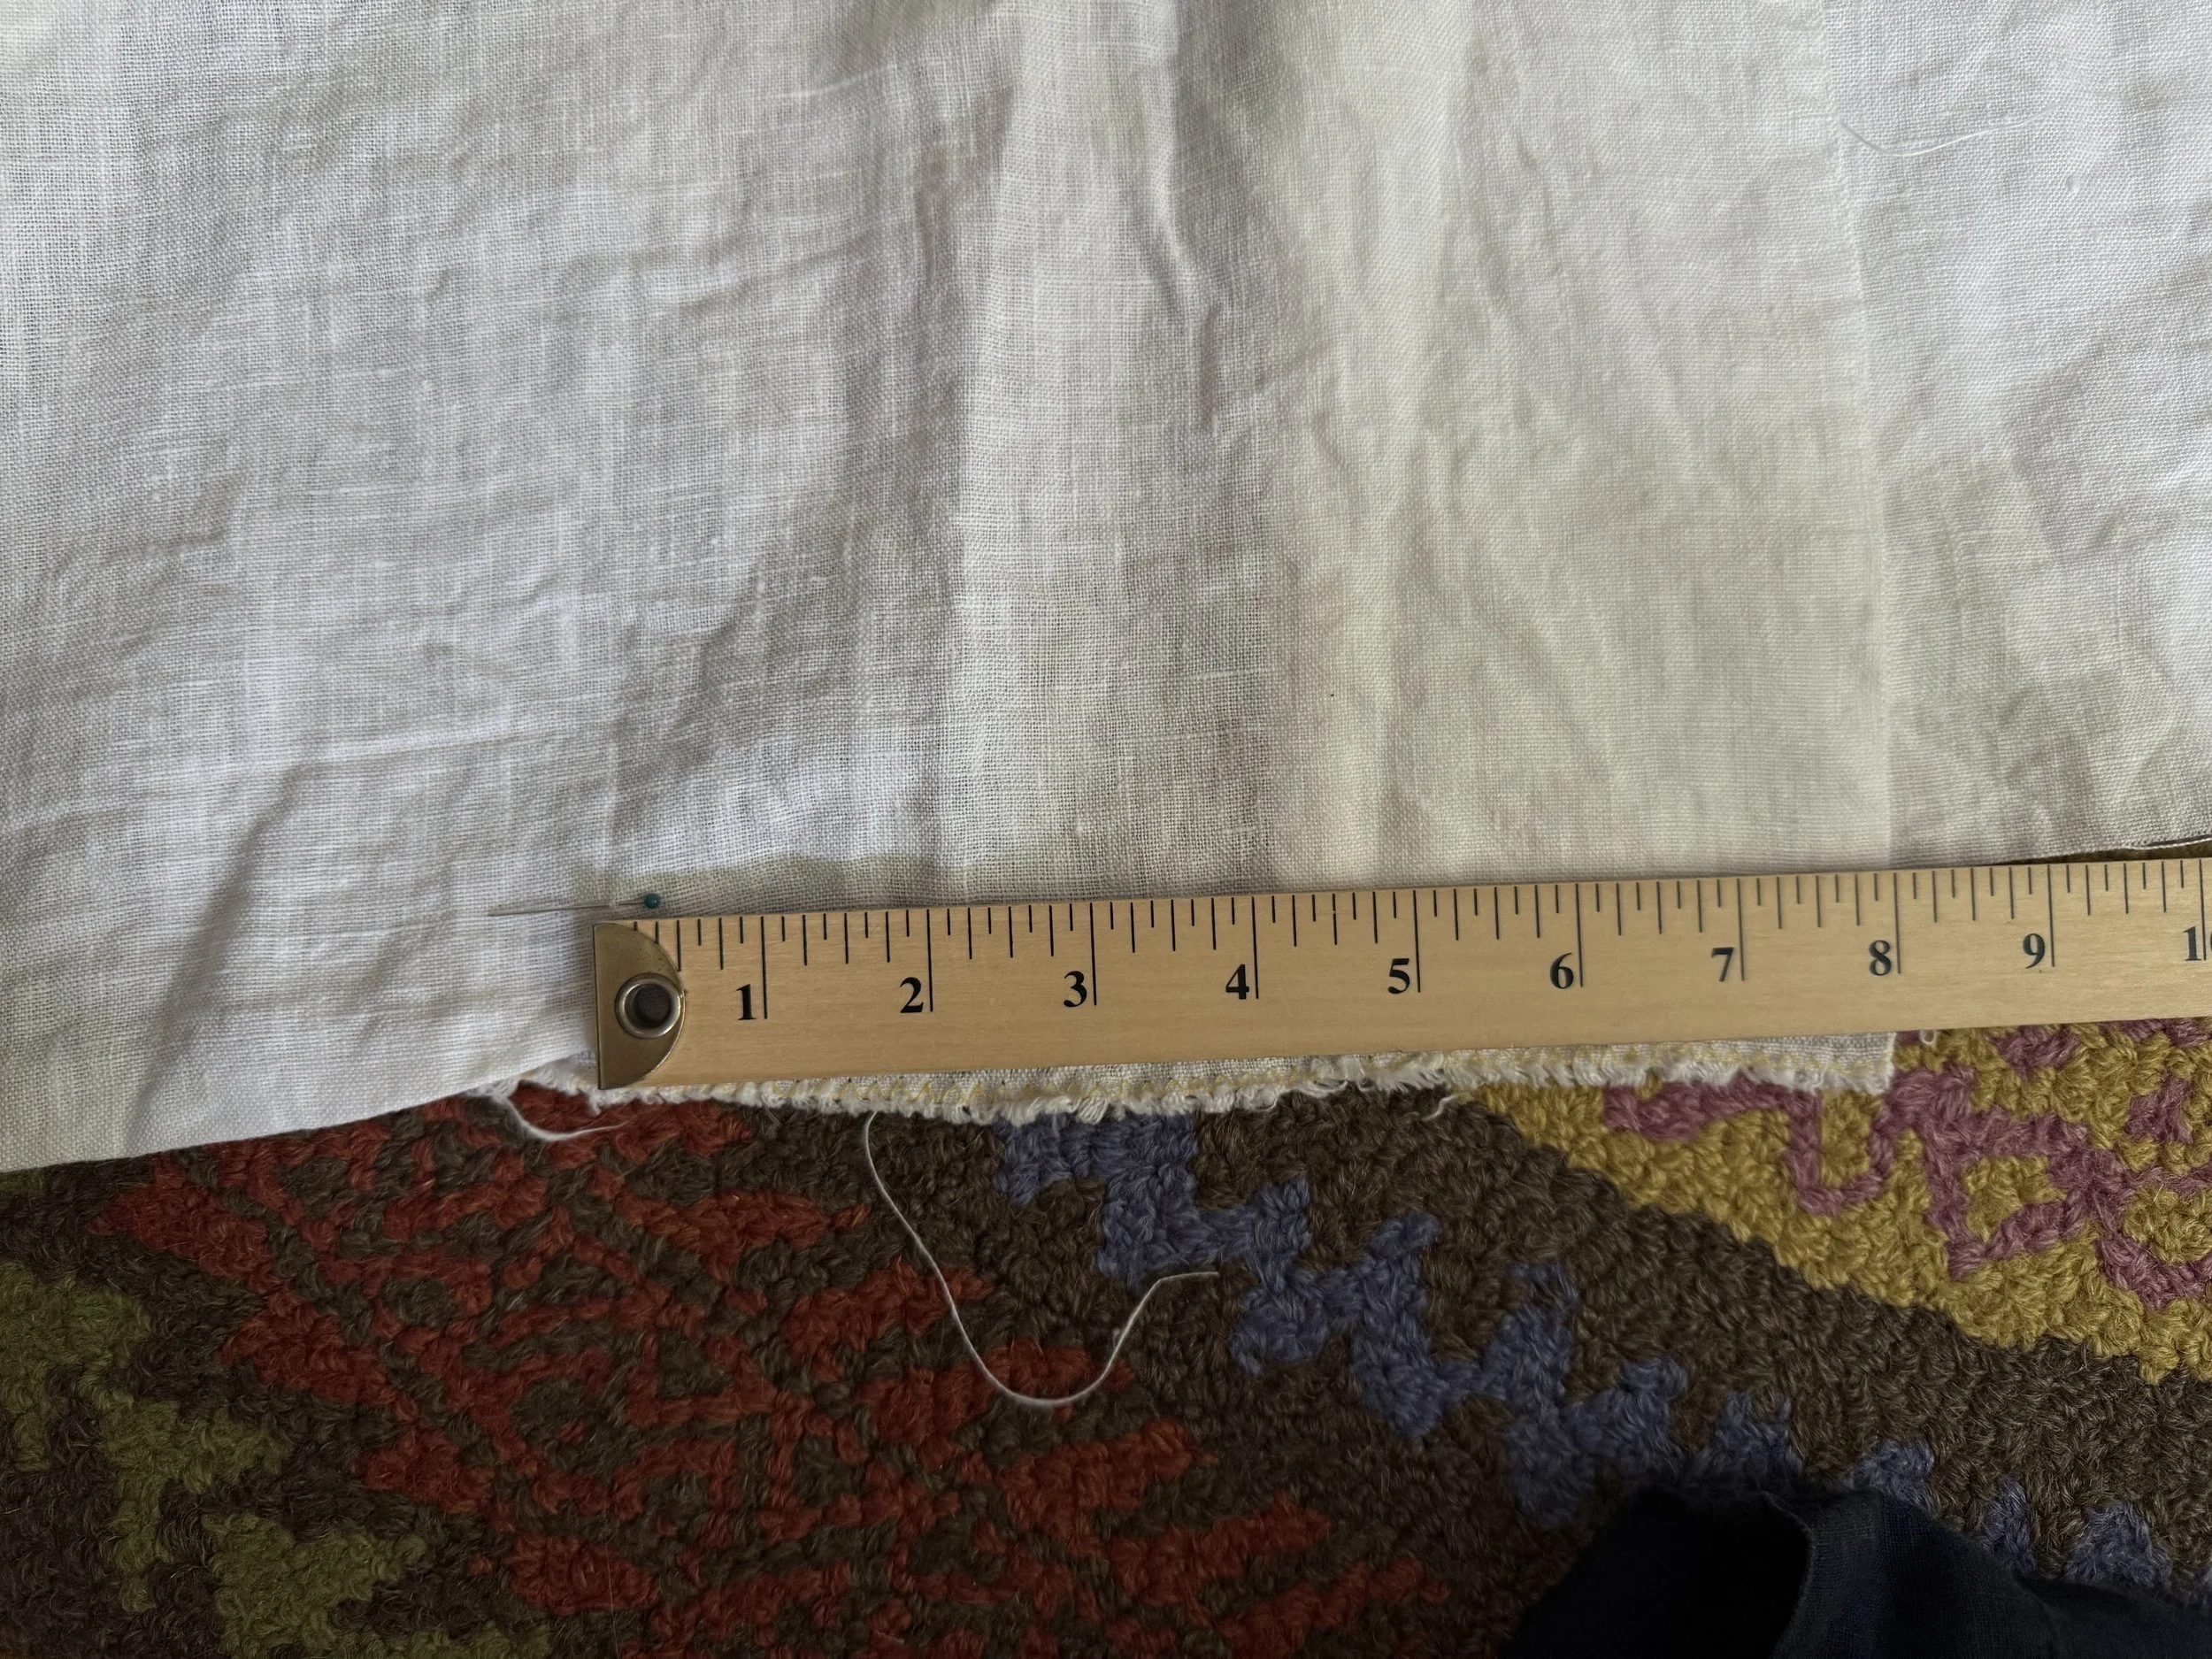
checking length
I have about 14” from the bottom of my arm gusset to the bottom of the shirt, so I will make my rectangles 12” high (and 8”
wide). -
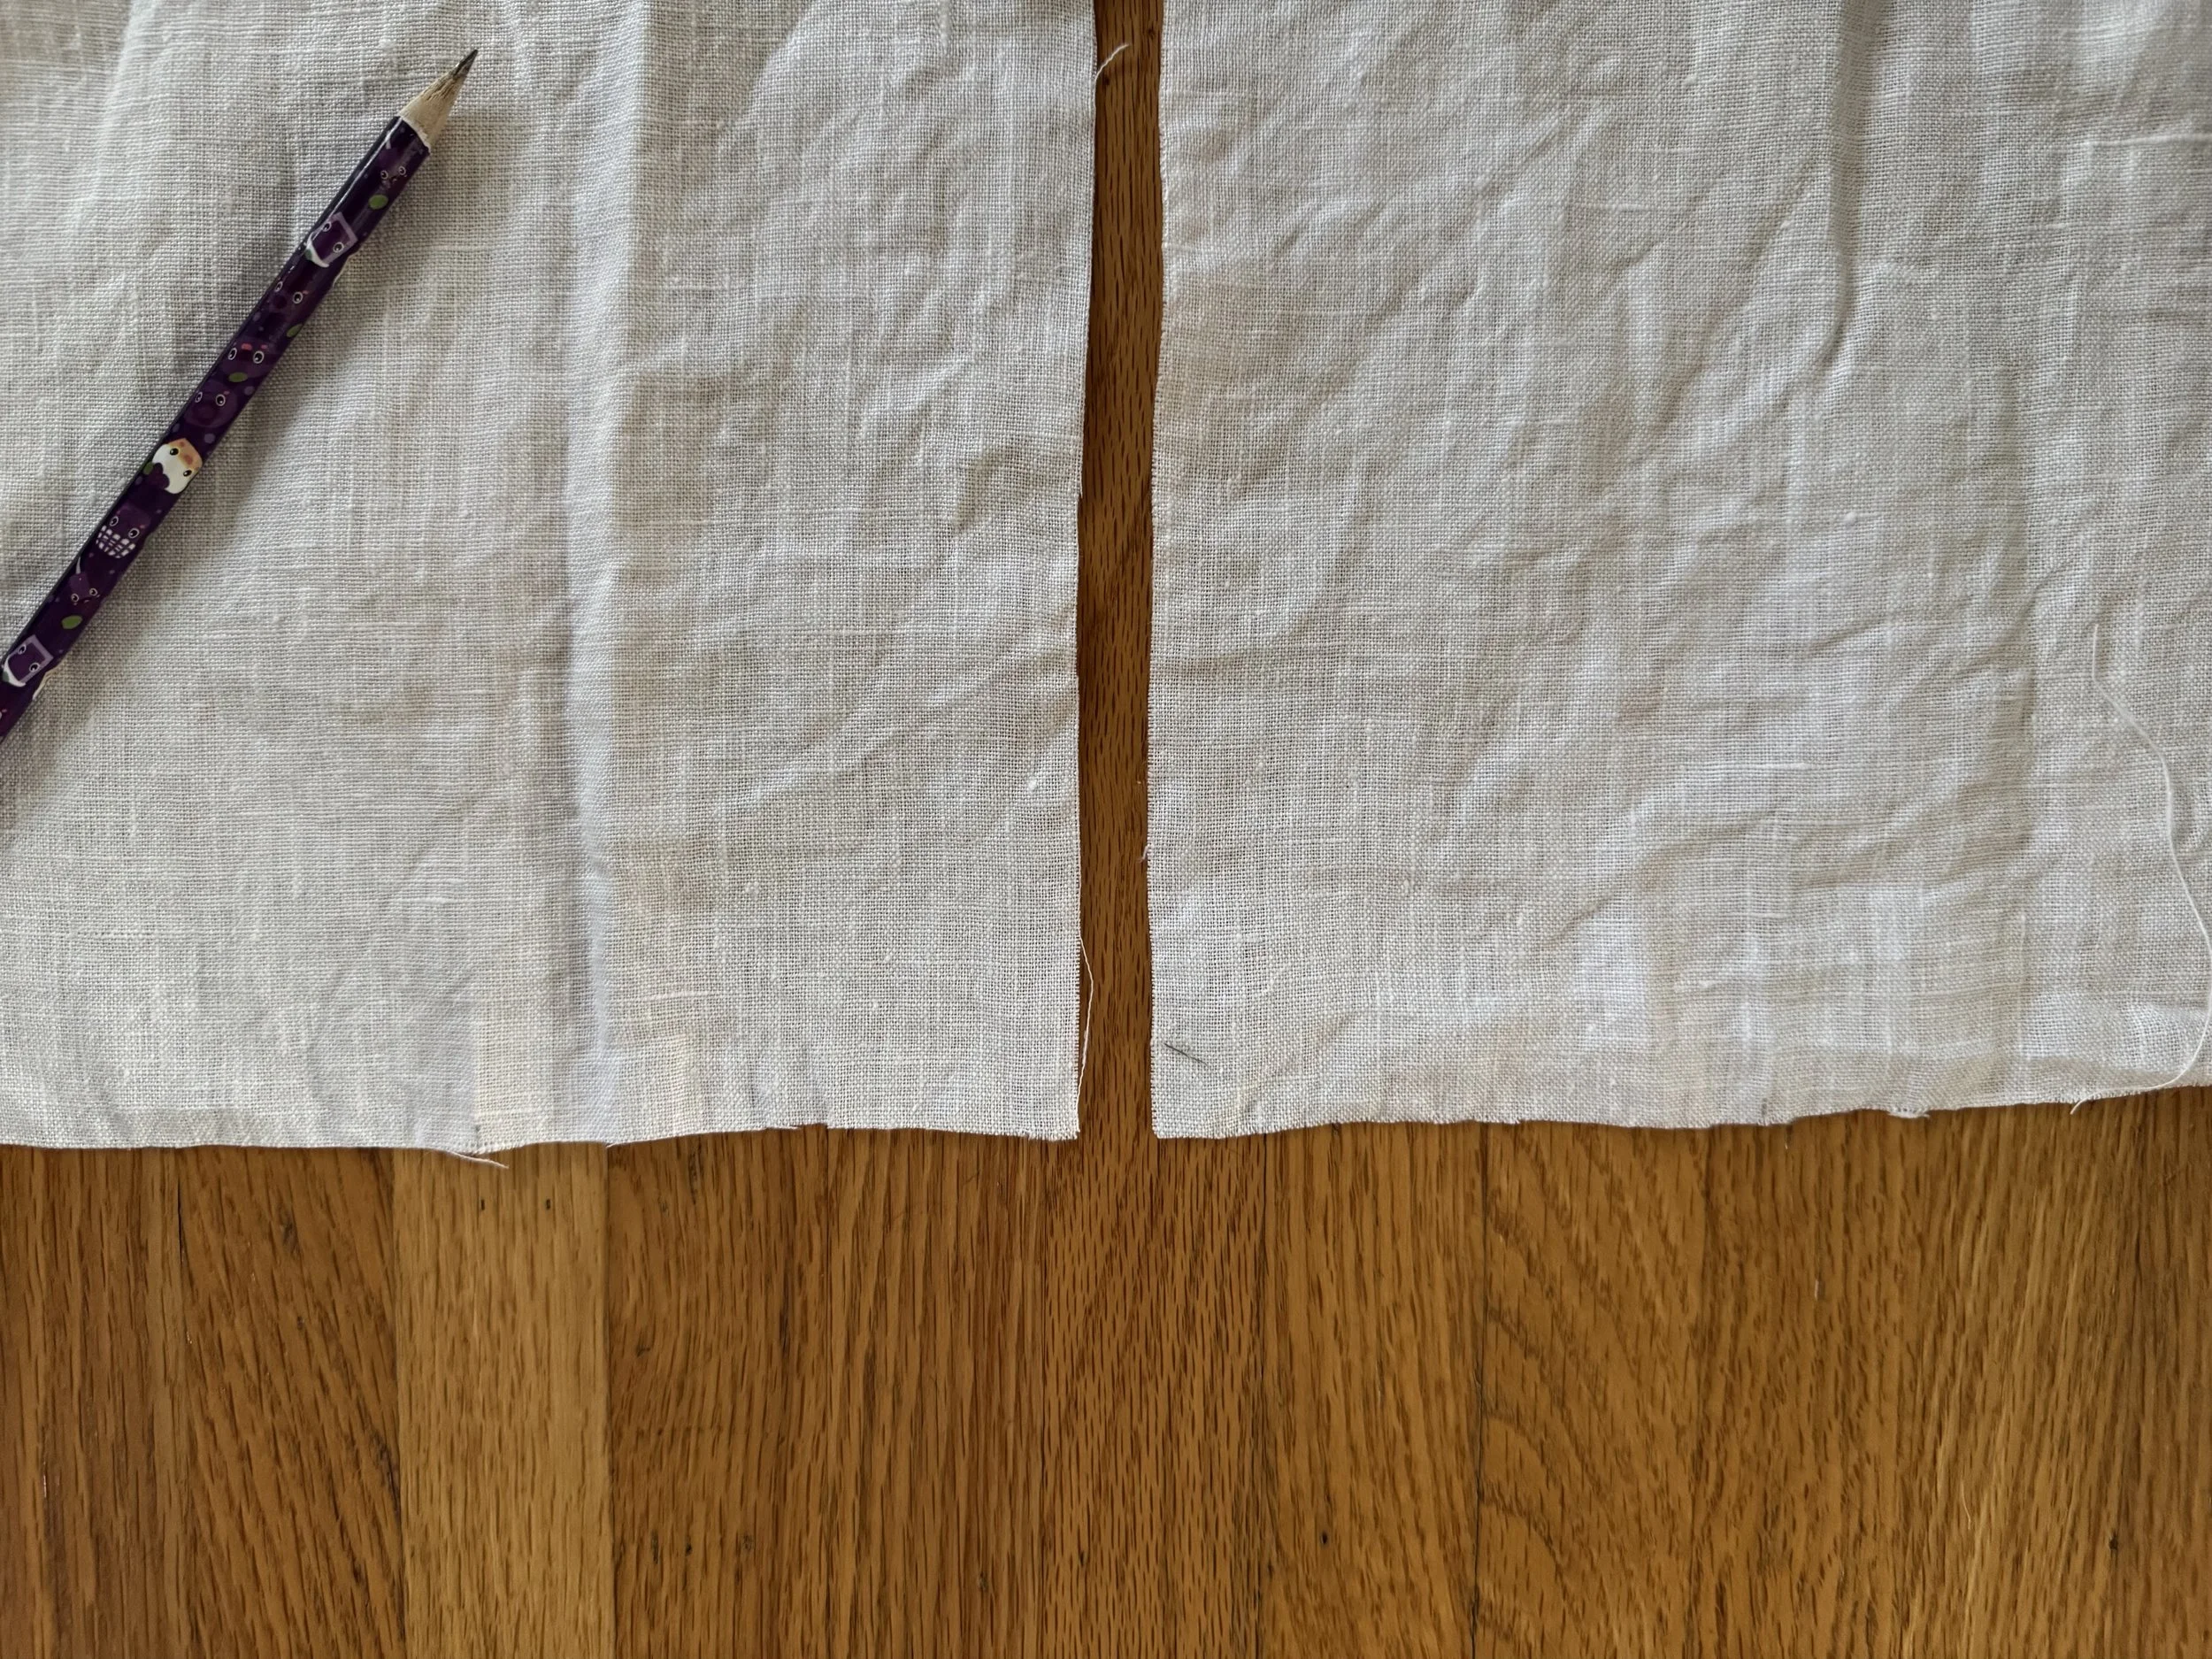
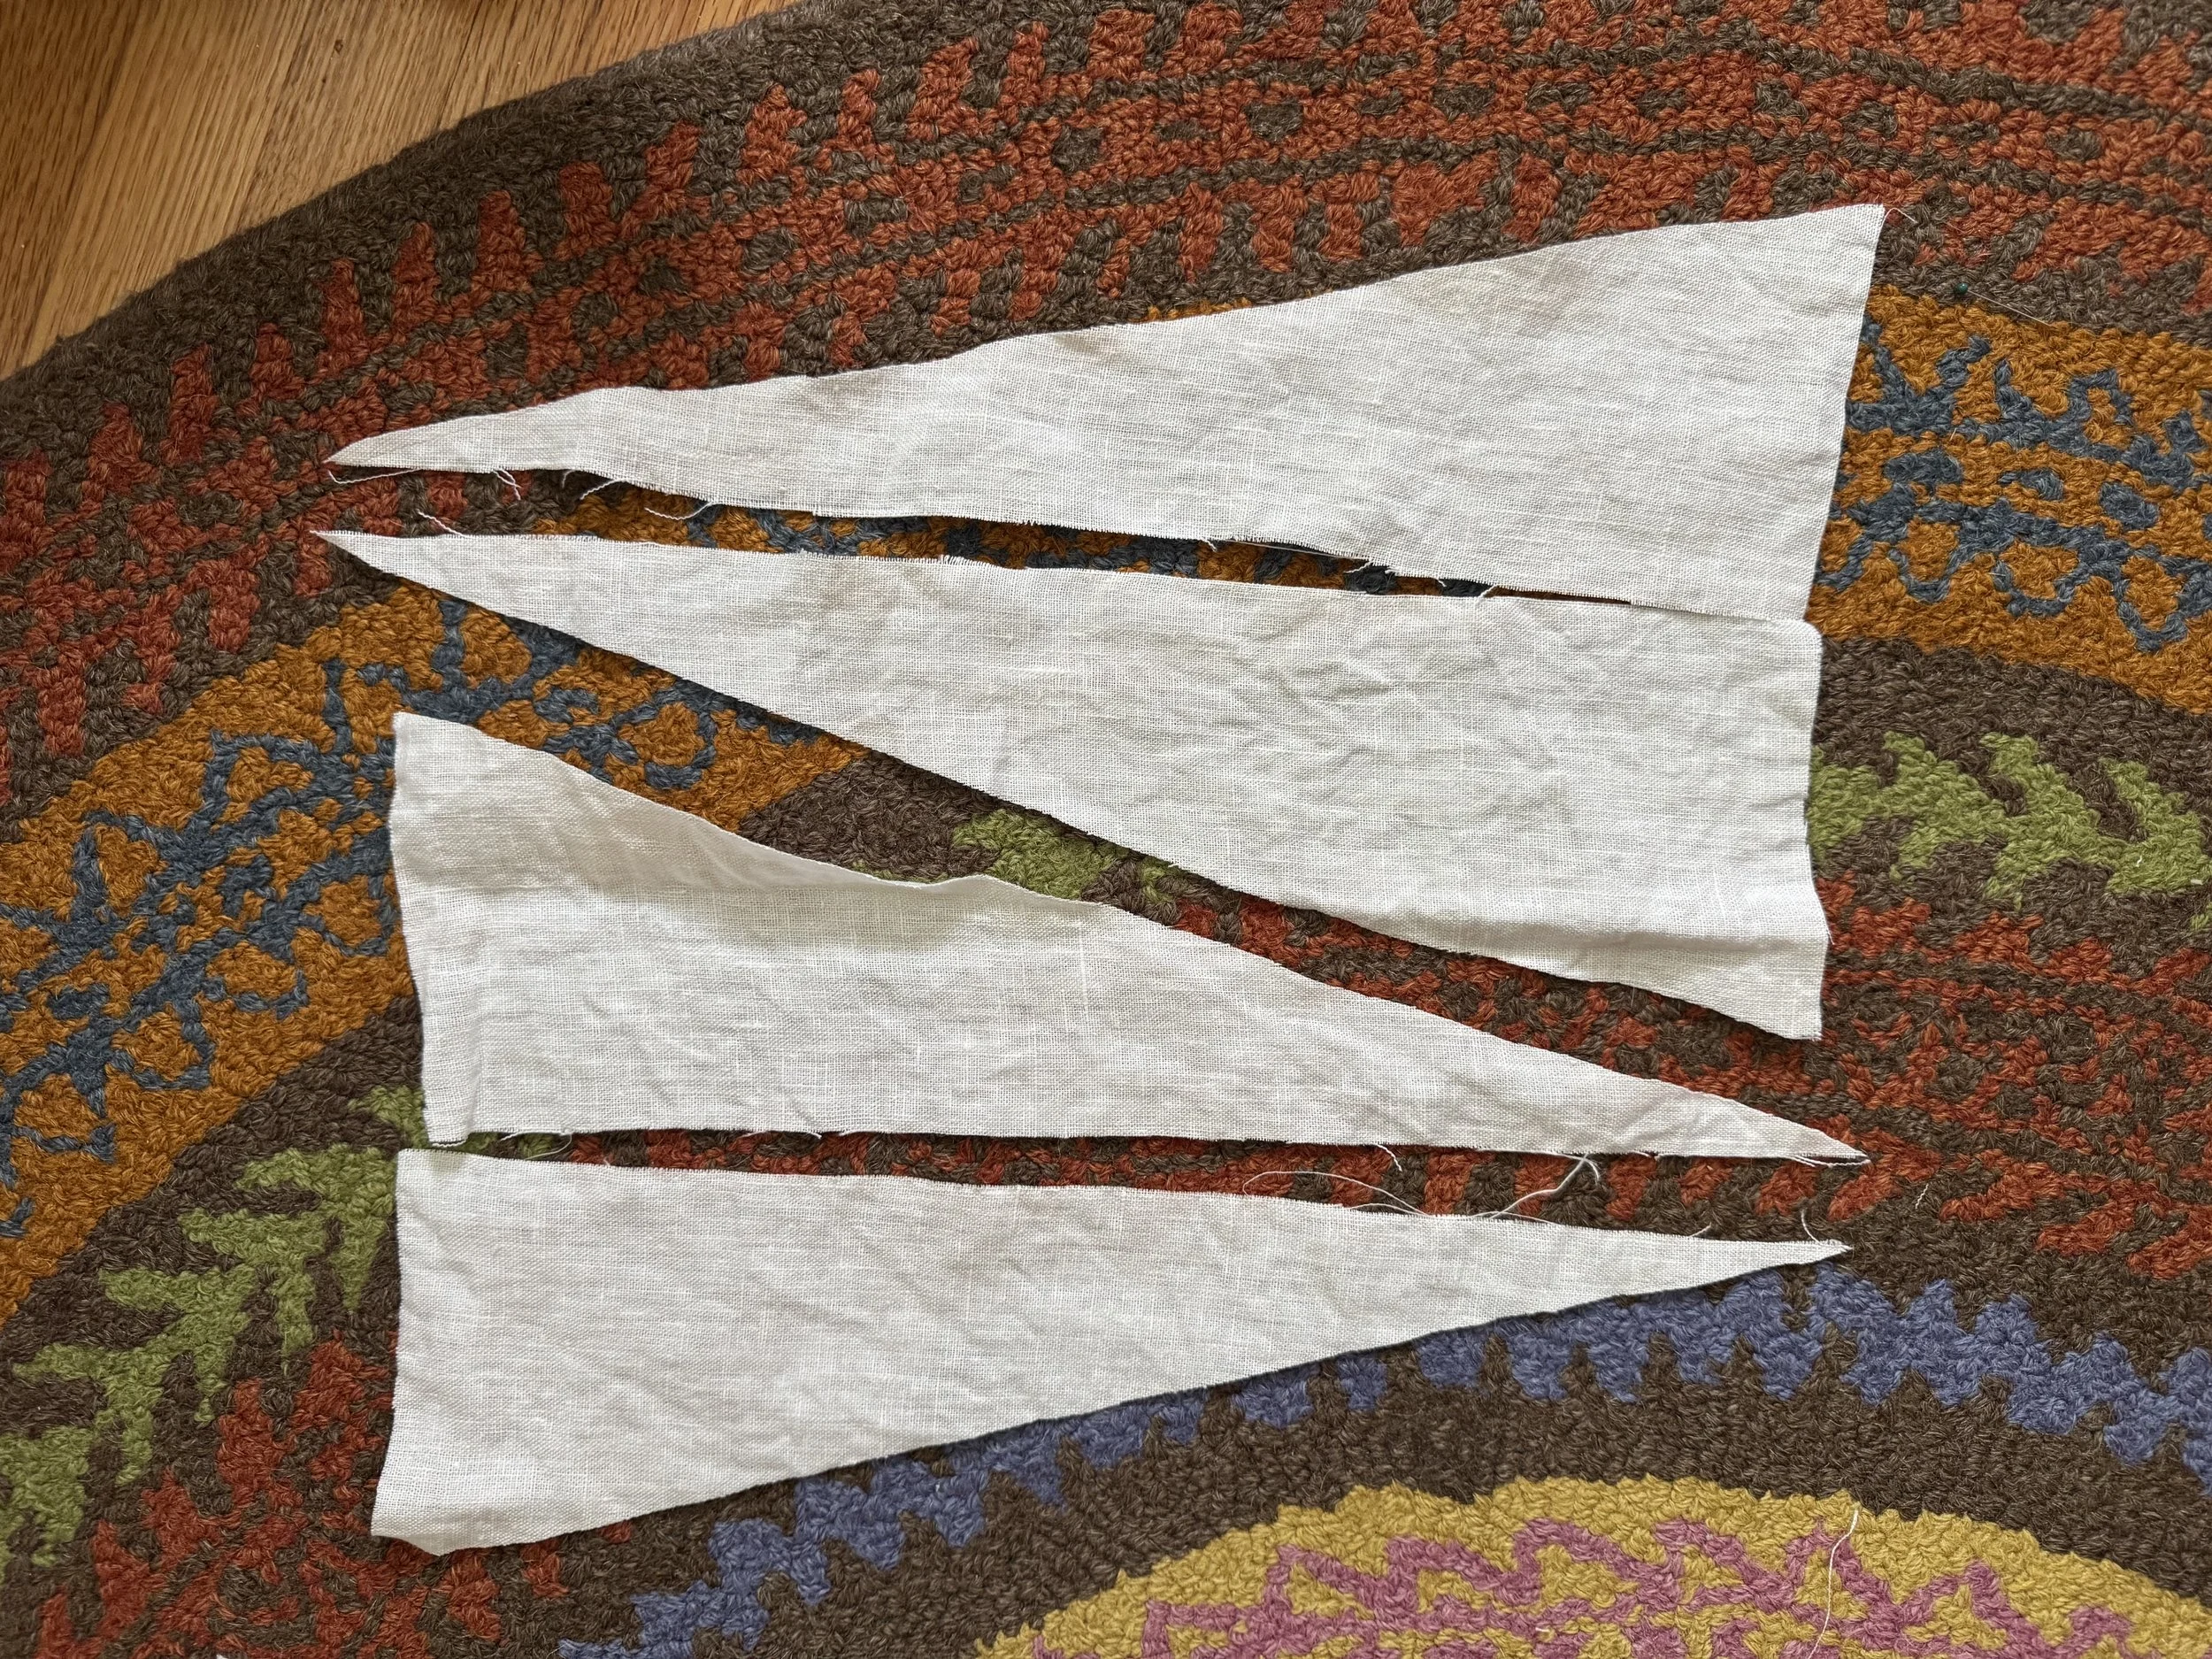
believe it or not, these are rectangles
I will make them into isosceles triangles by marking the midpoint at the top, drawing a line from said midpoint to each bottom corner, and cutting.
-
here they are
I will pin the long sides of each triangle to the sides of the shirt, and I will figure out how to deal with the top point when I get to that part.
-
leftovers
I can use these for another godet project or when I need scraps, which happens regularly.
-

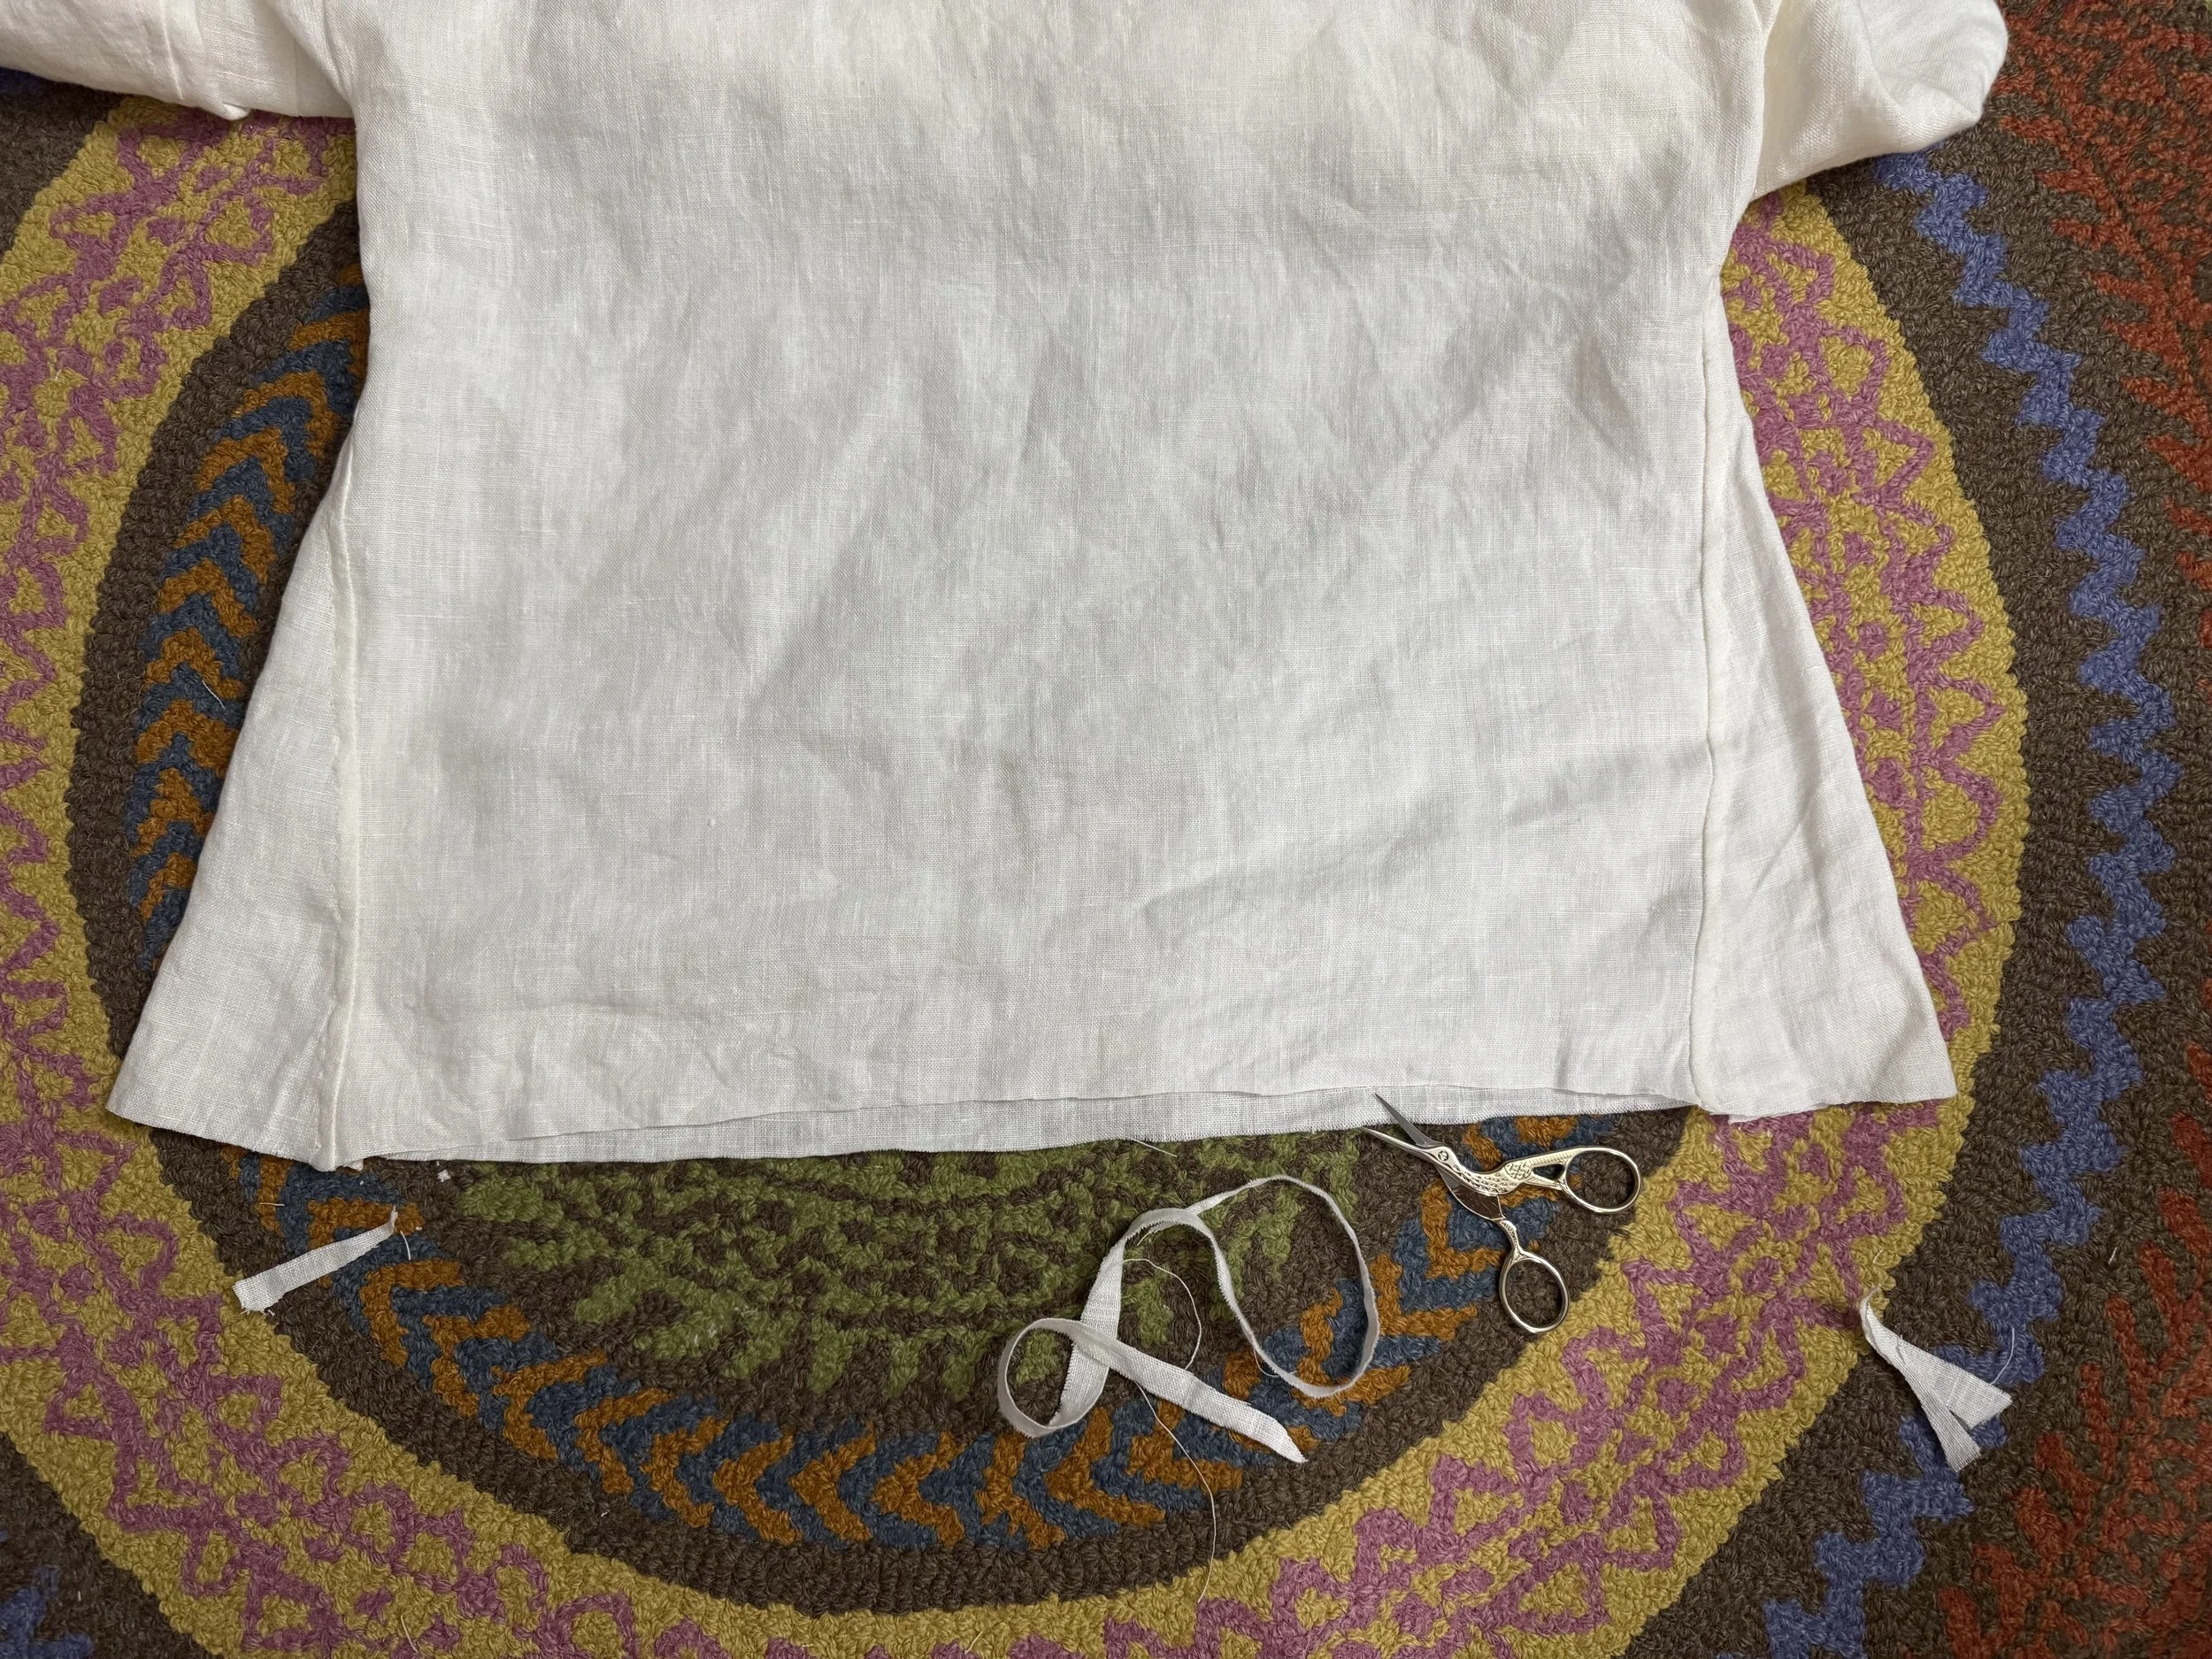
scary
I already felled the side seams to the back, so at first I tried to unpick the stitches. No way. So I am cutting the seams as close to the fold as possible. The back of the shirt will be about 1/4” narrower than the front, but all that extra new material should hide the difference.
-

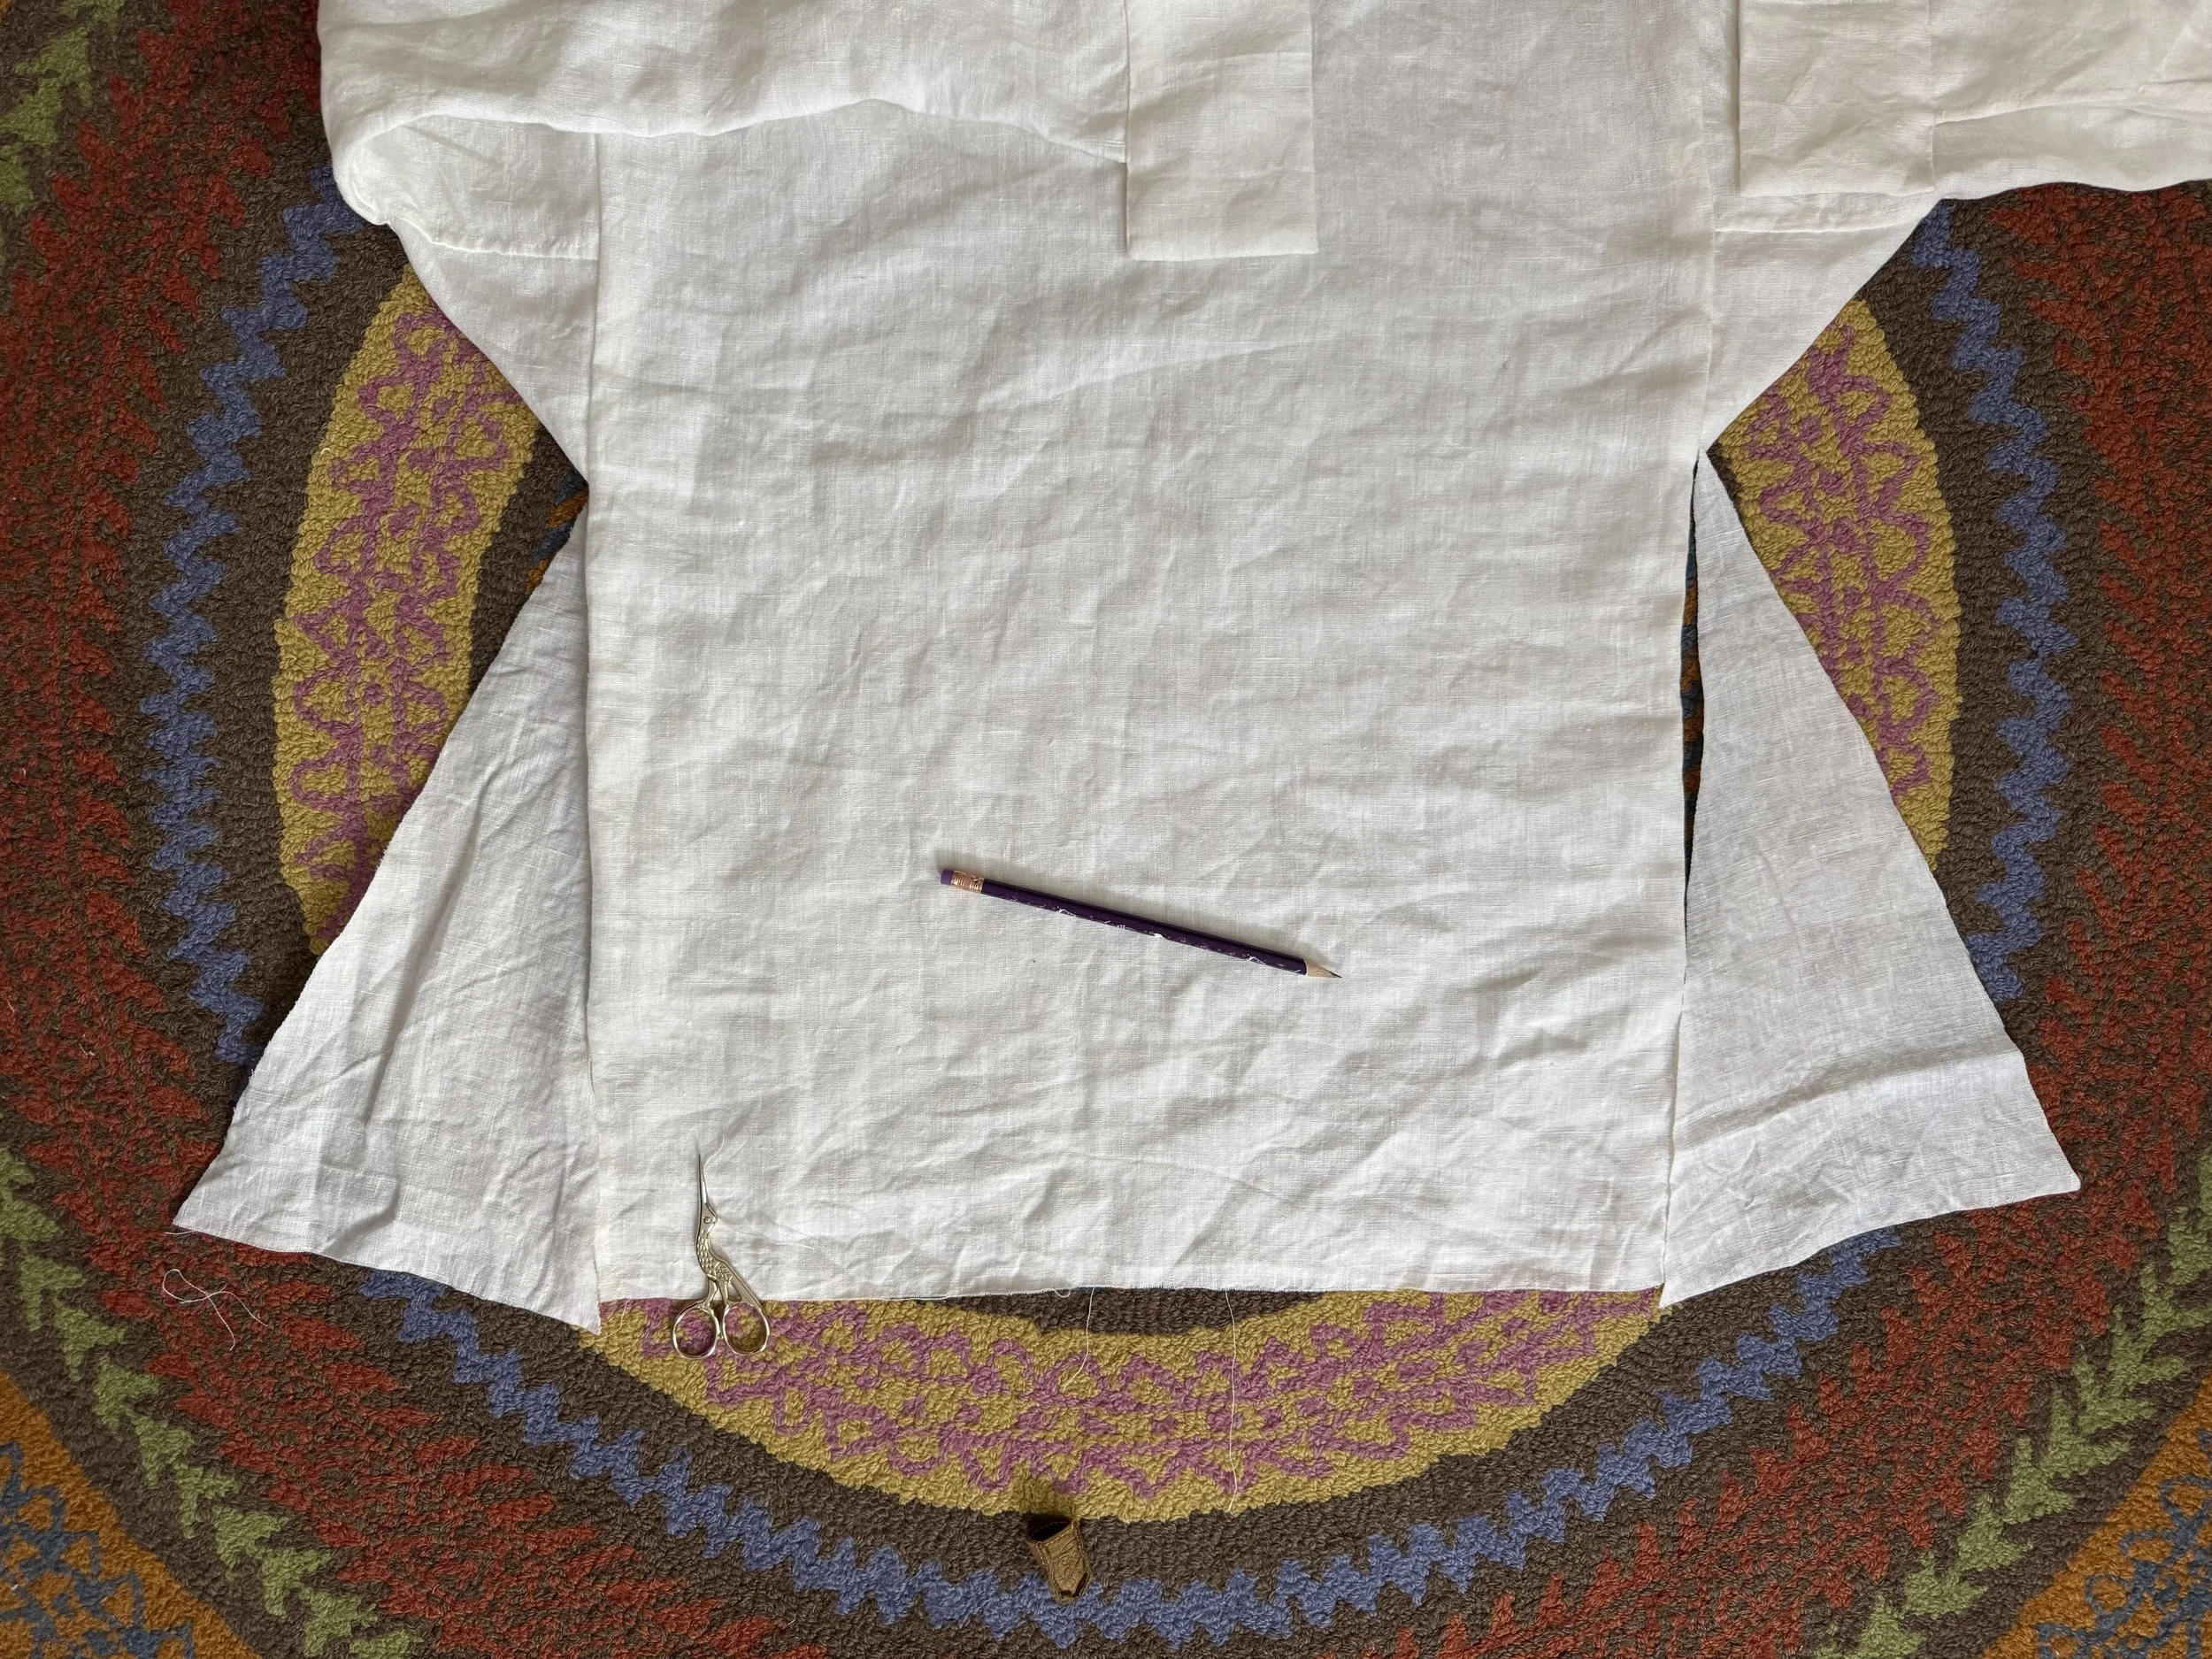
done cutting
The top of the opening is flat, not pointed, so I will fold my inserted fabric to match it.
-
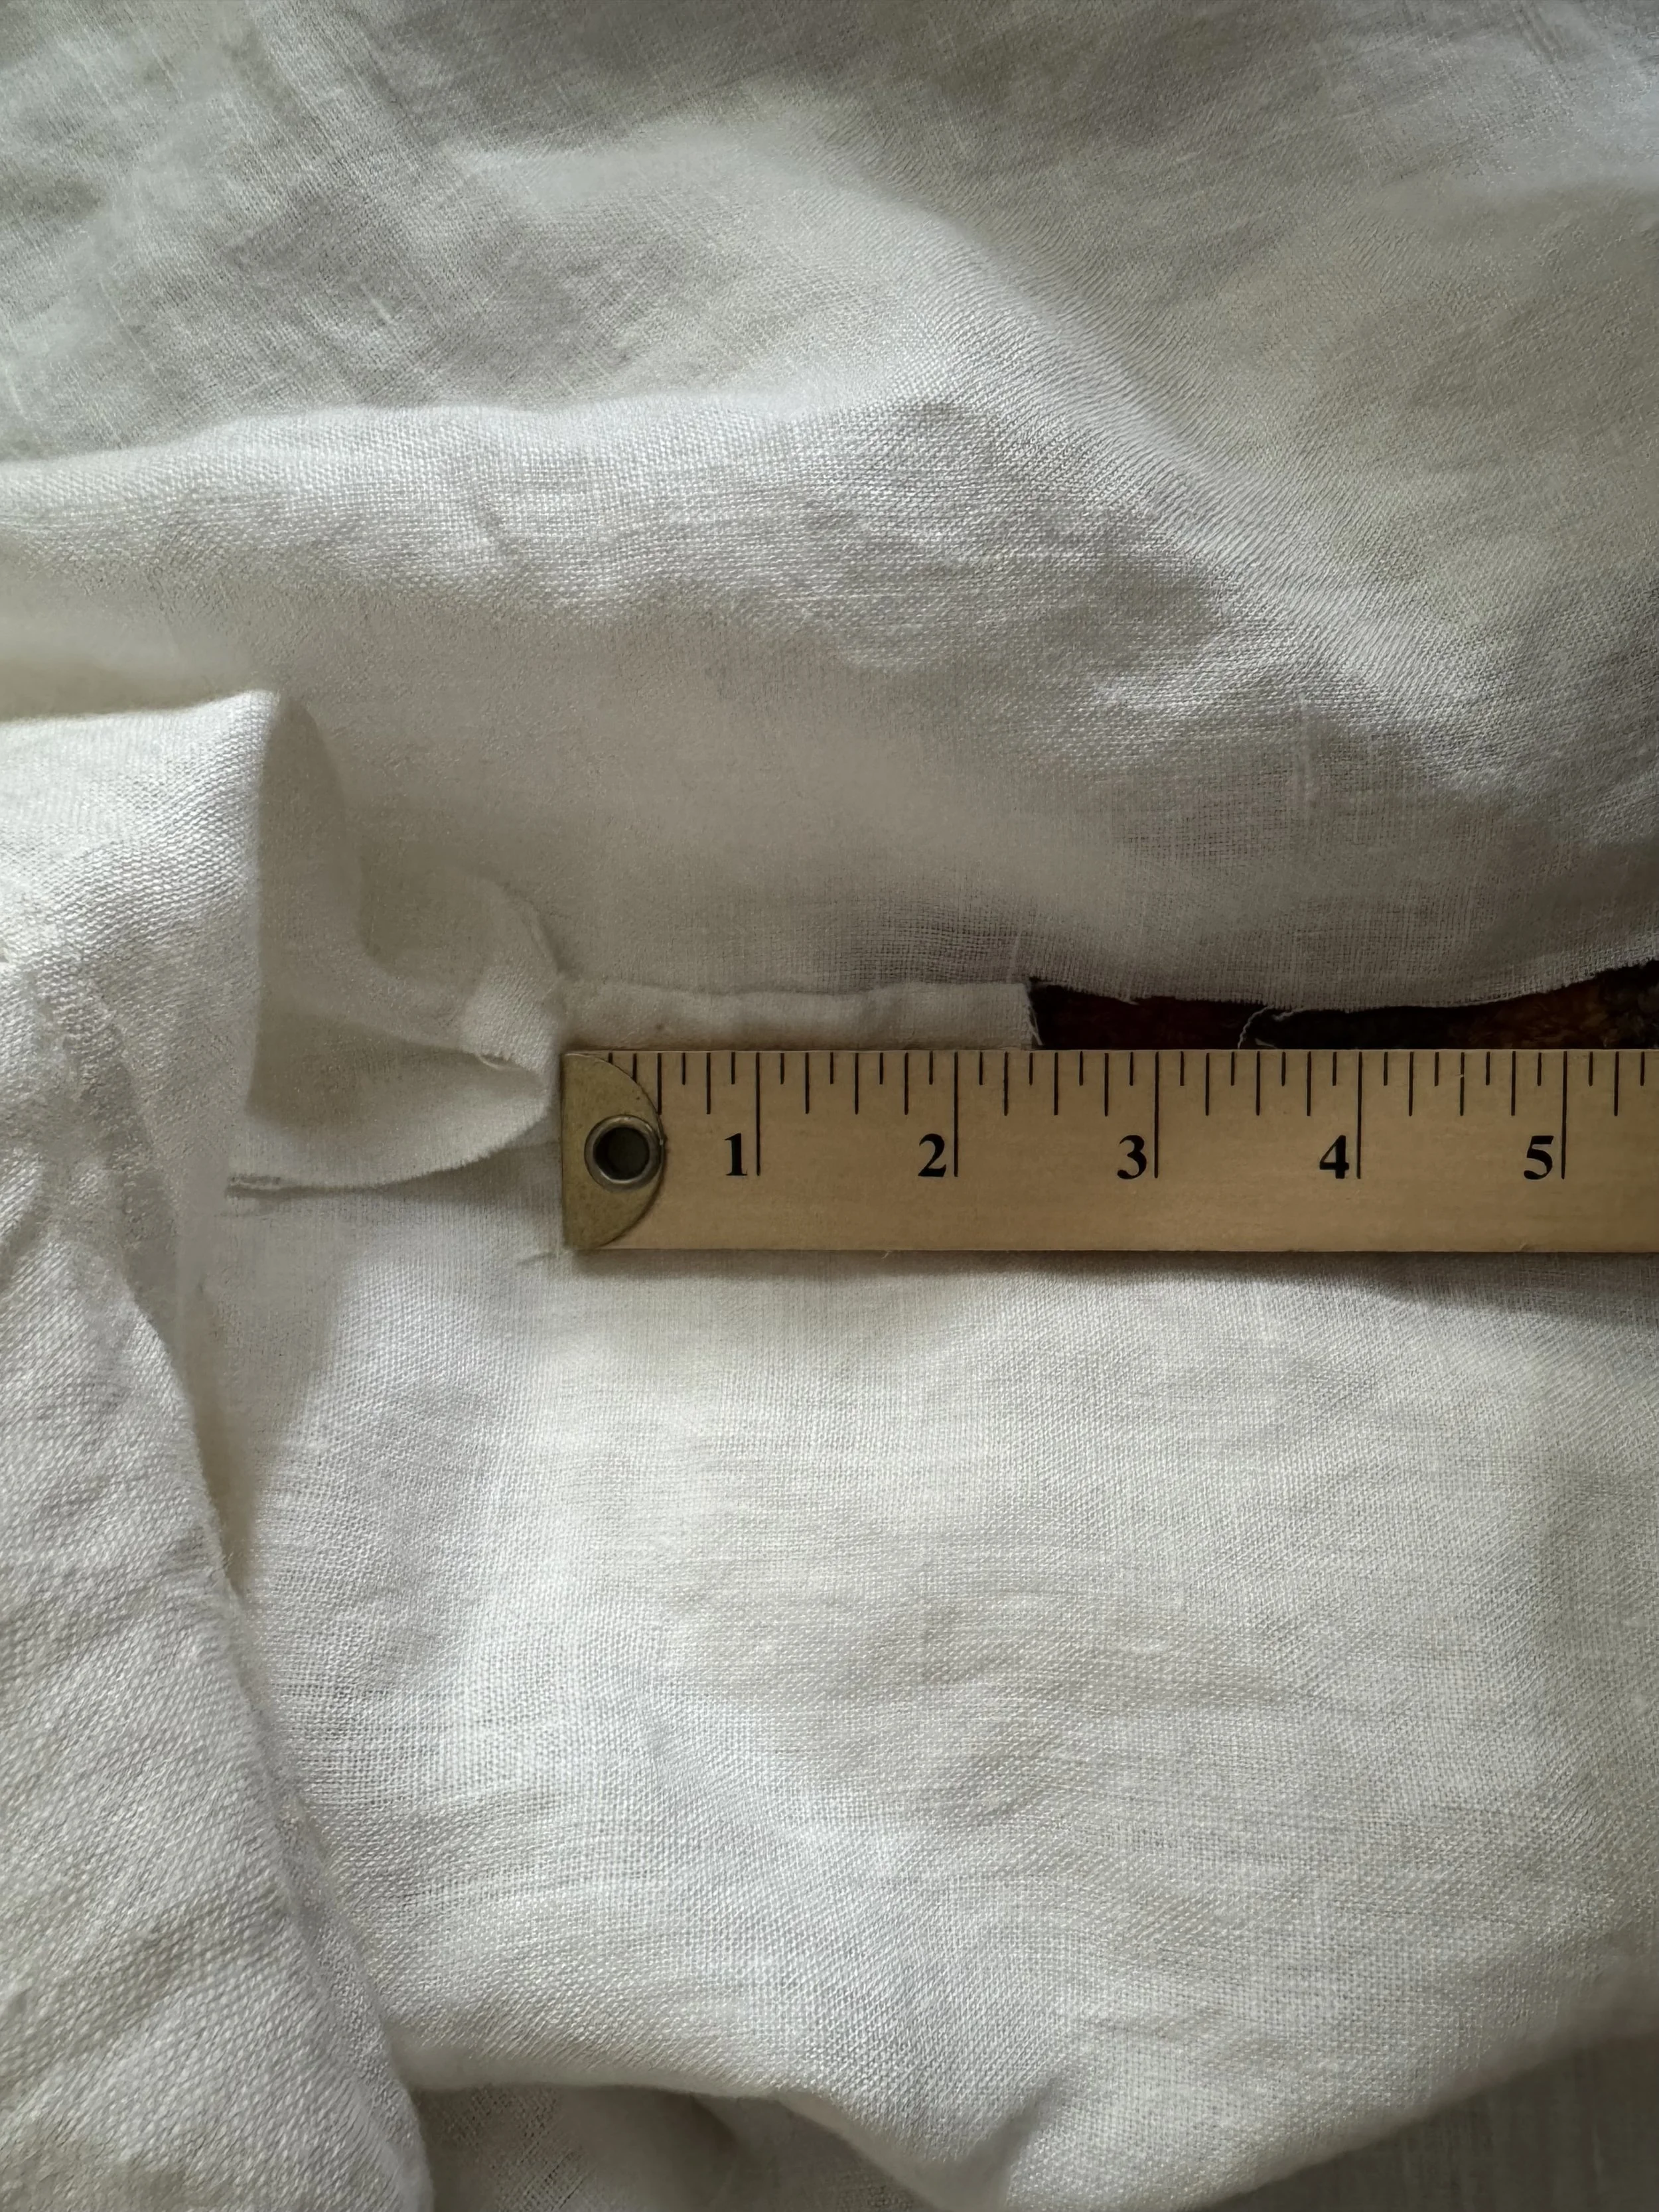
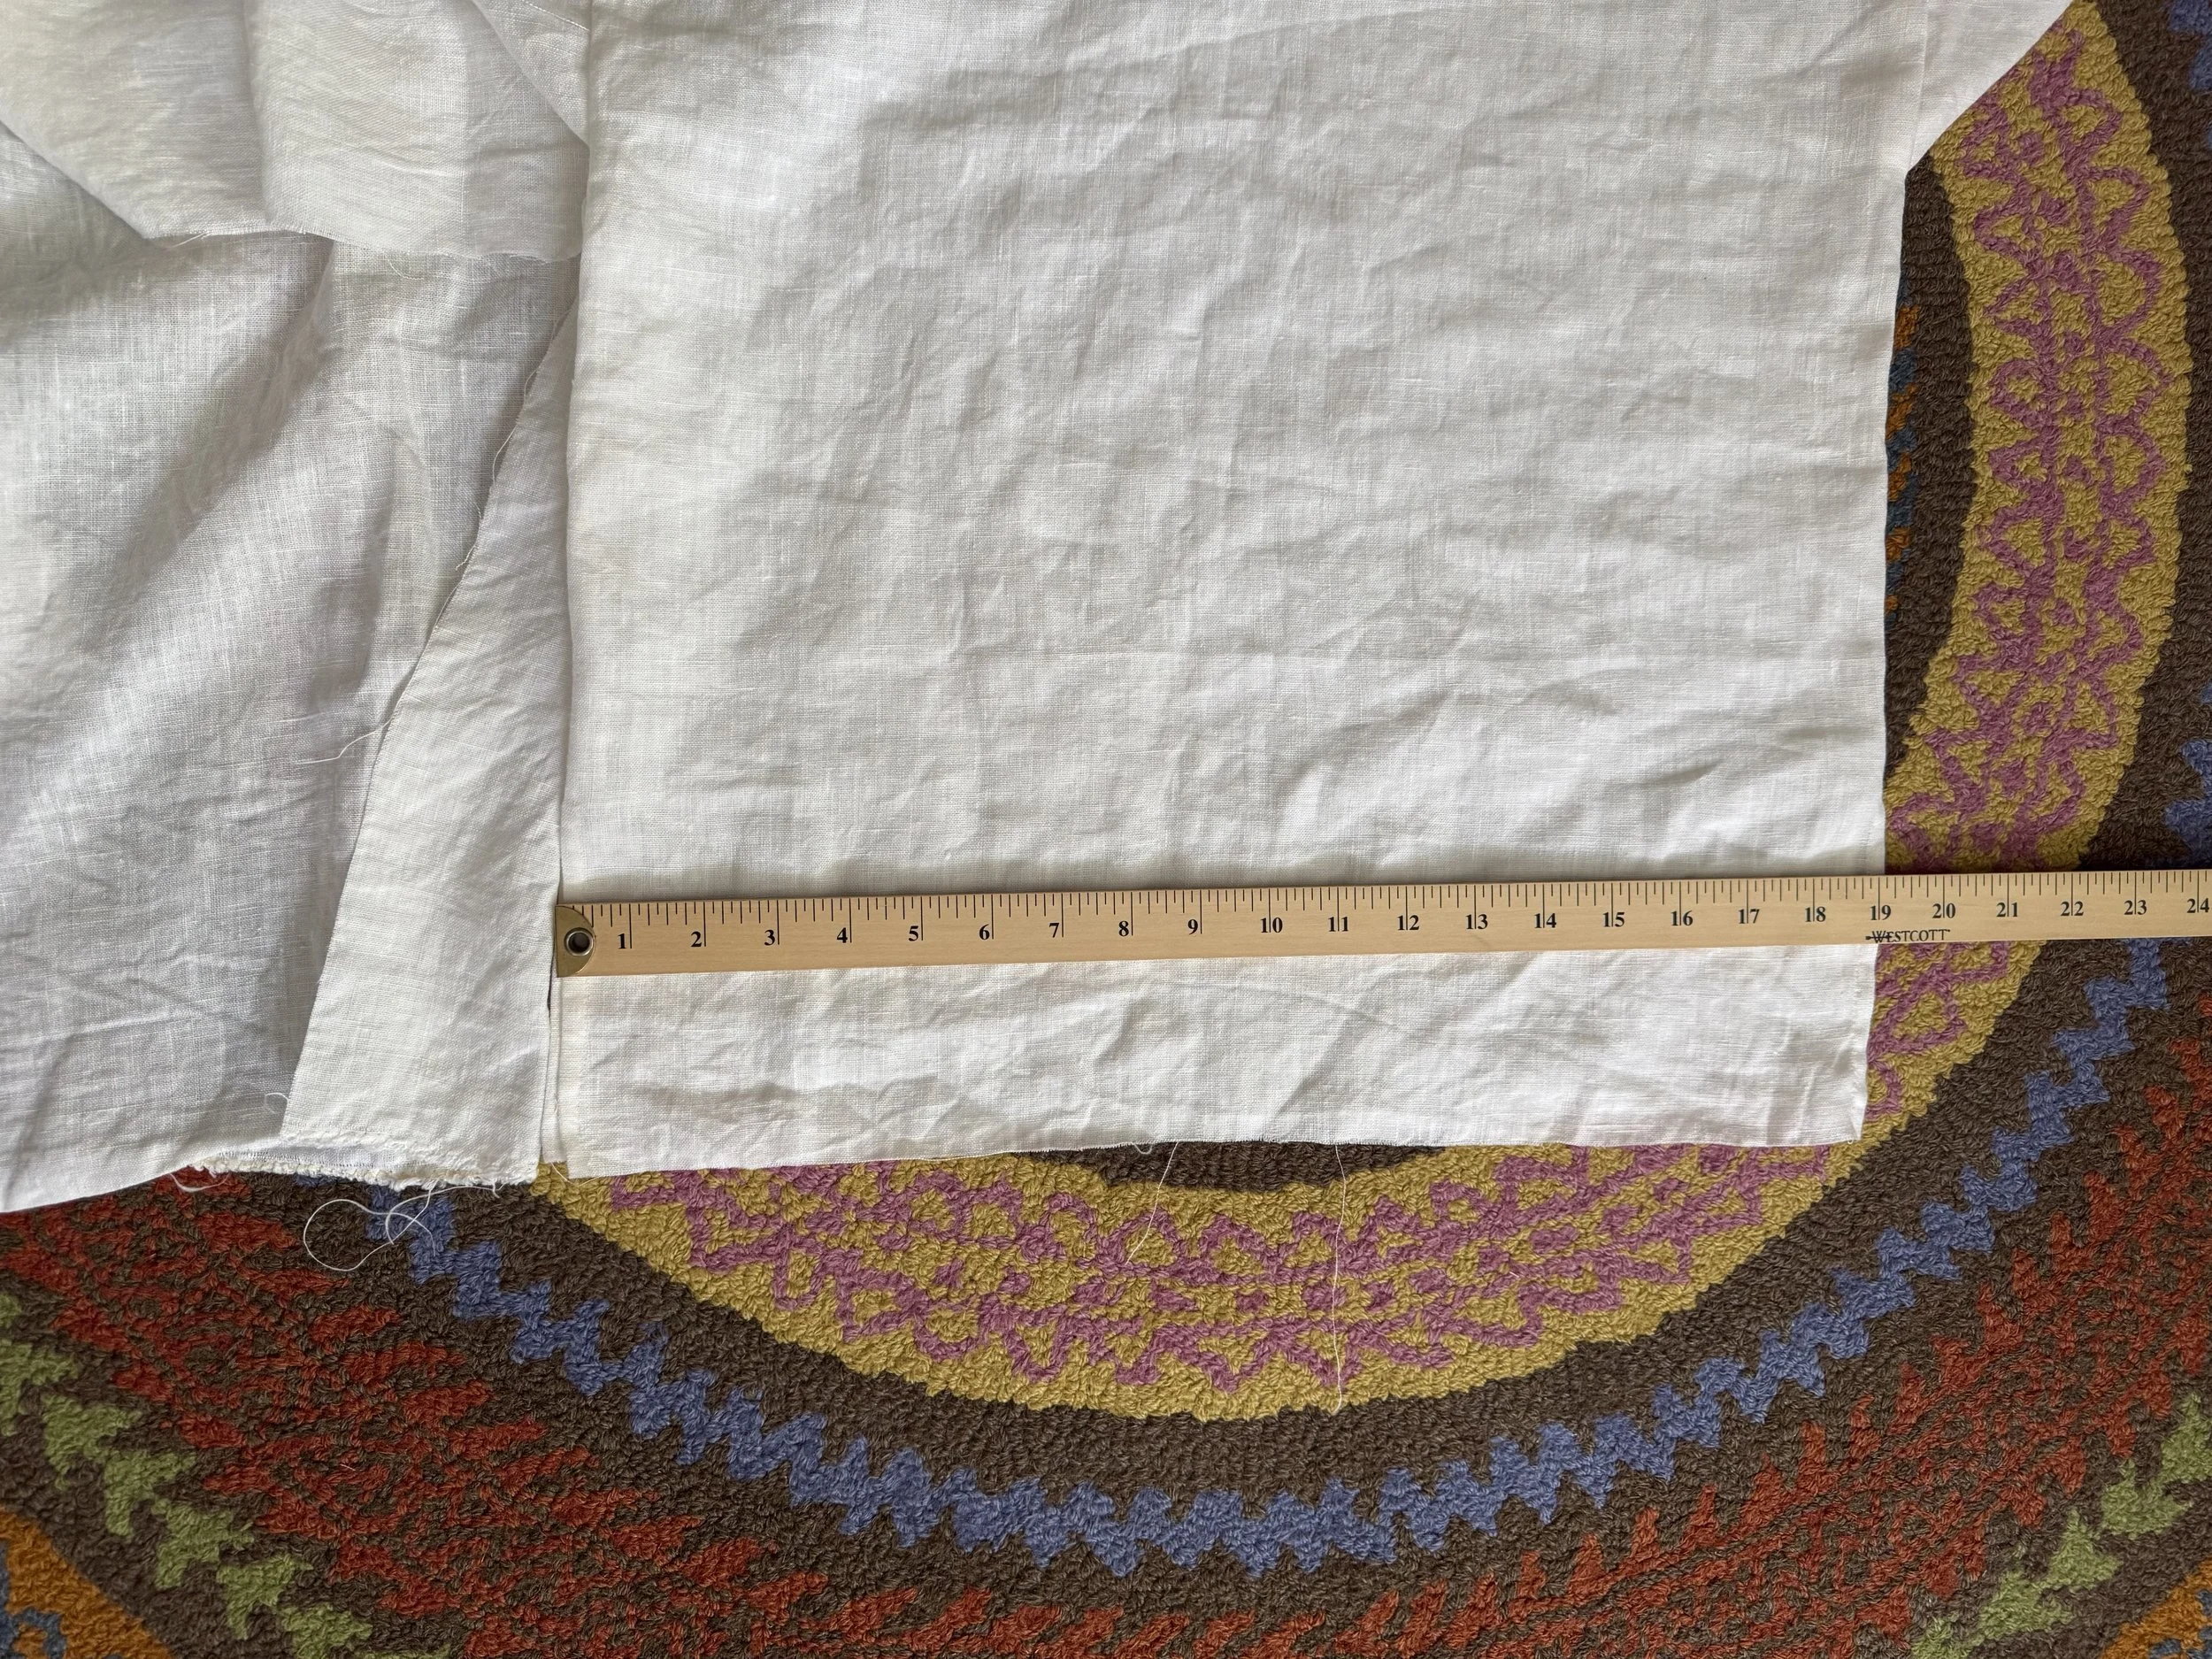
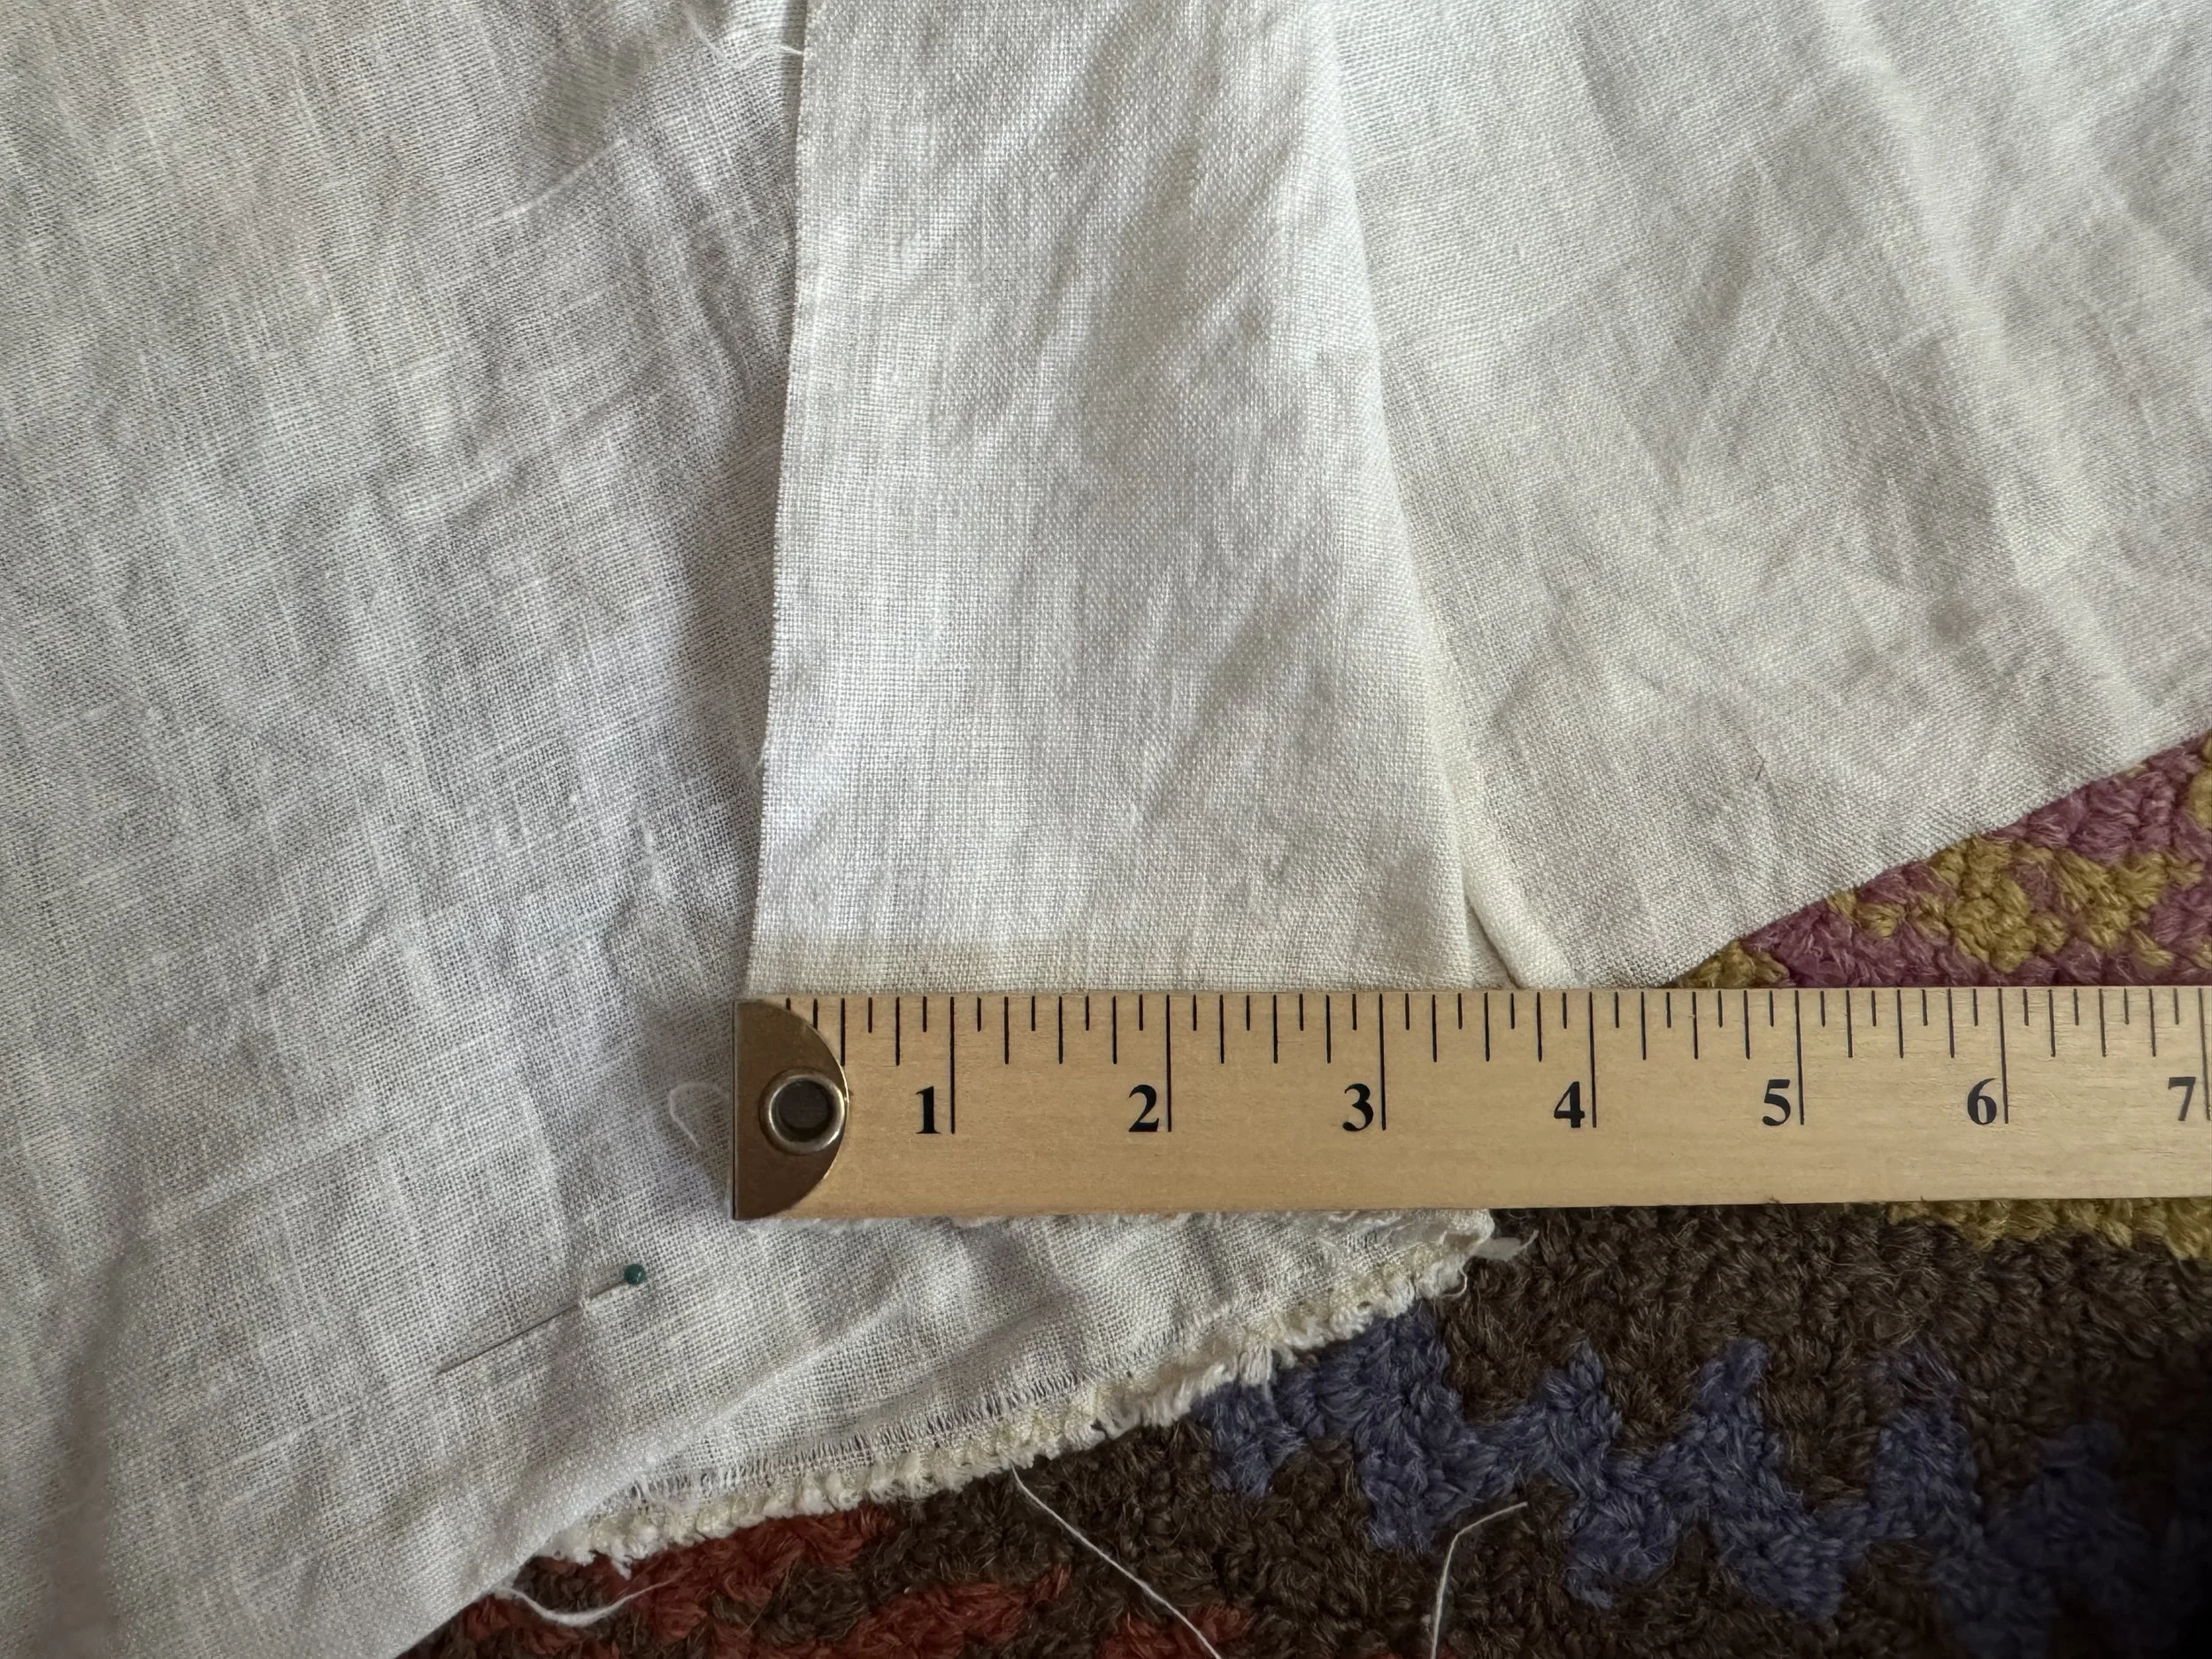
just about 2"
Take away the seam allowance, and I will have about 2” between the underarm gusset and my new godet. That should leave plenty of room for movement.
-
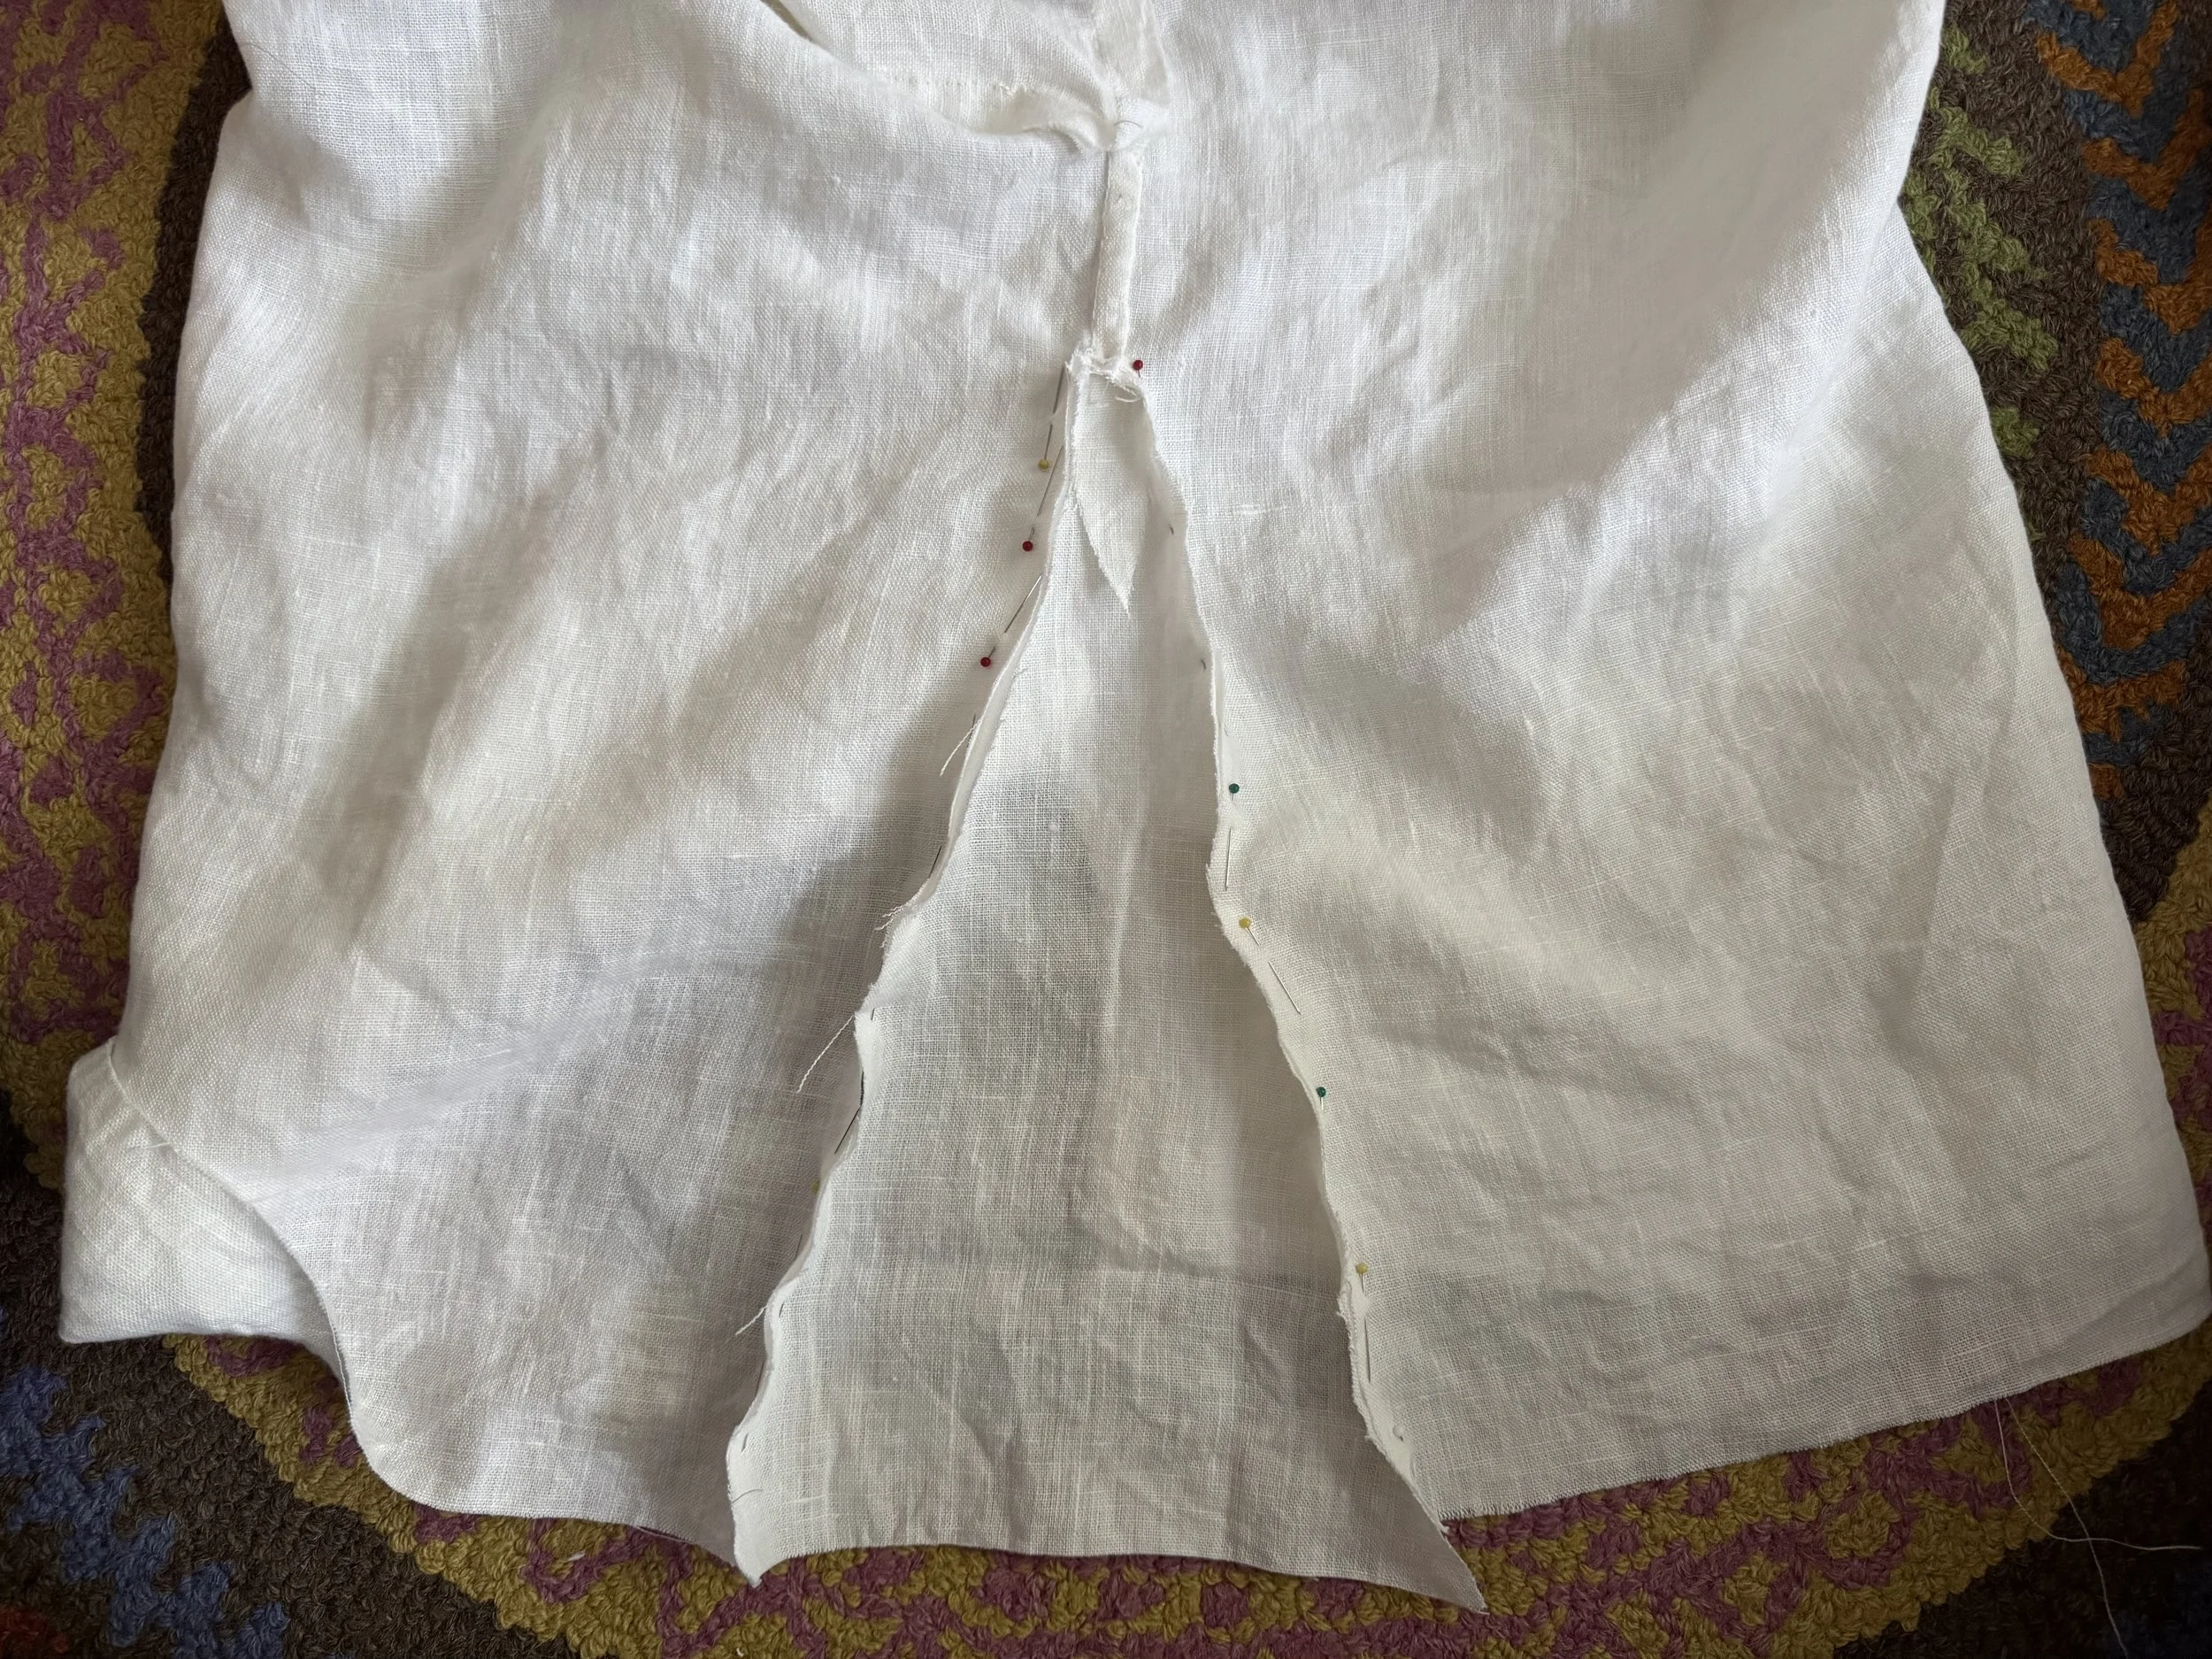
pinned, wrong side showing
You can see that the top point of the godet is folded down. I will probably end up cutting a bunch of it off, but will wait until I get things sewed up.
-
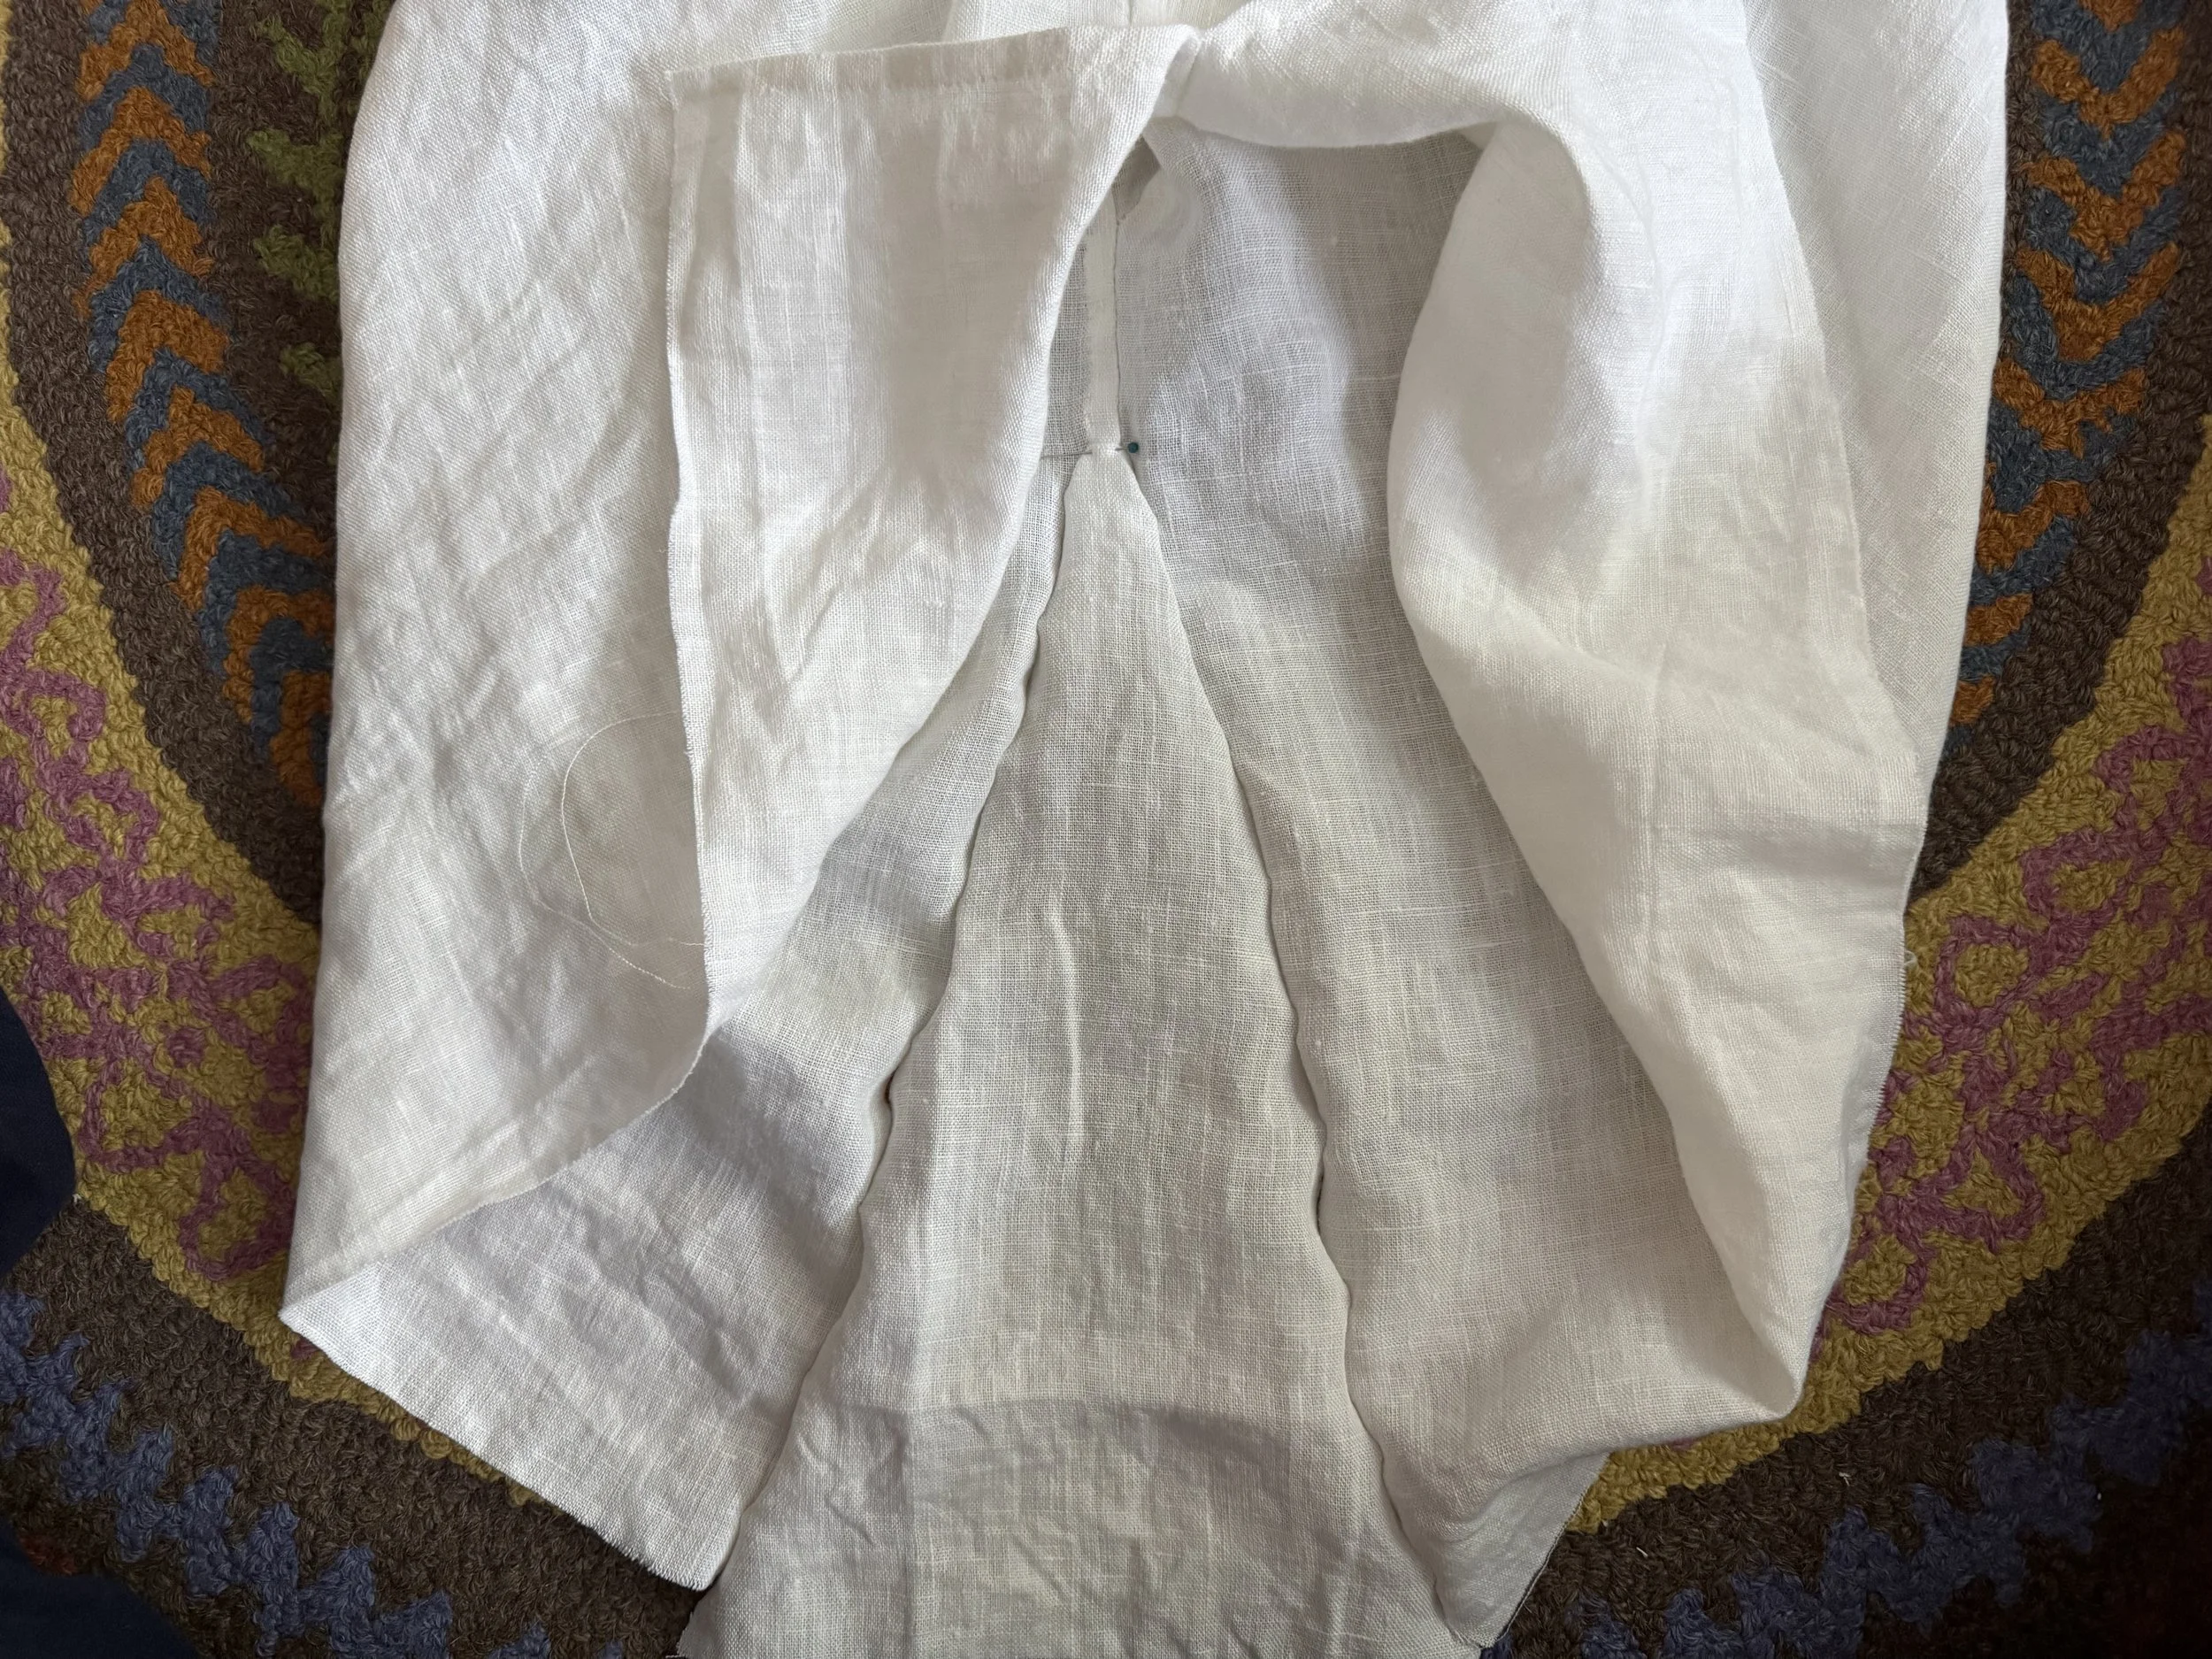
pinned, right side showing
I folded and pinned the very top from the right side, but I pinned the rest from the wrong side.
-
front view
It doesn’t look too bad! I am a bit concerned about the top part, but felling hides a multitude of seams. And I can always put a patch over it if necessary.
-

sewed, except those points
I sewed most of the seams from the inside . . .
-

and then the top
I will whipstitch this down from the right side, doing my best to make it look even.
-

felled, wrong side
I rolled the seams toward the inside of the godet, hoping the better to hide that top business. It worked pretty well.
-

felled, right side
-

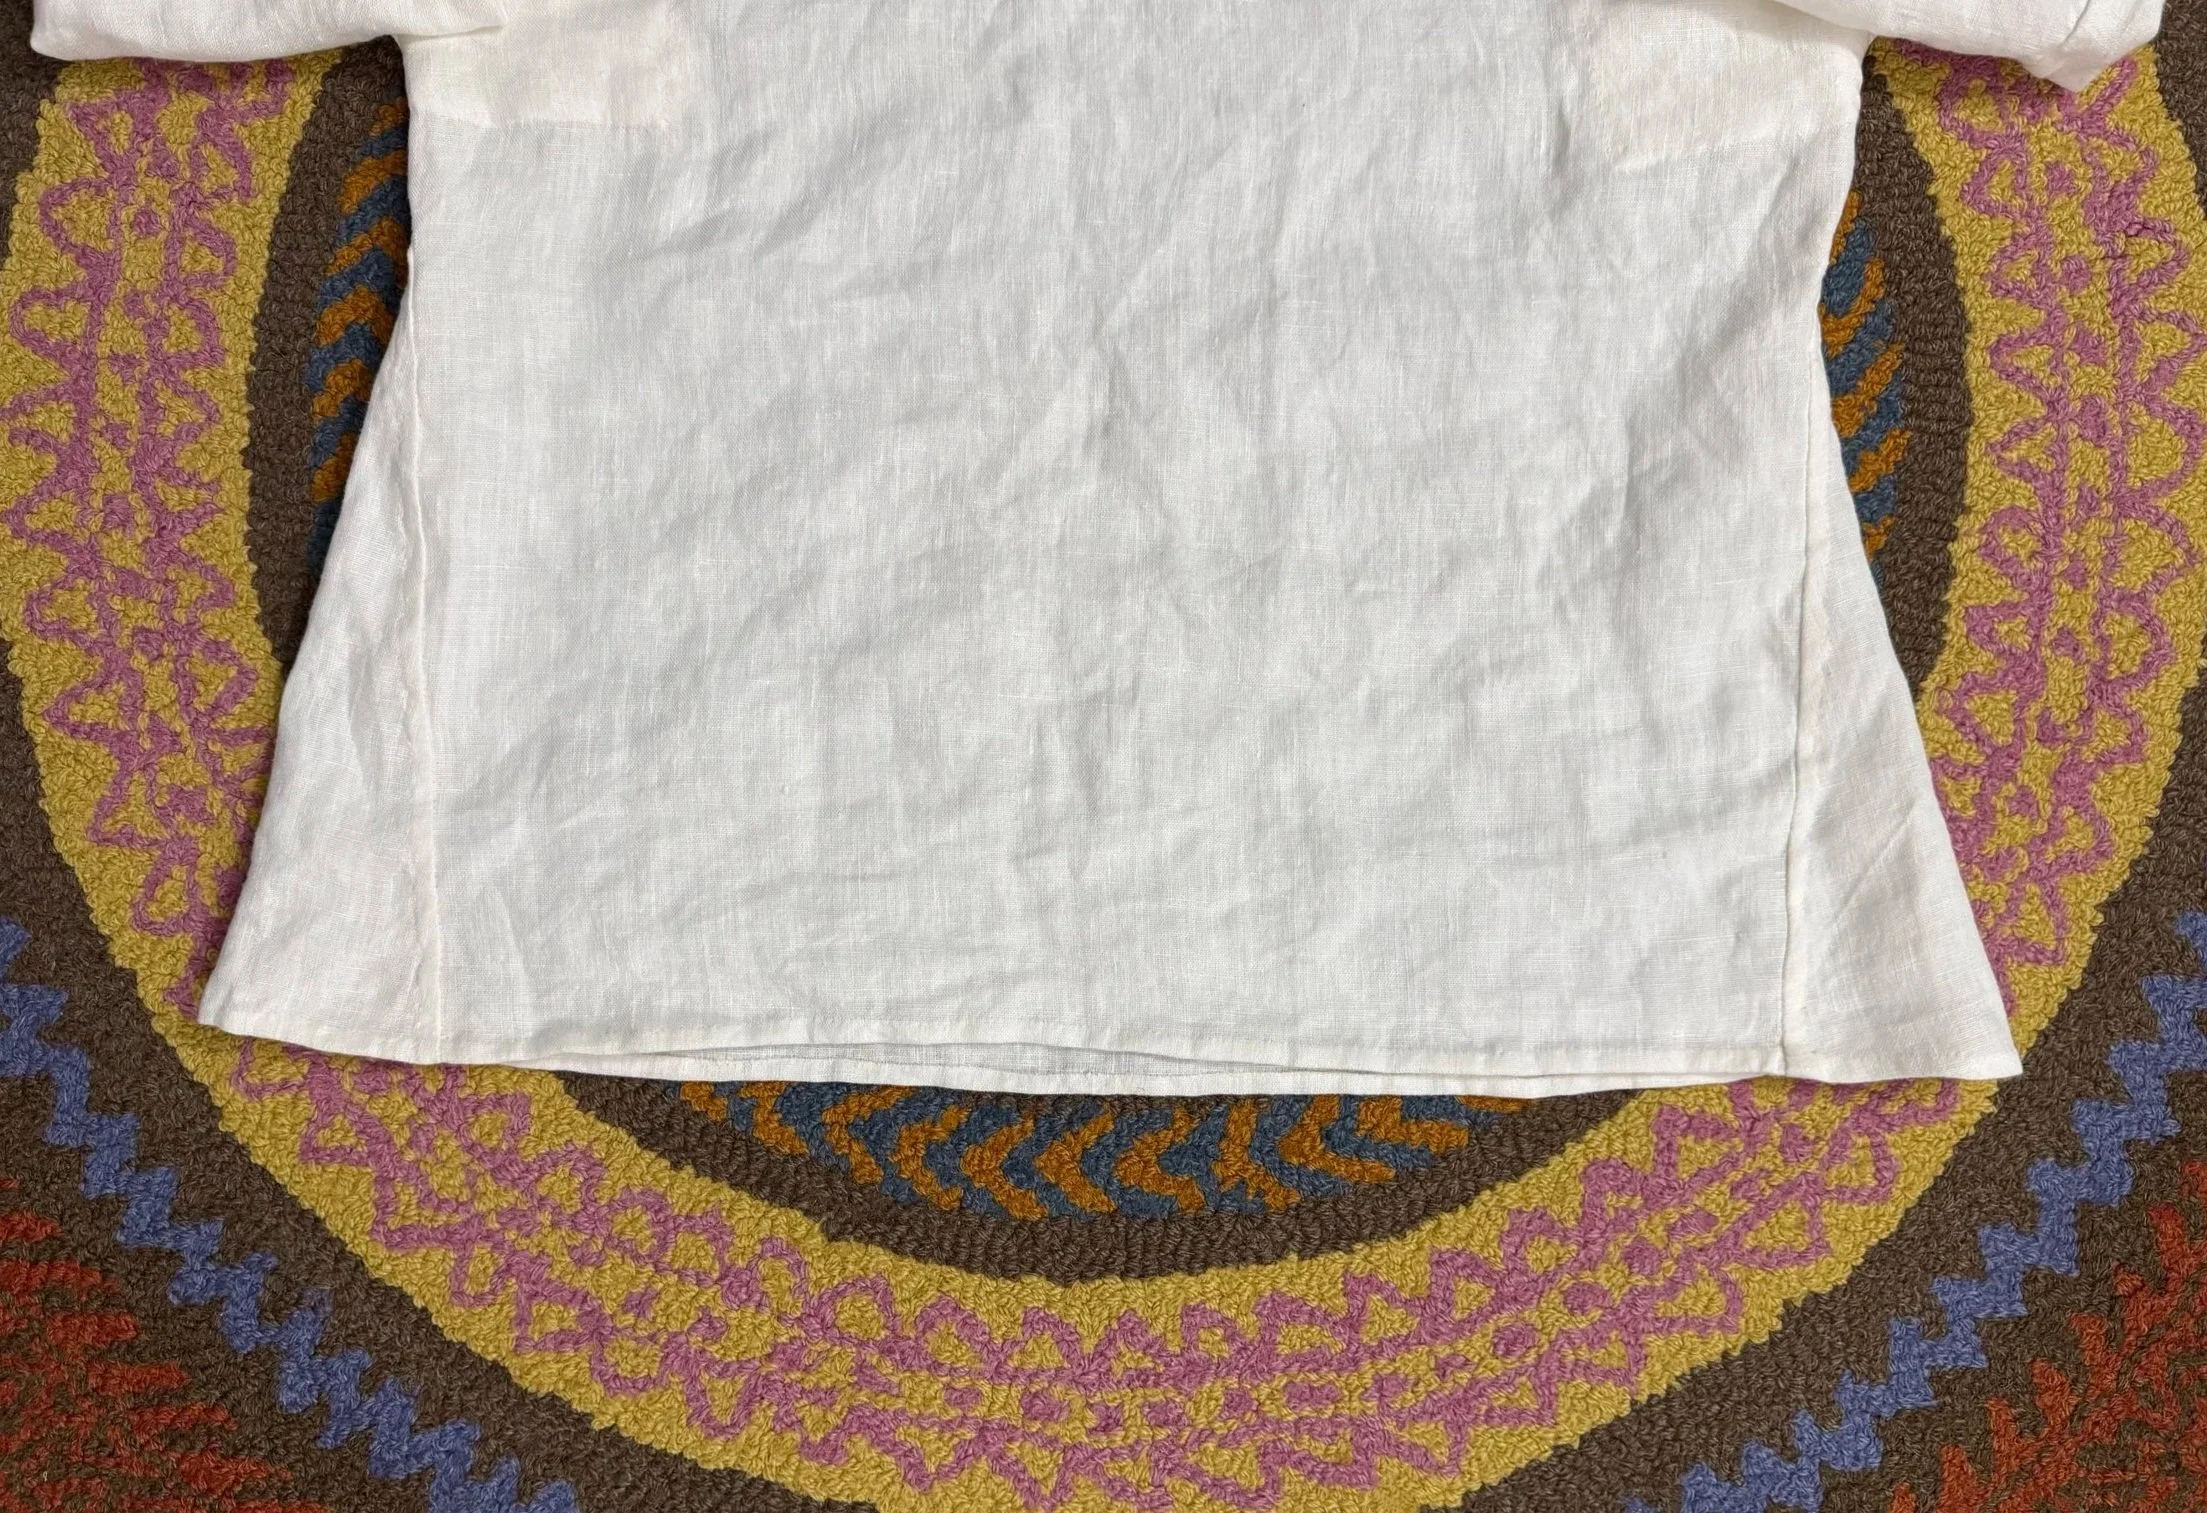
here's where we are
This is looking good. I just need to even out the bottom and then hem it.
-
maybe a little shorter in the front?
I like it when the back of my shirt hangs a bit low, so this will be a good time to make that happen. Very subtle!
-
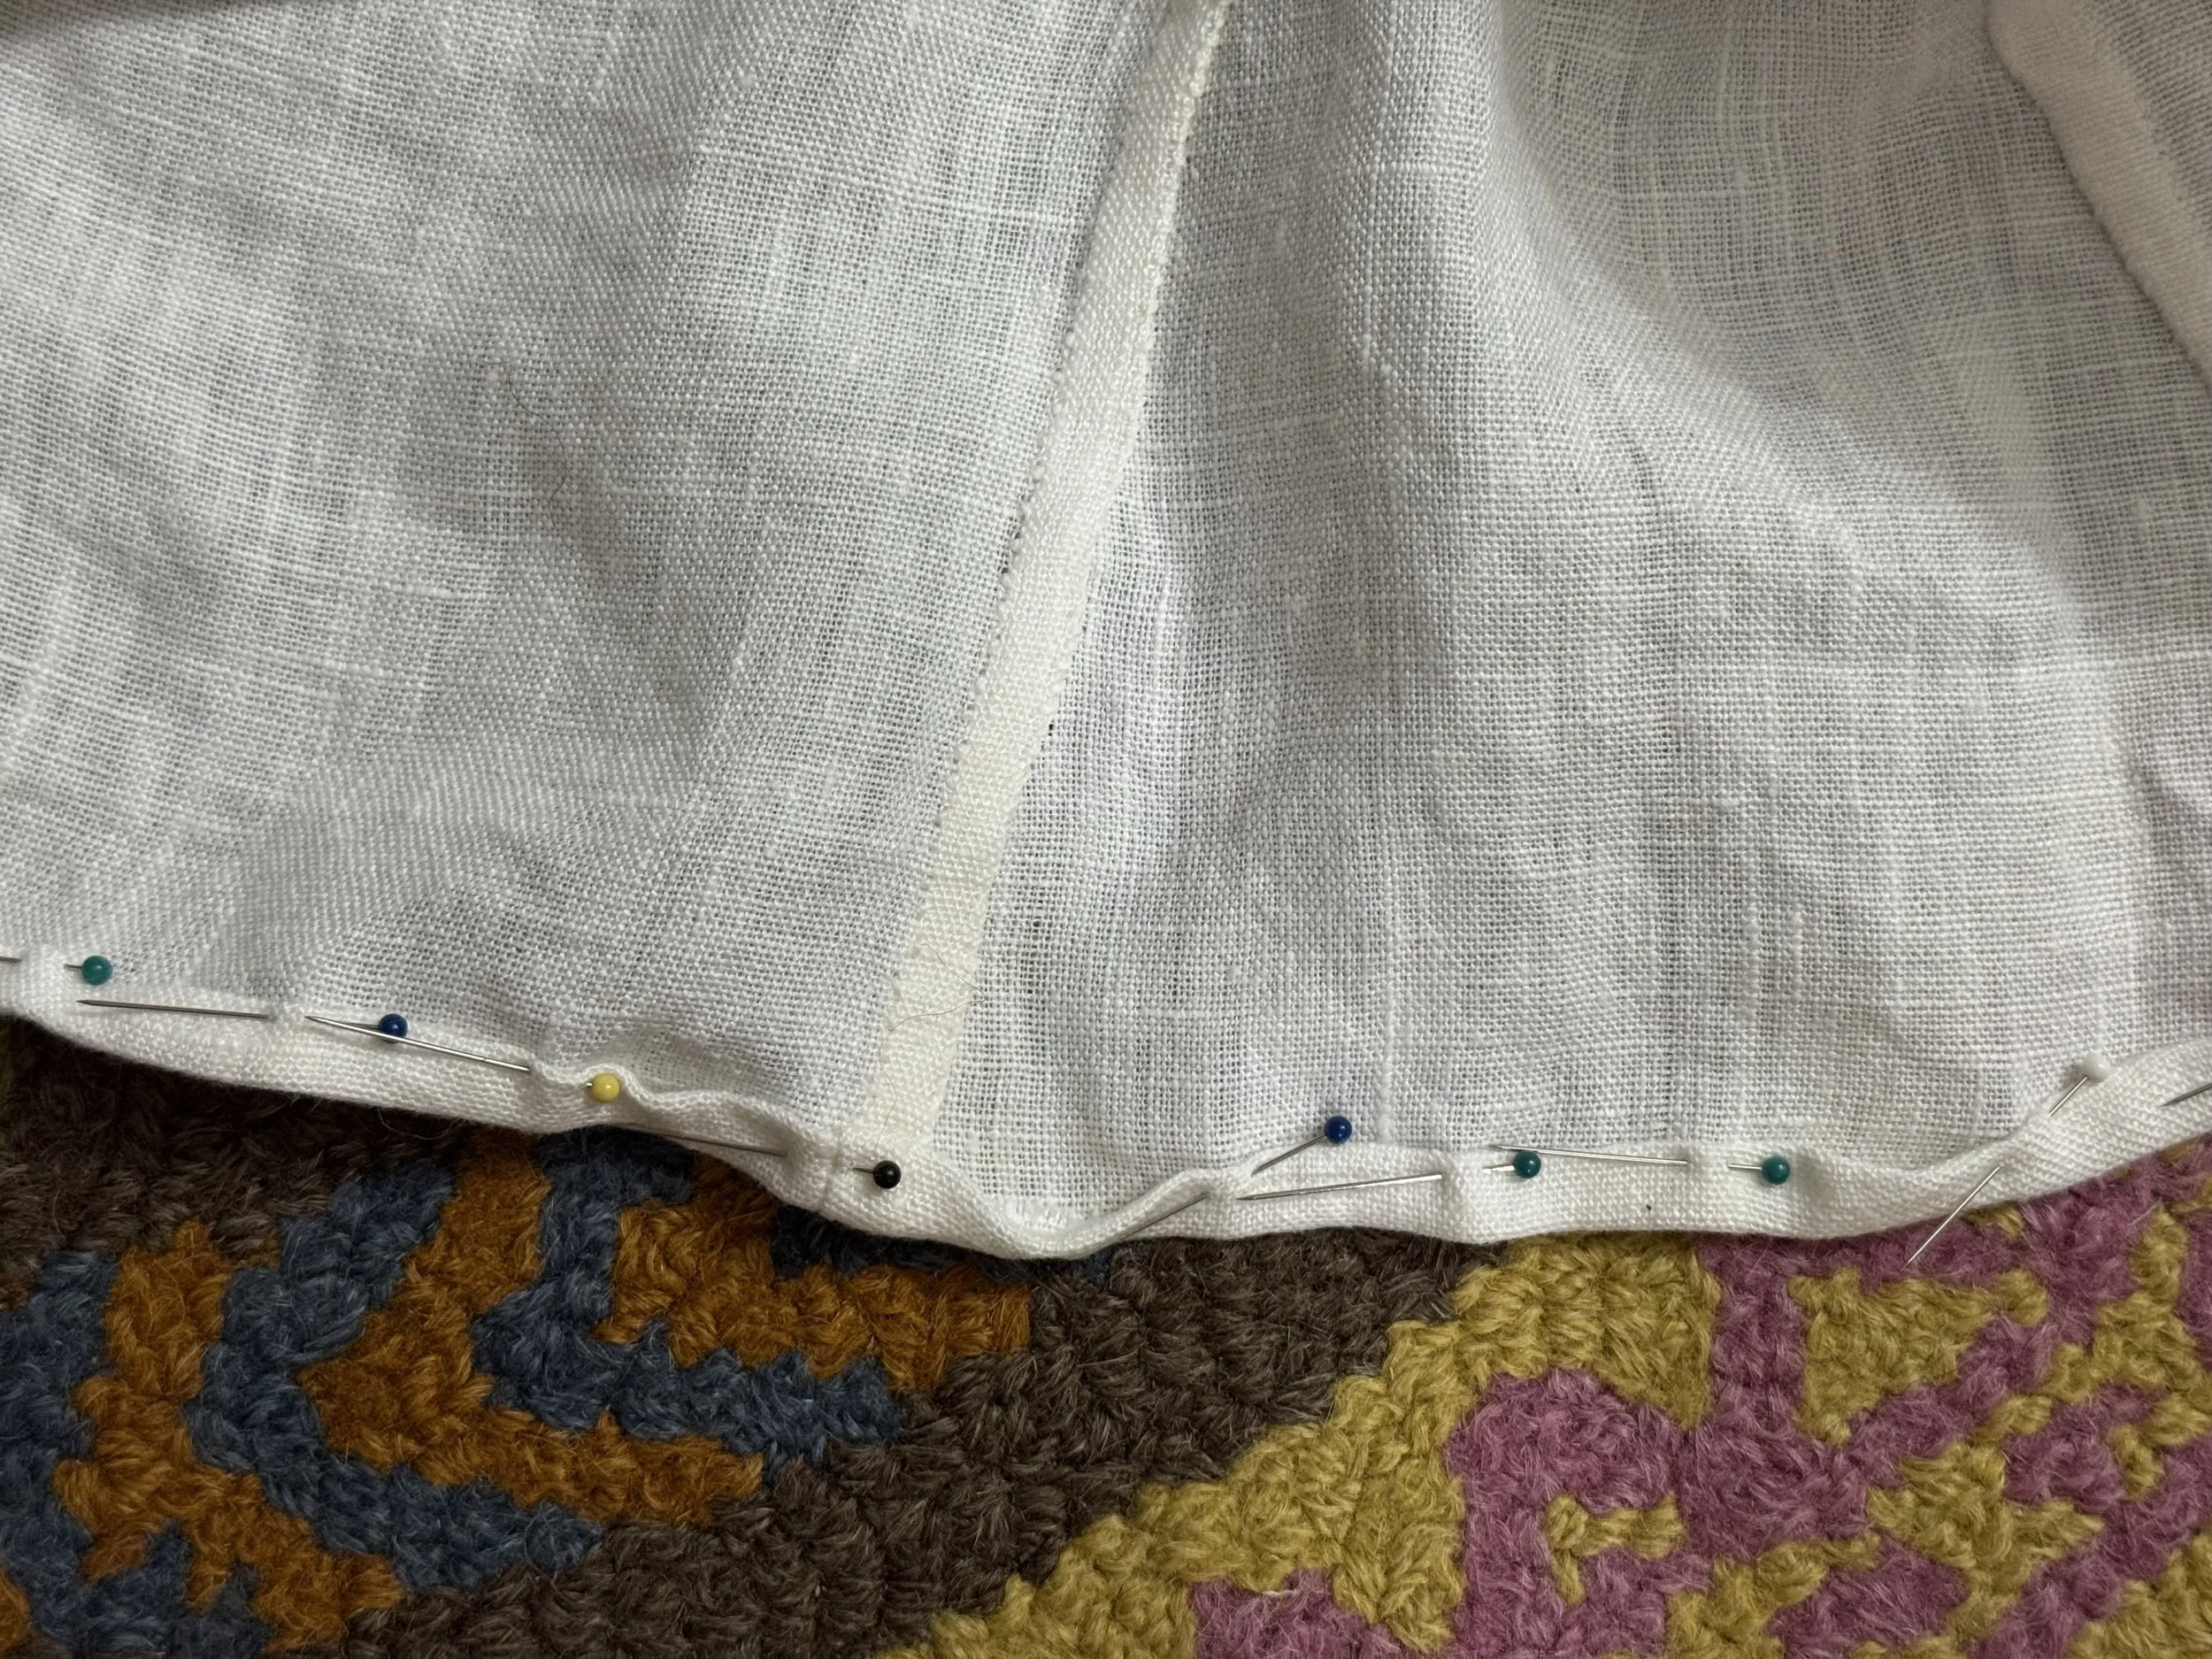
ah, hemming a curve
It is a fact when sewing a curved hem that there will be more fabric below than above, and we will inevitably run into these minor bulges.
-

I think we're ready to sew
Dealing with the extra fabric comes in during the sewing; I just ease the extra fabric in as well as I can. This is an advantage, for me at least, of hand- versus machine-sewing. I feel that I have more control over what happens in these situations.
-
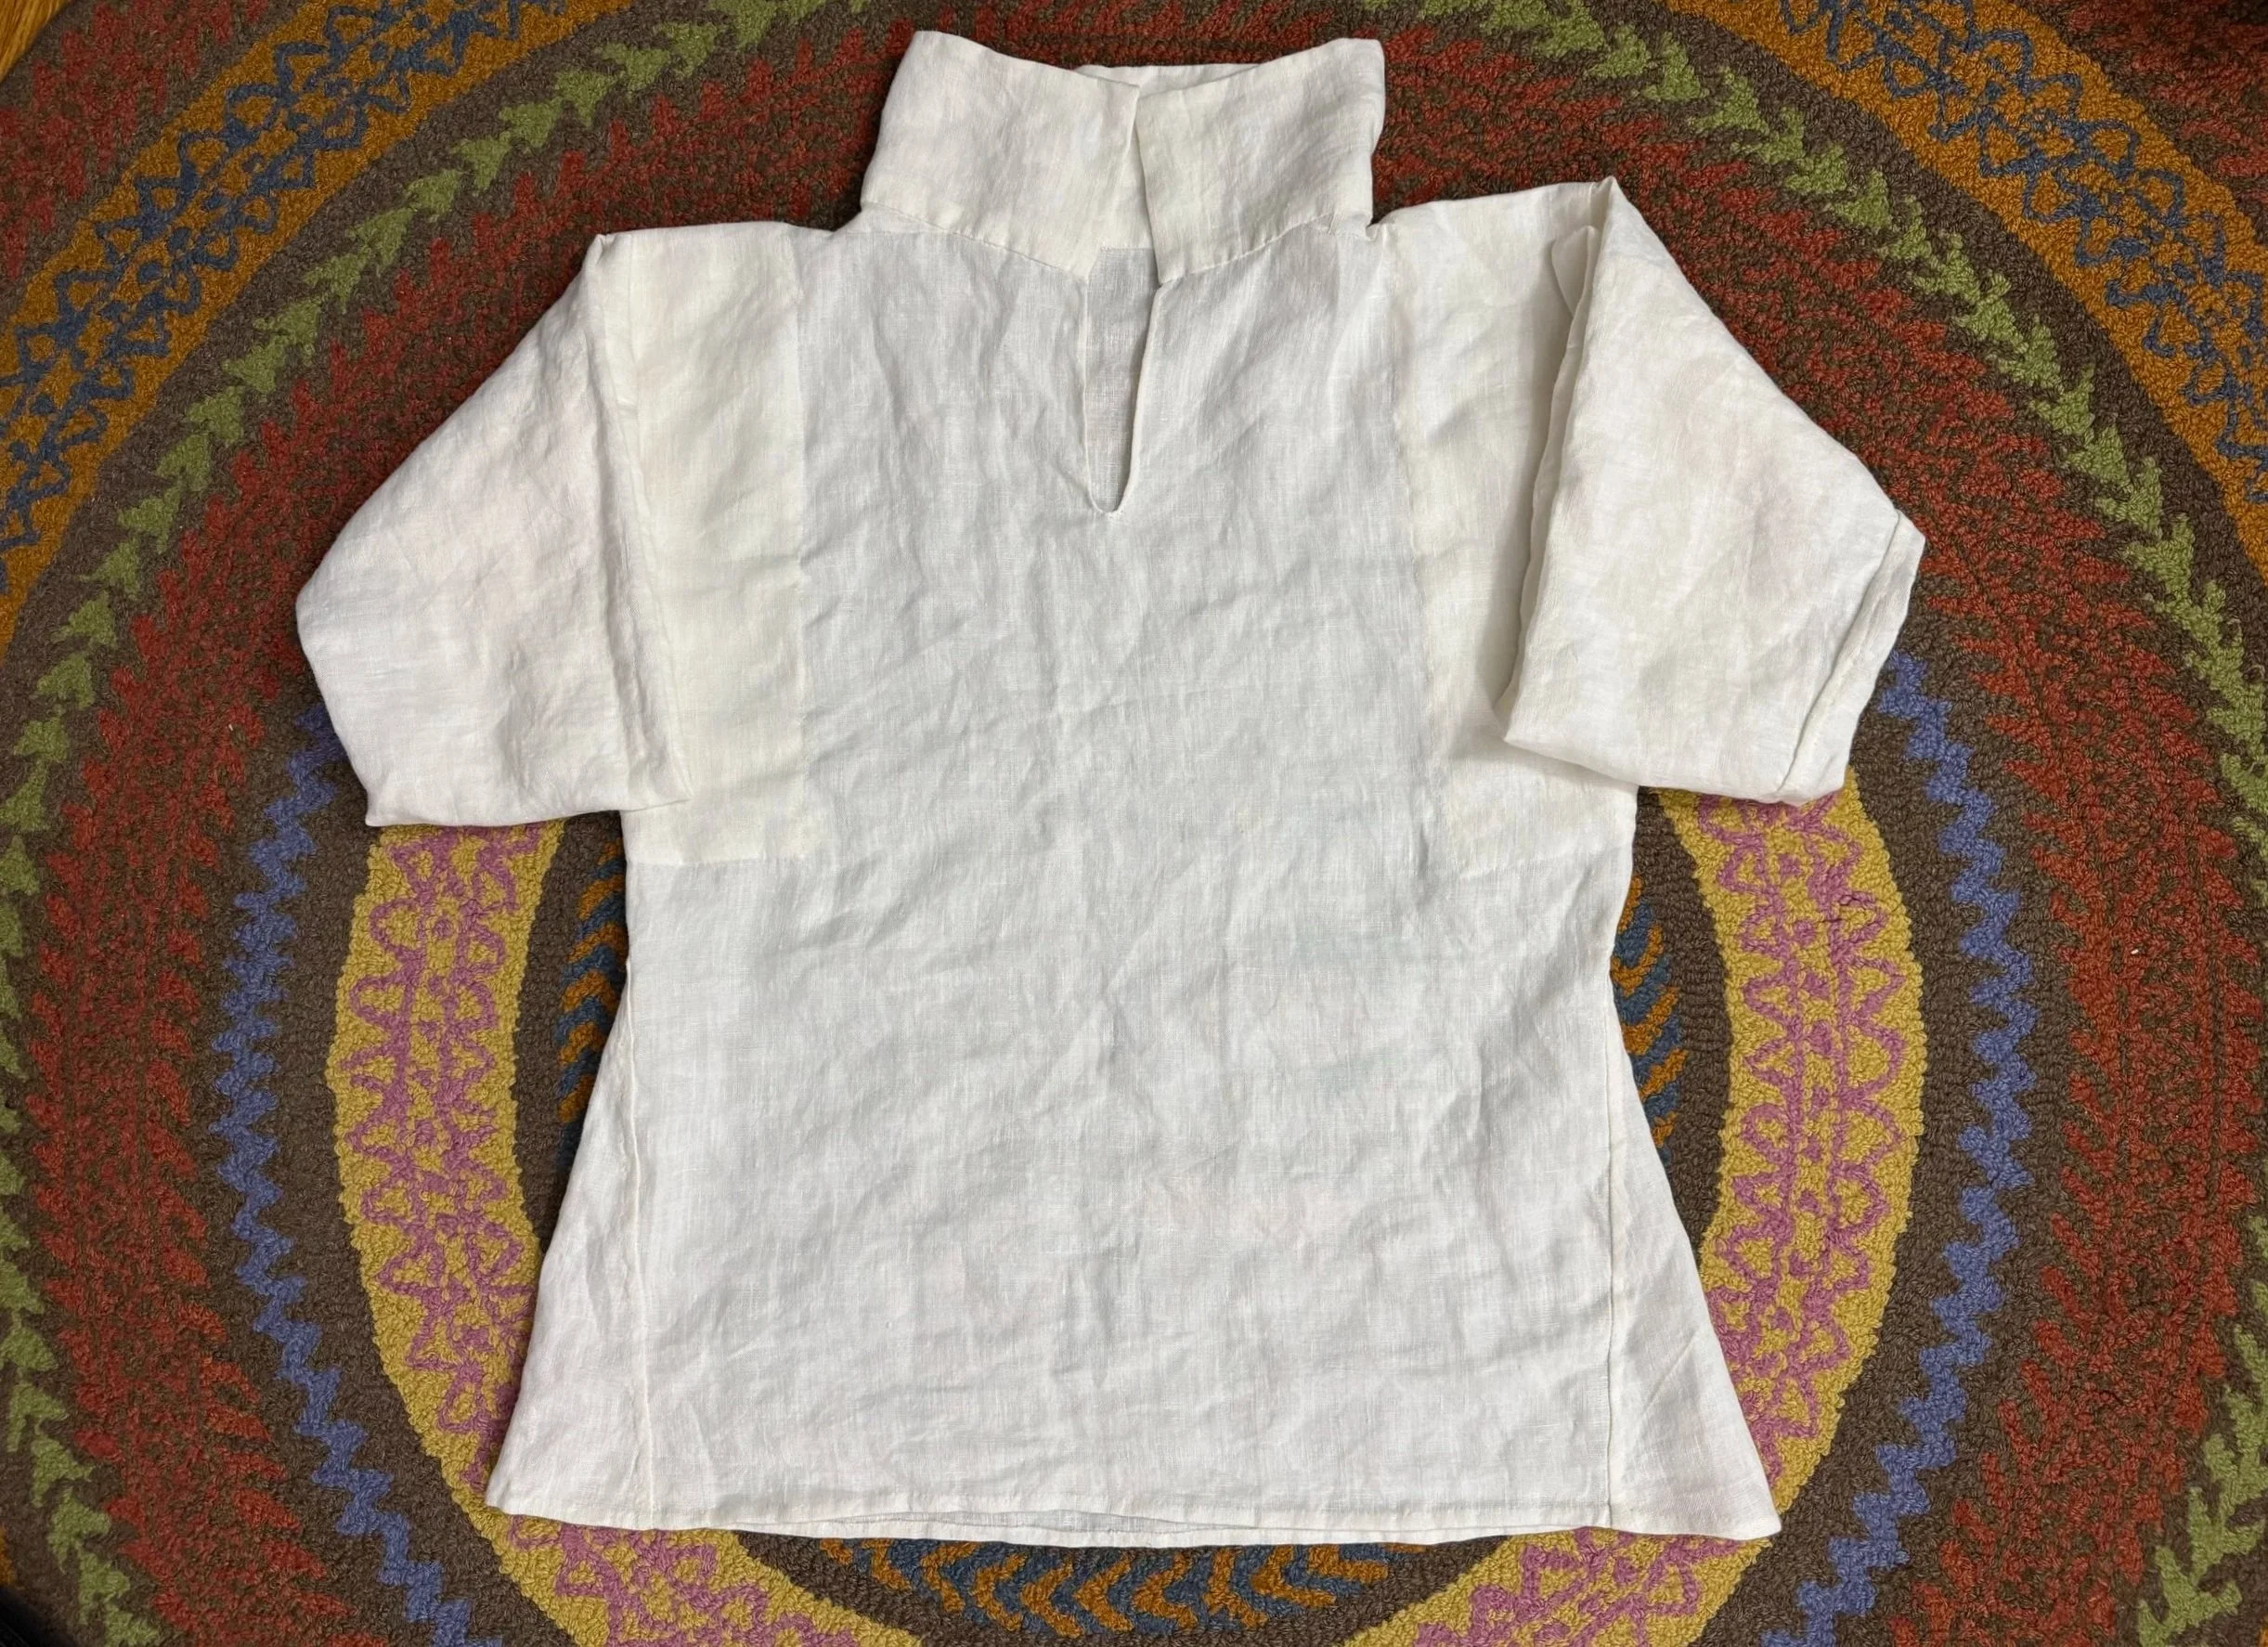
and there it is
All I need to do is reinforce the weak spots and make some buttonholes, and this one will be all done!
-
close-up
-
all done