a (radiantly beautiful) patchwork pocket
-
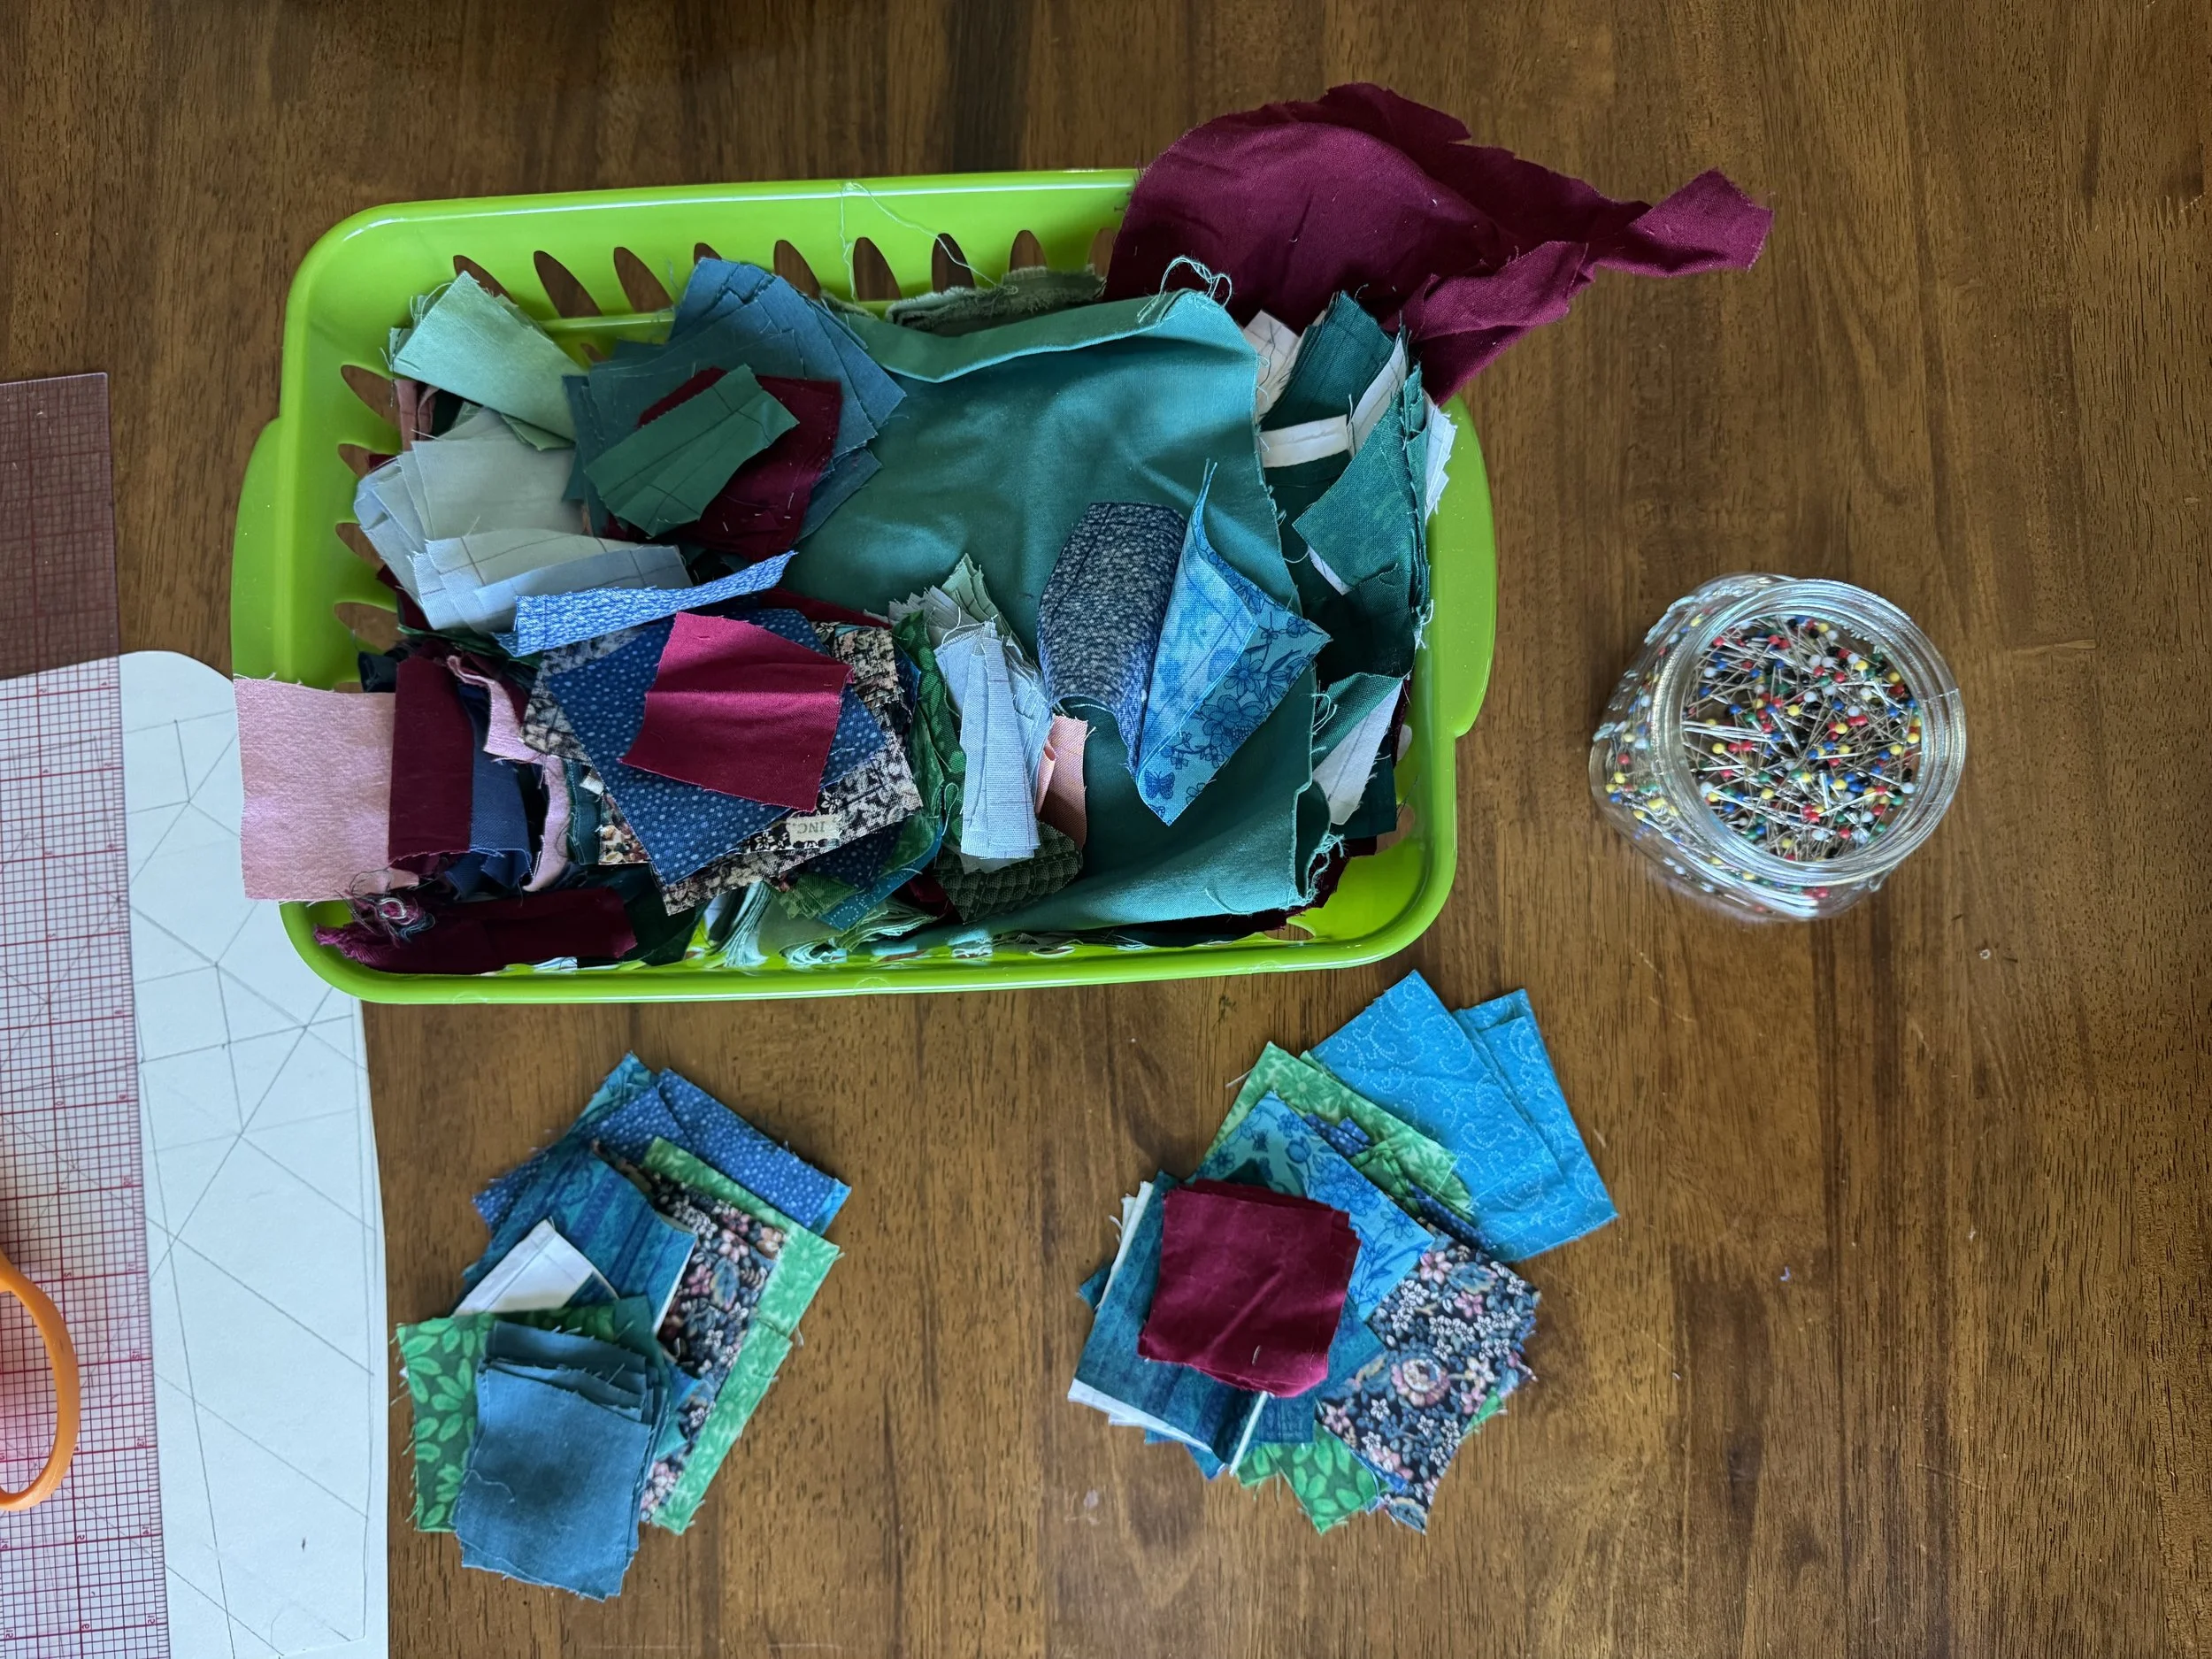
fabric scraps
I used to make a lot of quilt tops, just for the fun of it, and I have a bunch of fabric that has been meticulously cut into squares. I think I will use some of it to shake the dust off of my patchwork skills and make myself an old-fashioned pocket.
This is my first go at making a pocket and I might be a bit overconfident to try tackling both pocket and patchwork at the same time. but here we go.
-
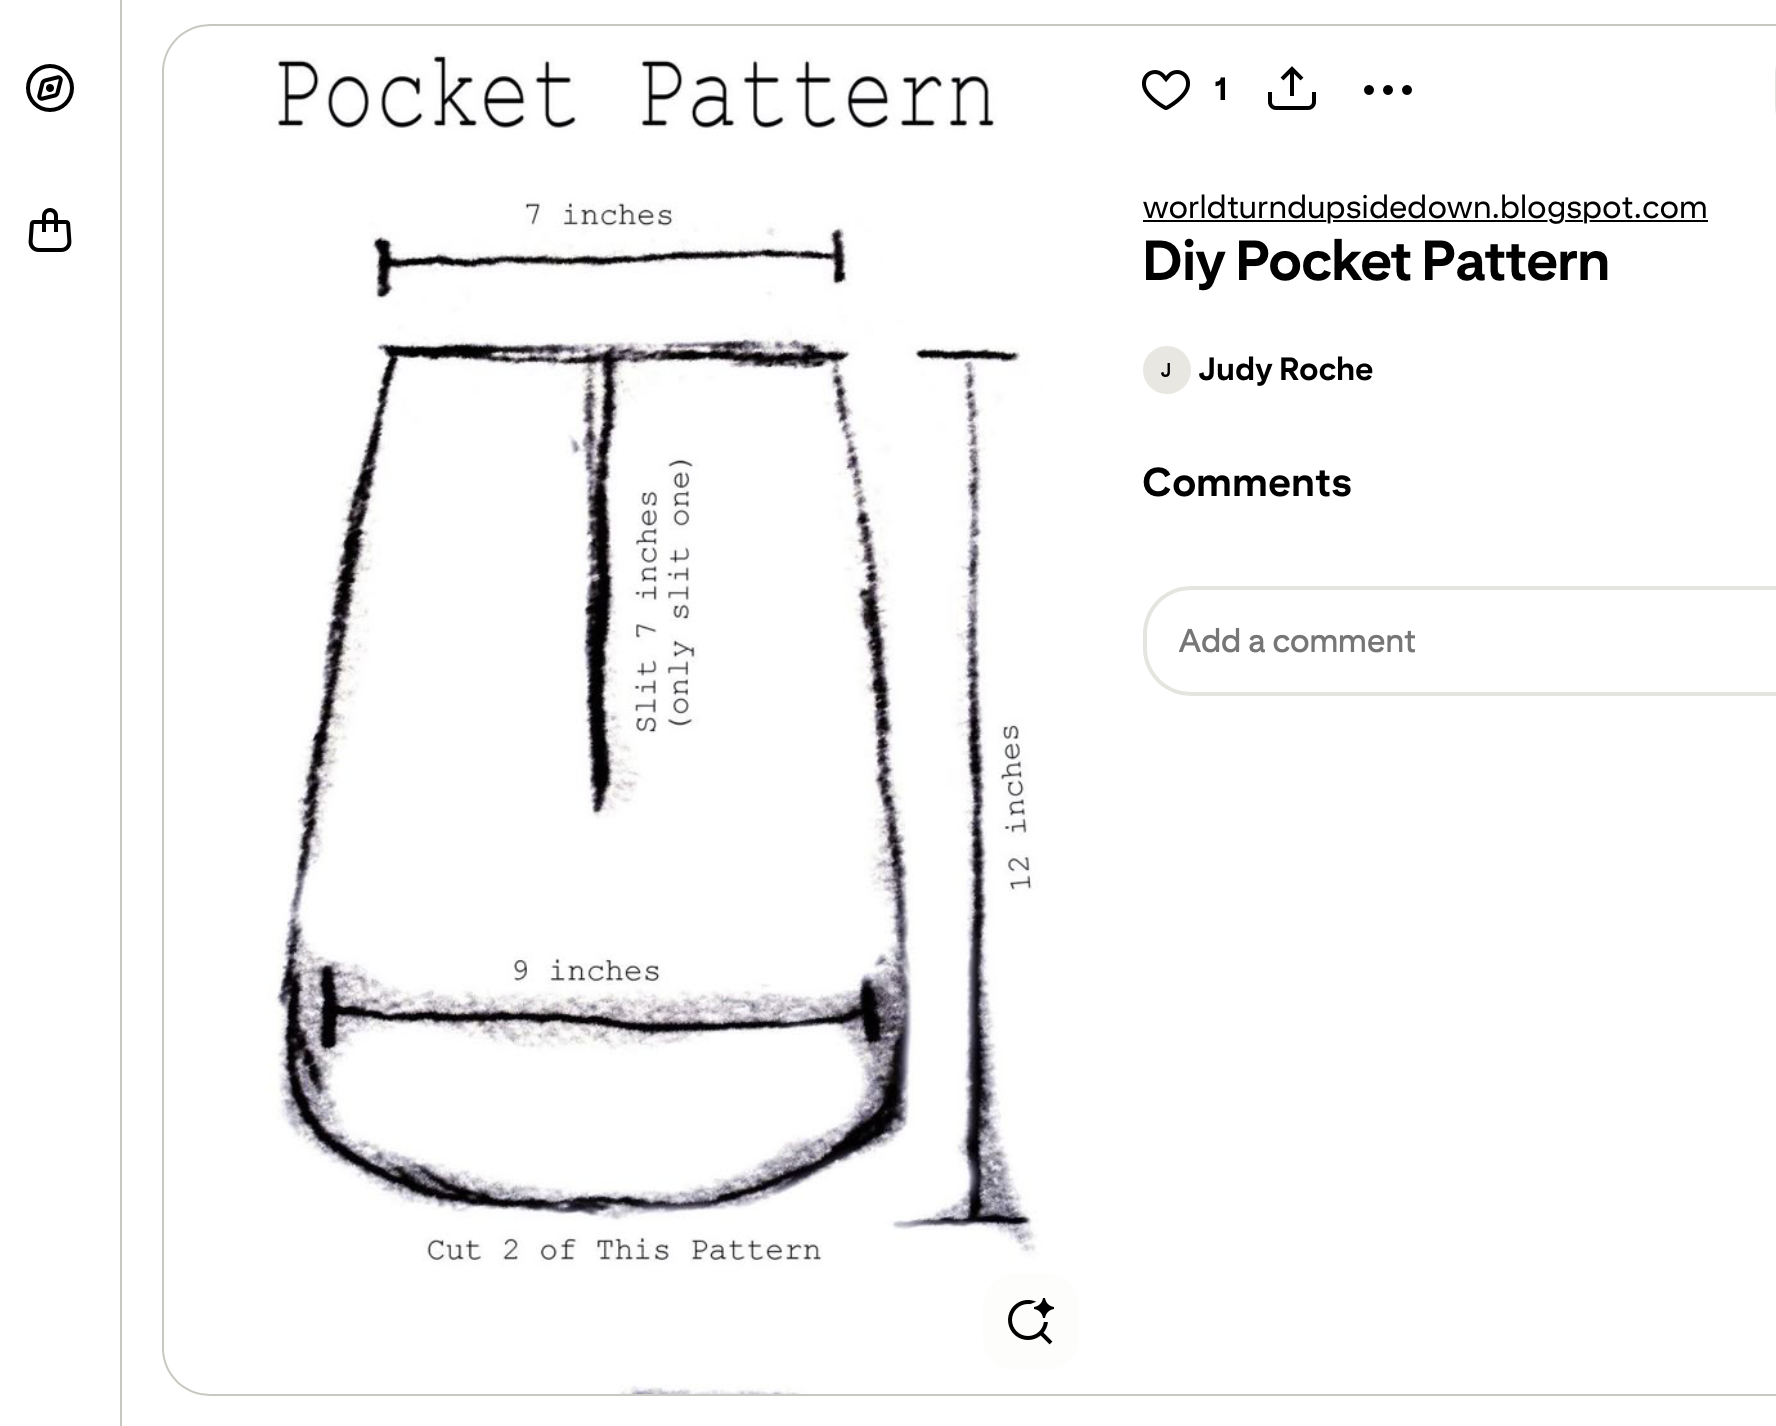
paper pattern
I found an image of a pocket that looked nice, and said image very conveniently included measurements.
-
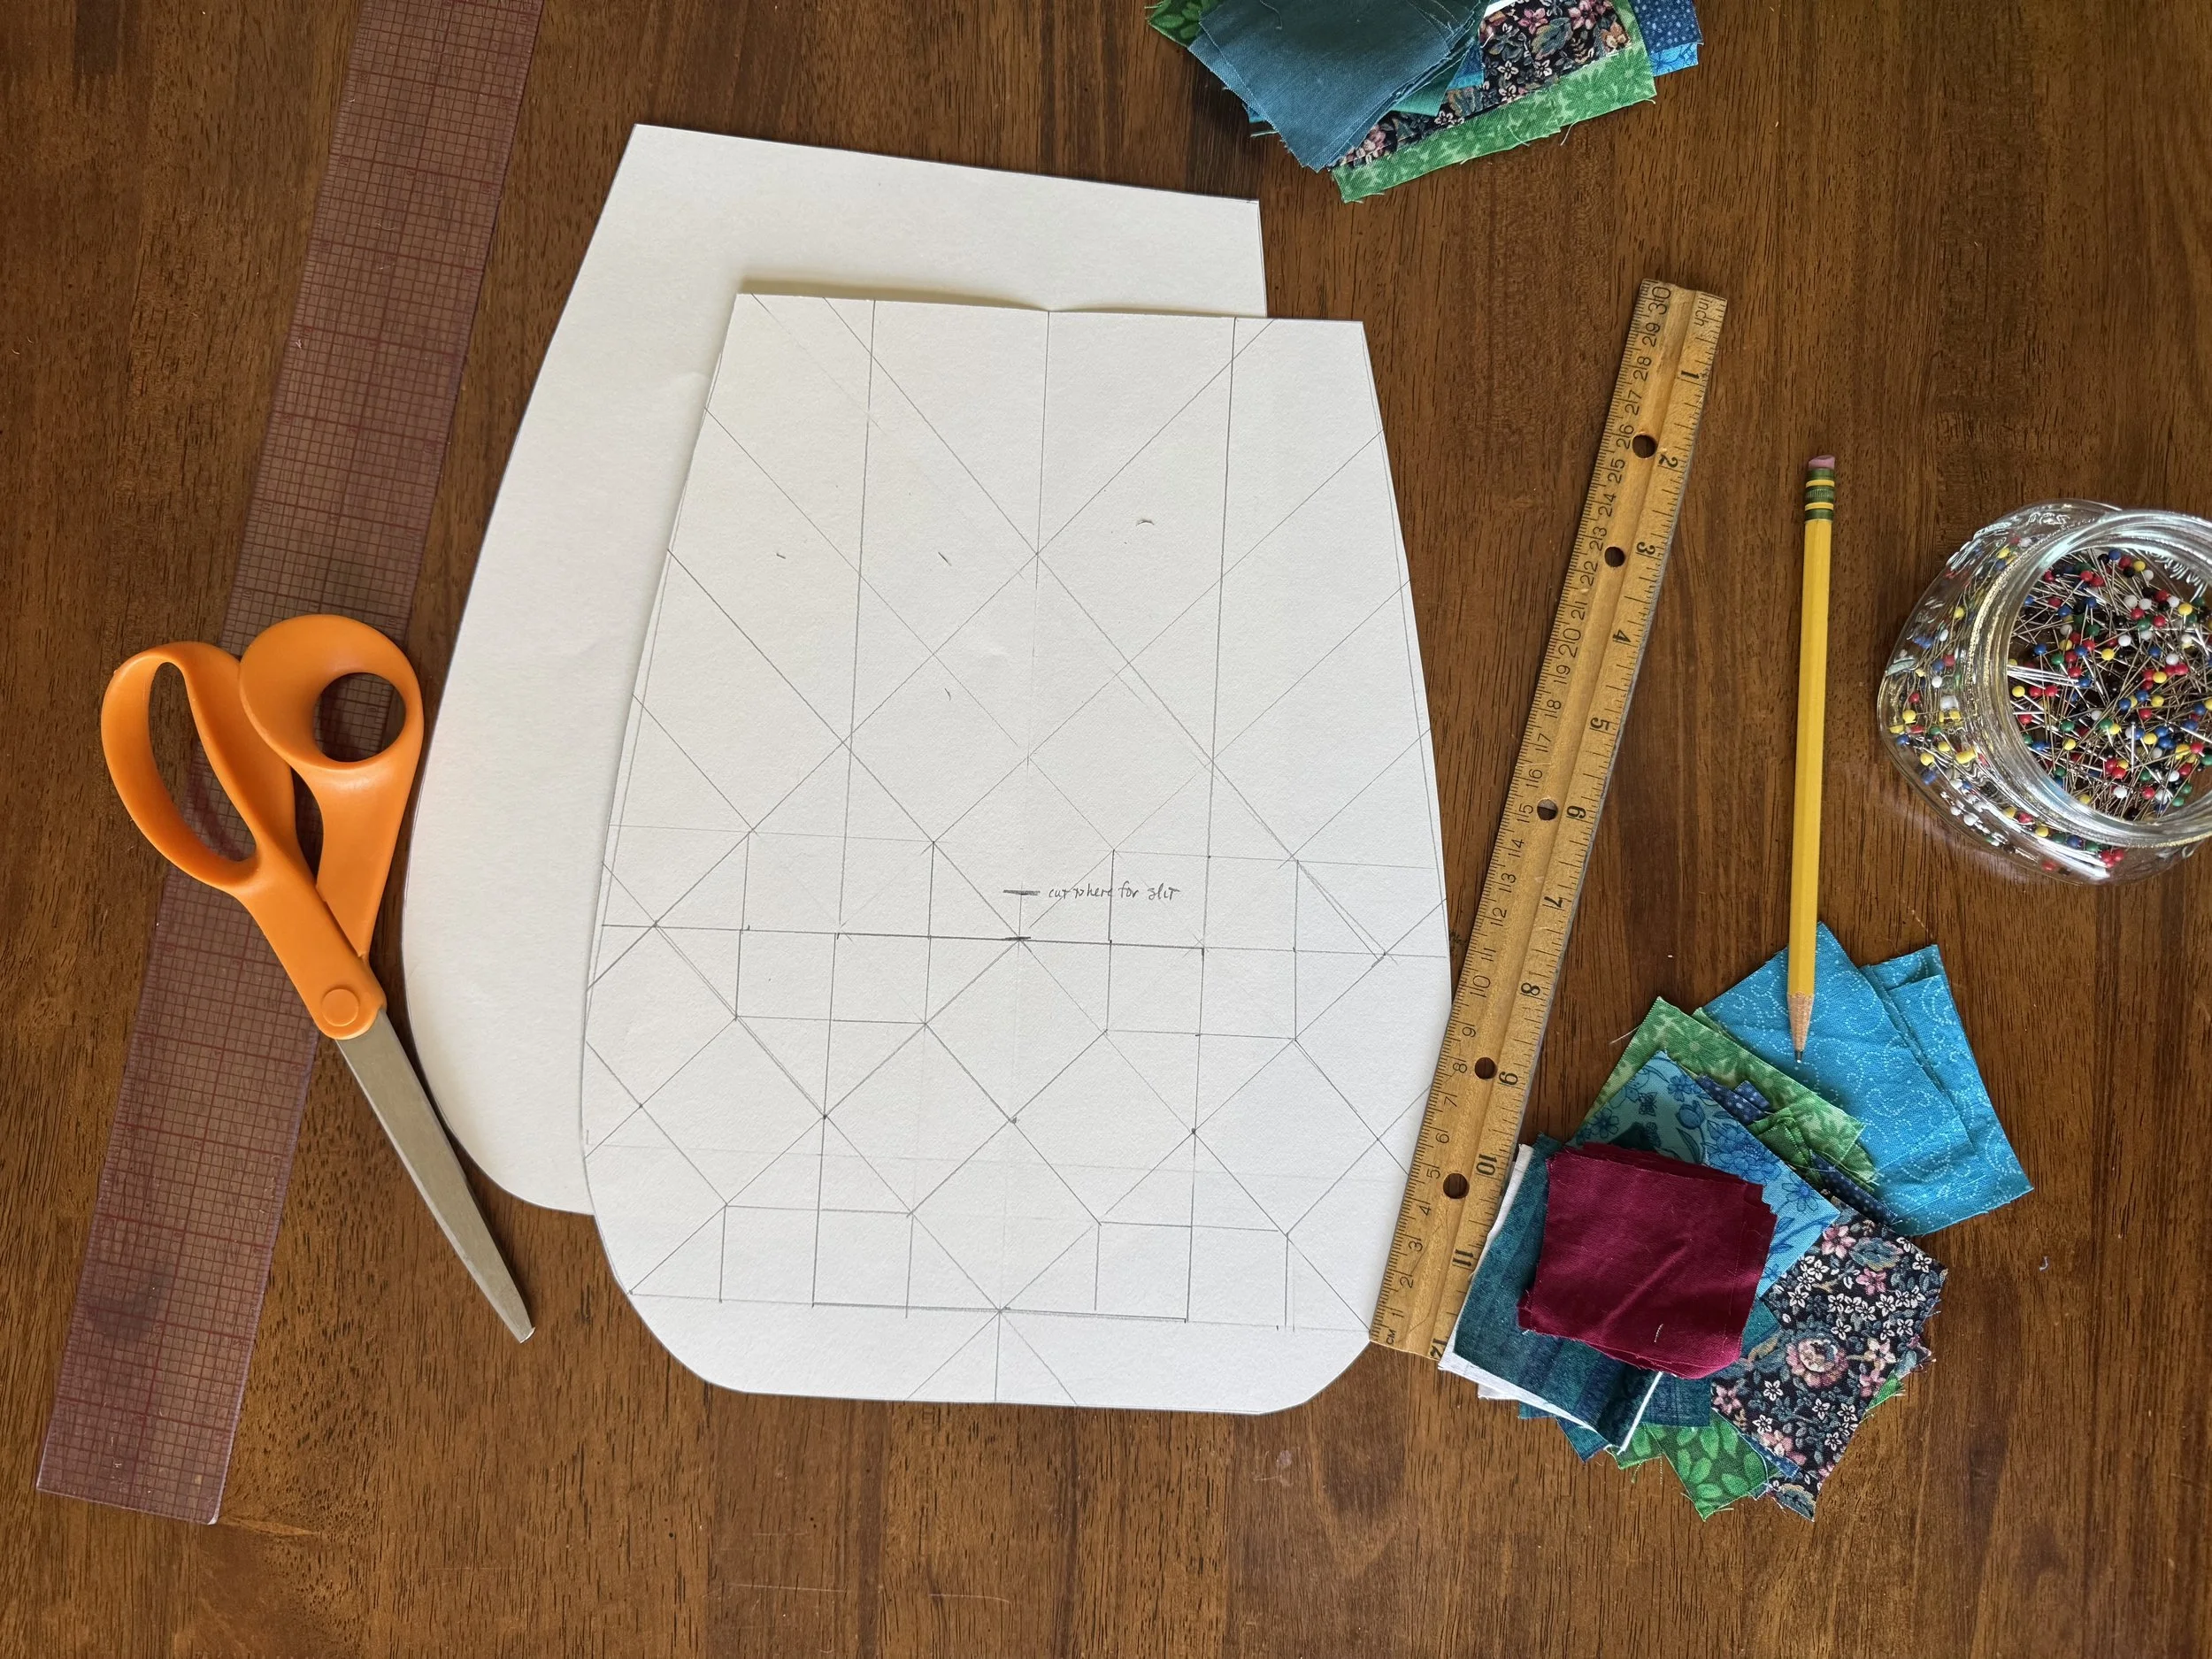
paper pattern
After drafting and cutting out two more or less identical patterns pieces, I messed around with some patchwork ideas, but in the end I decided that this first pocket (for I expect to make several) will simply have rows of good old squares.
-
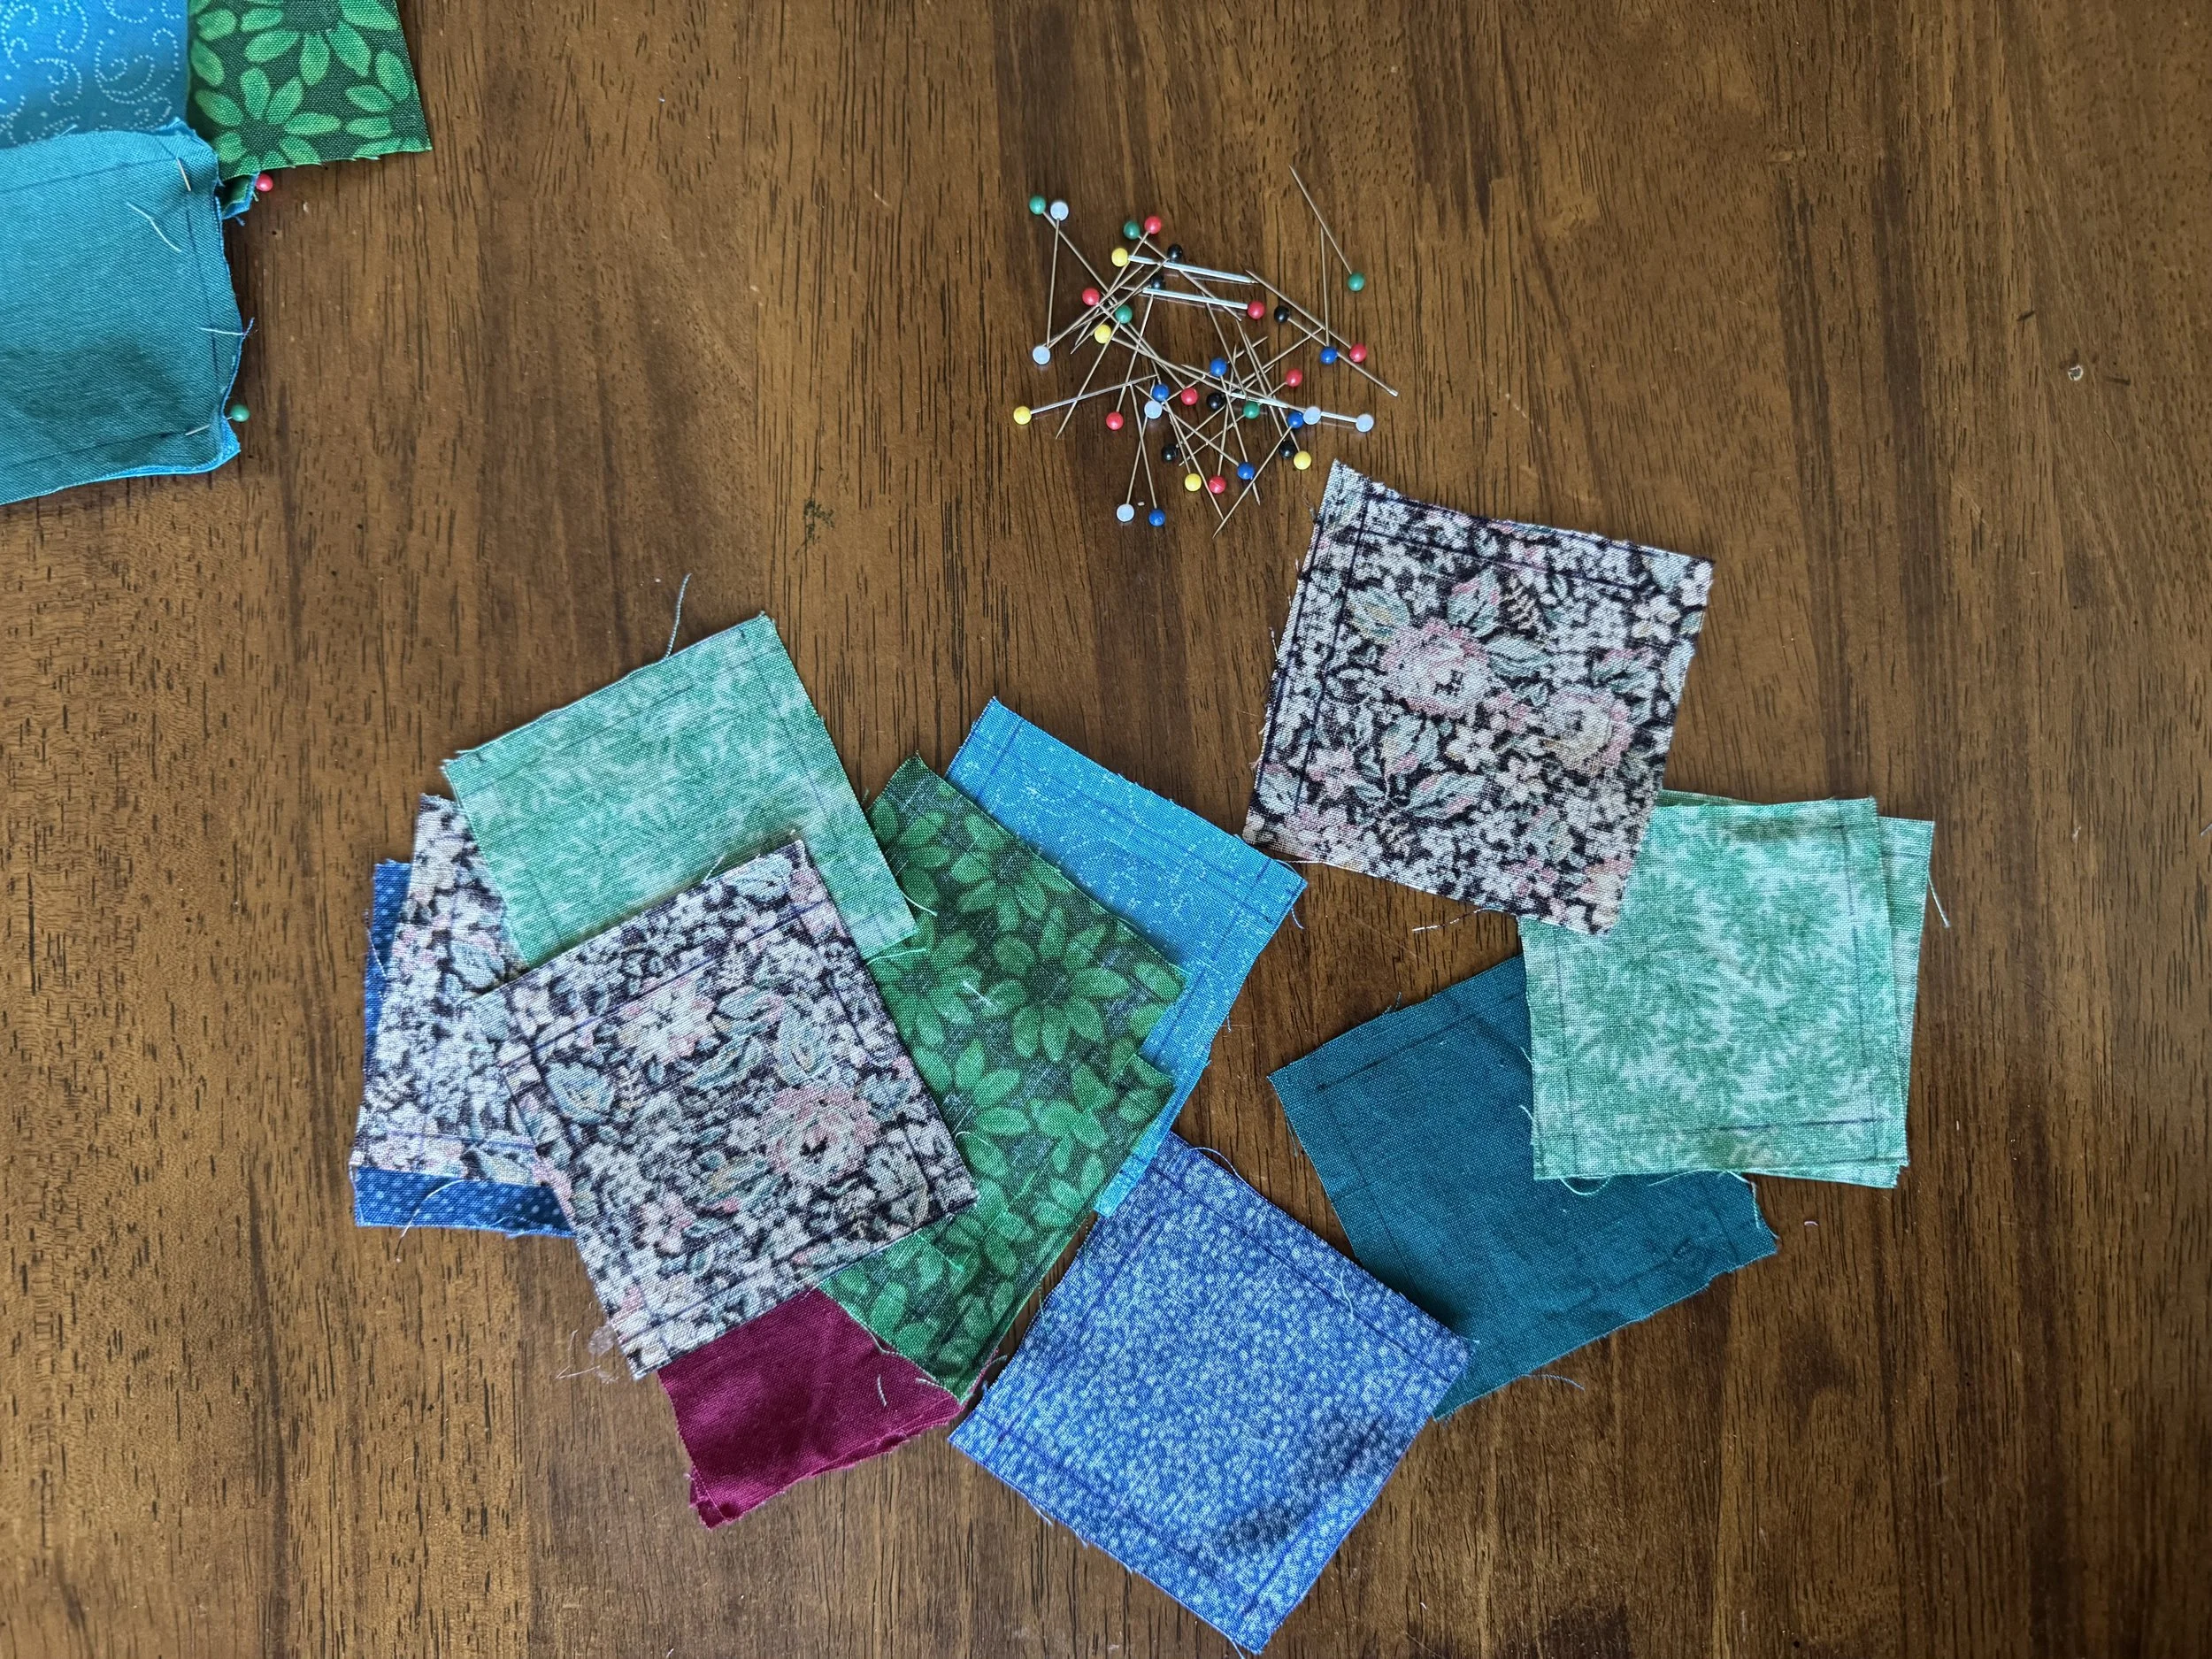
thanks to my past self
At some point I drew sewing lines on all of these pieces, so this should be a breeze.
-
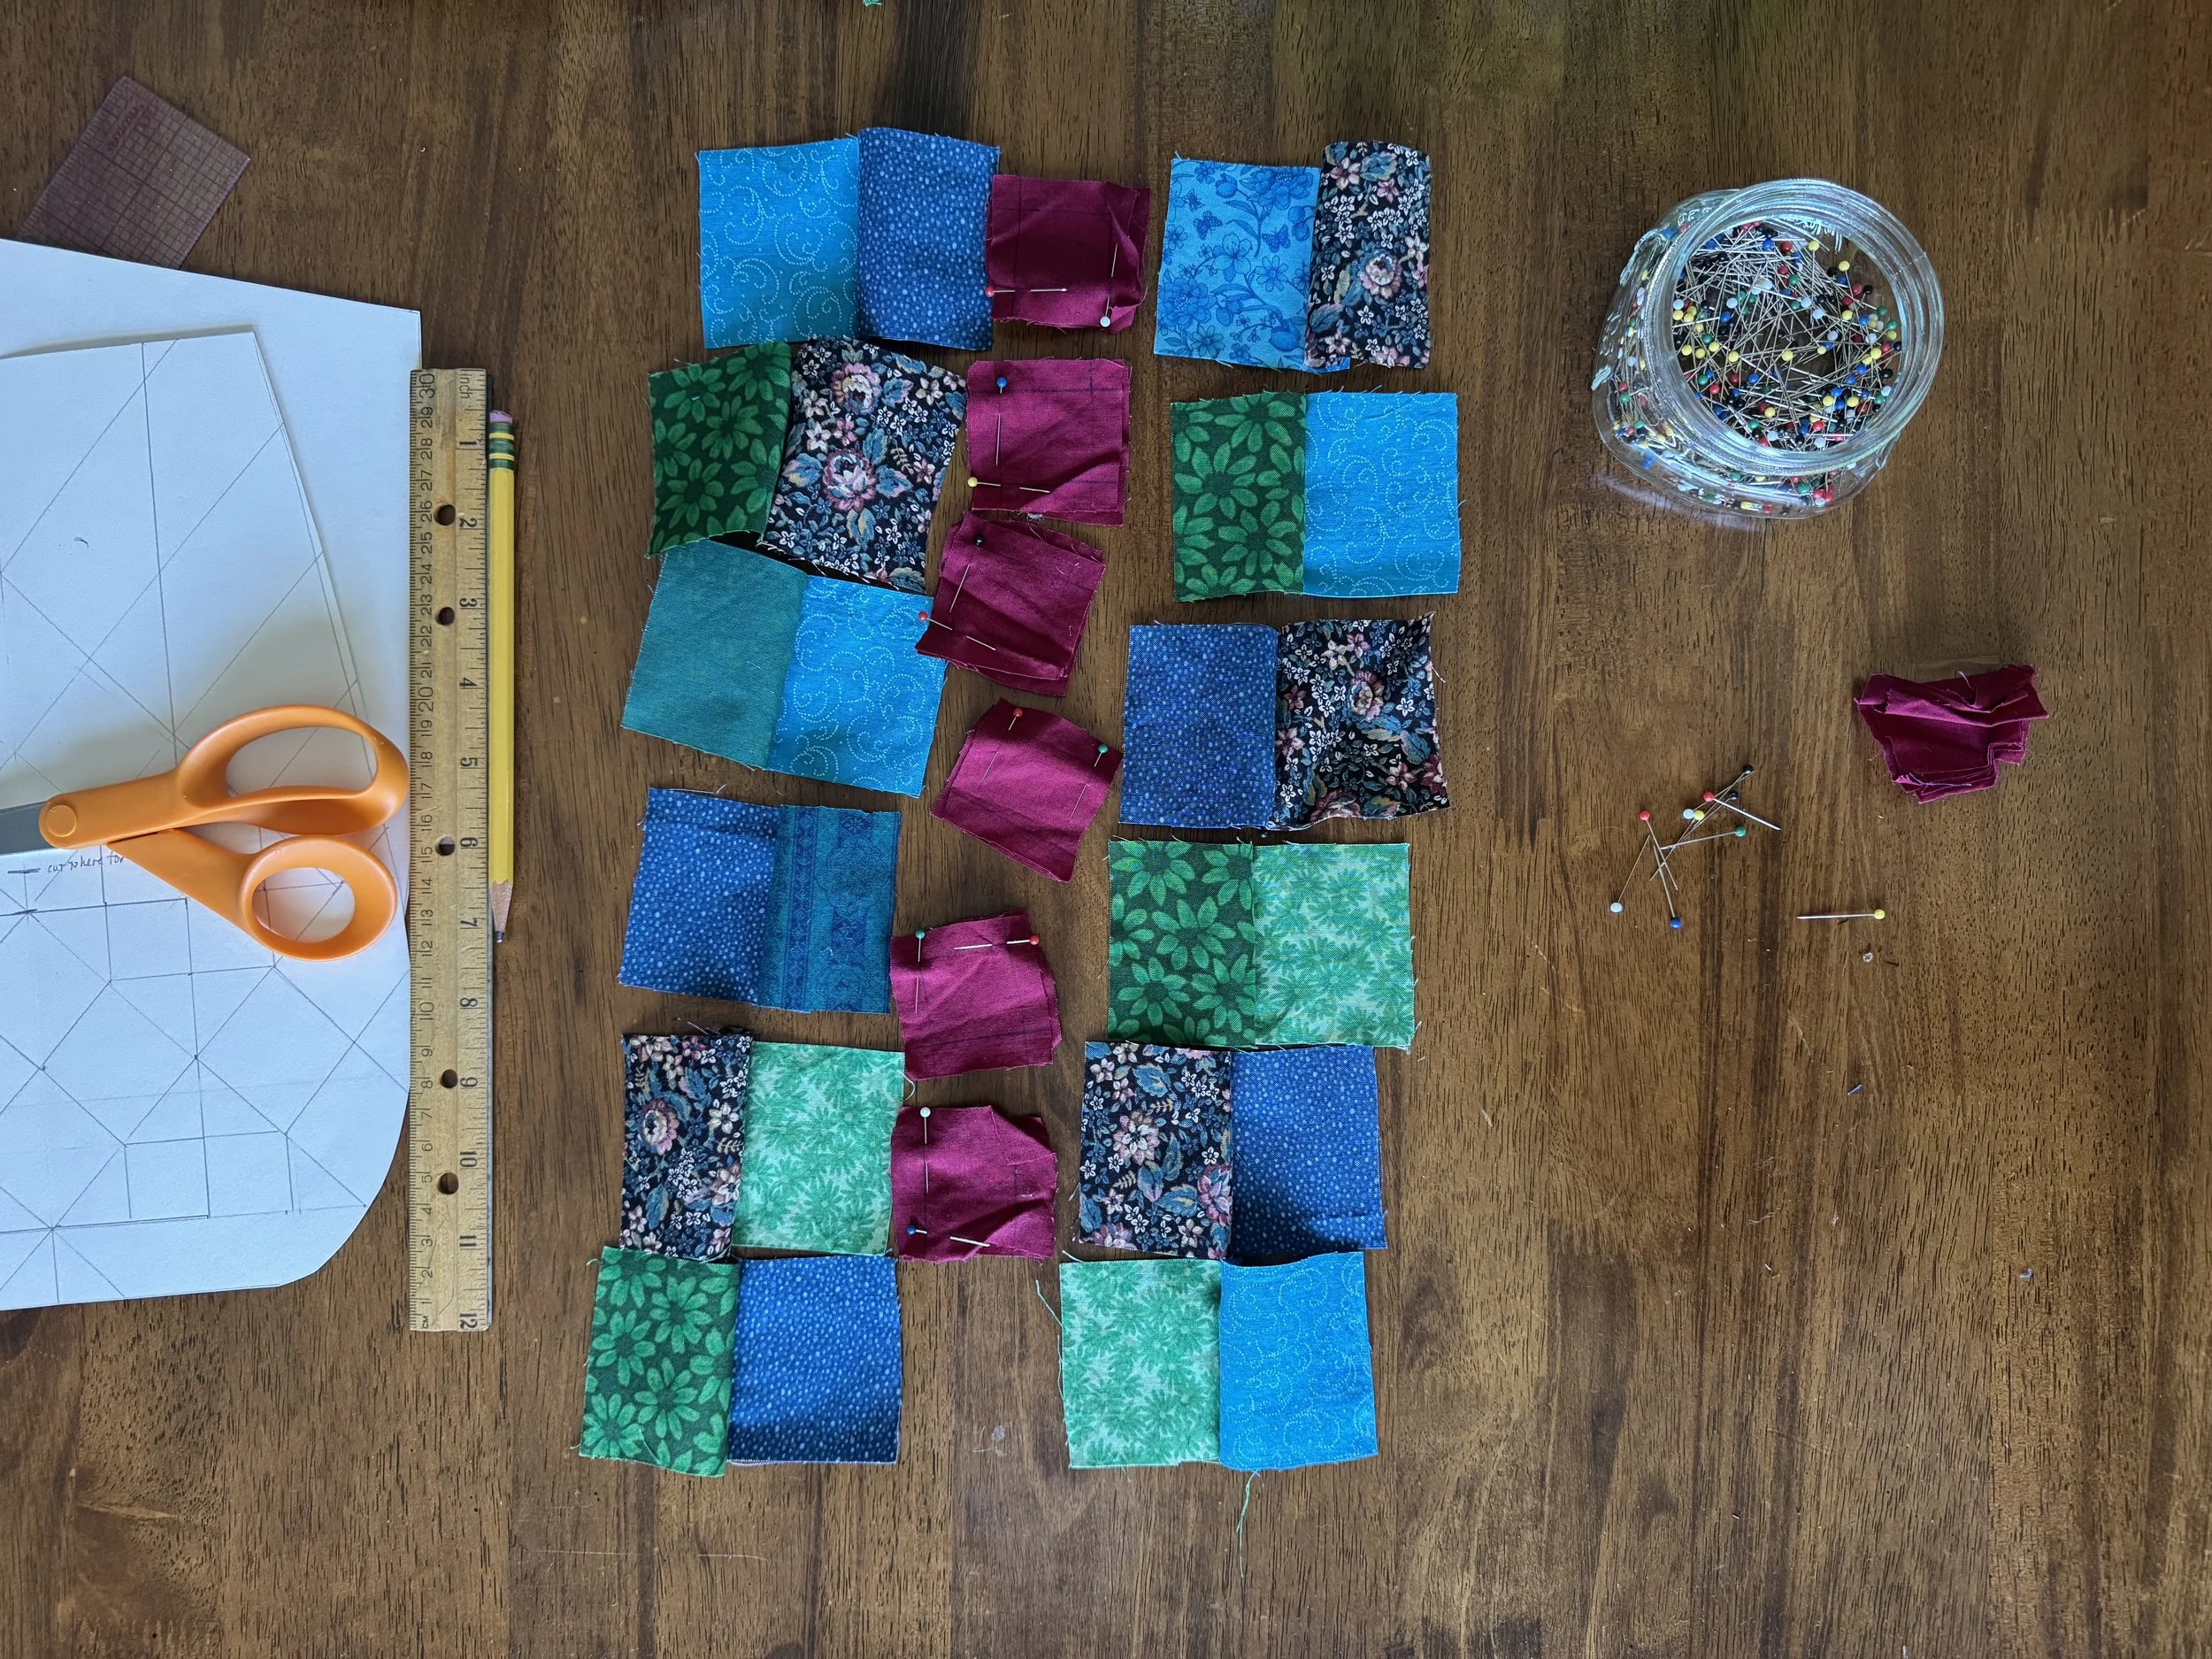
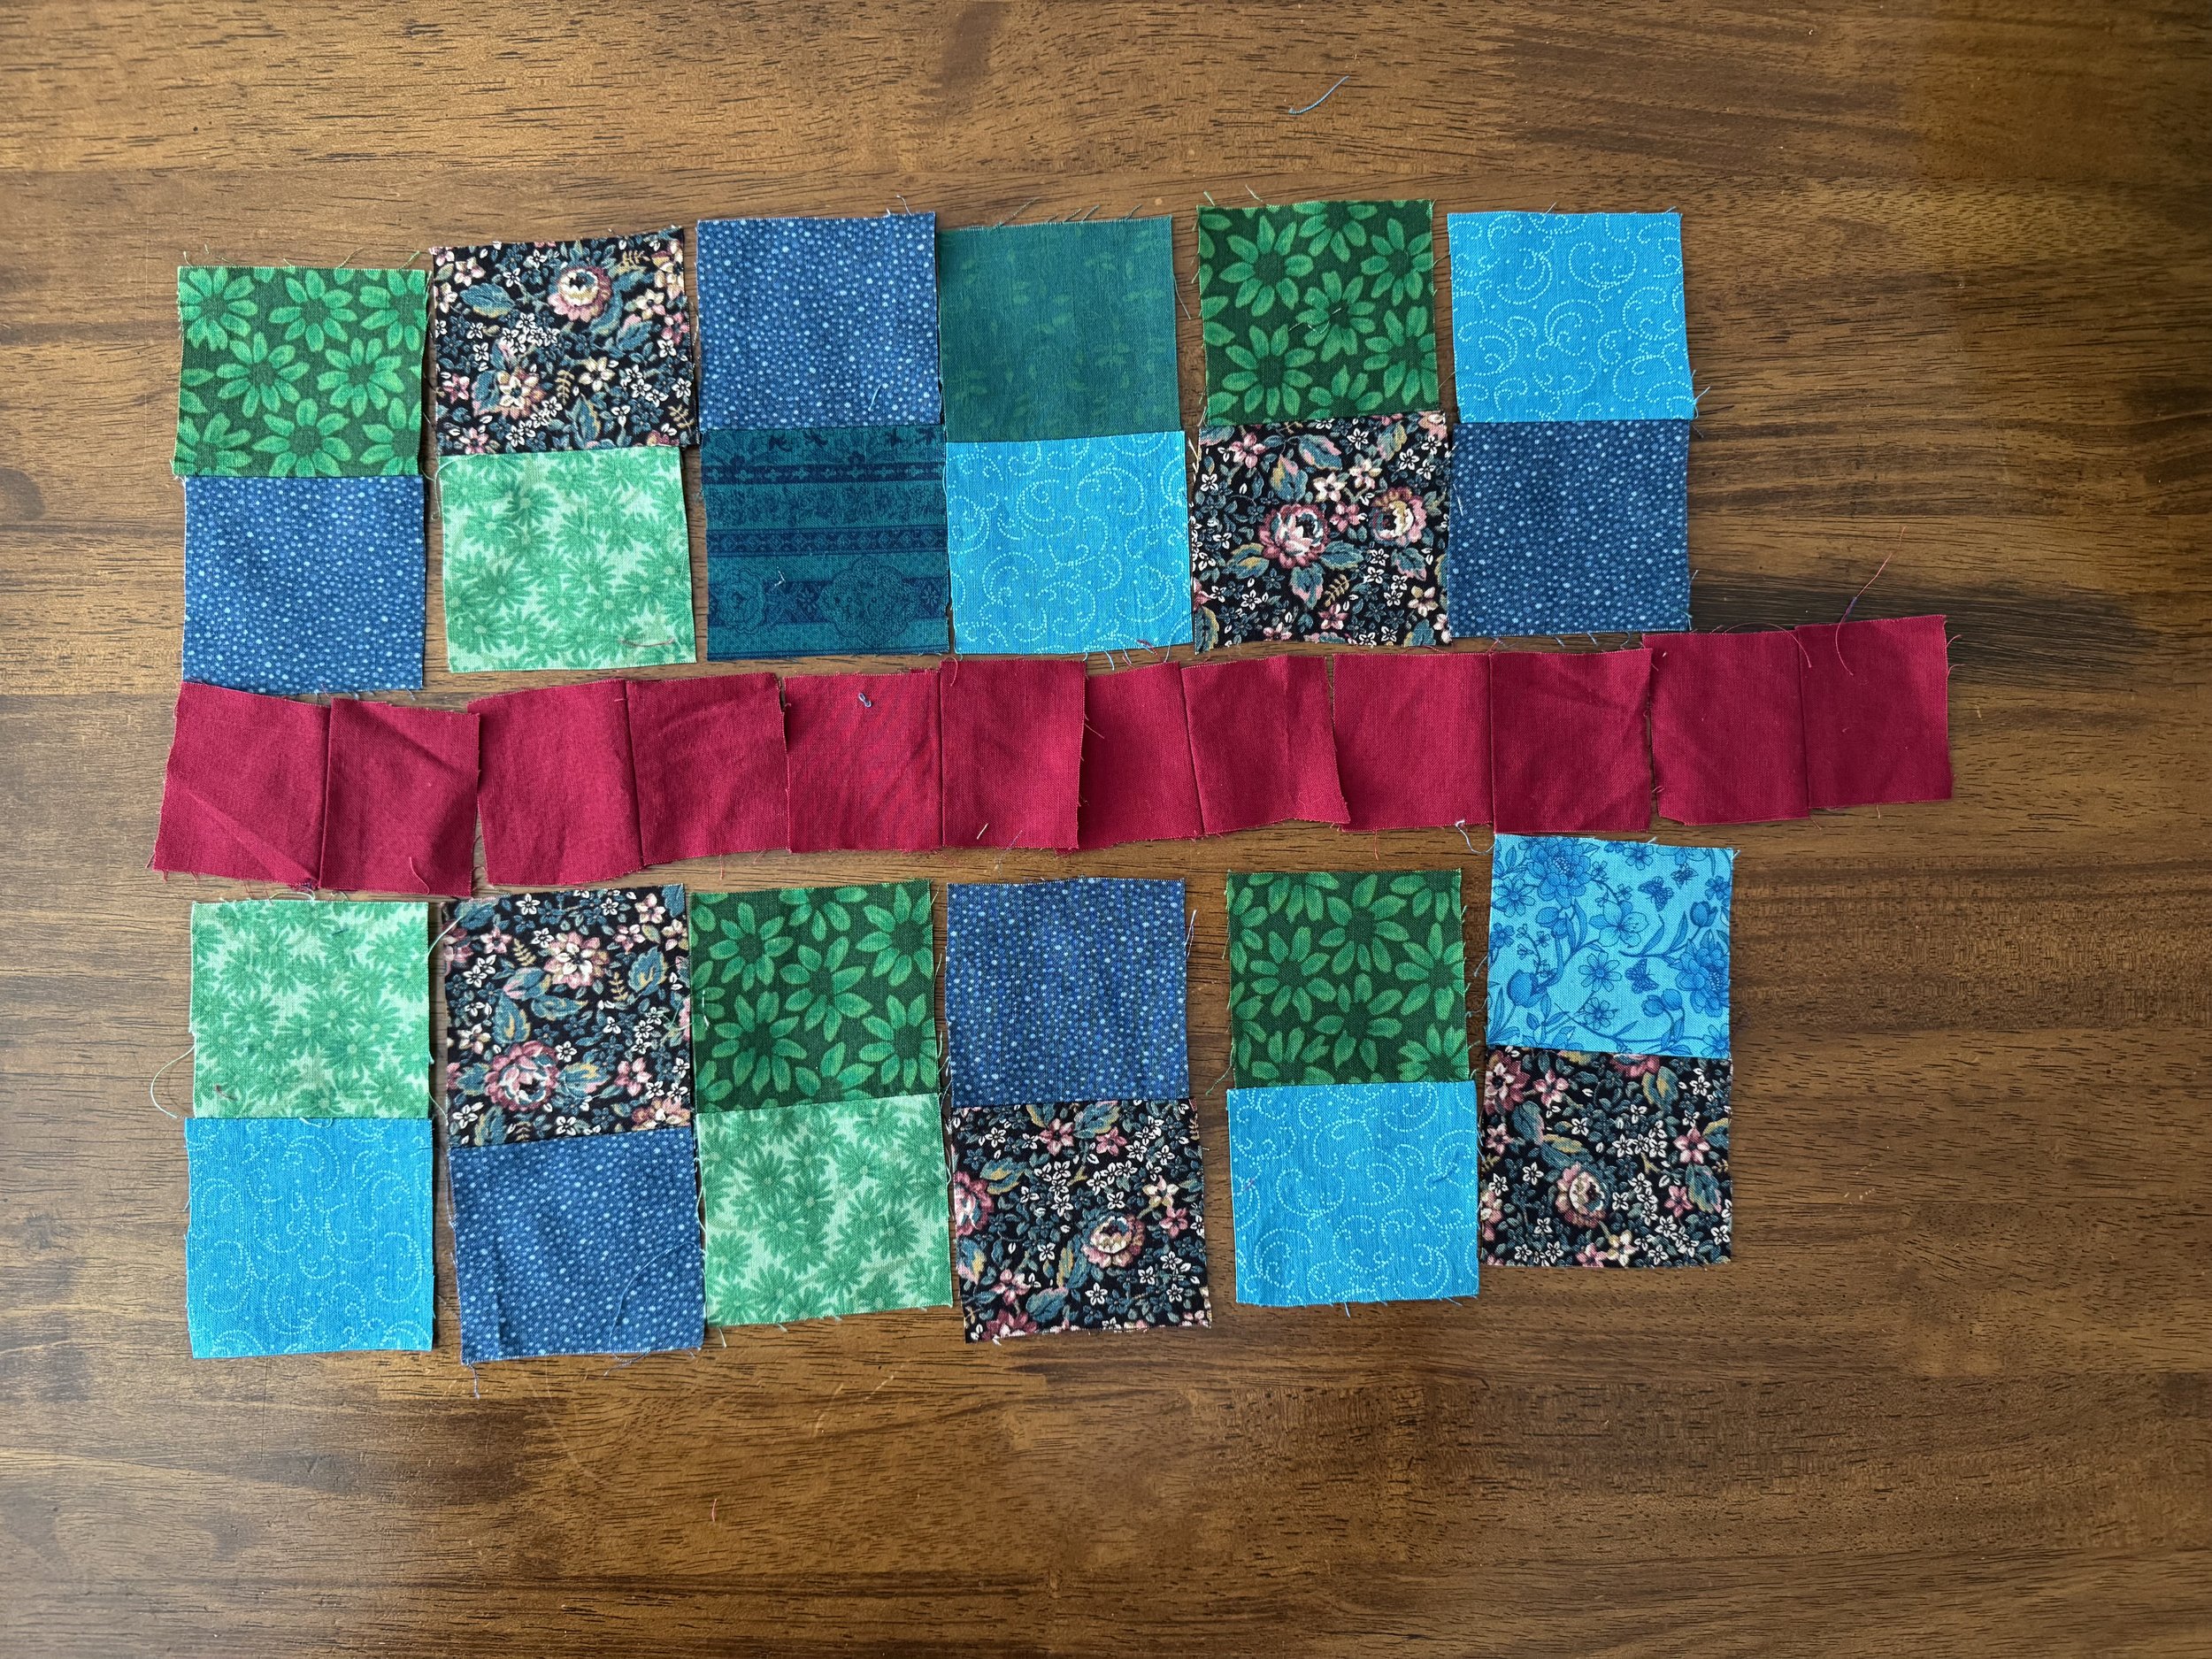
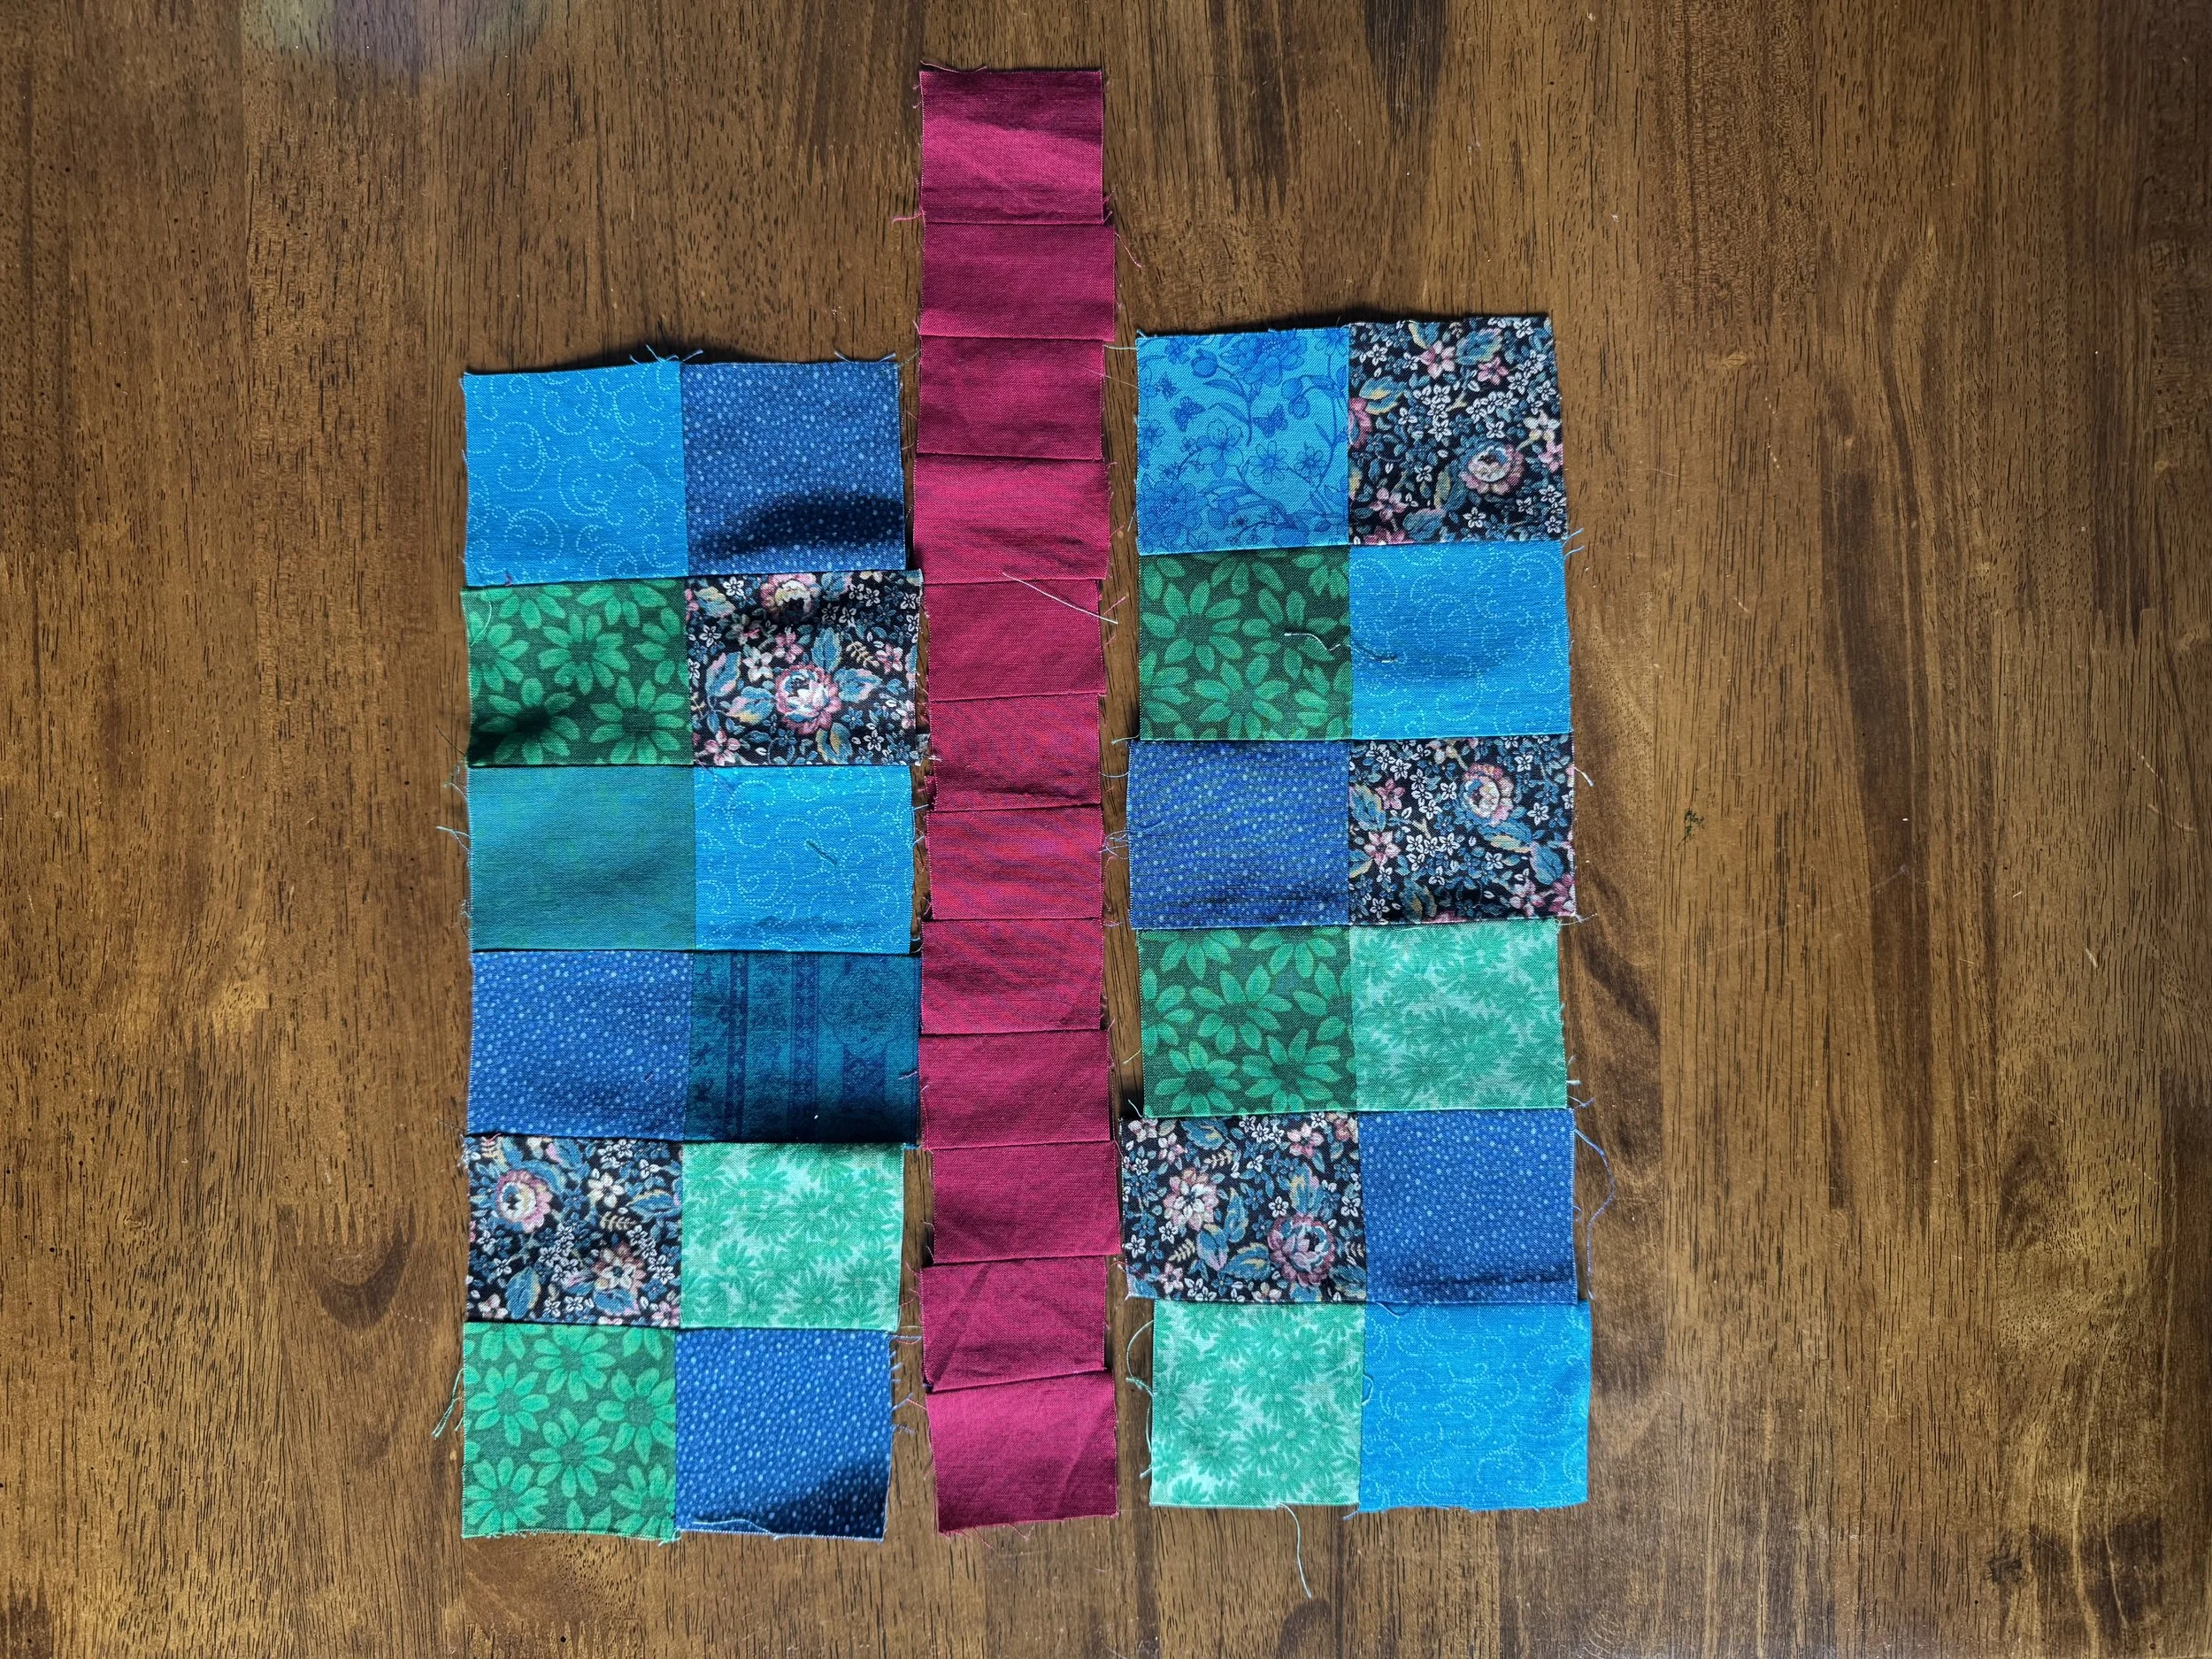
first side
My squares are 2” and I need my pocket to measure 9 x 12”, so I am going to arrange things thus, adding in a 1” square in the middle to fill out the 9” width.
-
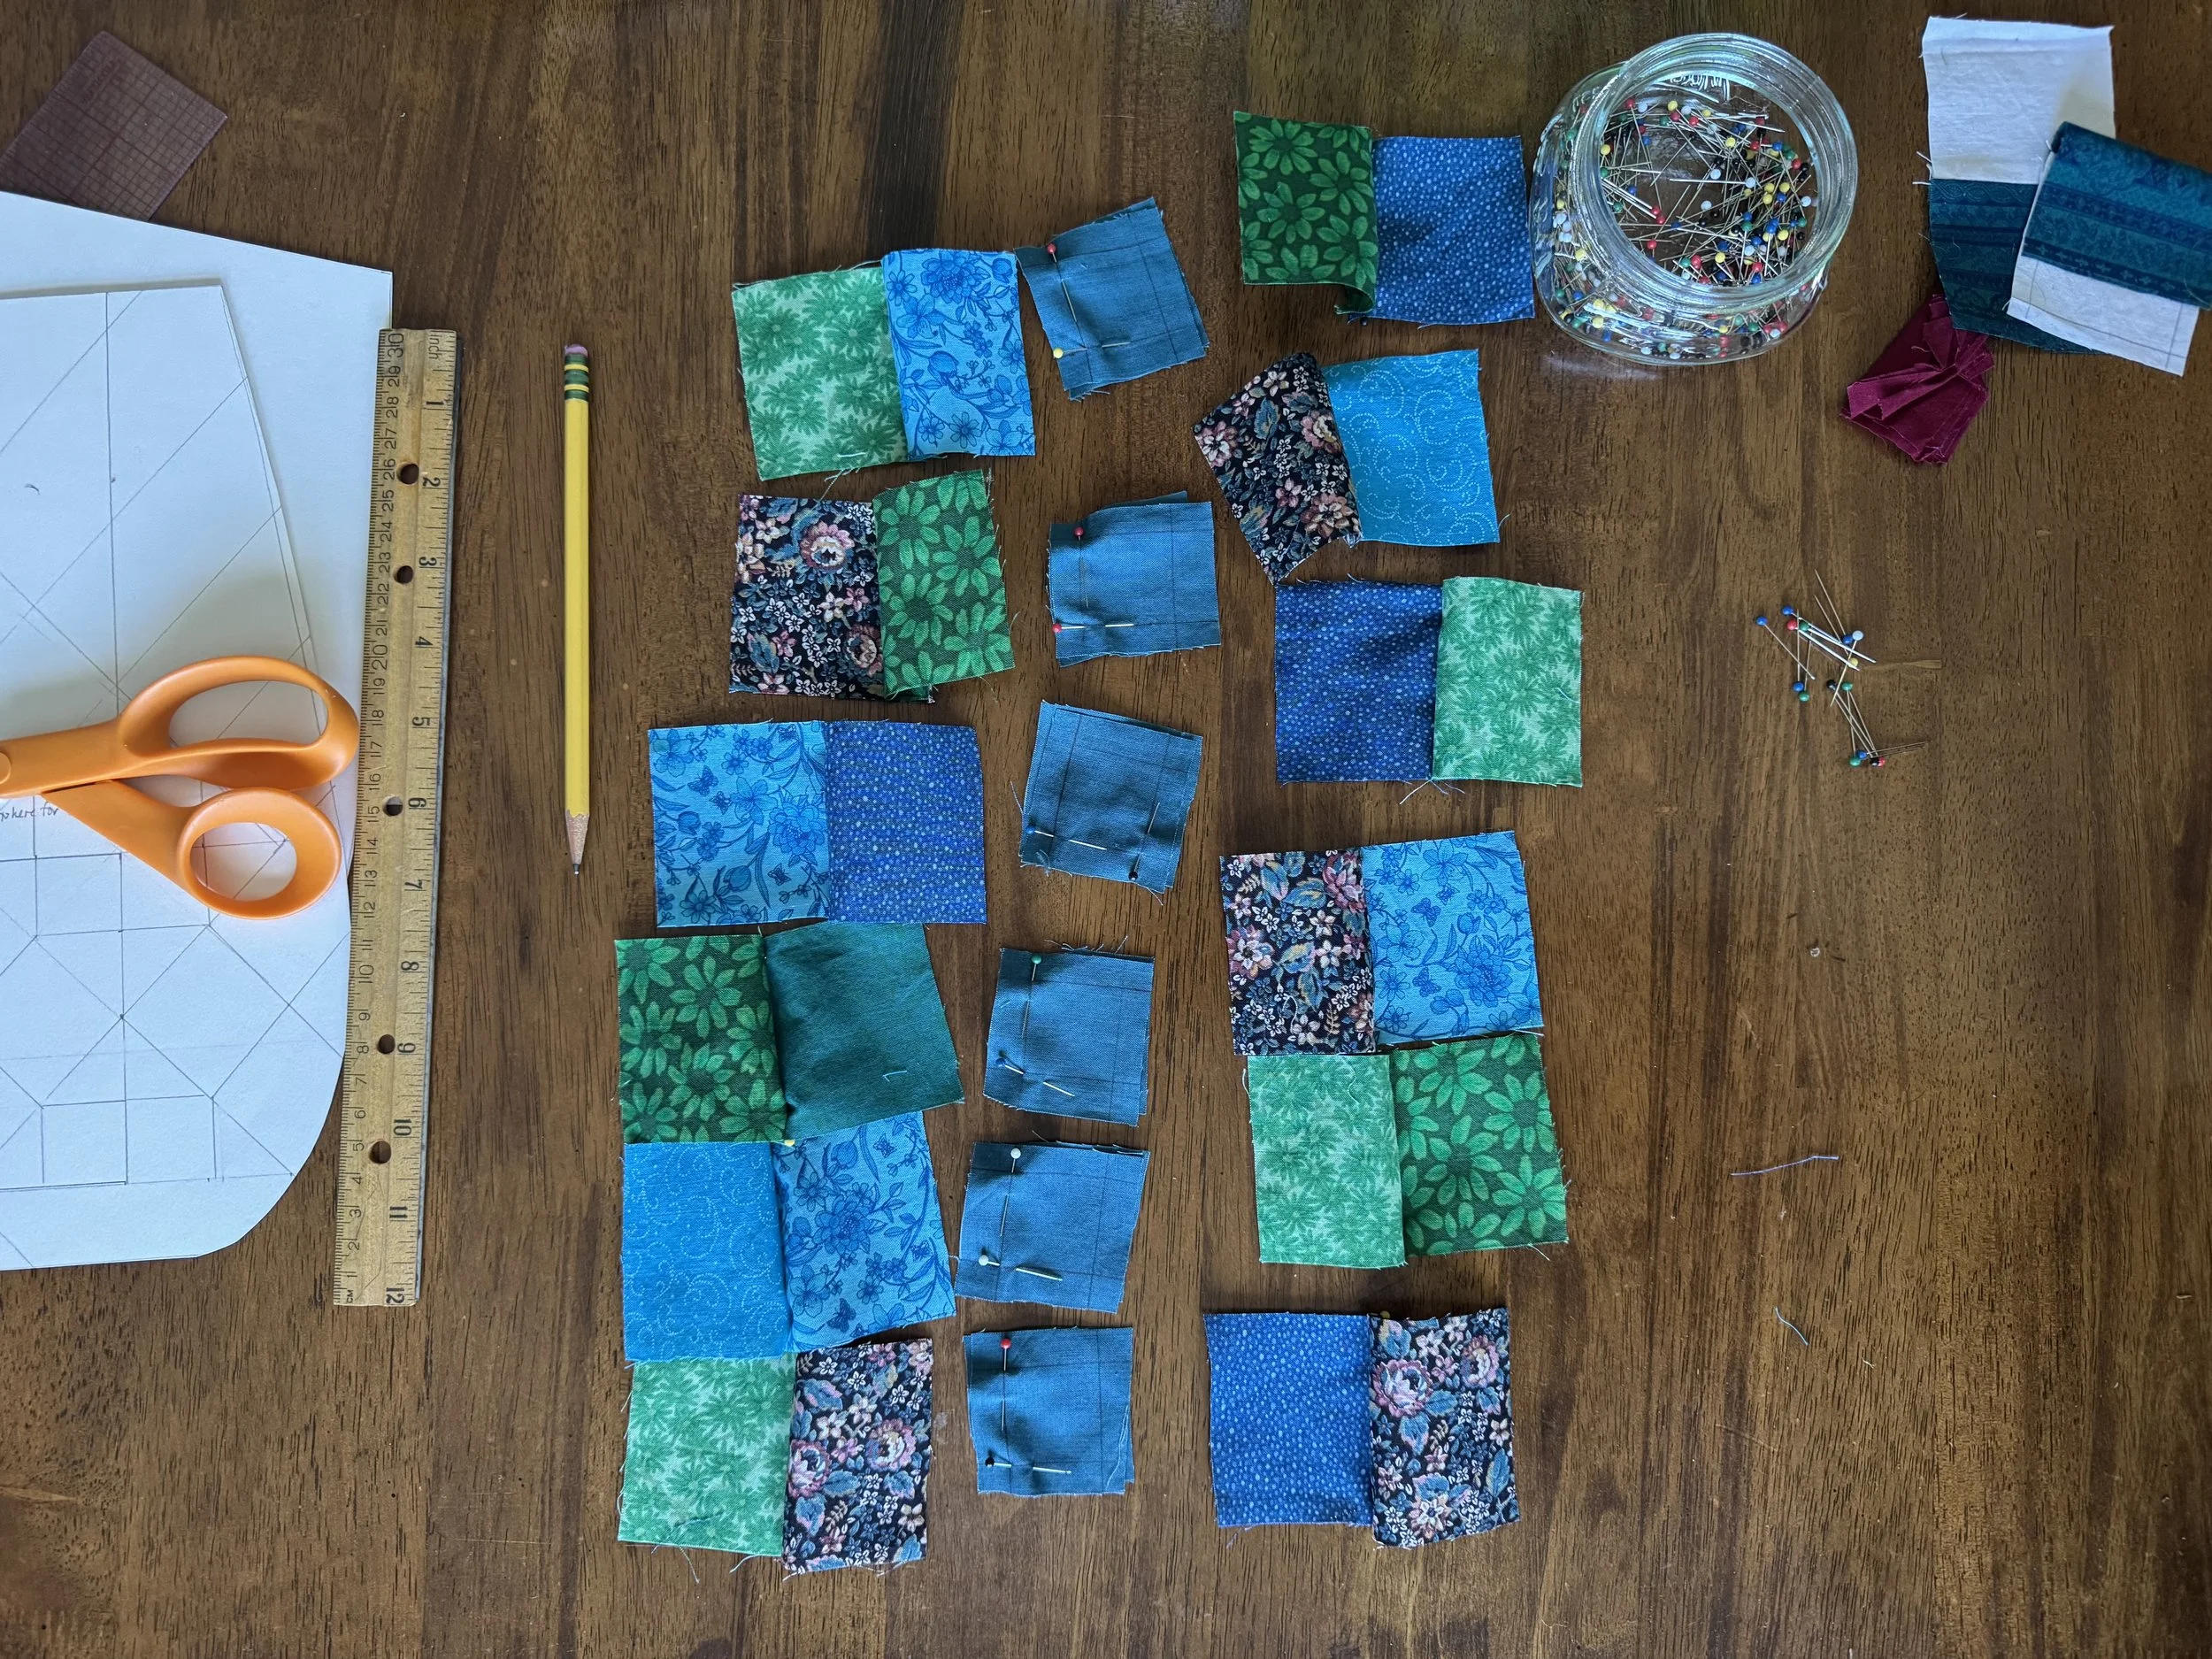
second side
I have to decide which side will be the front and which the back. That can come later.
-
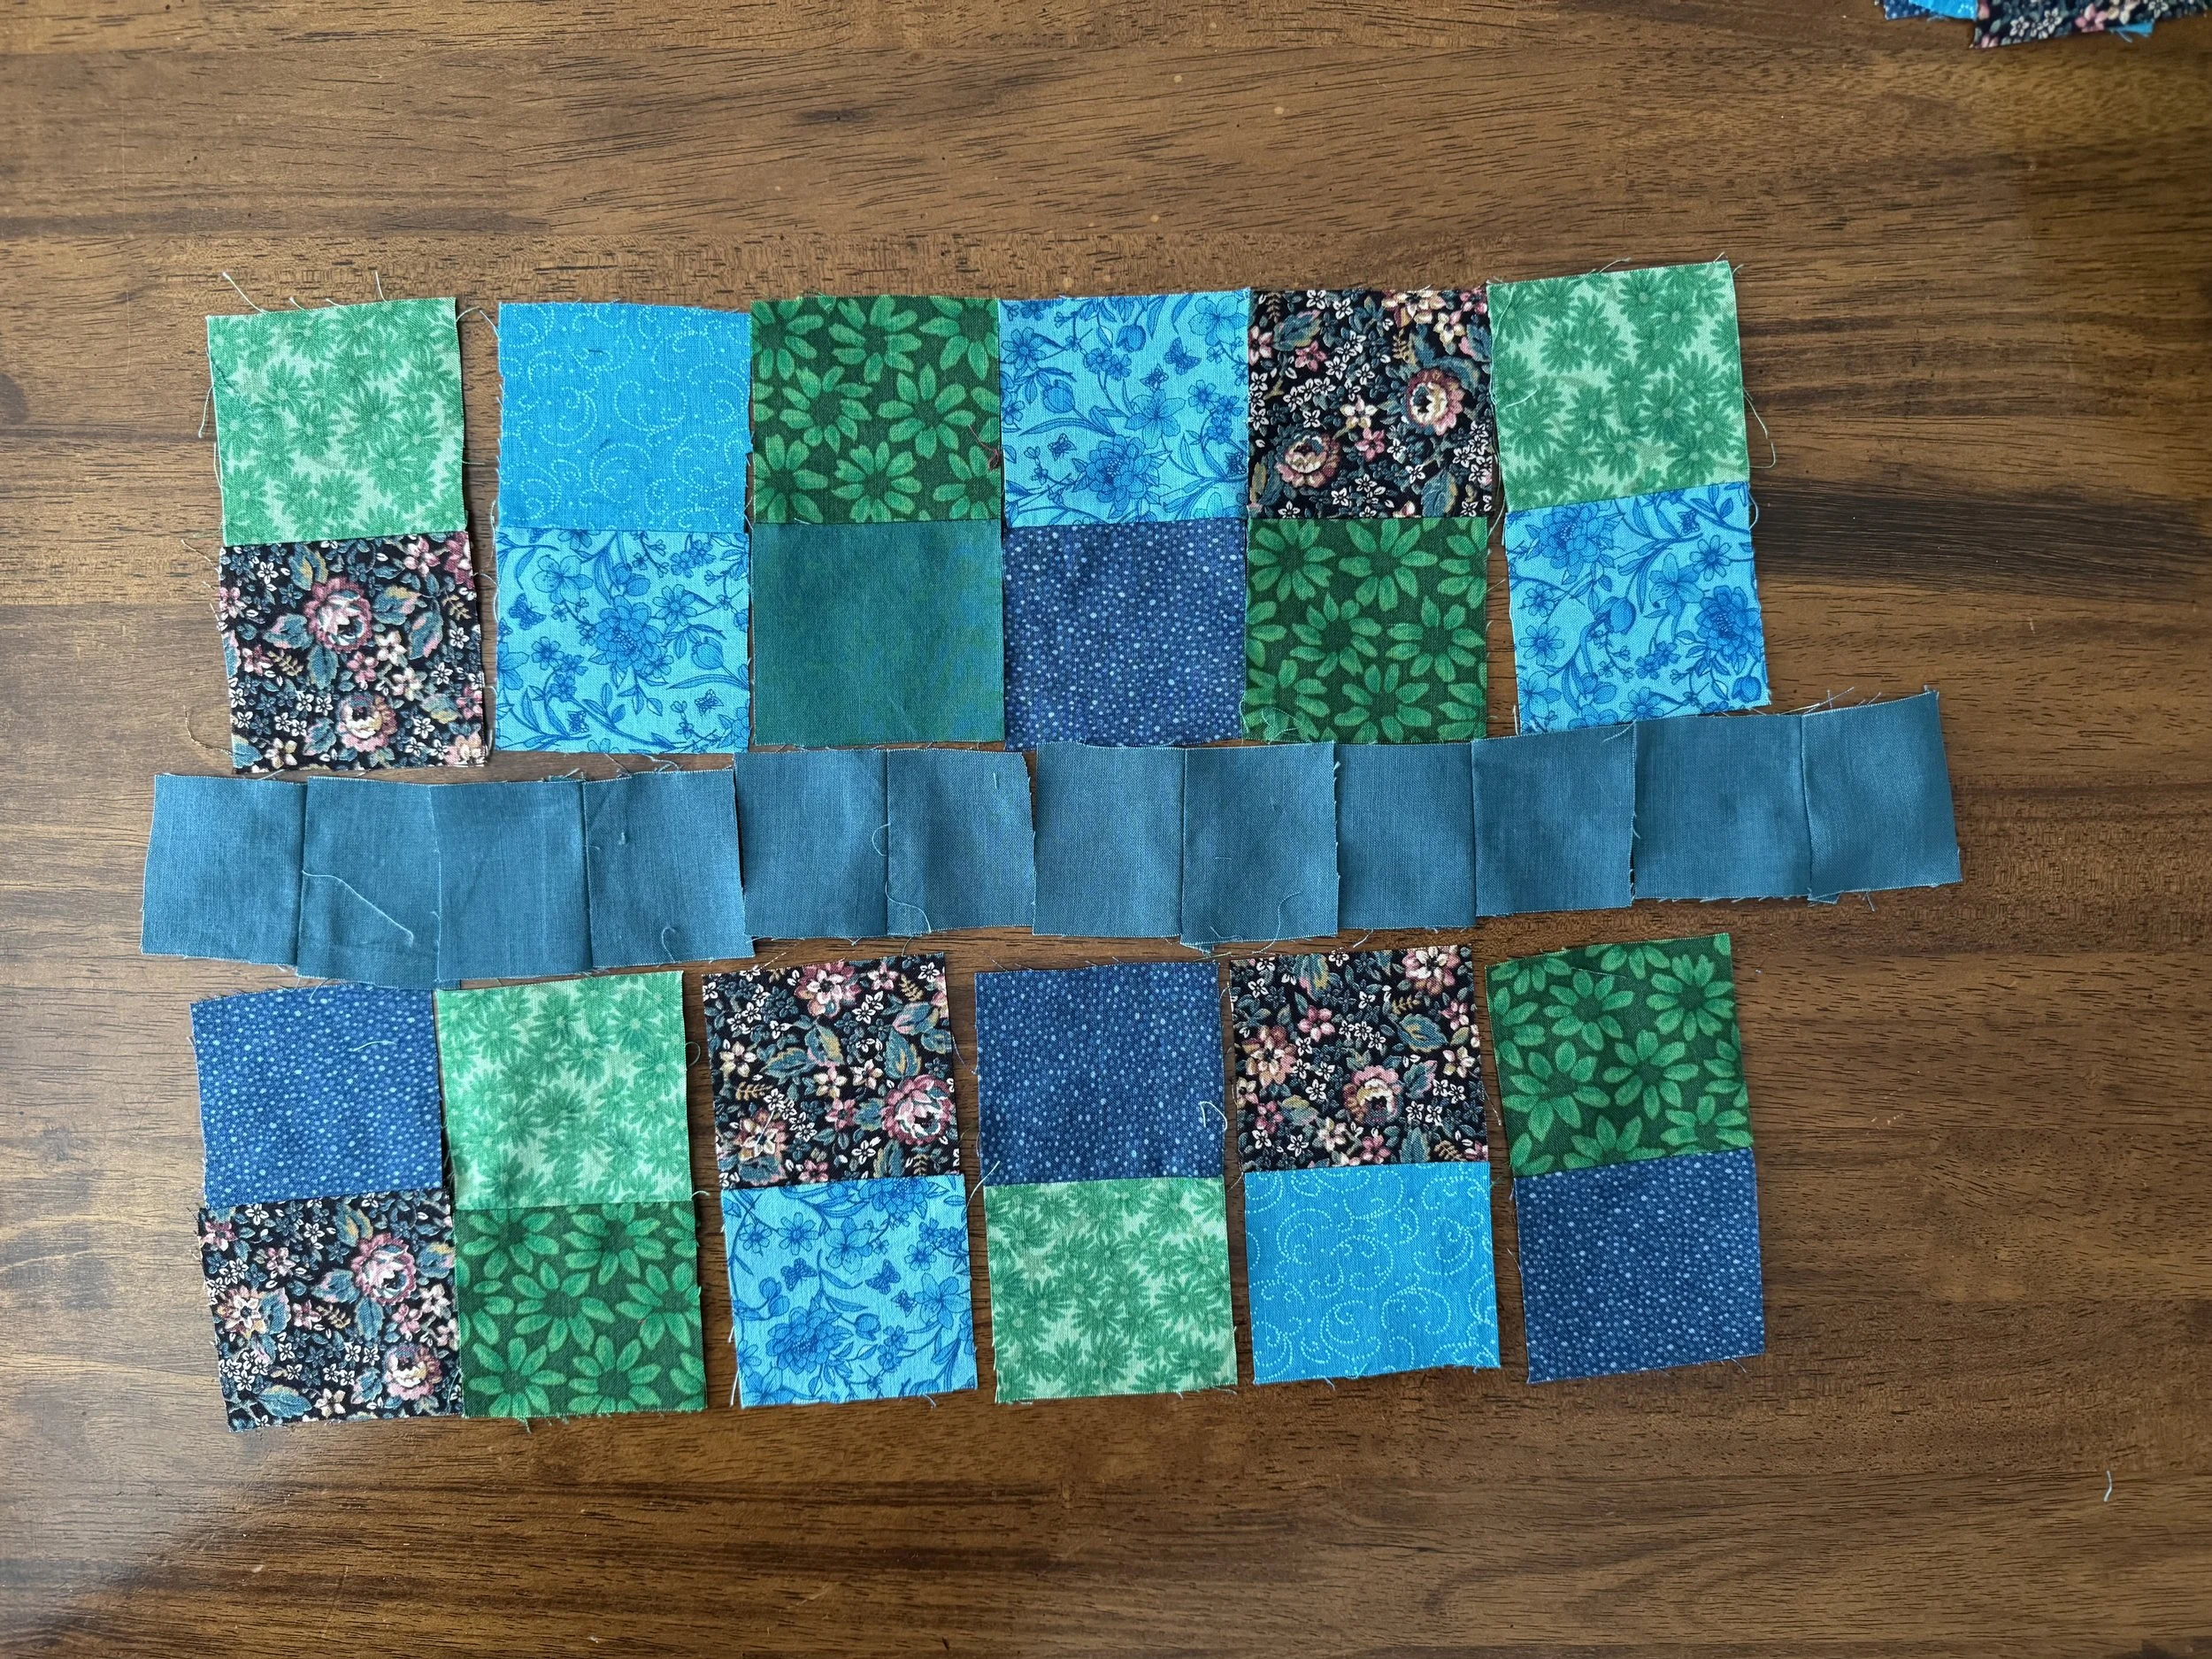
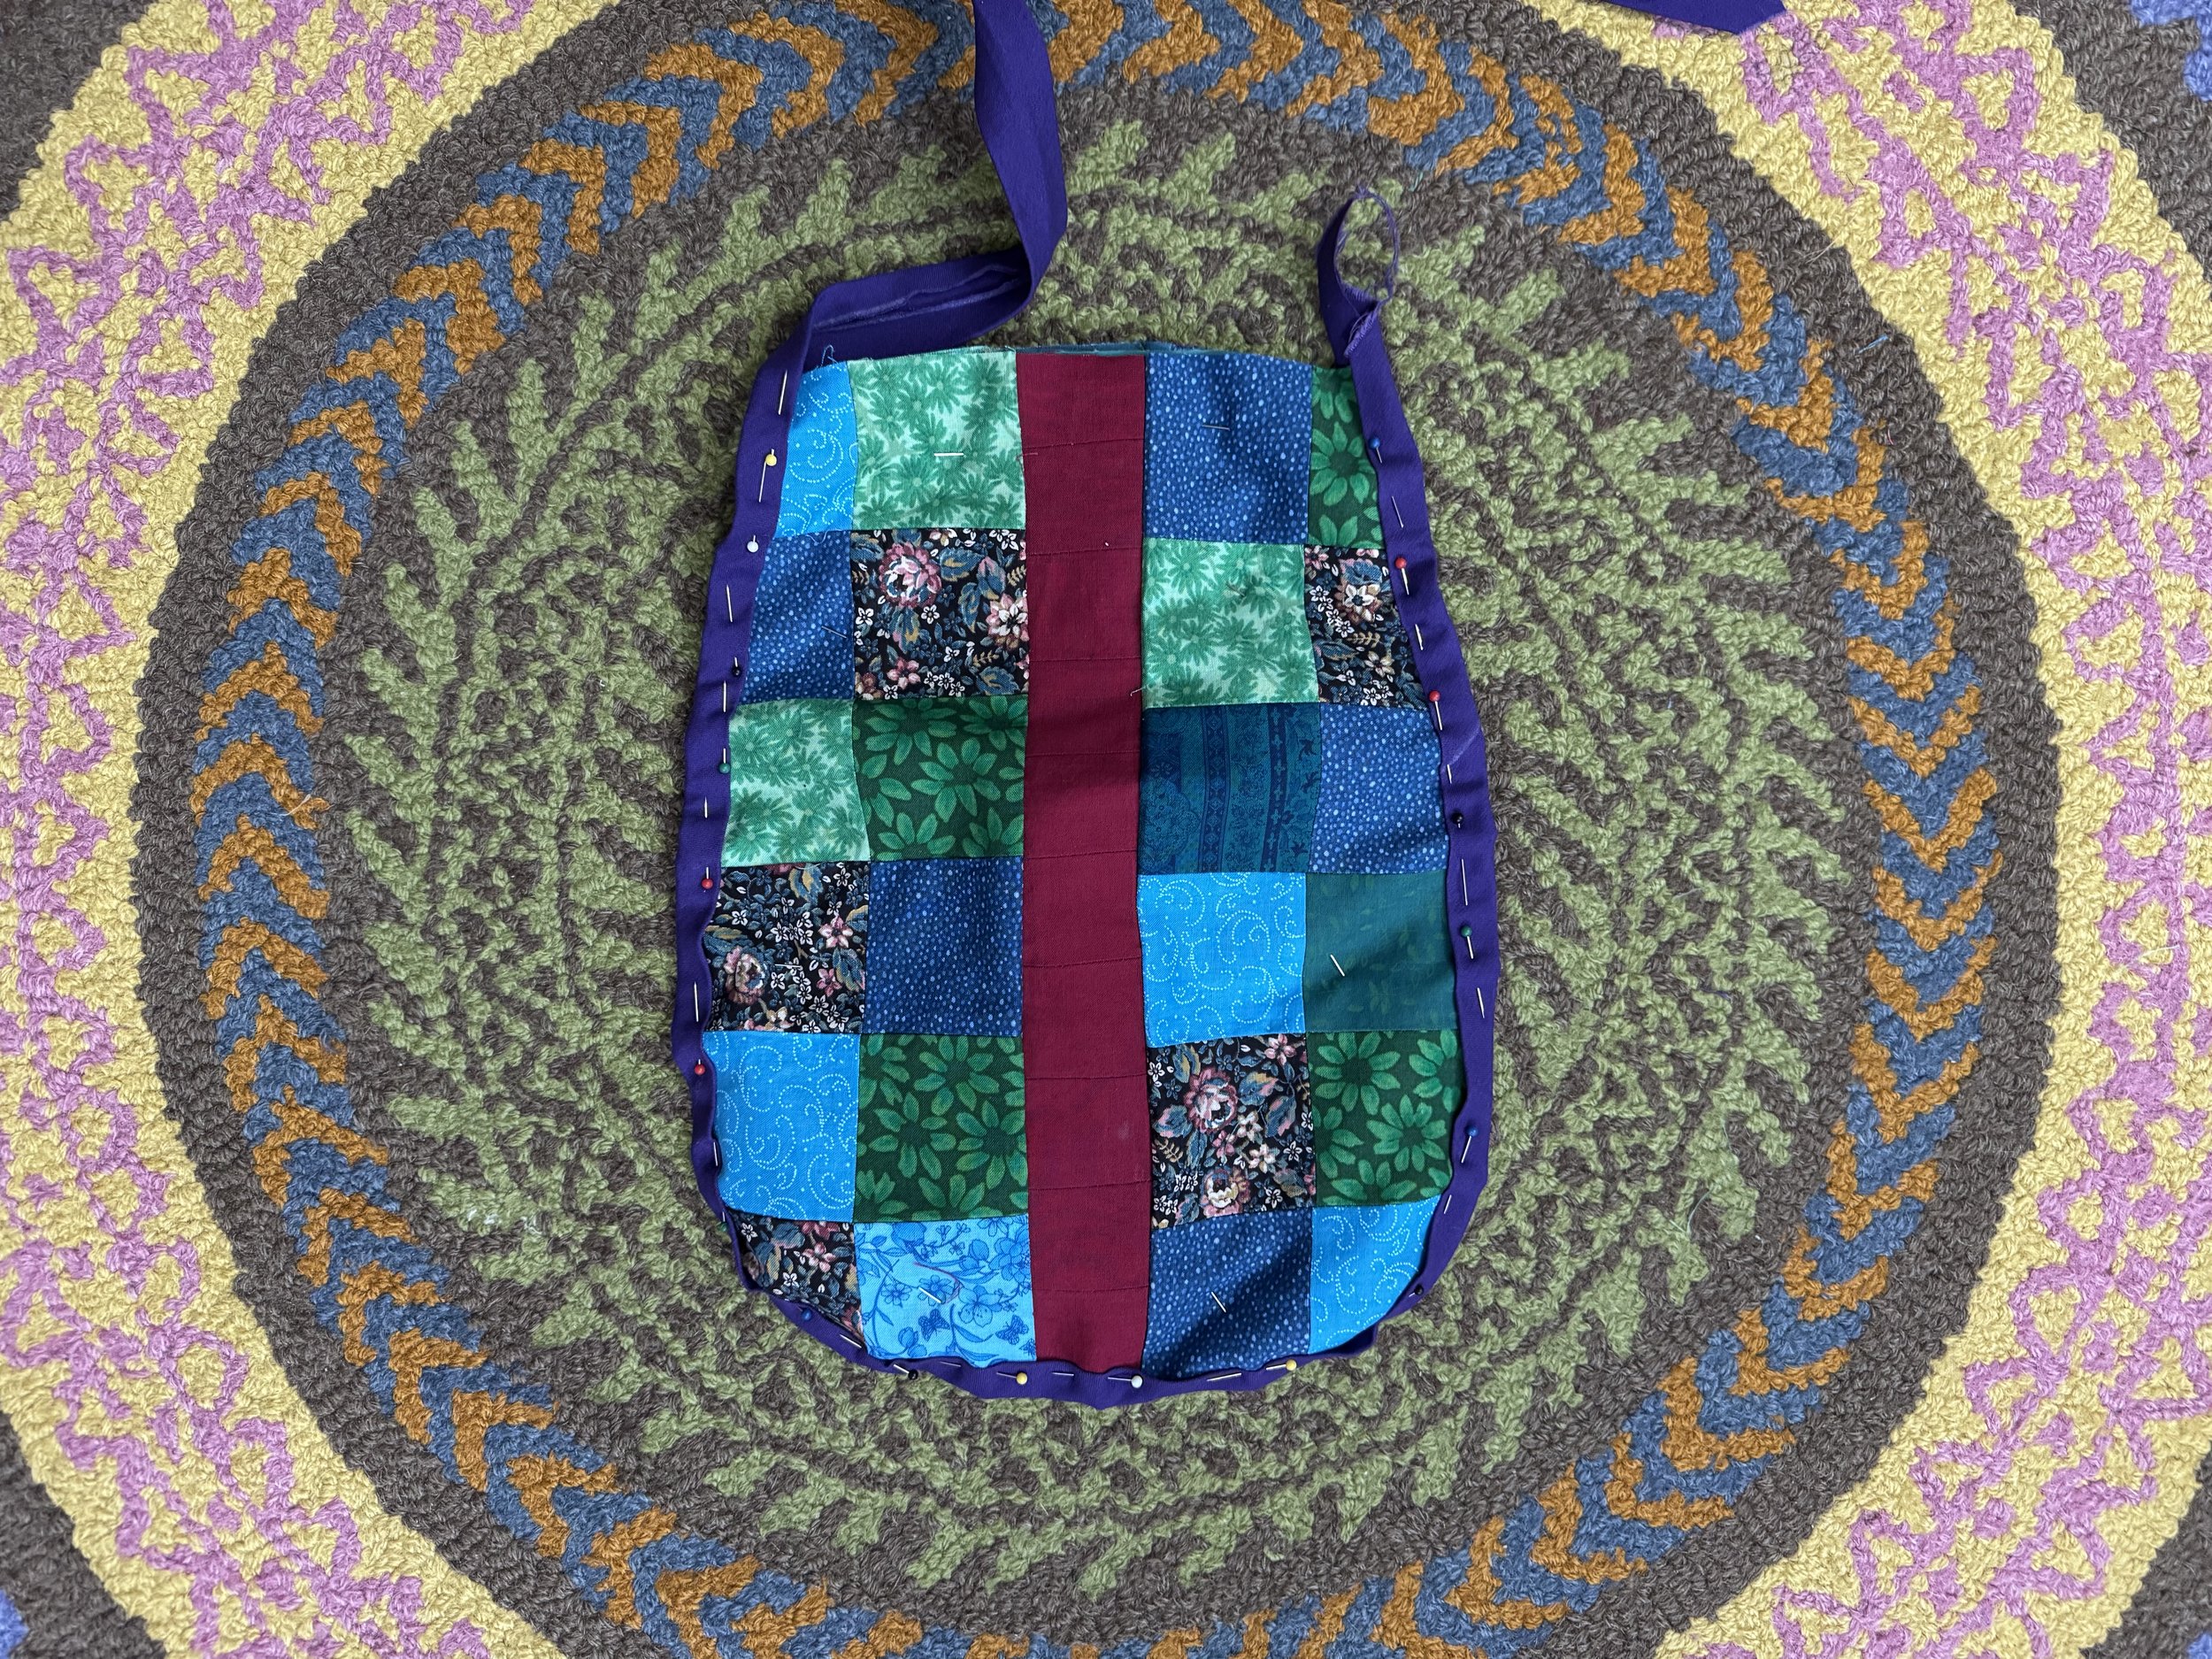
pinned piles
Ready for sewing. I will do this with a backstitch. Thank goodness I took photos before I started stitching, because these are sure to wander about and get themselves out of order.
-
little flags
I treated each vertical strip as a unit and didn’t cut the thread between the individual seams. I think the process might have gone faster that way.
-
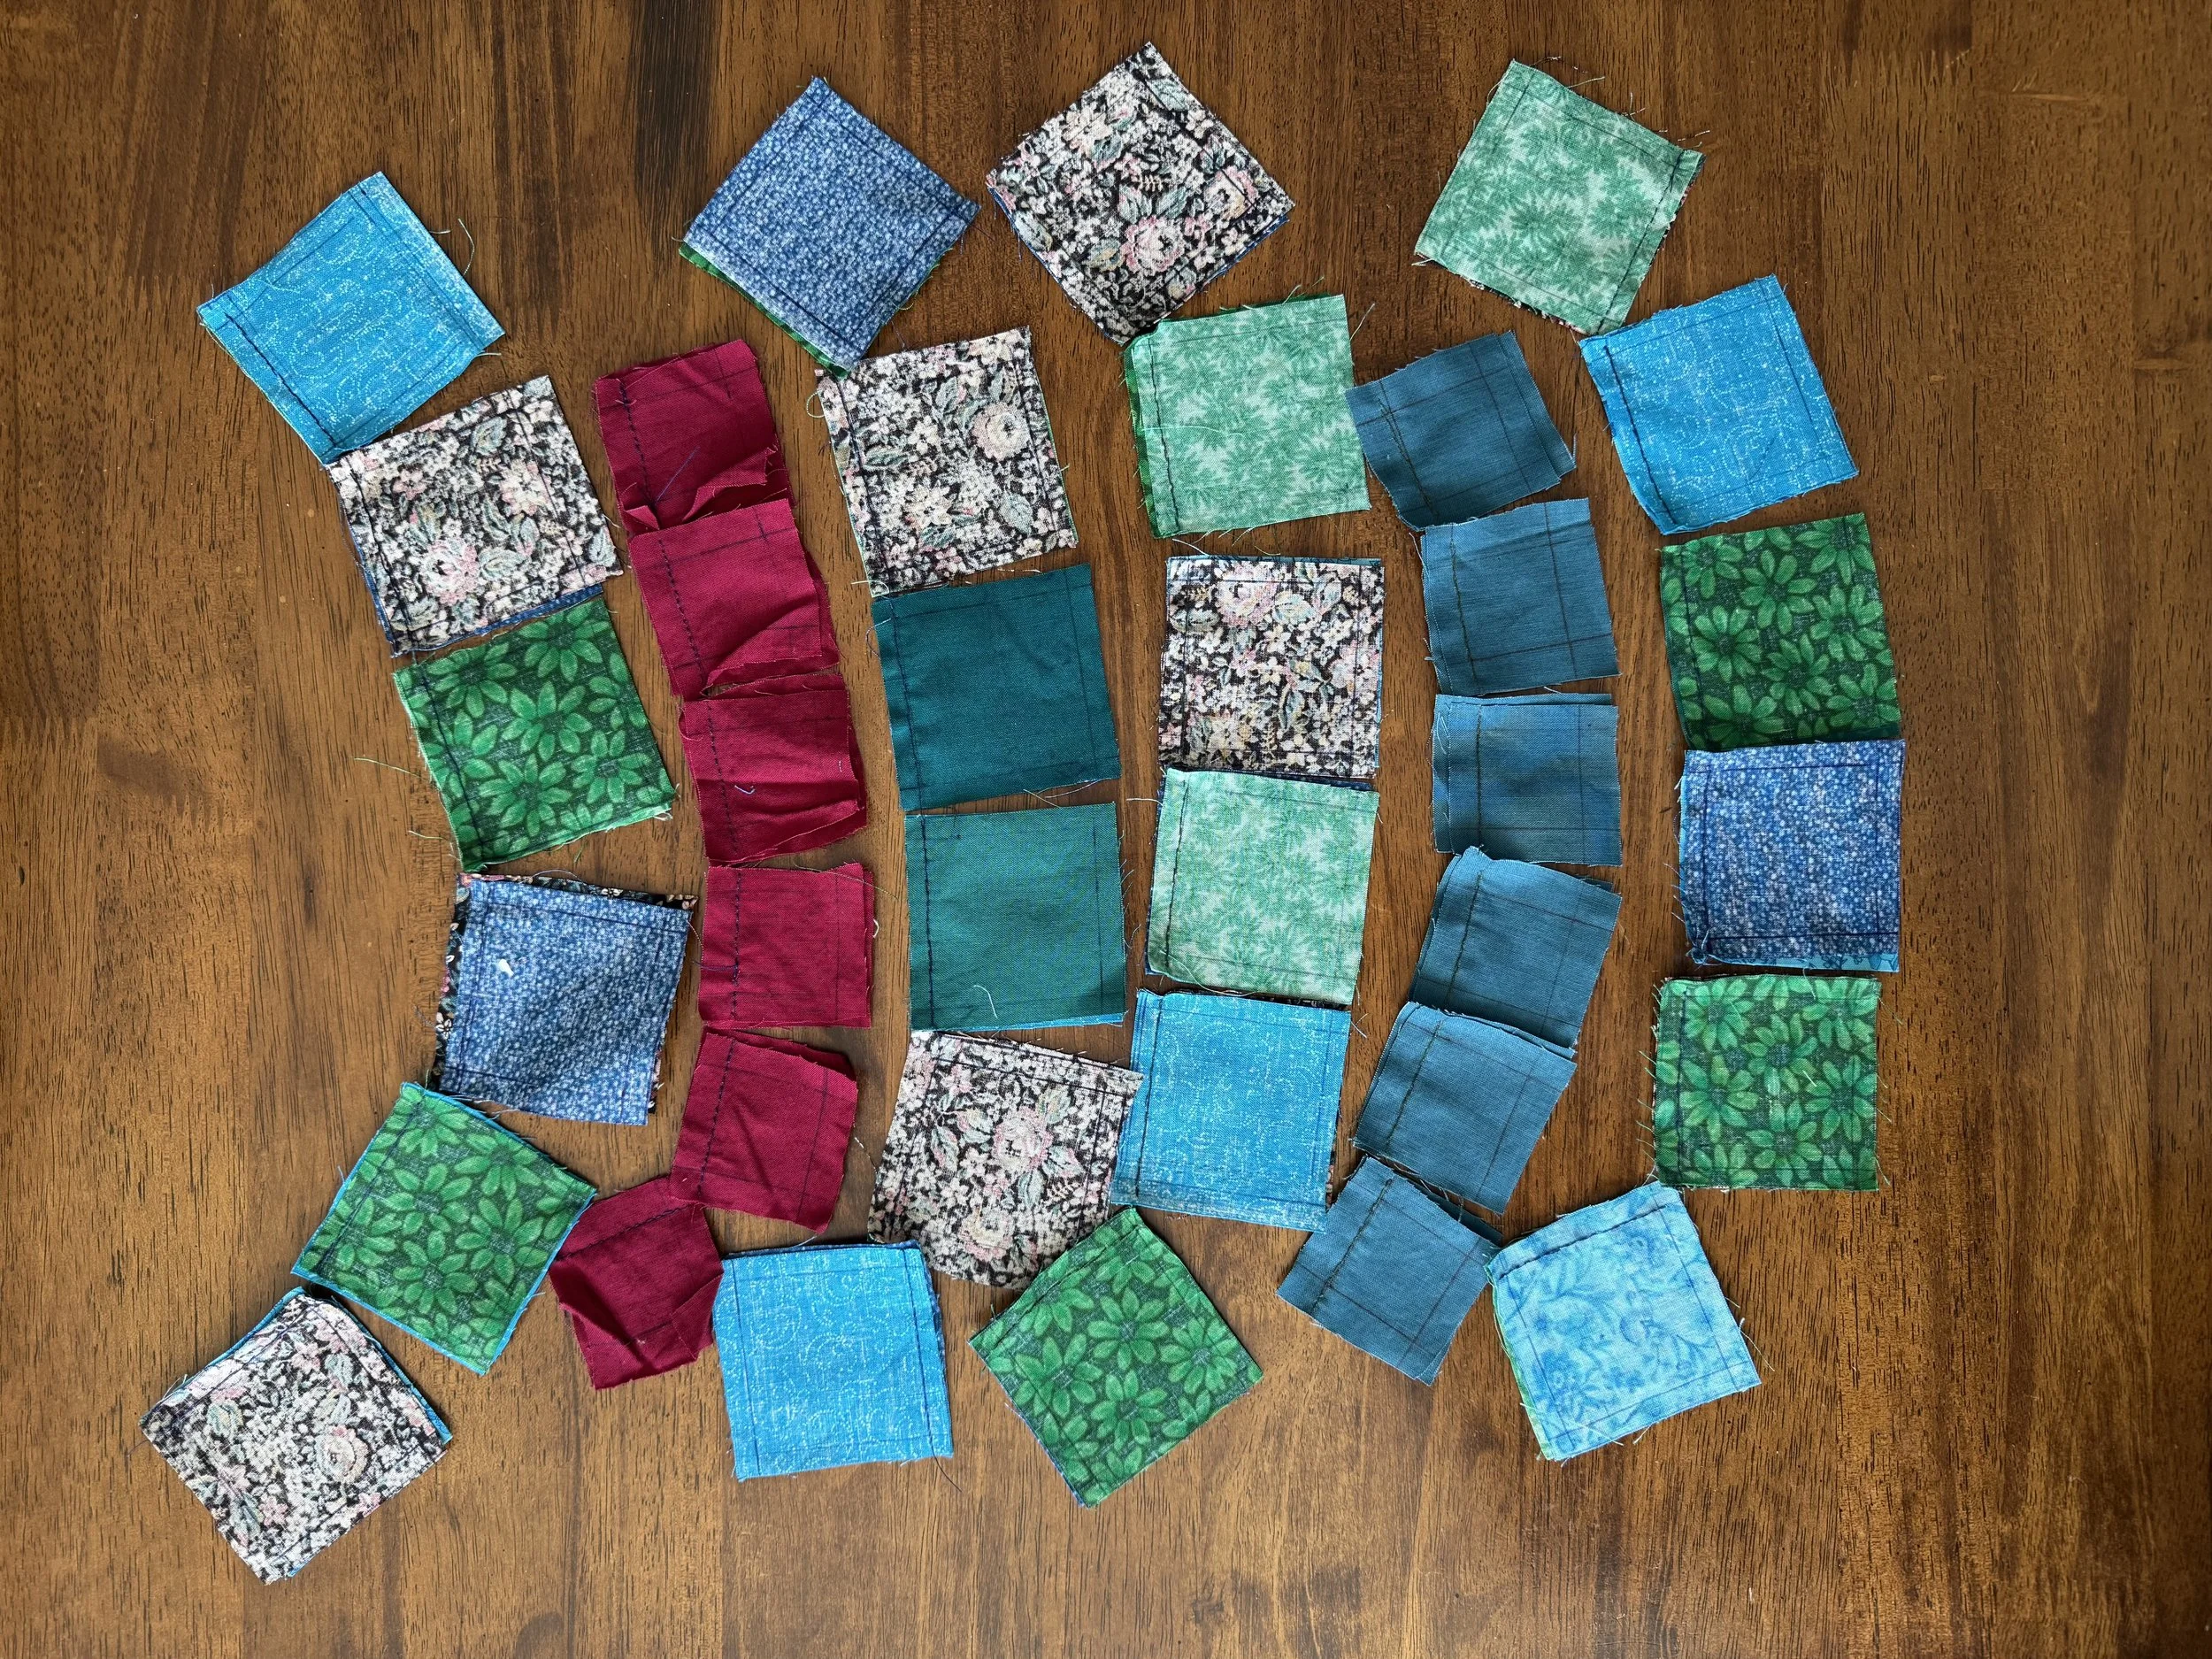
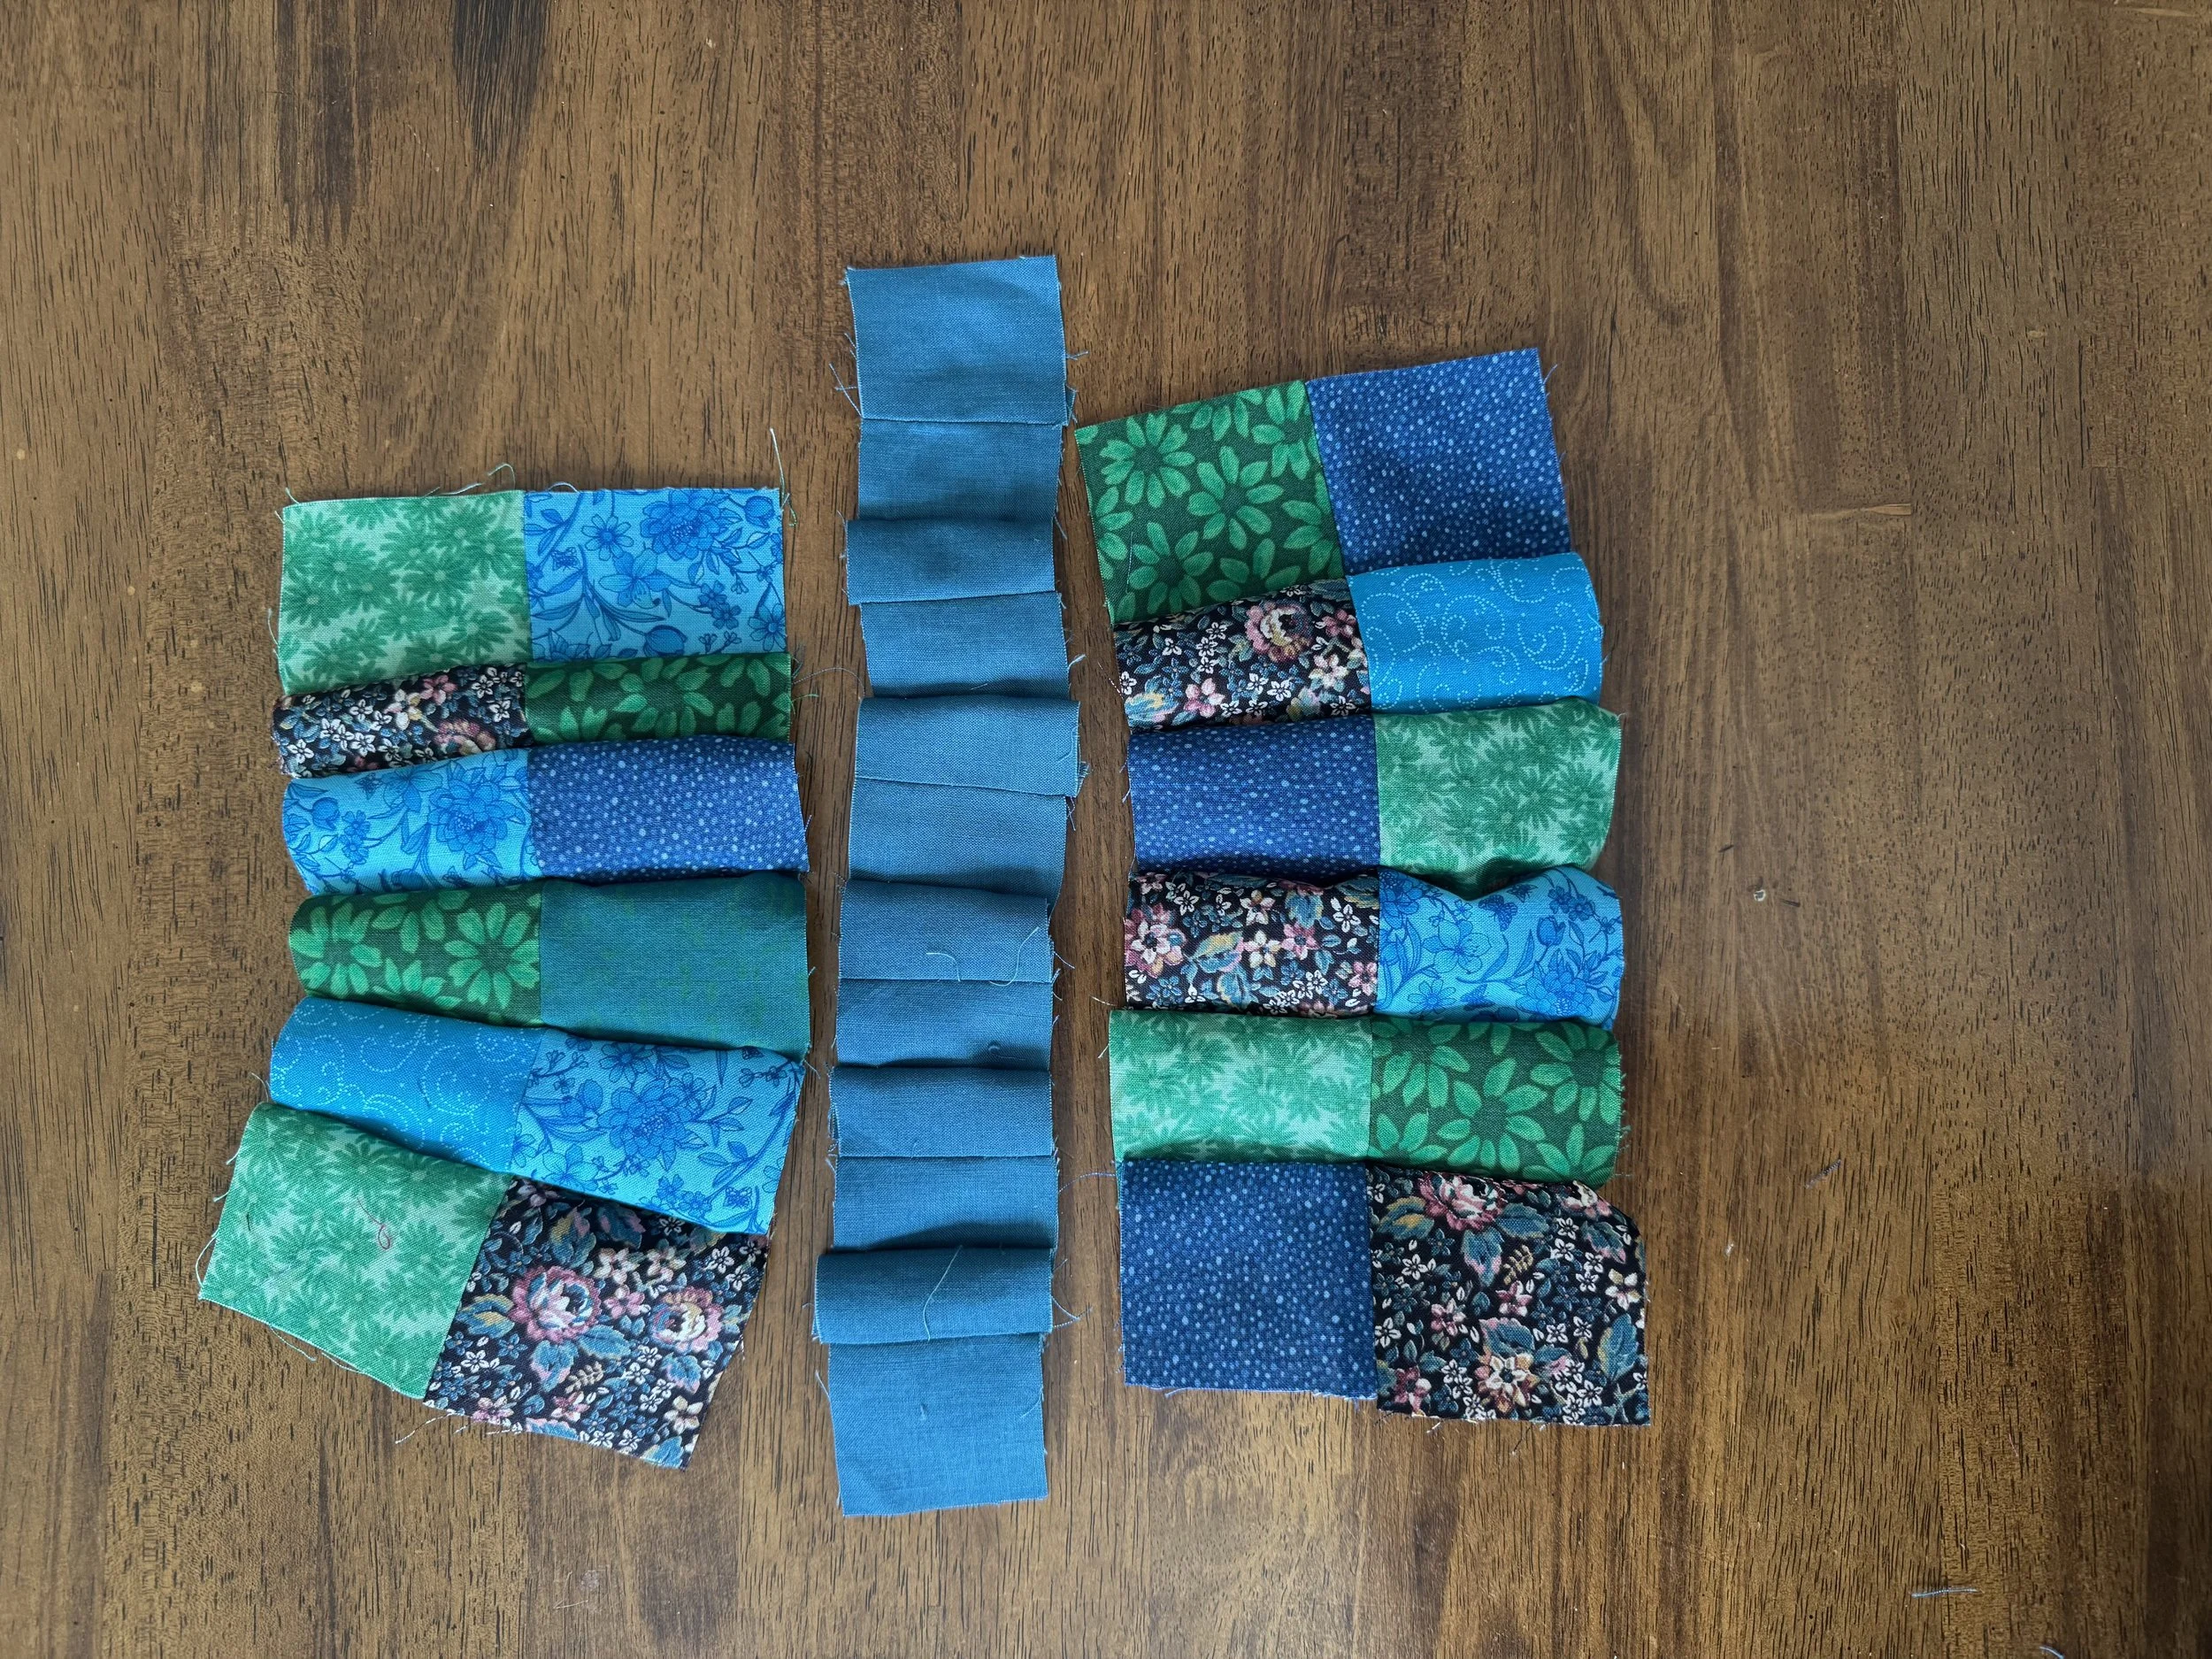
one side ironed
-
other side ironed
-
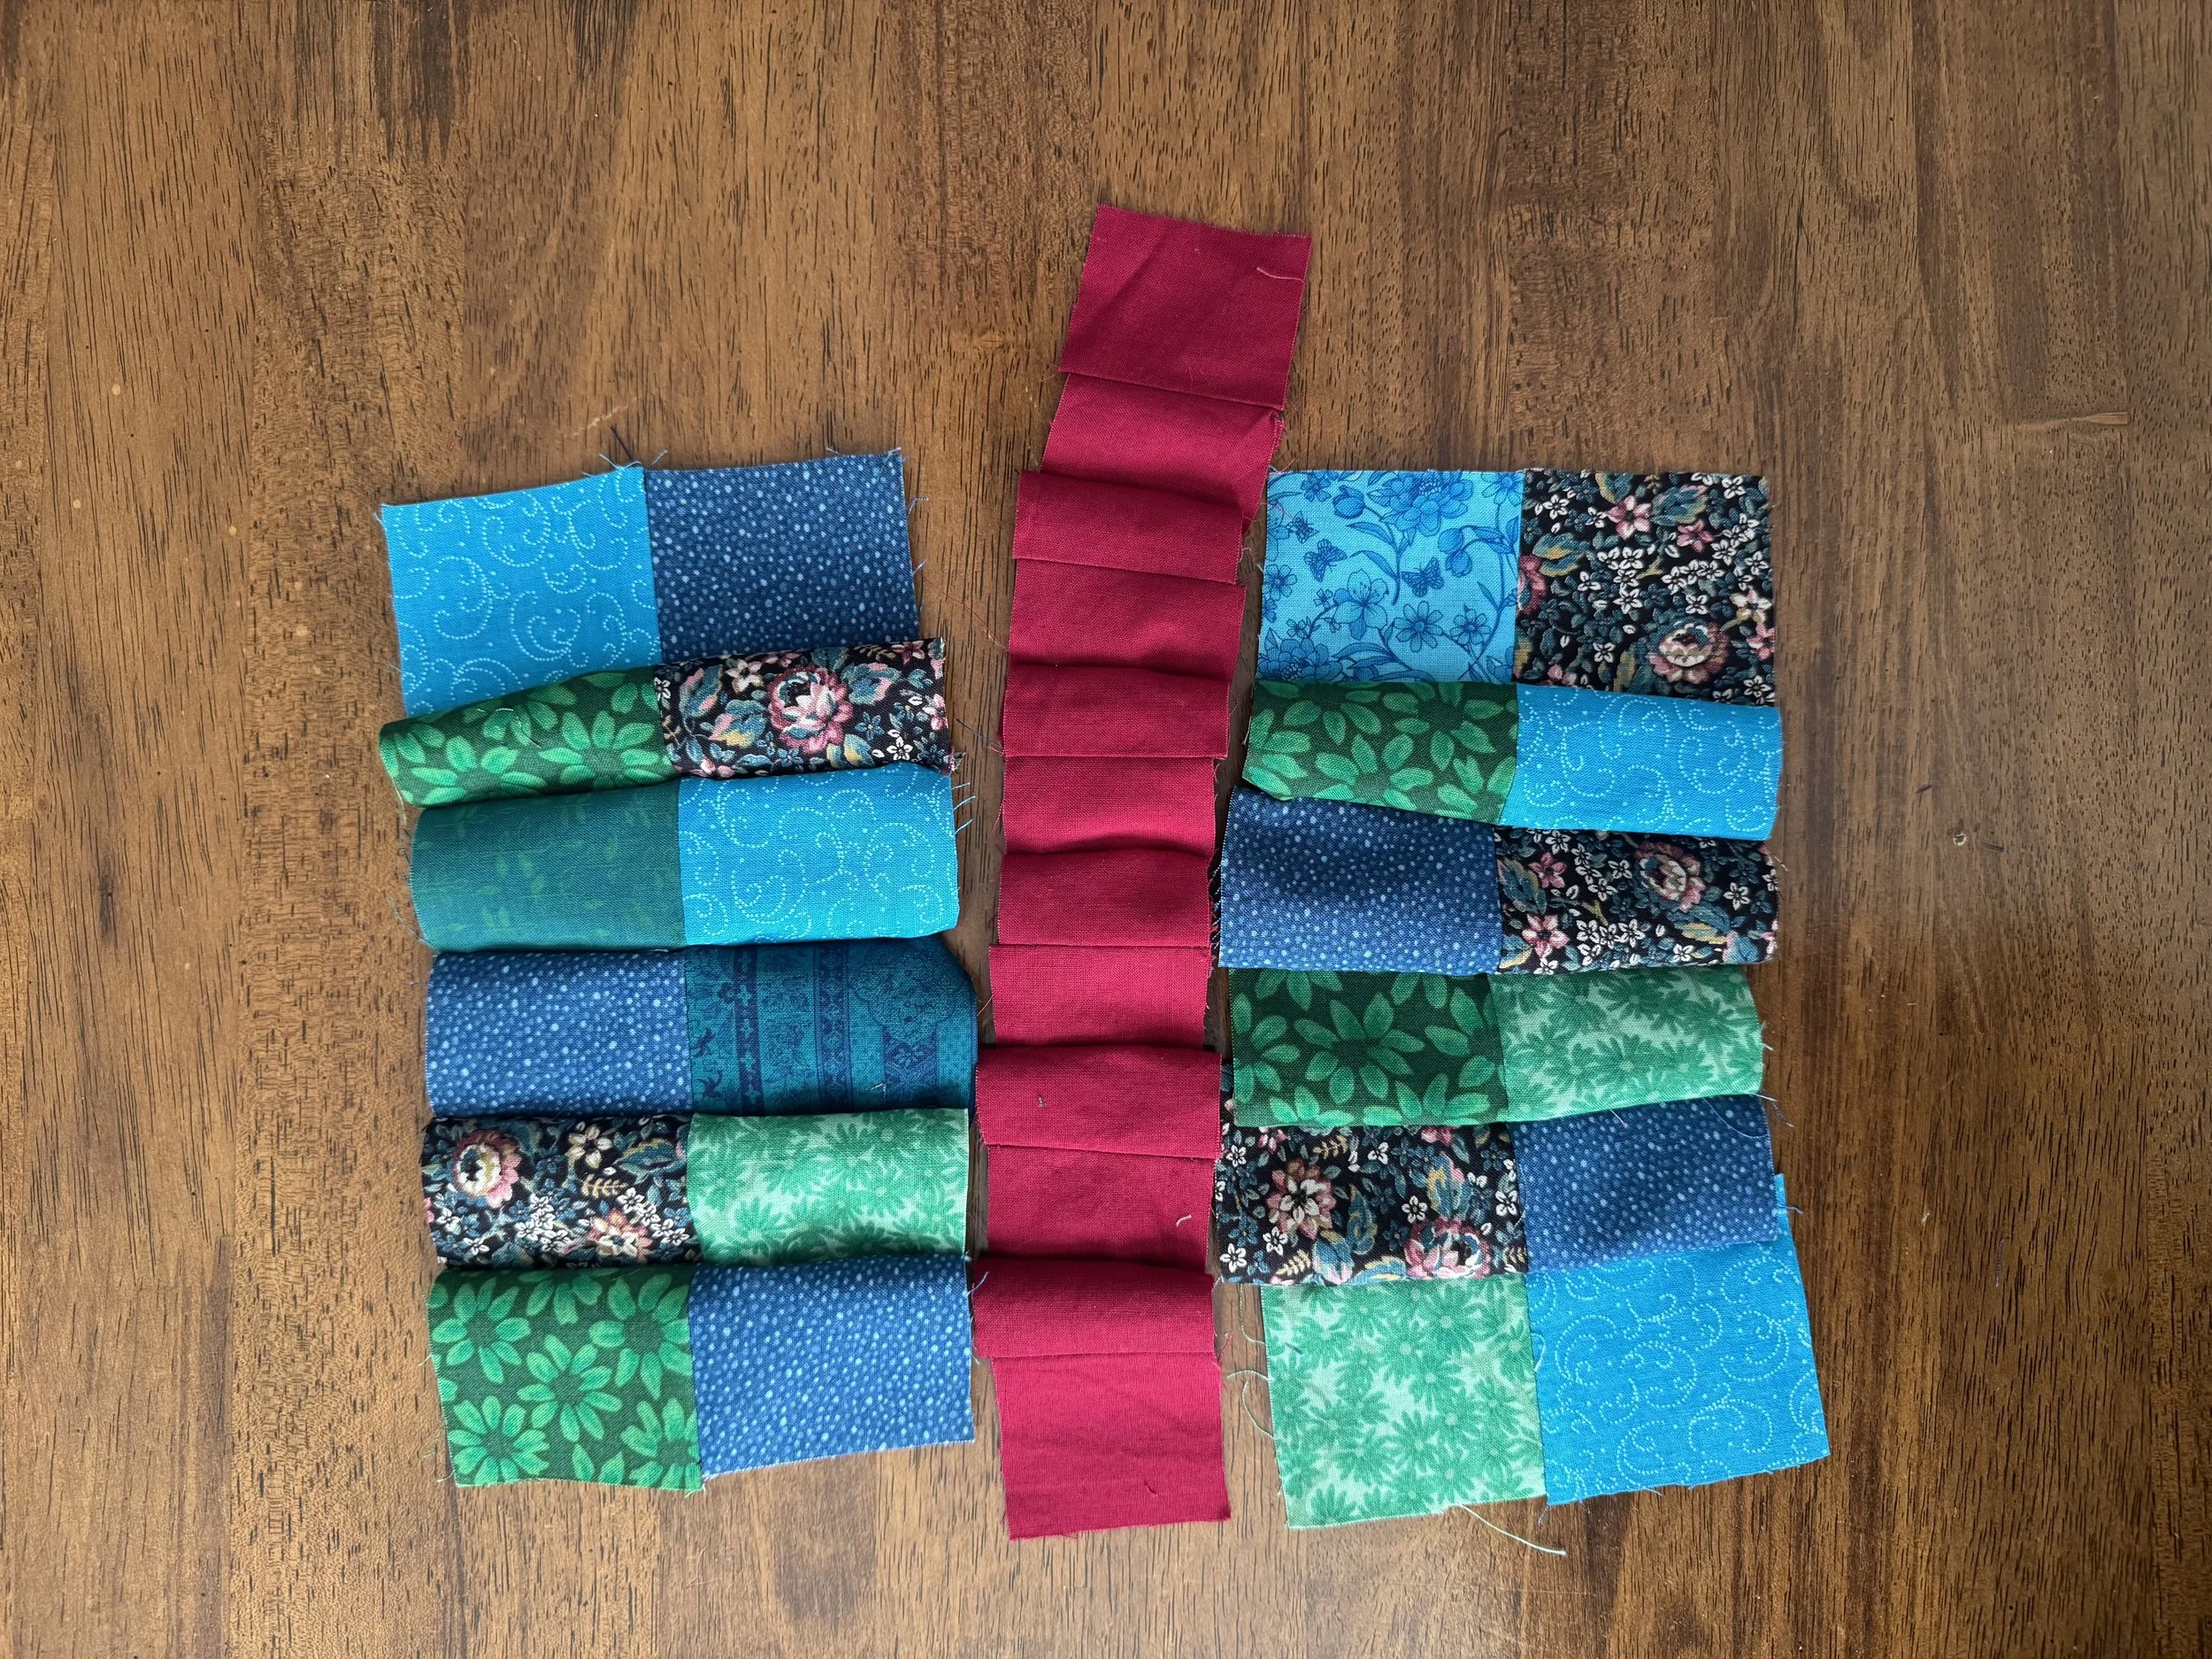
one side pinned
-
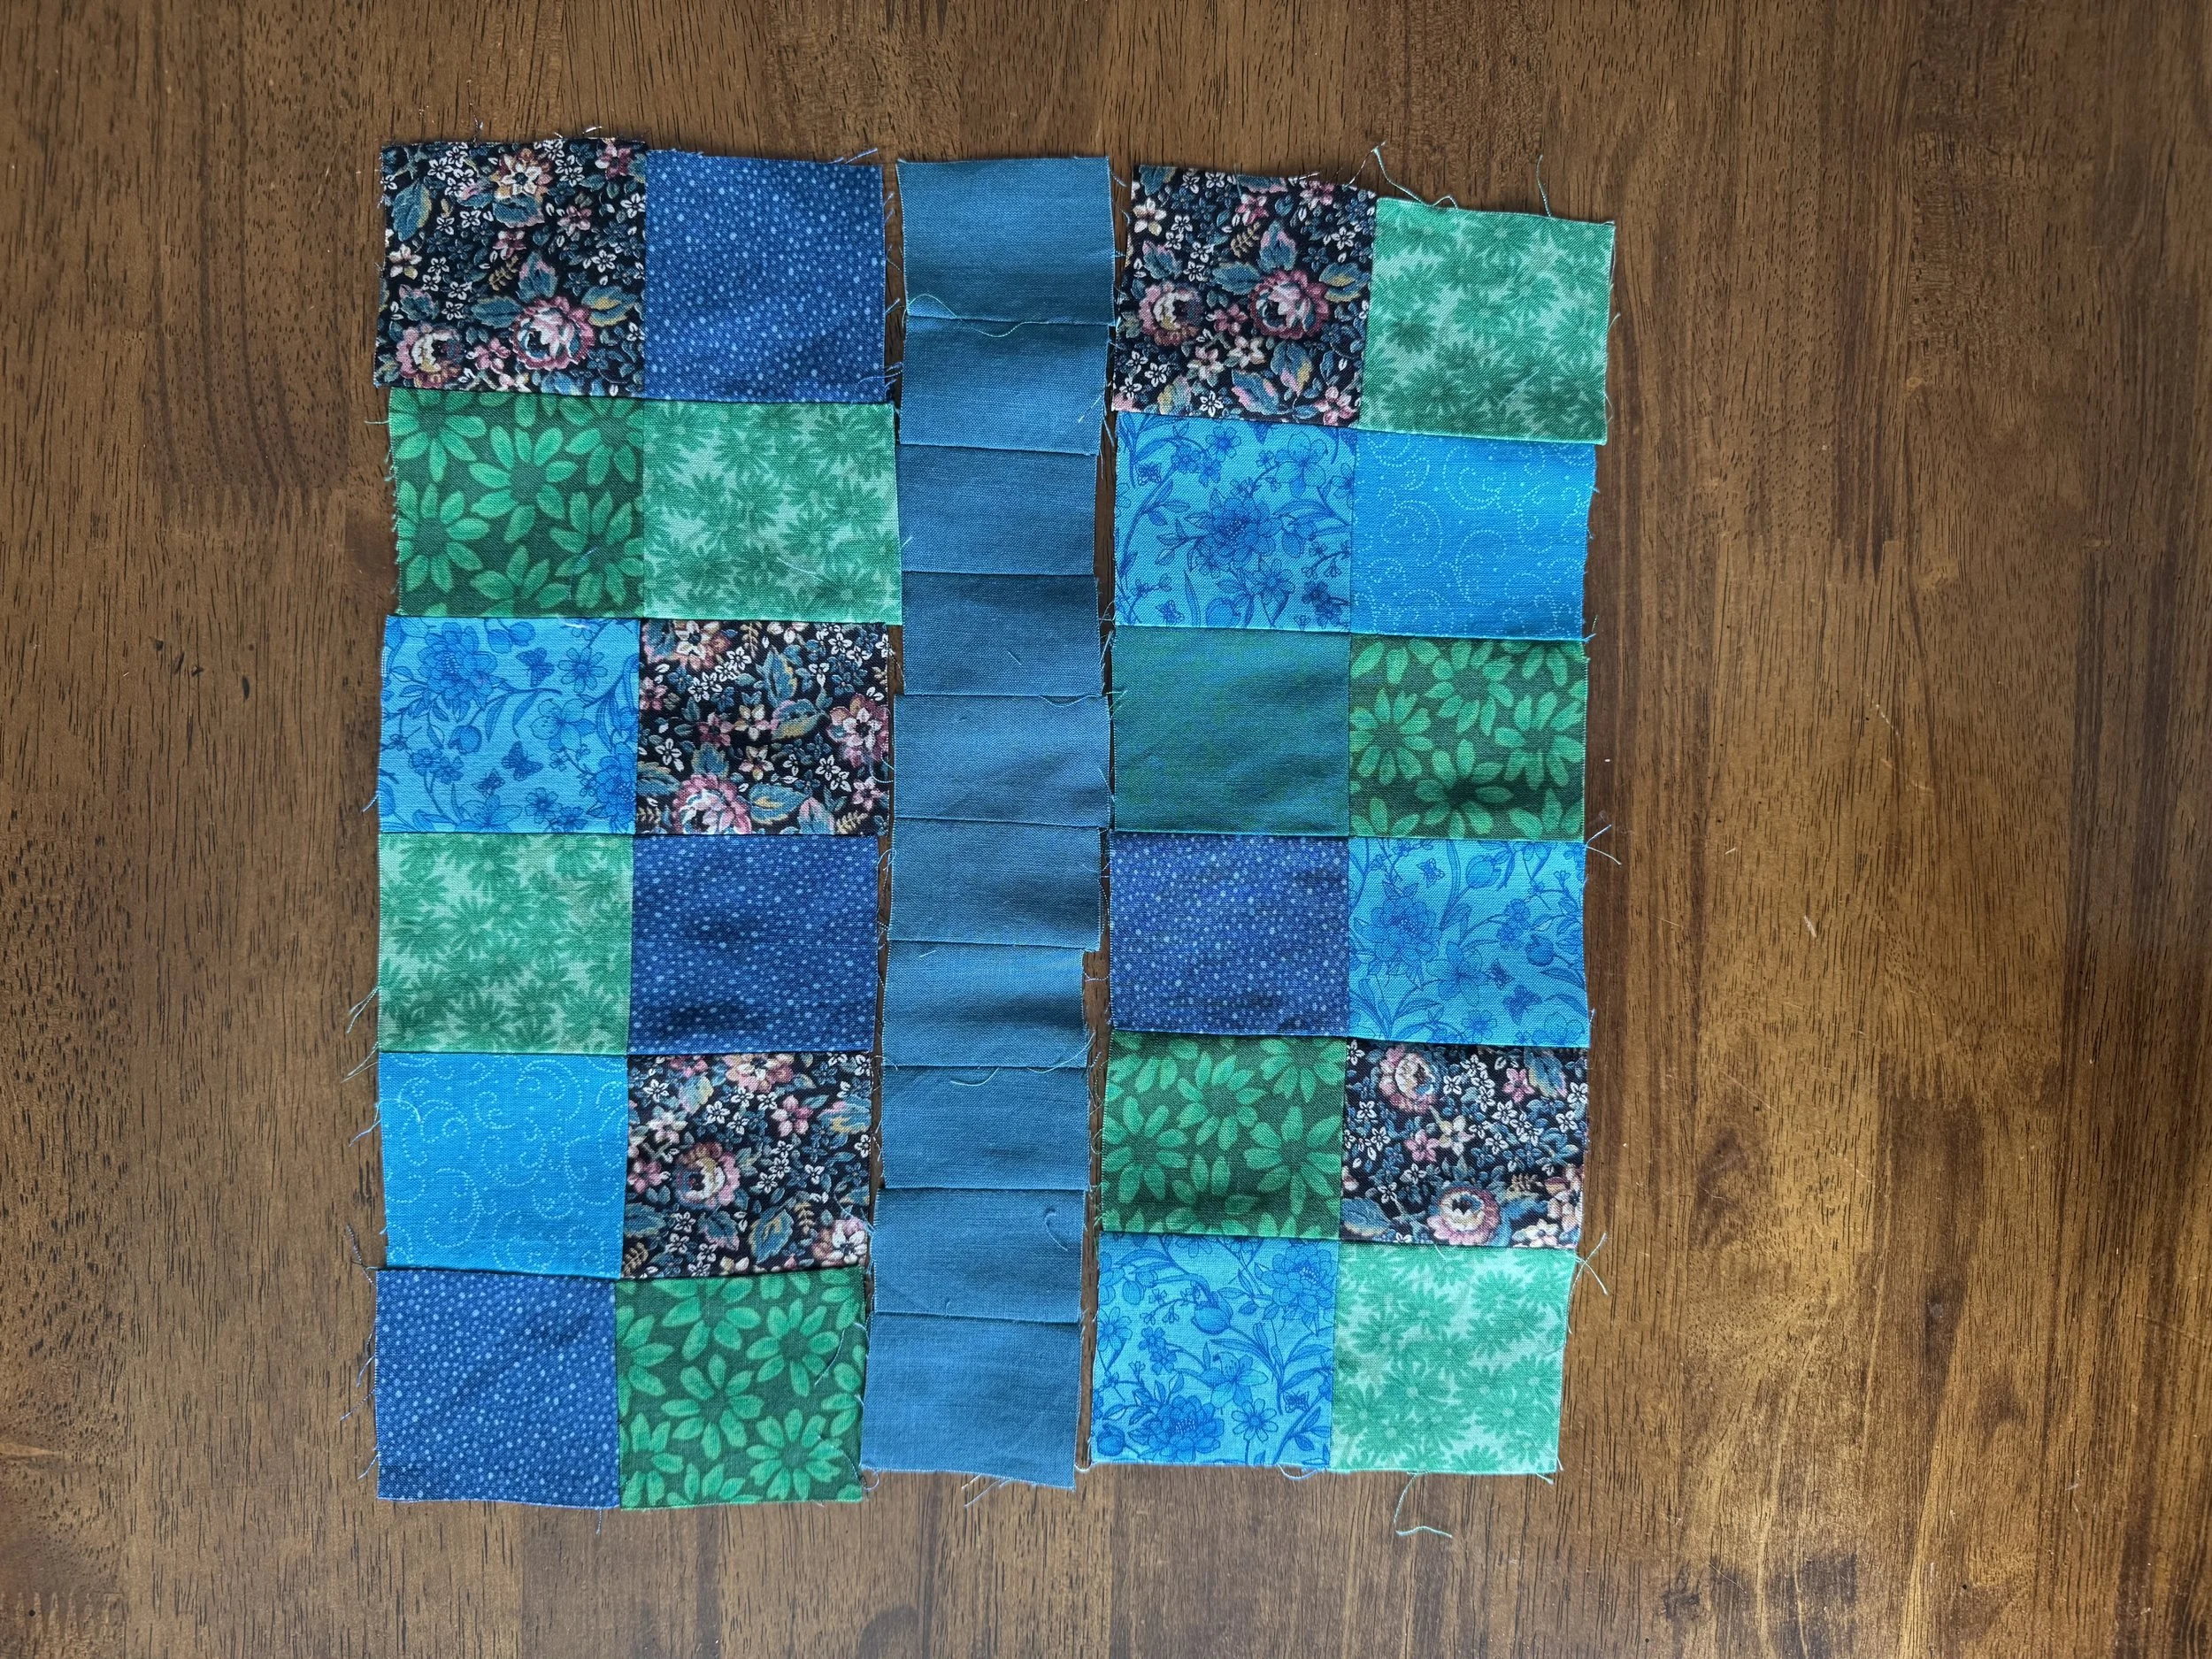
other side pinned
I originally thought that my center line squares were 1”, but they are 1.5”, so I don’t need all 12 of them to reach my 12”.
-
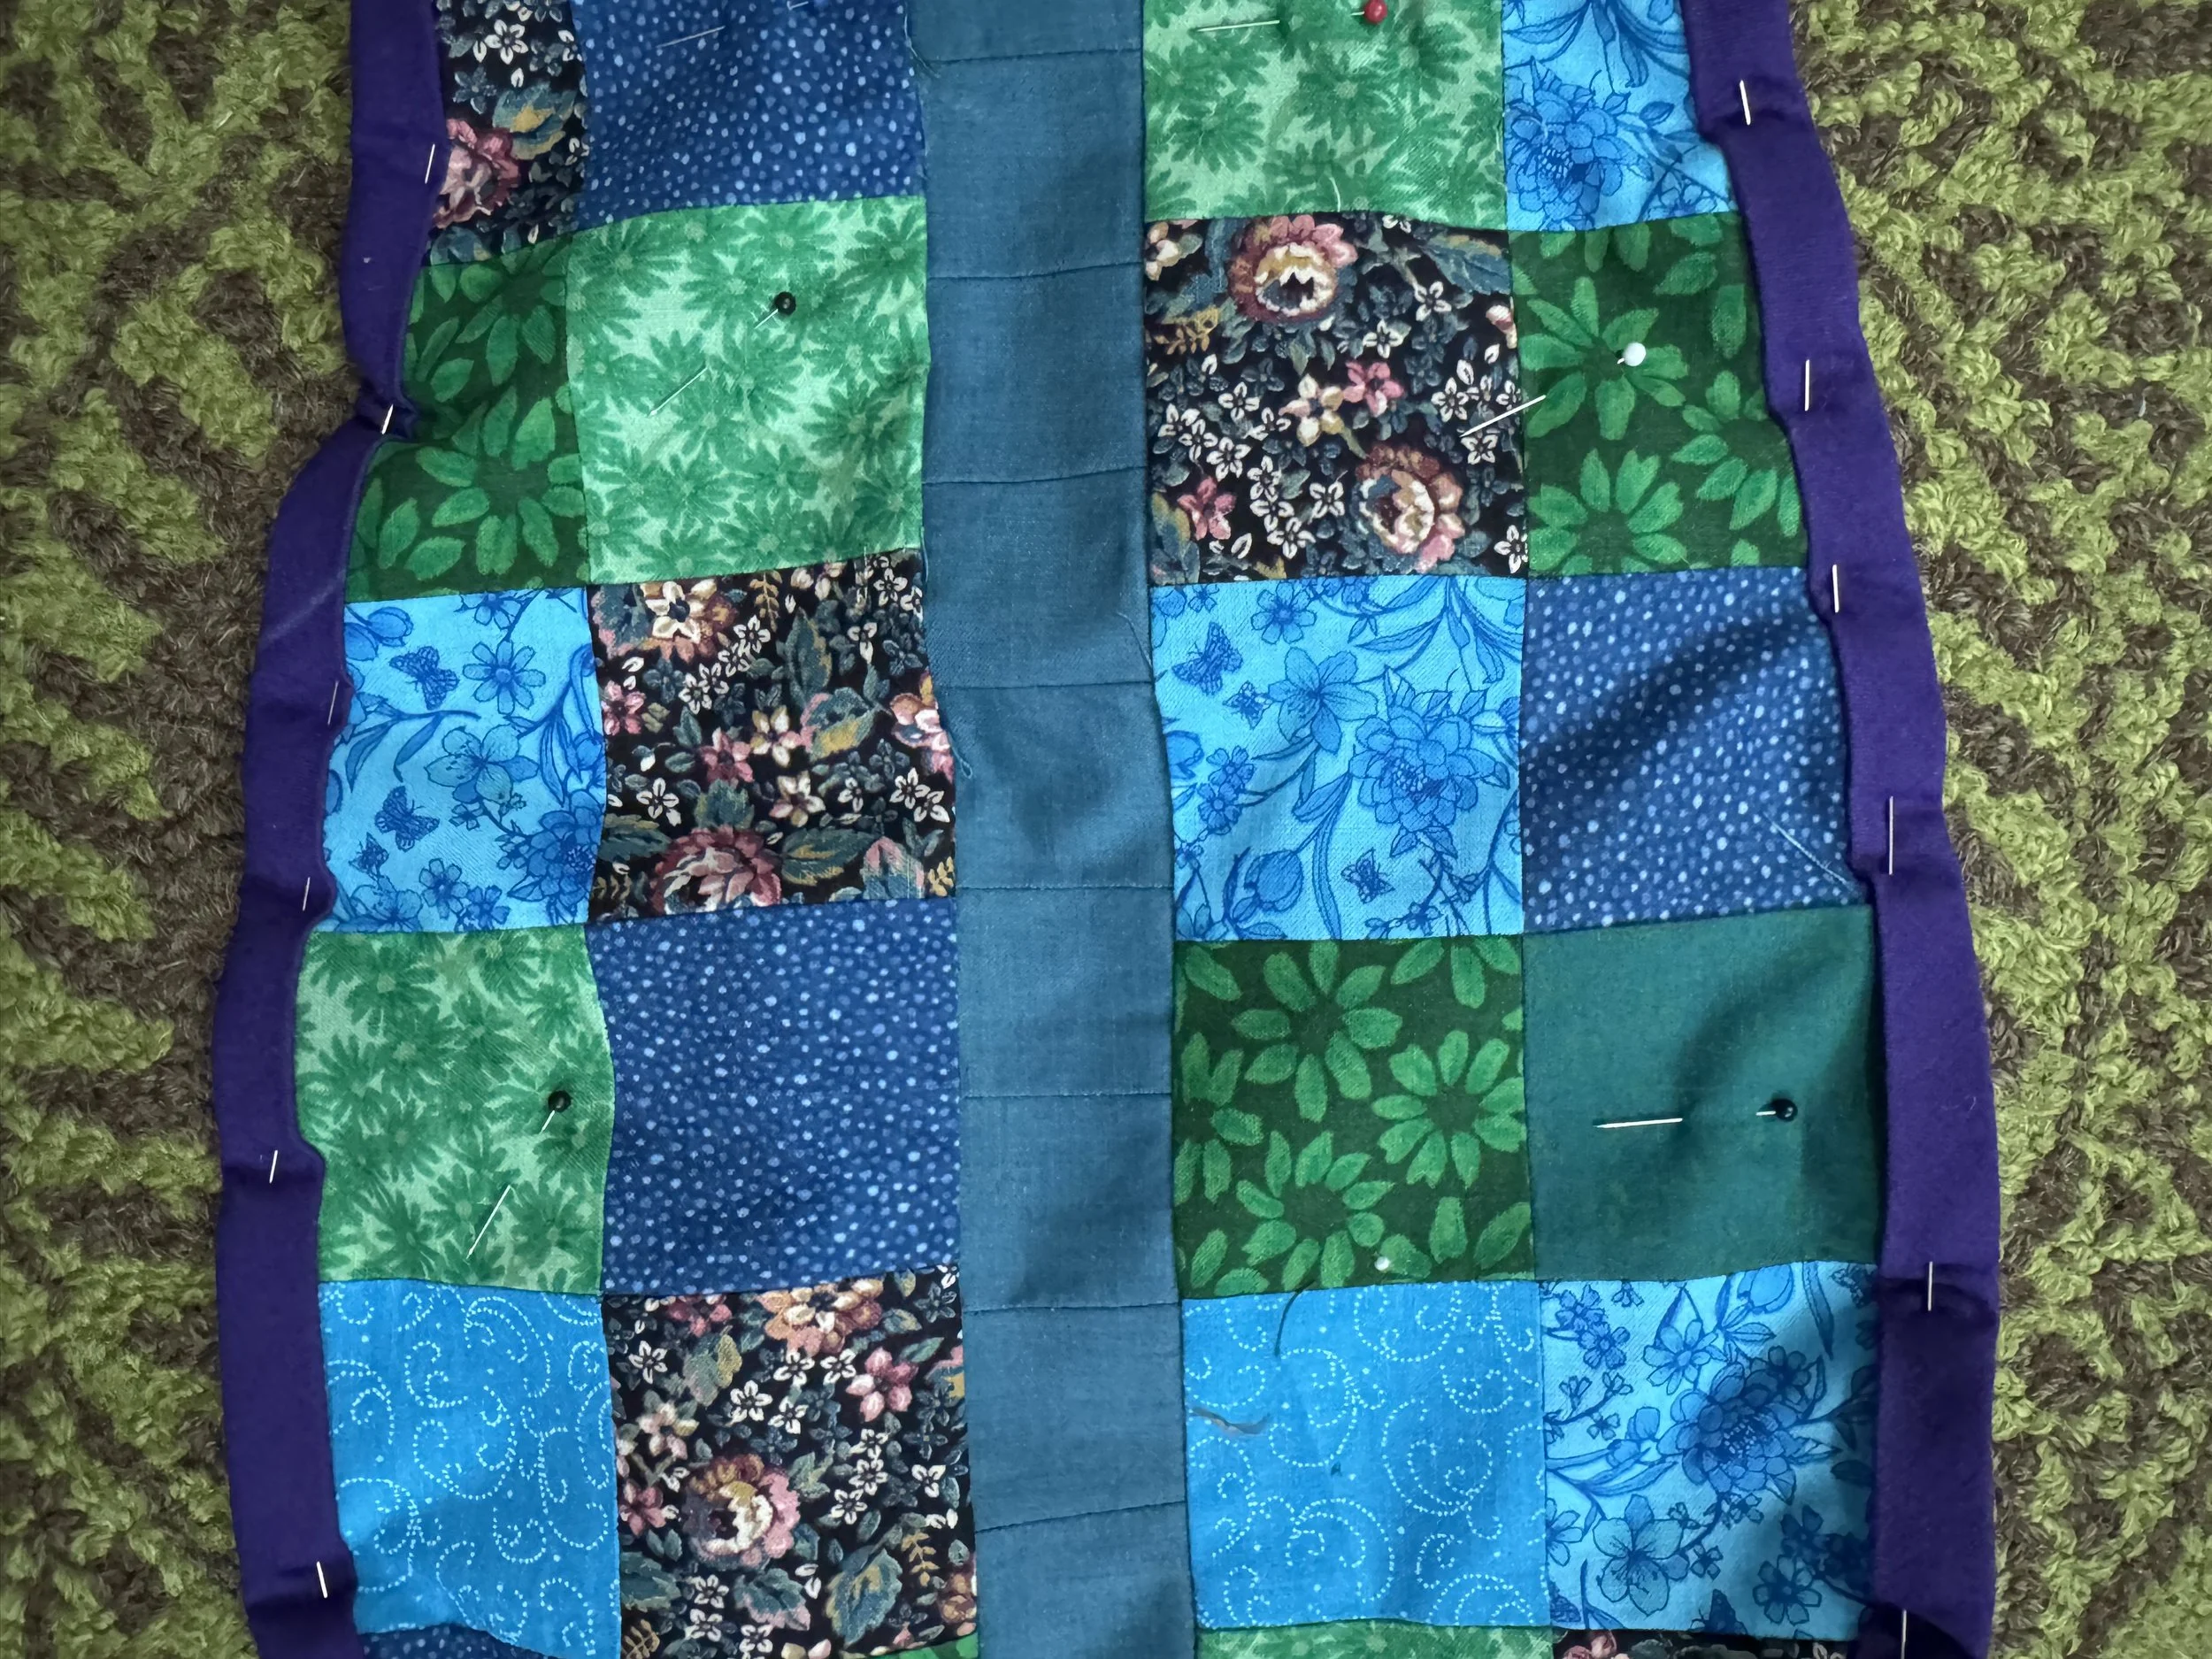
Here is where I made my mistake
If I had just used 2” squares it would have been fine; I would have noticed that the two halves were not lining up properly, and I could have fixed it very easily.
-
but alas
I most definitely did not notice, however. I pinned blithely and the squares jogged off, following their little hearts wherever they led.
-
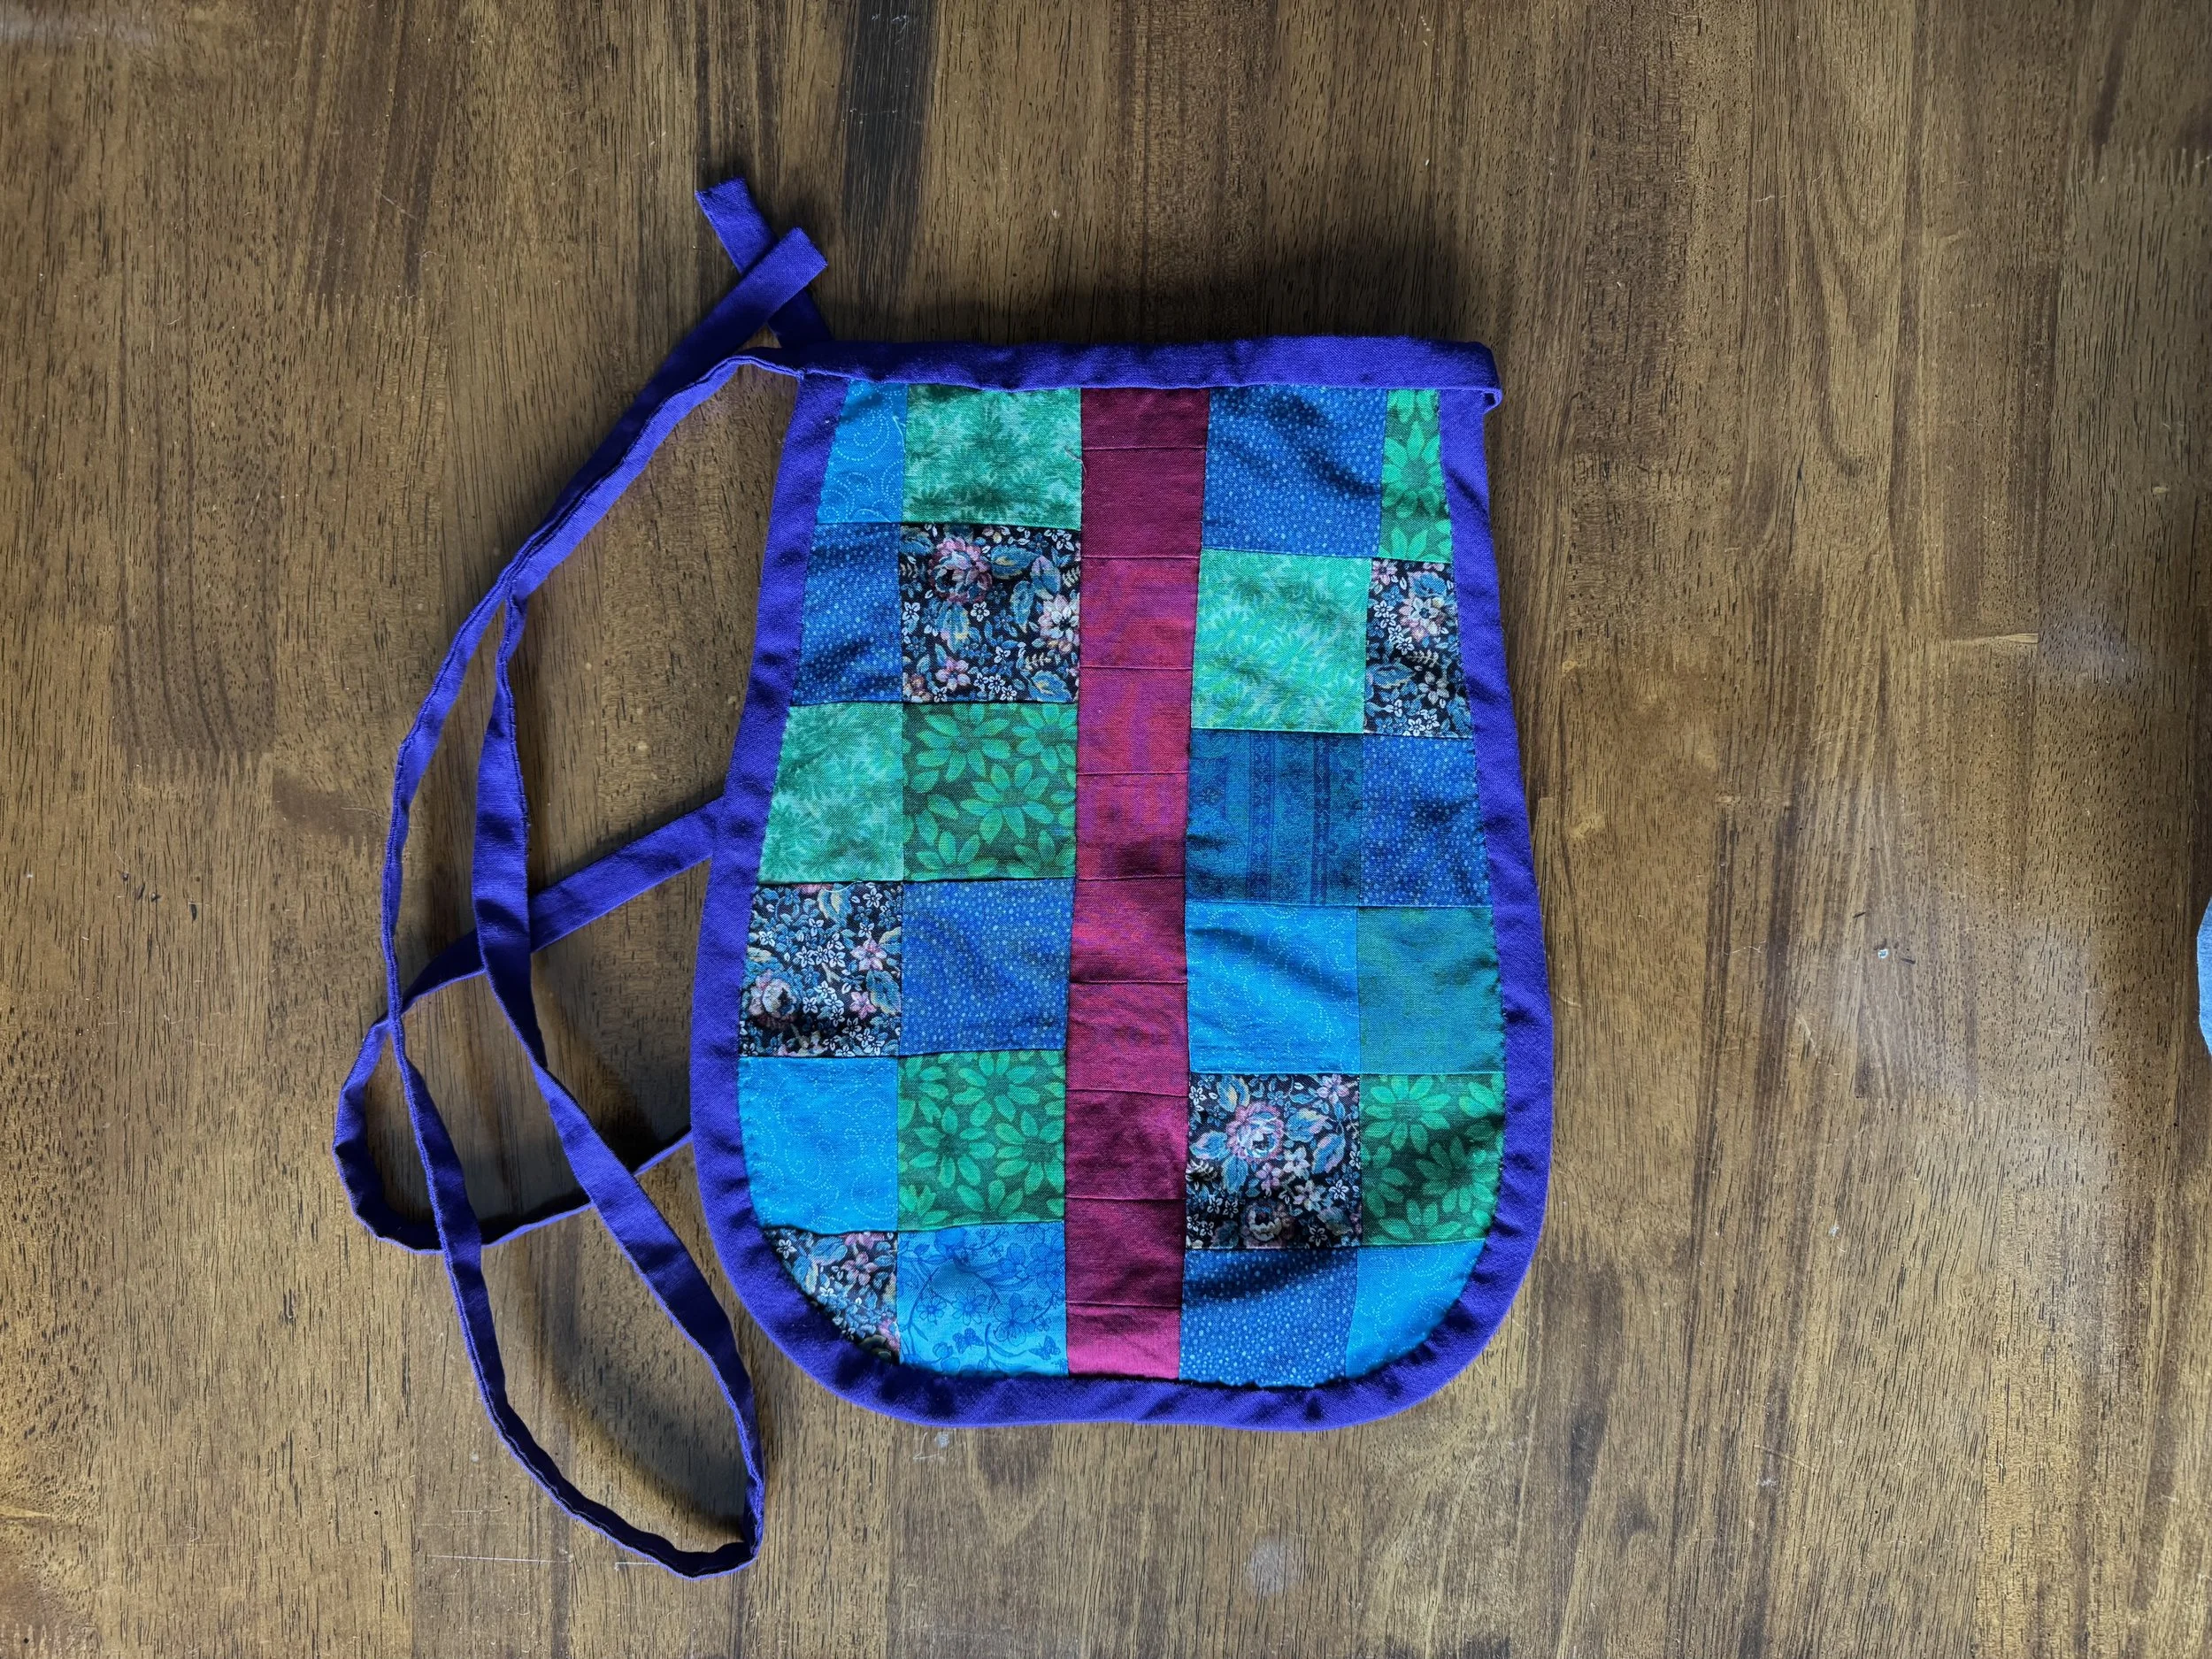
they are still radiantly beautiful
But the seams don’t match!!! Oh well, I can live with it.
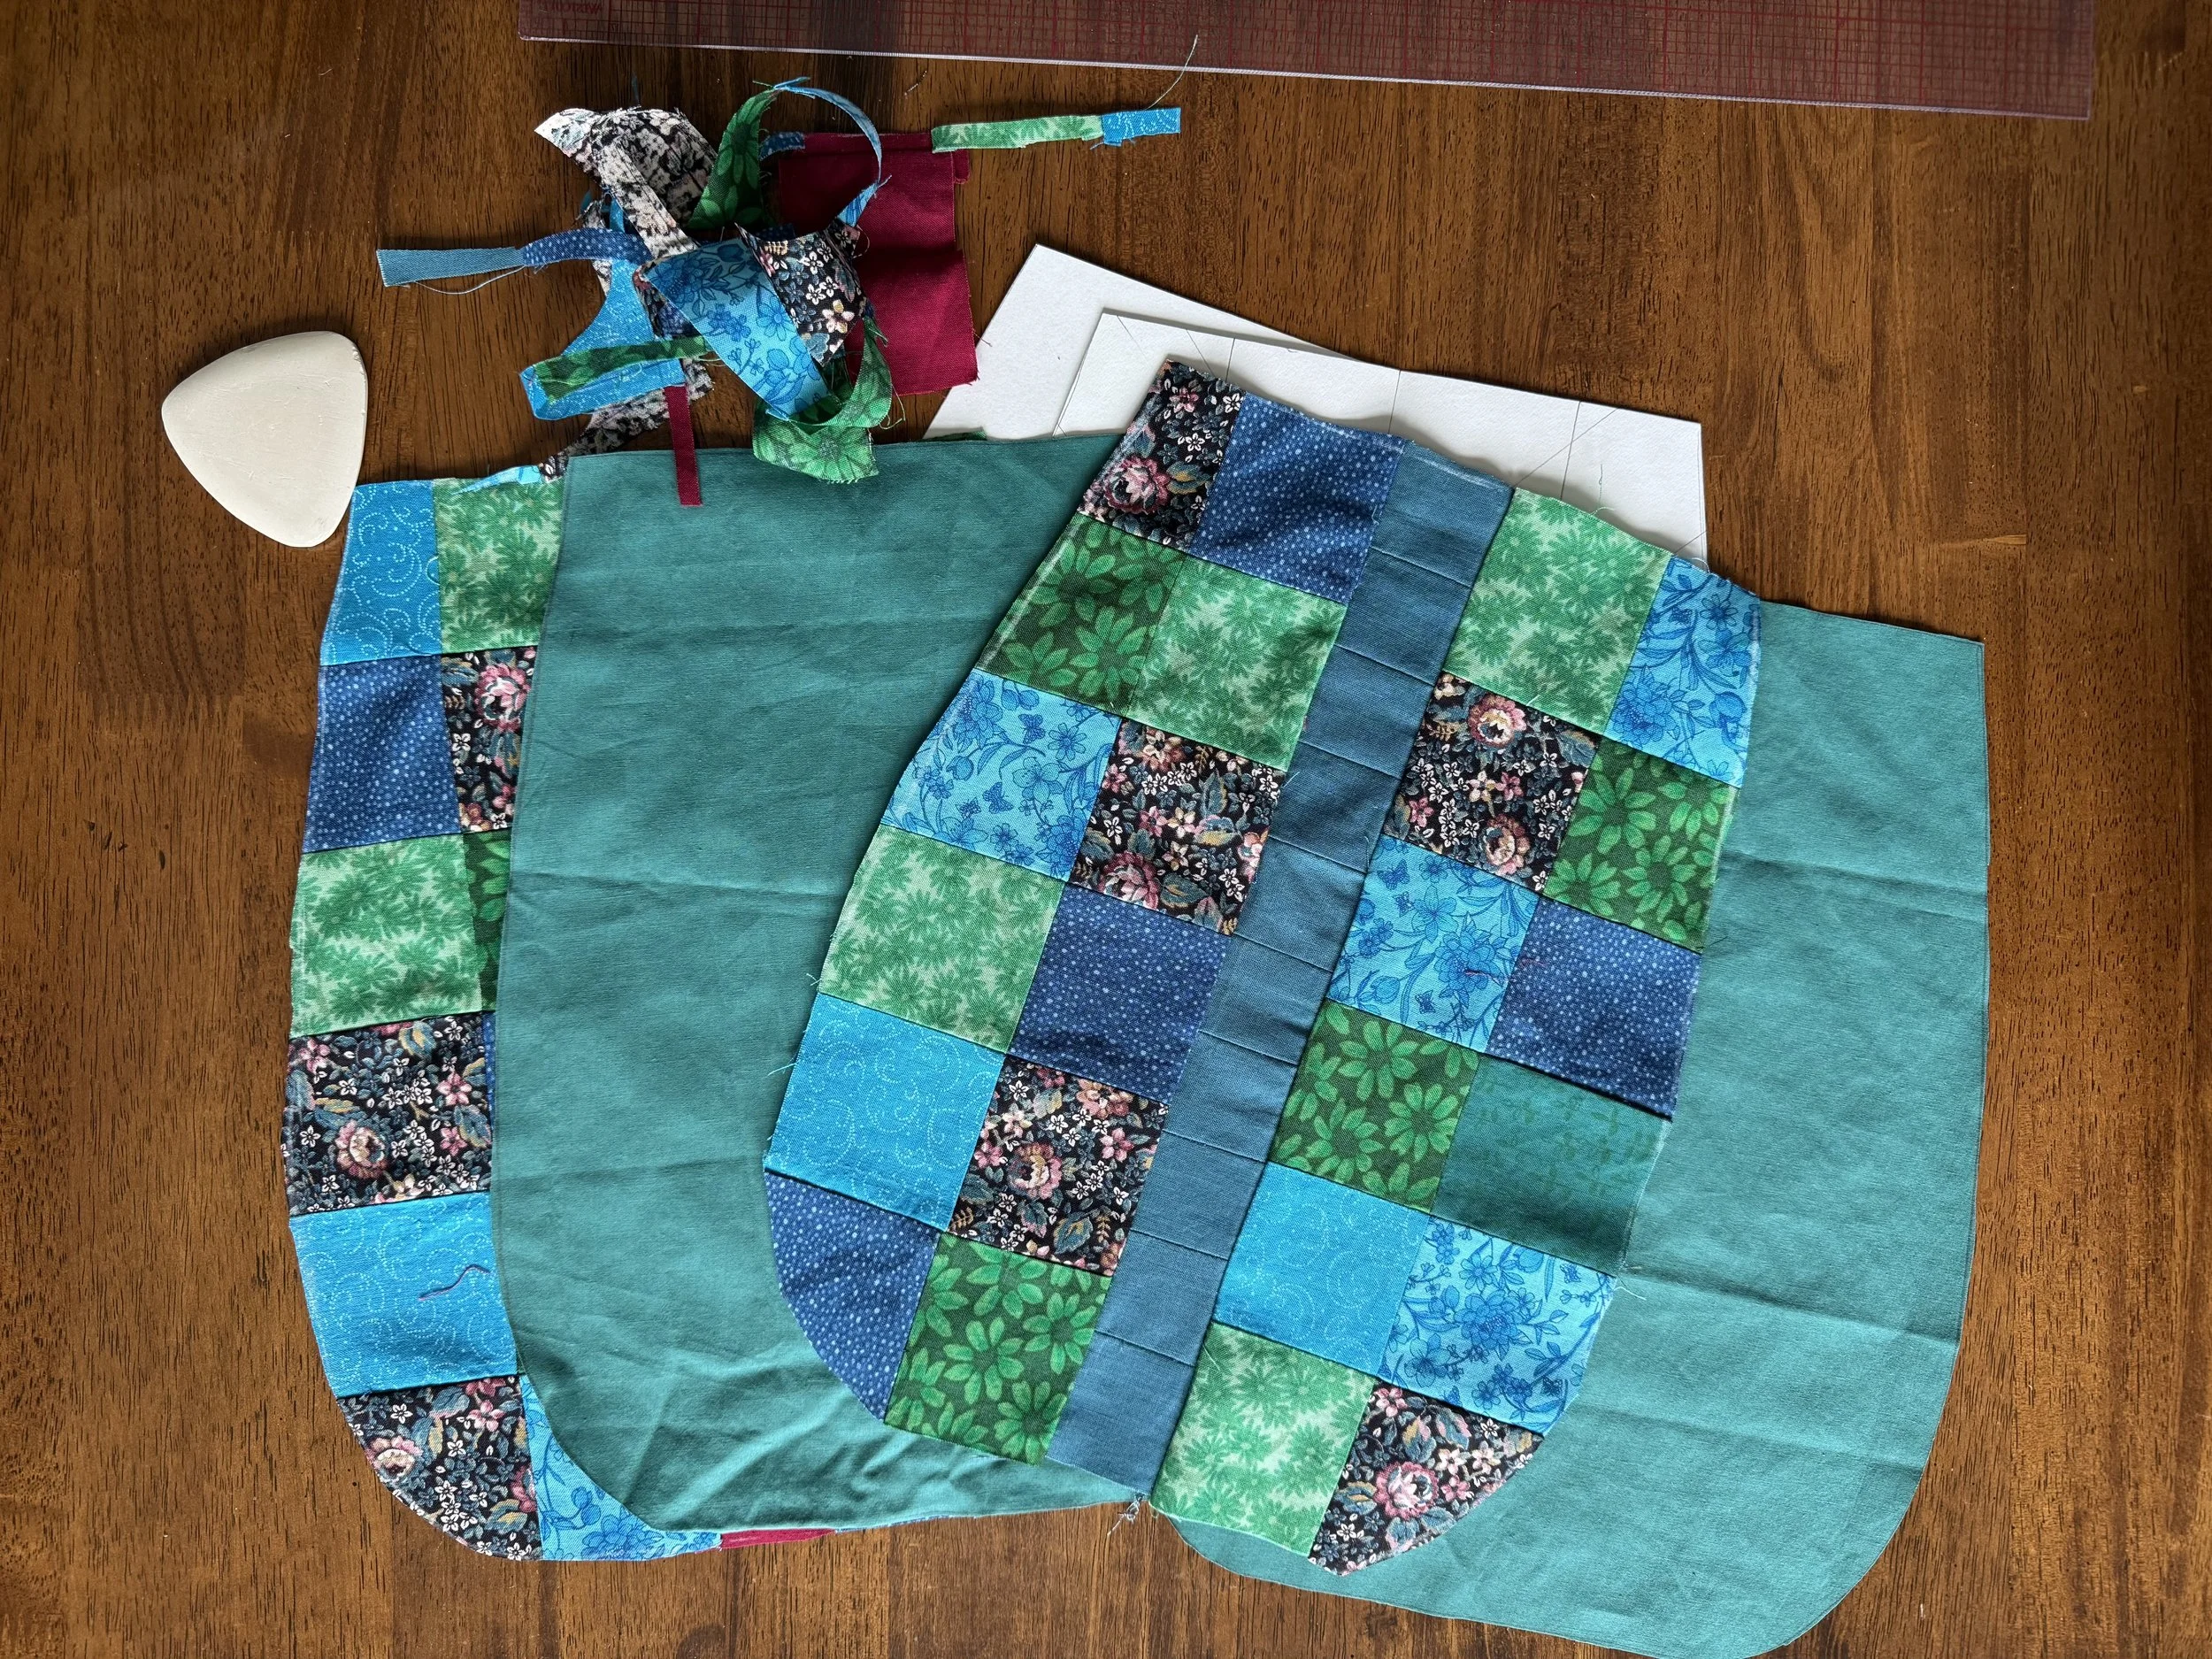
Here we have four pieces: two for the outside and two for the lining. The lining fabric feels suspiciously polyester-y, but it will be put to use, and that is good.
-
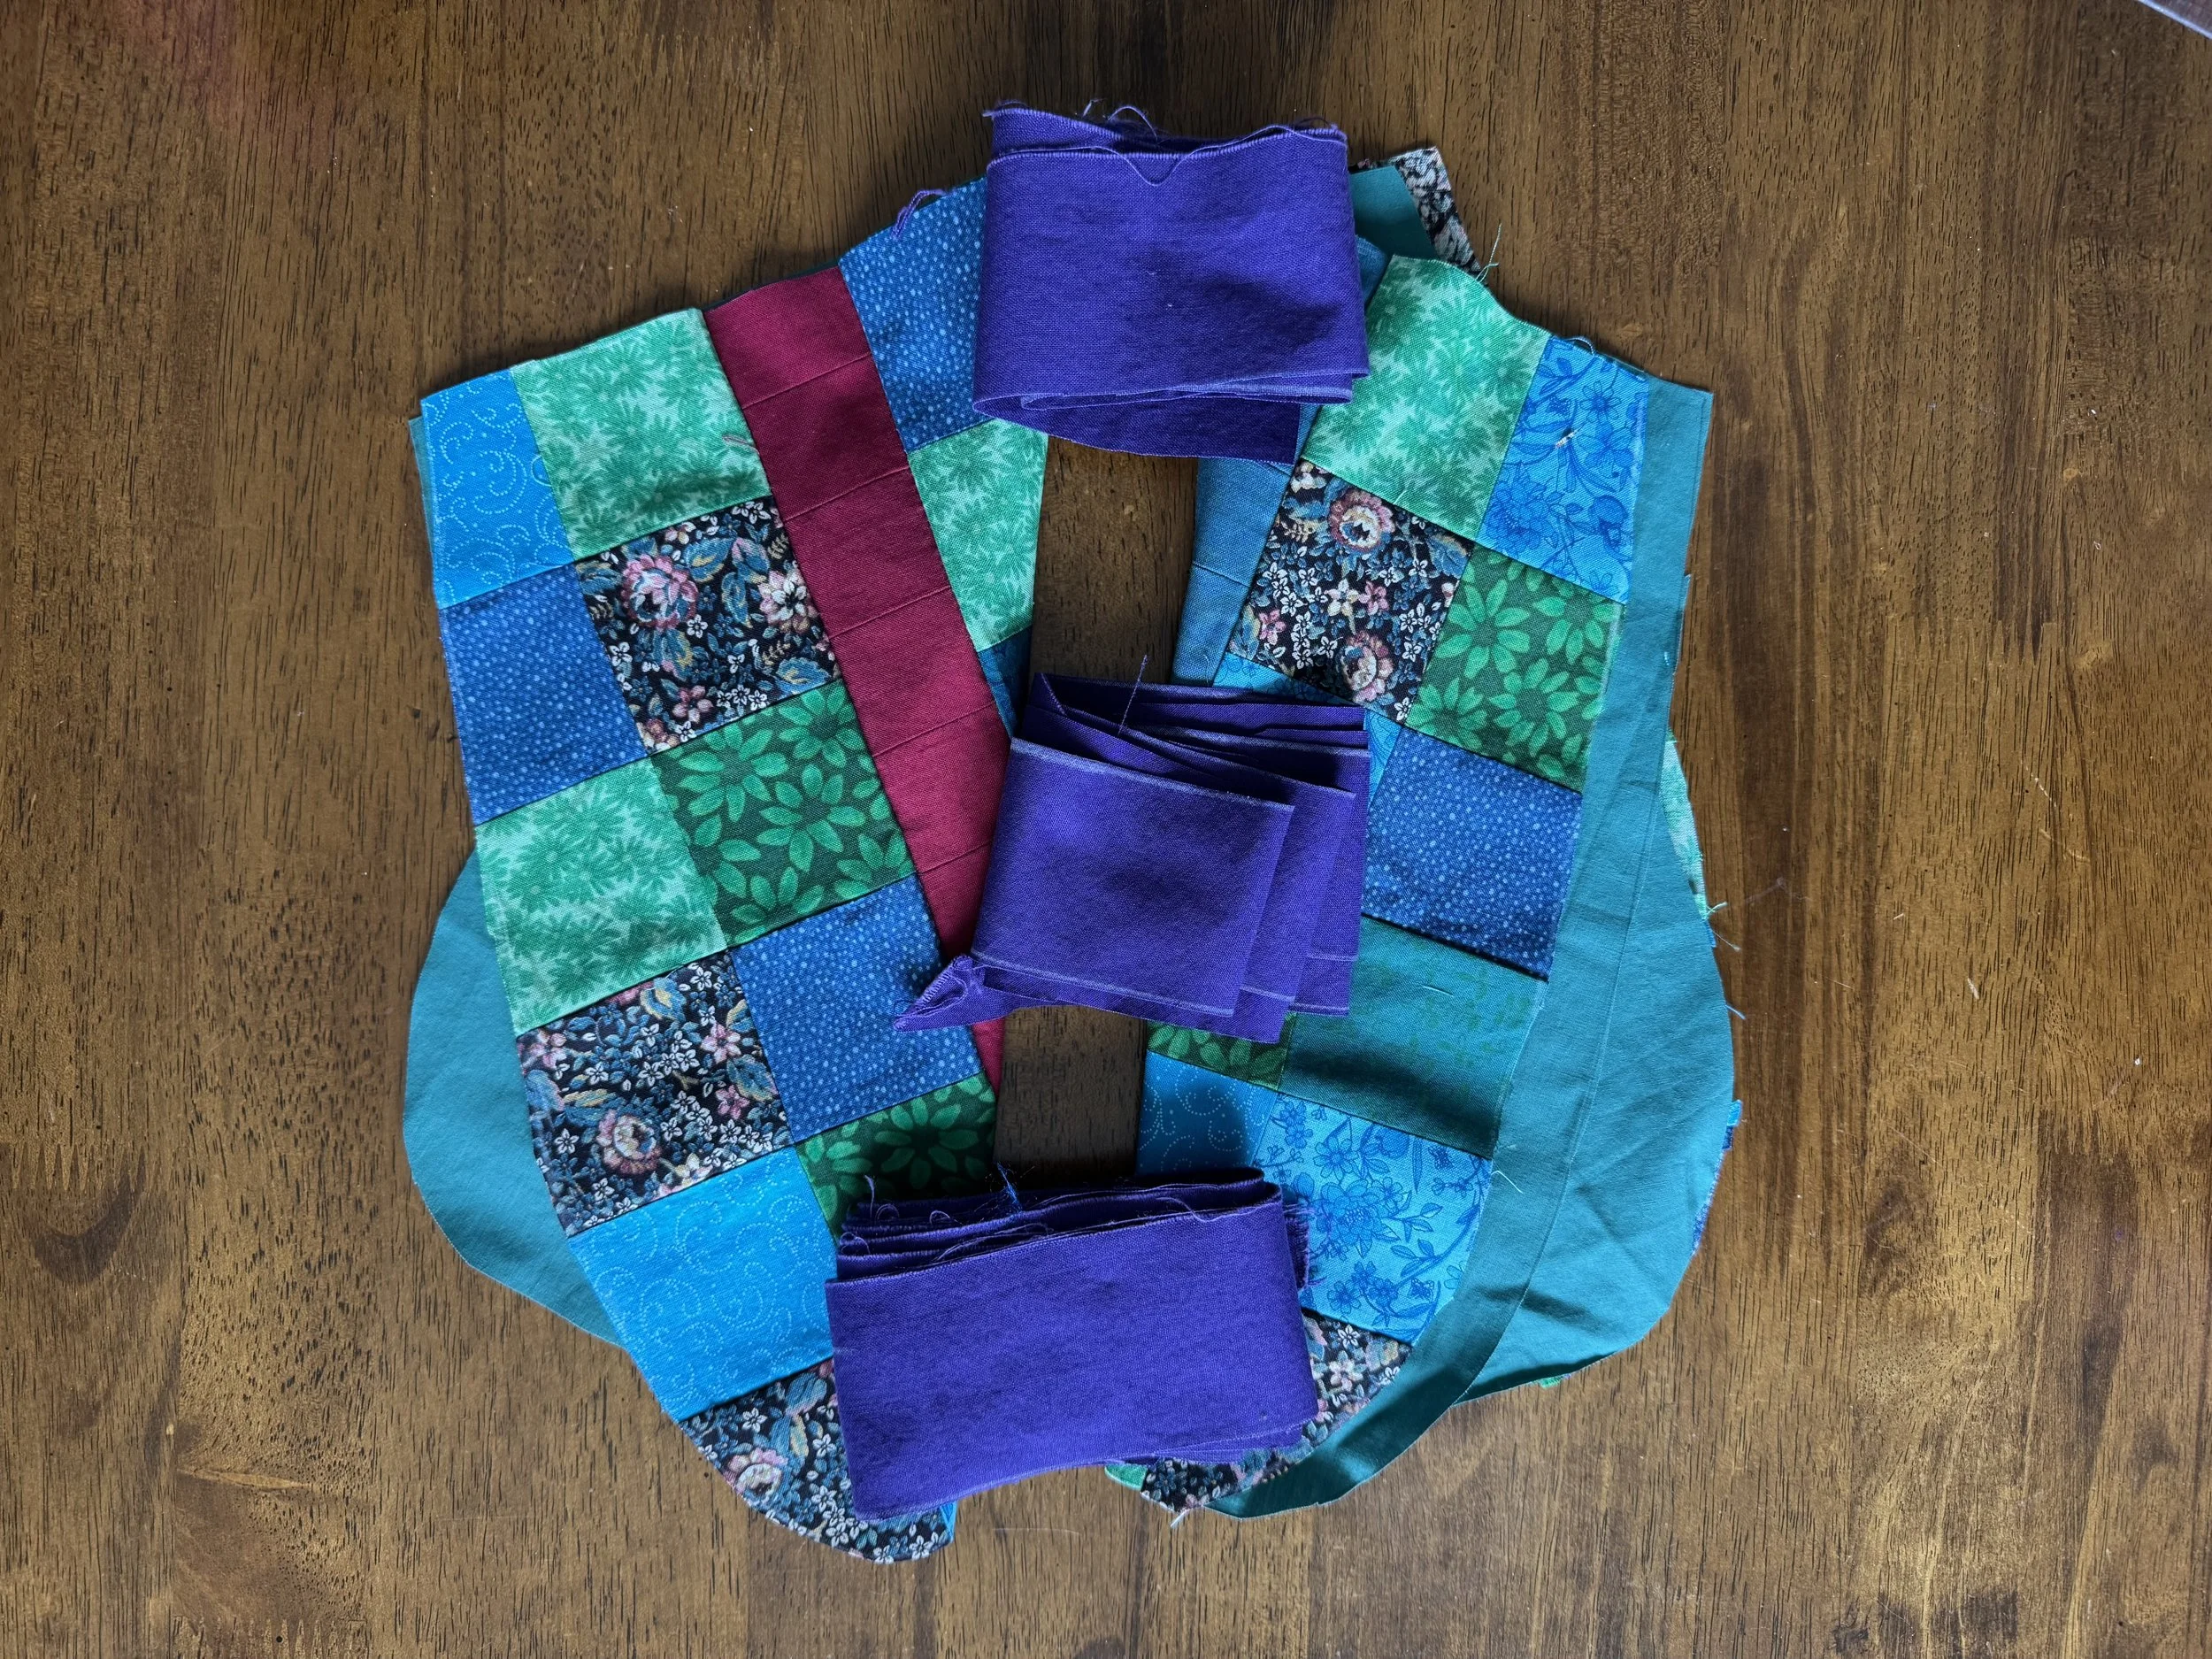
binding
I cut a long piece of 2”-wide fabric on the bias for binding the outer bag and the slit, and a couple of pieces of 2”-wide fabric on the straight grain for the tie.
-
another boo-boo
I must really have been looking forward to this step. In my exuberance, I neglected the very important step of sewing the four pieces together before attaching the binding.
If you don’t sew the pieces together, you will have open seams inside the bag and your bag will never feel secure. Life advice.
-
Let us pause
and take in the magnitude of that jog.
-
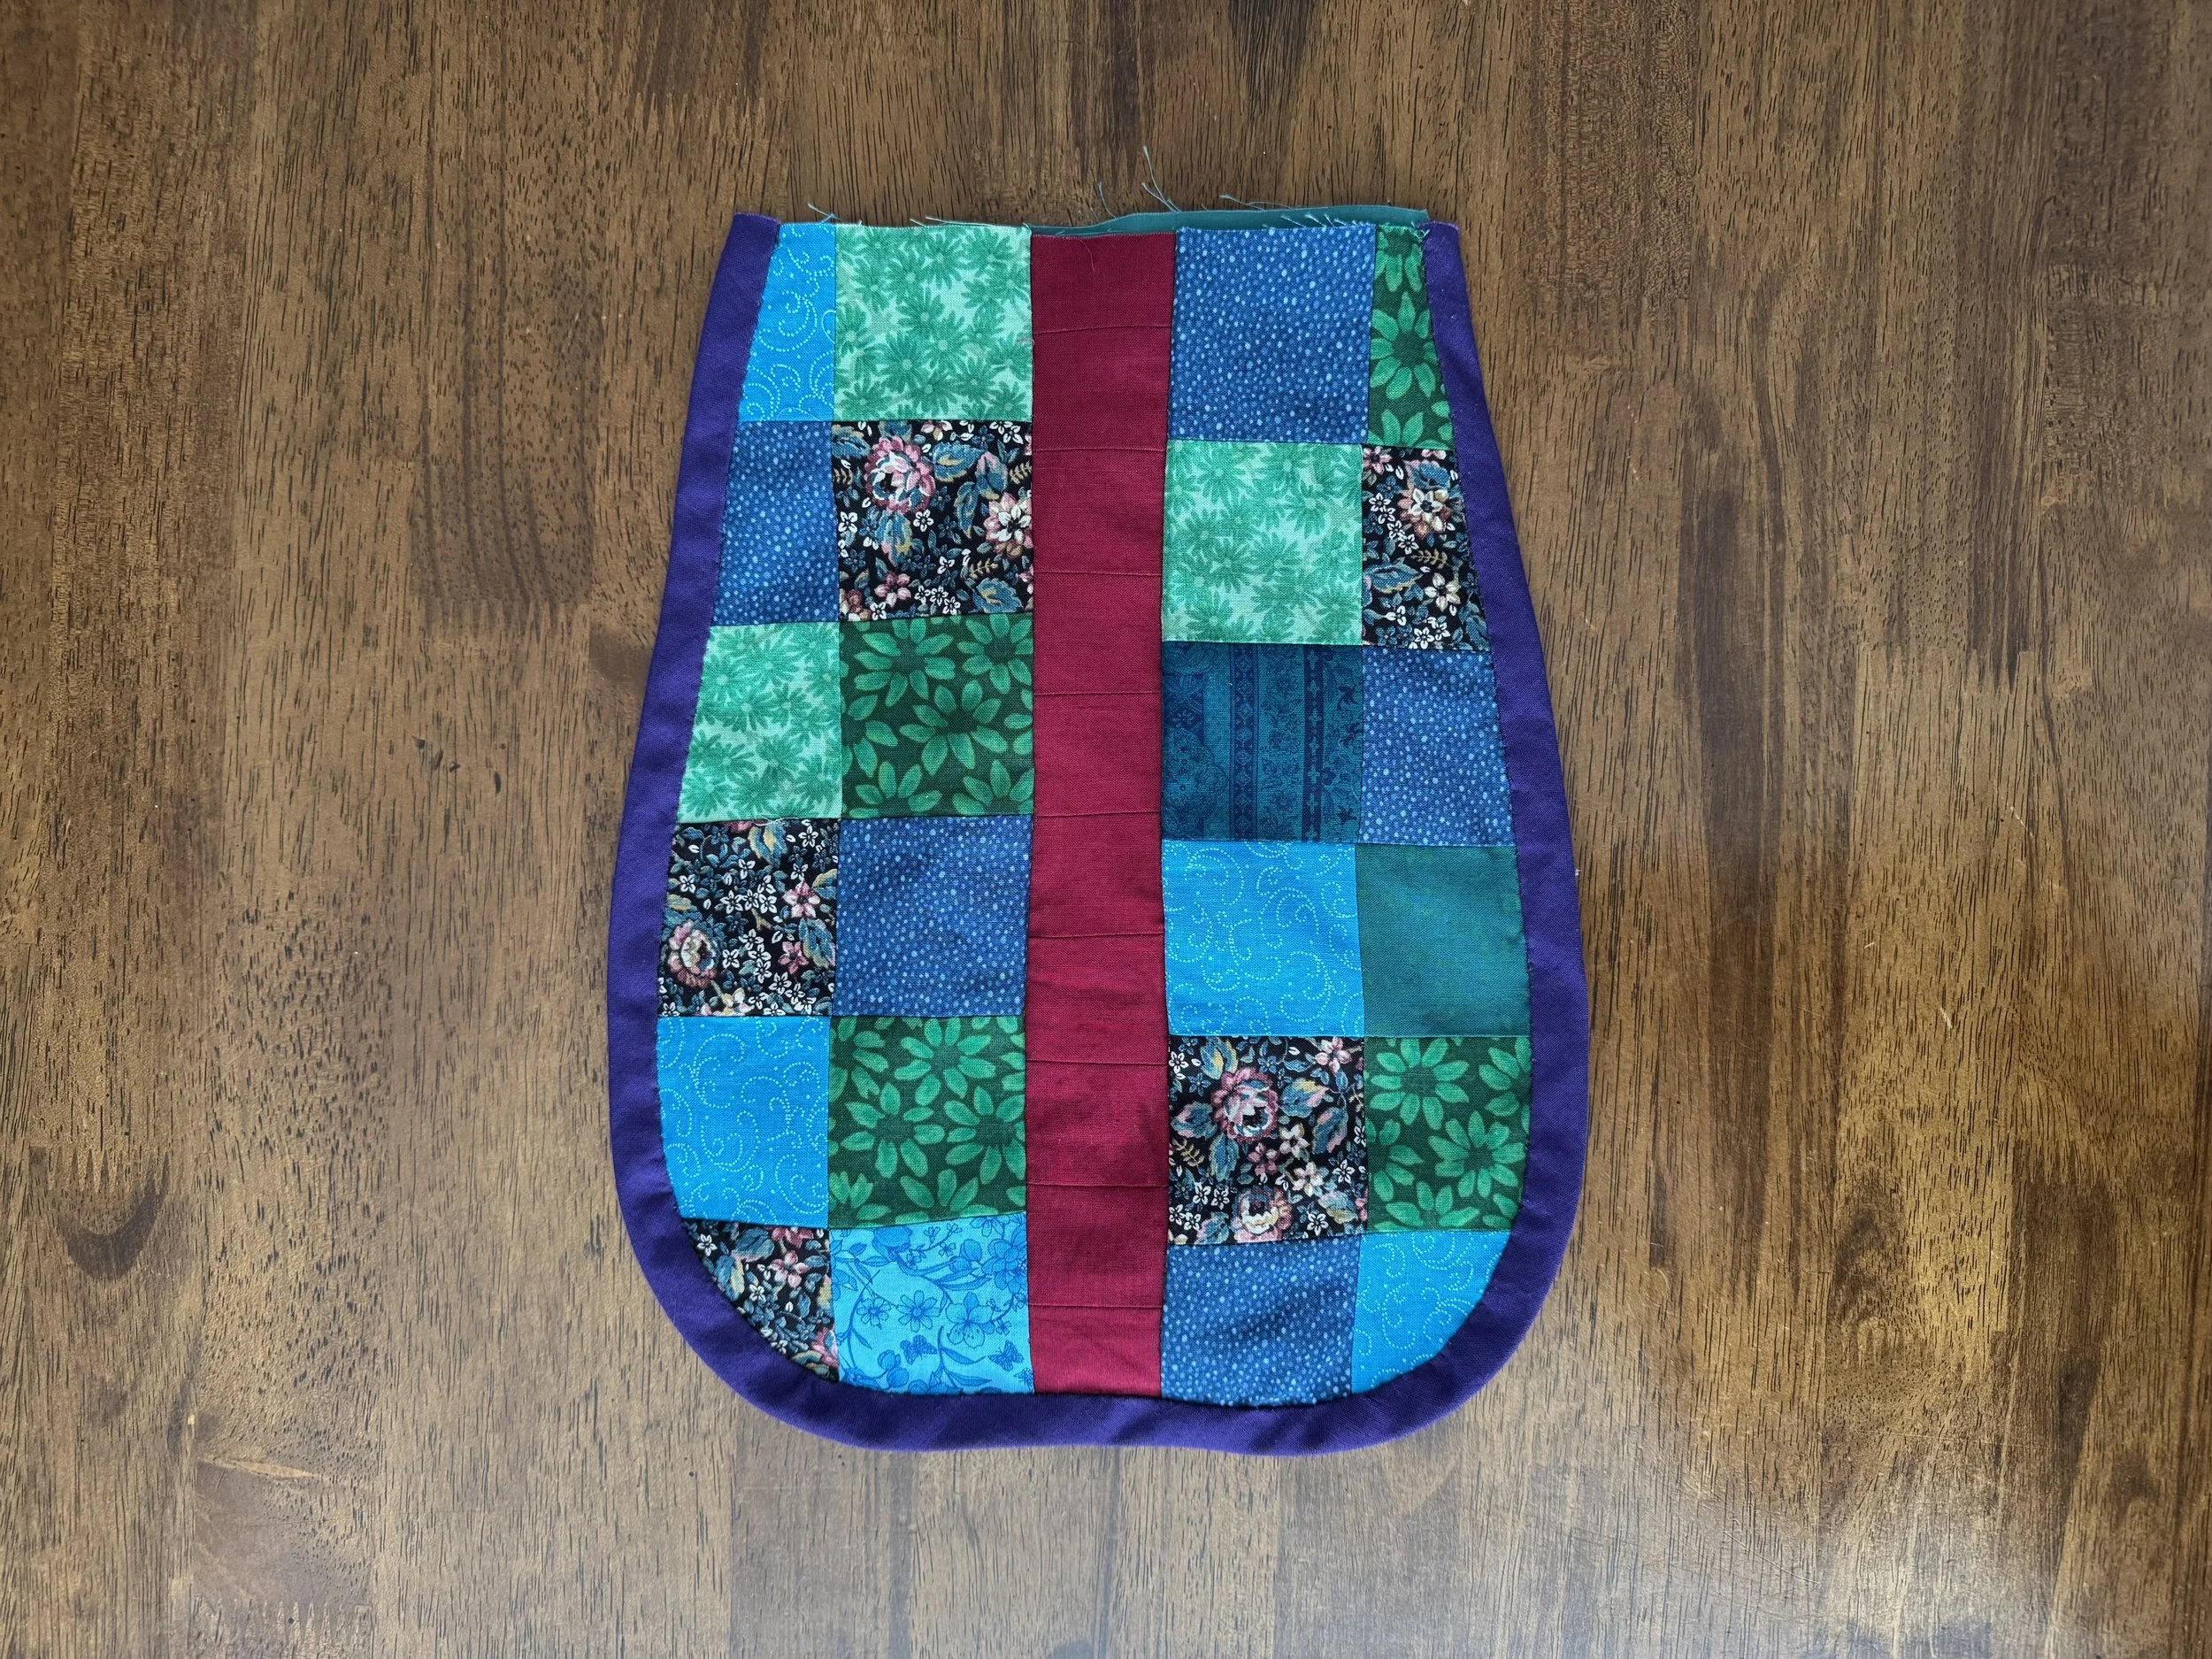
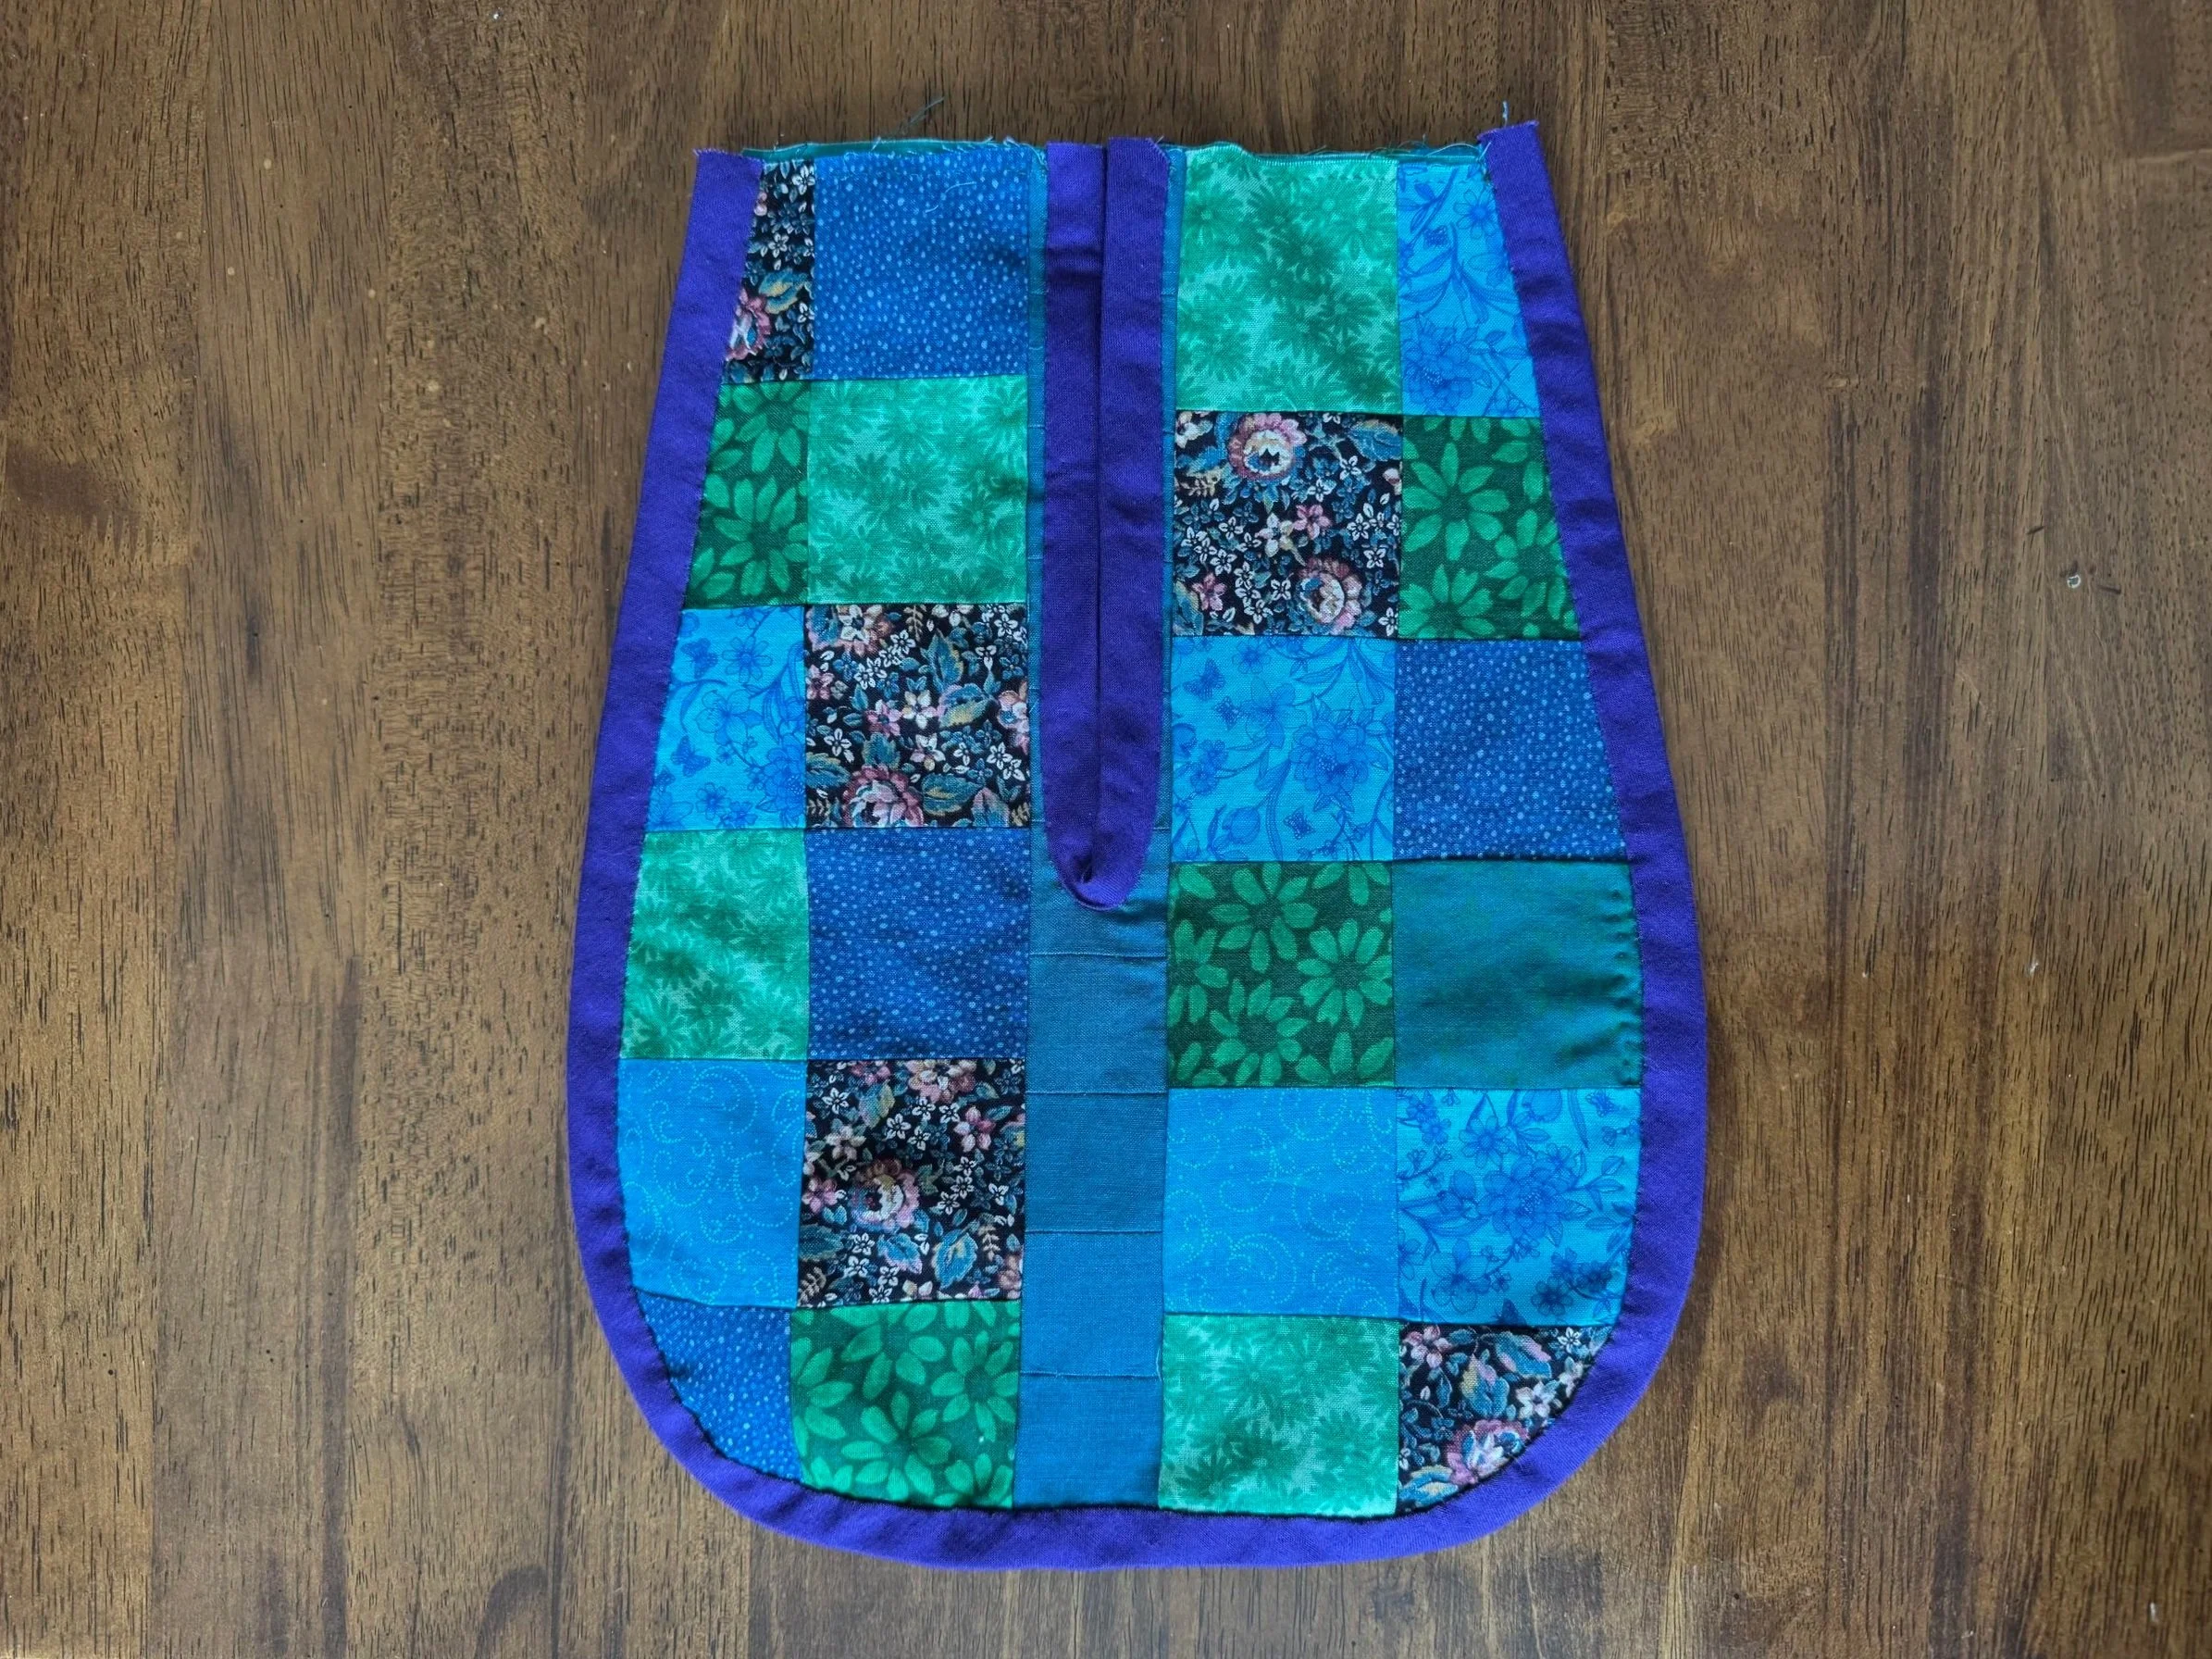
one side done
I corrected the whole “the bag is not sewed together” issue by stab stitching all four layers together, just under where the binding is attached.
This was a bit hard on my hands; I think that the fact that two of the four layers felt like plastic made jabbing the needle in difficult, and pulling it out was even more difficult. But it is finished now and I can move on to finishing this beauty.
-
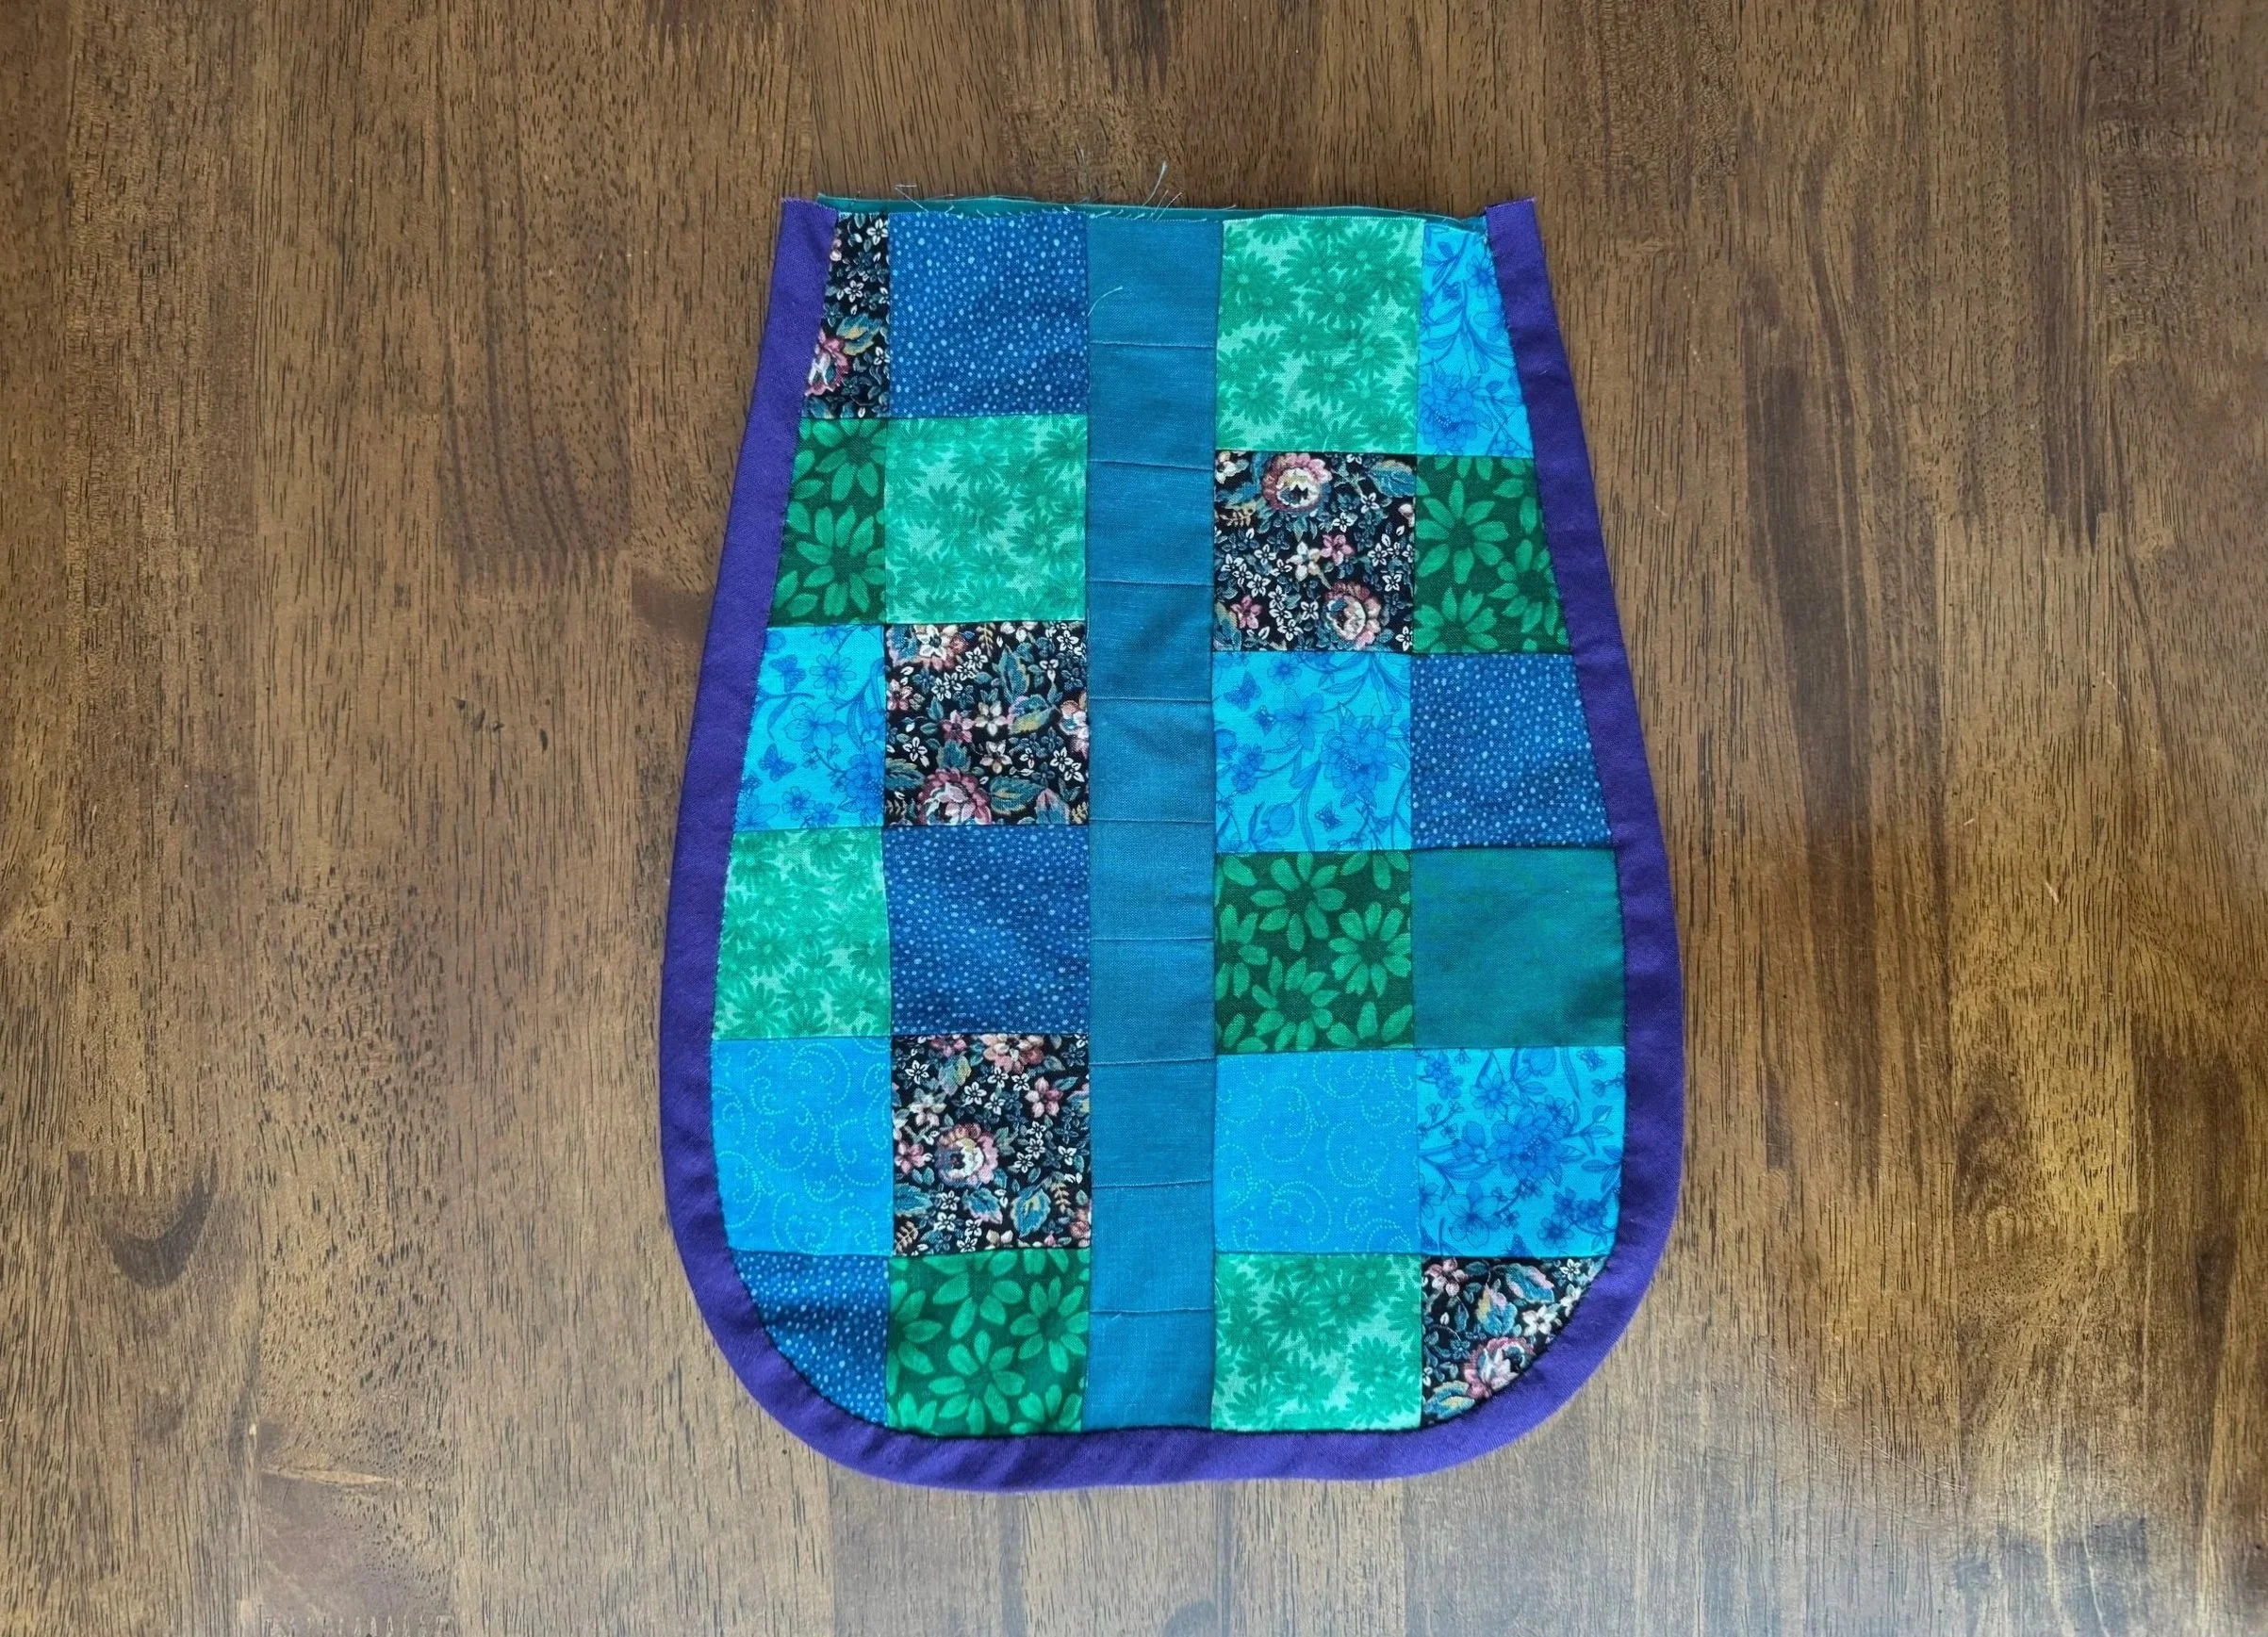
other side done
I have decided that this will be the front.
-
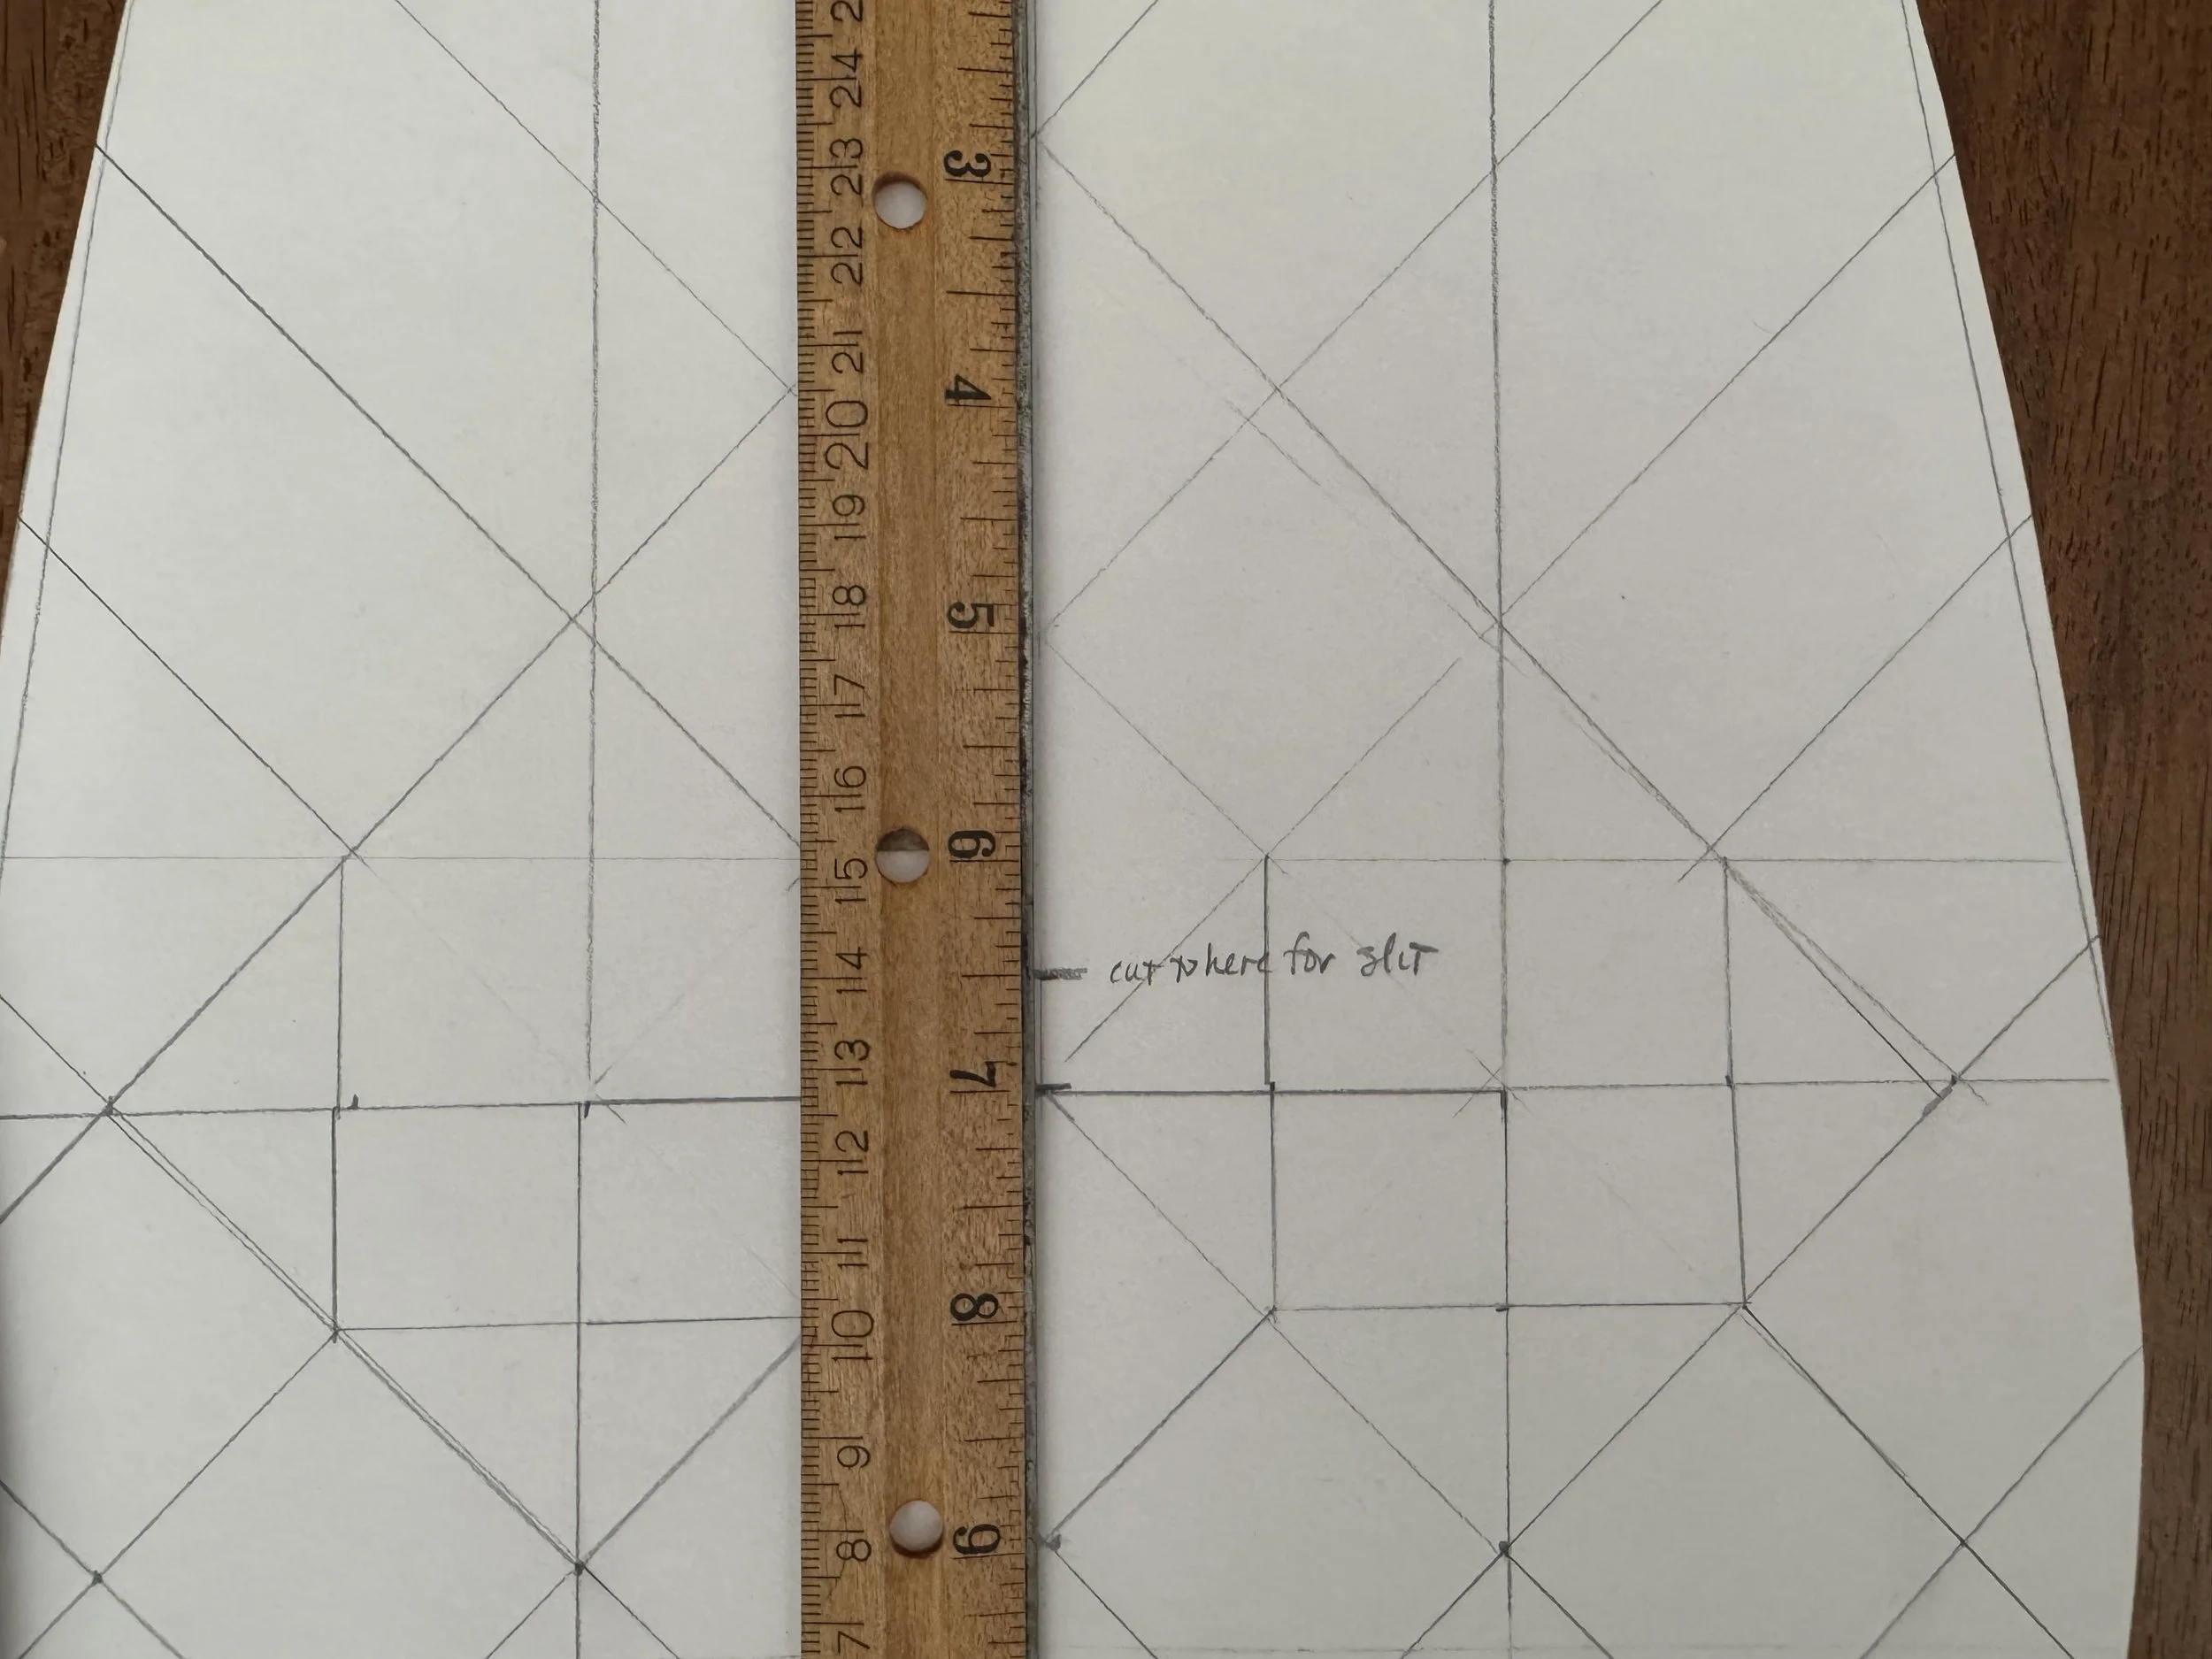
back to the paper pattern
The opening on this bag should be 6.5” from the top. Got it.
-
done
I have every intention of sewing these pieces together before I attach the binding. There are only two pieces of fabric to fix together, so it should be easier on the fingers.
-
ready to be sewn together
-
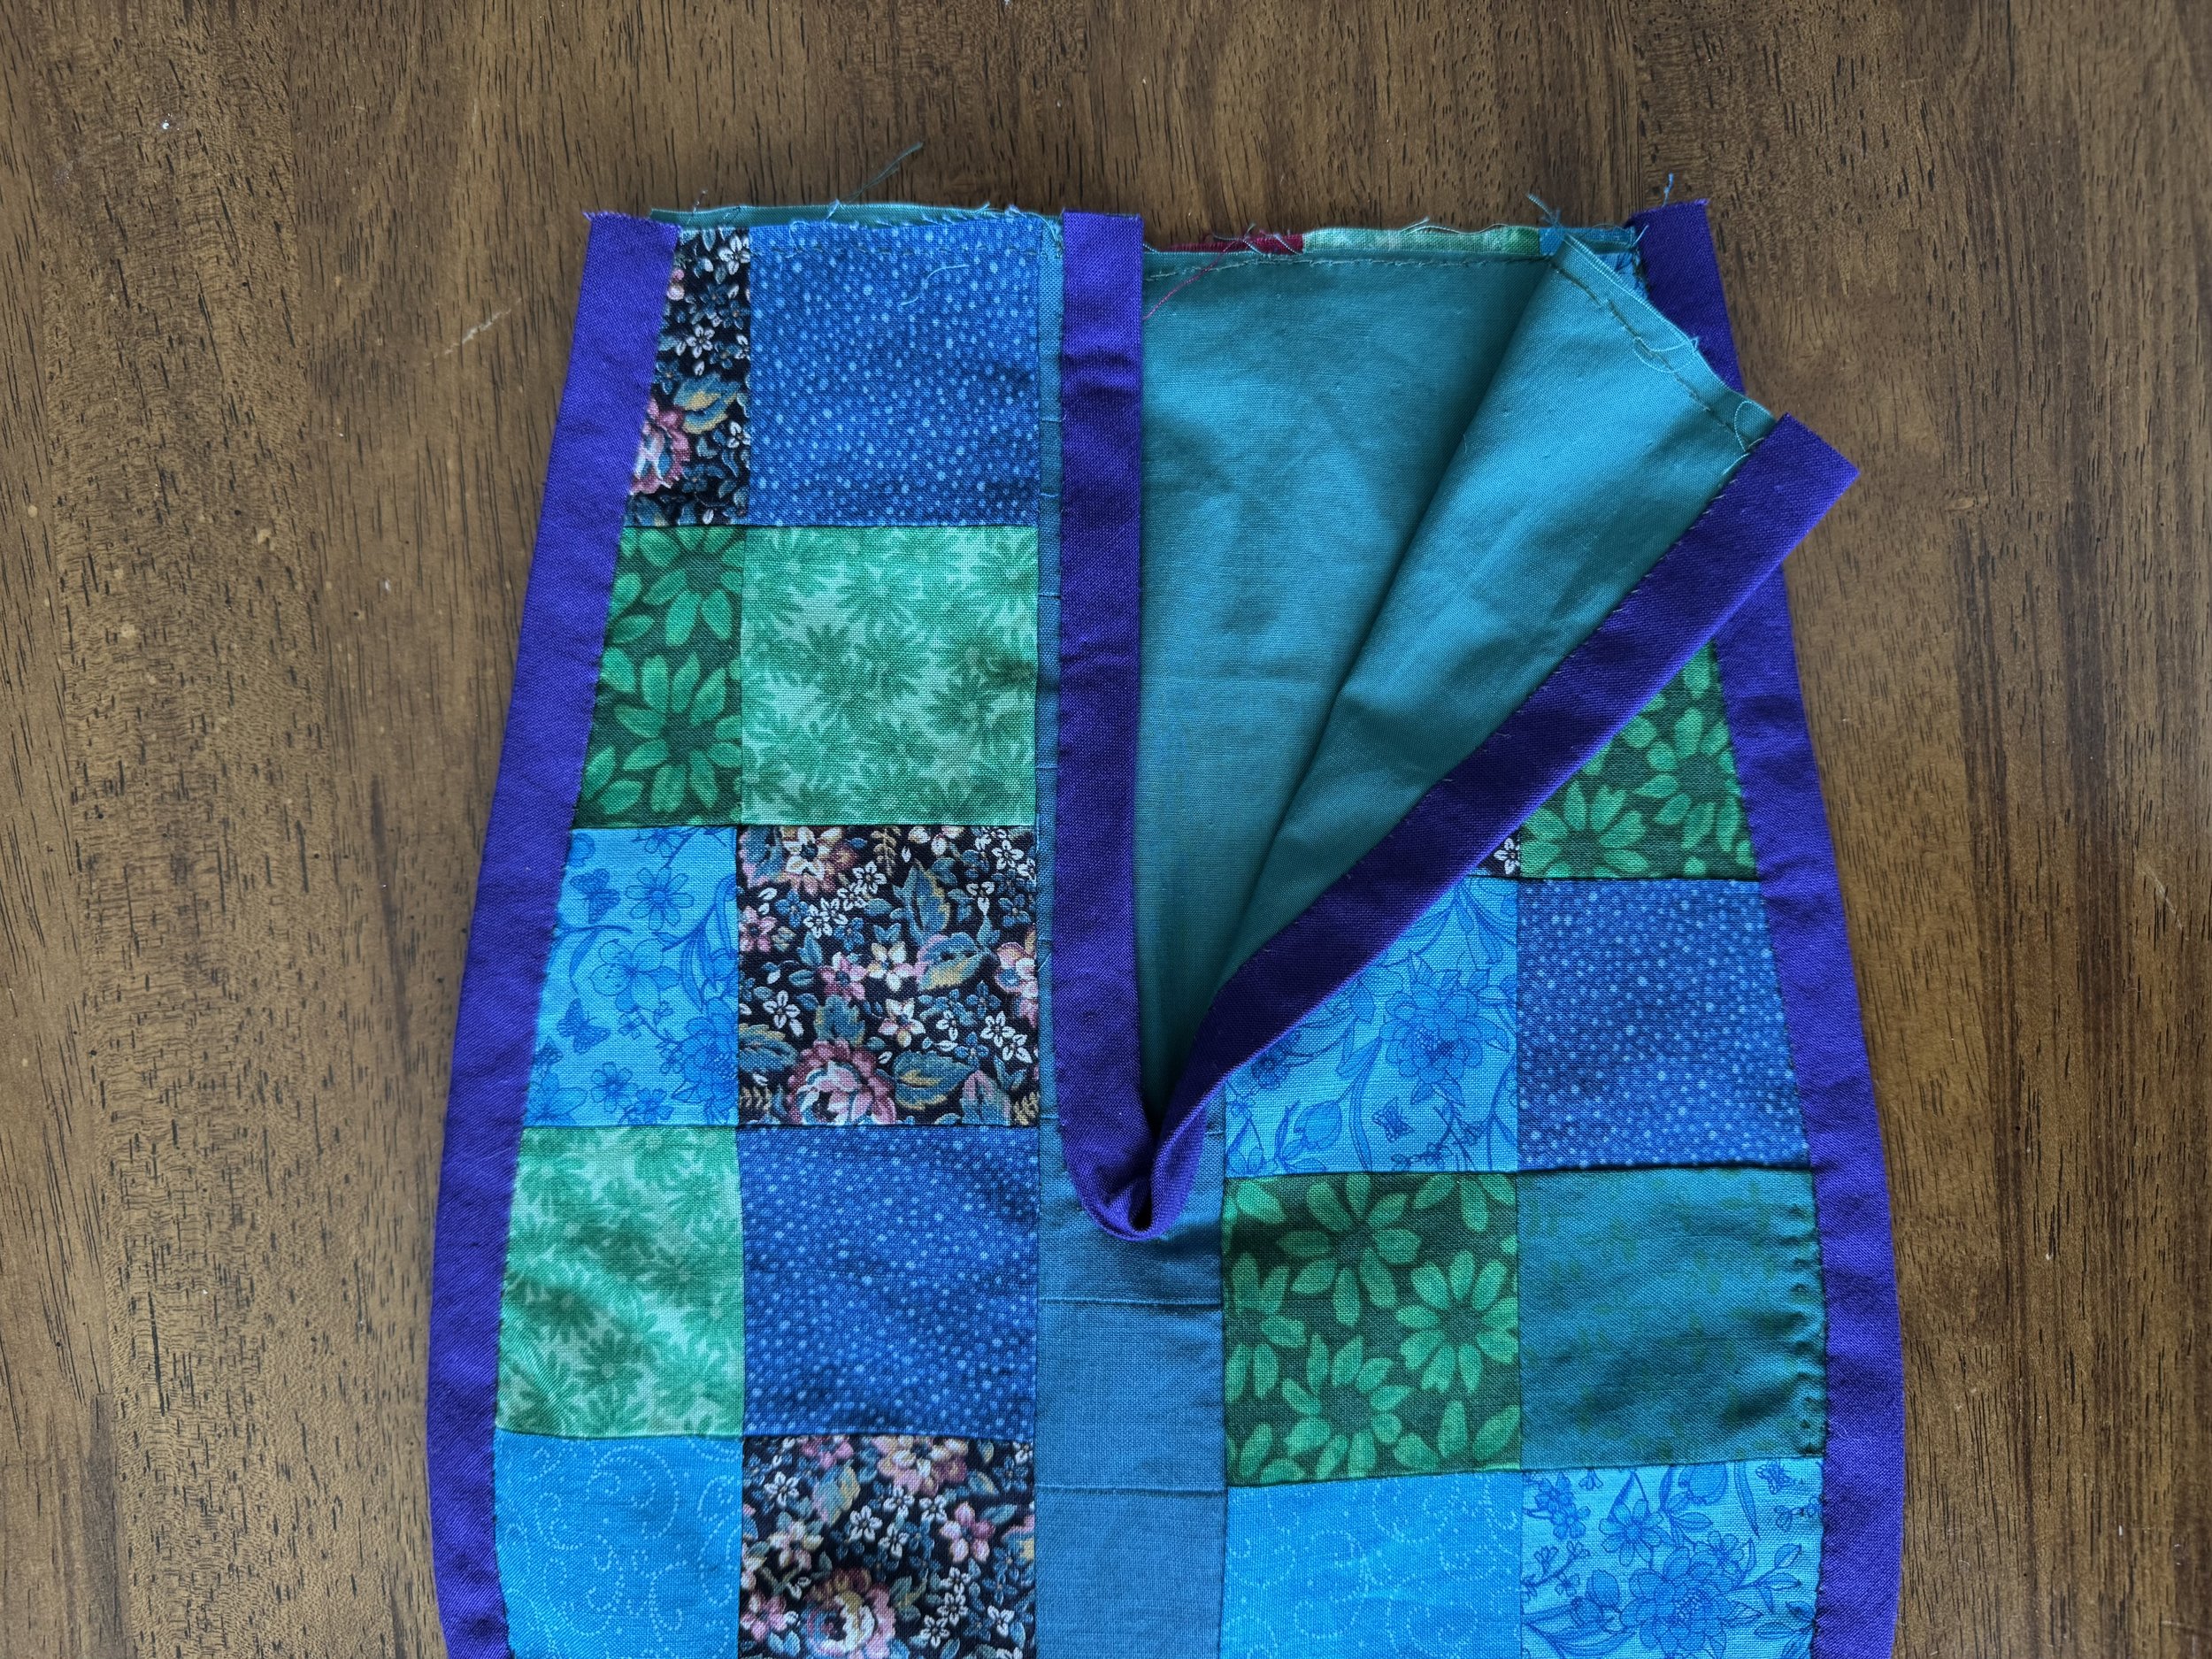
back is sewn separately
I think that I could have sewn the four layers together; they will be bound together, after all. But it was far easier to sew two layers than four. And this way, I made sure that the slit in front was sewn nice and flat and even with the top seam.
-
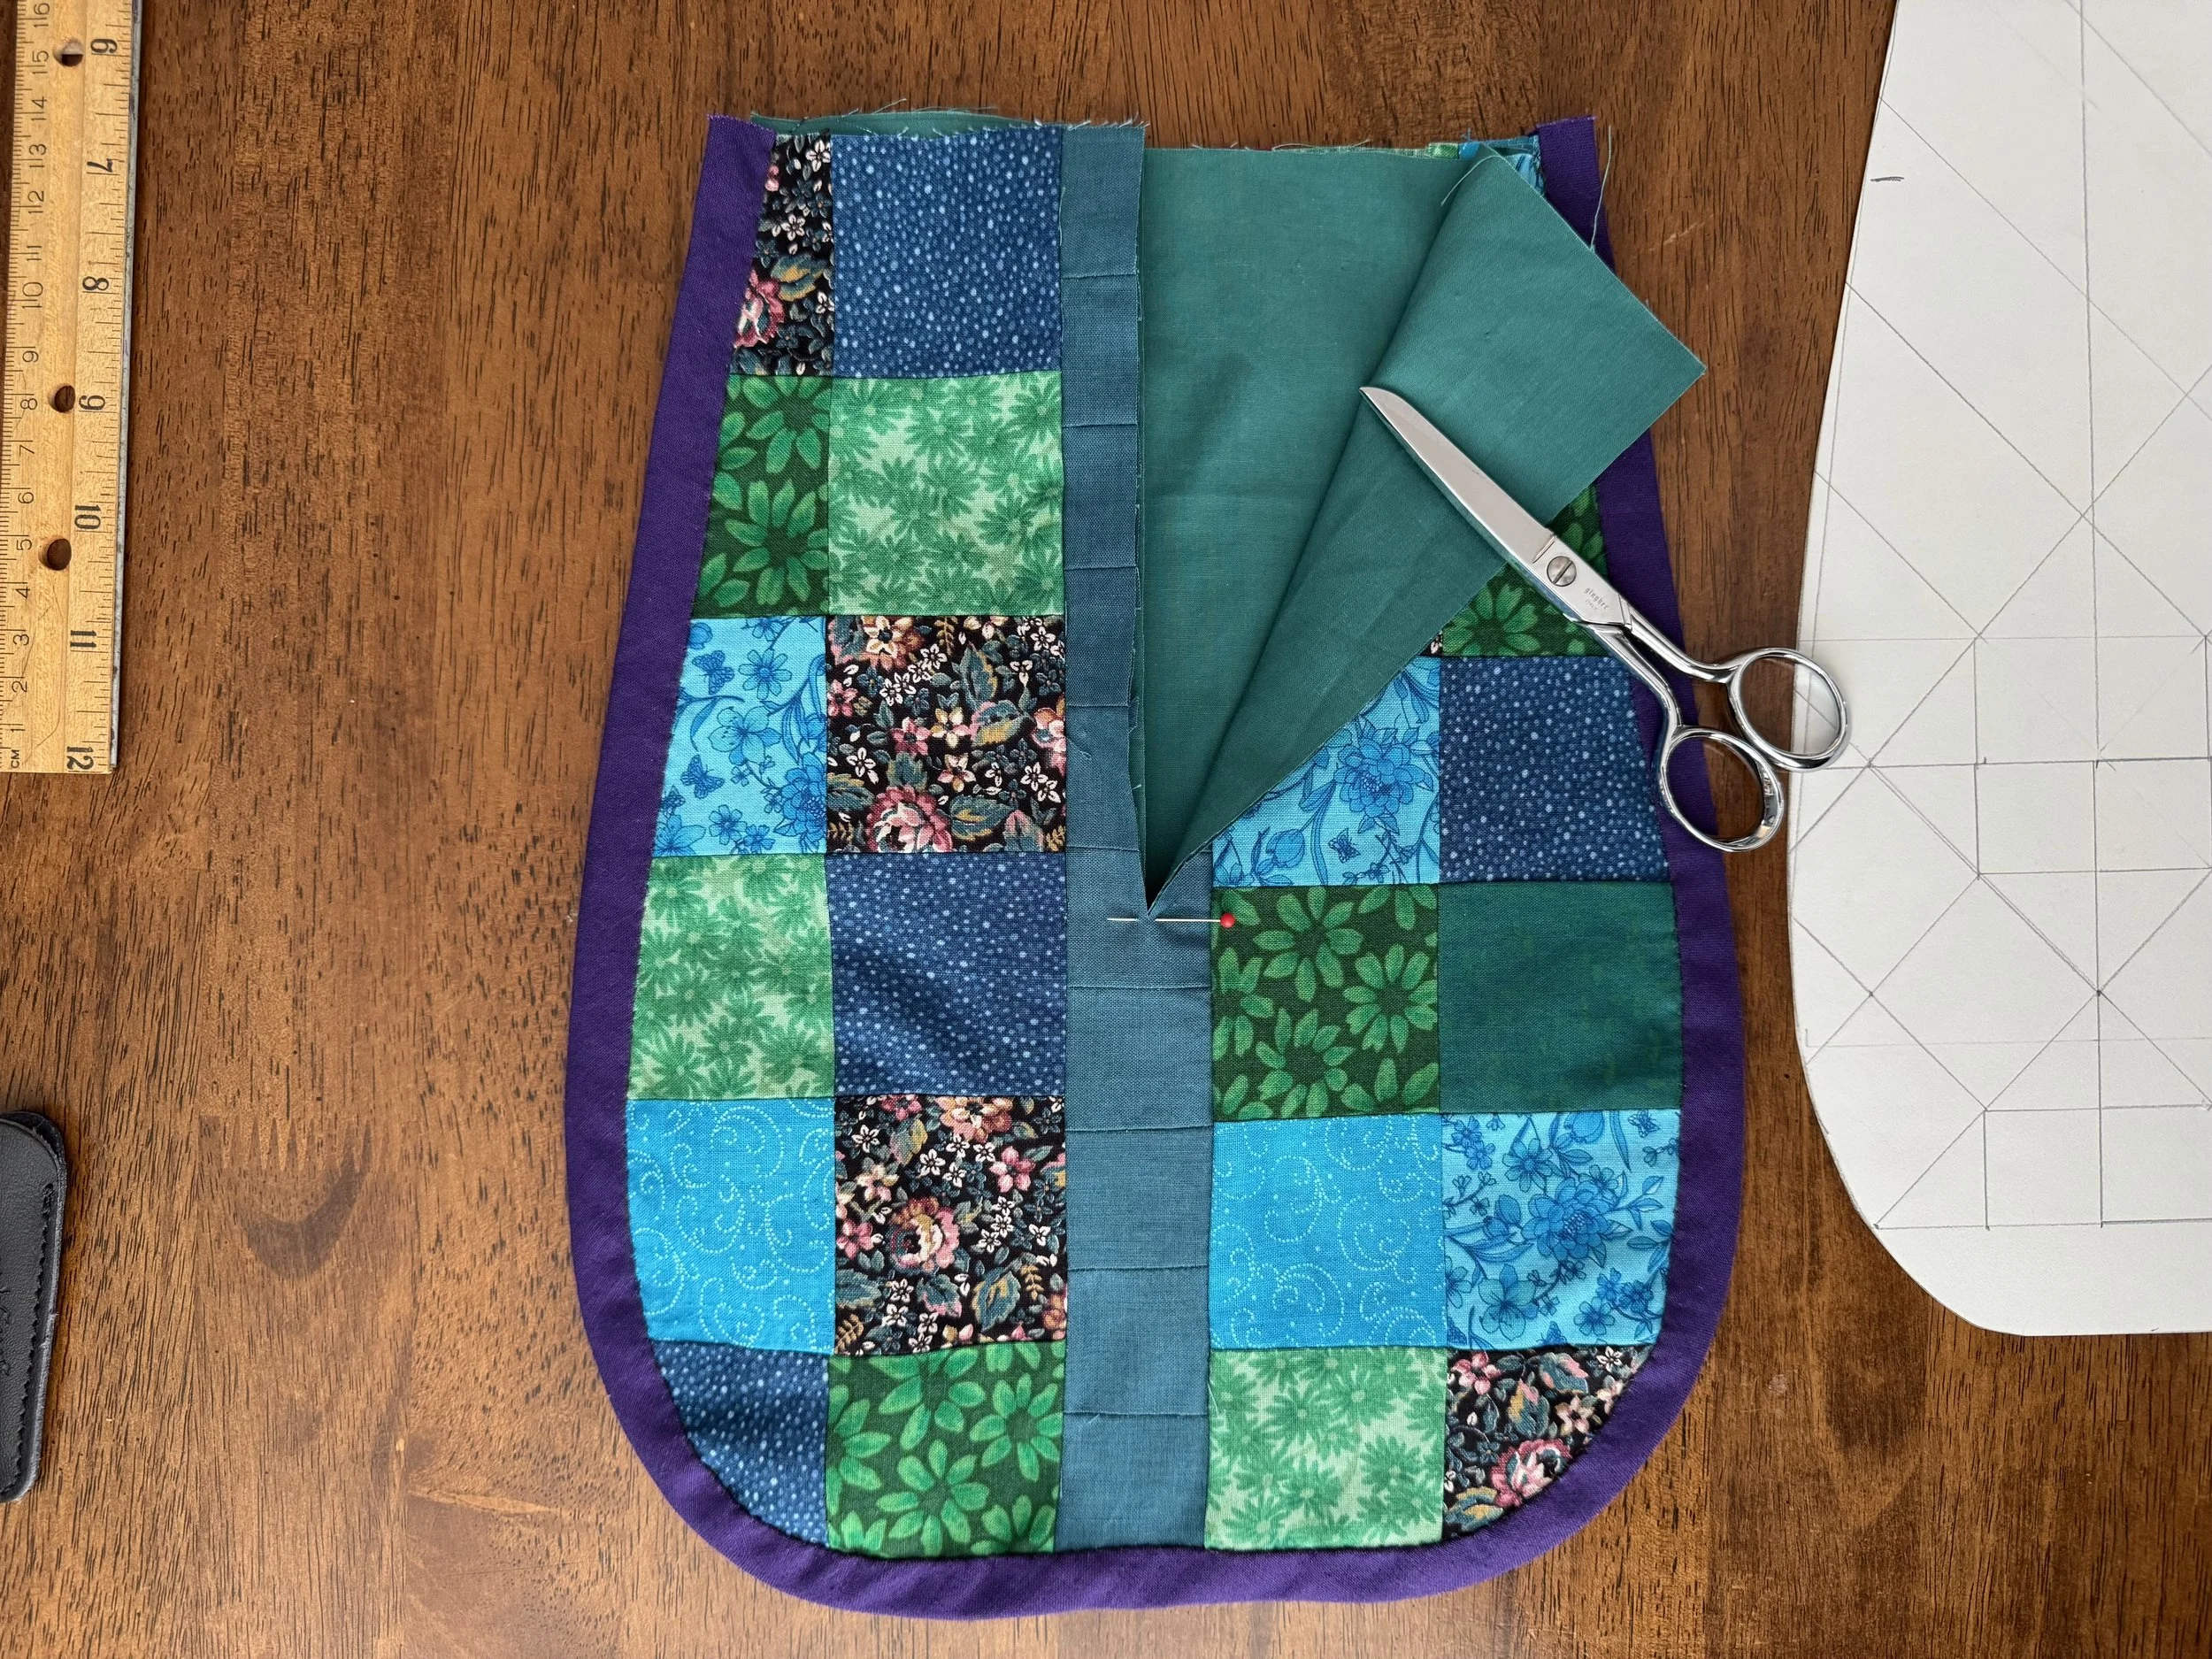
more binding
I decided to use bias-cut binding for the slit because I am guessing that the dramatic cut at the bottom of the opening will appreciate some flexibility on the part of the binding.
-
see how nice
-
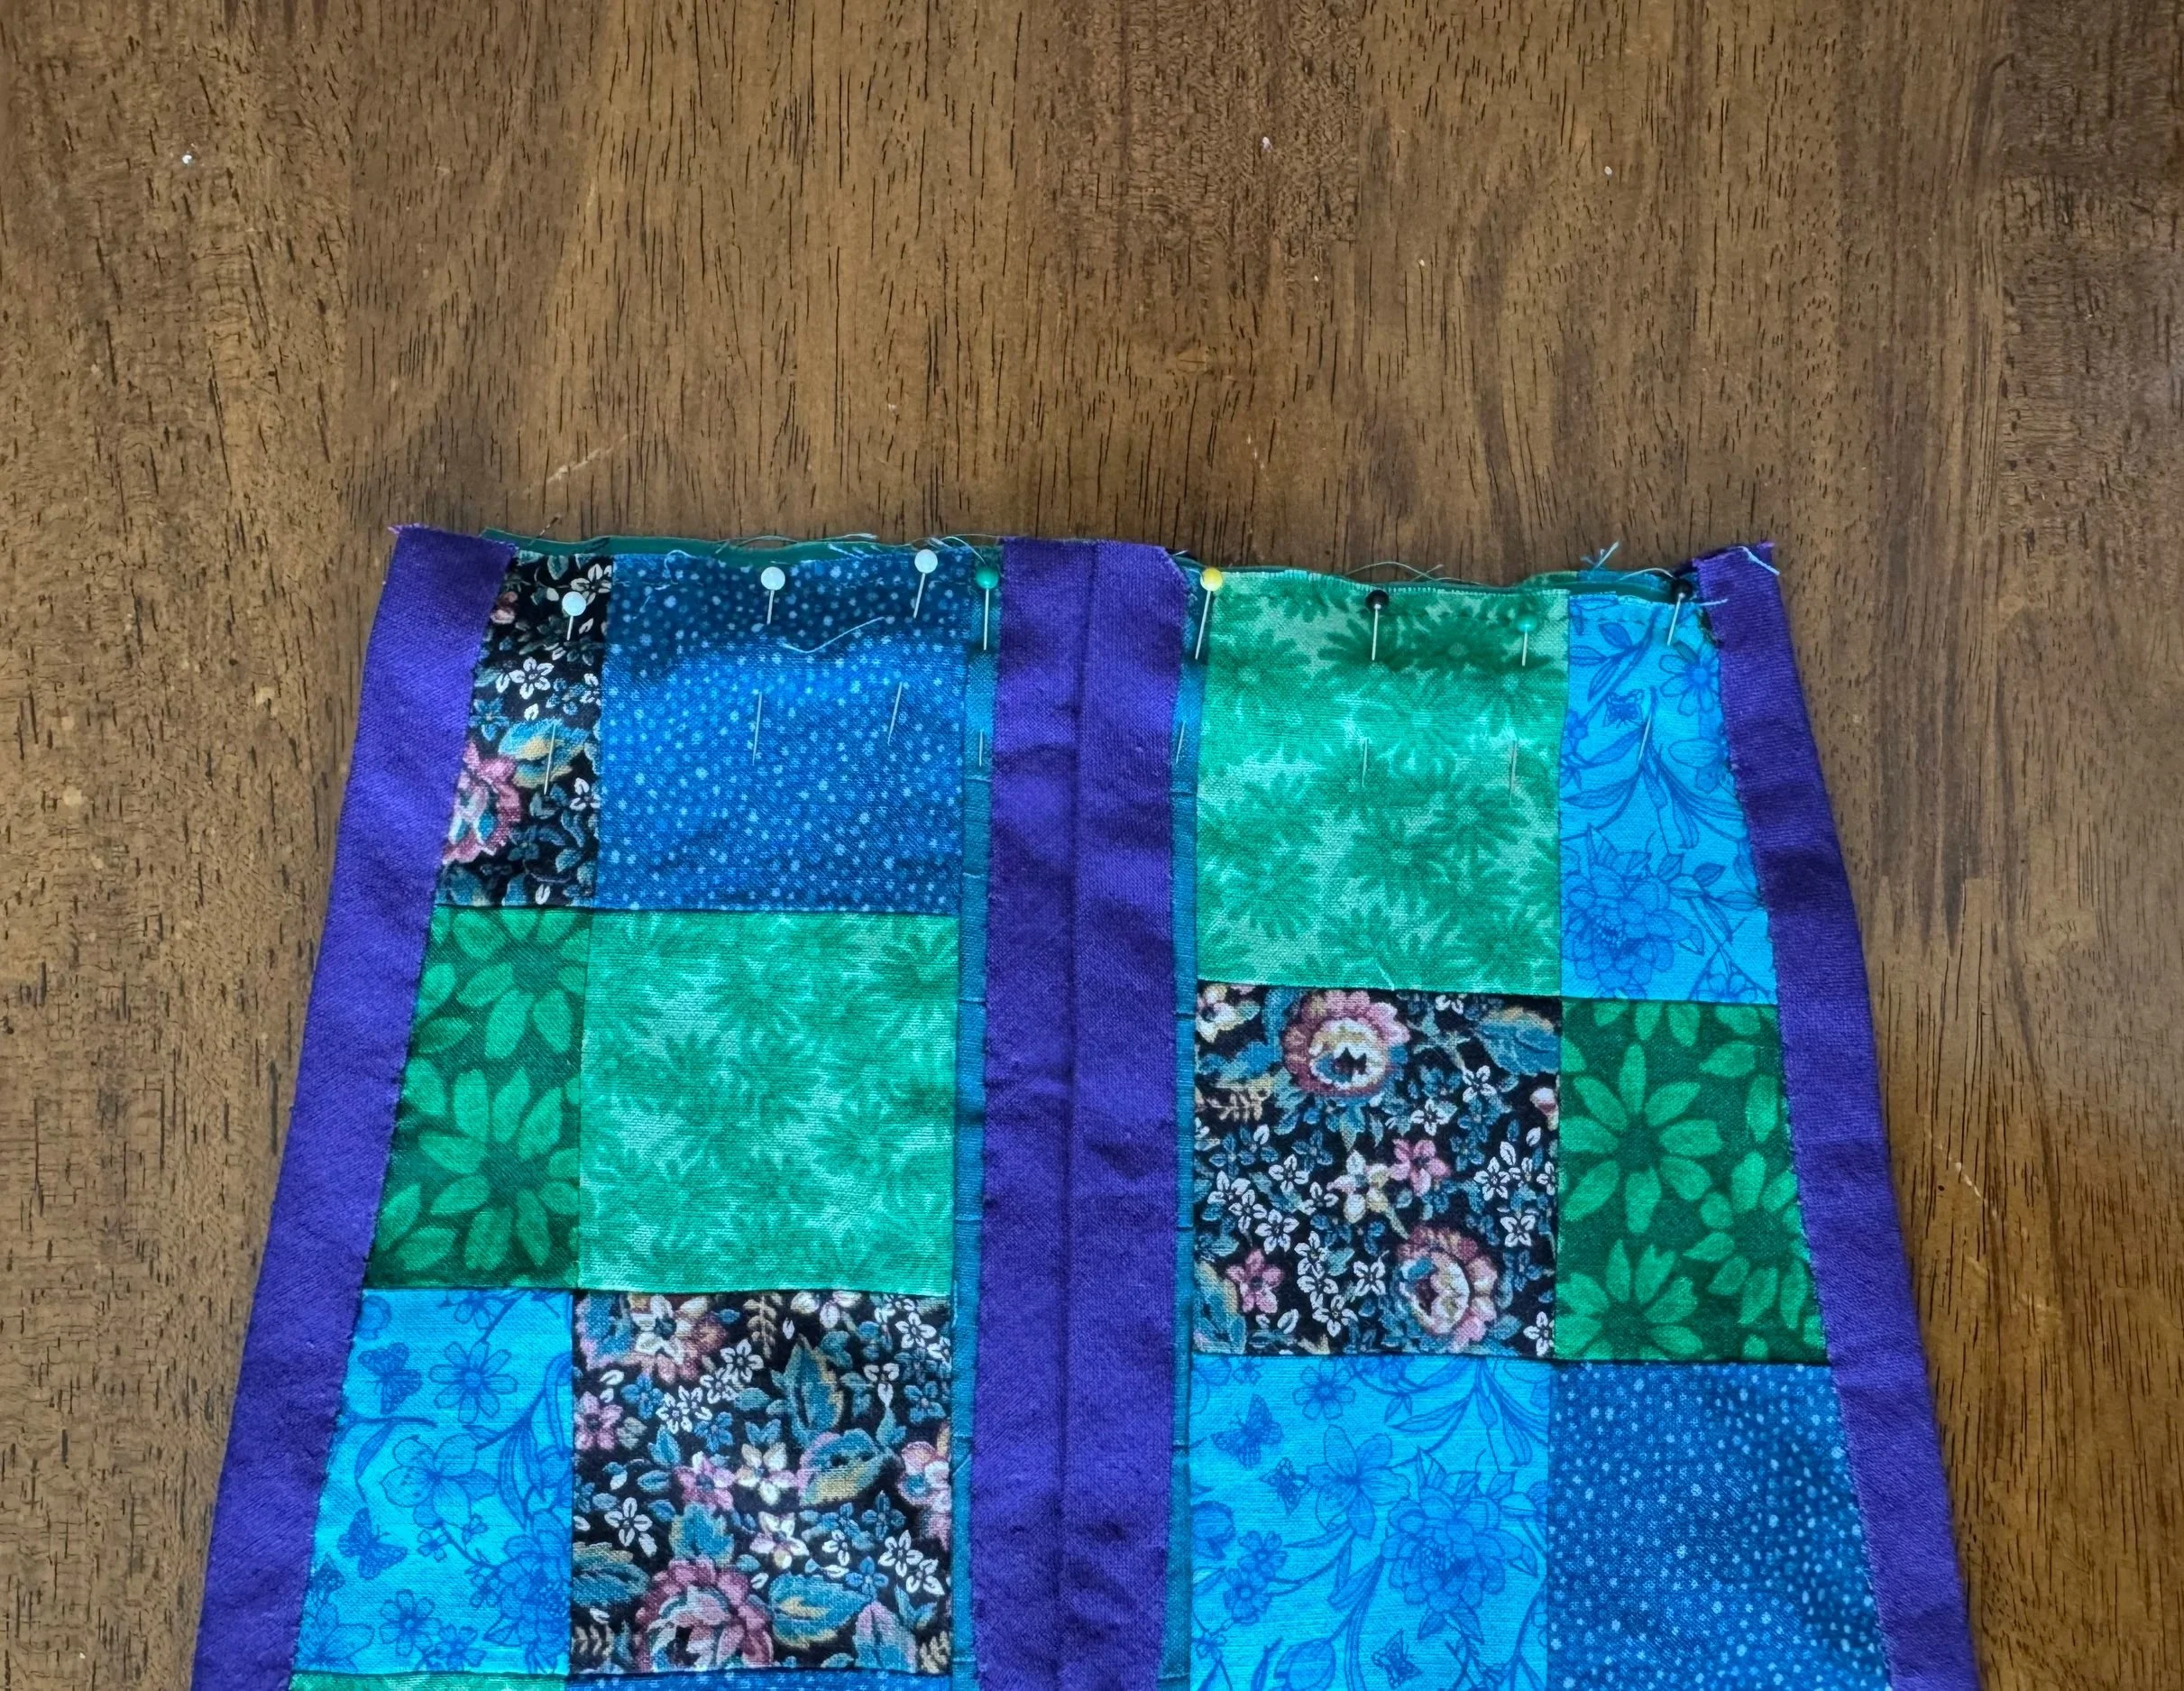
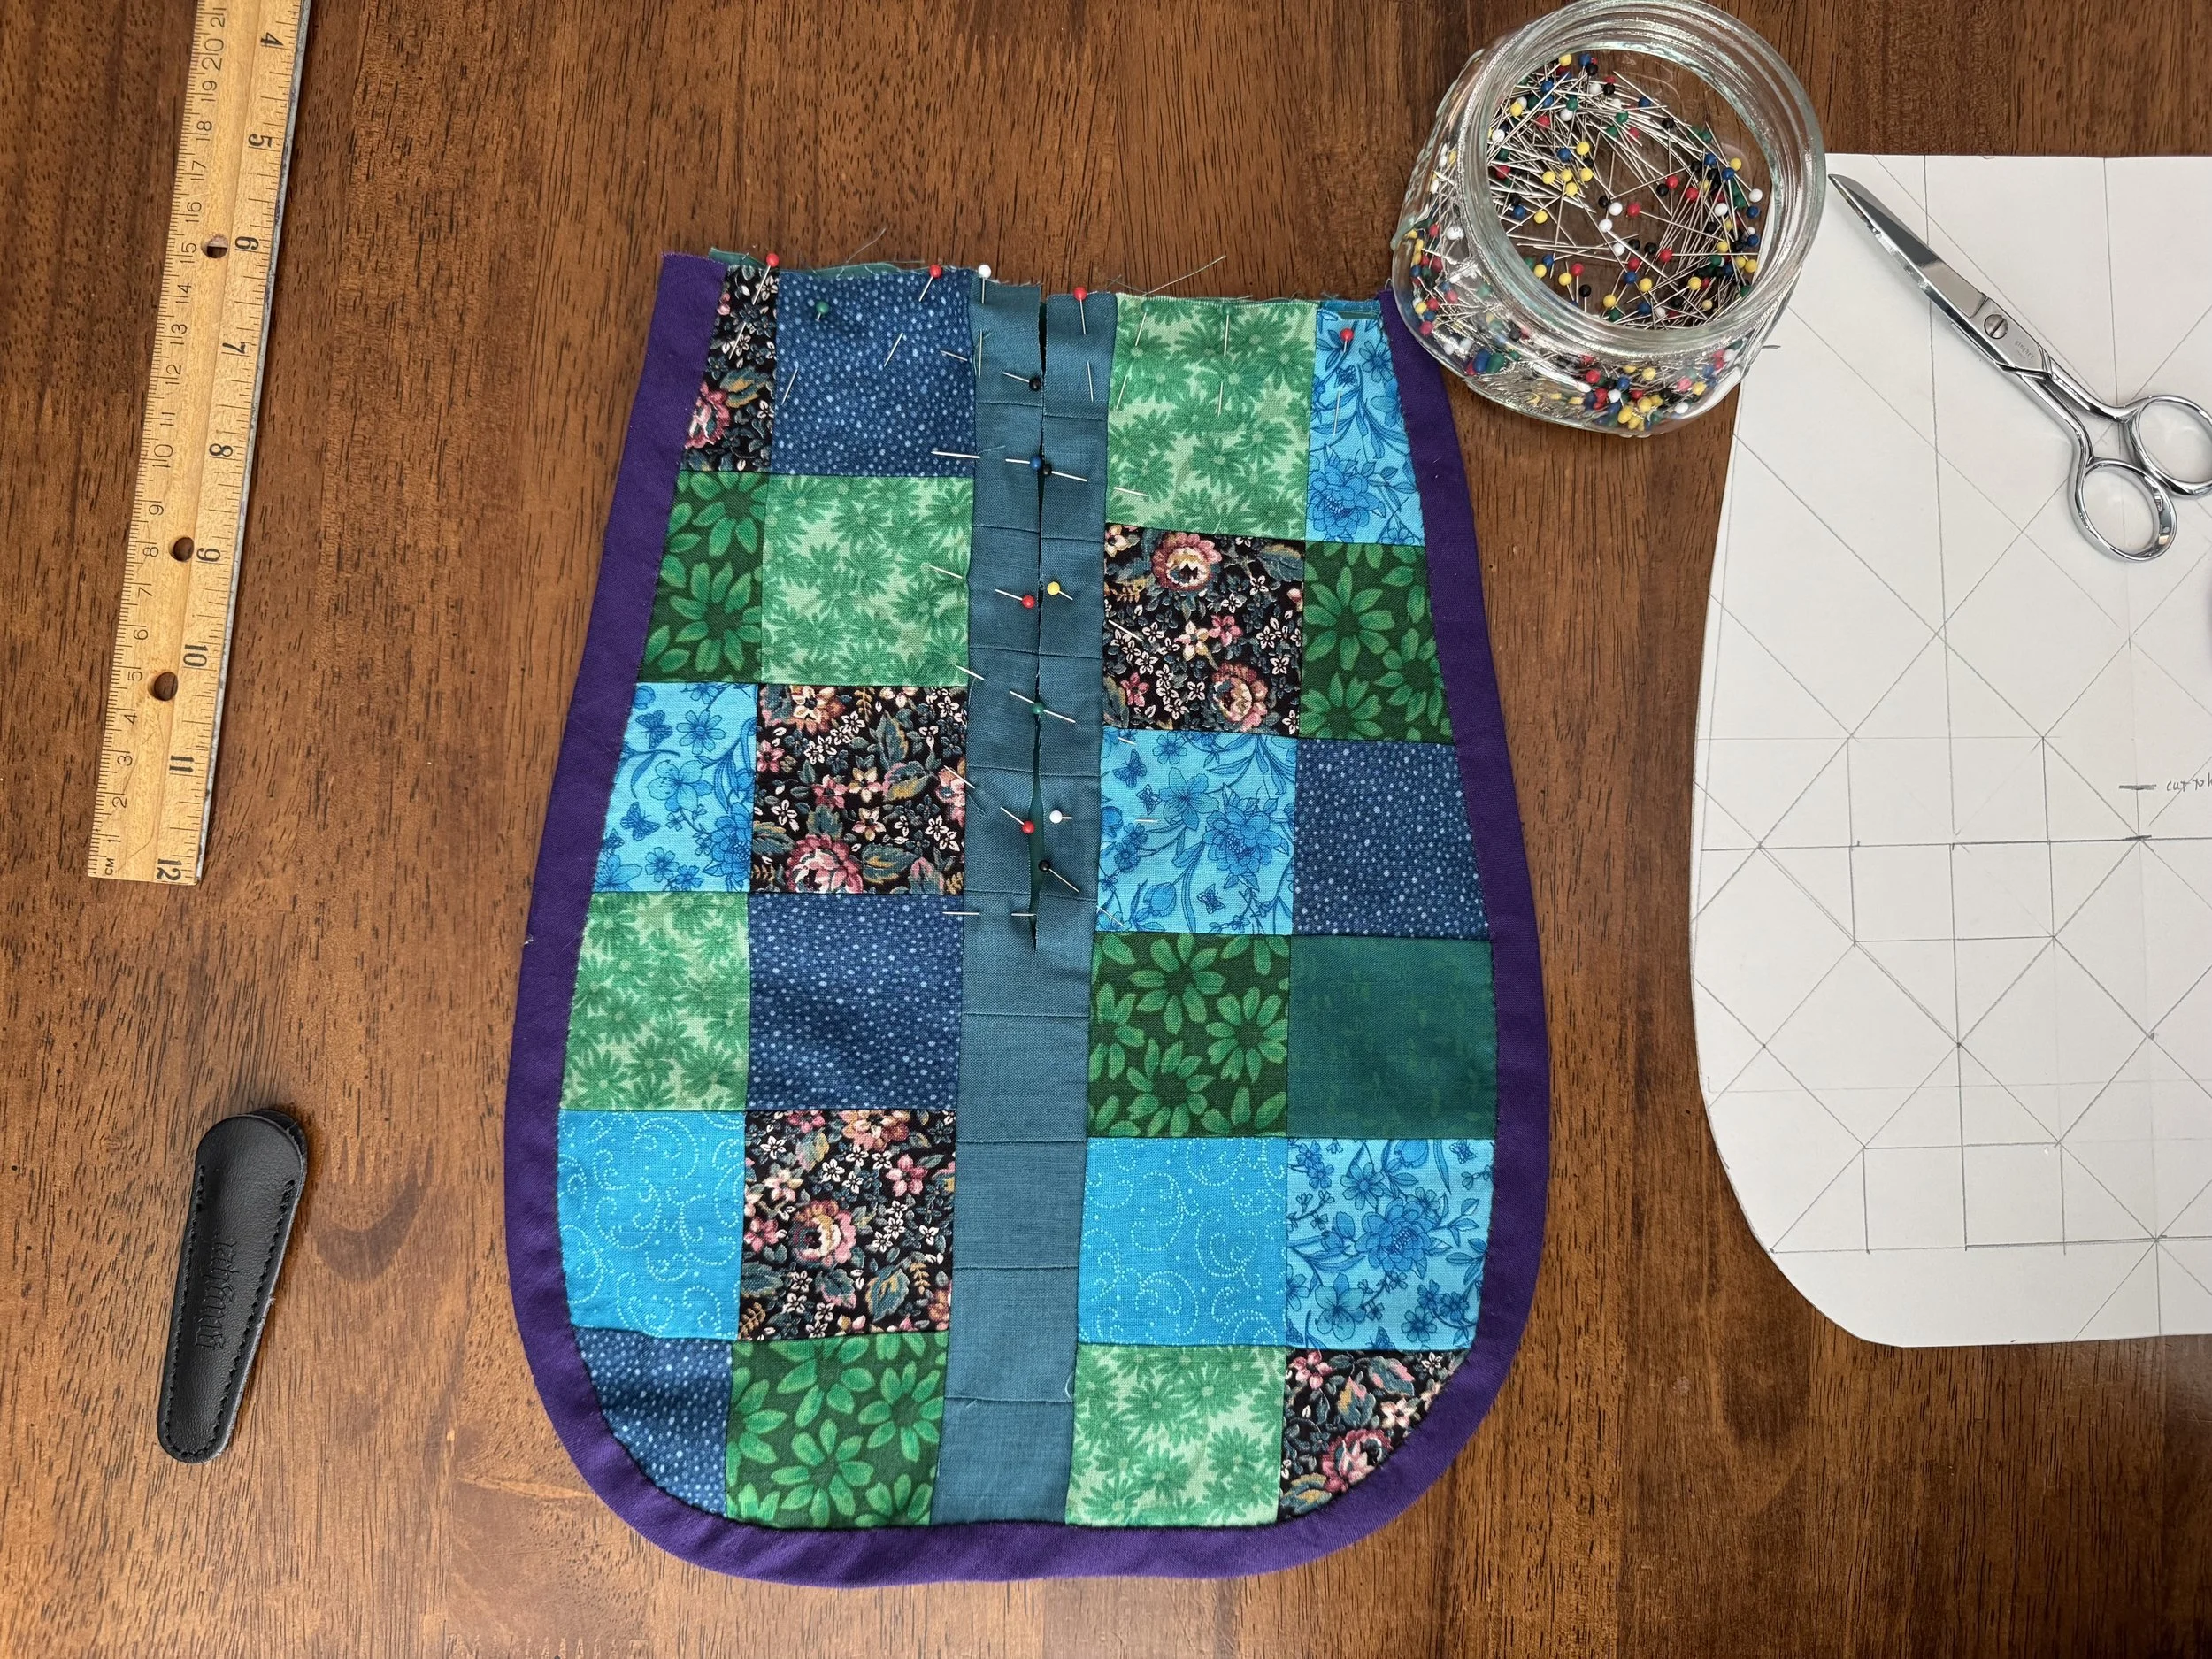
repinning
This is for stability. The tops are already backstitched together, but since the pieces are not quilted together, things want to shift. Oh, what fun it would be to make a quilted pocket!
-

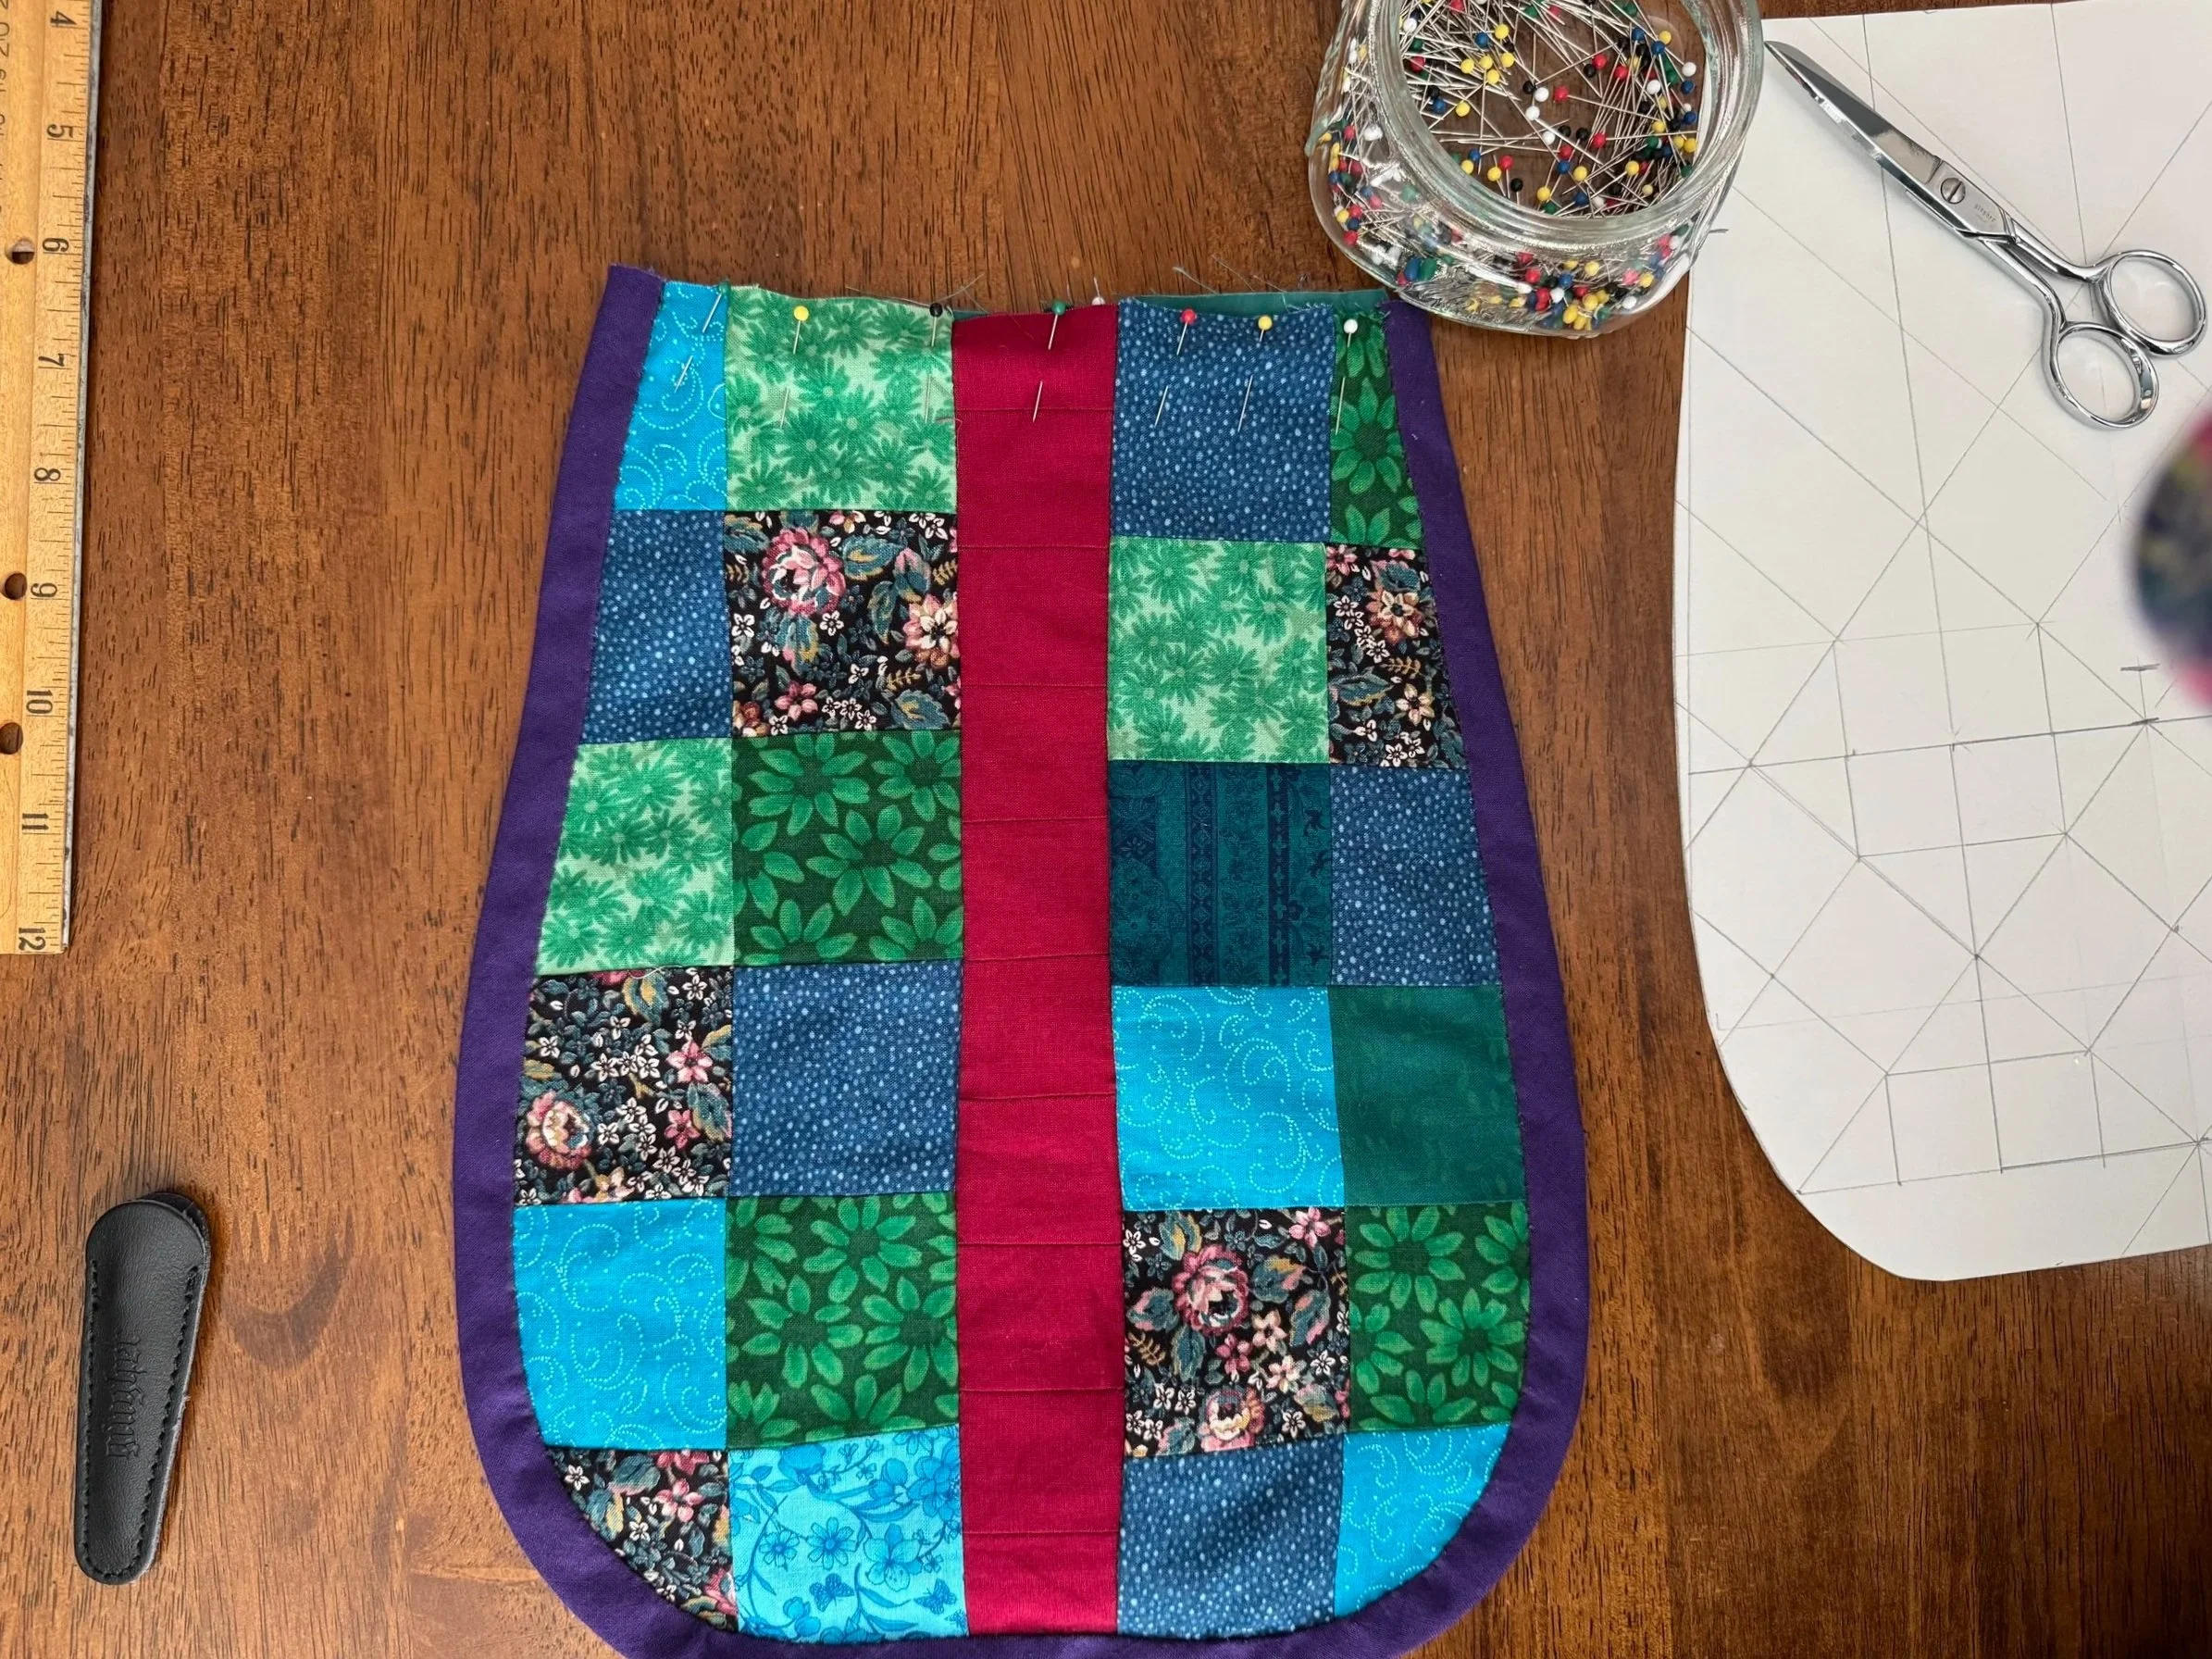
and now the whipstitching begins
Actually, most of this will be ladder stitch, which I am hoping will be mostly hidden. The only whipstitching will be on the body of the bag front and back.
-
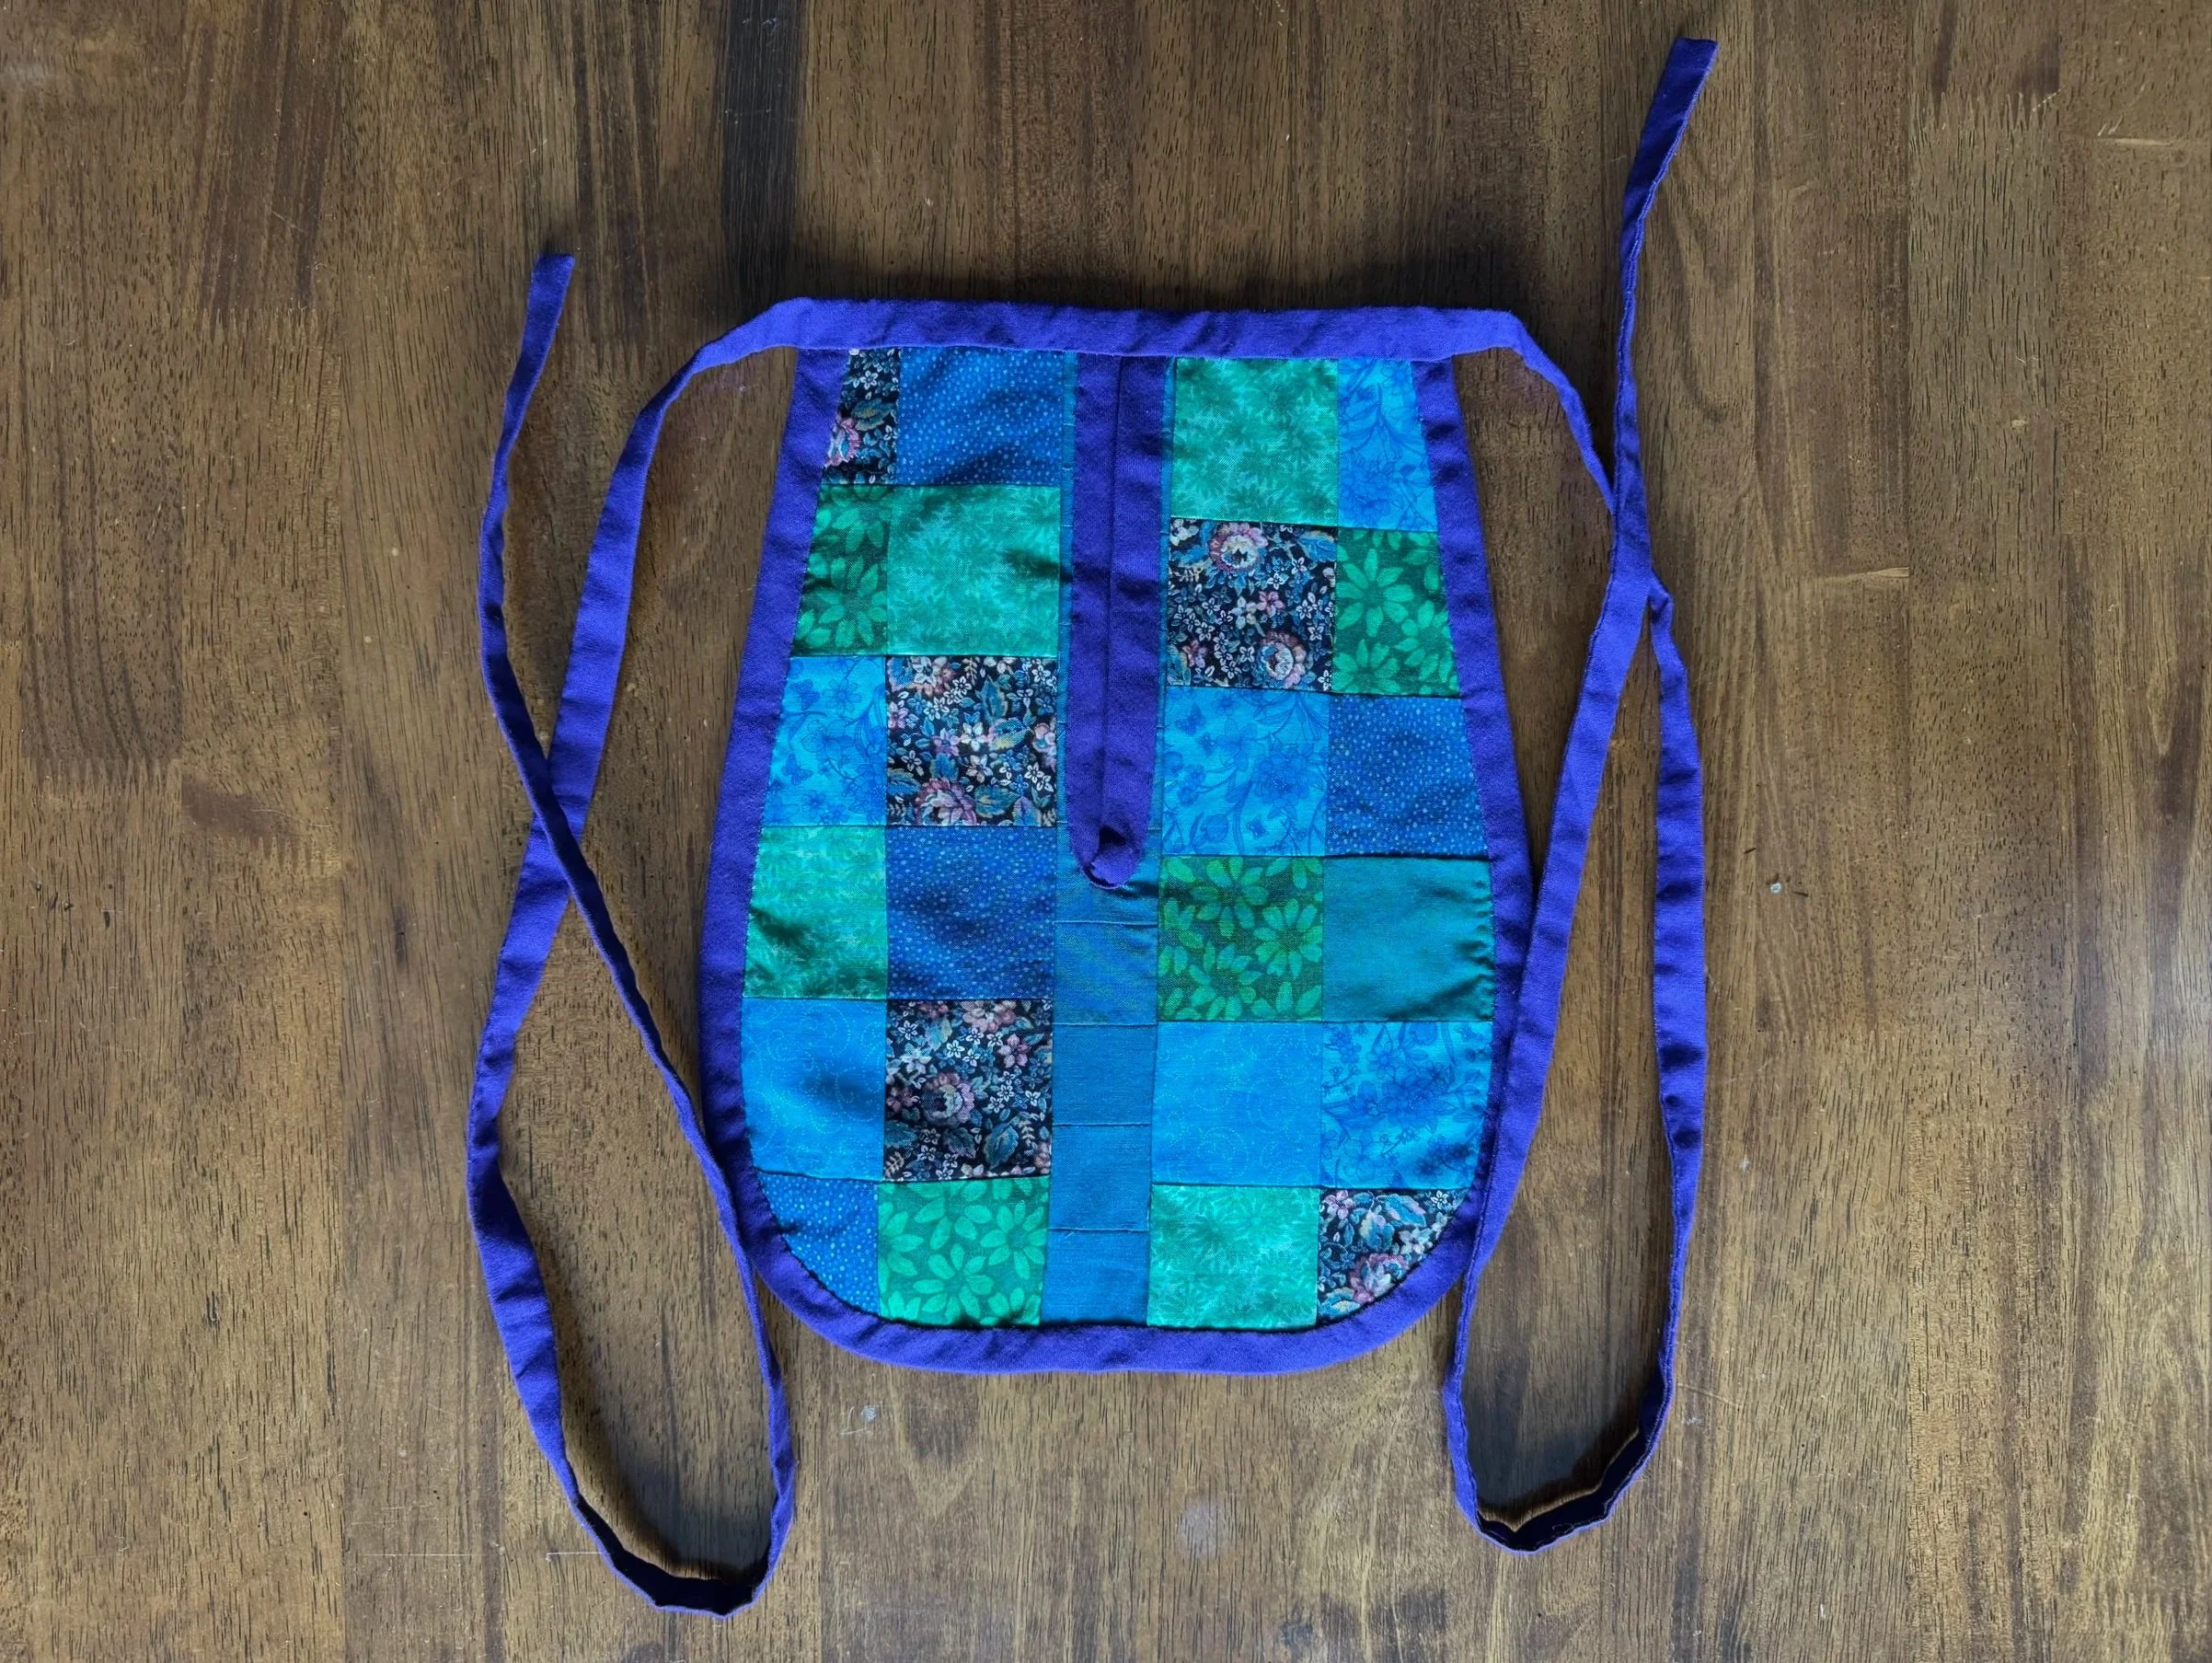
she's lovely
Jogs and all
-
back
I’m looking forward to using her, and to making more. That quilted idea . . .