mending pants
-
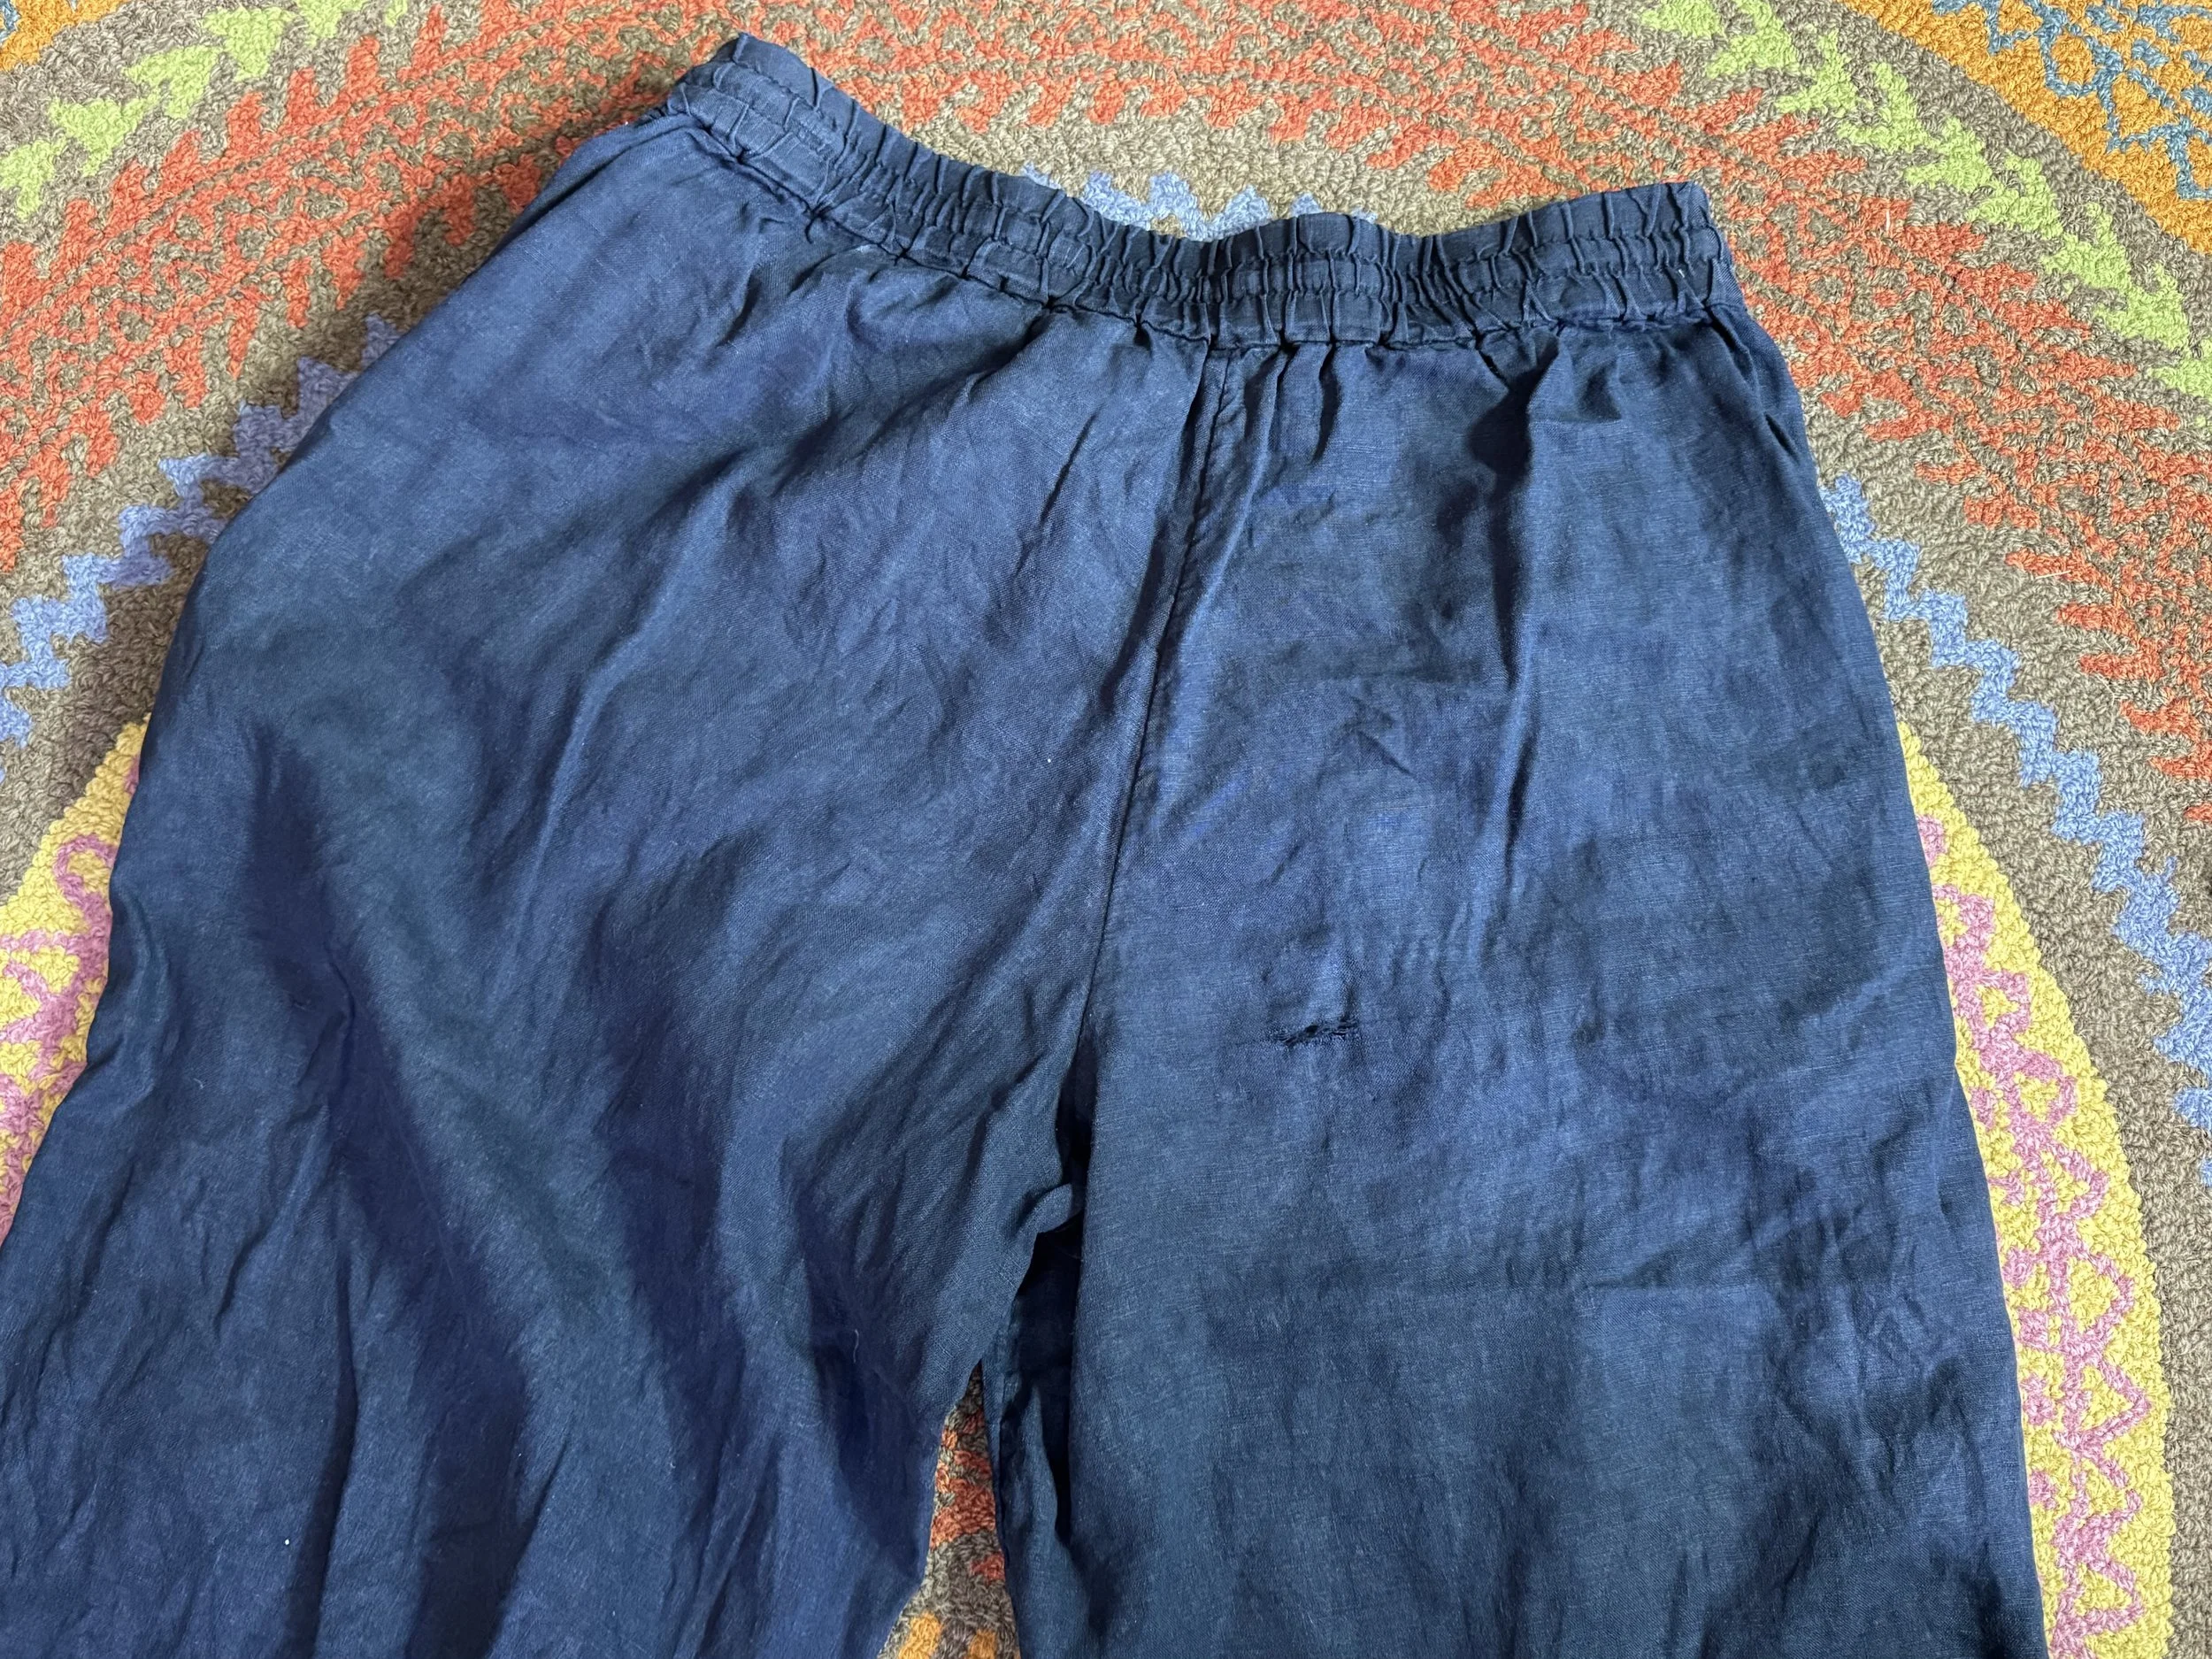
a pair of pants
I have two almost identical pairs of these linen pants and I wear them pretty much all spring and summer. I have had them for quite a few years and they have held up well.
-
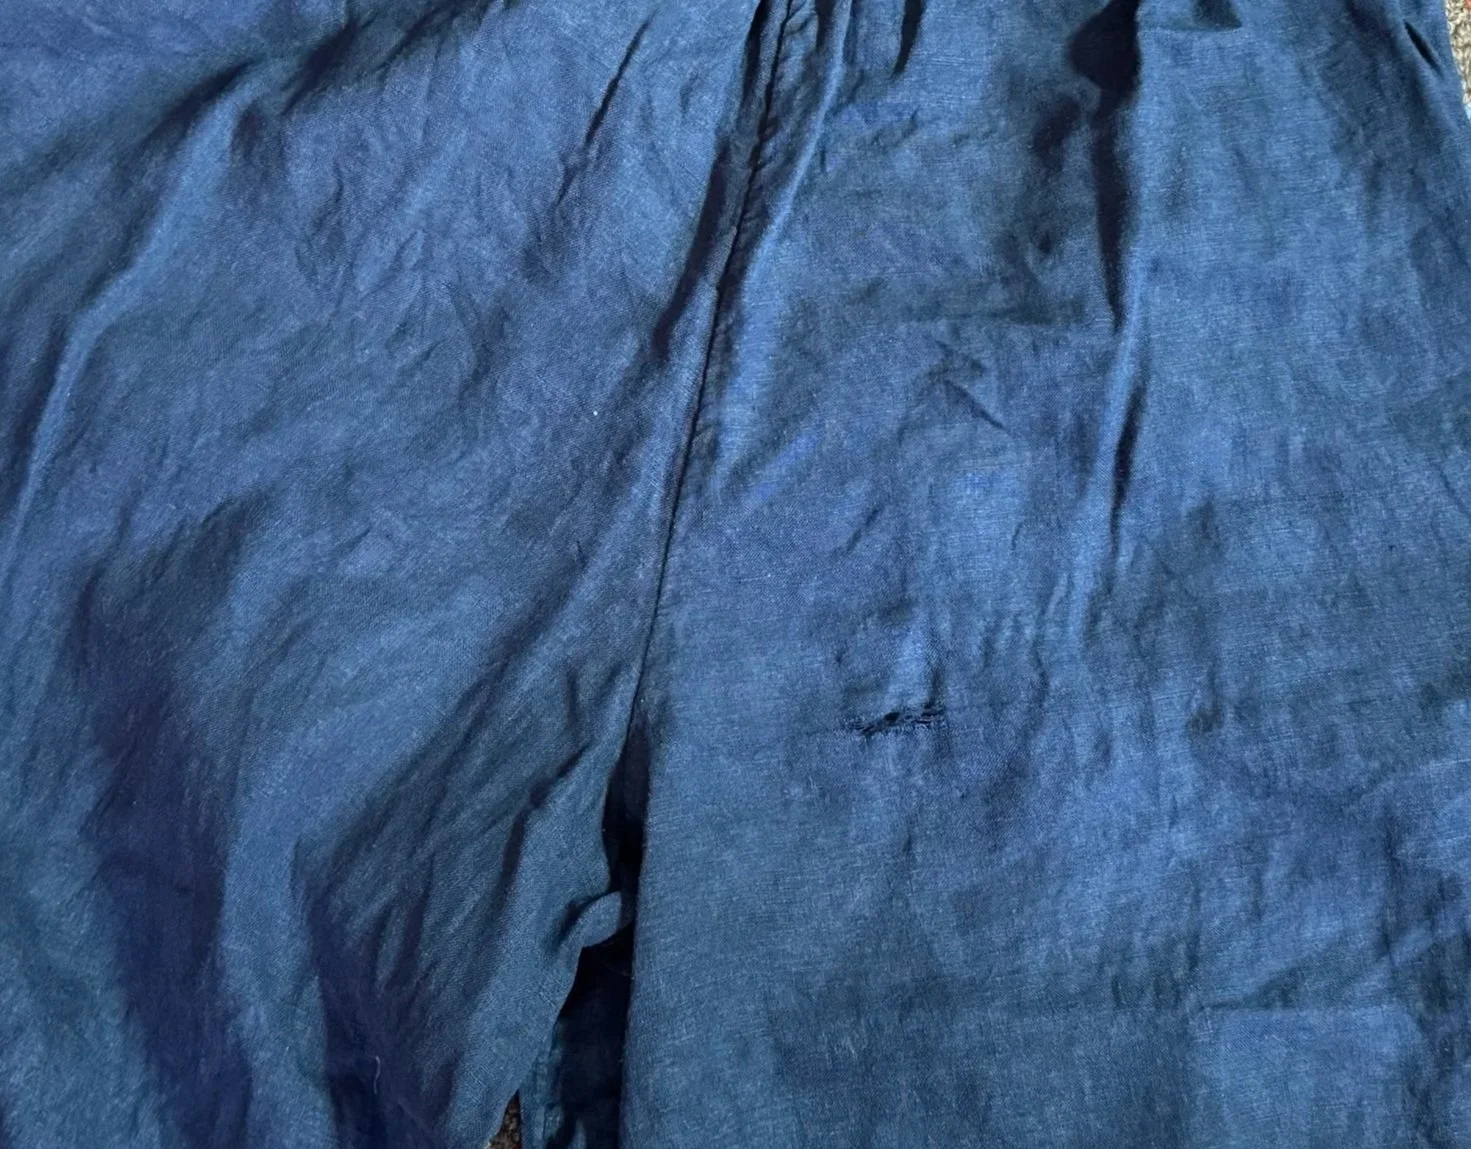
a closer look
But time will tell, and I noticed that the seat in this pair has opened up a bit. I wonder how long it has been like this!
-
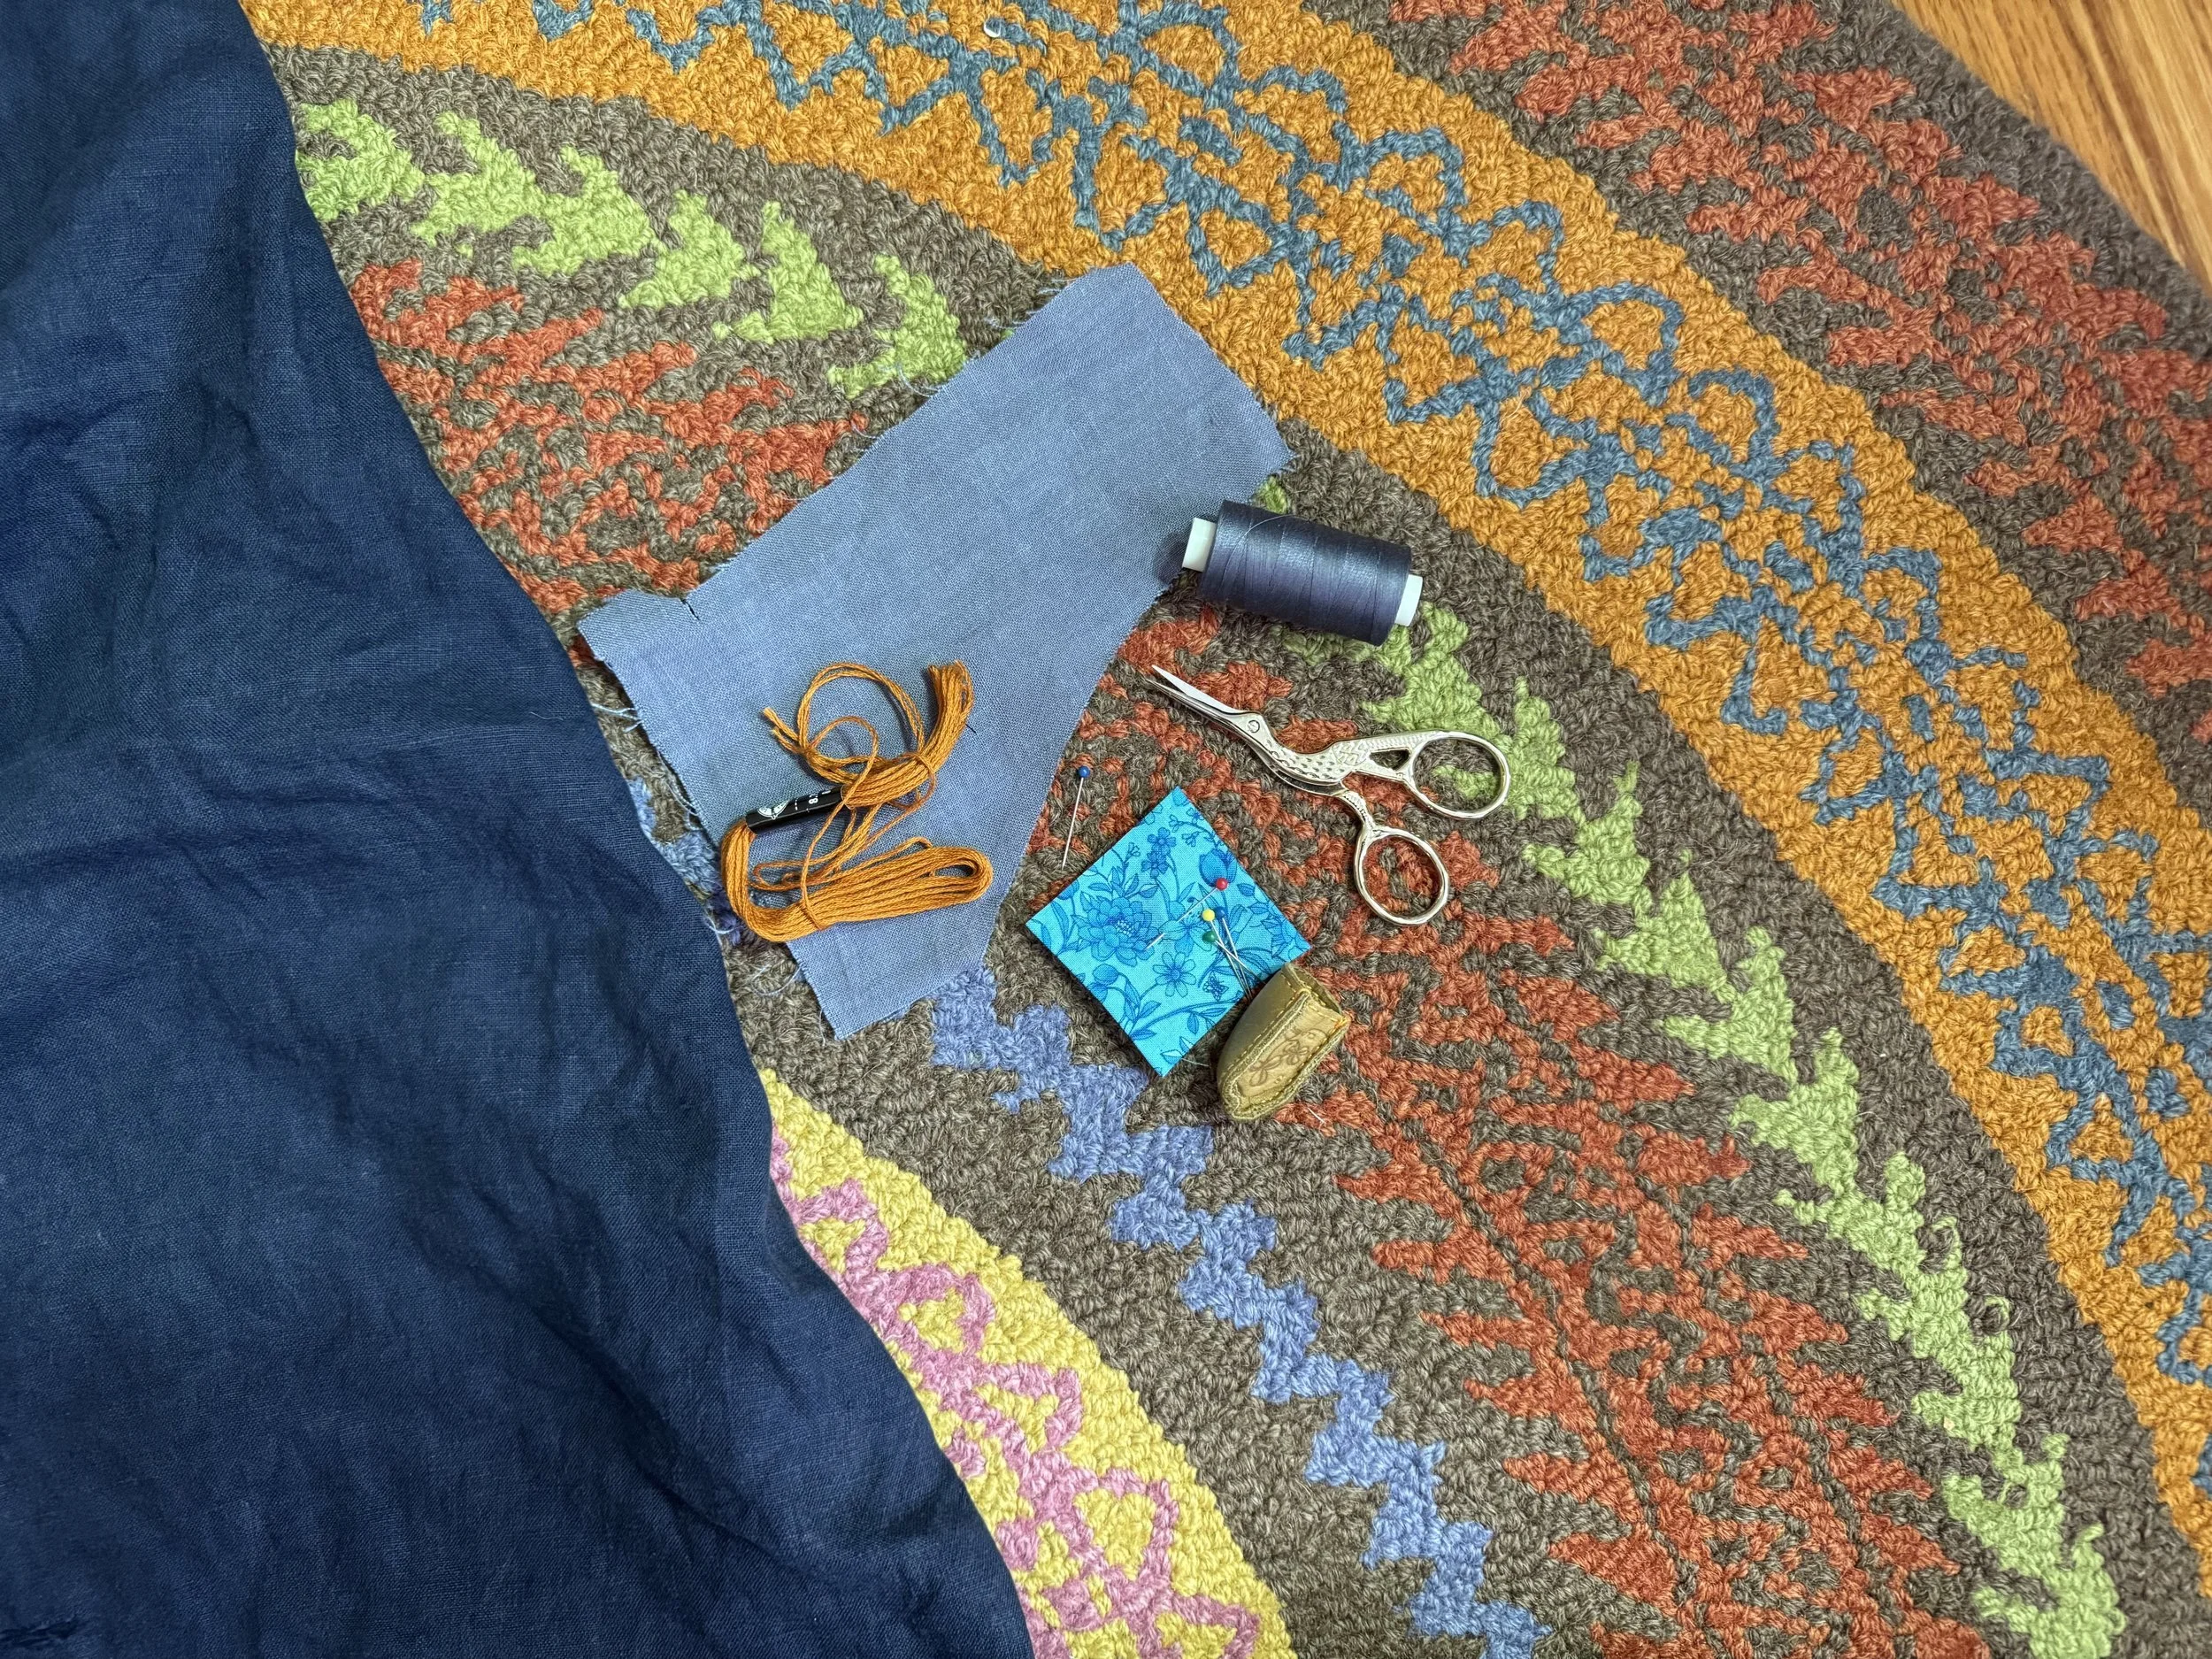
visible mending
I am going to use the colorful cotton square on the inside of the pants, and make a bigger patch with the lighter blue linen for the outside. Then I will do some embroidery to tack it down.
I have here:
fabric for inside and outside
thread and needle for doing the mending and for stitching down the squares
embroidery floss and needle for decoration
thimble, scissors, pins
-
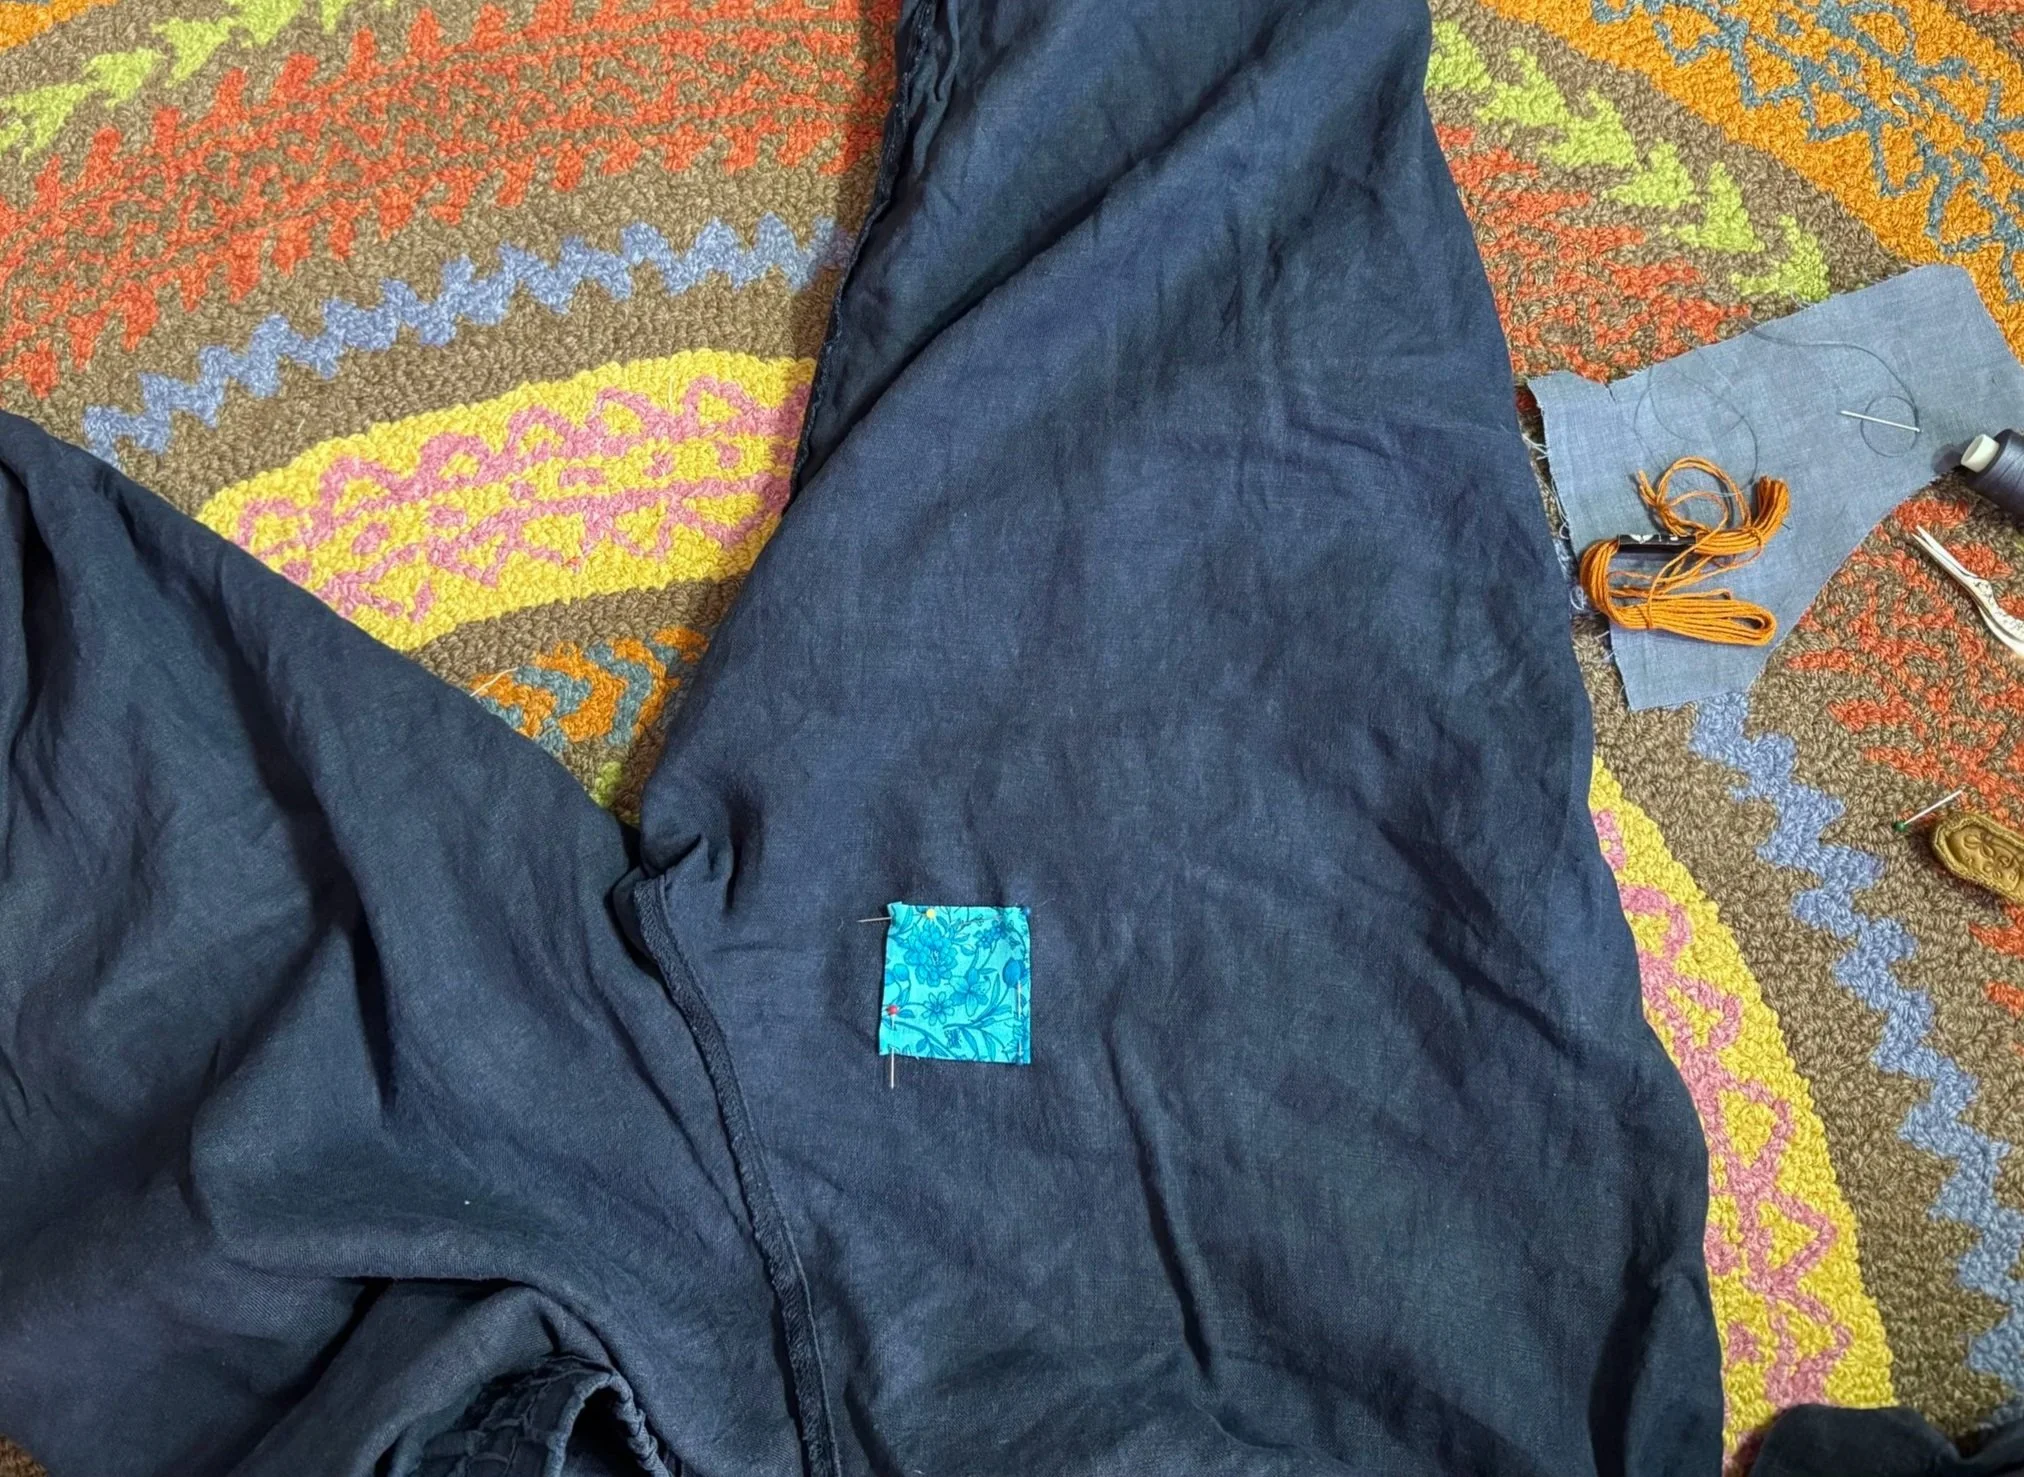
inside out
First I will stitch my fancy blue square to the inside of the pants. I made sure that the inside patch is covering as much of the hole and thin fabric as possible.
This square, by the way, is leftover from an old quilting project, and its sides are already folded in and ironed - no raw edges.
-
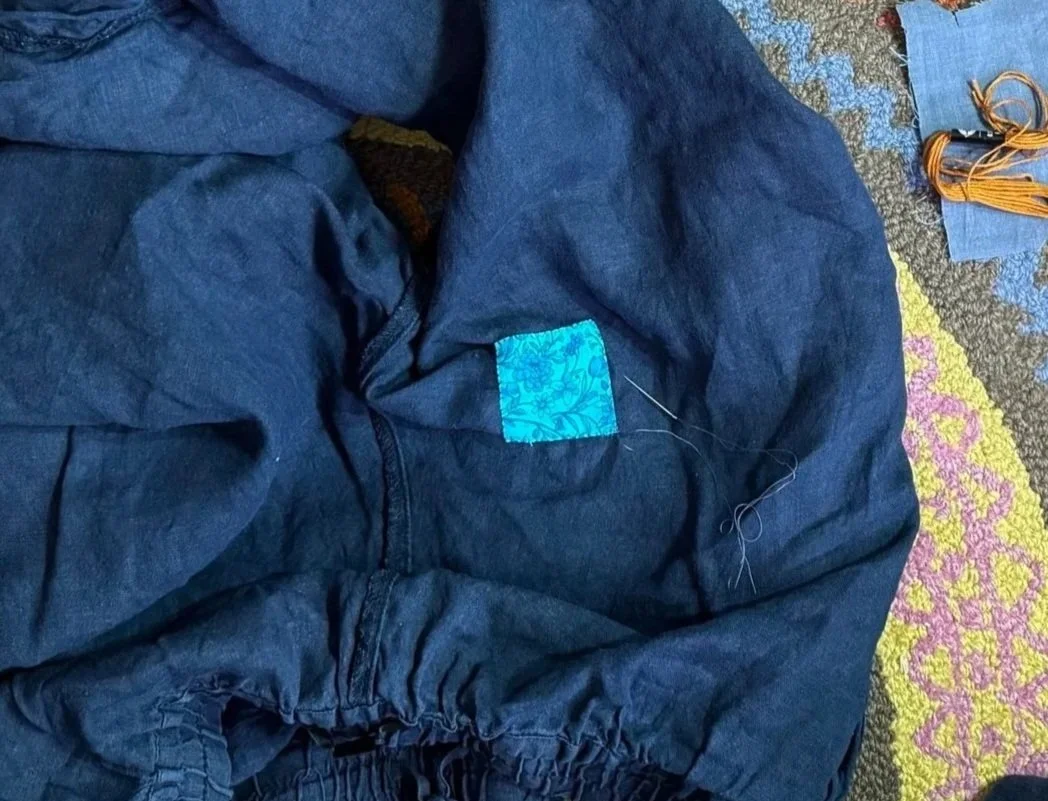
whipstitching around
I am not worried about hiding the stitching on the other side (i.e., the outside) of the pants because all of it will be covered up by the big patch.
-
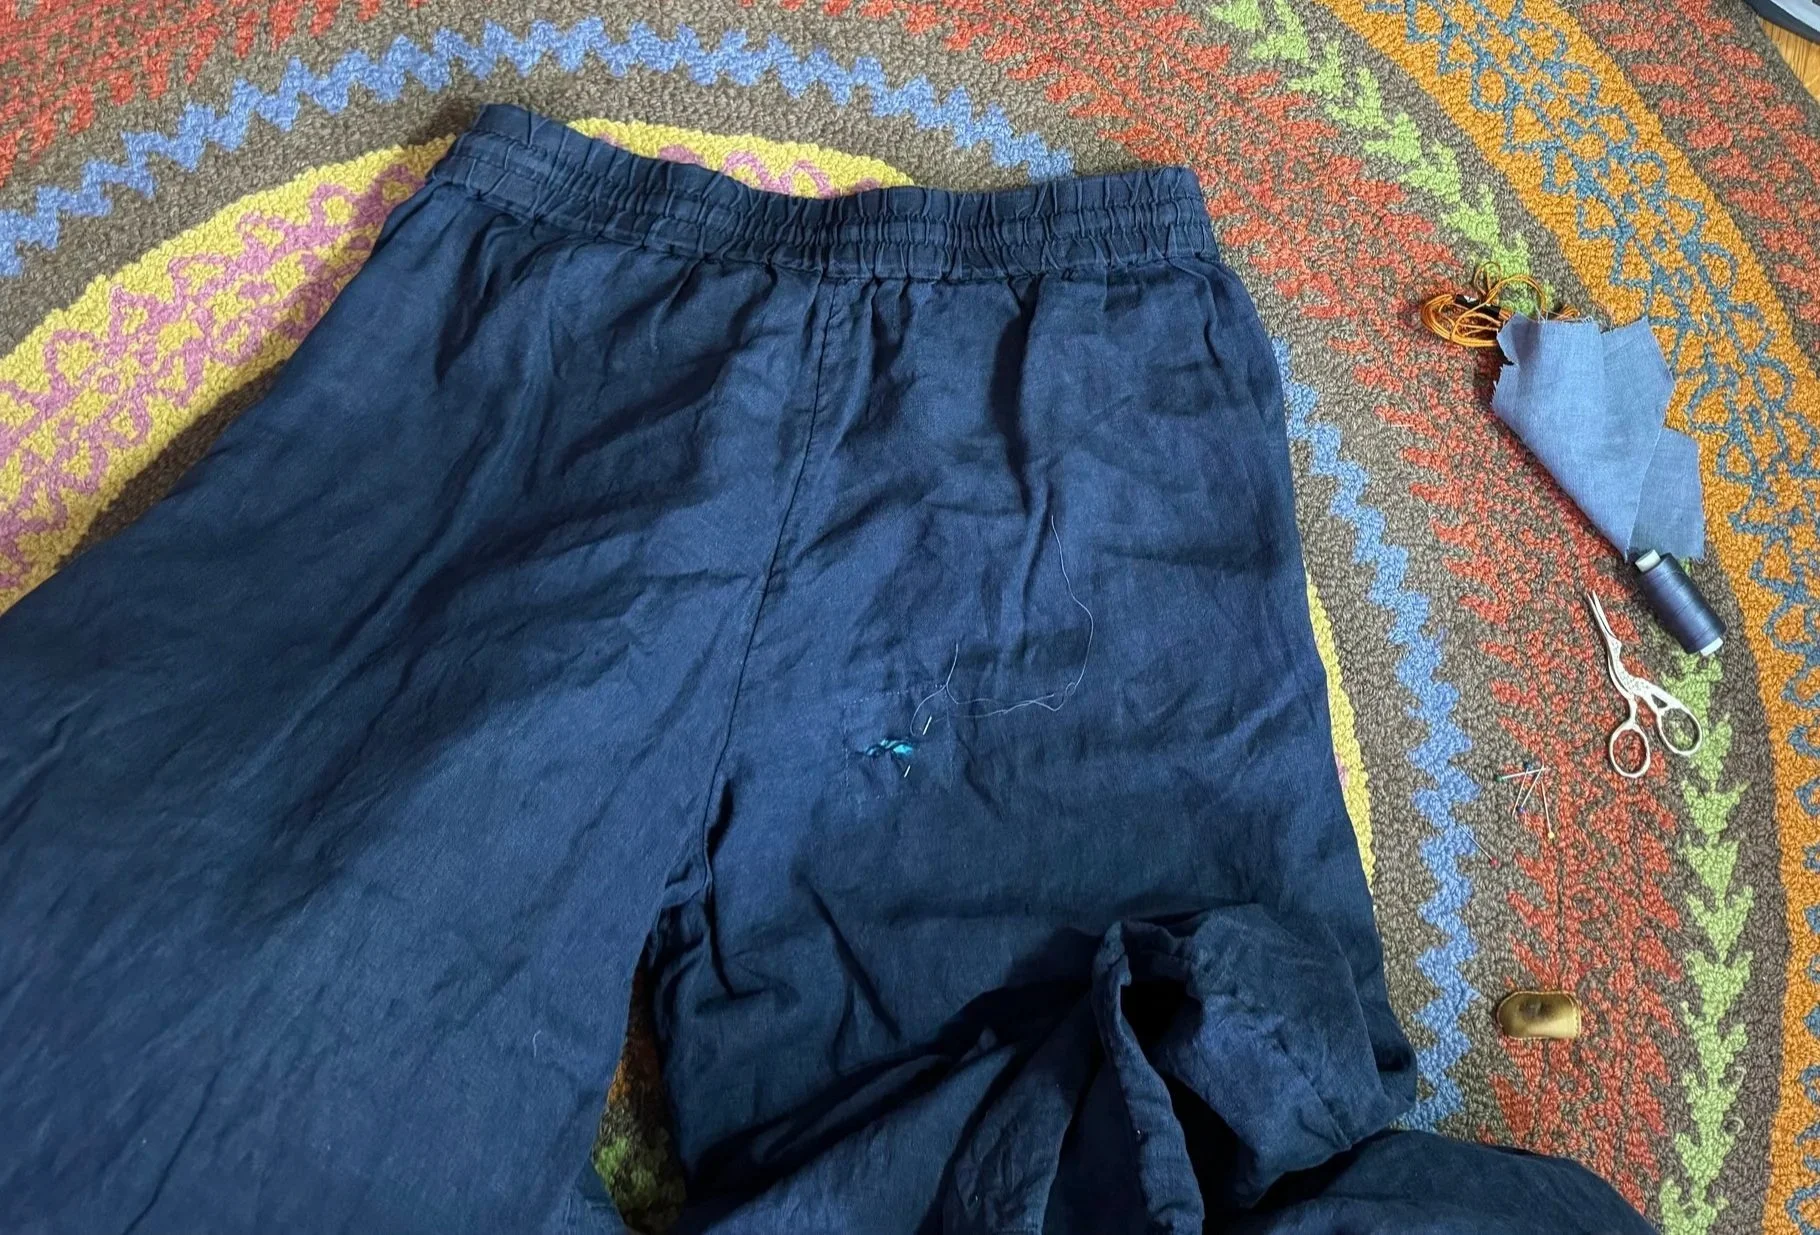
turned
So now I have protection on the inside but the rend still needs a mend. Here I am stitching the pants onto my little blue square, tacking as much of the torn fabric as possible to said square.
-
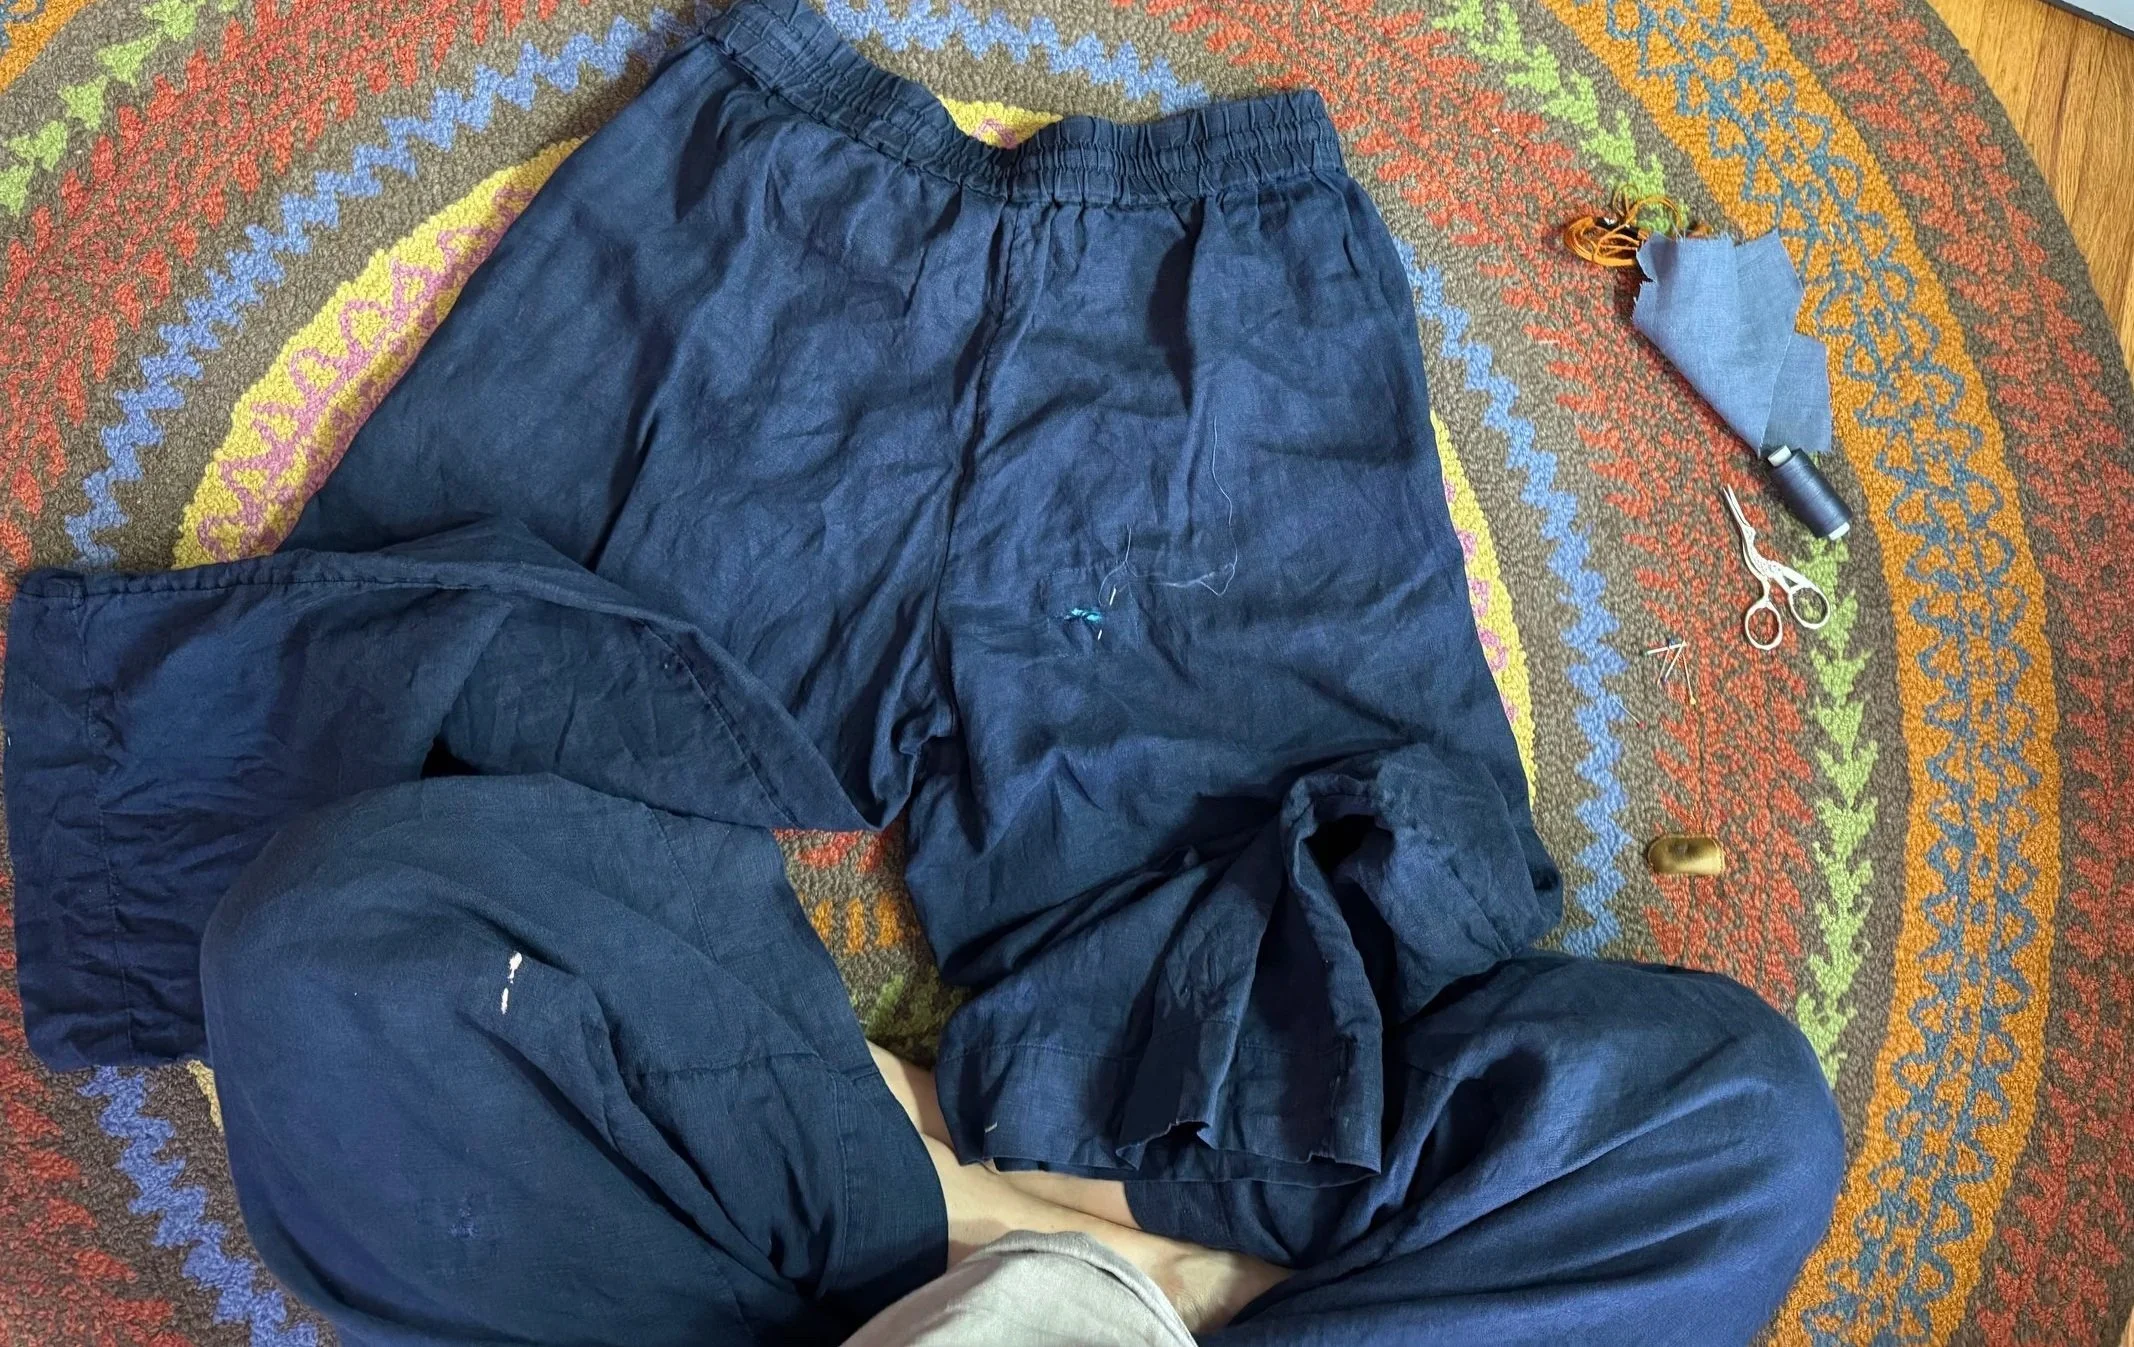
yes, I am wearing the other pair
It is older but seems sturdier. It does have its own patch, from where I accidentally cut some leg fabric when I was cutting other fabric, and it has a lovely pink bleach stain which I plan to cover with embroidery one of these days.
-
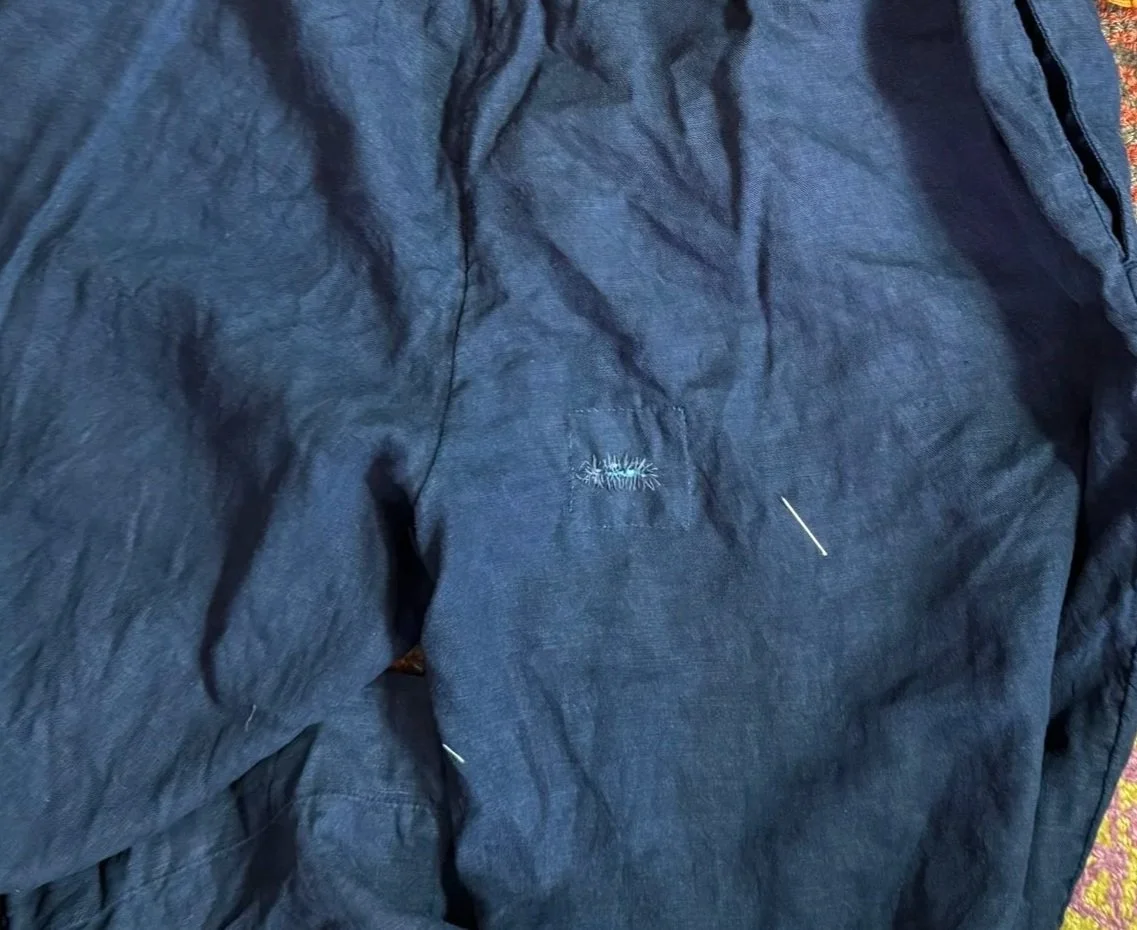
there we are
Now the pants are mended, but I am going to take this one step further and cover up the mending a bit.
-
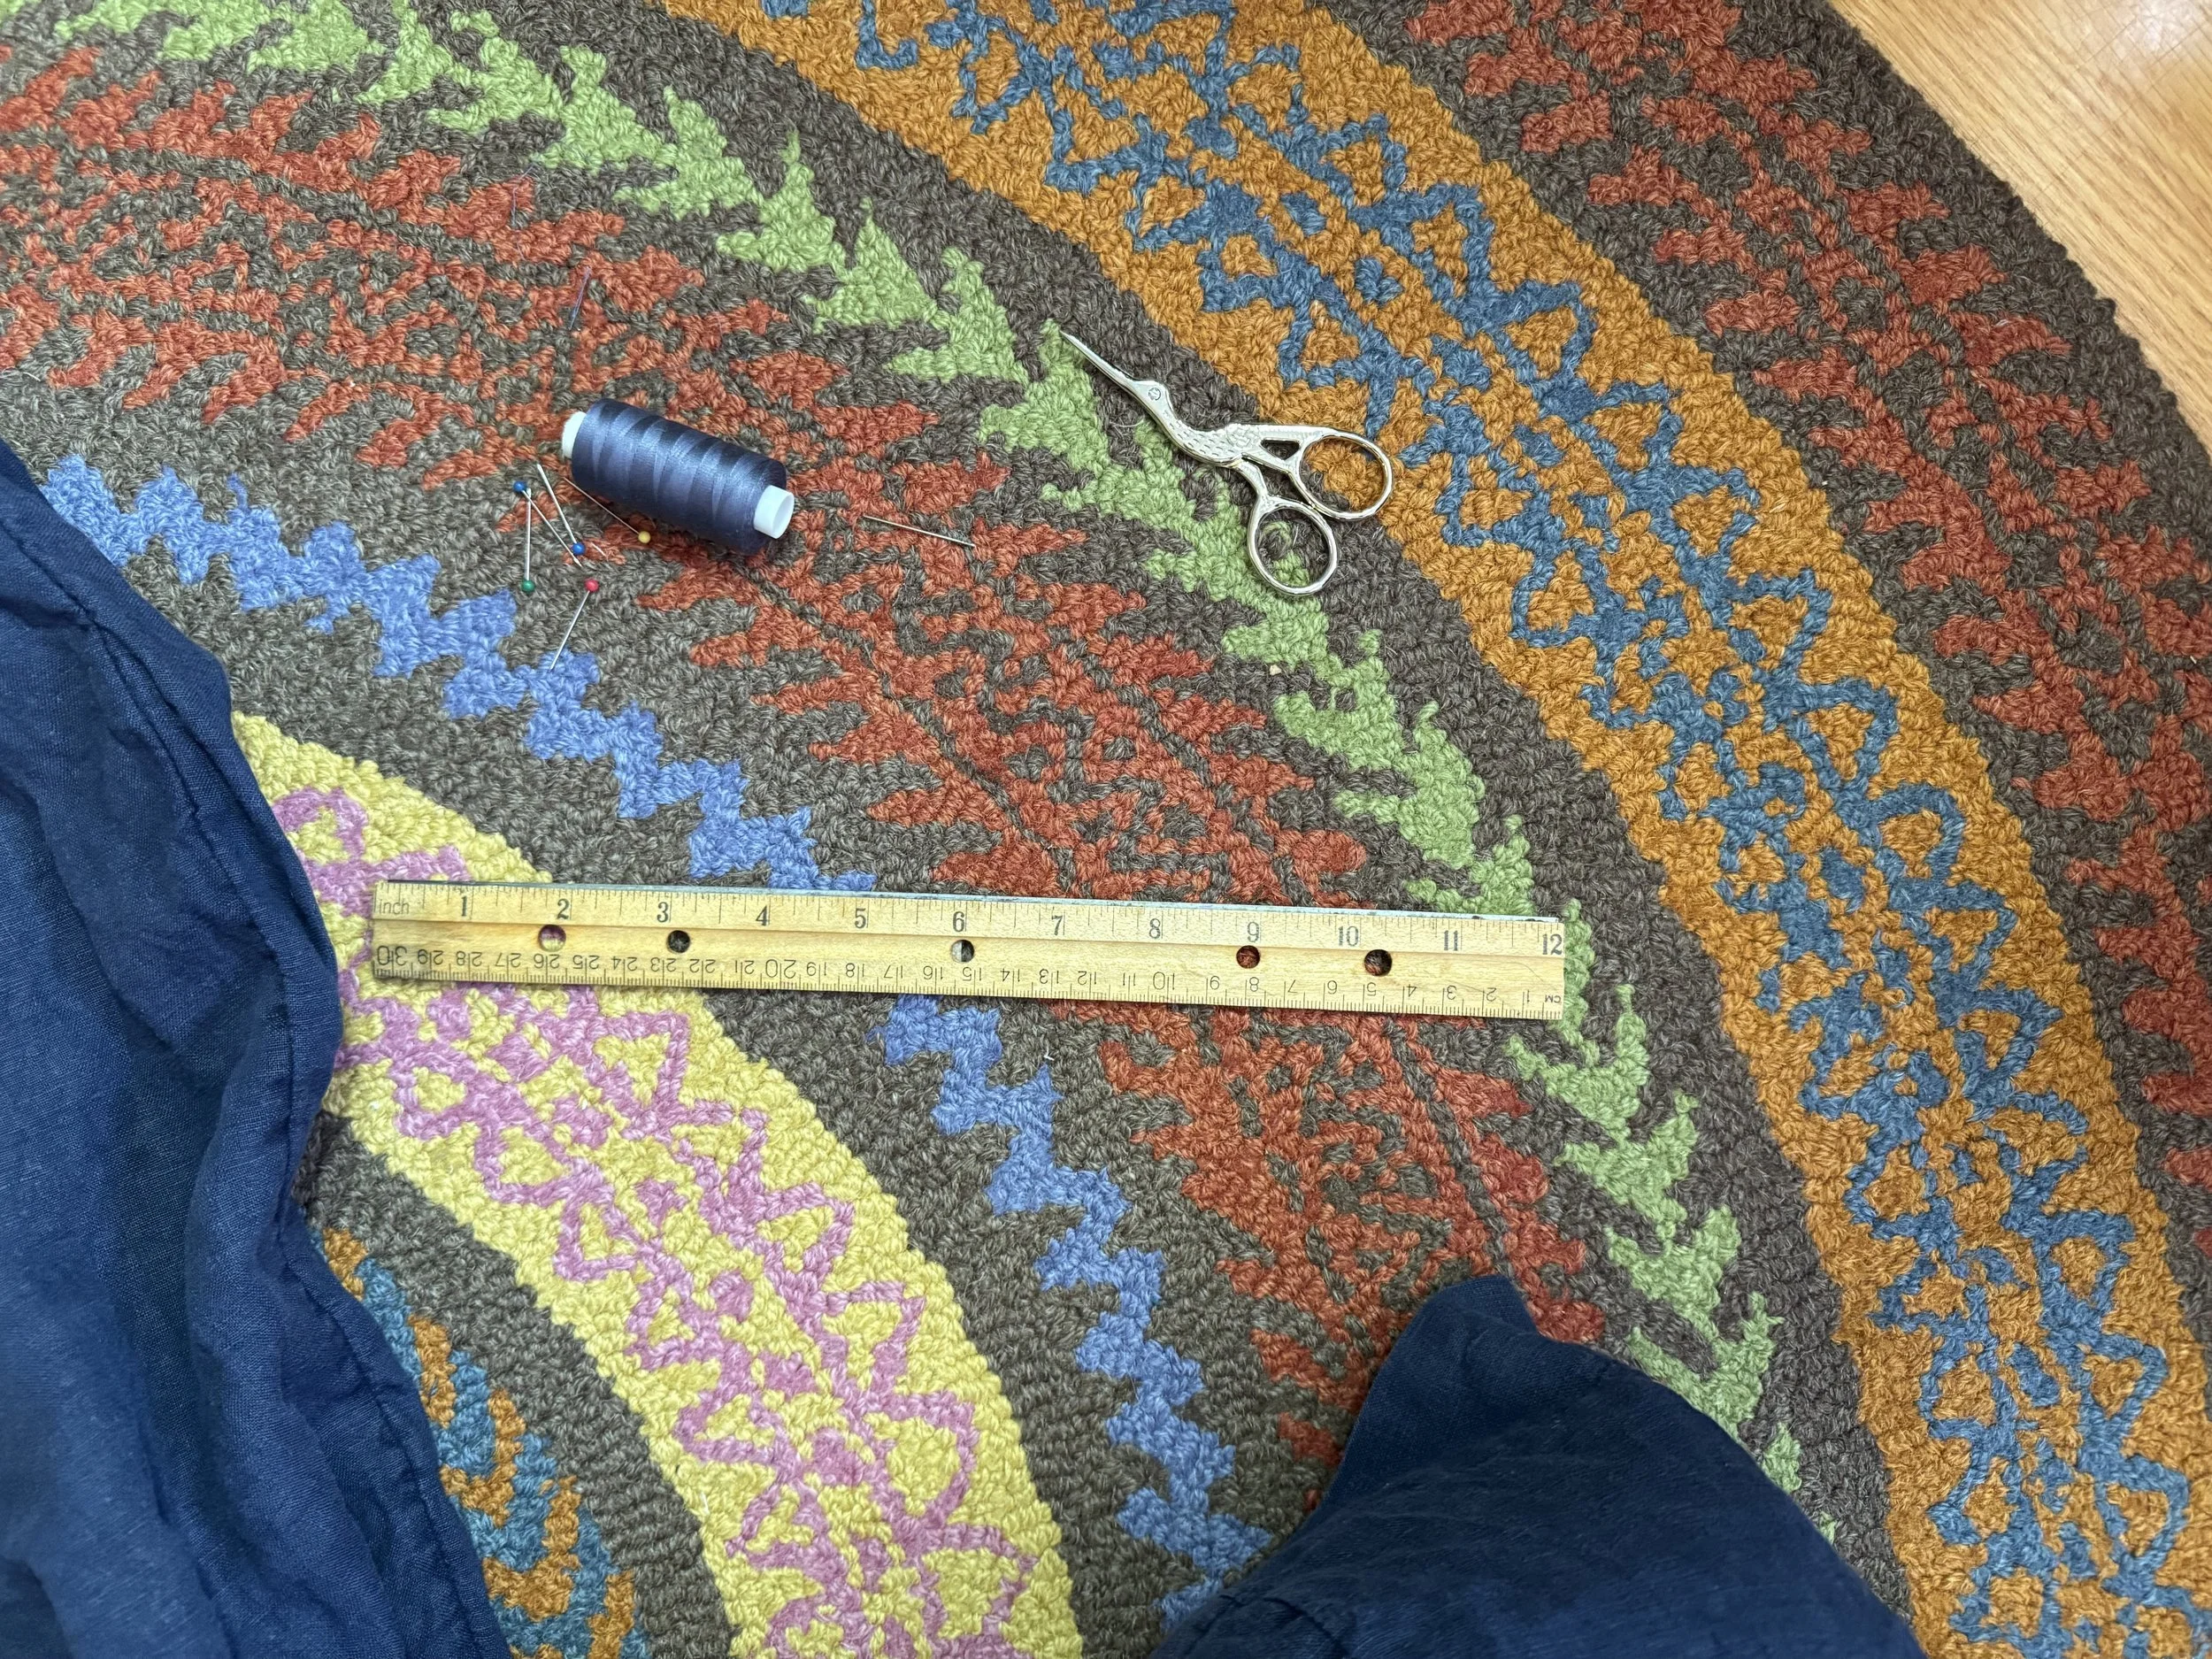
one more tool
A ruler will come in handy for, um, measuring.
-
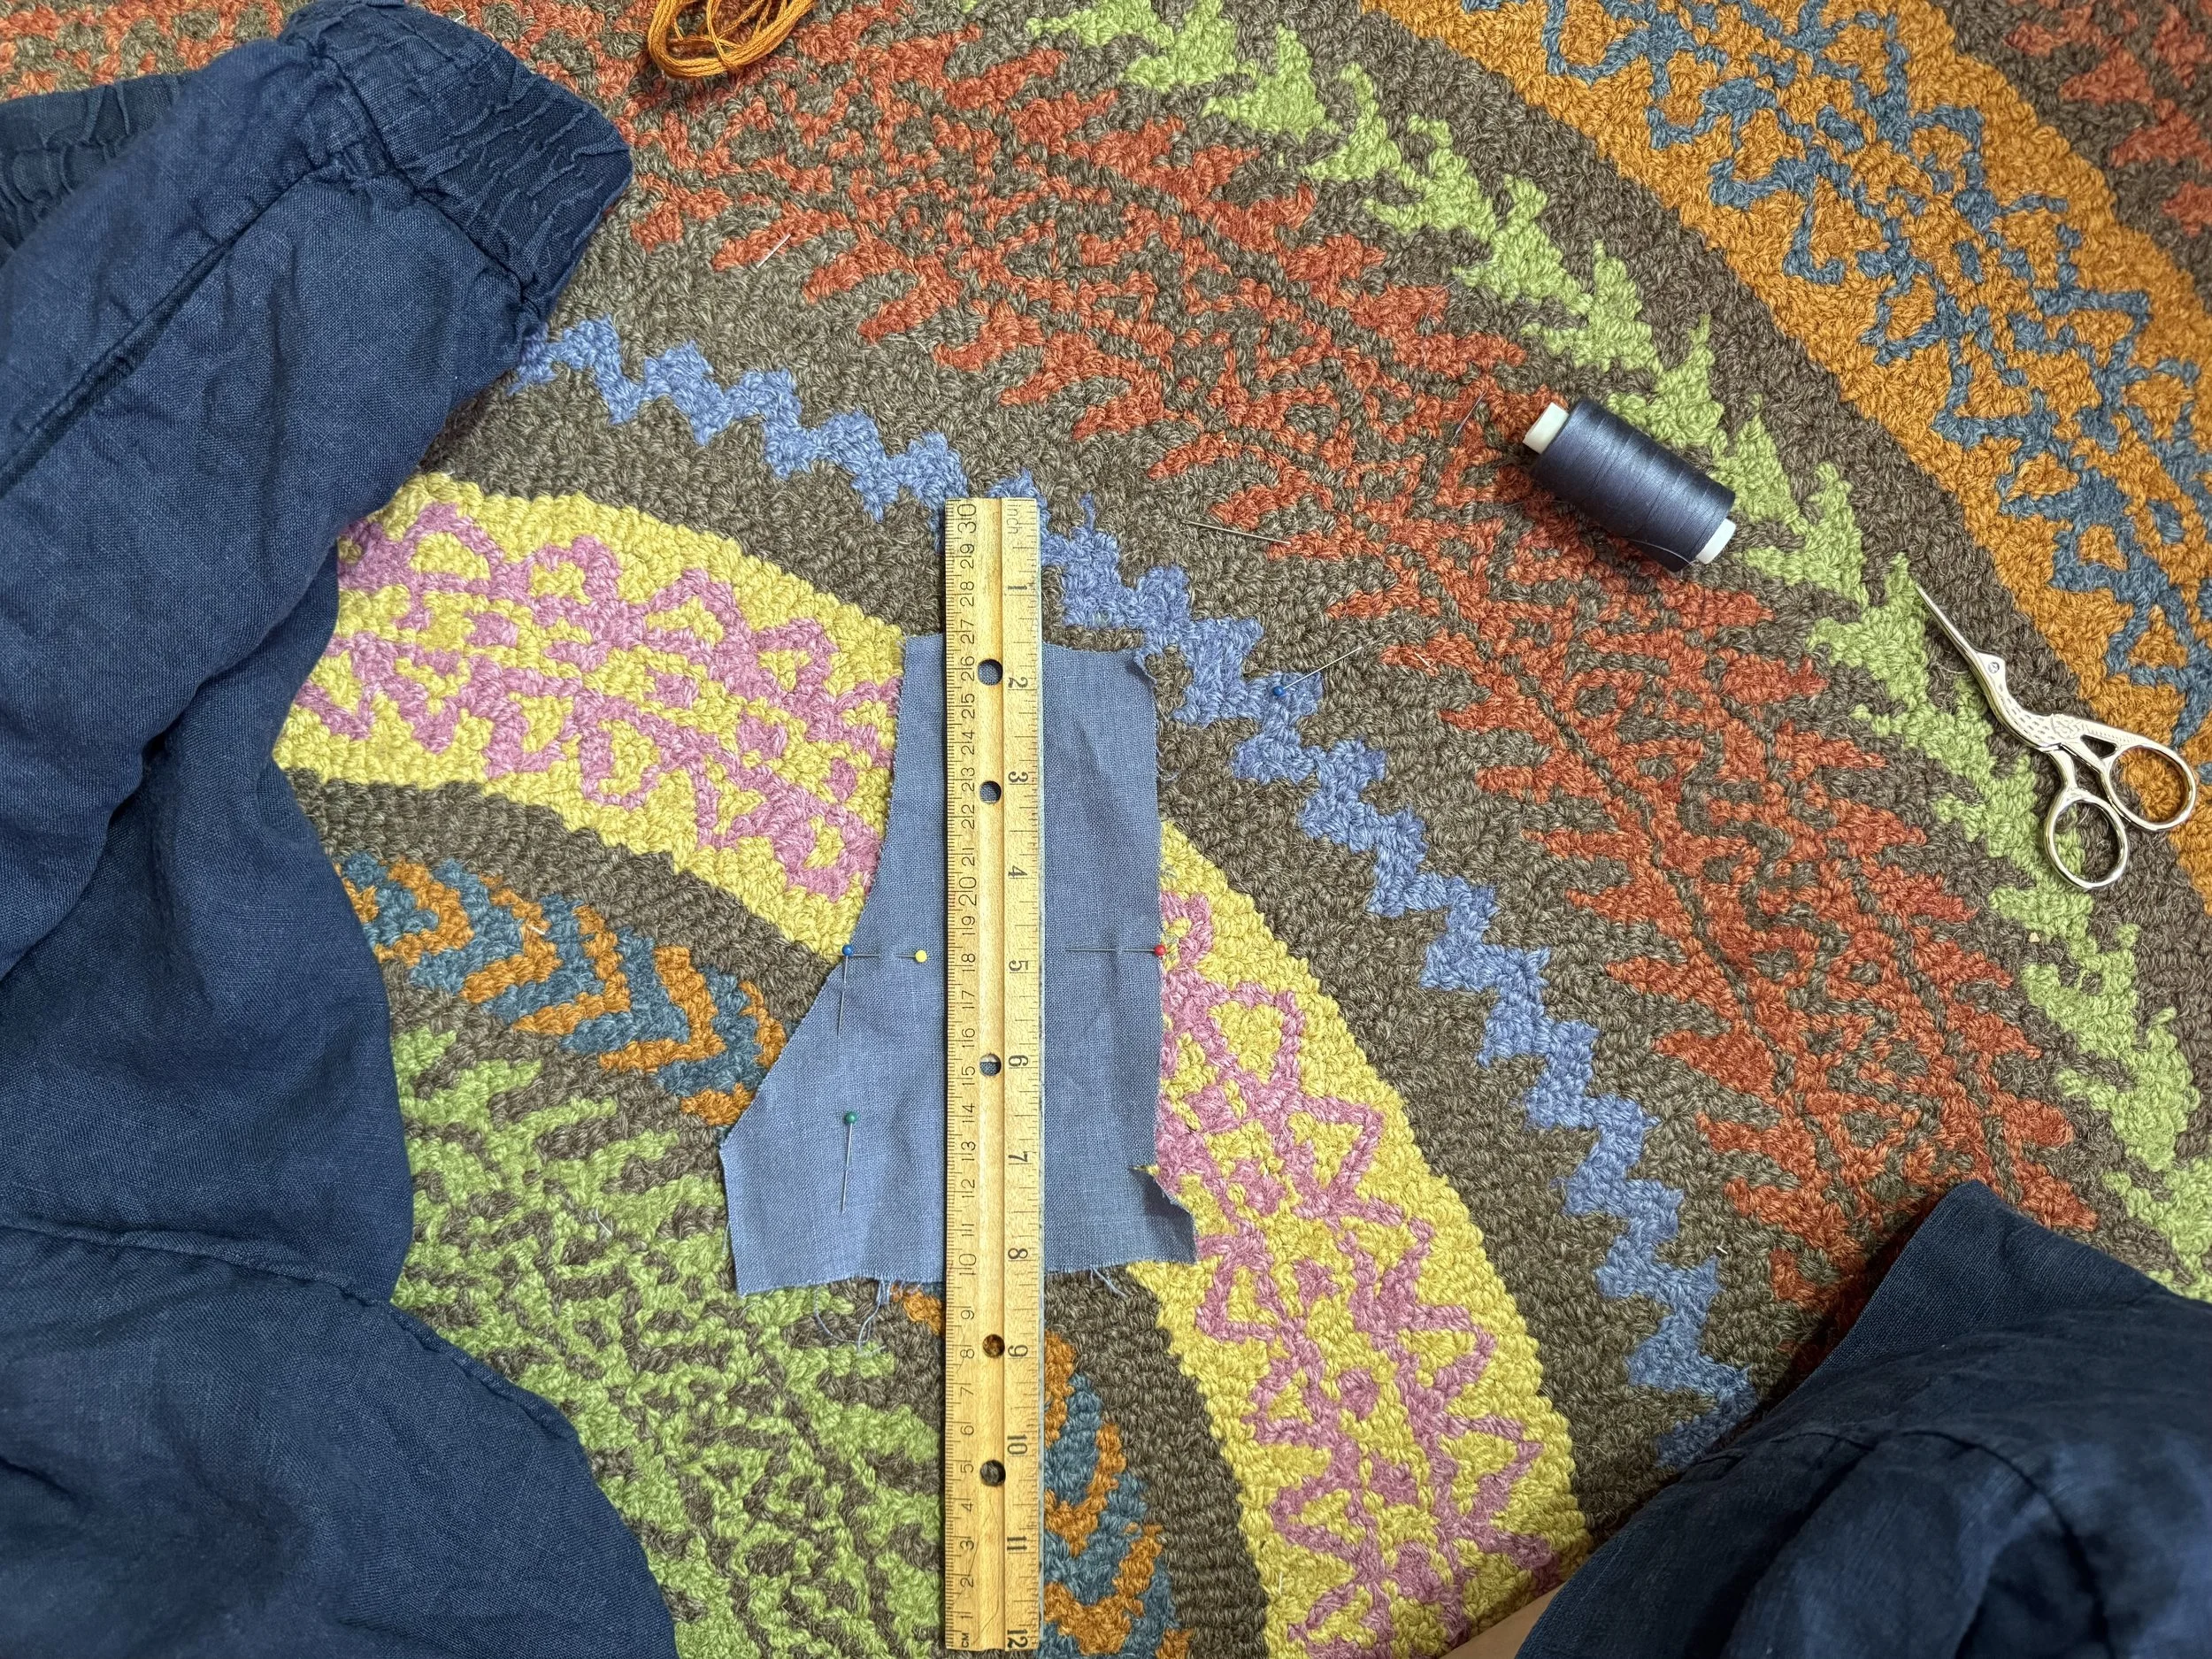
not a square
I want to use as much of my scrap linen as possible, so I will end up with something like a rectangle. I could be fancy and make a triangular shape, too. Maybe when the other side tears.
-
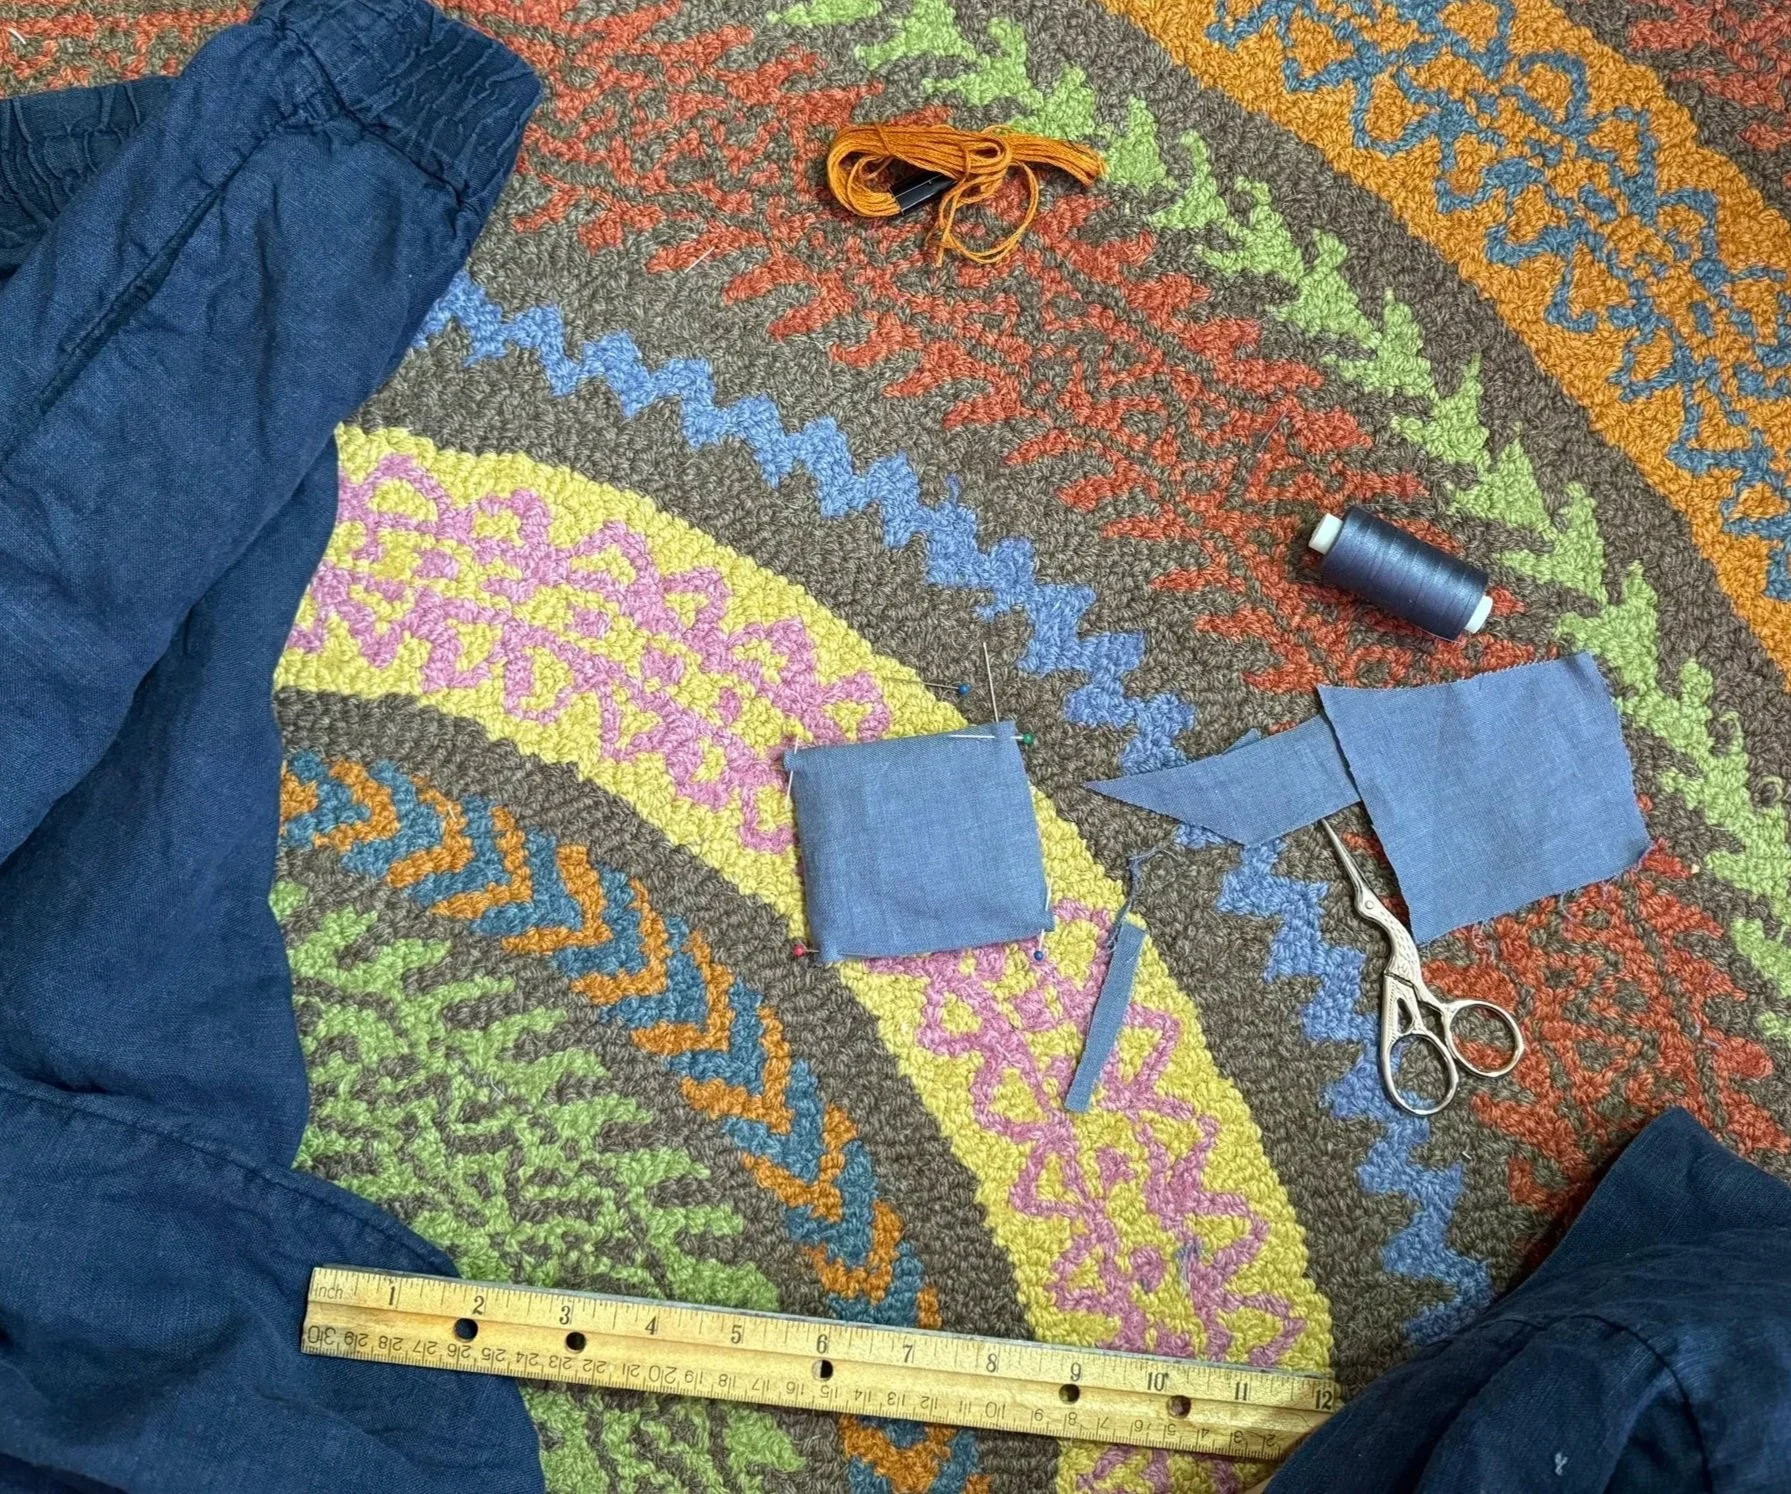
folding in the sides
Time to fold in the sides and pin them down so that no raw edges are peeking out. Actually, raw edges might look quite cool. The ideas for other mends keep coming.
-
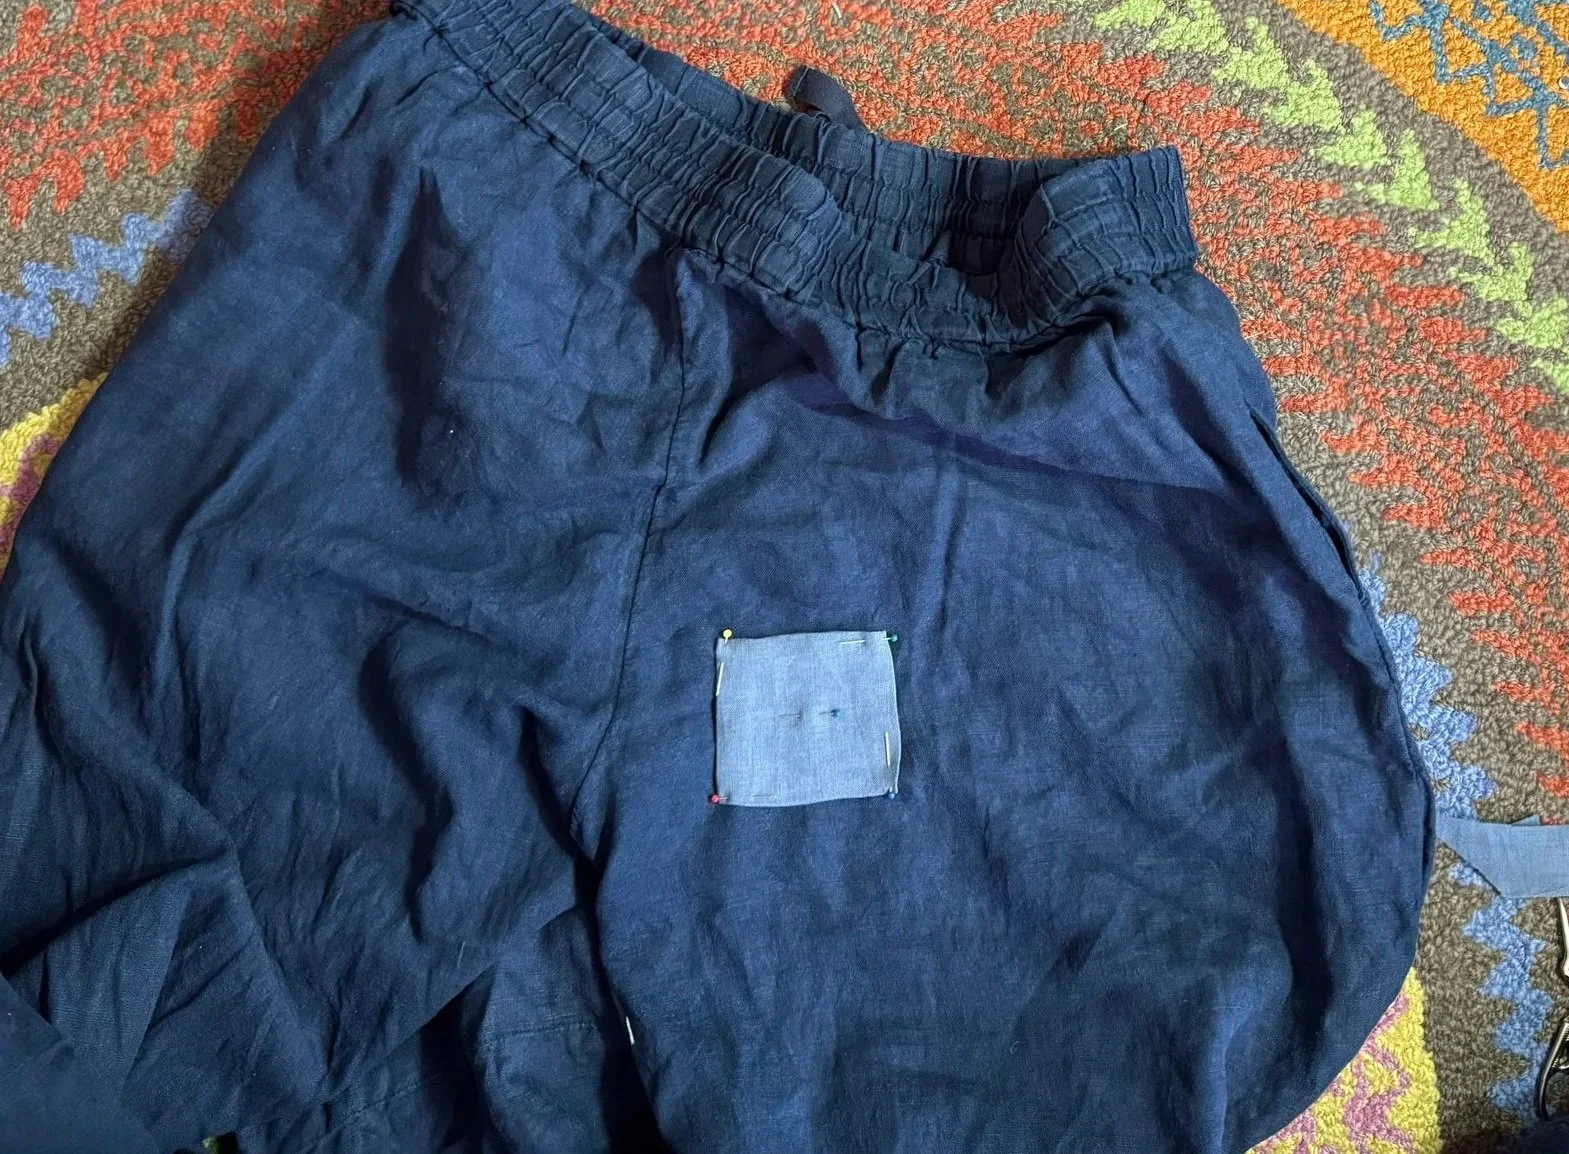
pinned to pants
Then I just transferred the pinned patch to the pants. The center pin went on first to hold the patch in place. Pity the patch isn’t purple. What a plethora of P’s there could be.
-
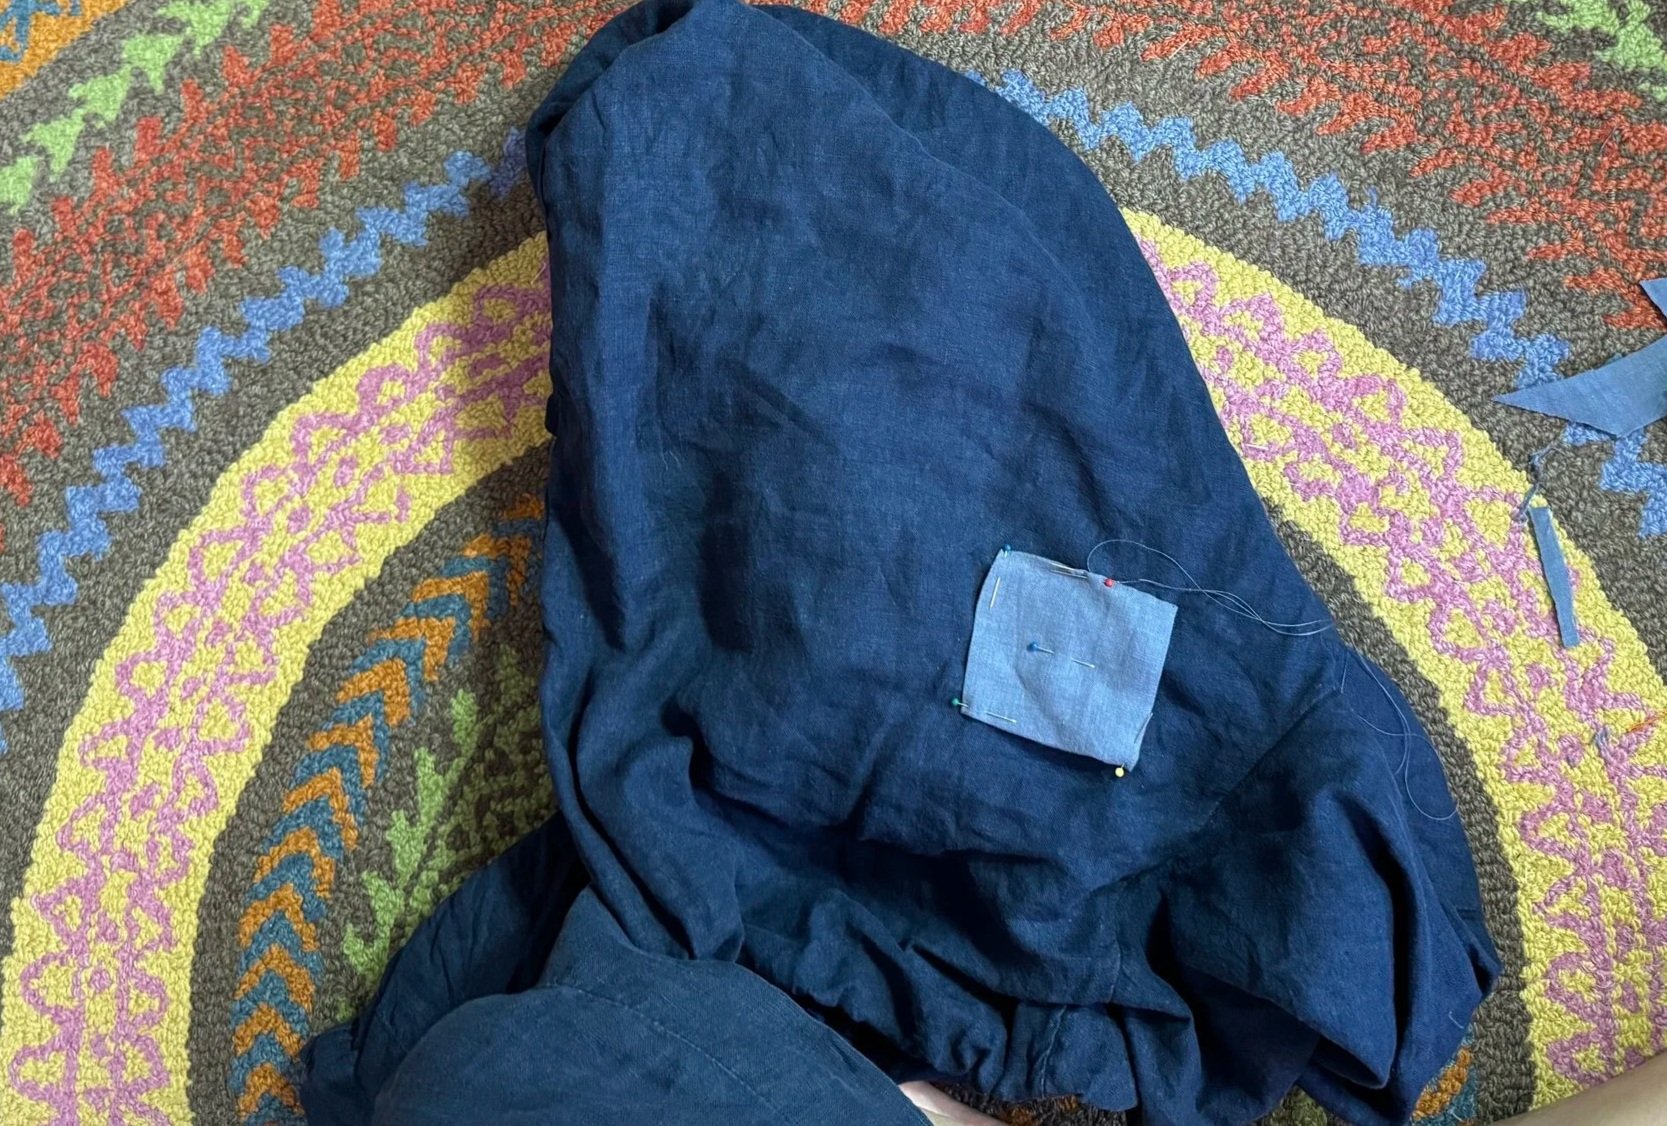
stitching the patch in place
I tried a bit harder to hide these stitches than I did on the inside, but not much.
-
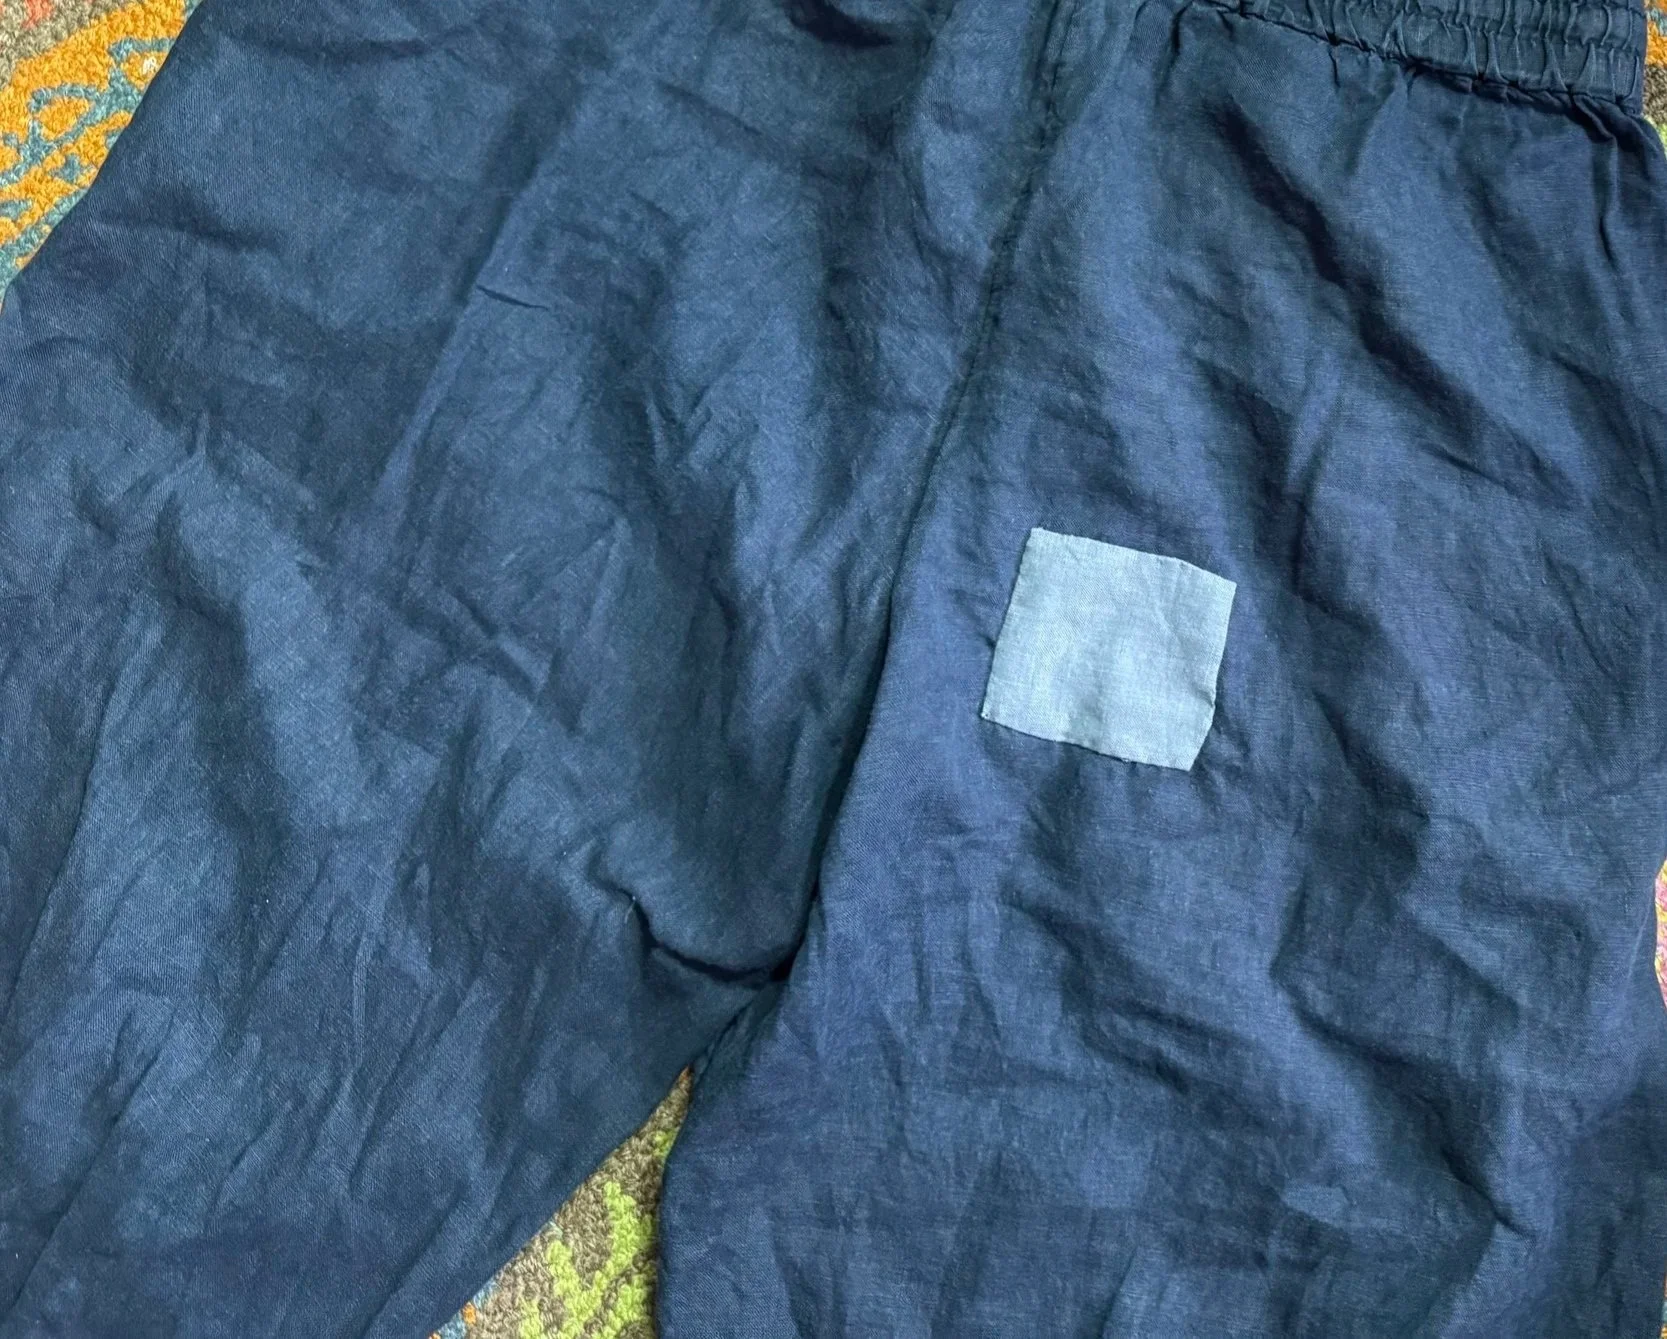
rather a faded photo
But here we are, all sewn on and ready for decoration.
-
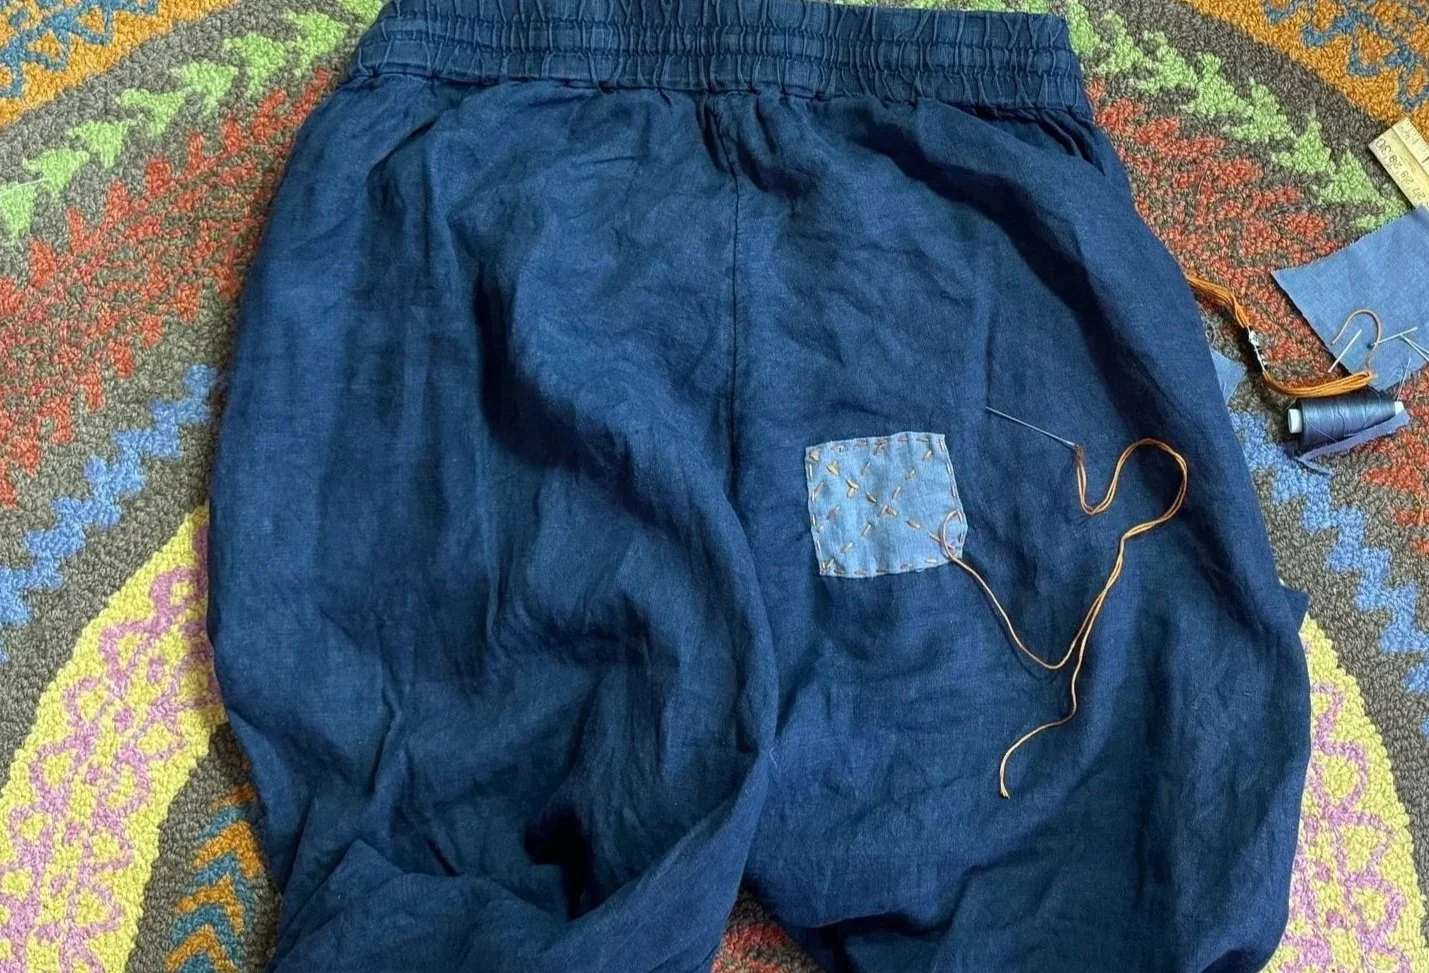
sort of sashiko
I have a huge stash of cheap embroidery floss from when my kids were little and we used to do a lot of shopping at Michael’s. I am not sure how durable this will be, but I like the color.
I am just making this up as I go, trying to make sure that all of the patch is pretty securely fastened to the pants.
-
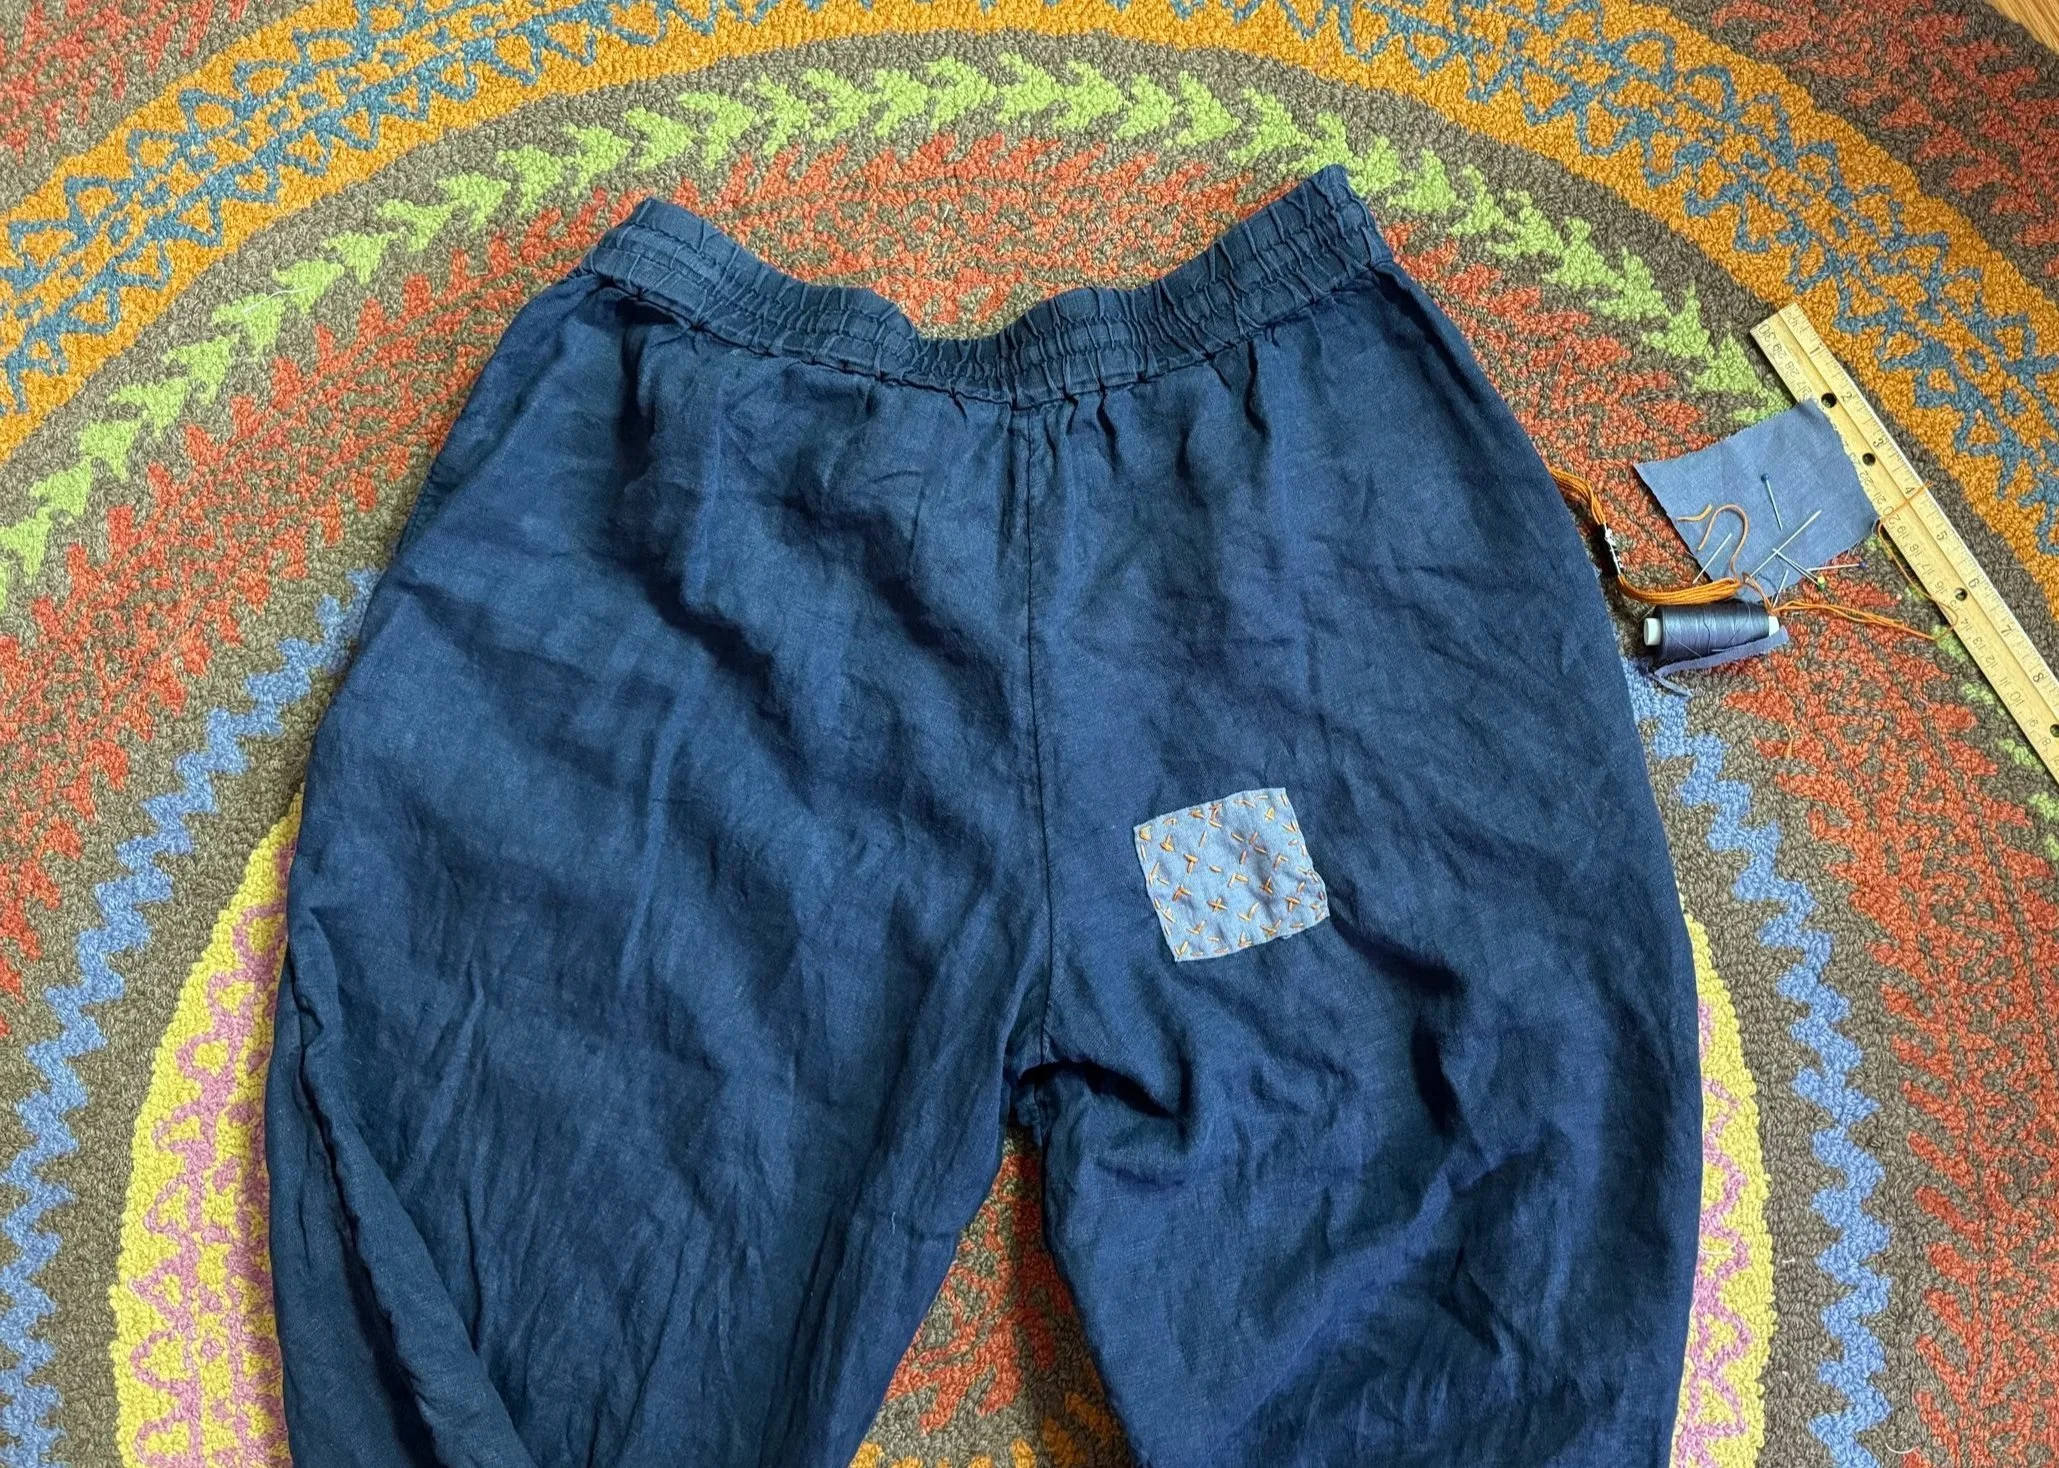
all set
Hoping that these will last until I manage to make some more pairs of pants, using these as a pattern.
-
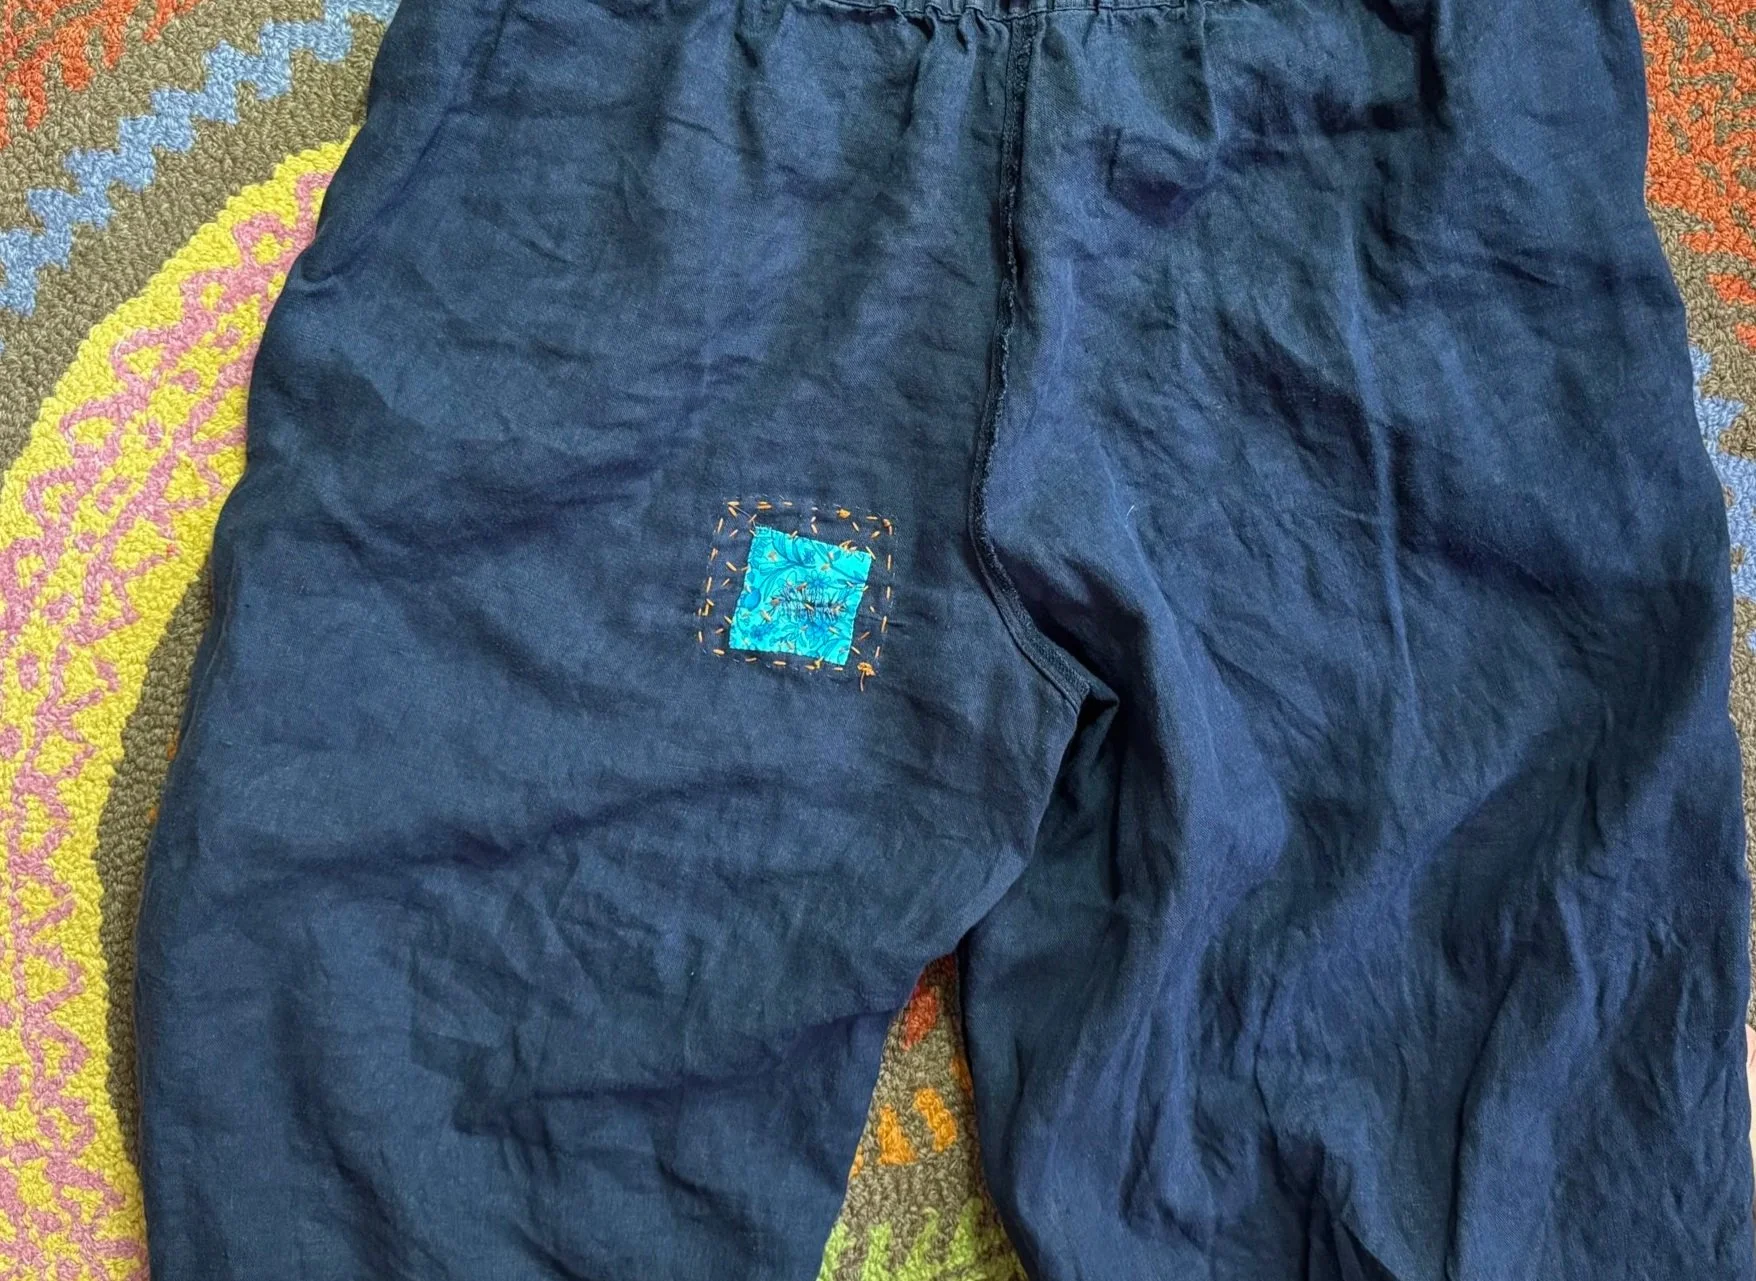
the inside
I will see if I can find someone to take a picture of my rear end so you can see these guys back in action.