mending an old quilt
-

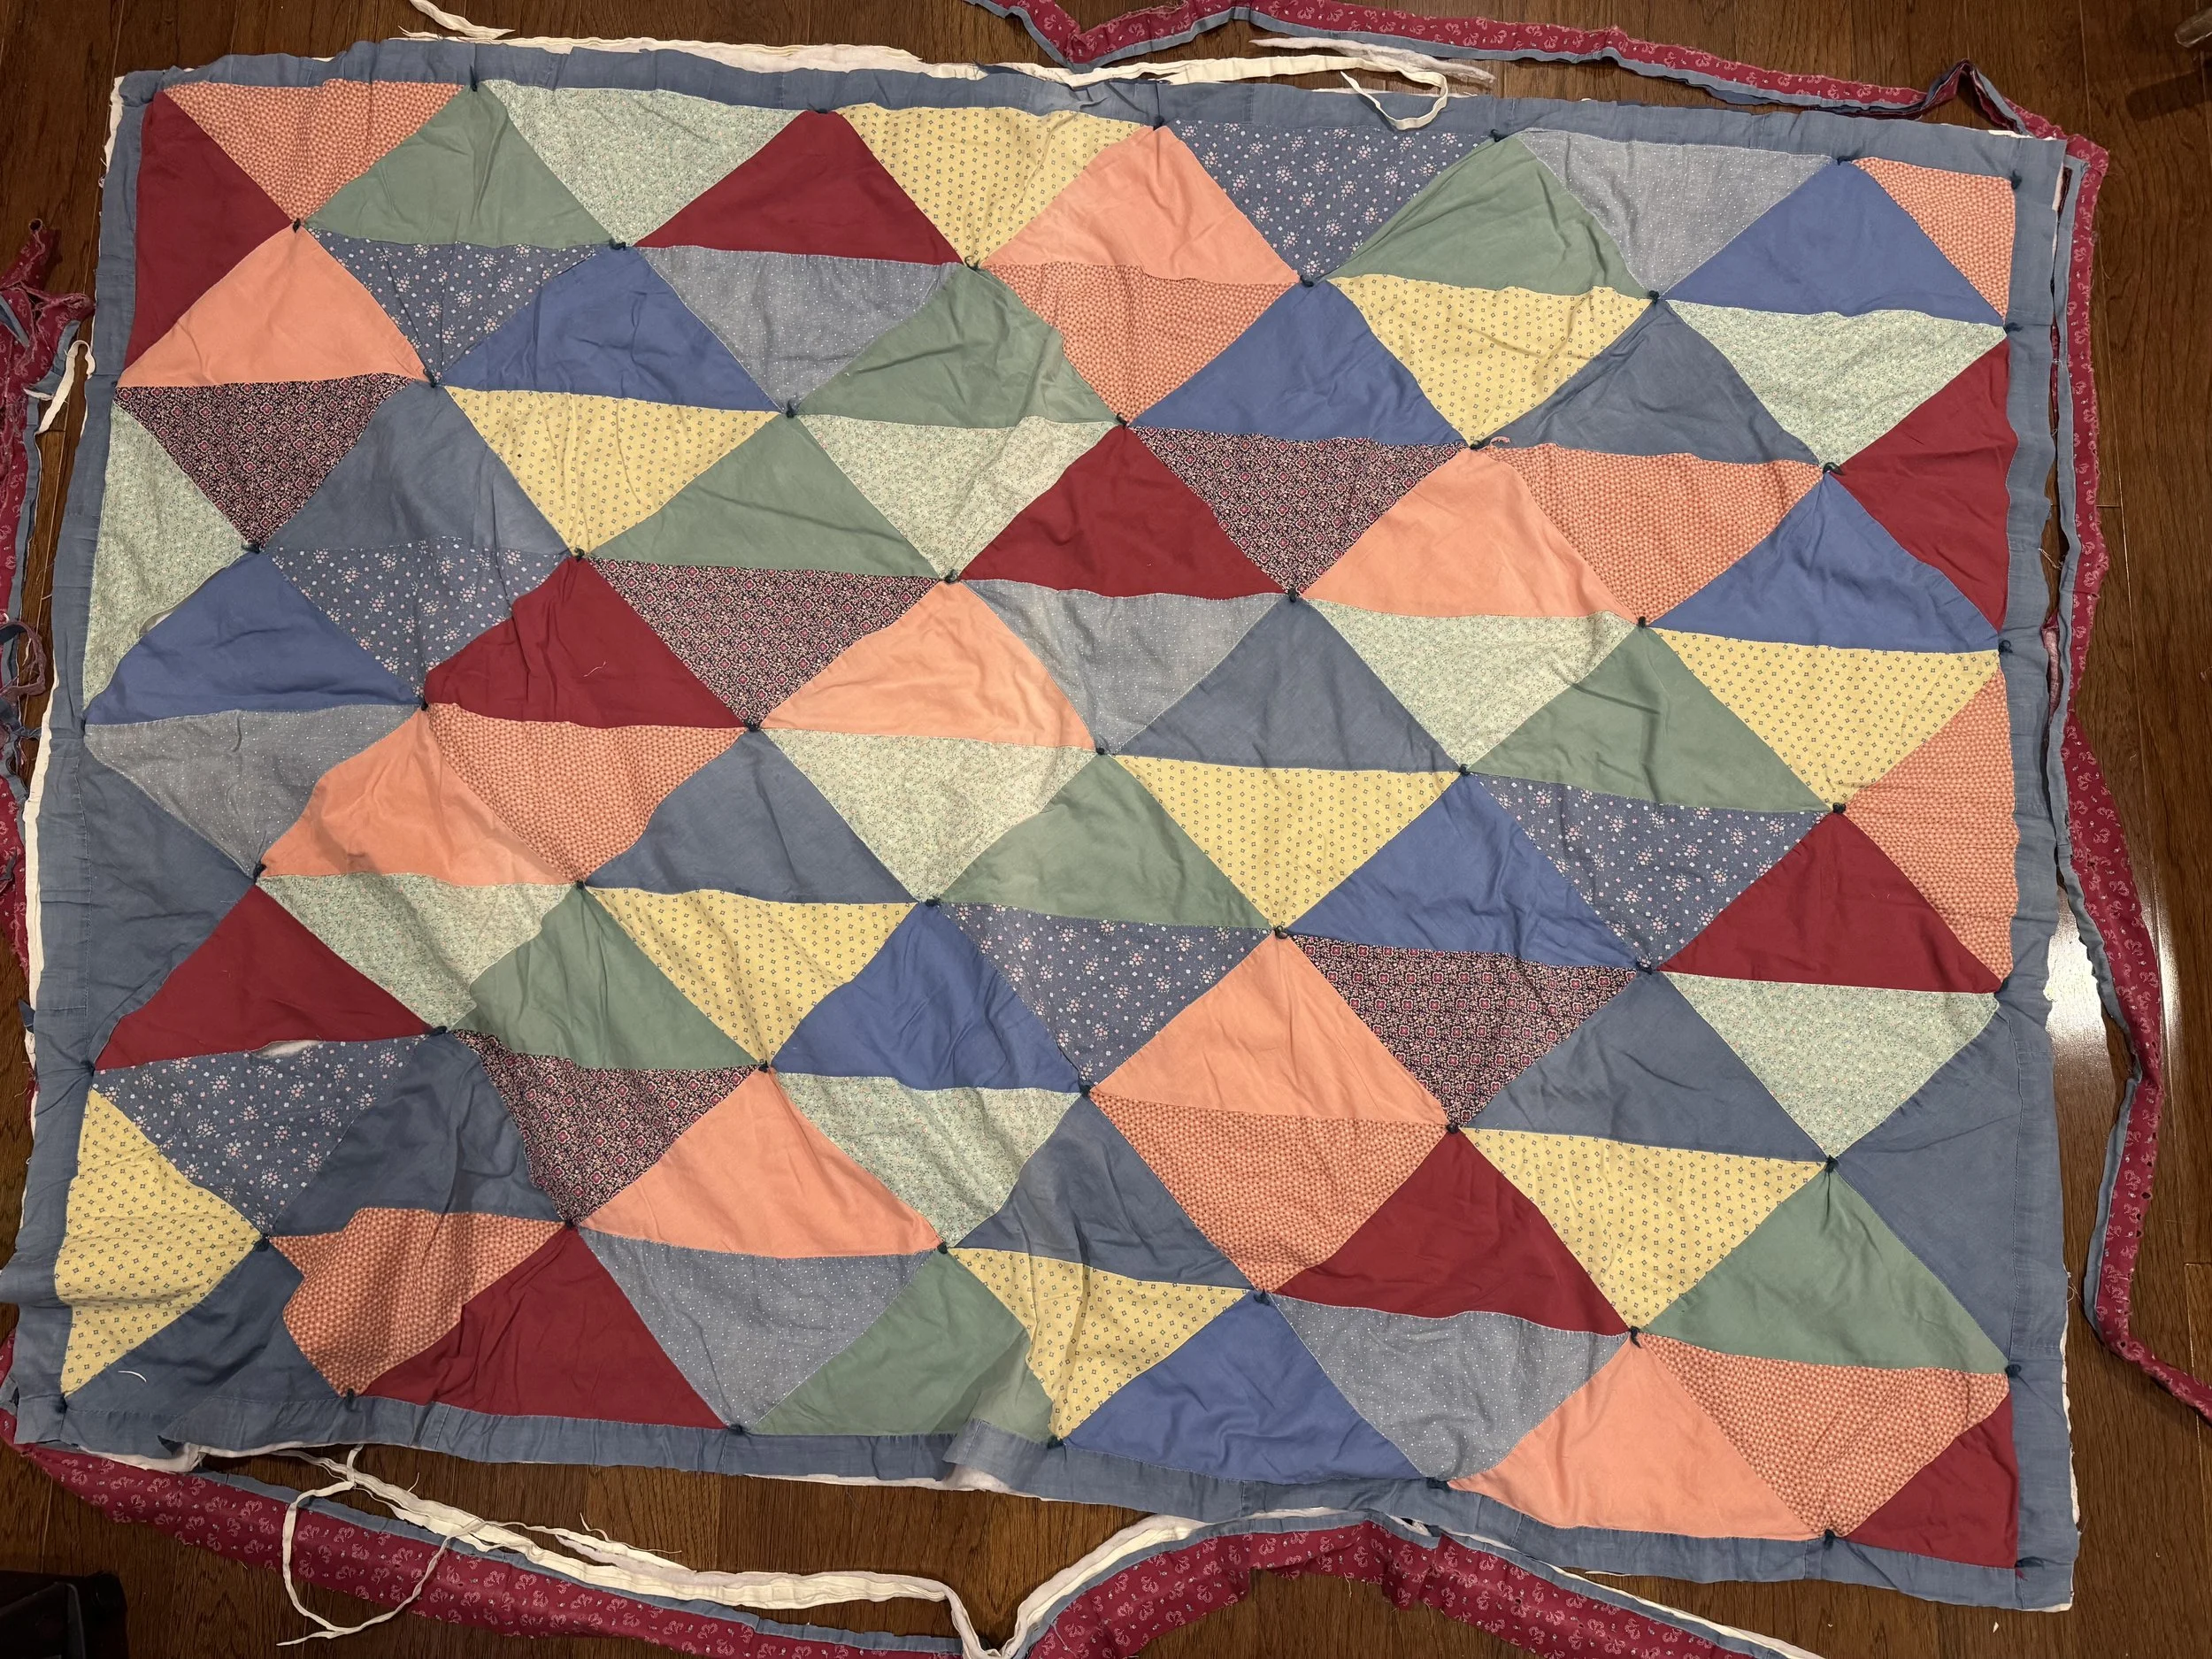
an old quilt
I made this quilt about 35 years ago. It has seen a lot of work during those years: it covered a grad school student’s futon, it was a napping pad for two babies, and it provided tarp for two busy tent builders. These days it sits and ponders the past, shredded and worn but not quite finished yet.
-

a new life is coming
The first thing to do is to remove the old binding. I was not an experienced quilt maker when I made this; I just tied together the top, batting, and back with yarn. Over the years, some of the edges sort of stretched and then frayed. My plan is to cut off the binding plus a bit of all three layers of quilt, and then put a new binding on the (hopefully) newly evened layers.
-
another issue
Some of the fabric in this quilt is as soft and fragile as tissue paper, and there are quite a few seams that want mending, but I will leave that until after I have replaced the binding.
-
all cut off
I so very clearly remember sitting on my parents’ living room floor and sewing on this binding. And here I am, sitting on my own basement floor, starting over again.
-

all done
Here it is, all done. I wanted to find a similar replacement fabric, but I had nothing close in my stash and I had limited choices when I was shopping.
-

I hope this looks okay
I cut strips 4” wide and then got the iron. I pressed them in half, and pressed each half in half again so that my 4”-wide strips became 1”-wide binding.
-

months later
I finally have the new binding in place. My method was first to sew the top of the quilt and the binding together (from the inside, by machine) and then to sew the binding to the back (from the outside, by hand). I sewed the strips together as I needed them and I didn’t do any mitering of corners - I just folded things together and tucked in any raw edges. This old girl is not going to see much more hard wear so I was not too concerned about making tough corners.
-

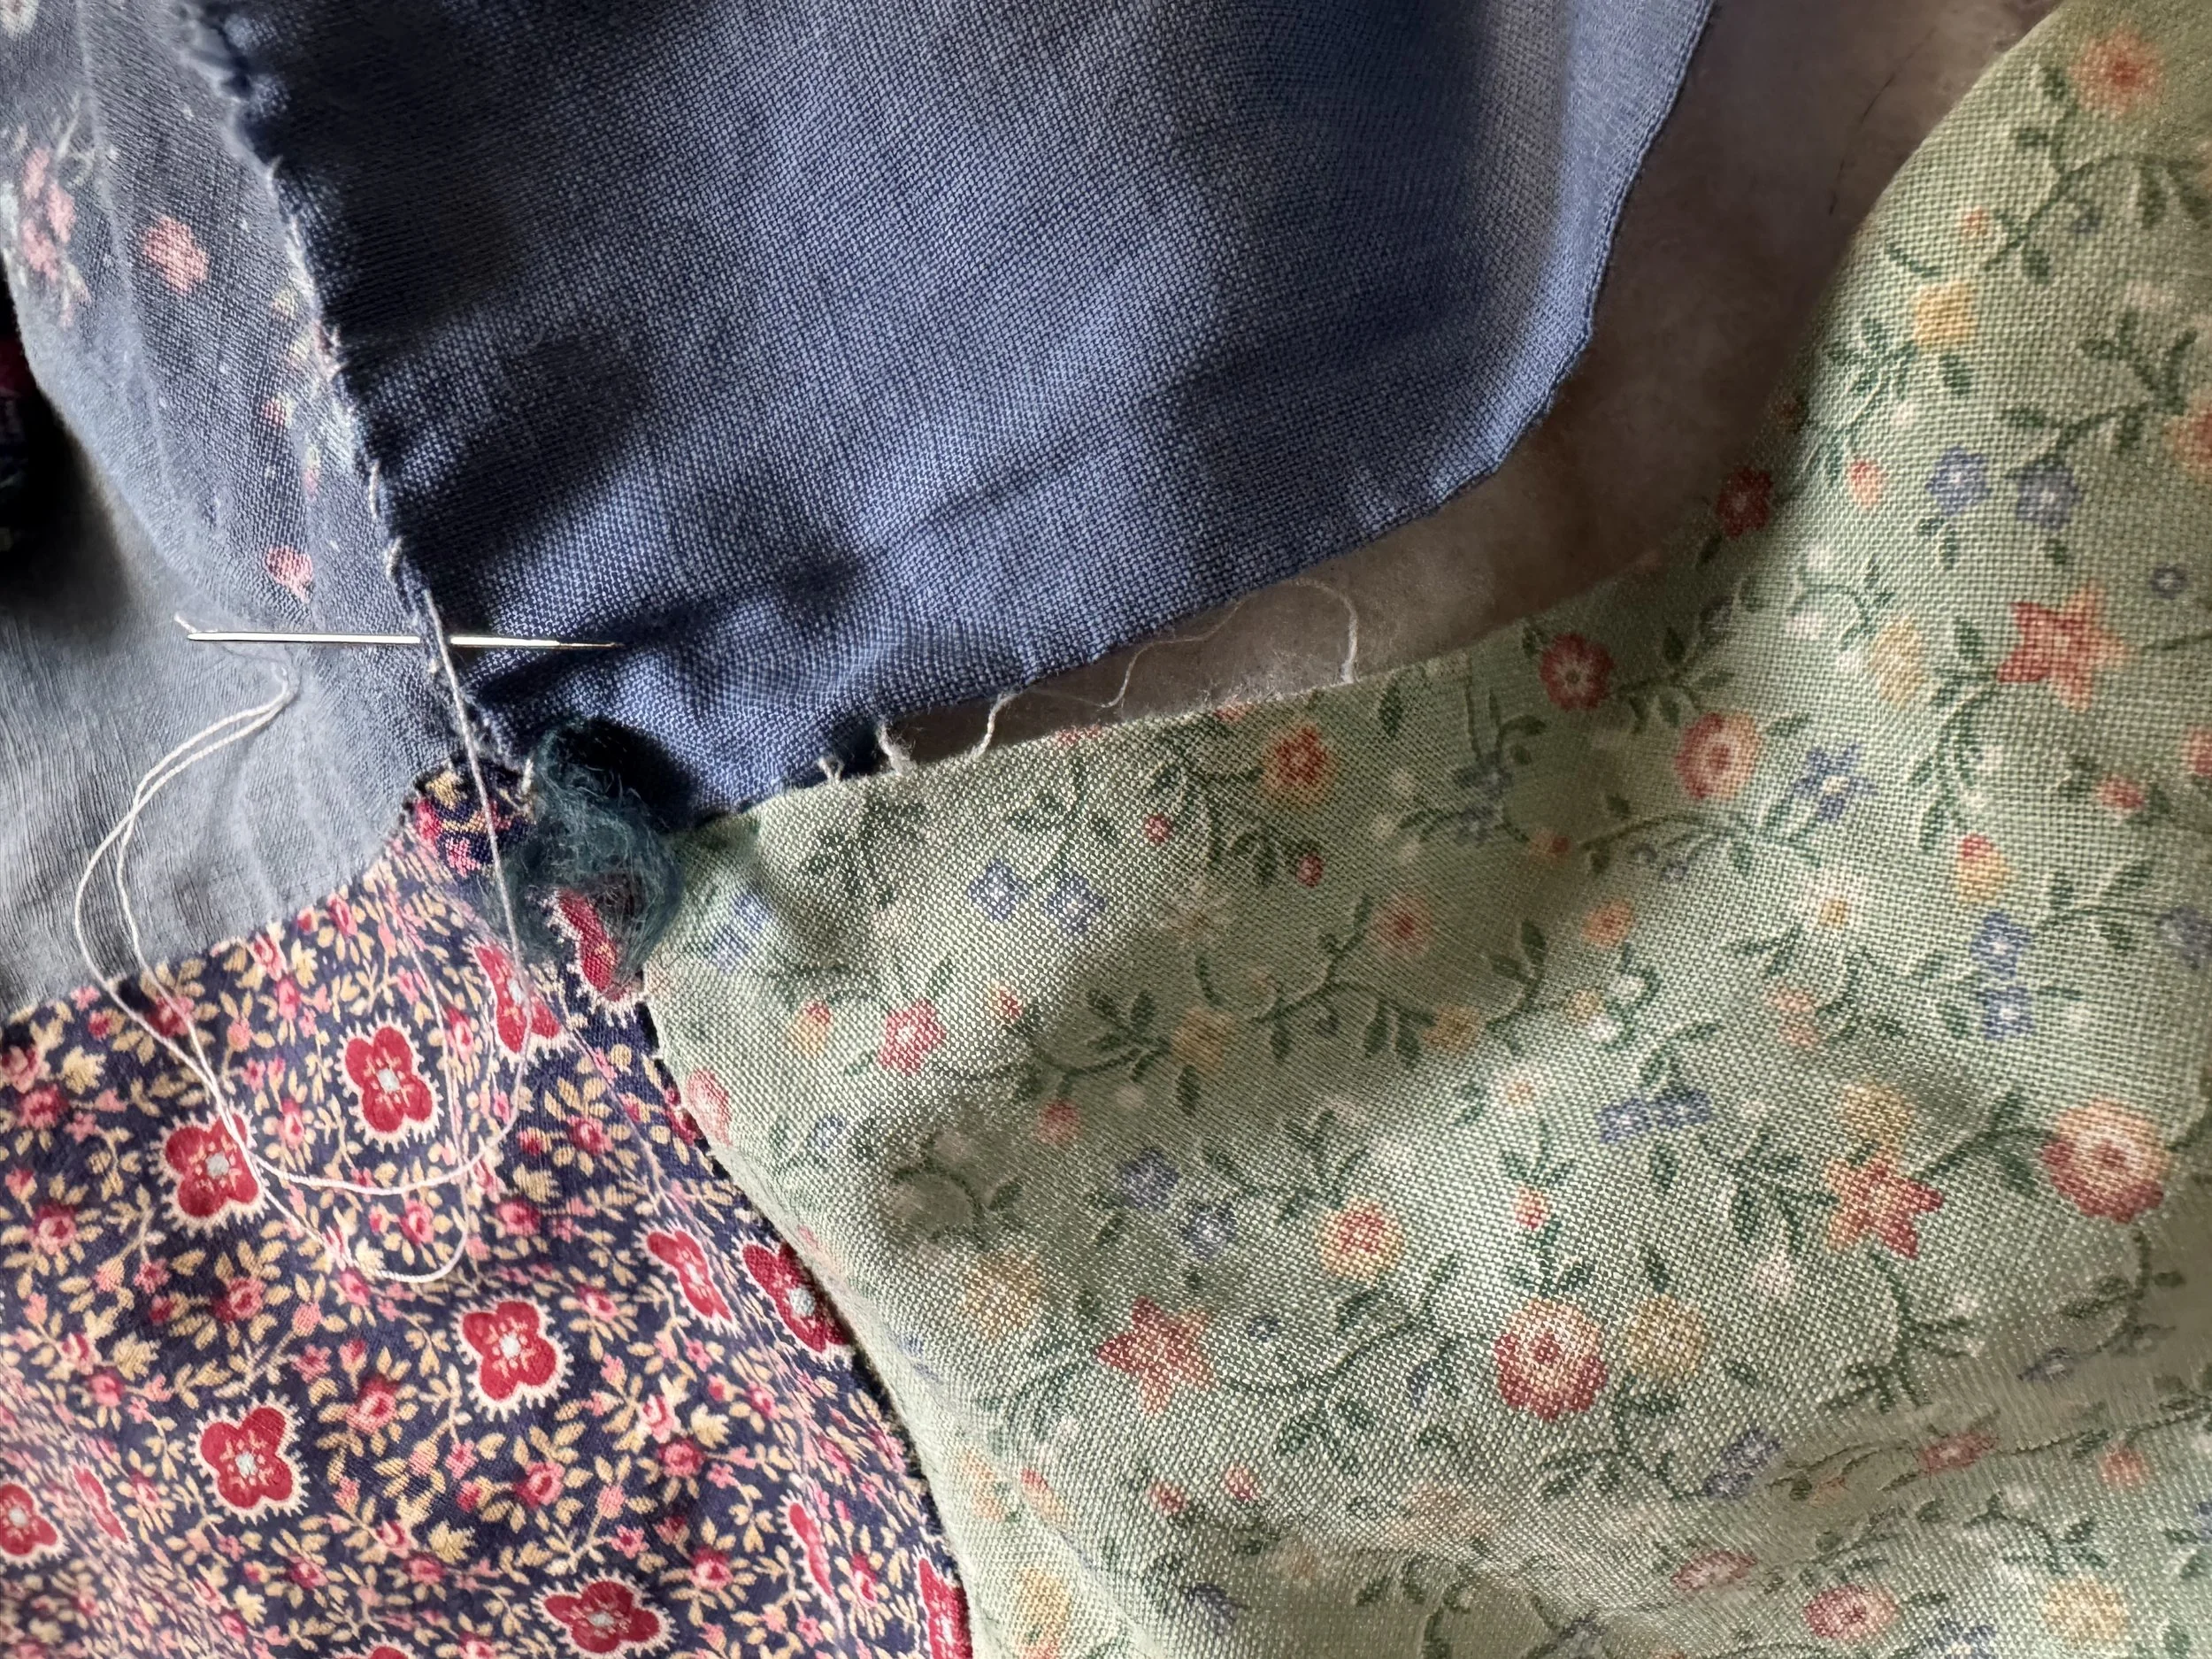
and now for the worn seams
I considered simply sewing these in ladder stitch and probably will start there, but I would like to dress up my girl a bit and so will go over the seams with some embroidery, too.
-

frayed fabric
I am going to tuck under the frayed parts as well as I can. If it puckers, it puckers.
-
it is okay
I am using more of a whip stitch than a ladder stitch.
It rather looks like a suture . . .
-
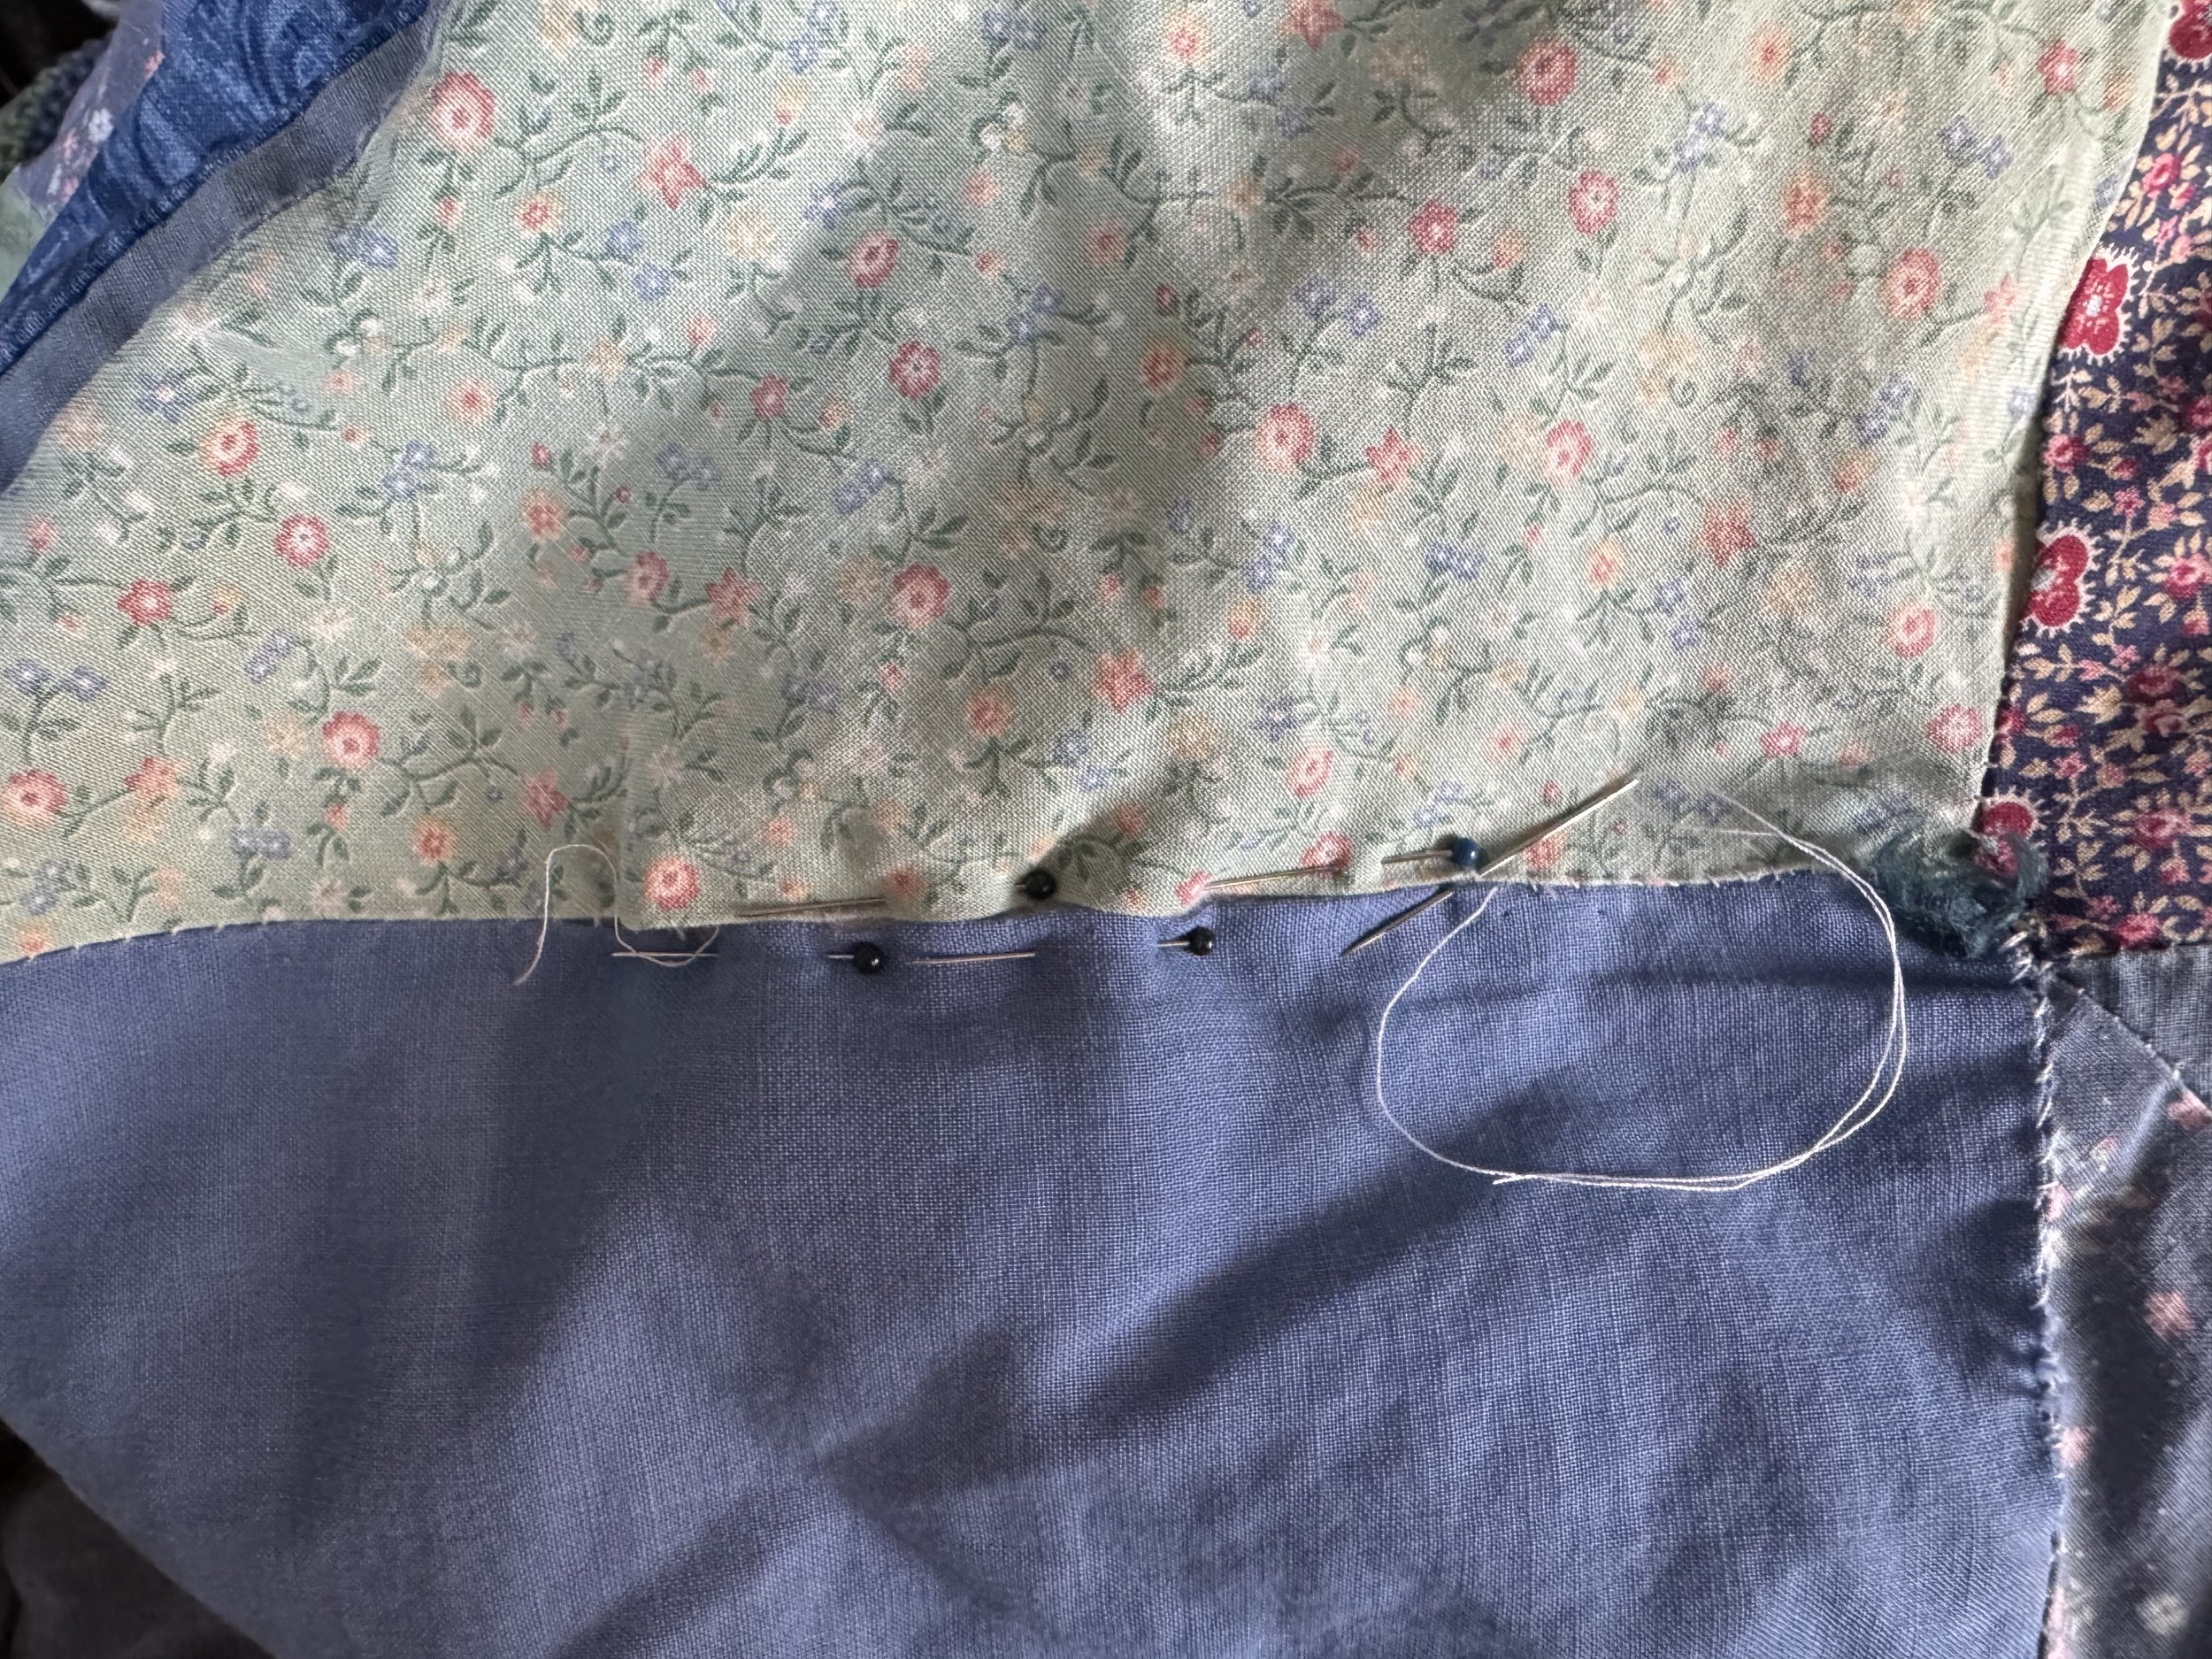
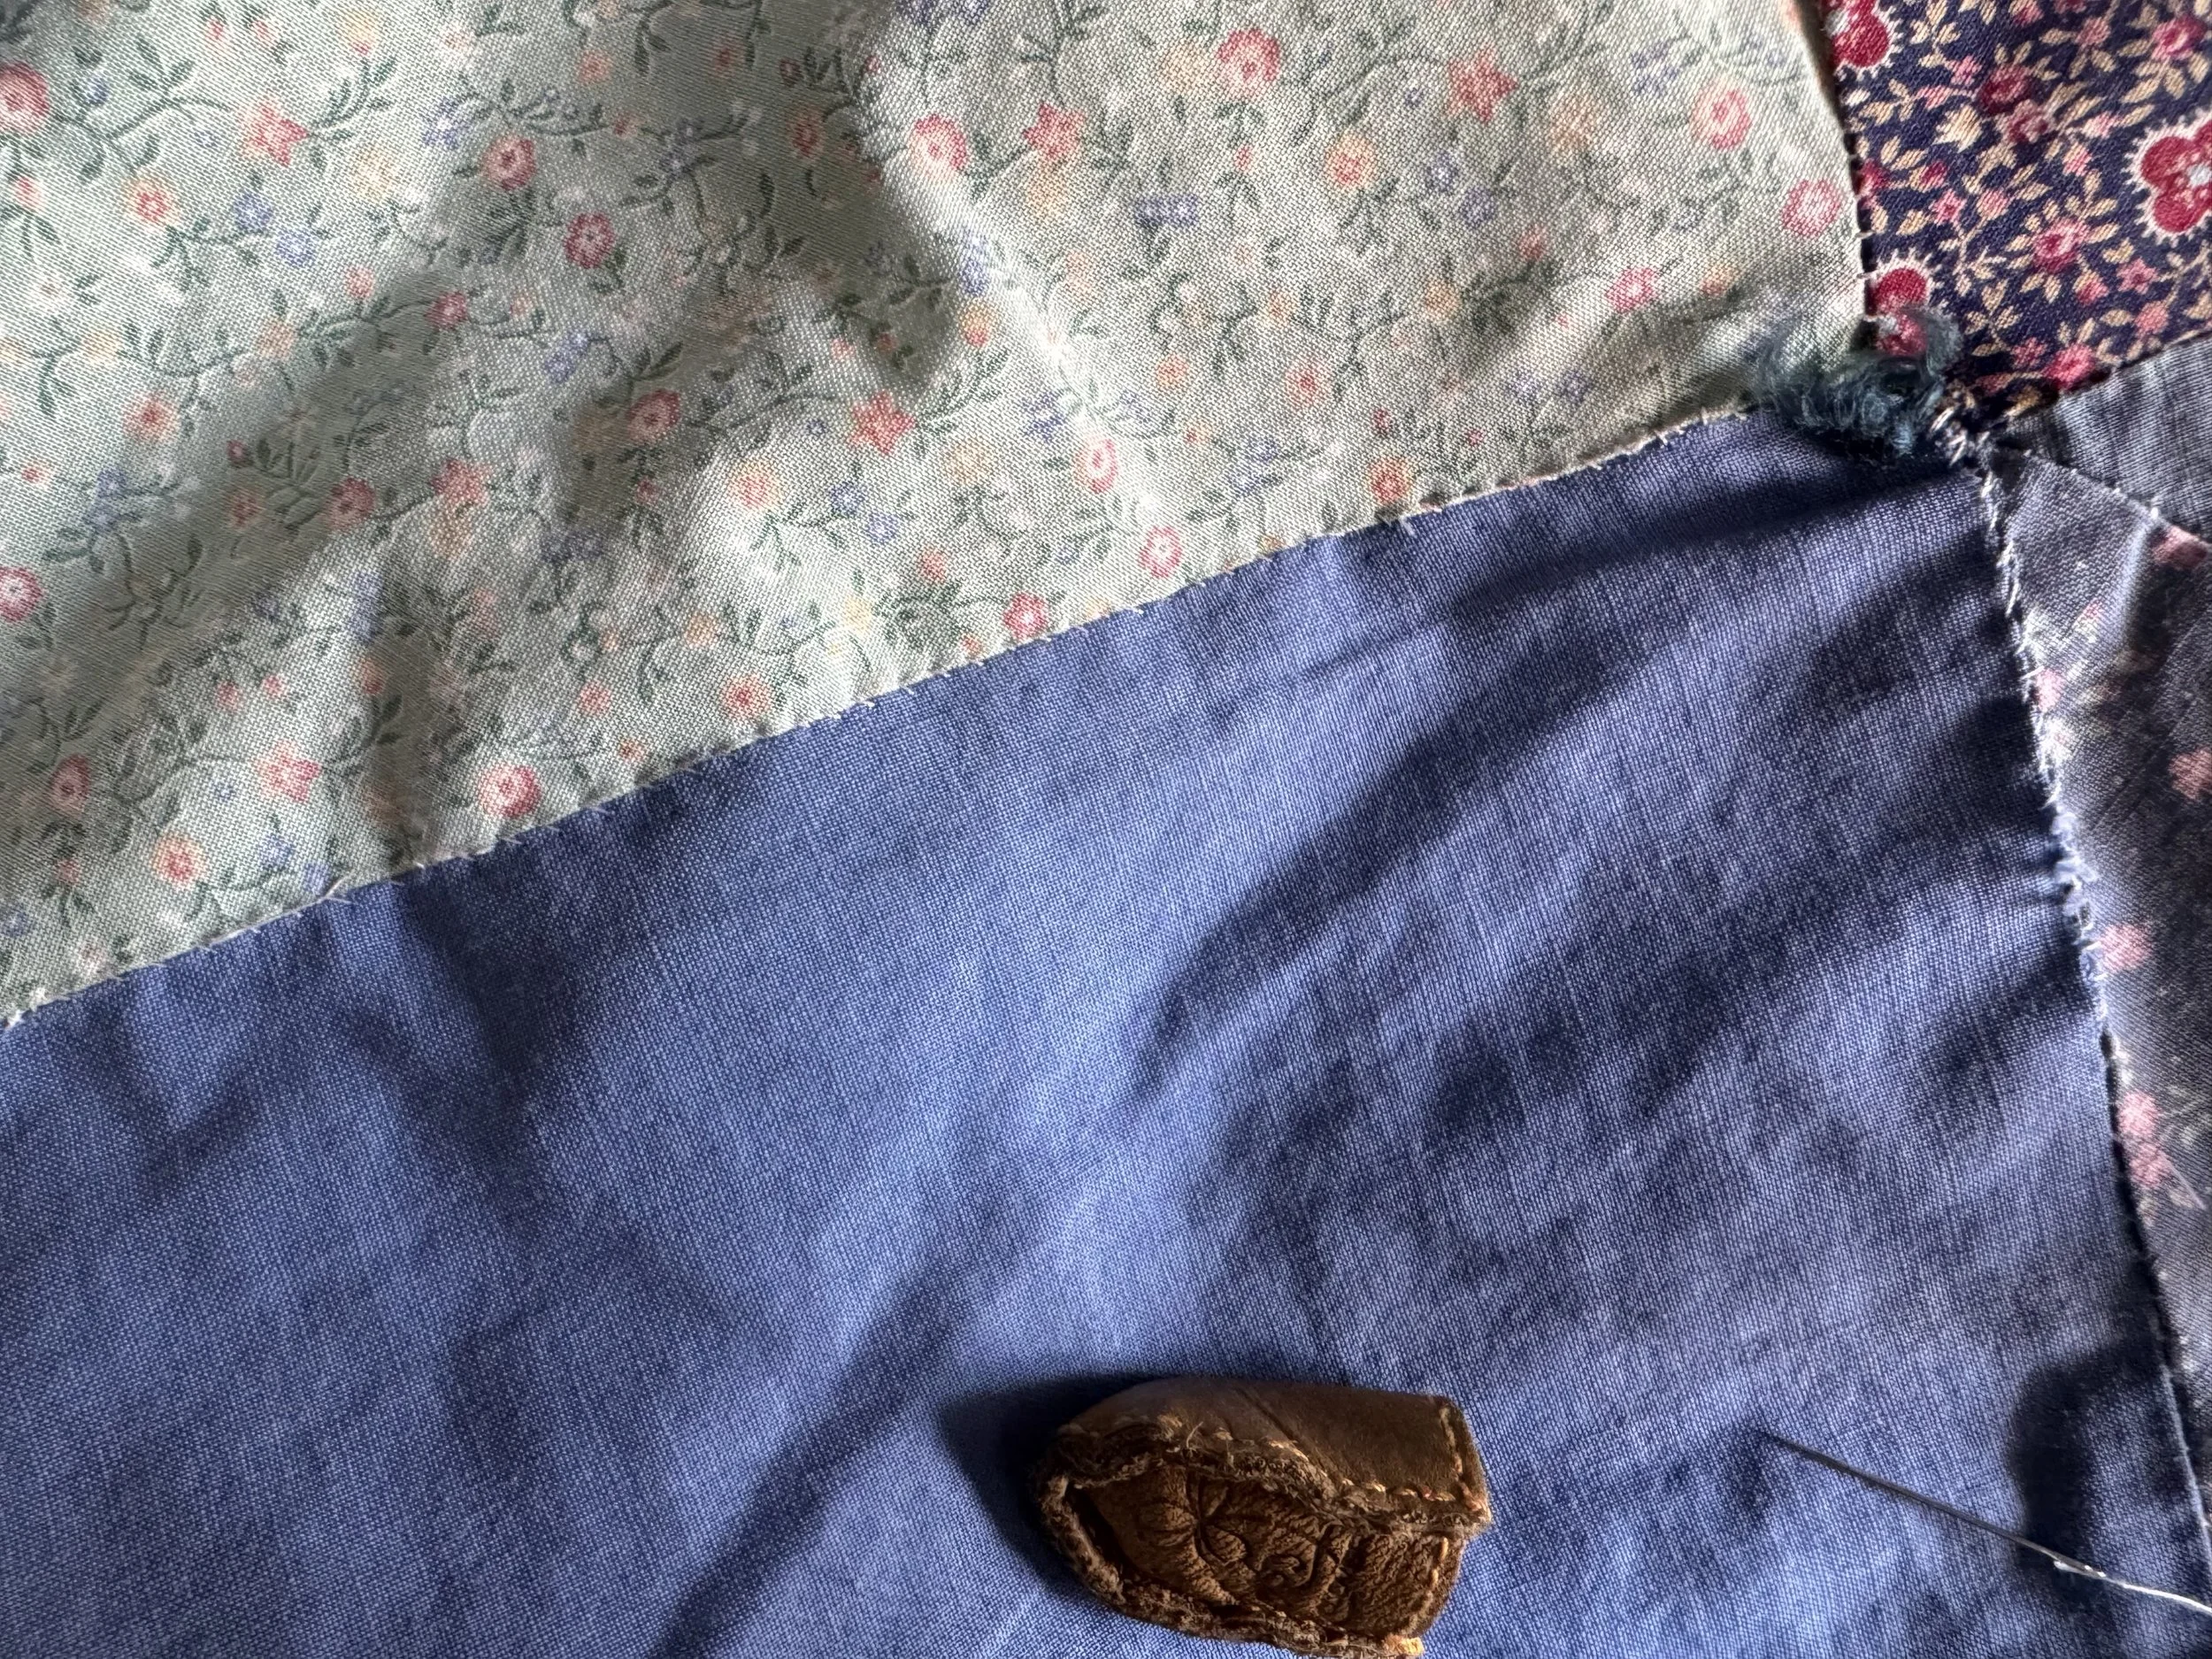
pins are a big help
I pinned the top, on each side of the tear, through the batting and to the back of the quilt and that seems to have stabilized the whole thing.
-
not bad
-

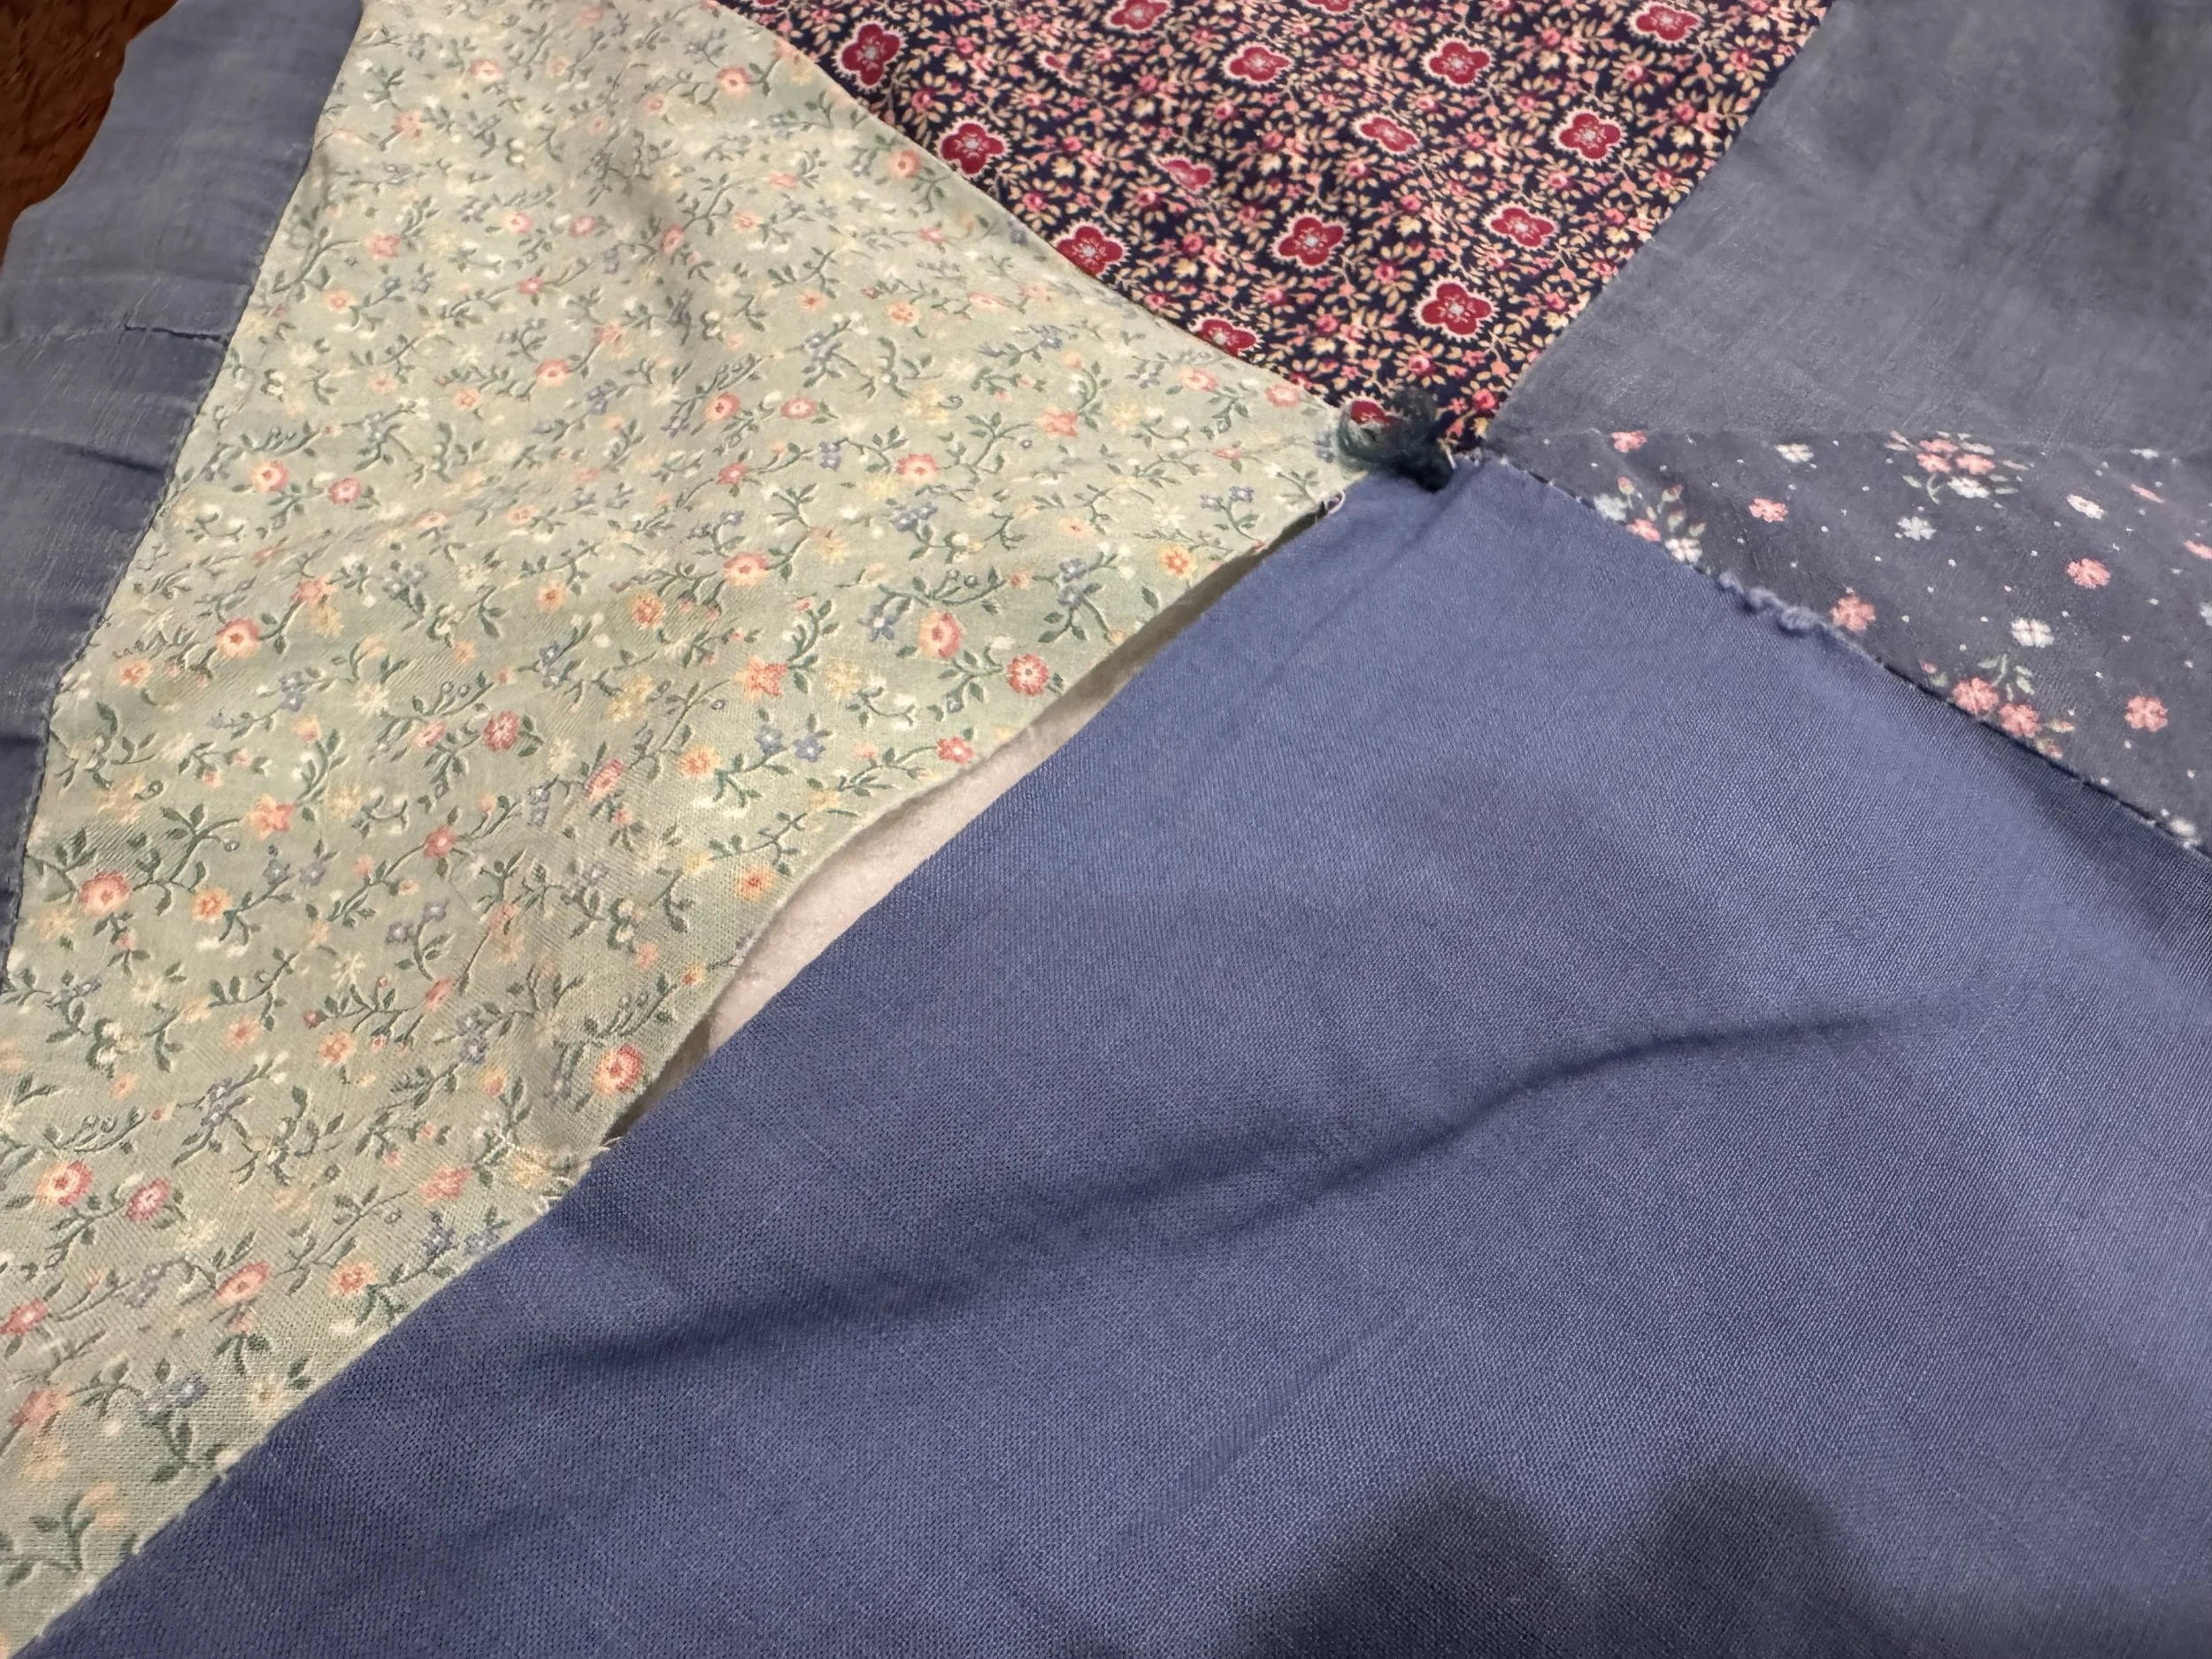
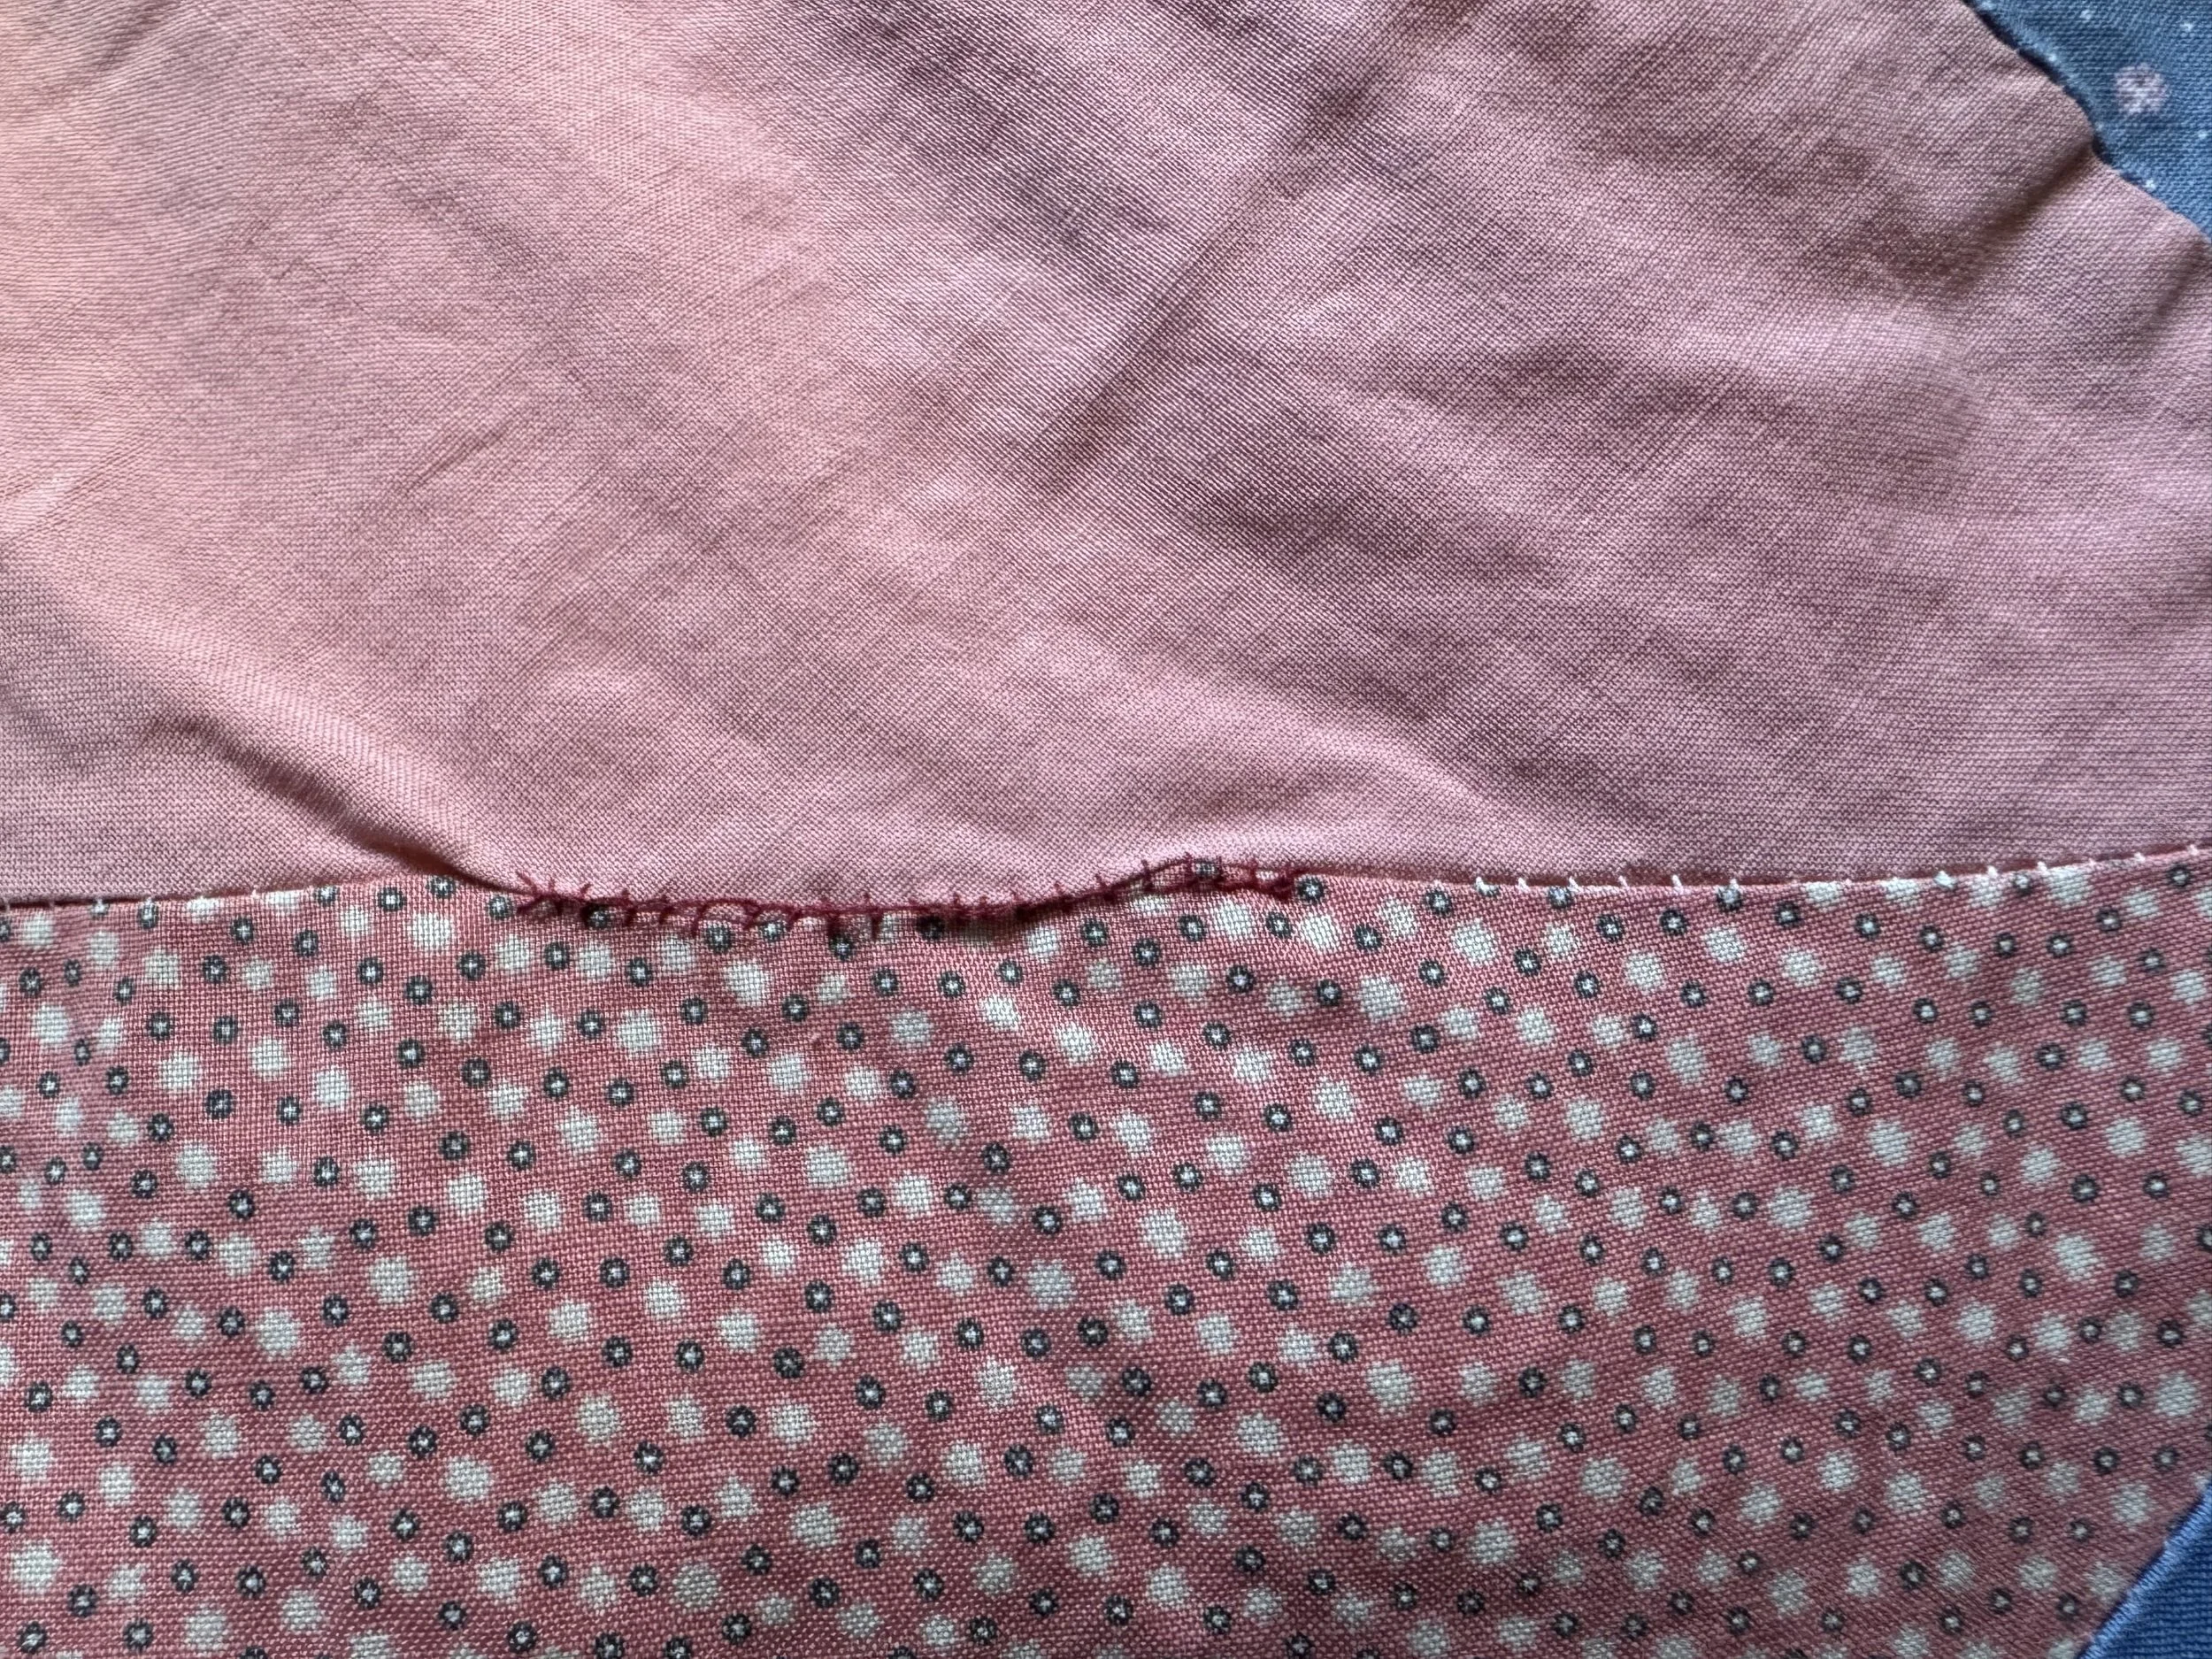
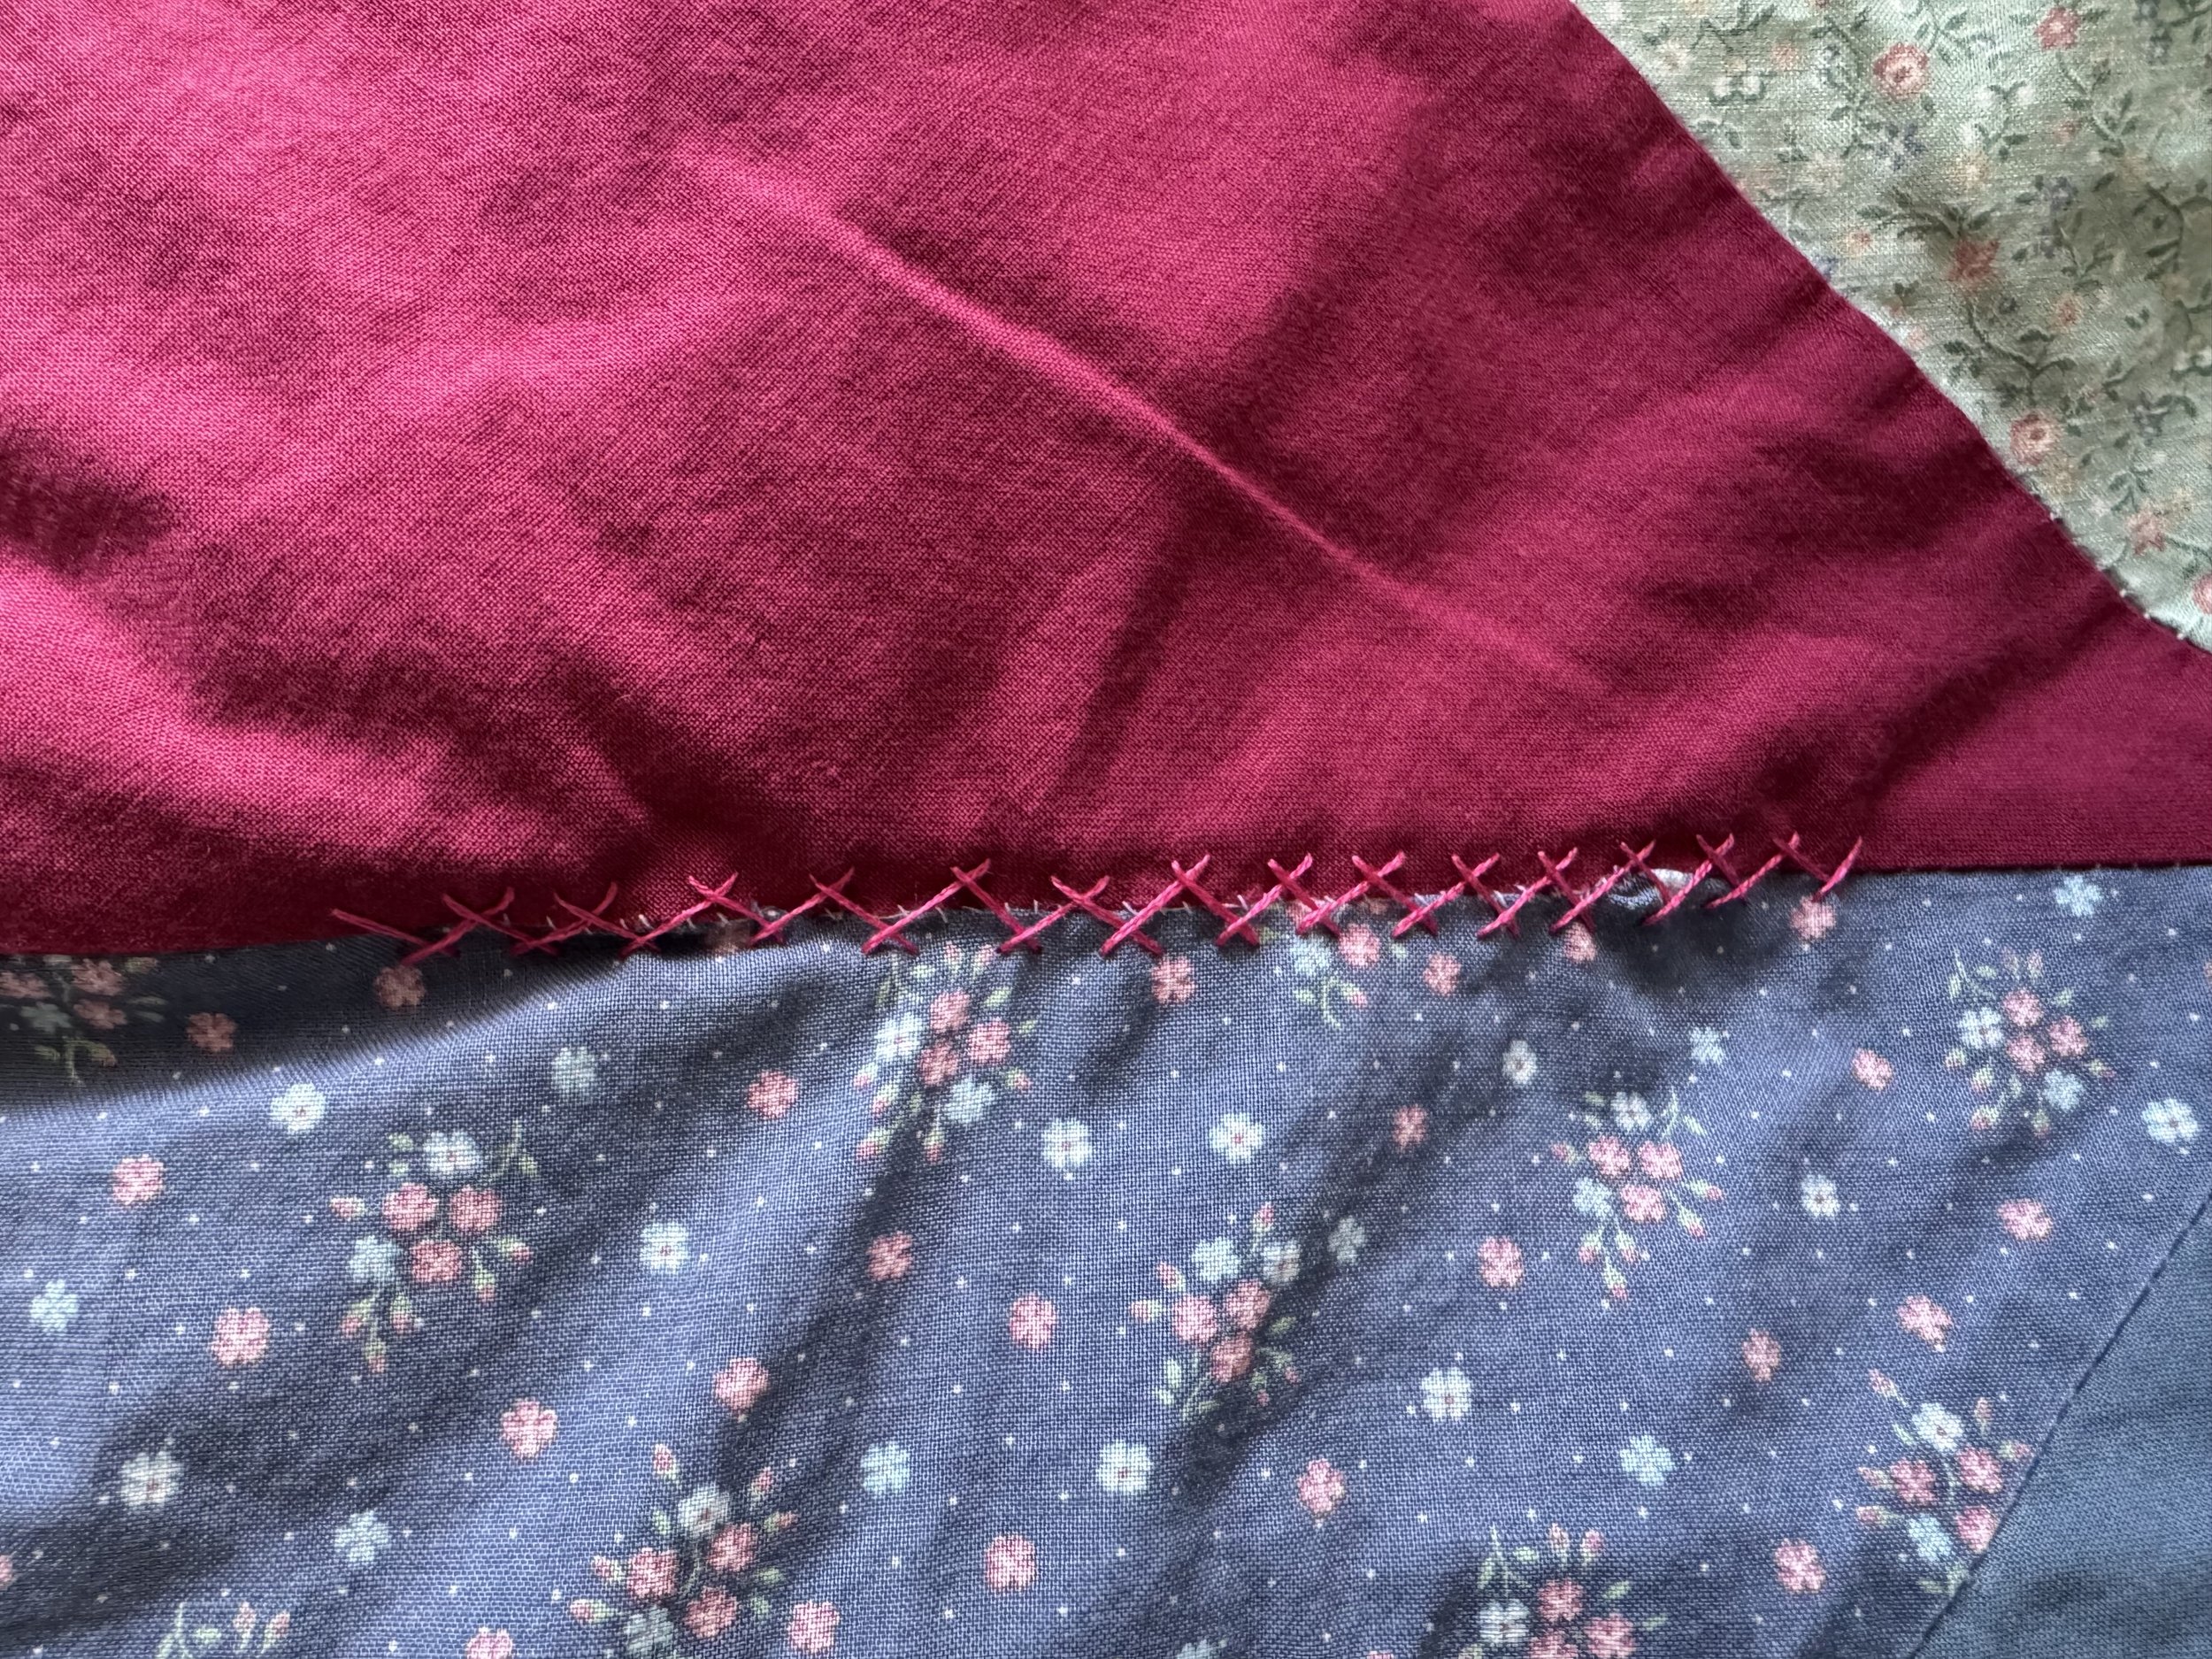
another one
Interesting that the blue printed fabric frayed in this spot, as well. You can see the sewing thread, still intact, on the red fabric. I sure used tiny seam allowances!
-
an old fix
As I was searching for torn spots I came across this. At some point I guess I blanket-stitched a hole, don’t remember when.
-

happy halloween!
-
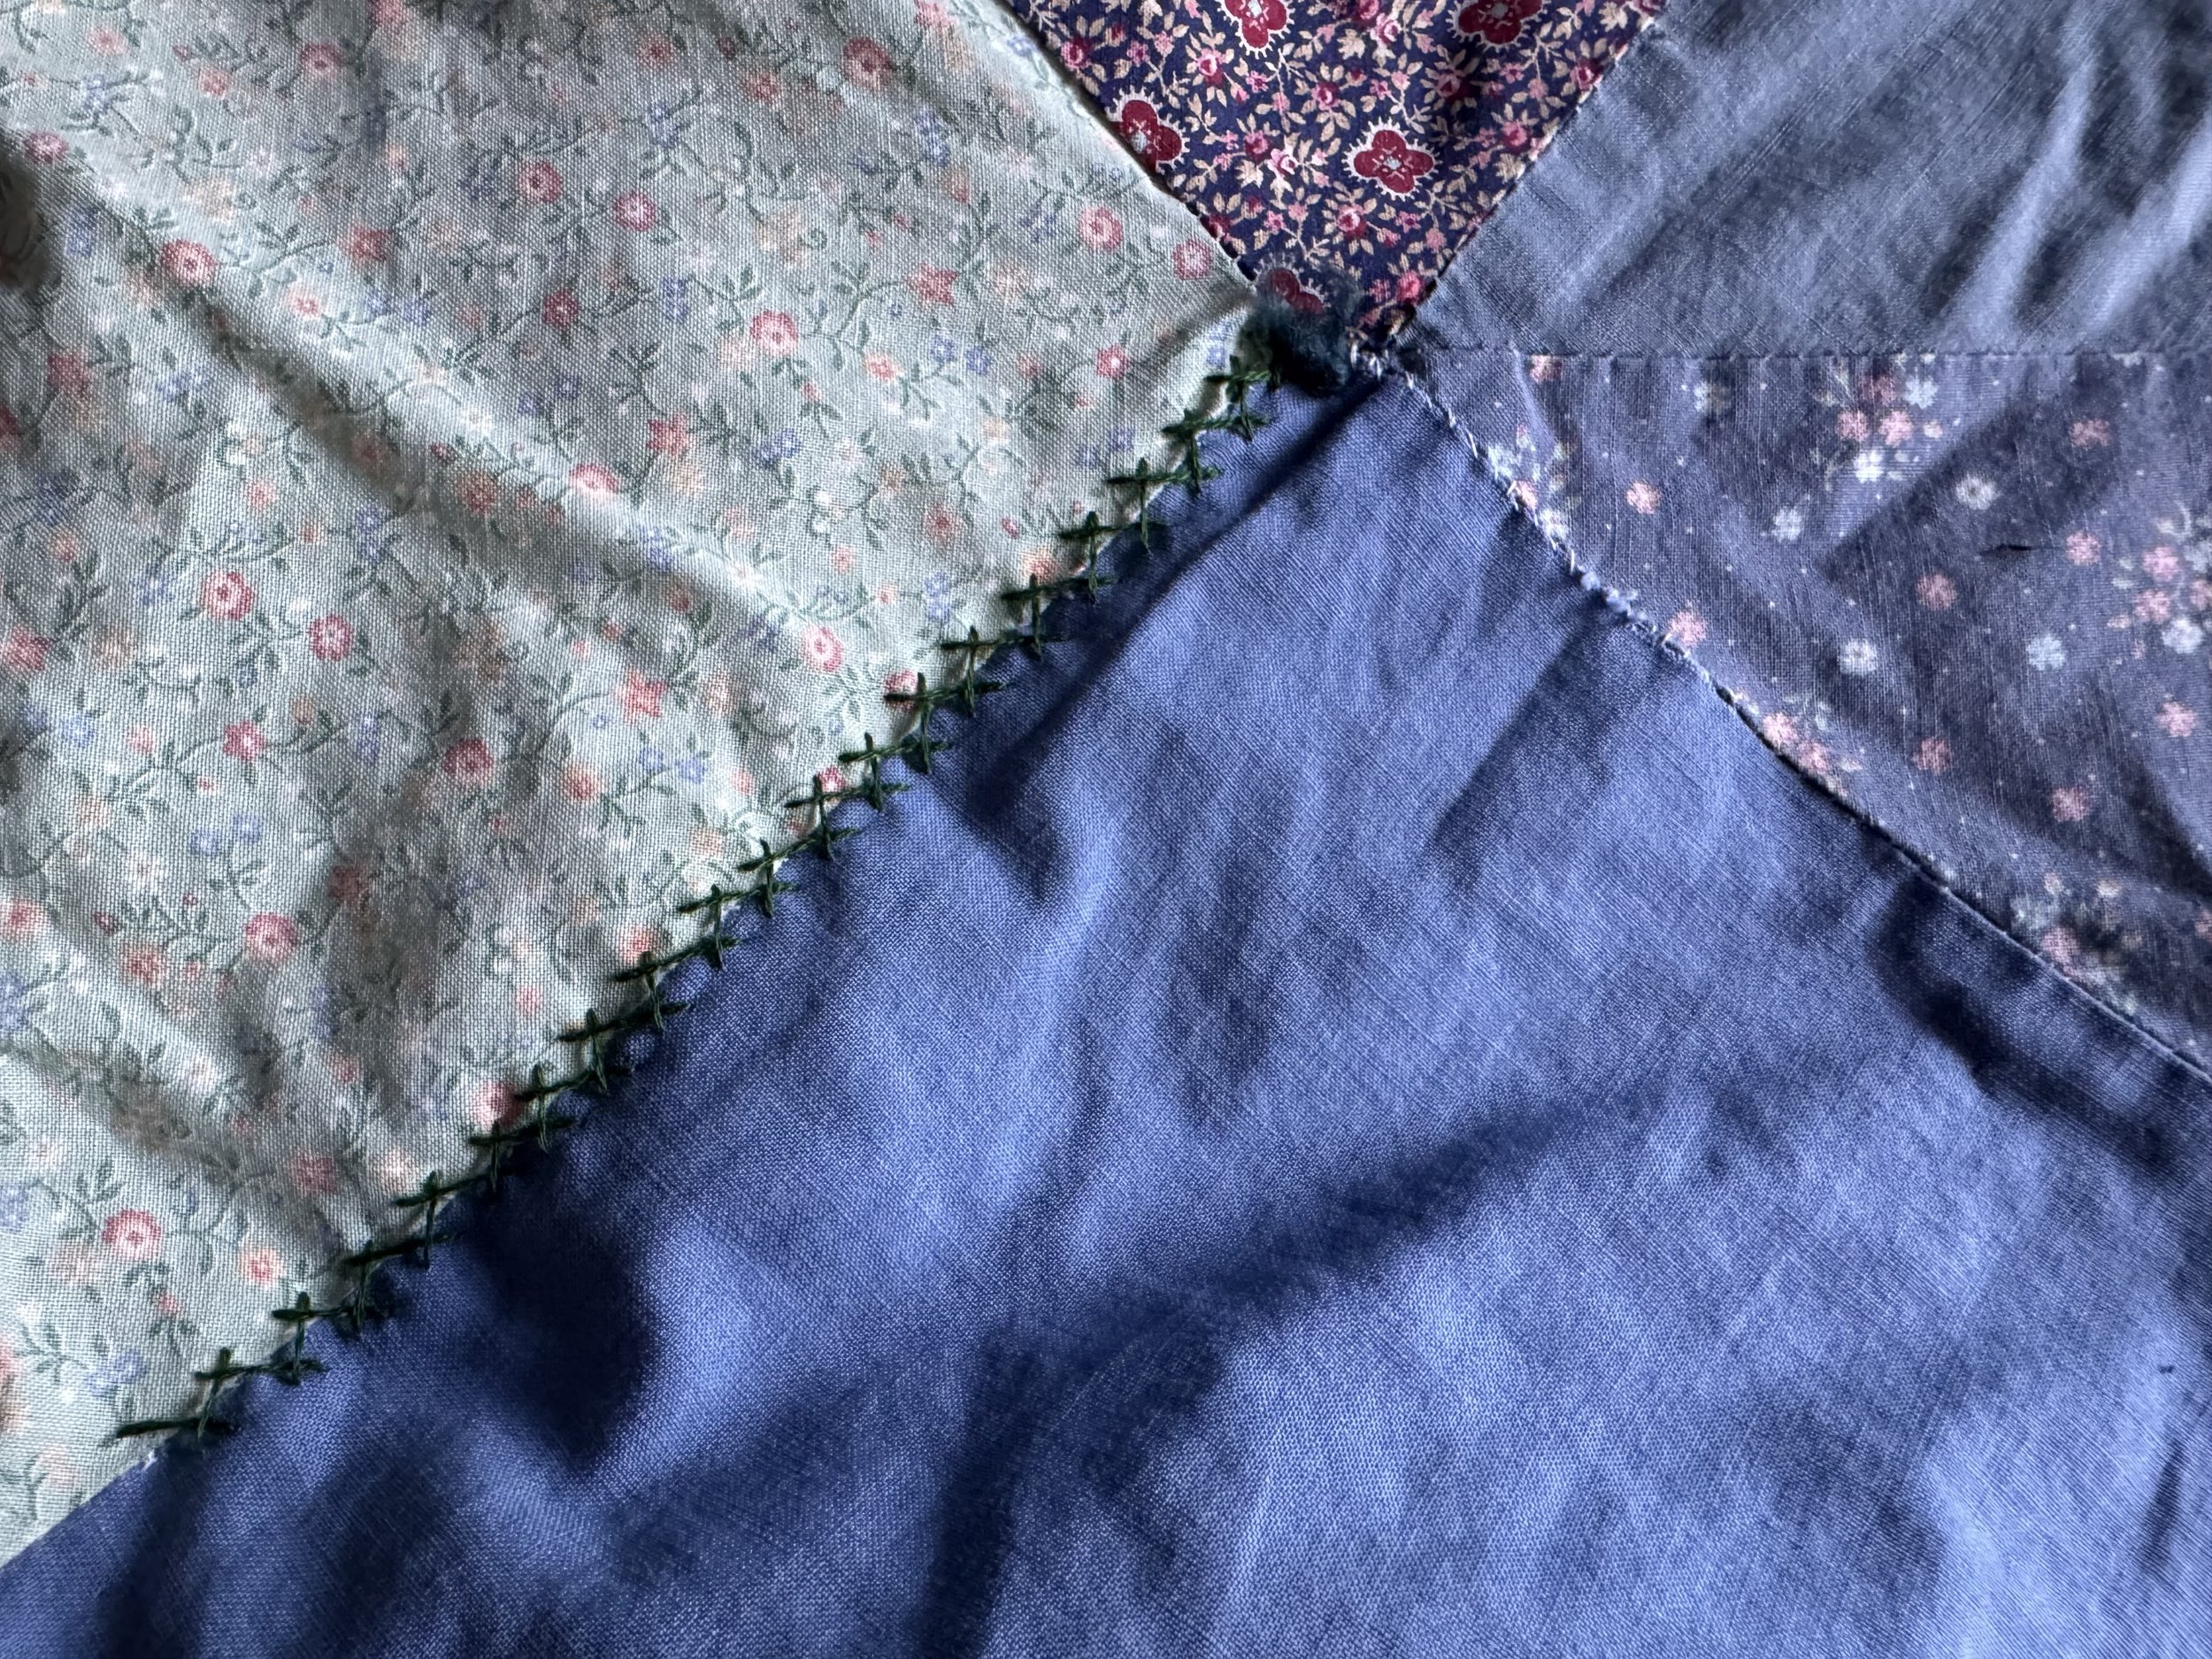
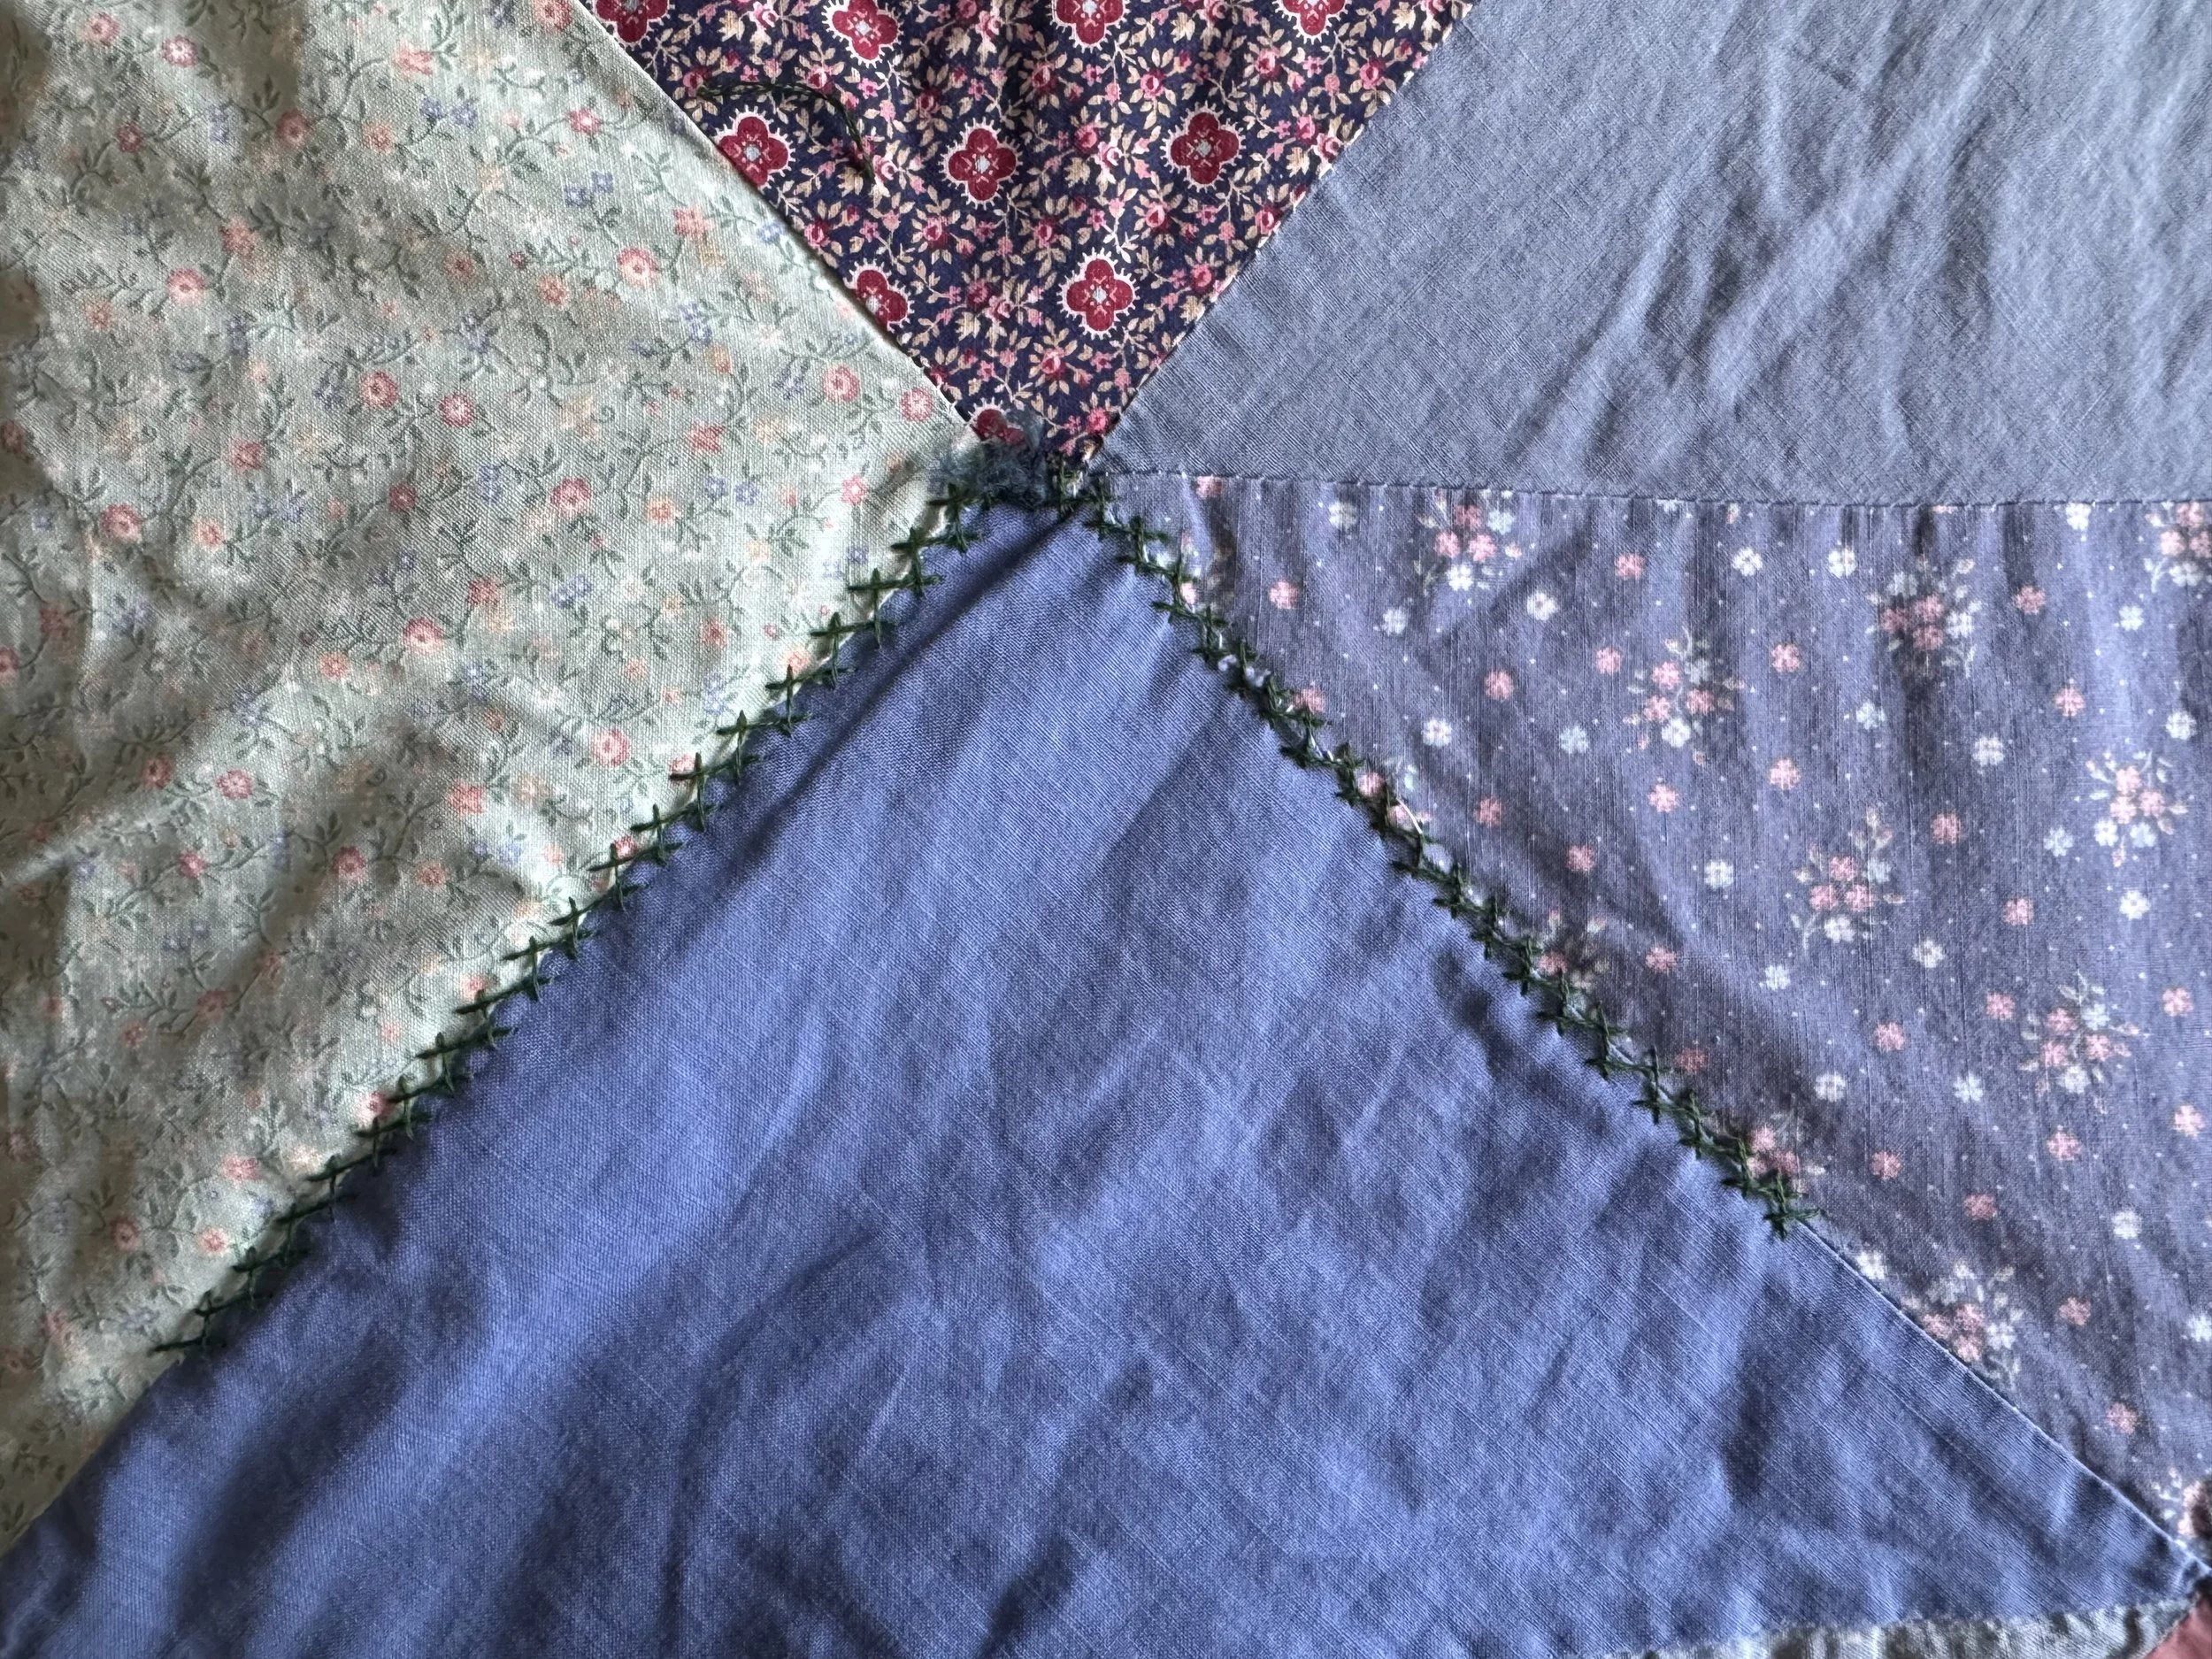
frankenstein-ian
I was thinking of doing some elaborate flower embroidery, but given the fragility of the fabric, I decided to go with a plain and sturdy herringbone stitch.
-
-
-

oops, another one
Just when I think I am done, I find one more.
-

a bit wonky, but done
Here she is, ready for life as a reading buddy. I had so much fun with this bit of embroidery. Time to go back to my scrap bag project.
Mending is not the most glamorous type of handwork, but it is some of the most fulfilling for me, particularly when I can mend something that has such a place in my heart.