a bustle skirt
-

a lovely and inspiring book
I have made several items from this book (1) and my current itch is to make the bustle skirt.
-

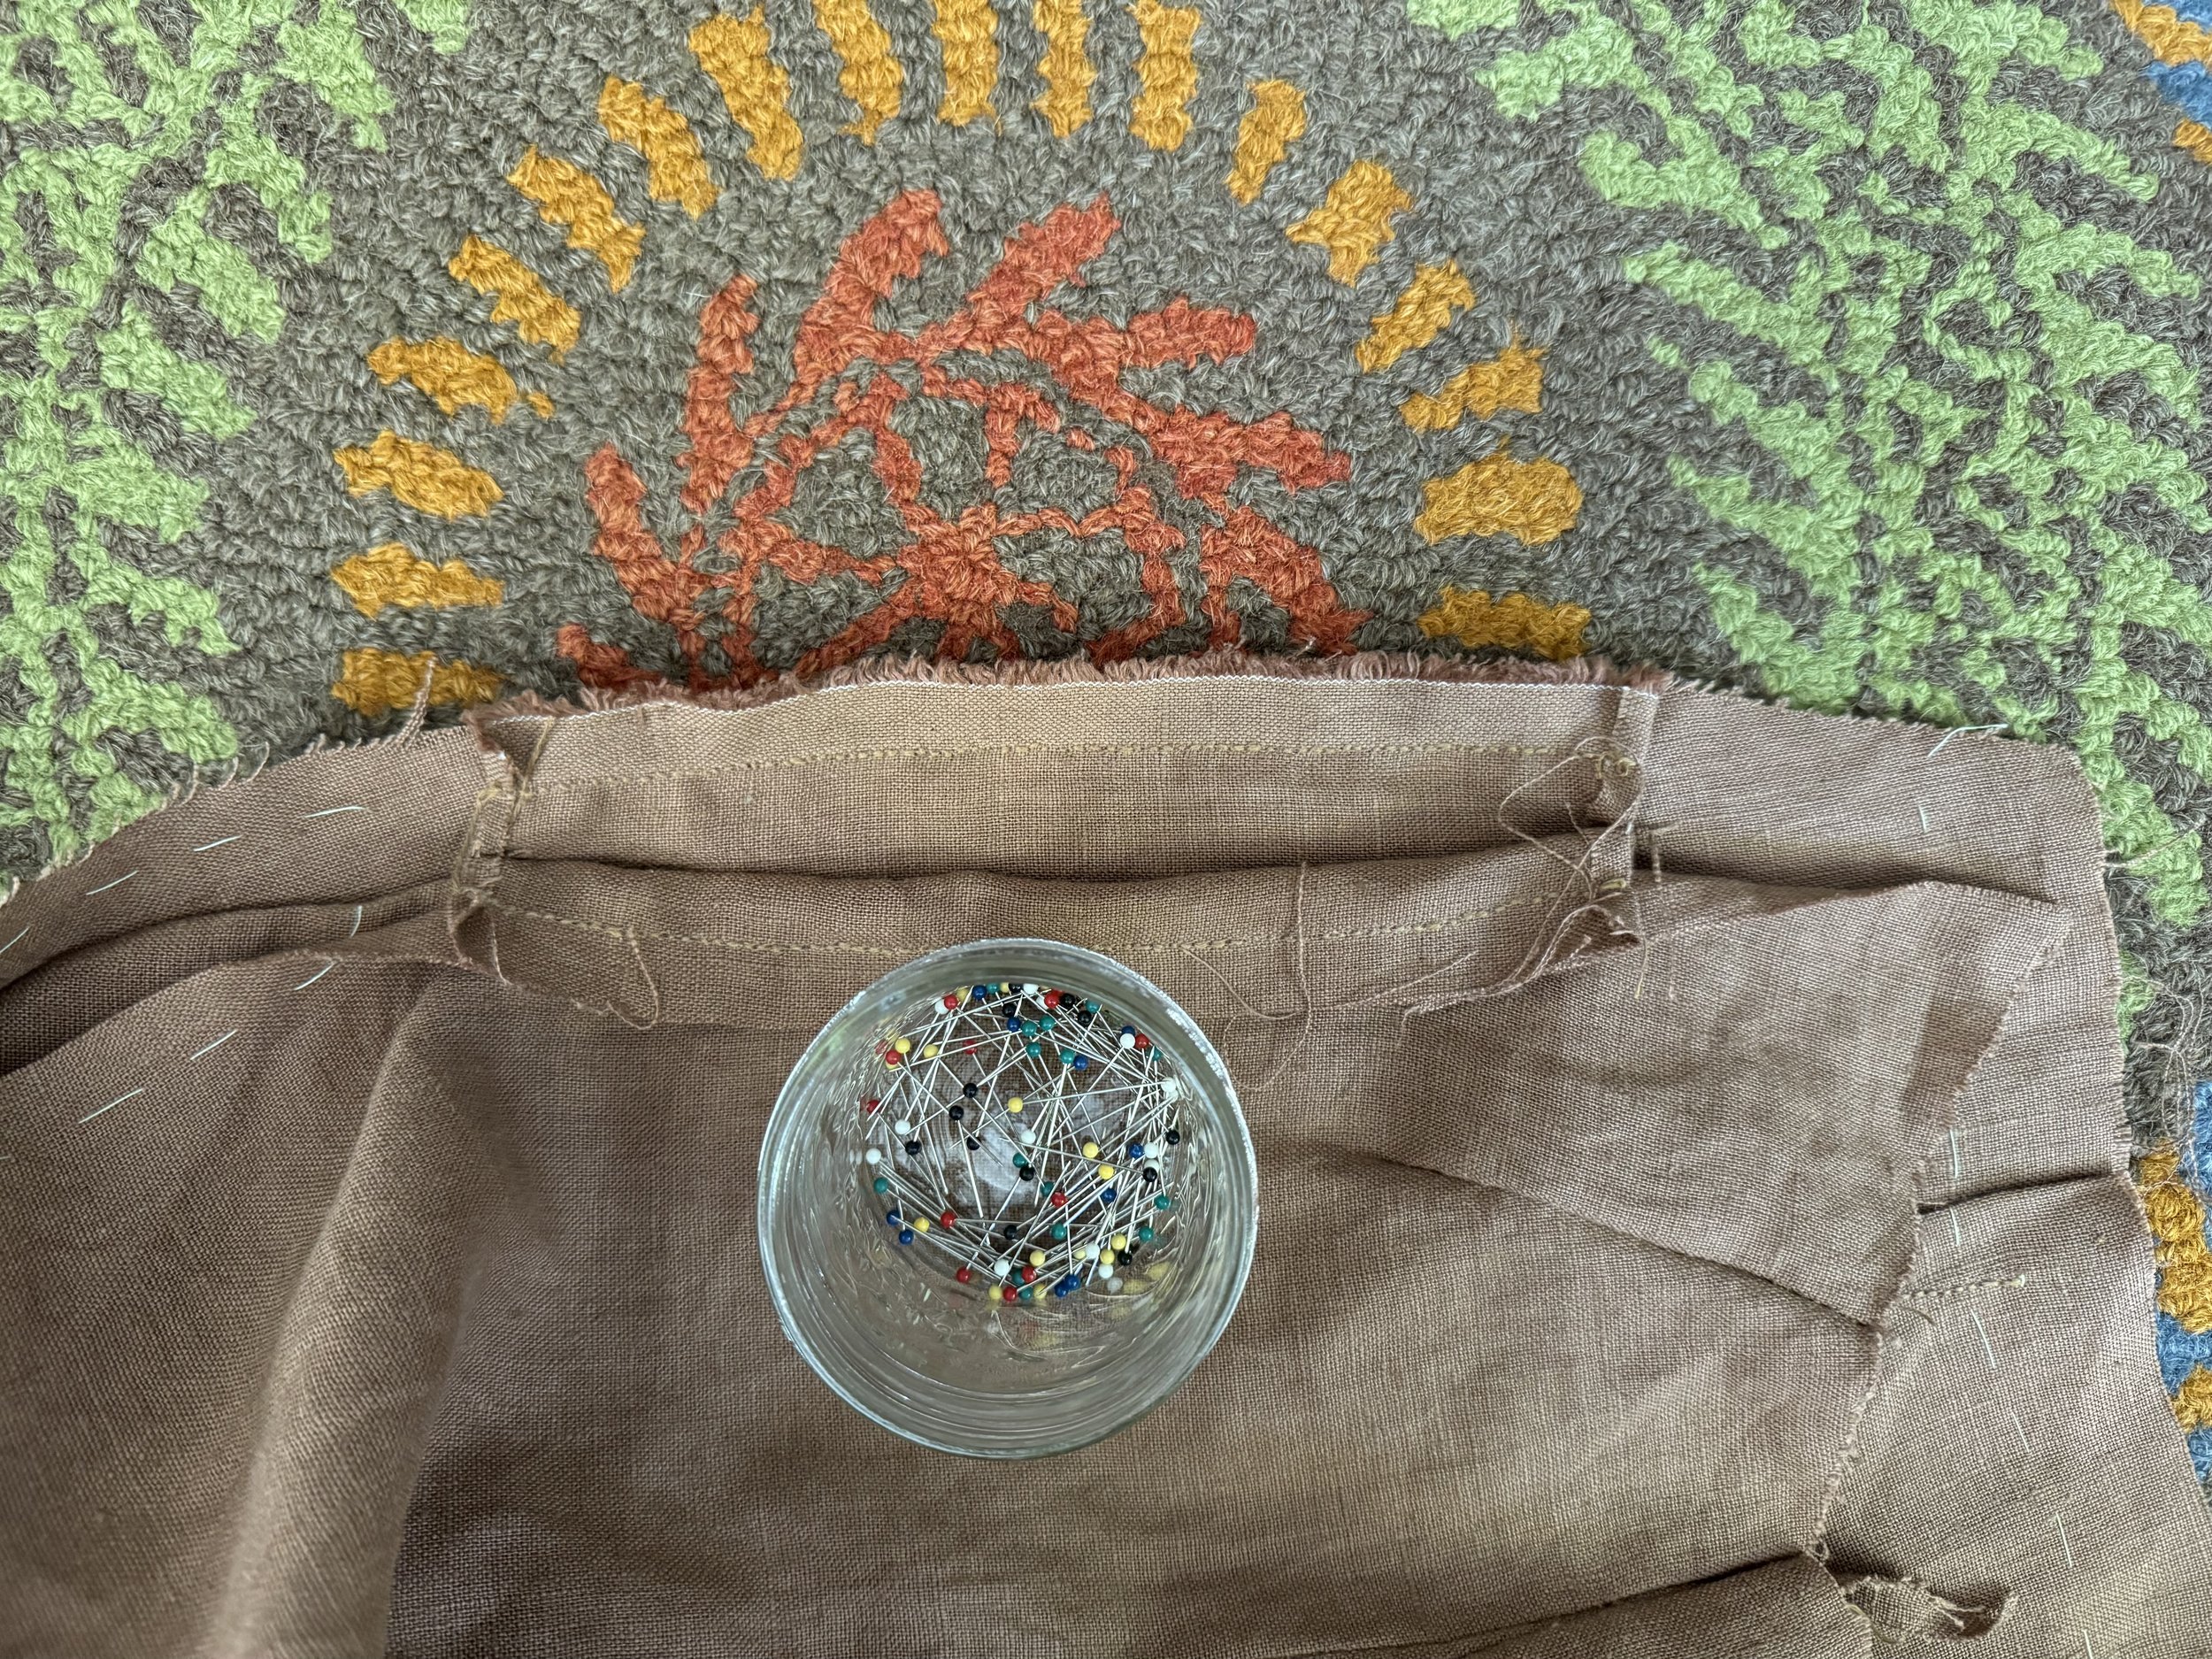
the fabric pieces
Here are the pieces of the skirt according to the pattern, plus four pocket pieces: front (that is hidden), back (two pieces), gusset, strap piece (tiny as to be practically invisible), and belt/drawstring pieces (two).
-

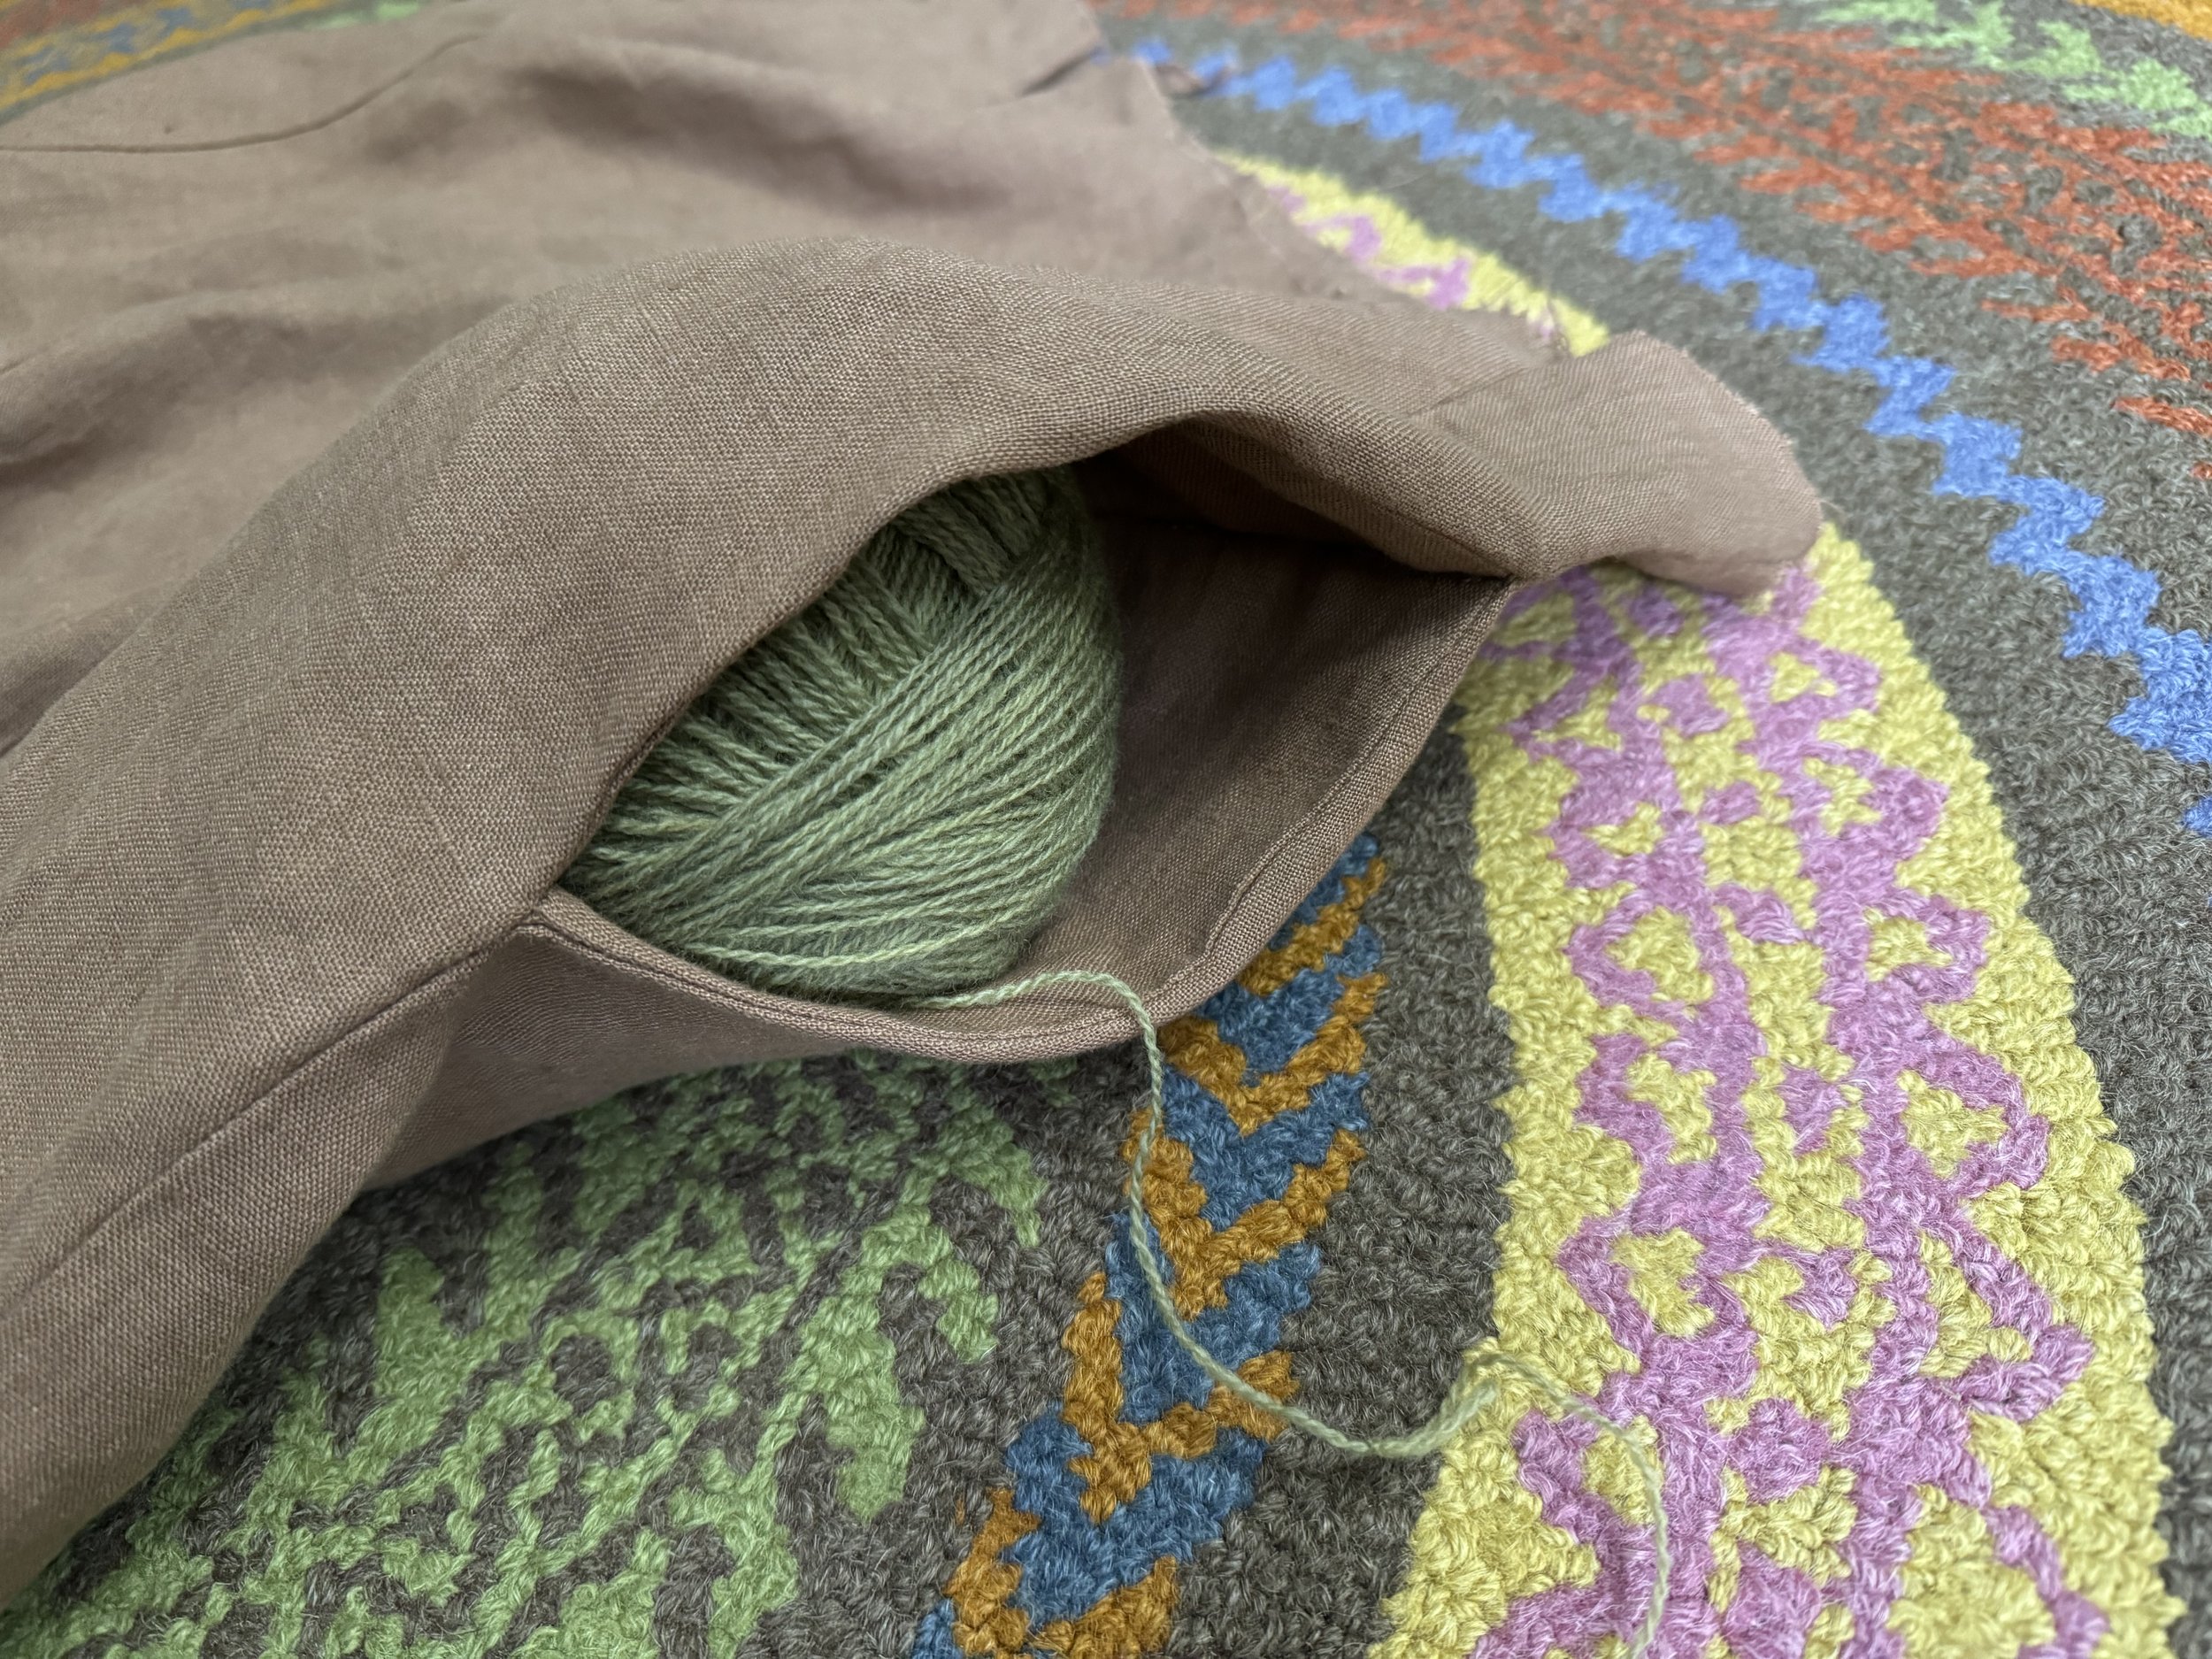
pockets
Beginning with the most important part, I pinned the pocket pieces. This fabric has no right or wrong side, but if it did, I would have pinned the pieces wrong sides together. Yep, we are heading for French seams. And I made sure to leave the seam allowance at the pocket opening un-stitched. This will make it easier to insert the pocket further down the road.
-

basted sewing lines
After I had sewed about 10 stitches on the first pocket, I realized that I need to baste all of my sewing lines - the chalk rubbed off as soon as my hands touched it. No big deal, and the bonus is that now I can see my sewing lines on both sides of the fabric. I didn't baste the front piece because I plan to alter it.
-

altering the front
I want to alter the front in two ways so that it is more similar to this cotton petticoat: 1) I'm going to curve the front waist for a more comfortable fit; and 2) I want to avoid the elastic waistband that the pattern uses and instead use a drawstring that is anchored in the front, about 4"-5" from the center on each side. (2)
-

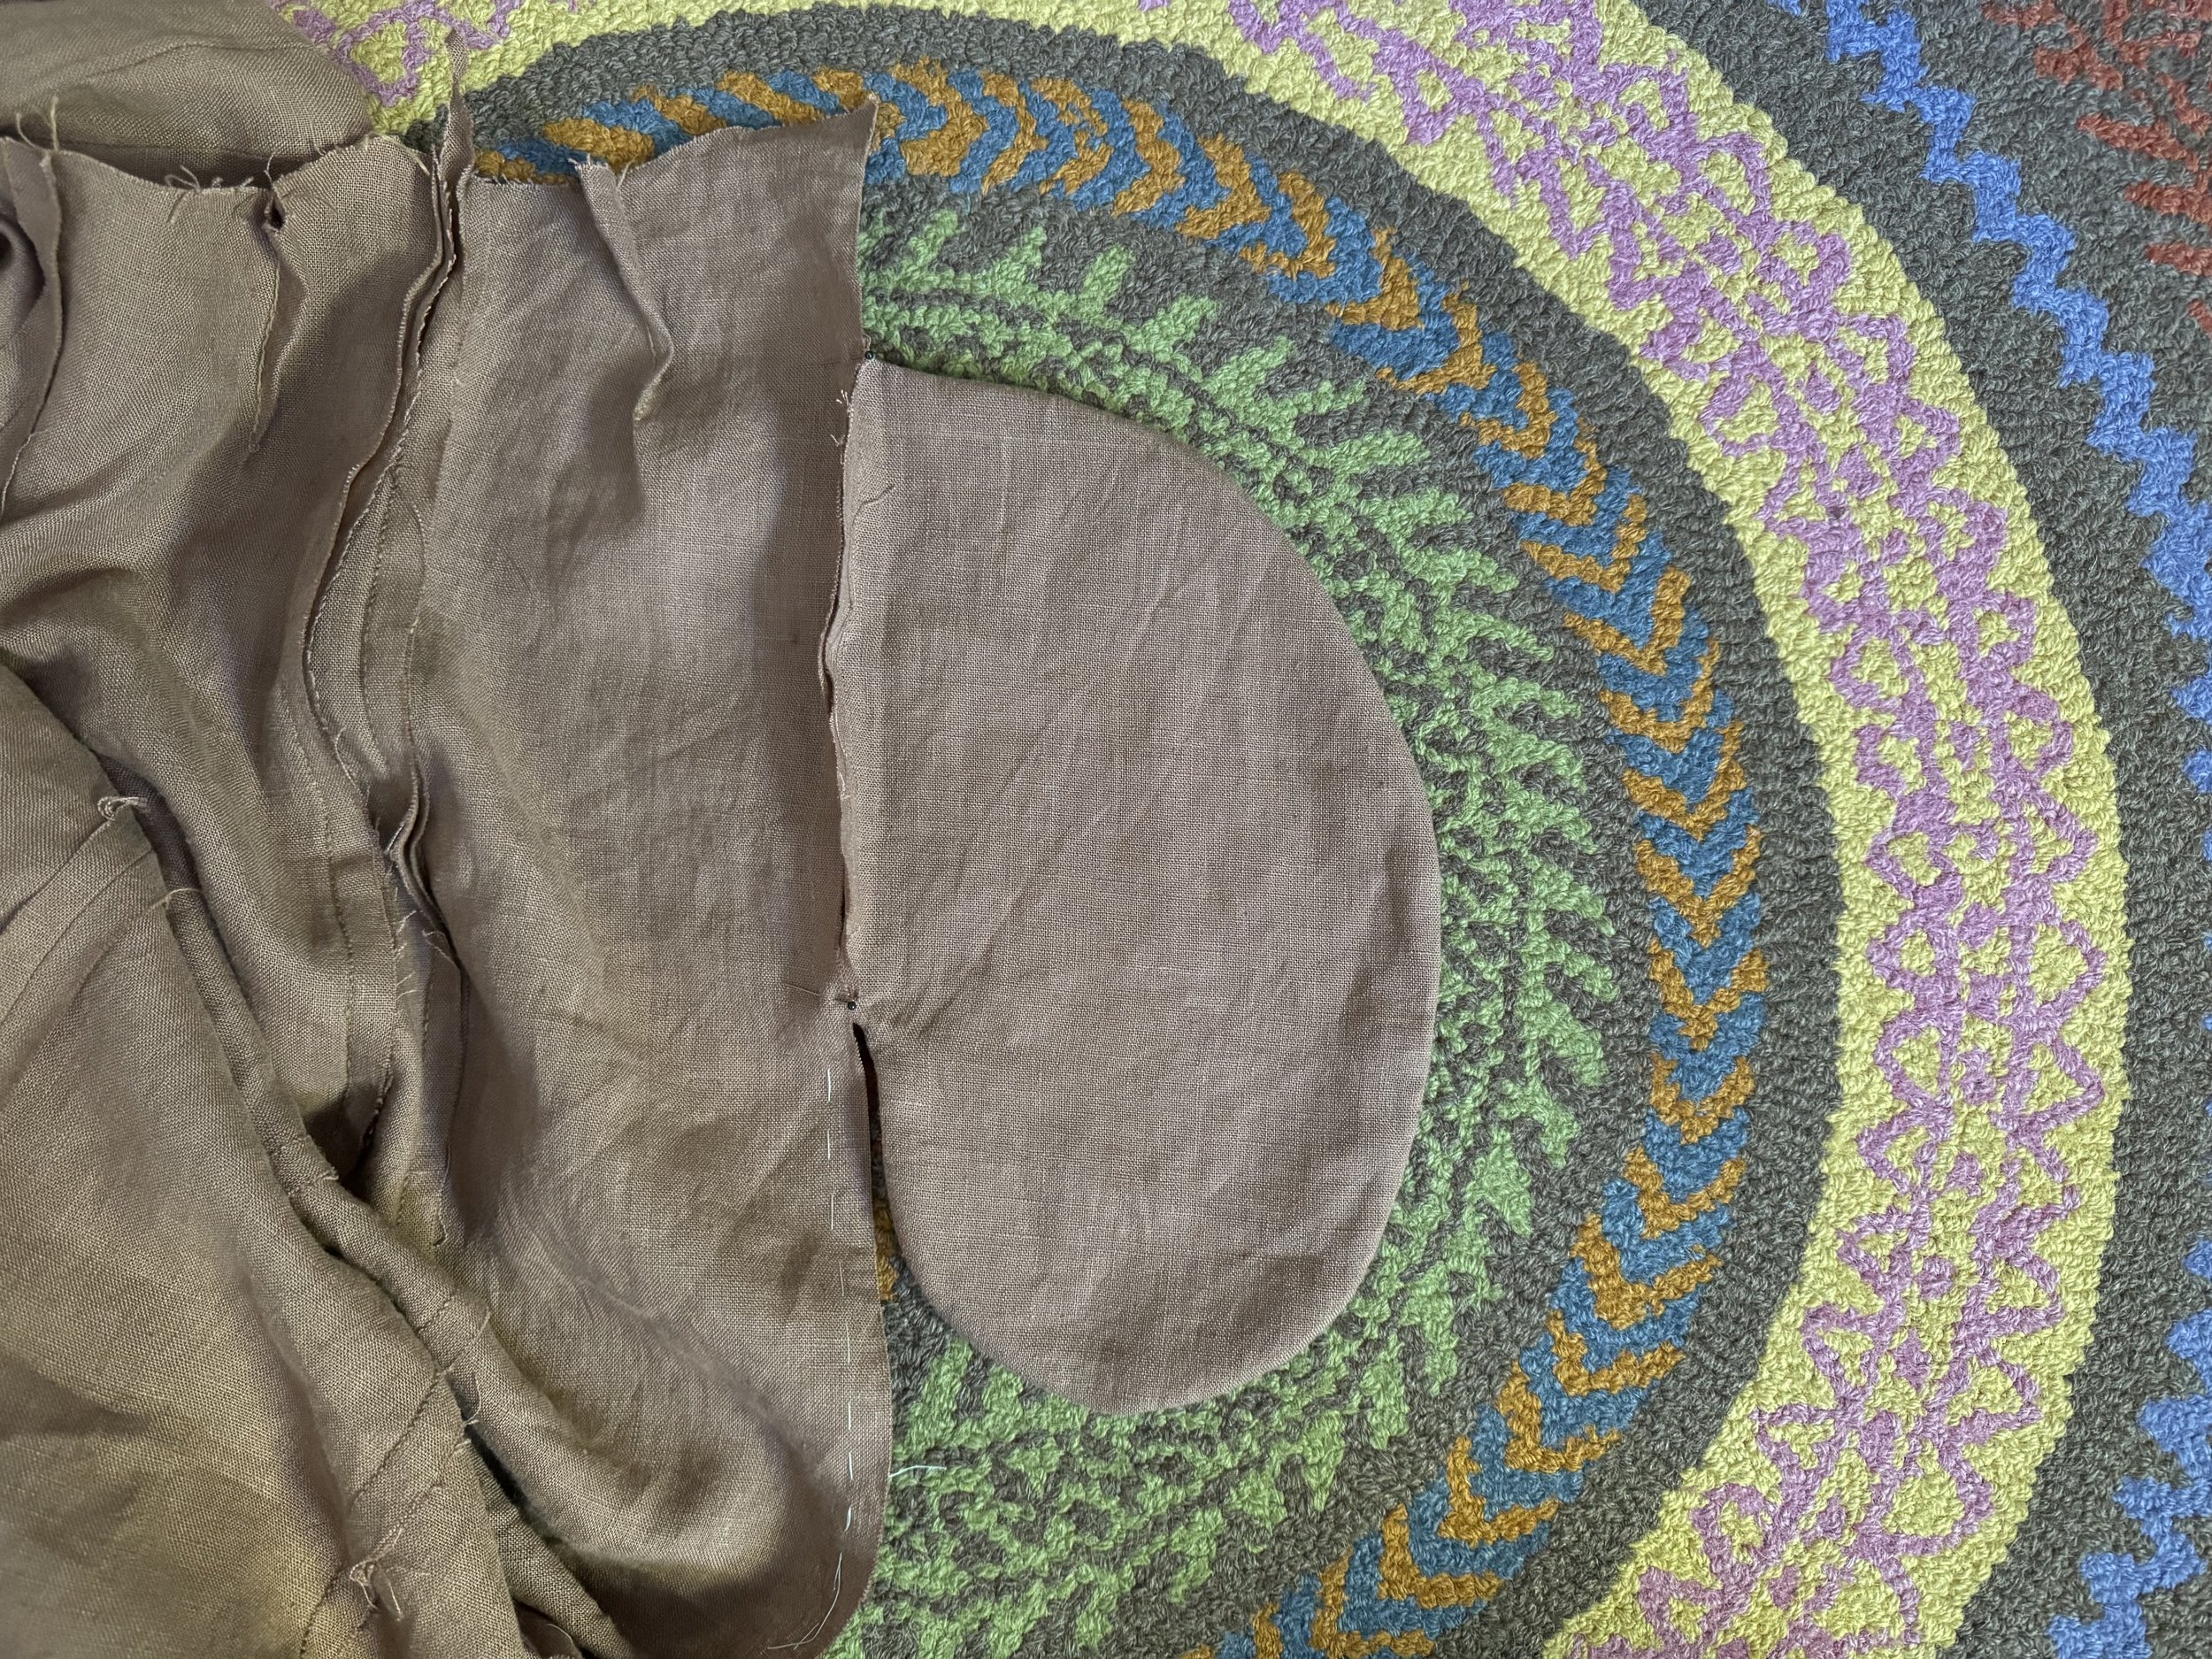
pinned for drawing thread
Yay, I get to draw thread! The pin marks the center front. I'll divide the piece into two and will then divide each of those two pieces into two more pieces. So my original front piece will now be made out of four pieces.
-
drawn and halved
My idea is to cut each half in half, and then attach the drawstring to the midpoint of each halved half. Clear? This way I won't be sorry that I am not using elastic; the drawstring or, rather, bustle ties, will do all of the waist-shaping work.
-

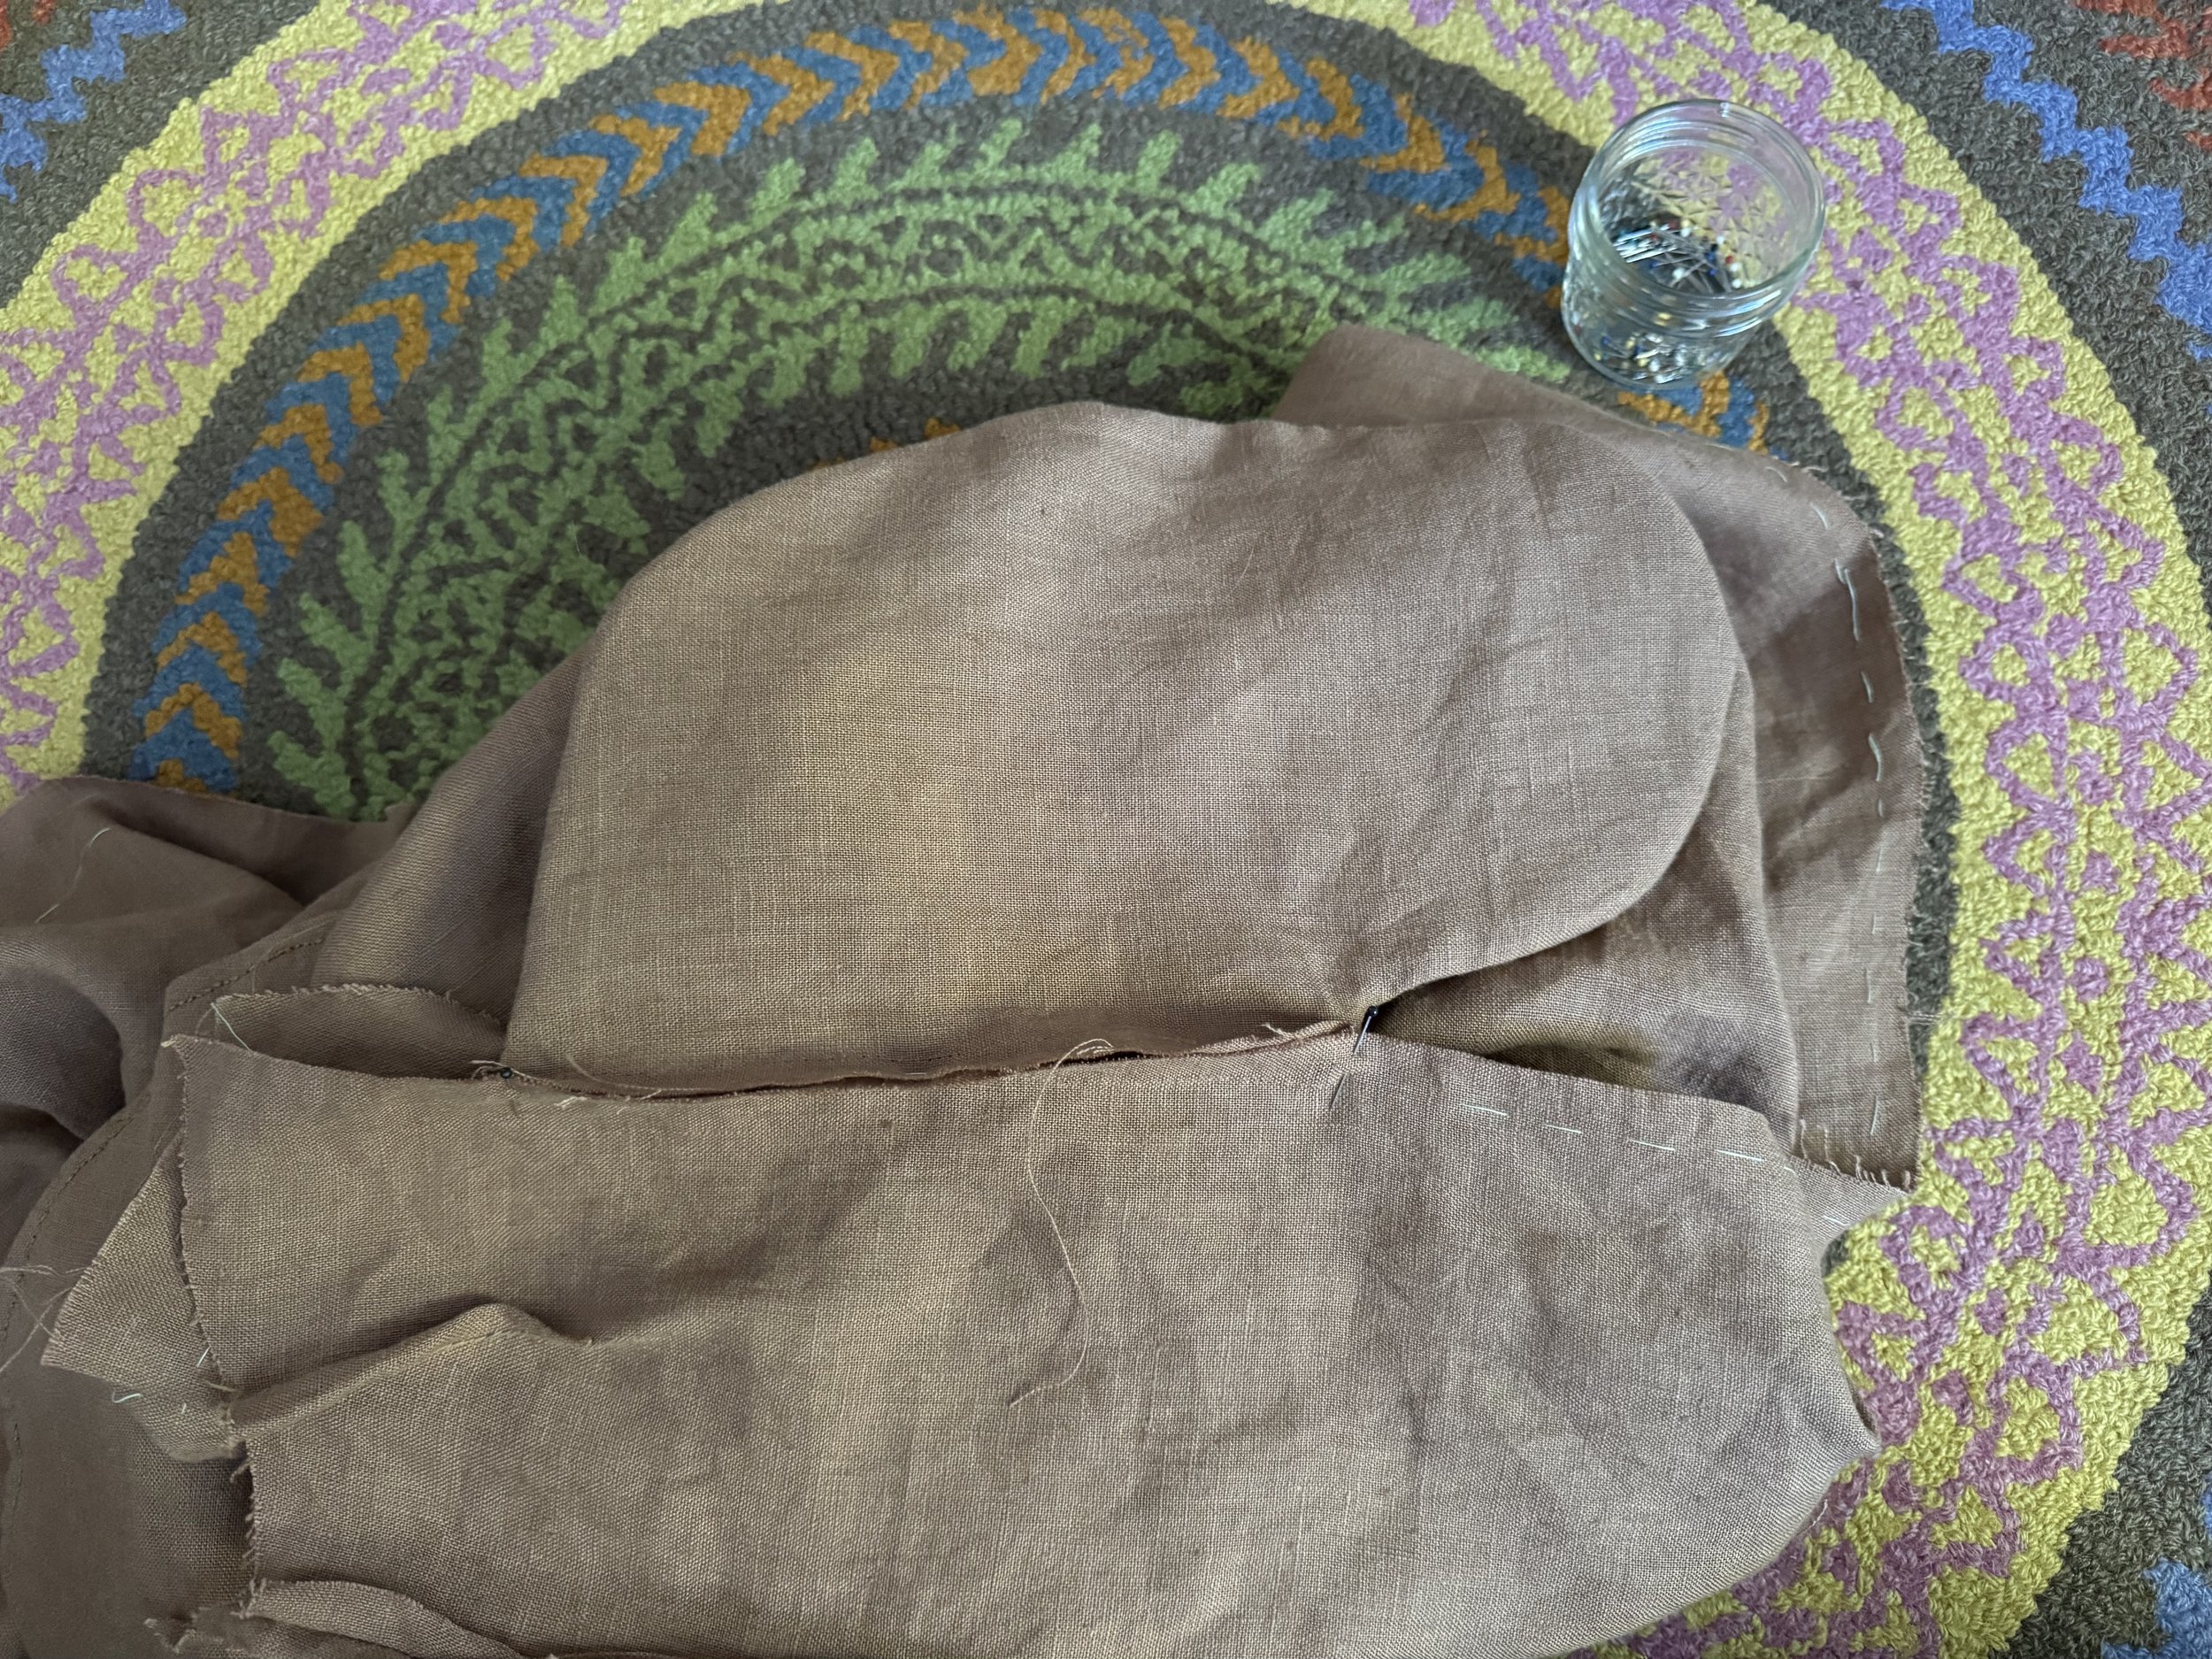
a wrinkle
So here is a little problem: the side edges of the front pieces are cut at an angle, and the same goes for the back piece; its edges are also slanted. Experience tells us that if we sew together two pieces of fabric that are cut on the bias, we will get a droopy seam. If a bias seam is present, it is best to sew it to a piece cut on the straight of grain, for support. My edges are not on a true 45-degree bias, but they are slopey and so are probably a droop threat.
-
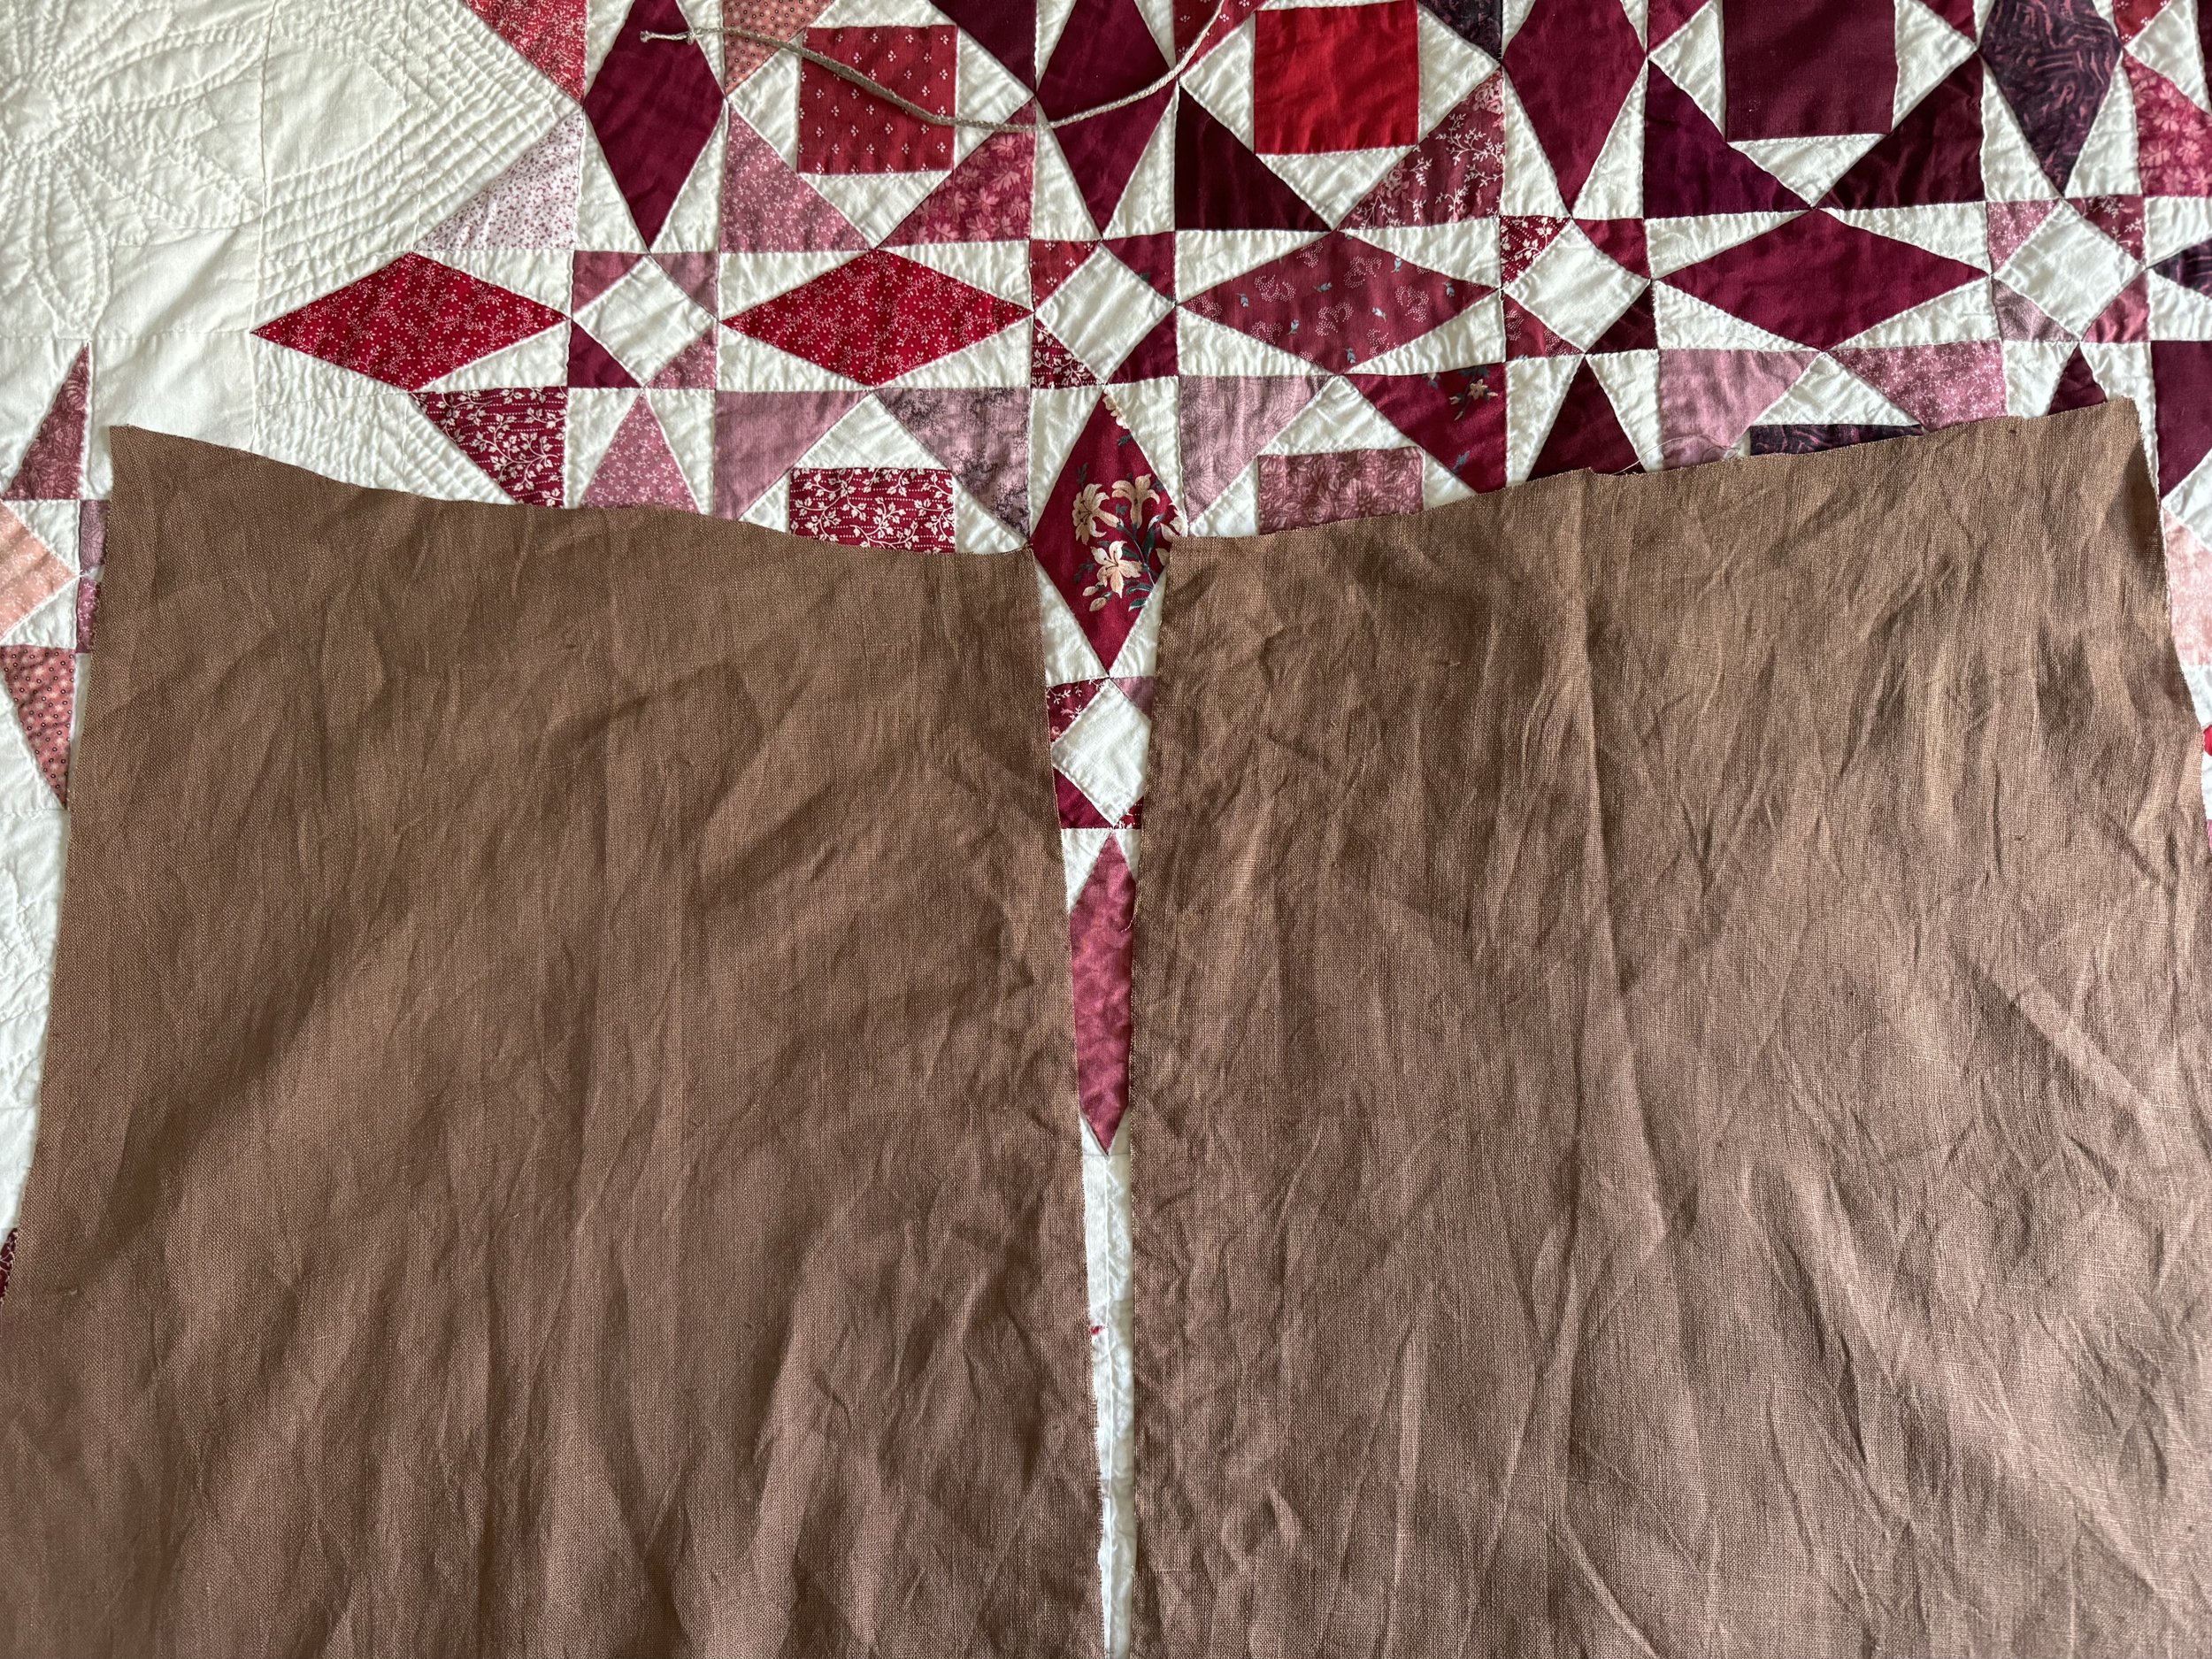
a solution?
I decided to cut off the flared edge on the grain line and then to cut the remaining fabric straight up the middle. The center seam can just hang out and be strong, the seams adjacent to center will be strong to house the anchorage for the drawstrings, and the side seams holding the pockets will be pretty strong, as the front panel's side edge is cut on the grain and will help support the slanted back panel.
-

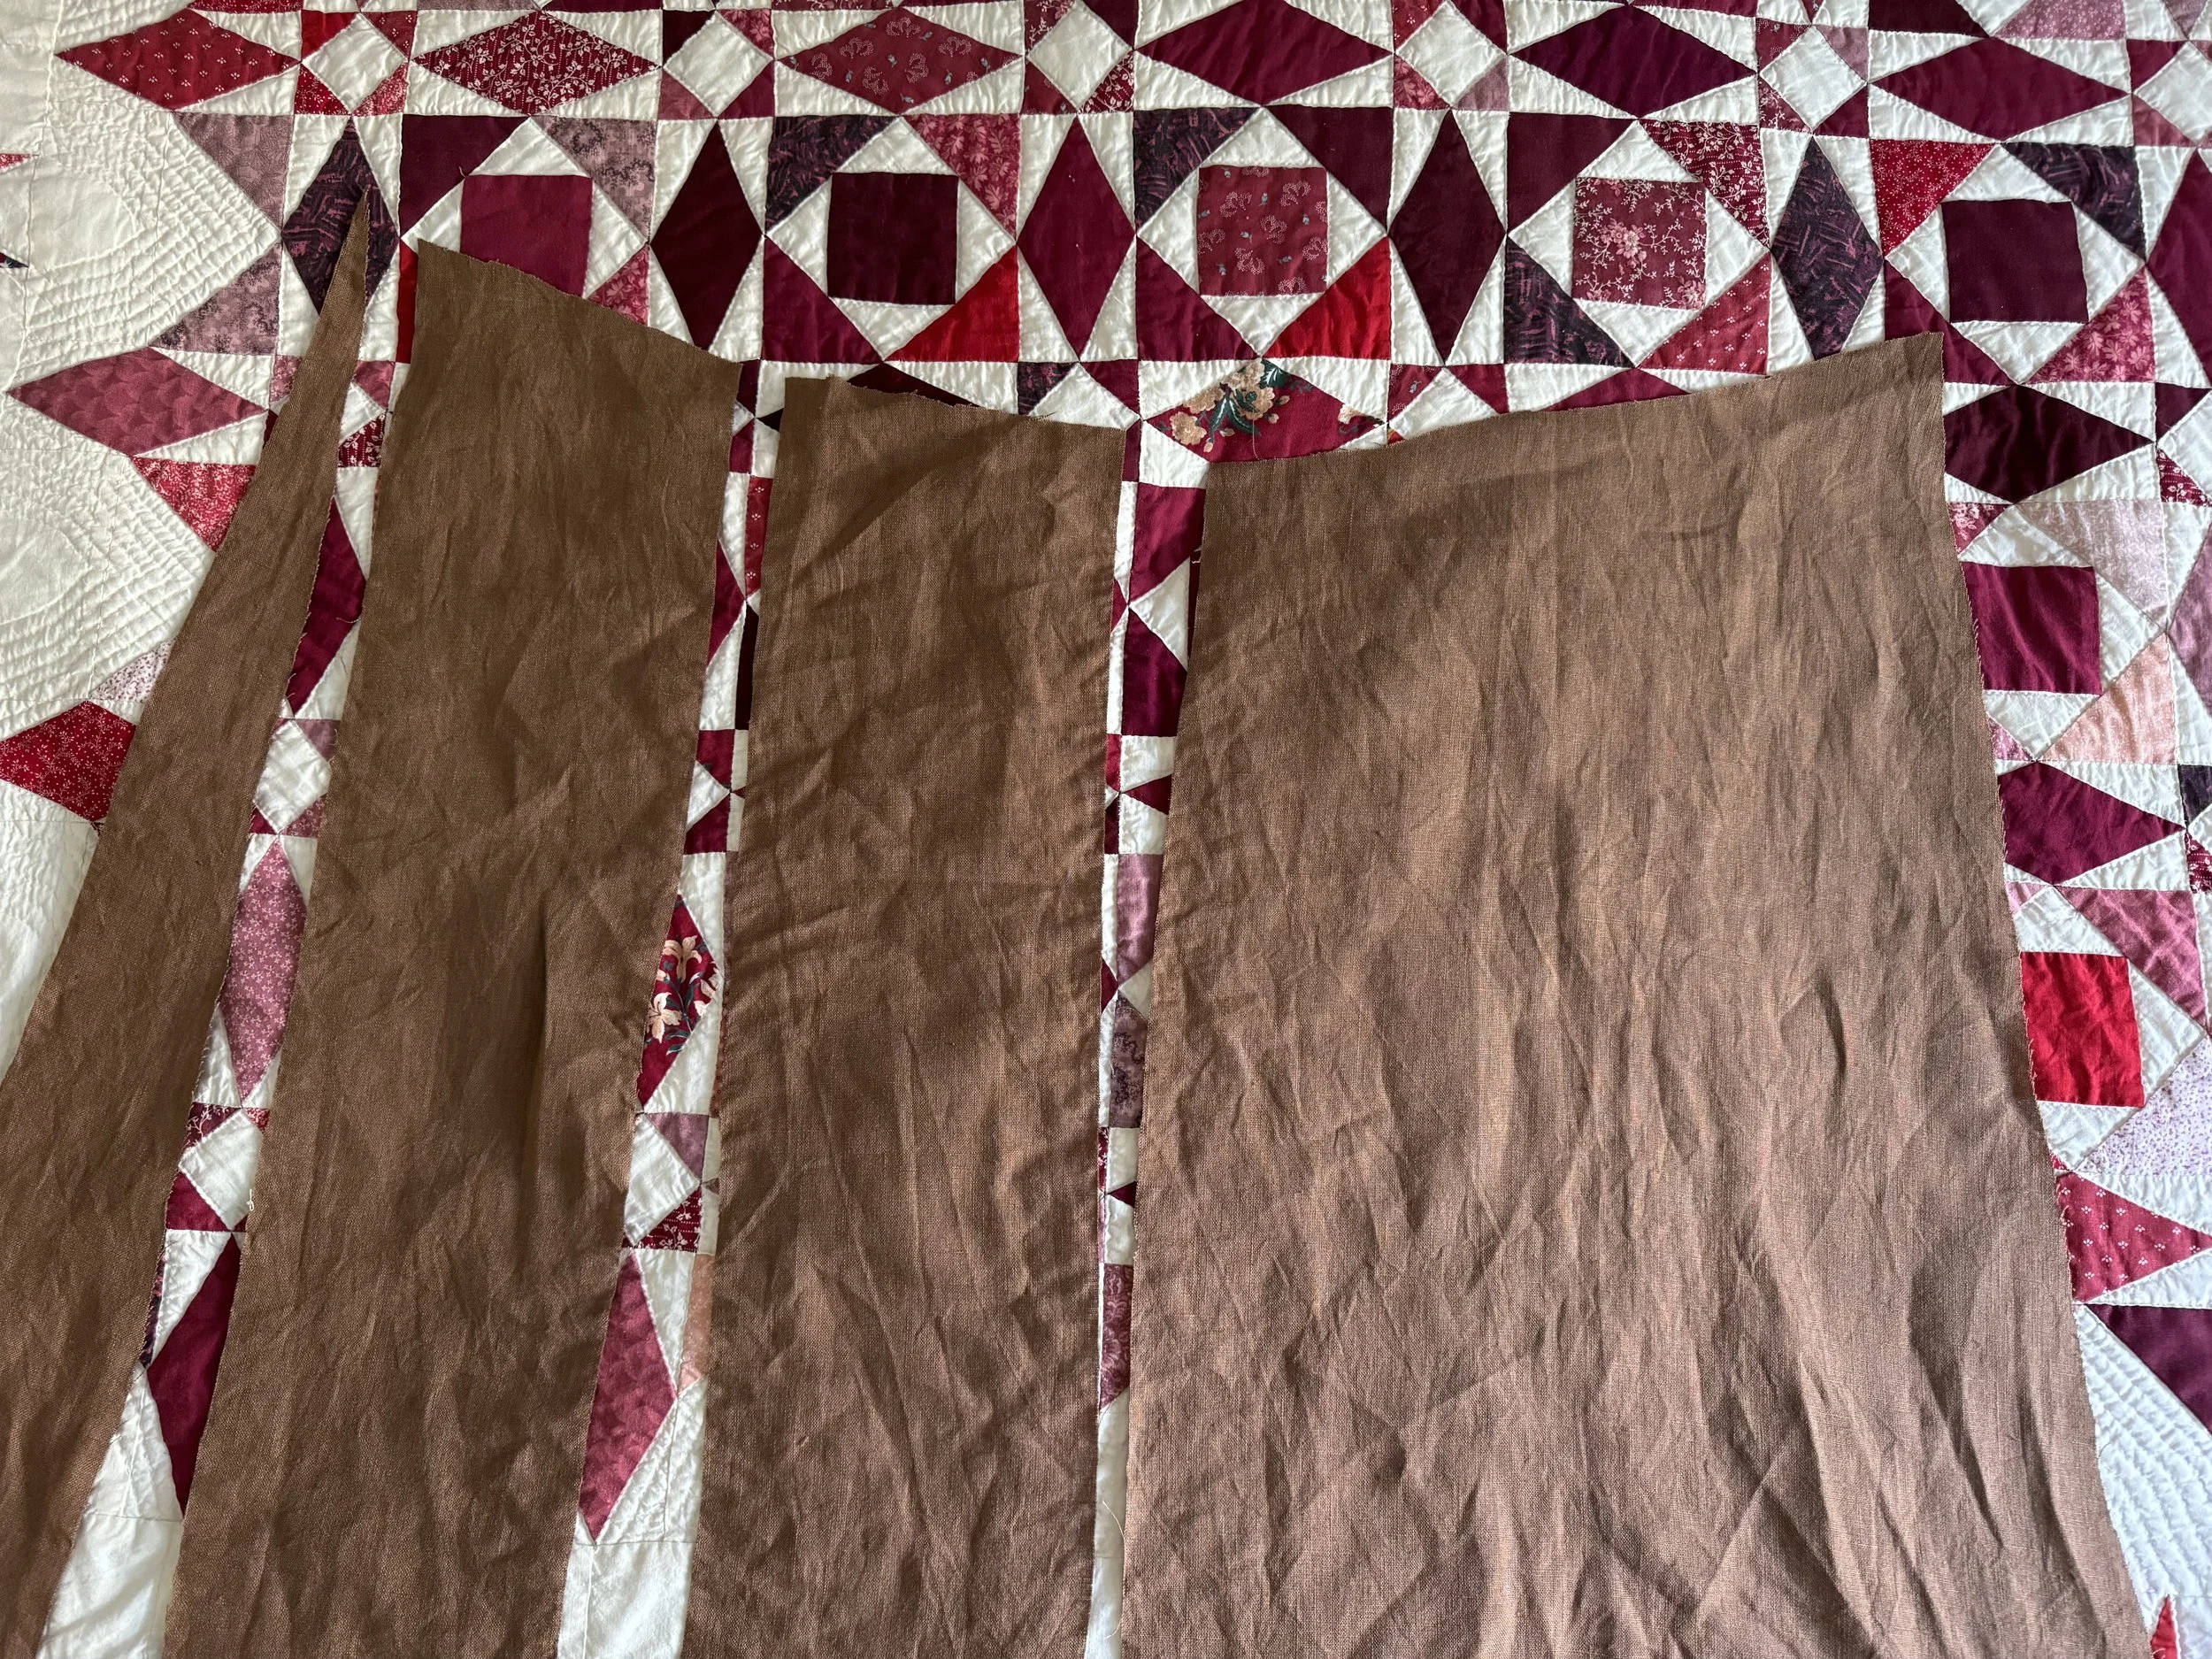
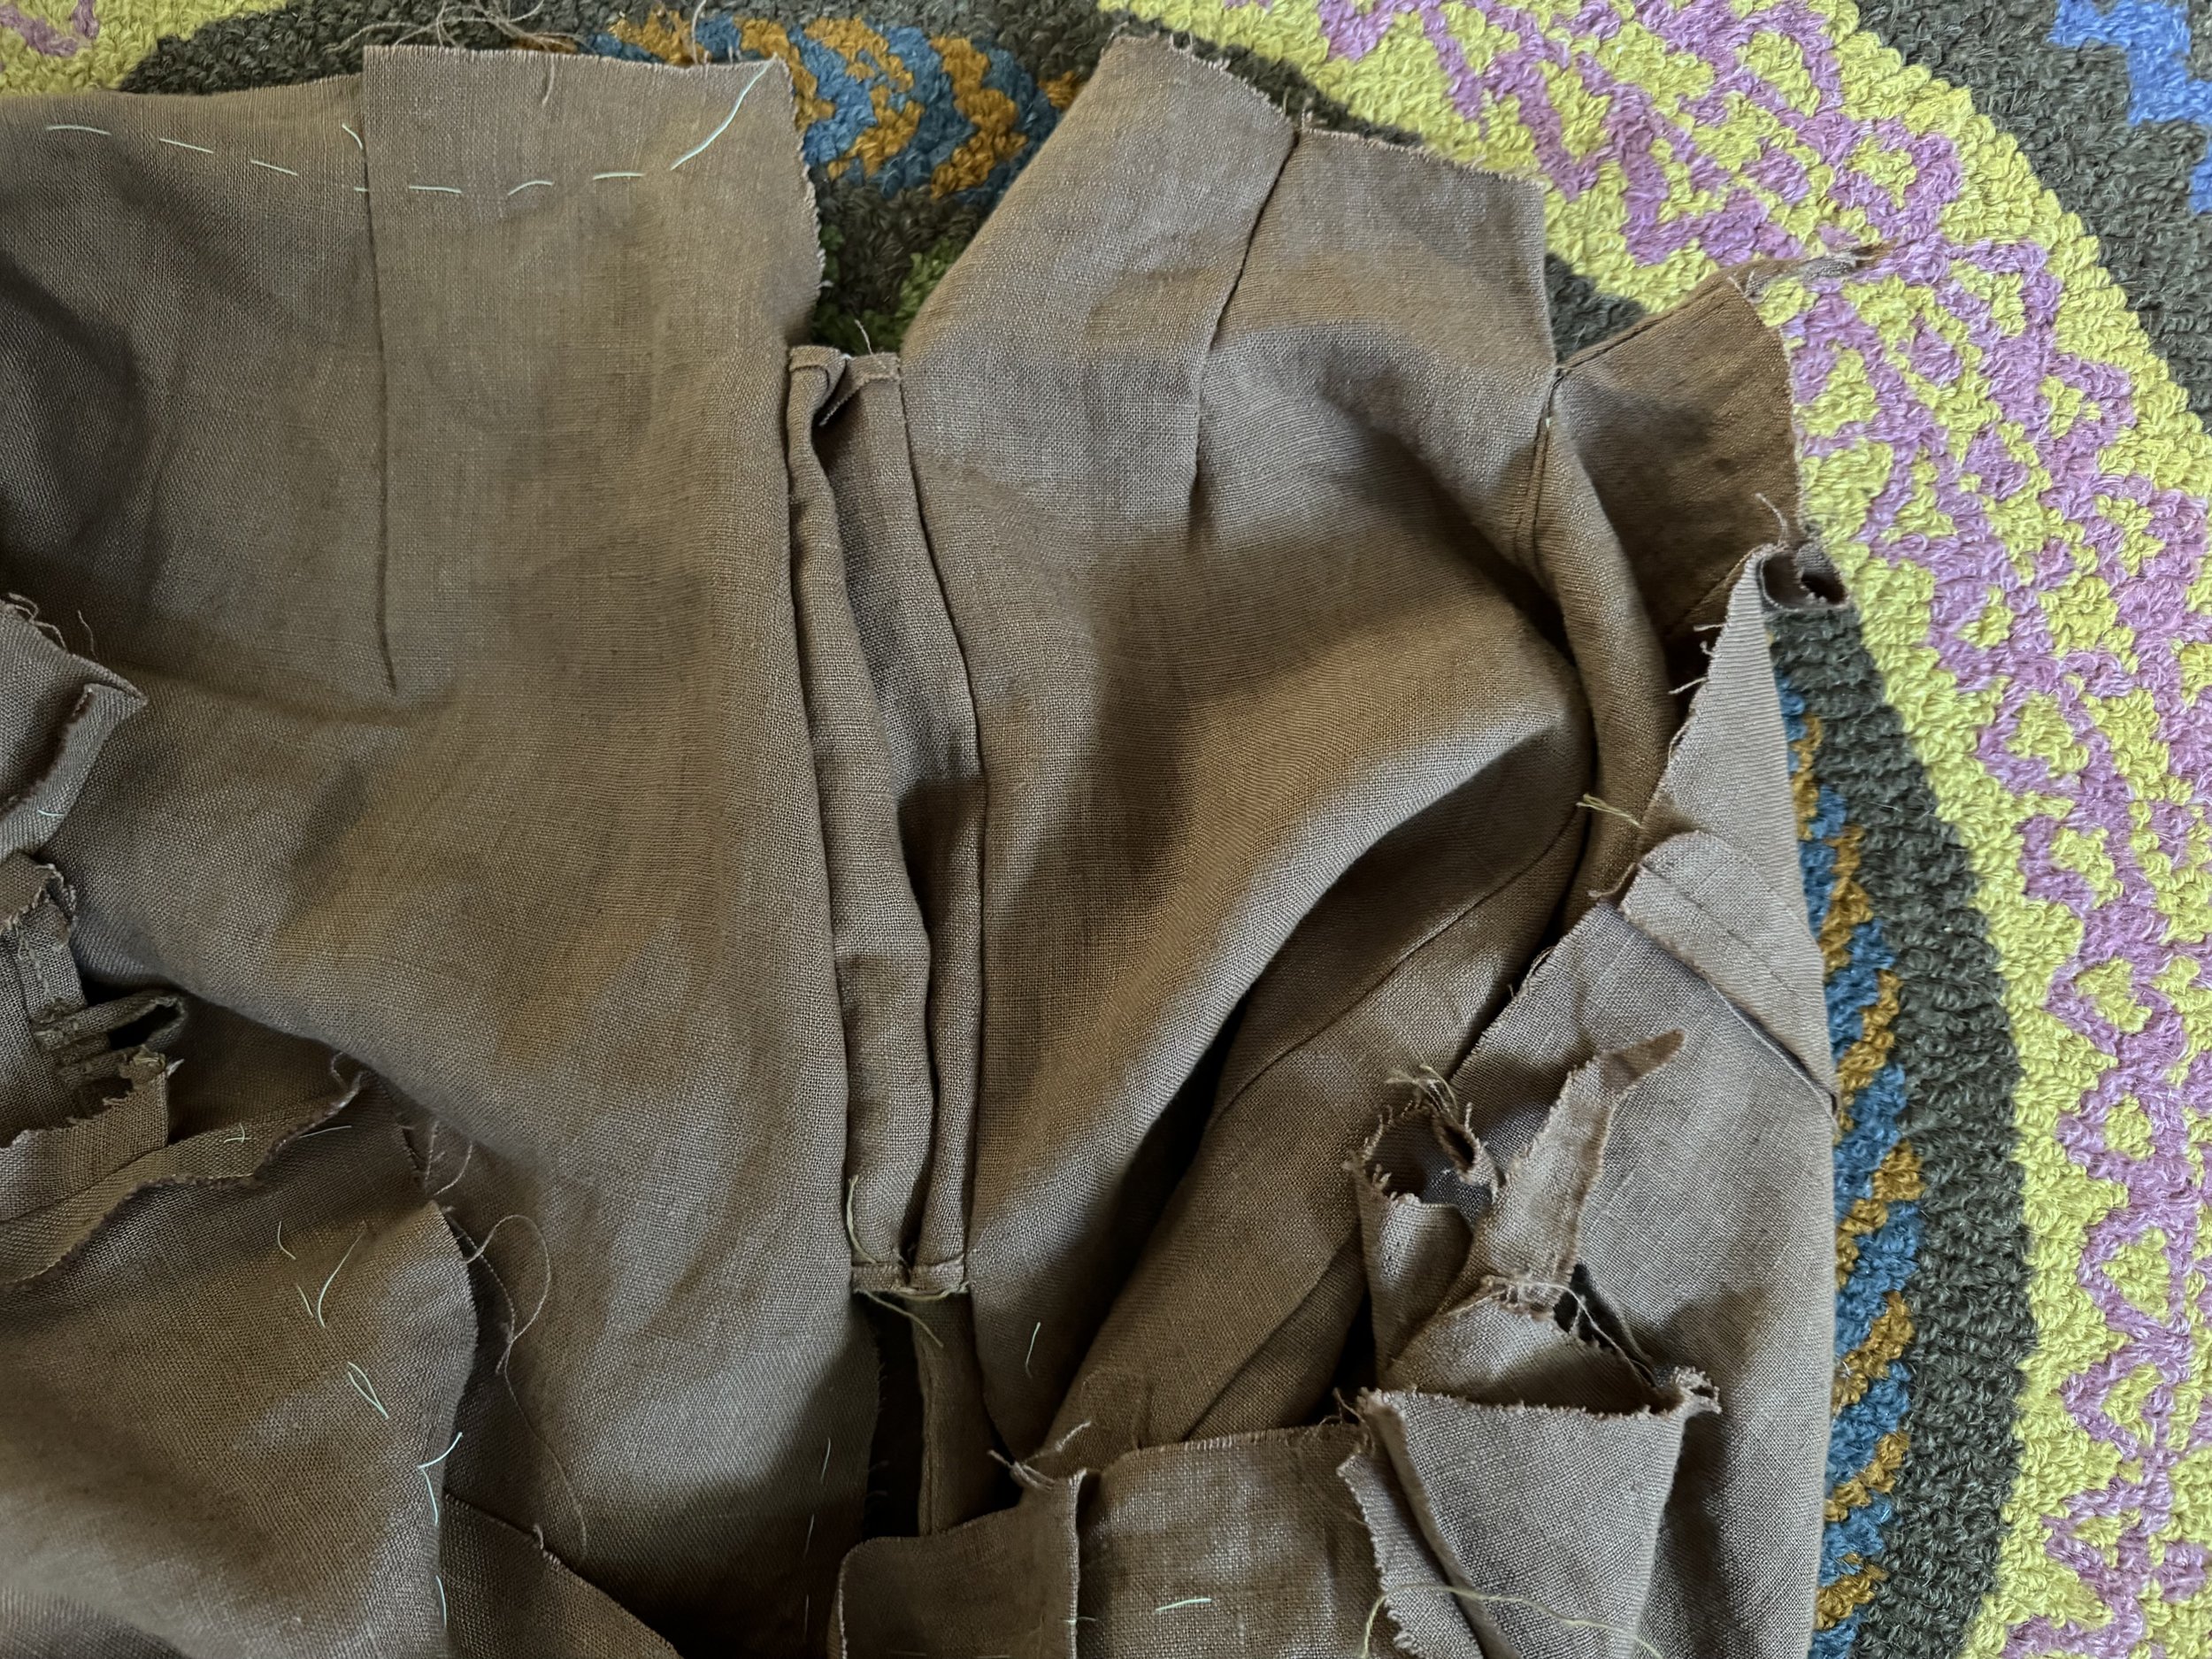
oh, here's another thought
I don't want to waste the slopey edge pieces and I do want to keep the bottom of the skirt as full as I can, so how about moving the edge triangles in between the other two panels? There won't be any issue with bias abutting bias, and this way, I can use all of the fabric. Win!
-

now they are gores
Or godets. I'm going to try this out. I might have to shorten the skirt length a tad in order to accommodate all of this rearranging, but it won't by by much. Lots of seam basting ahead!
-

back to sewing
The front piece interlude concluded, I can return to stitchery. I finished the first seam on the pockets and will leave them alone for a while. Now I am making the gusset. The first step is to fold this tiny strip into fourths and pin . . .
-

and sew
I am making this skirt without a machine, so I used overcast stitches to sew the to-be-loop together. It's a bit twisty (hence the imitation of pinned insect here), but I have to fold it on itself anyway, so it should be okay.
-
one gusset, check.
It is the only gusset, truth be told. I sewed the little loop strap to the inside and then backstitched the triangle that is the gusset to the back panels.
-

first pocket, check.
For some reason, I didn’t photograph the sewing of the front panels or of any of the darts. ? But here is the first pocket, inserted and looking like it knows what it is doing. I thought I should finish the first pocket successfully before I start trying to explain how it is done. Let’s see how that goes, shall we?
-

Do NOT do this
Not stellar. Here we have the first step of a mistake; the order of layers facing up (bottom to top) is: back WS, pocket WS, front RS. The idea is that the pocket is sandwiched in between the front and back, right?
-
really, do not do this
Here I am merrily turning the edges of the pocket so that the wrong side of the pocket opening is matched to the wrong side of the back. Logical, right? I pin. I sew.
-
more of the no-no
So, both sides are sewed. The wrong side of each pocket opening has been sewed to the wrong side of the front and back pieces.
-

the bad, bad result
Turn it right side out, and . . . ta-dah! A perfectly backwards pocket!
-

-
so what does a correct pocket look like?
And how in the world did I do this right the first time? This is the inside of the first pocket. Reverse engineering tells me that you actually have to match the right side of the skirt panels to the right side of each pocket opening. Oh, and arrange the pocket so that it is outside of the skirt. I think I got mixed up because the “right” side of the pocket is actually inside out. when it is done. My head feels funny.
-

starting with the front
Head and fabric rearranged, I started by pinning the RS of the front panel to the RS of the pocket. You have to fold the pocket back to do this. Remember that un-sewed seam allowance from the second photo (above)? This is where it comes in handy; the flappy part is loose, so I can easily pin it to the front panel. By the way, I placed the pocket about 3” from the very top of the skirt. I’ll be using about 1” for the waistband, so the pocket should end up about 2” from the bottom of the to-be-installed waistband.
-

flipped over
This is how it looks from the other side. The seam, when I sew it, should now sit properly on the wrong side of the garment!!
-

first seam done
Here it is, with the first half of the pocket opening sewn onto the front. Note, if you please, that I did not use all of the available seam allowance on the pocket; I probably still have about 1/4” of seam allowance still floating there at the top and bottom. I’m going to use this up when I sew 1) the short side seam between the waist and the top of the pocket and 2) the long side seam between the bottom of the pocket and the rest of the skirt. Who knew that pockets were such projects? So worth it!
-
second side pinned
On repeat here: I pinned the RS of the pocket to the RS of the back piece. If I turn the thing right side out now, the pocket should now look like a pocket. A correctly-placed, intentional pocket sewn by someone who knows what is what. Or someone who guessed right, this time.
-
pocket installation stage 1: complete
So here we are, ready to pin the sides of the skirt, and the second half of the pocket’s French seams, together. That gap at the top and bottom will now be eliminated.
-

pinned
I was careful to pin the pocket so that the inner, raw, edge will be fully enclosed by the stitching. I clipped the original seam allowance pretty close to the stitching — less than 1/4” — so I am in good shape.
-

some gory detail
I started backstitching at the waist. Now that I am approaching the pocket, I will stitch down to the point where I can turn the corner and be in position to stitch the second part of that French seam.
-

more detail
Now that I am where I want to be relative to the pocket, I will push the needle through my two seam allowances and come out ready to sew around the pocket.
-

off to the races
This maneuver should tighten up the pocket opening so that it fits neatly into its slot.
-

second pocket, check.
Gosh, there’s going to be a lot of felling.
-
it works!
-

charging ahead to the waistband
The pattern in the book has the waistband incorporated into the top of the skirt panels, but I am going to add a separate waistband and sew the ties for the bustle into said waistband (again, more similar to my petticoat).
-
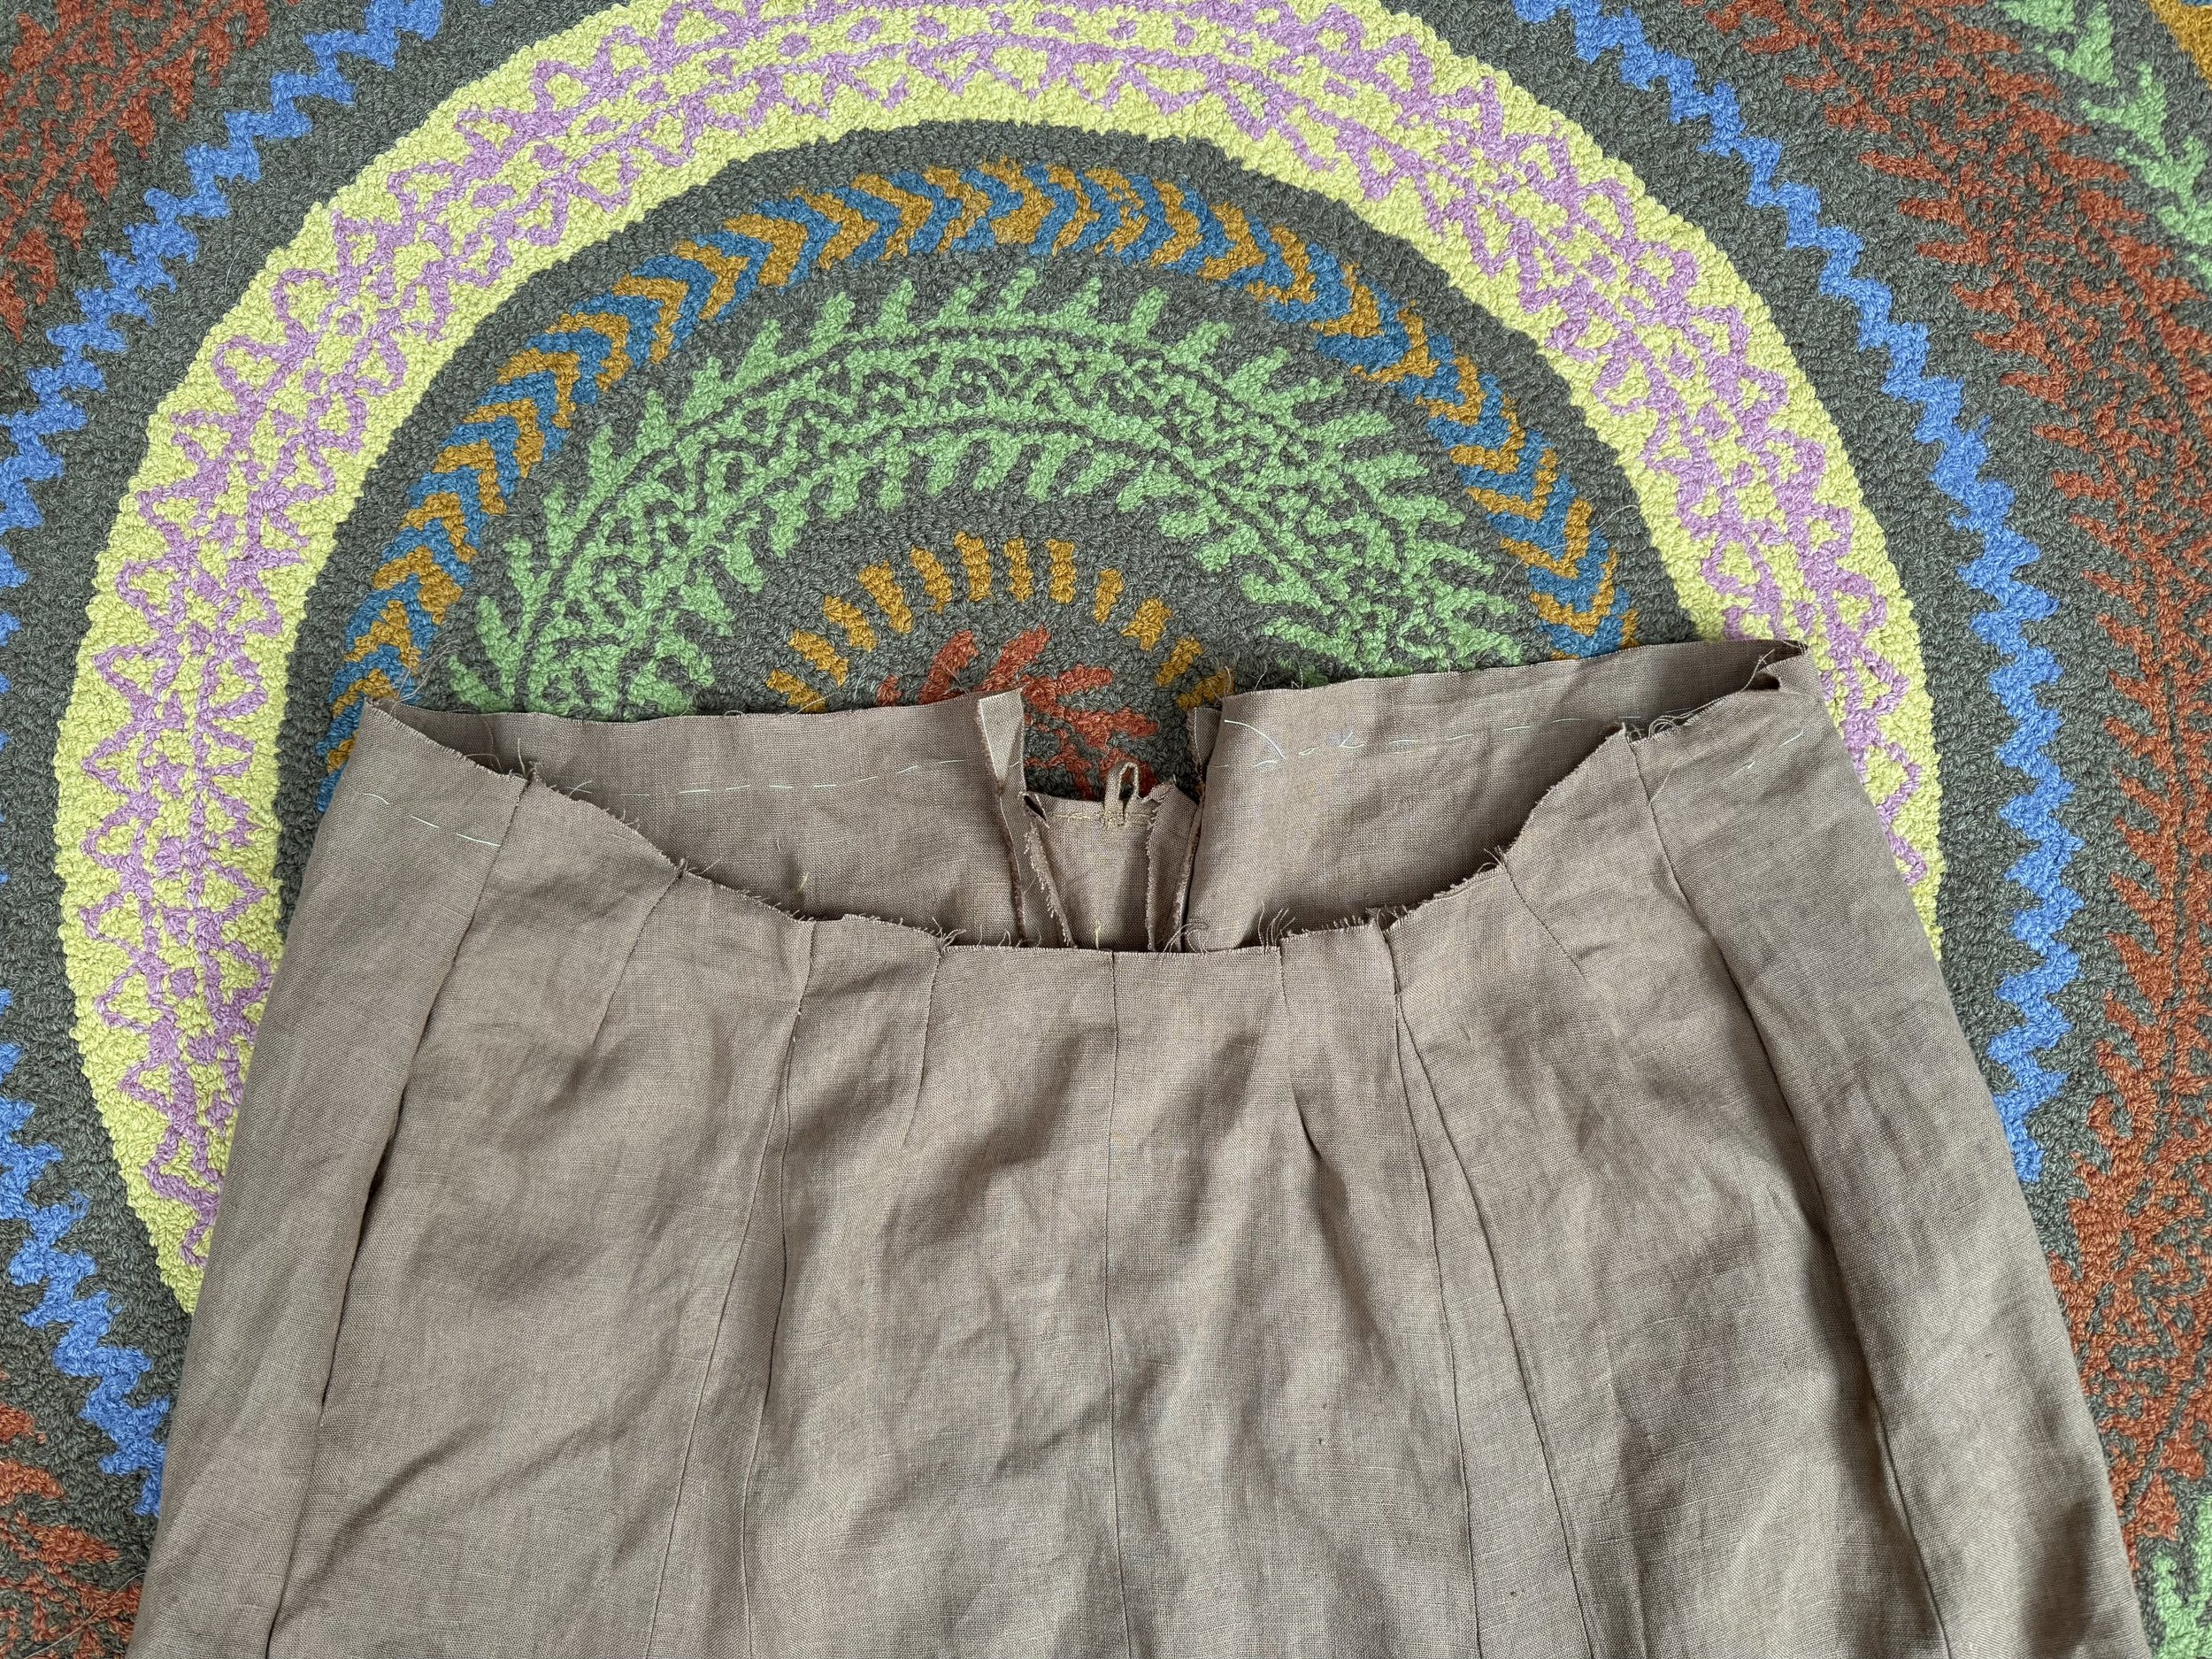
without waistband
Because the pattern did have the waistband incorporated into the skirt, I have a really huge seam allowance, about 1”. I will cut that off once I have the first waistband seam done. I must be sure to attach the band so that it meets the points of my gores. Or godets.
-

planning ahead for felling
In addition to matching the waistband to the gores, I need plan how to fell this beast :) Before I pin on the waistband, I will make sure that the darts and the seams are aiming in directions that I want them to aim in. That is, I am making sure that all of the felling seams will be aiming toward the “side” side of the skirt rather than toward the “center” of the skirt front and back. That was not clear. The idea is to be sure that the felling goes in the direction you want it to go. Or don’t, if it doesn’t matter to you.
-

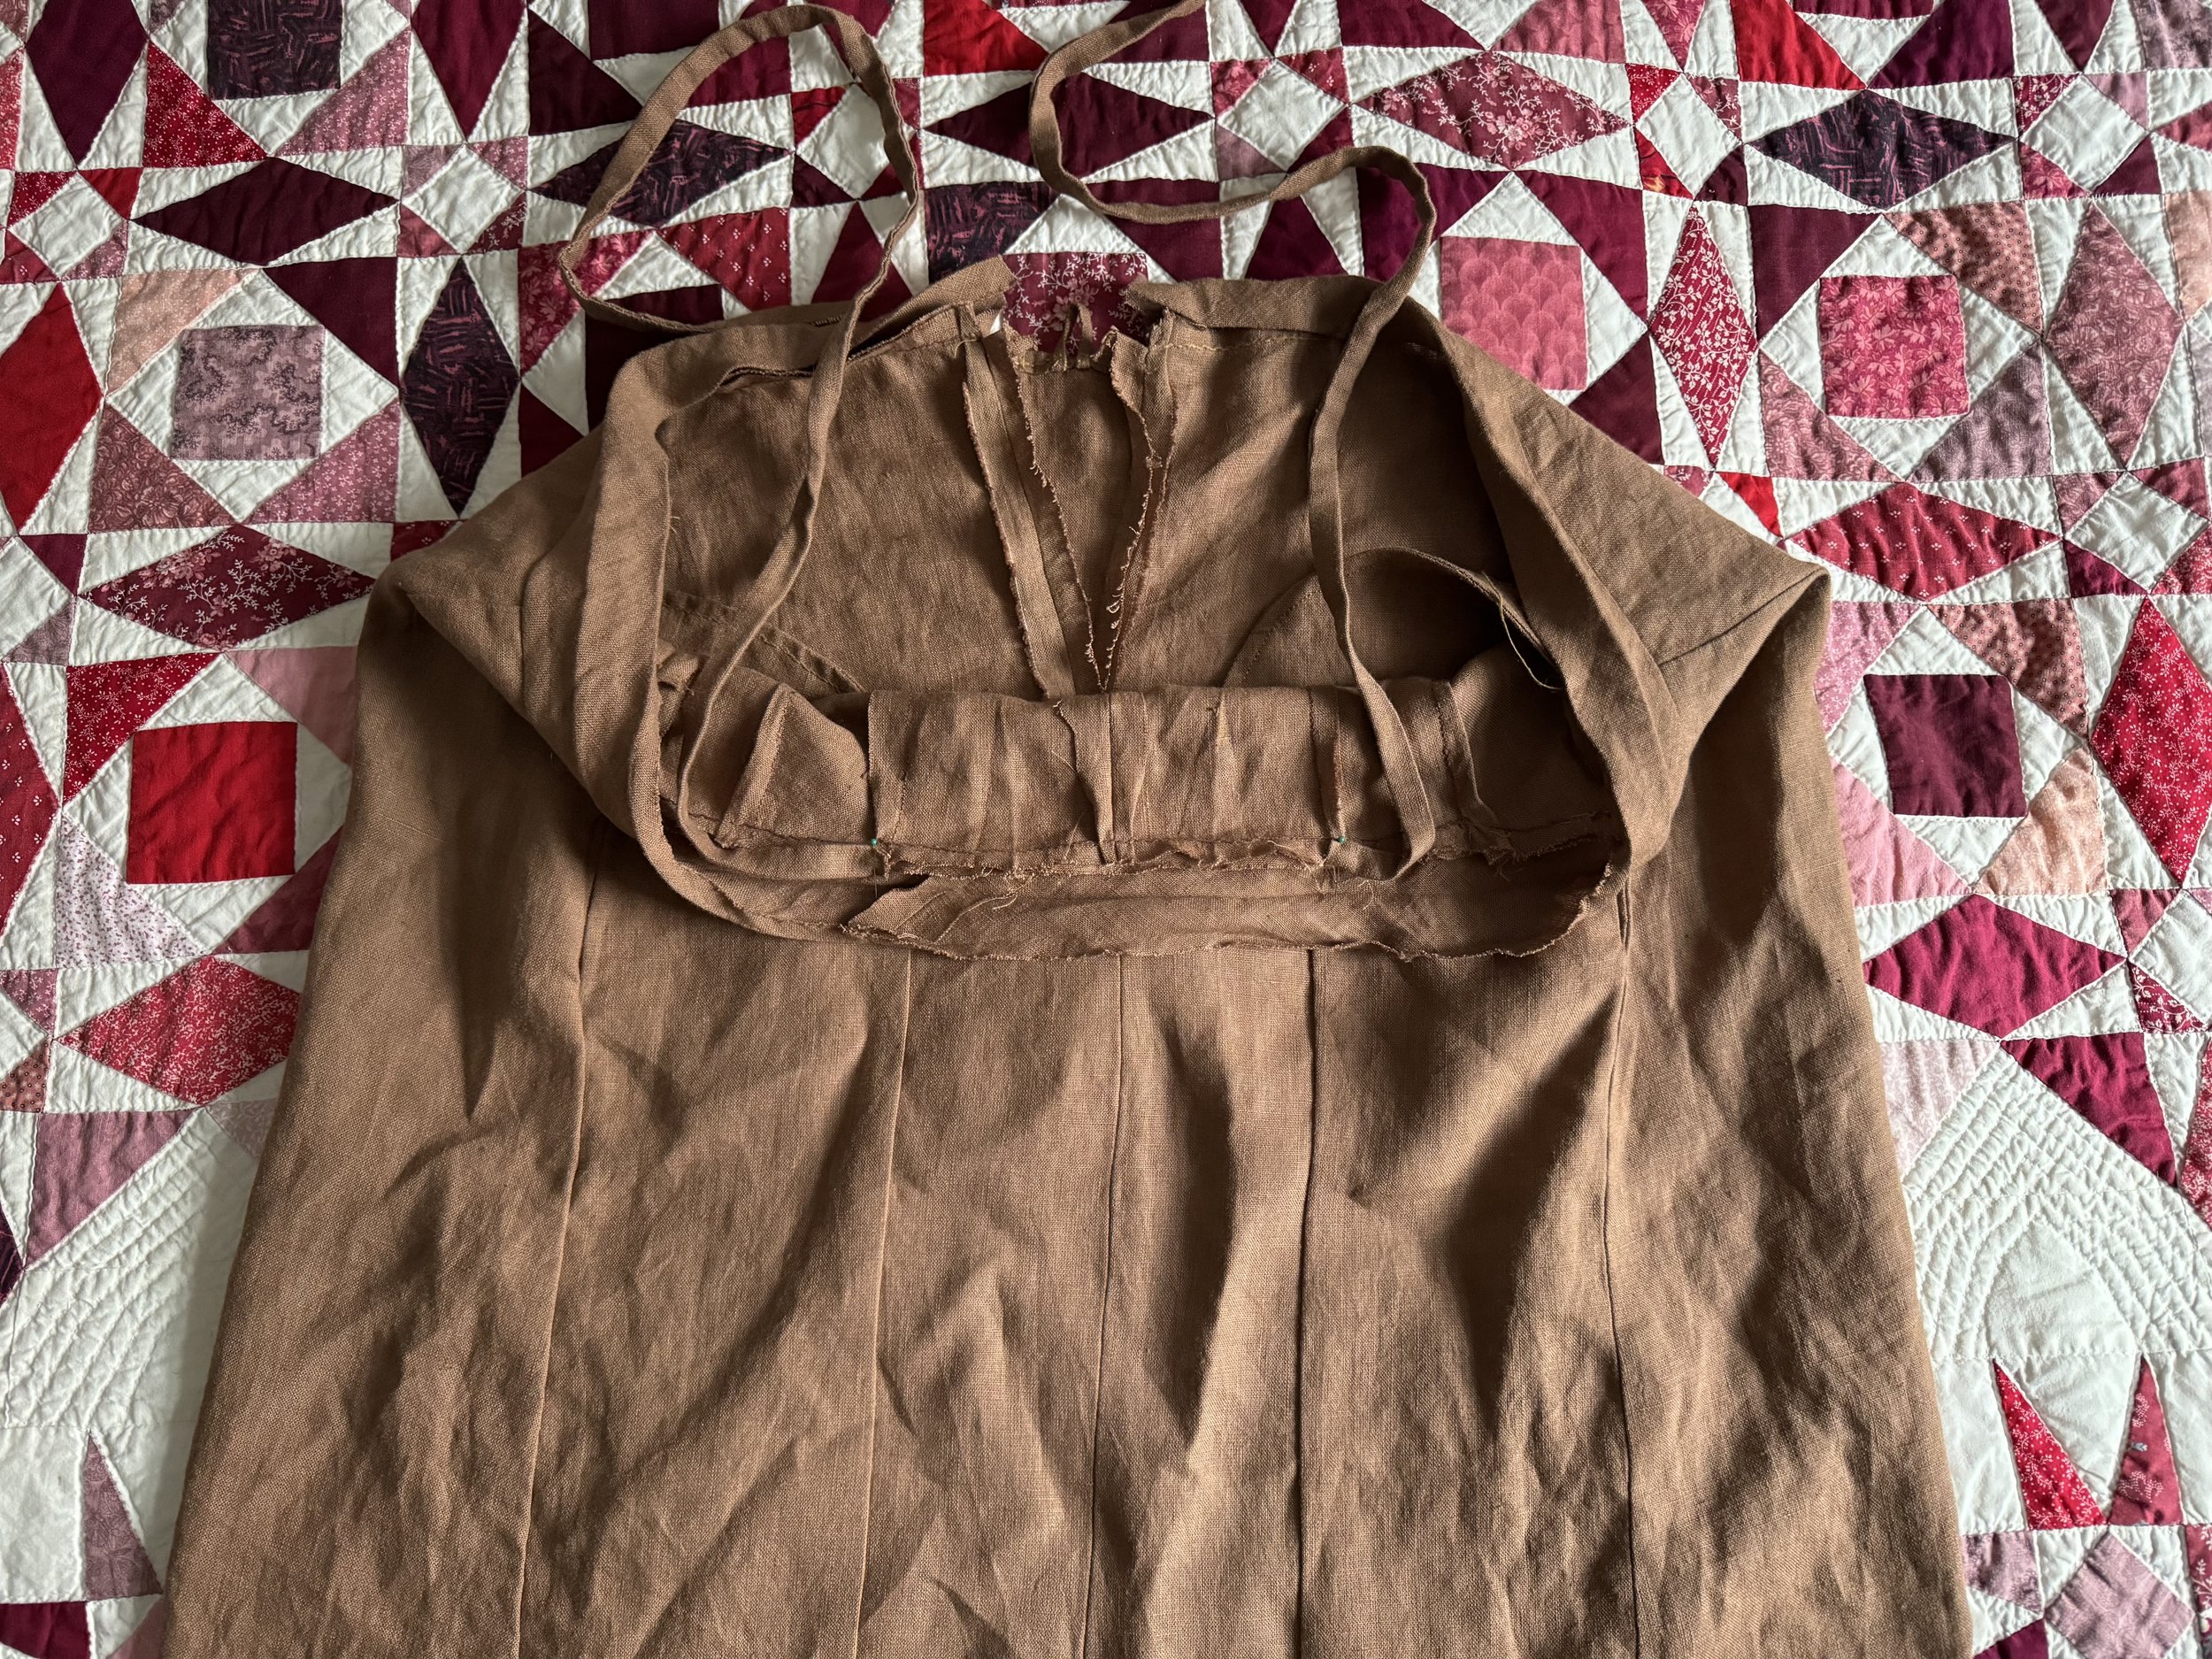
with waistband
And hey, presto, a waistband. Linen is cooperative and responds well to finger pressing of shorter seams, but I am at the ironing board now, because I need to get big and curvy seams under control; it is also time to prepare the bustle ties.
-

making bustle ties
Sorry about the wonky color on this one. I am making the ties in the usual way: I cut two 2” strips of fabric, folded each half toward the center of the strip, and pressed.
-

baby band
Then I folded the band again so that the raw edges were hidden, and pressed it again.
-

back to the waistband
Here is where all of that extra seam allowance gets cut away. I am leaving about 1/4”.
-
folding the waistband
Now I fold and press the waistband, leaving enough material to fold under so that there are no raw edges.
-

bustle ties sewed in
I stitched down the ties pretty close to the center front of the skirt. I wanted them to be attached to a strong, seamed place, so they are sitting right were the gores (or godets) are attached. My fervent hope is that this will make the very front of the skirt smooth, and give all of the fullness to the sides and back.
-

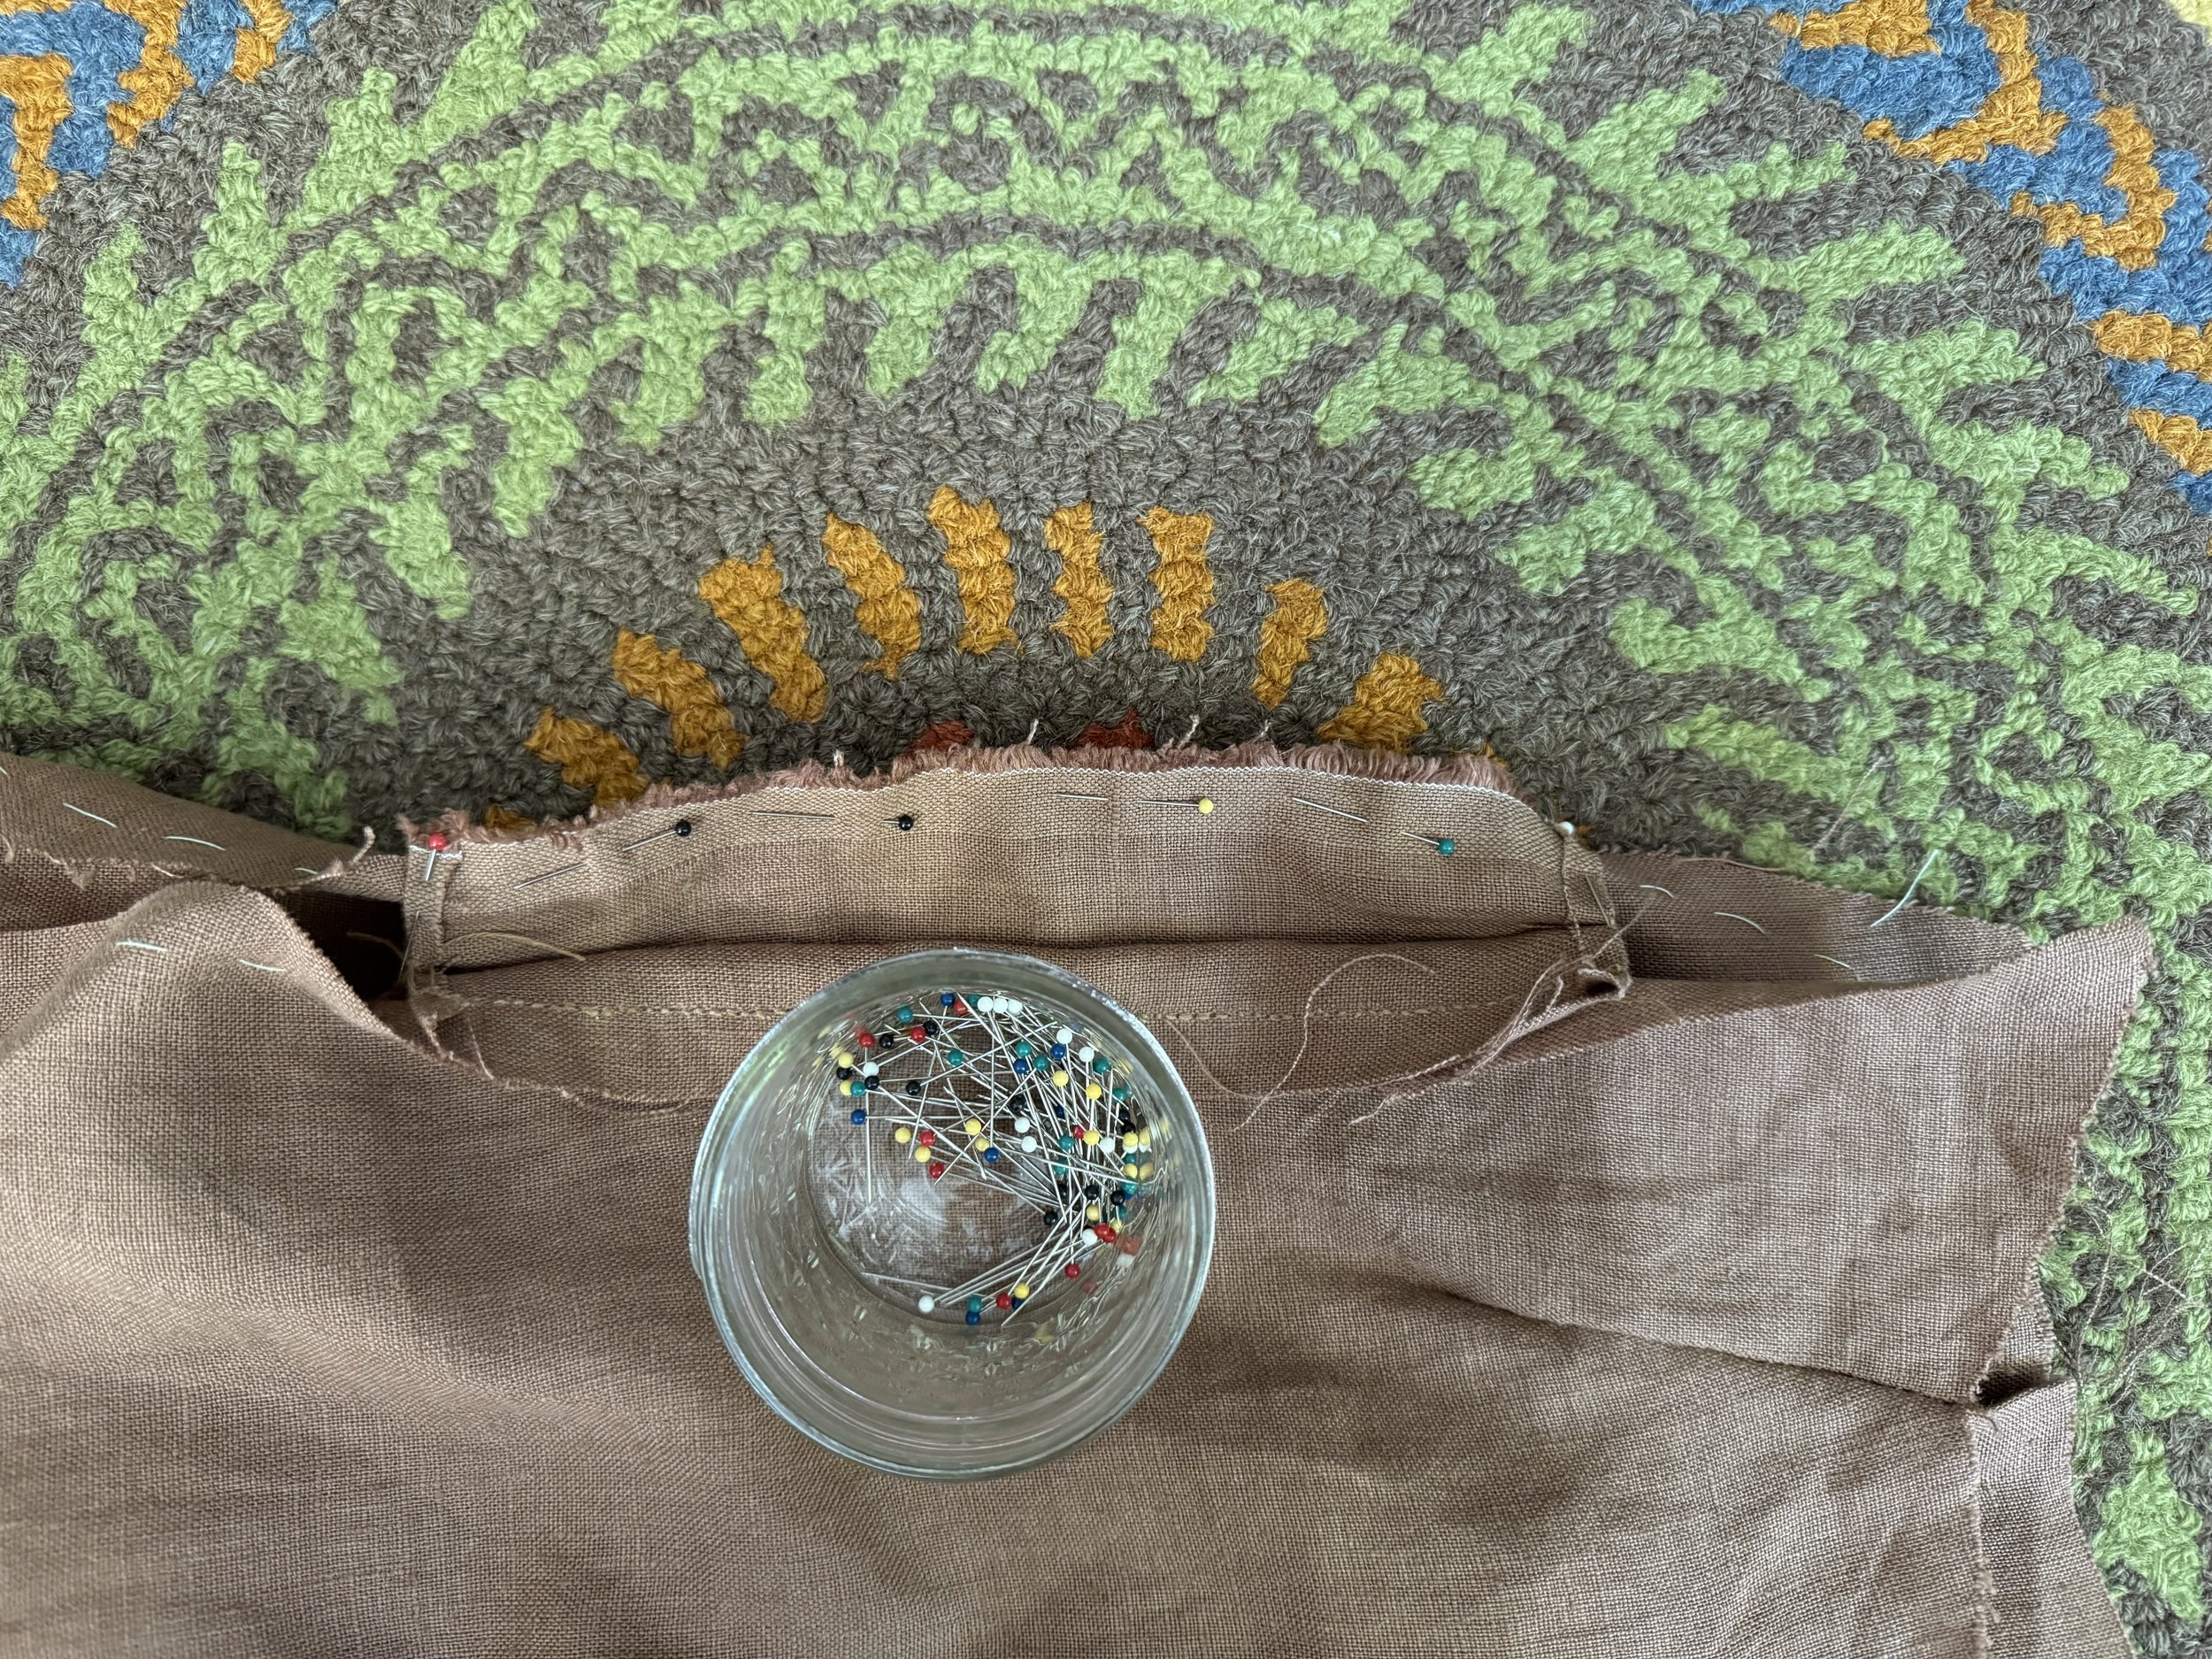
now I can pin down the waistband
I am being careful to leave the bustle ties free to move in their little tunnel, and to fold under the raw edge of the waistband so that it meets up with its partner seam.
-
ready to sew
Here is the whole shebang, pinned and ready for stitching. I will be sure that my stitches are caught in the underside of the waistband fabric so that nothing shows on the outside of the skirt.
-

one more bit of gory detail
I don’t want the seam allowance to show here, so I am going to do a bit of stab stitching to tighten up the opening a bit.
-

almost there
Hand sewing offers opportunities to solve problems in the moment; something comes up and you can fix it with a bit of impromptu stitching. What is not to love?
-

ready to roll
And now we can start stitching that waistband.
-

-

trying it on
It isn’t horrible, but I think I made a mistake by putting the extra triangular pieces in front. It is just not lying smooth. And the darts are not right - they are too short and are creating little bubbles underneath their bottom points. And the place where I sewed the bustle band is all bunchy. Won’t do.
-

I took out as little of the waistband as possible
It is late at night so the colors are as grey as I feel - just kidding. I pulled out the sewing completely on the inside of the waistband and then took out the front seaming from the back around to just past where my bustle bands were sewn in.
-
-

pulled threads, yay!
The panels that I am going to keep are cut on the grain, so instead of clipping four more seams, I pulled a thread on each side of the triangular pieces and will cut on the lines I made.
-

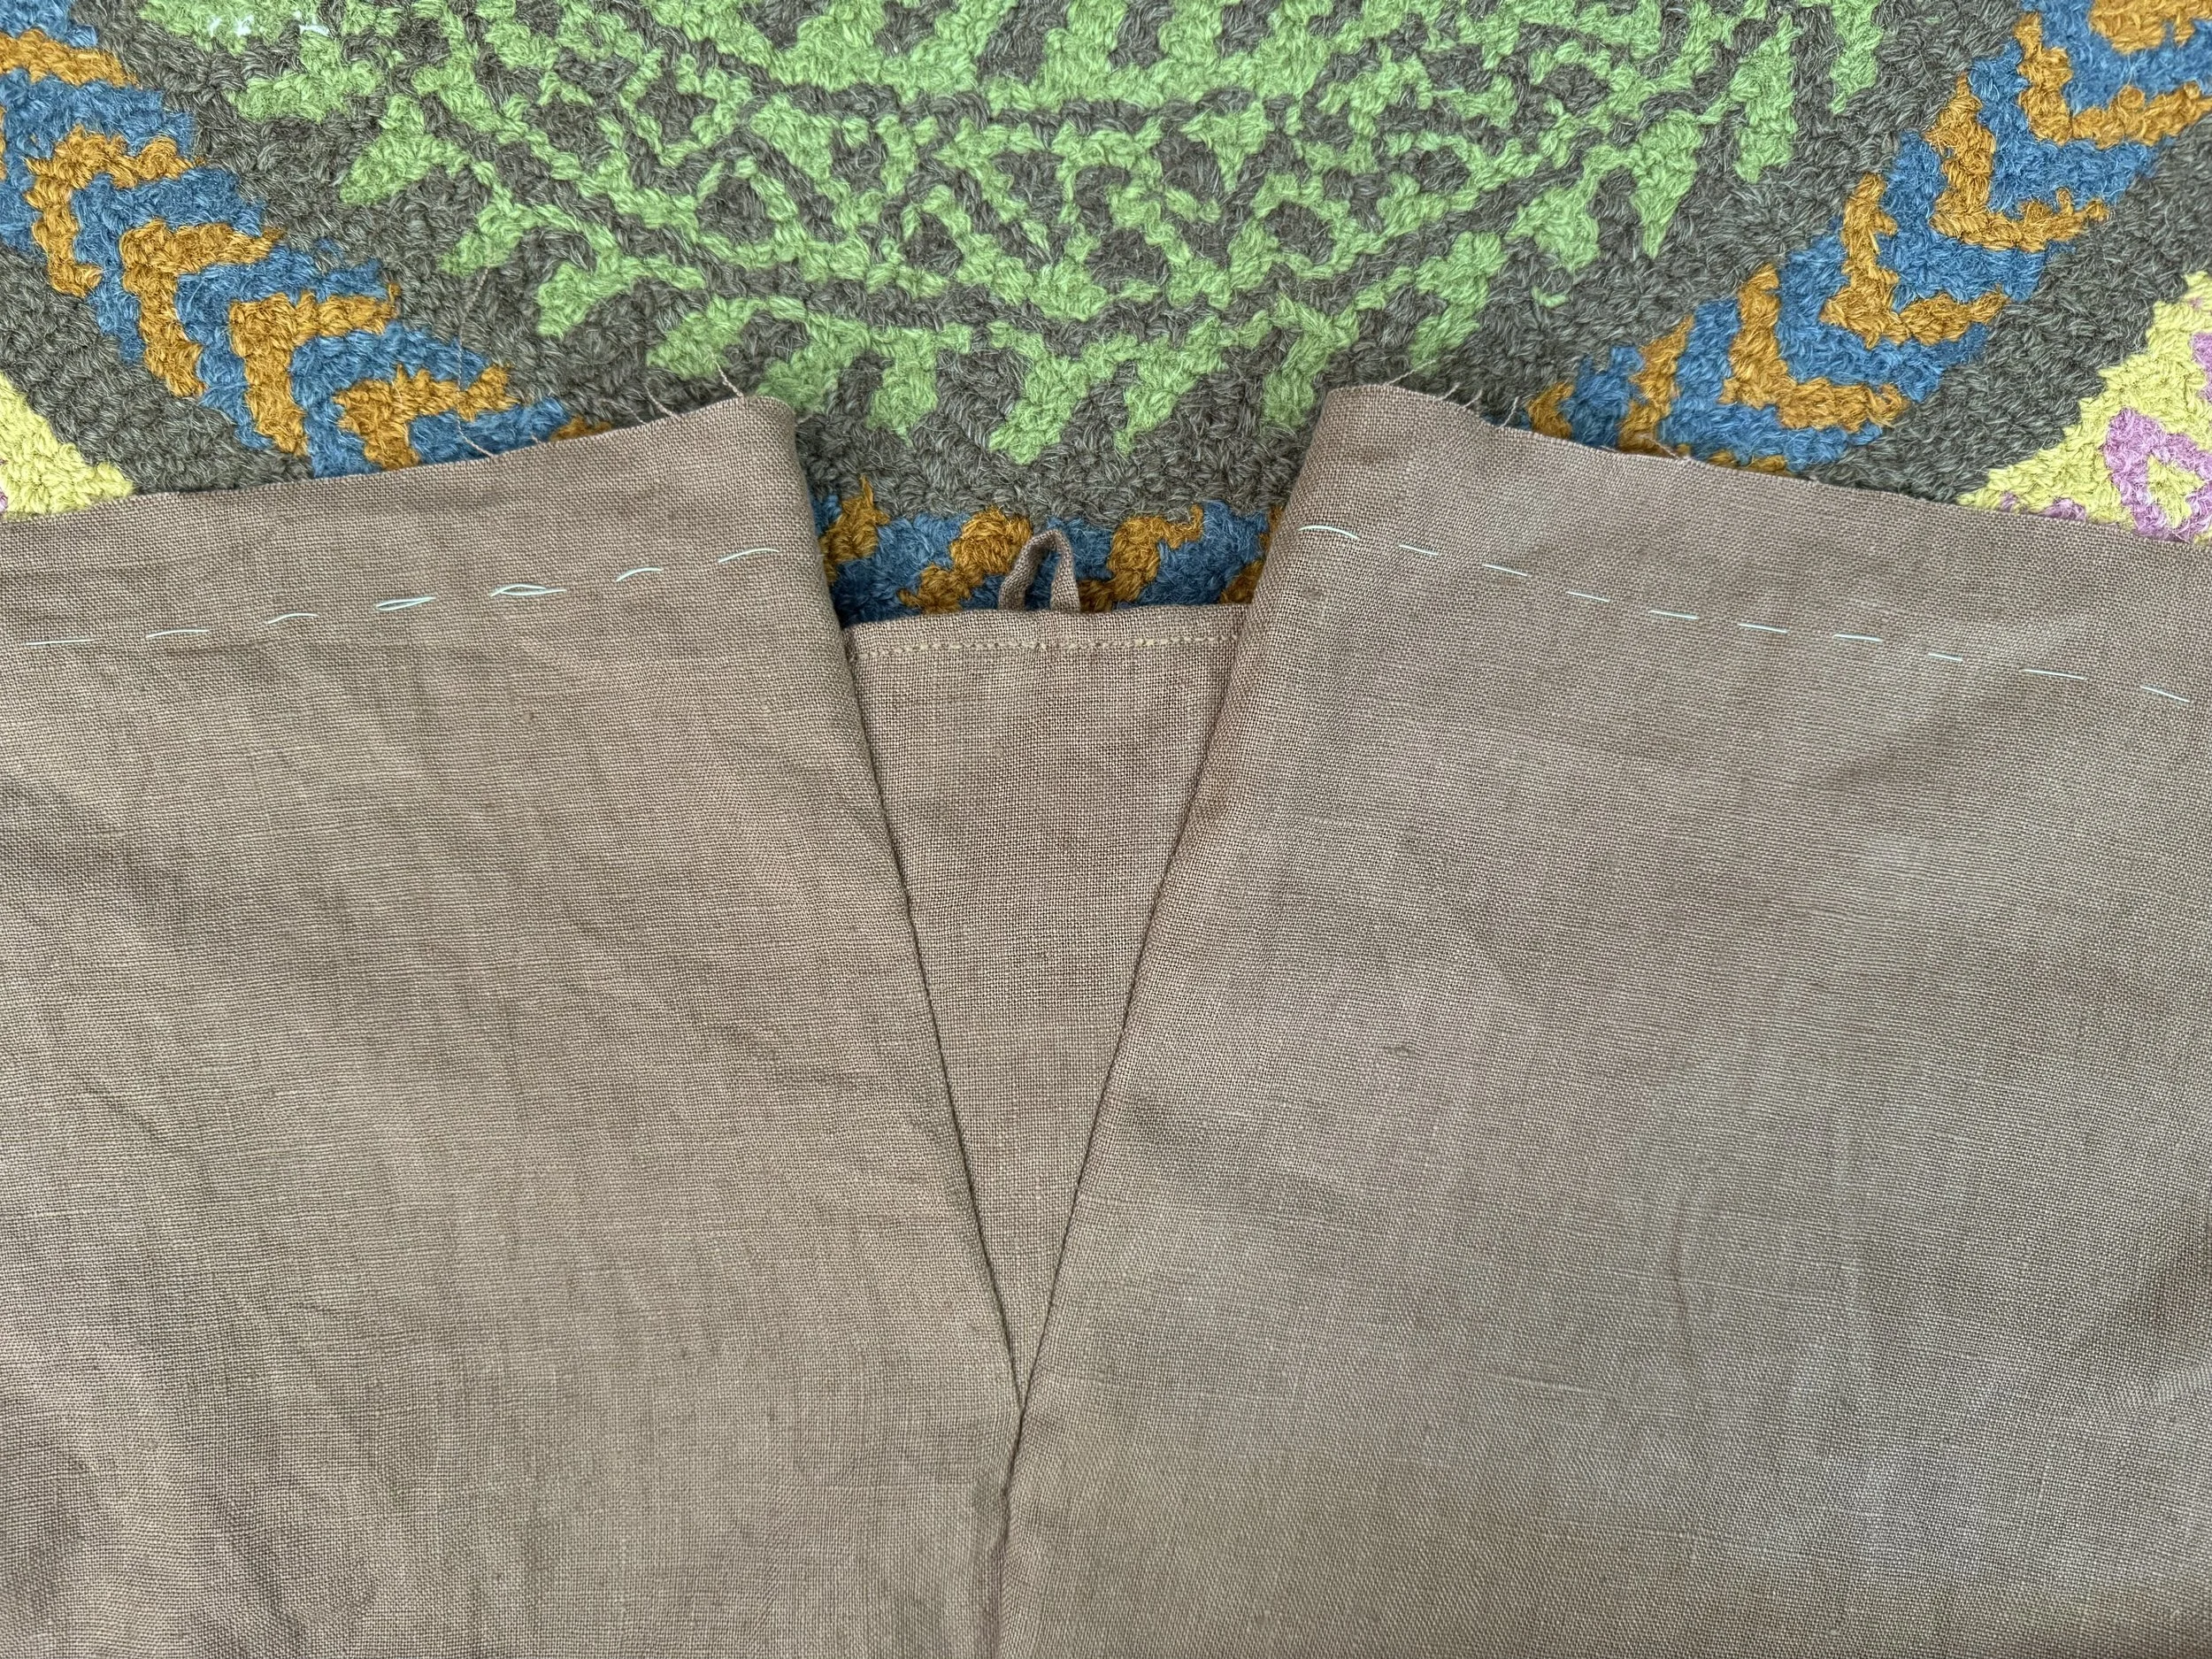
front panel is free
Now that my gores (or godets) are gone, I will pin the front center panel to the front side-ish panels and get this sewed back together. Then I will do some dart extension work.
-

moving along
Sorry for the multitude of lighting and backgrounds for this post. Life. Here the front is all sewed back up, as are two much longer darts. I am hoping that the longer darts will eliminate the bubbling that showed up before. The front, from pocket to pocket, is just about as wide as I am, from side to side.
-
maw
Here are the two bustle ties, pinned into their new homes. With my first go, I sewed them on via little squares, thinking that this would attach them more securely. But that might have caused the weird pulling on one of them, so this round I am going to use a single seam, reinforced like it would be if I were stitching and backstitching on a machine.
-
giving new meaning to the phrase "slow fashion"
The new tie idea did not pan out; the pulling was just as bad as before. So I decided to punt with the bustle idea and move toward pleats. The whole front band came off as well as the adorable gusset.
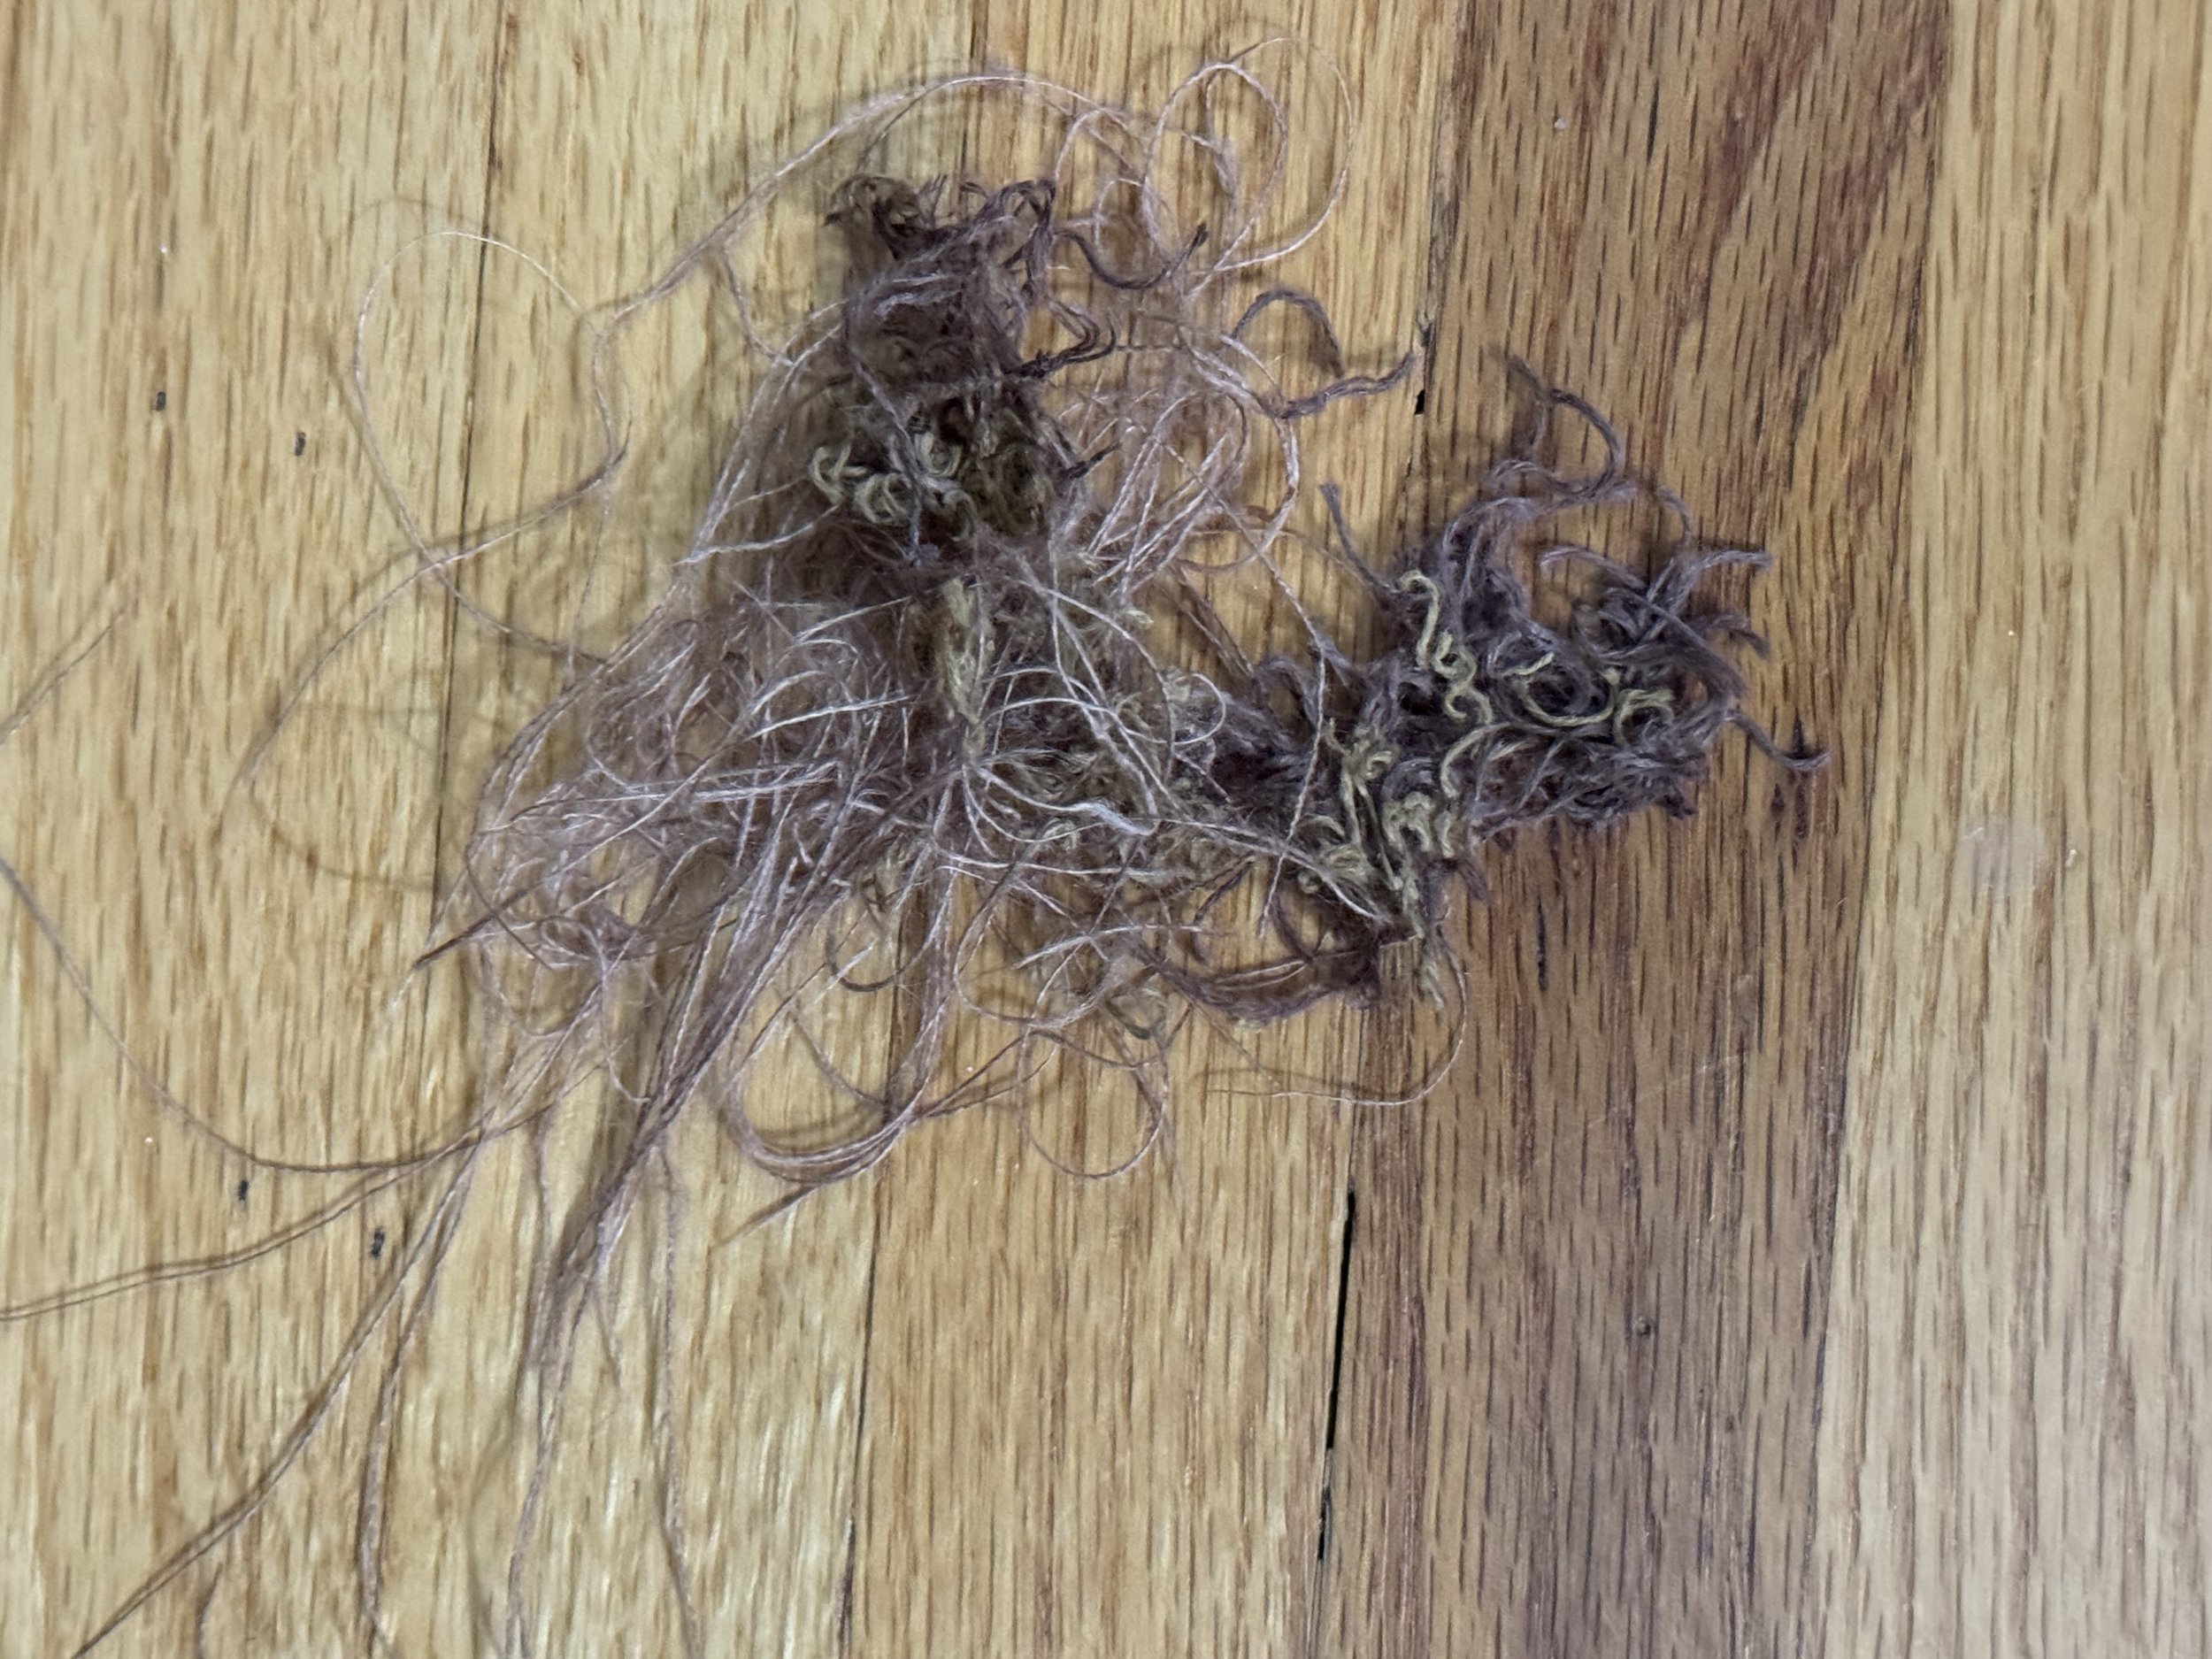
-

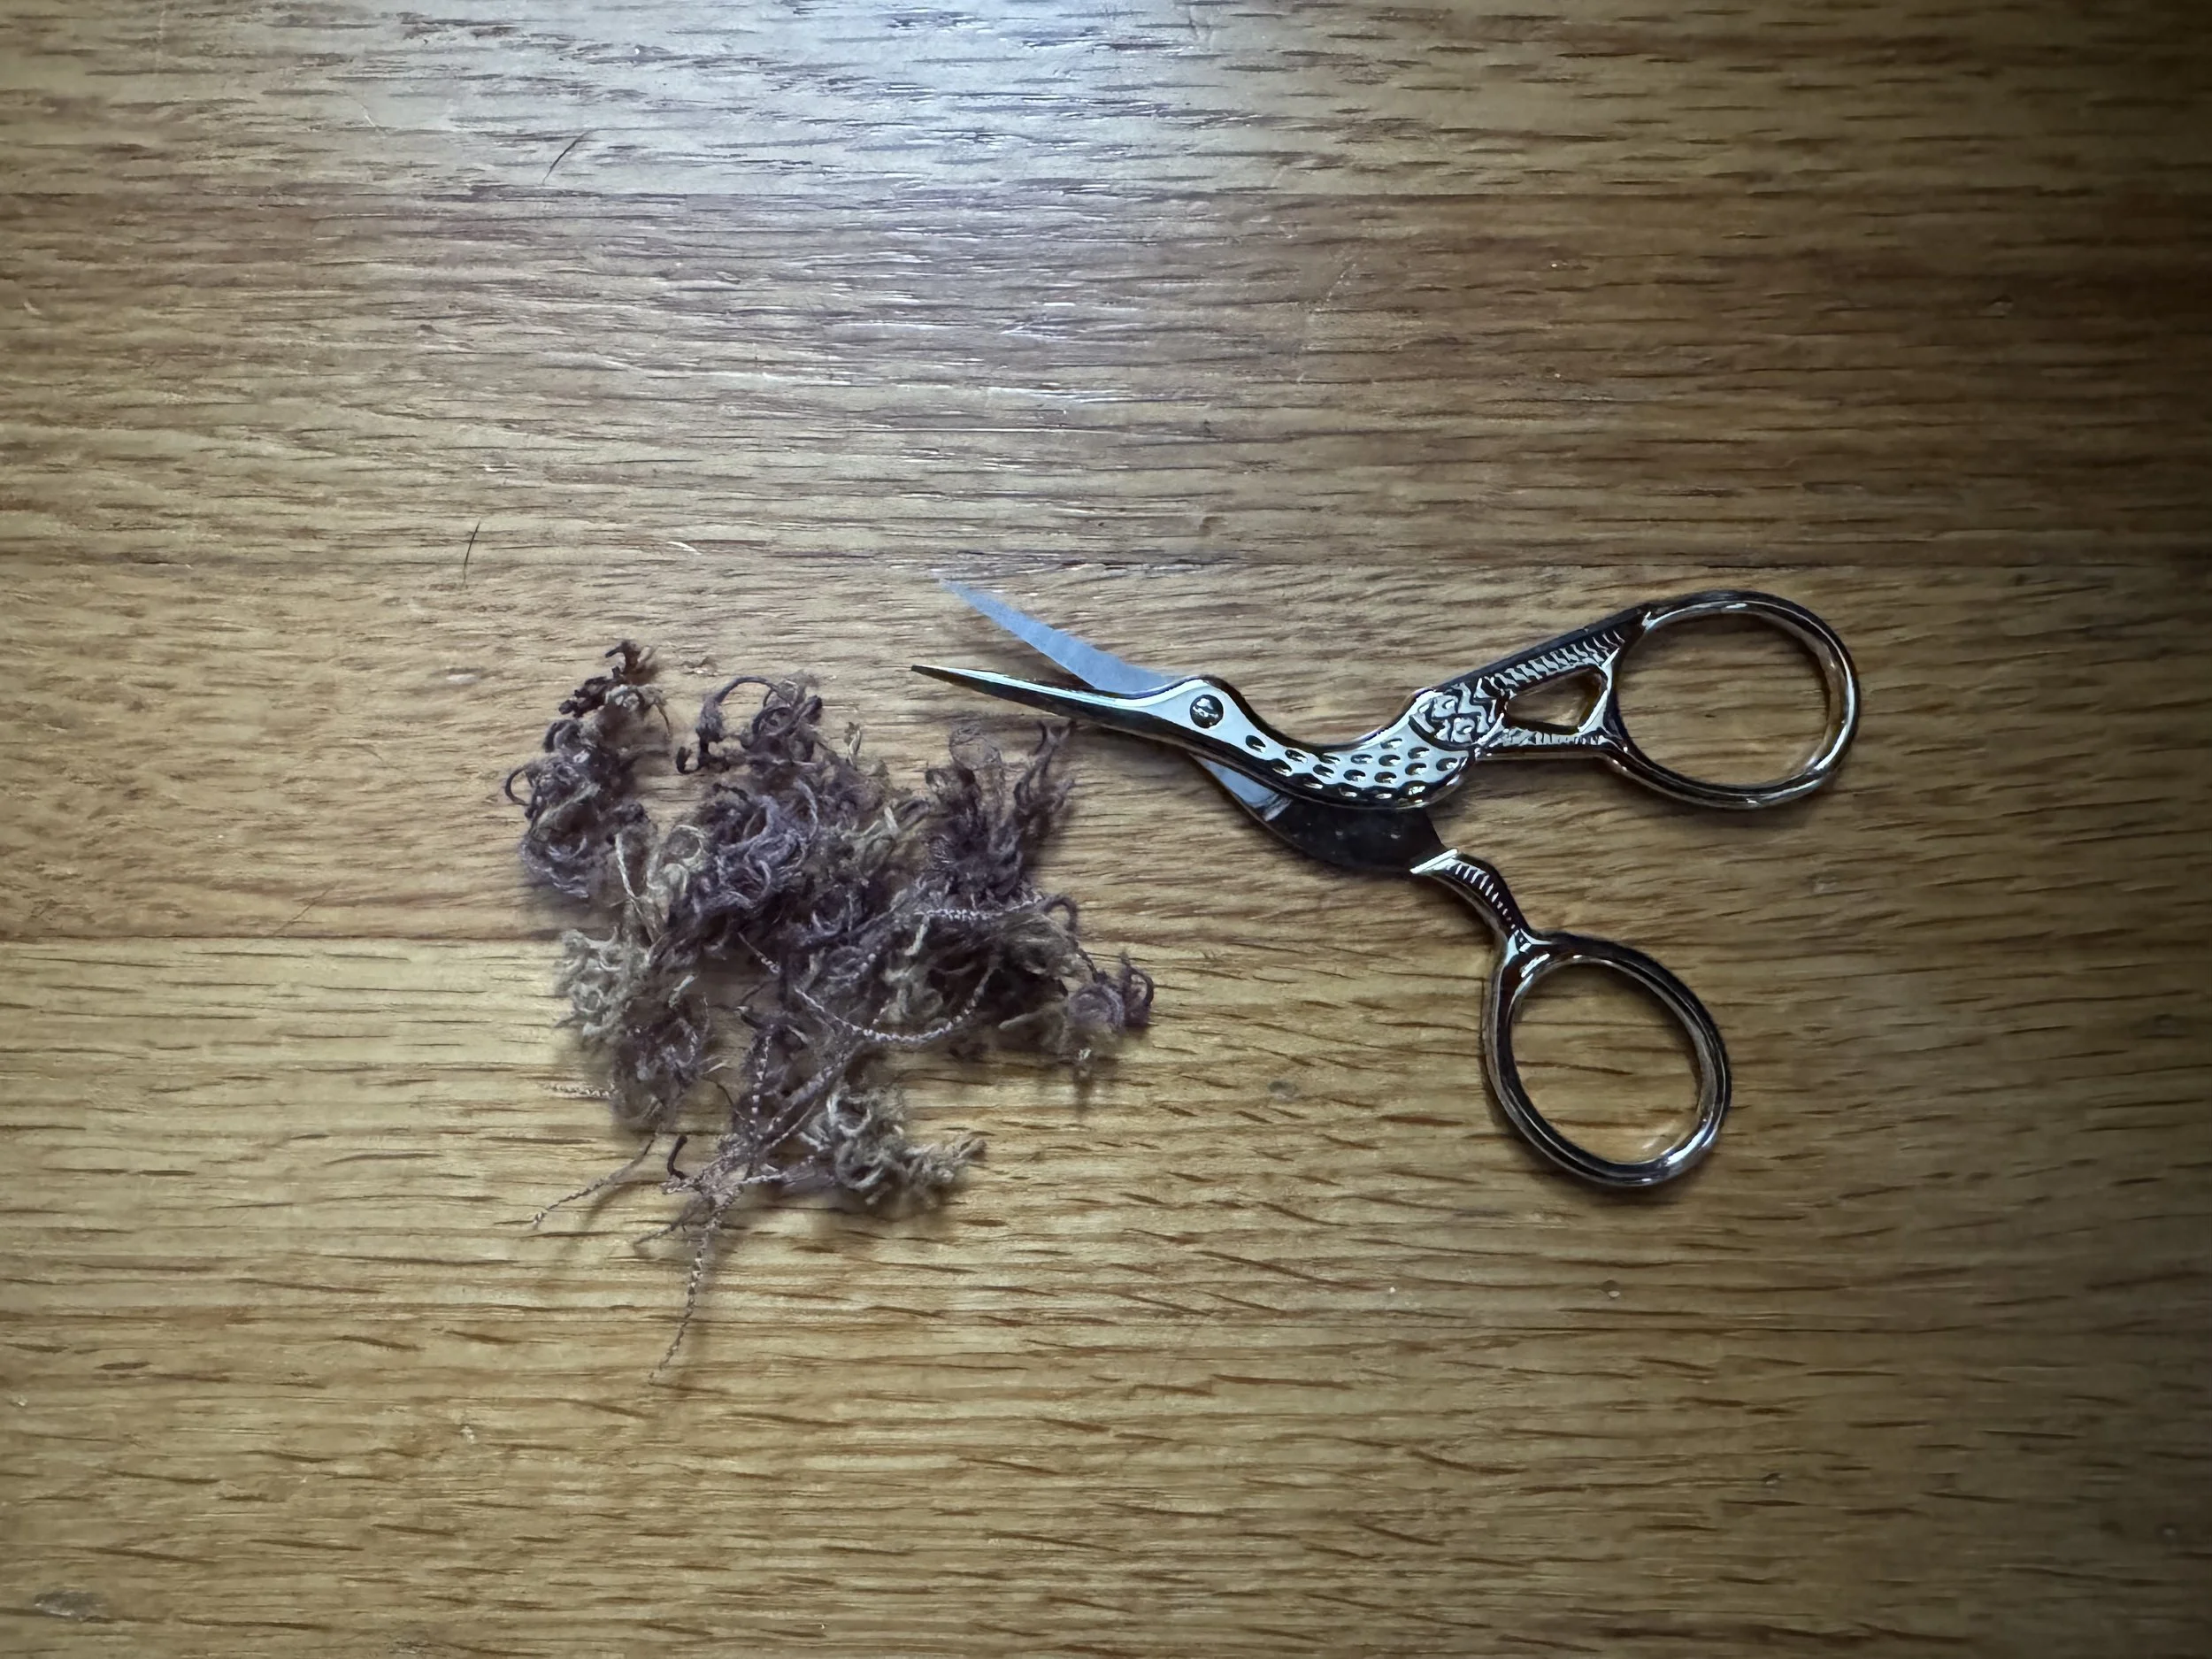
sad gusset
I can use it as scrap for something, I am sure. Maybe it can be the scissors holder for the hussif I have been dreaming of making.
-

I have also been busy weaving
I made these with Maurice Brassard 8/2 cotton using a modification of a free pattern on the Gist website: https://www.gistyarn.com/products/coastal-linen-tea-towels-free-pattern-pdf-download-1?variant=30885313970266
The link will take you to an expanded version of the pattern I downloaded a couple of years ago; it gives more options for color patterning.
-

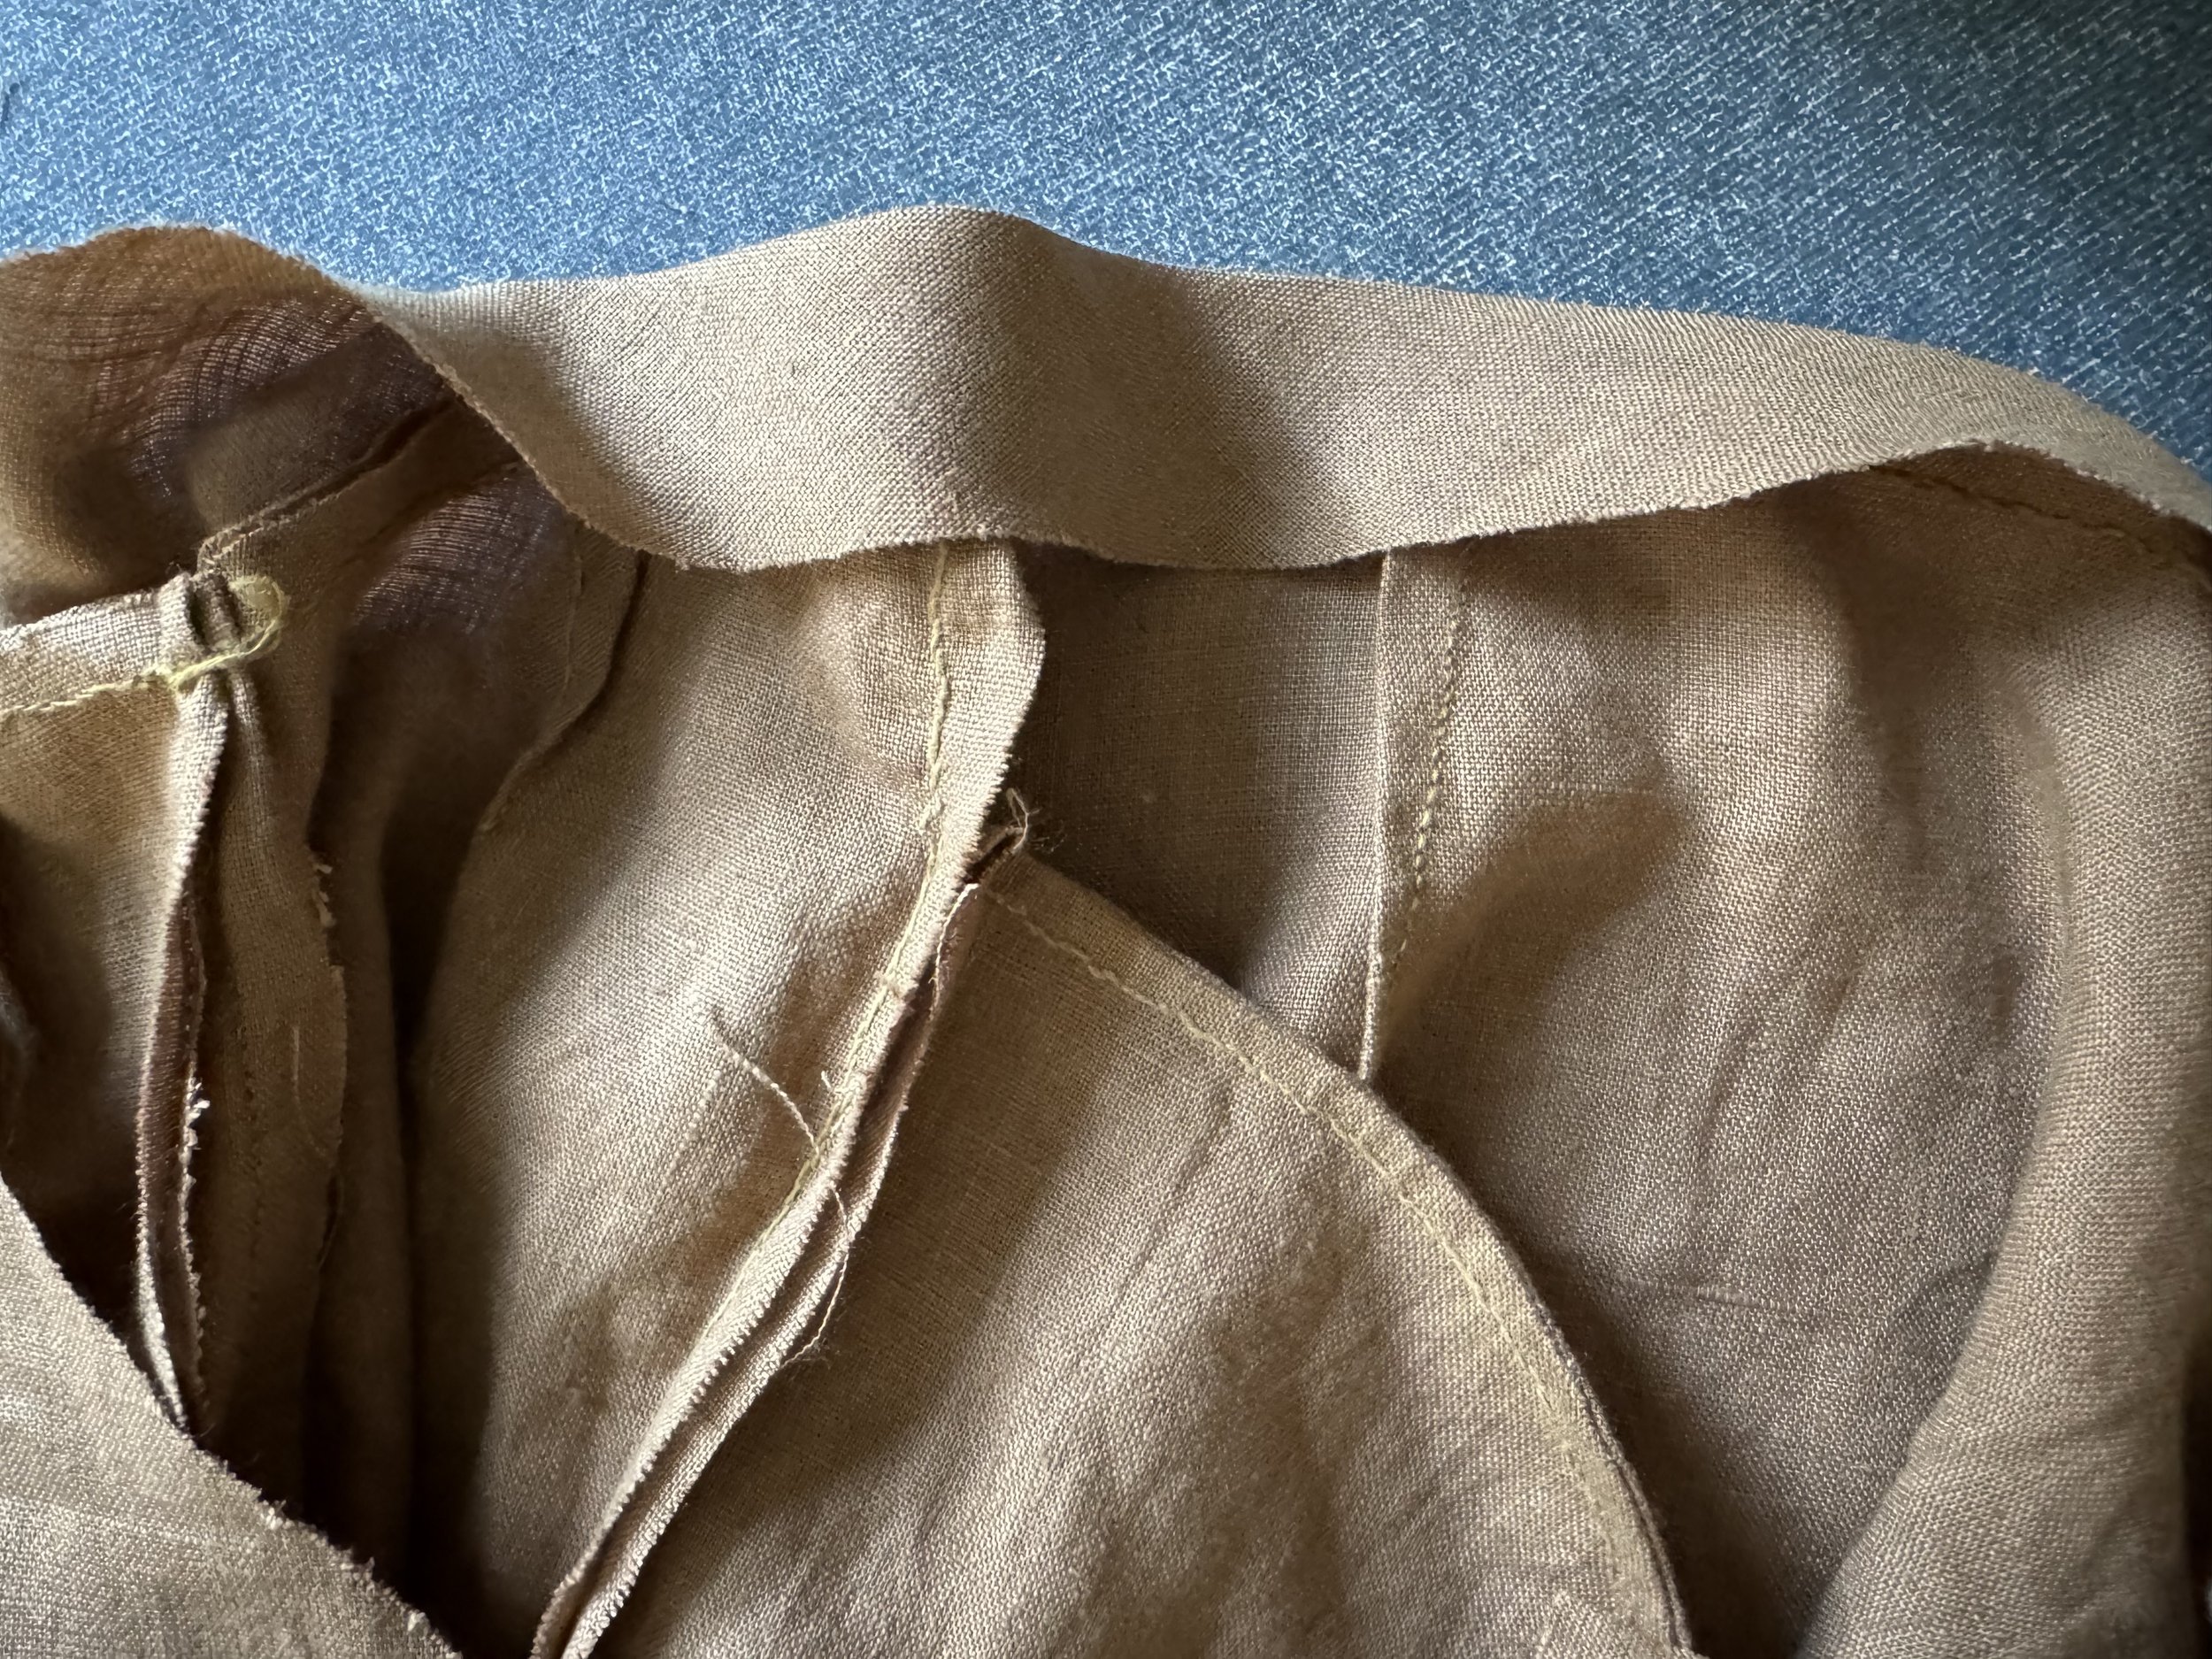
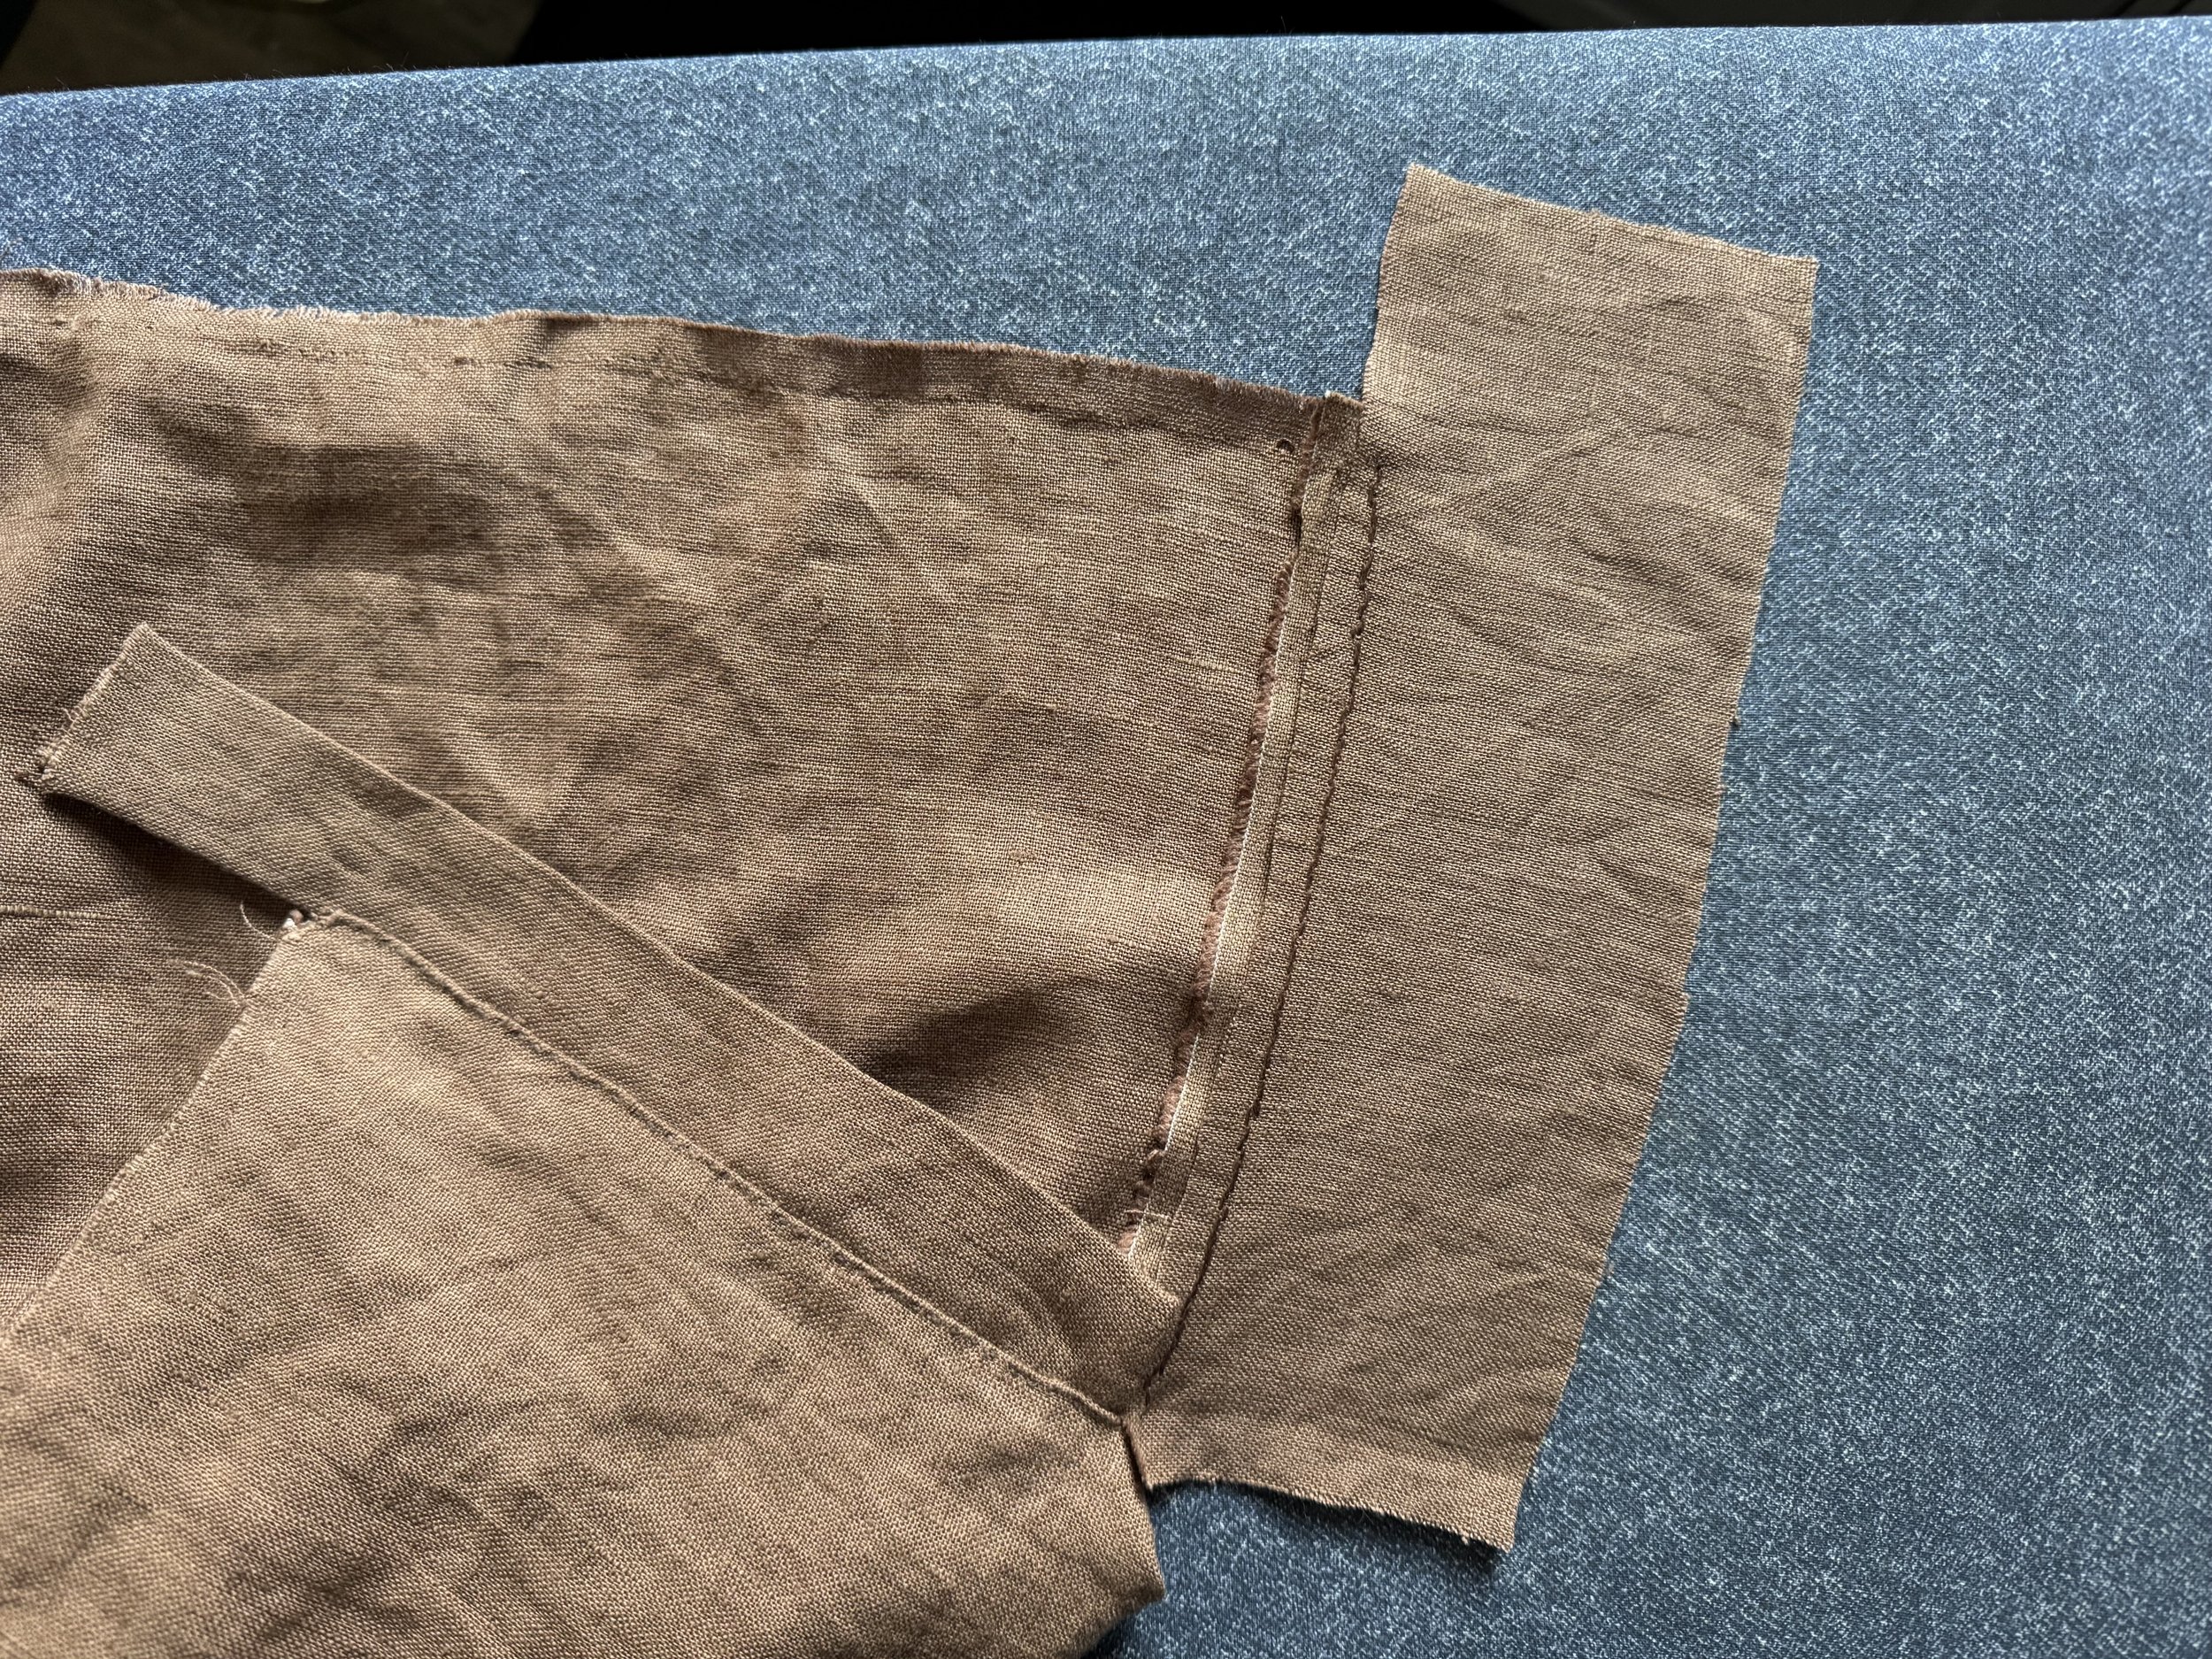
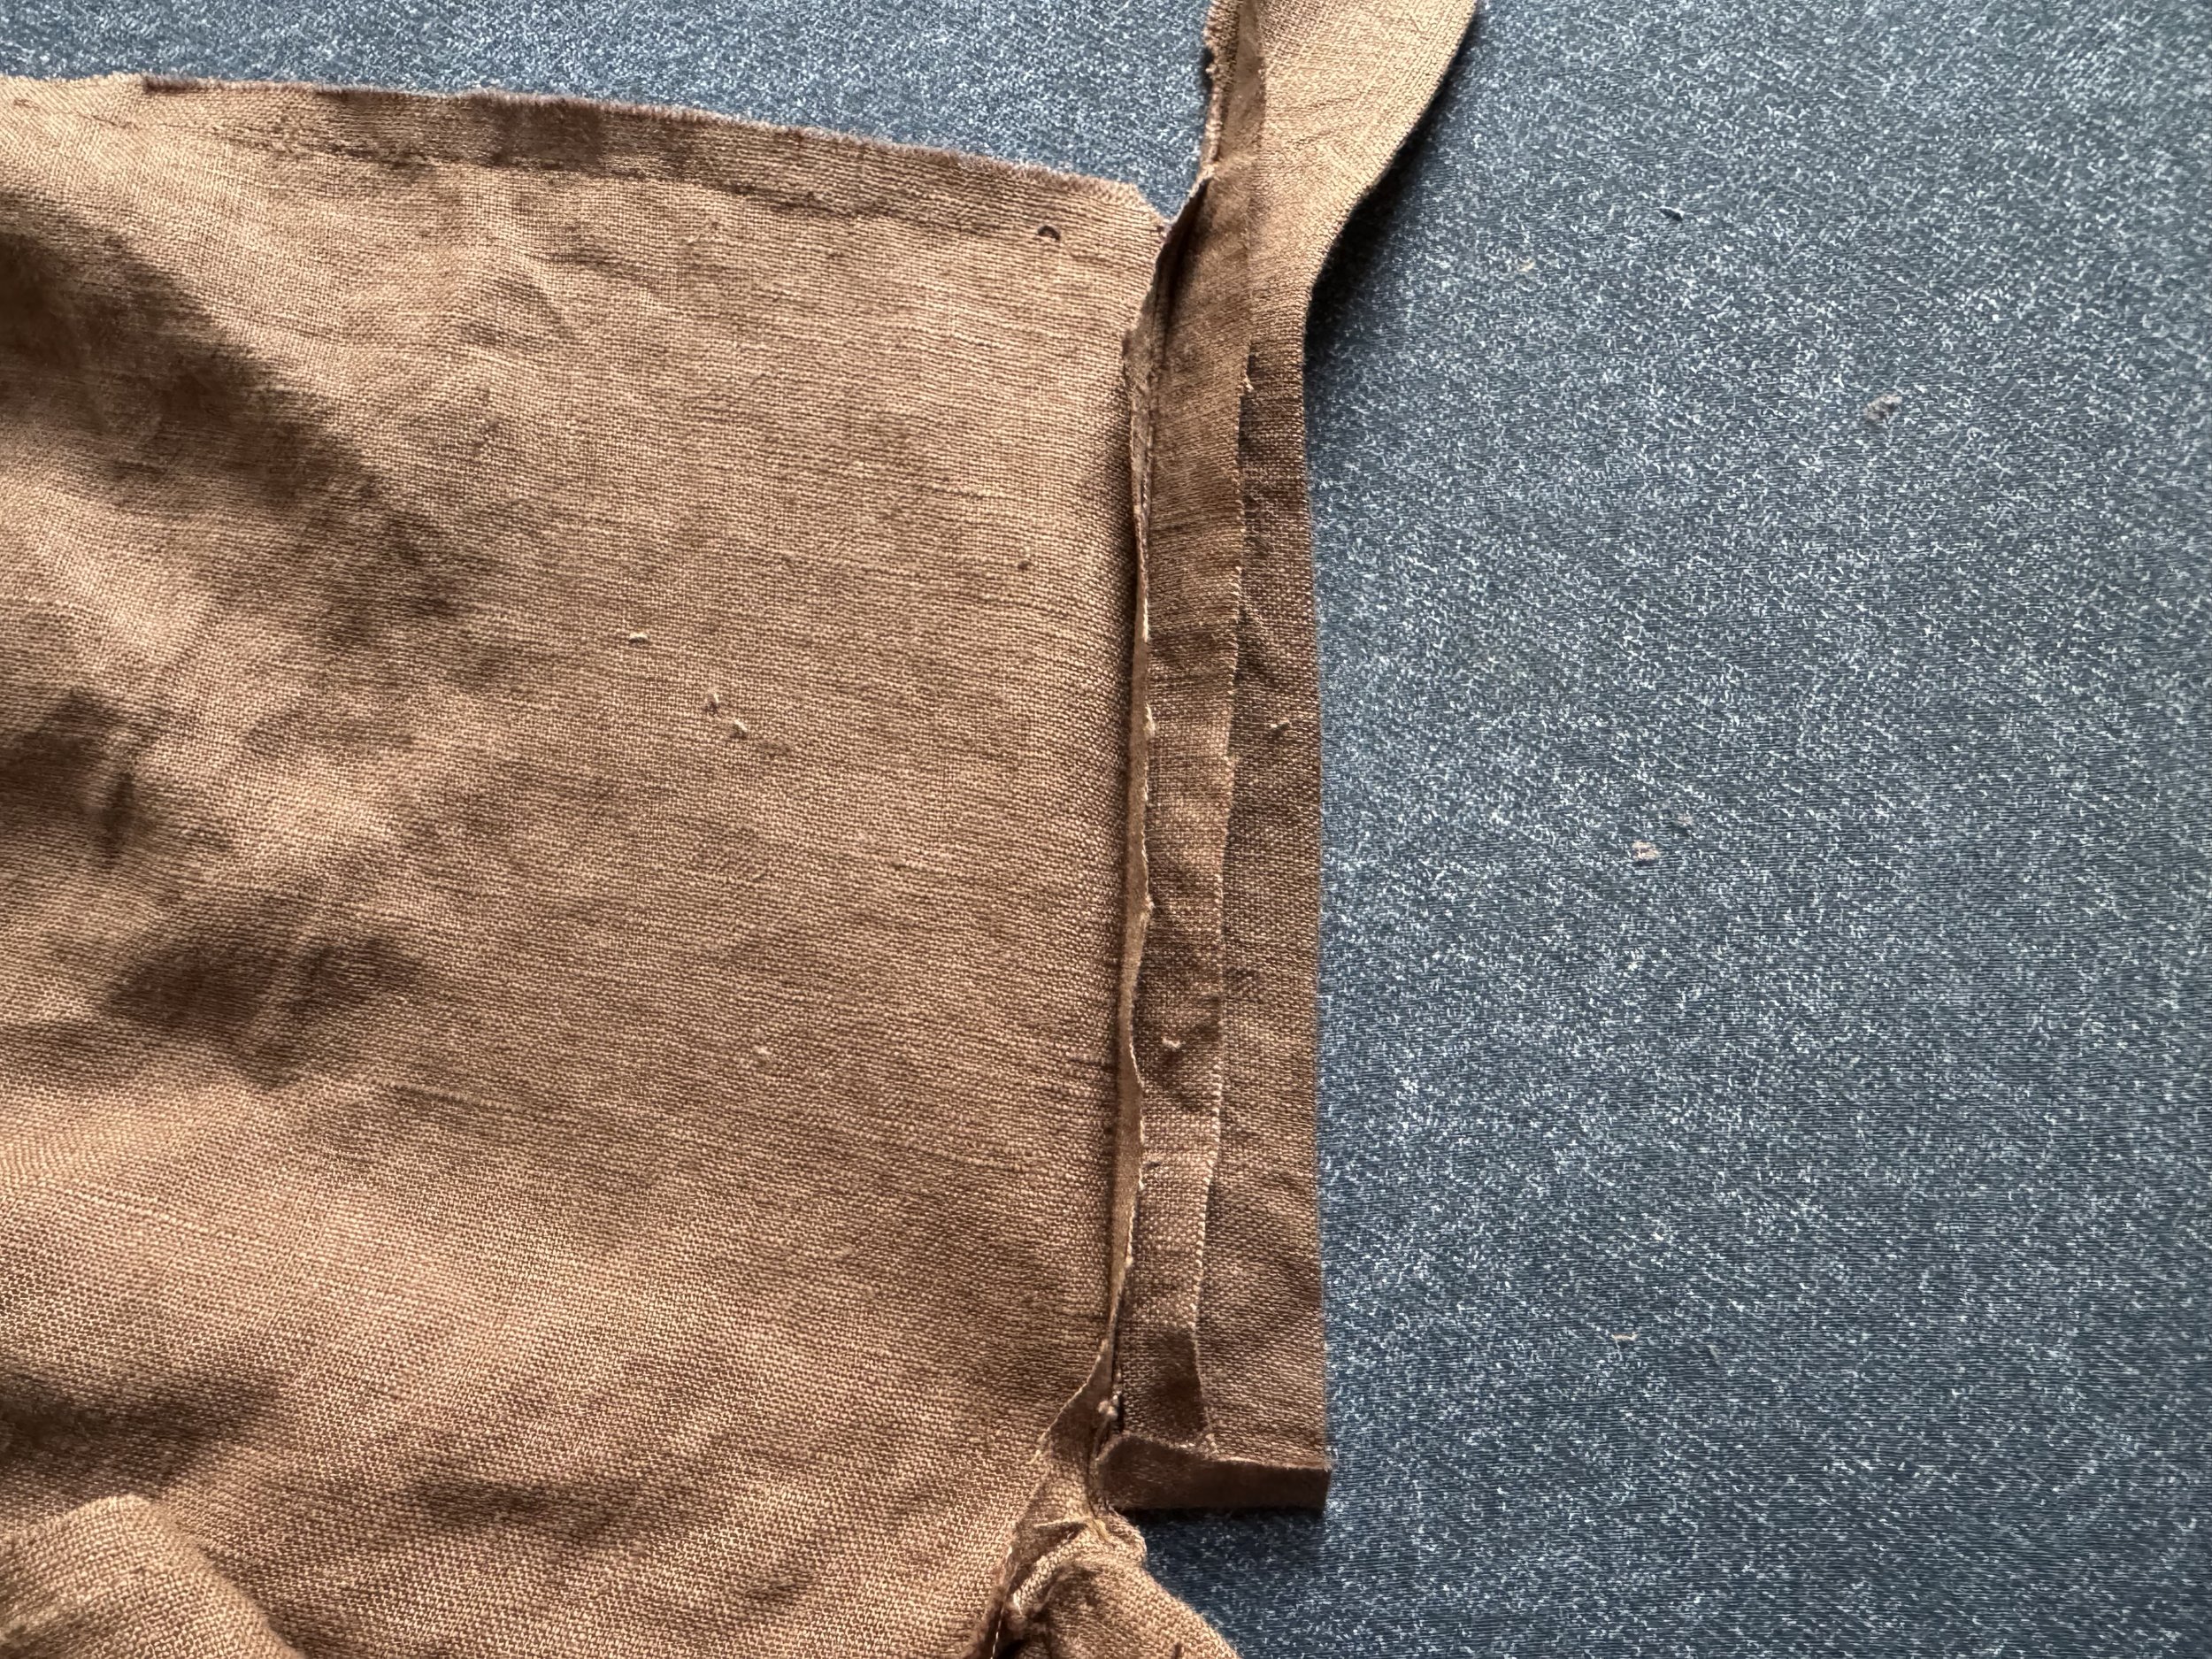
placket pieces
My sweet gusset is gone, so I have to install some placket pieces to cover the slit in the back of the skirt. I got to draw more thread (yay!) and made two rectangles that are about 9”x3”. I folded one rectangle in half longways and then sewed one short and one long side. Did I clip corners before I turned it, as I ought to have done? No, I did not.
-
ironing time
I first folded the left side of the slit’s seam allowance so that it matched the back seam’s seam allowance and then I sewed the folded-and-stitched piece to it after matching up the bottom of the placket piece with the bottom of the seam opening. I overlapped the pieces by about 1/4” and used a sort of stab stitch which was mostly acceptable.
Then I sewed the unfolded placket piece to the right side of the opening with a backstitch, and then pressed it toward the back of the skirt.
-

more ironing
Then I folded the right side’s placket in half toward the wrong side of the skirt and gave it a press.
-

and more ironing
I then folded the raw edge under by about 1/4” so that this placket piece is about the same size as the other placket piece.
-

an inside look
The raw edges of both the placket piece and the skirt are all safely ensconced in the placket.
-
one more little fold
I also folded in the bottom edge of the placket so that now nothing, absolutely nothing, is not hidden by the placket. Except for the top, but that is okay.
-

and now it is sewed
I could maybe have done a tidier job, but I am feeling very forgiving at this point. I used the stab-stitch method on the right placket, sewing all the way around the three sides that the waistband will not hide.
-

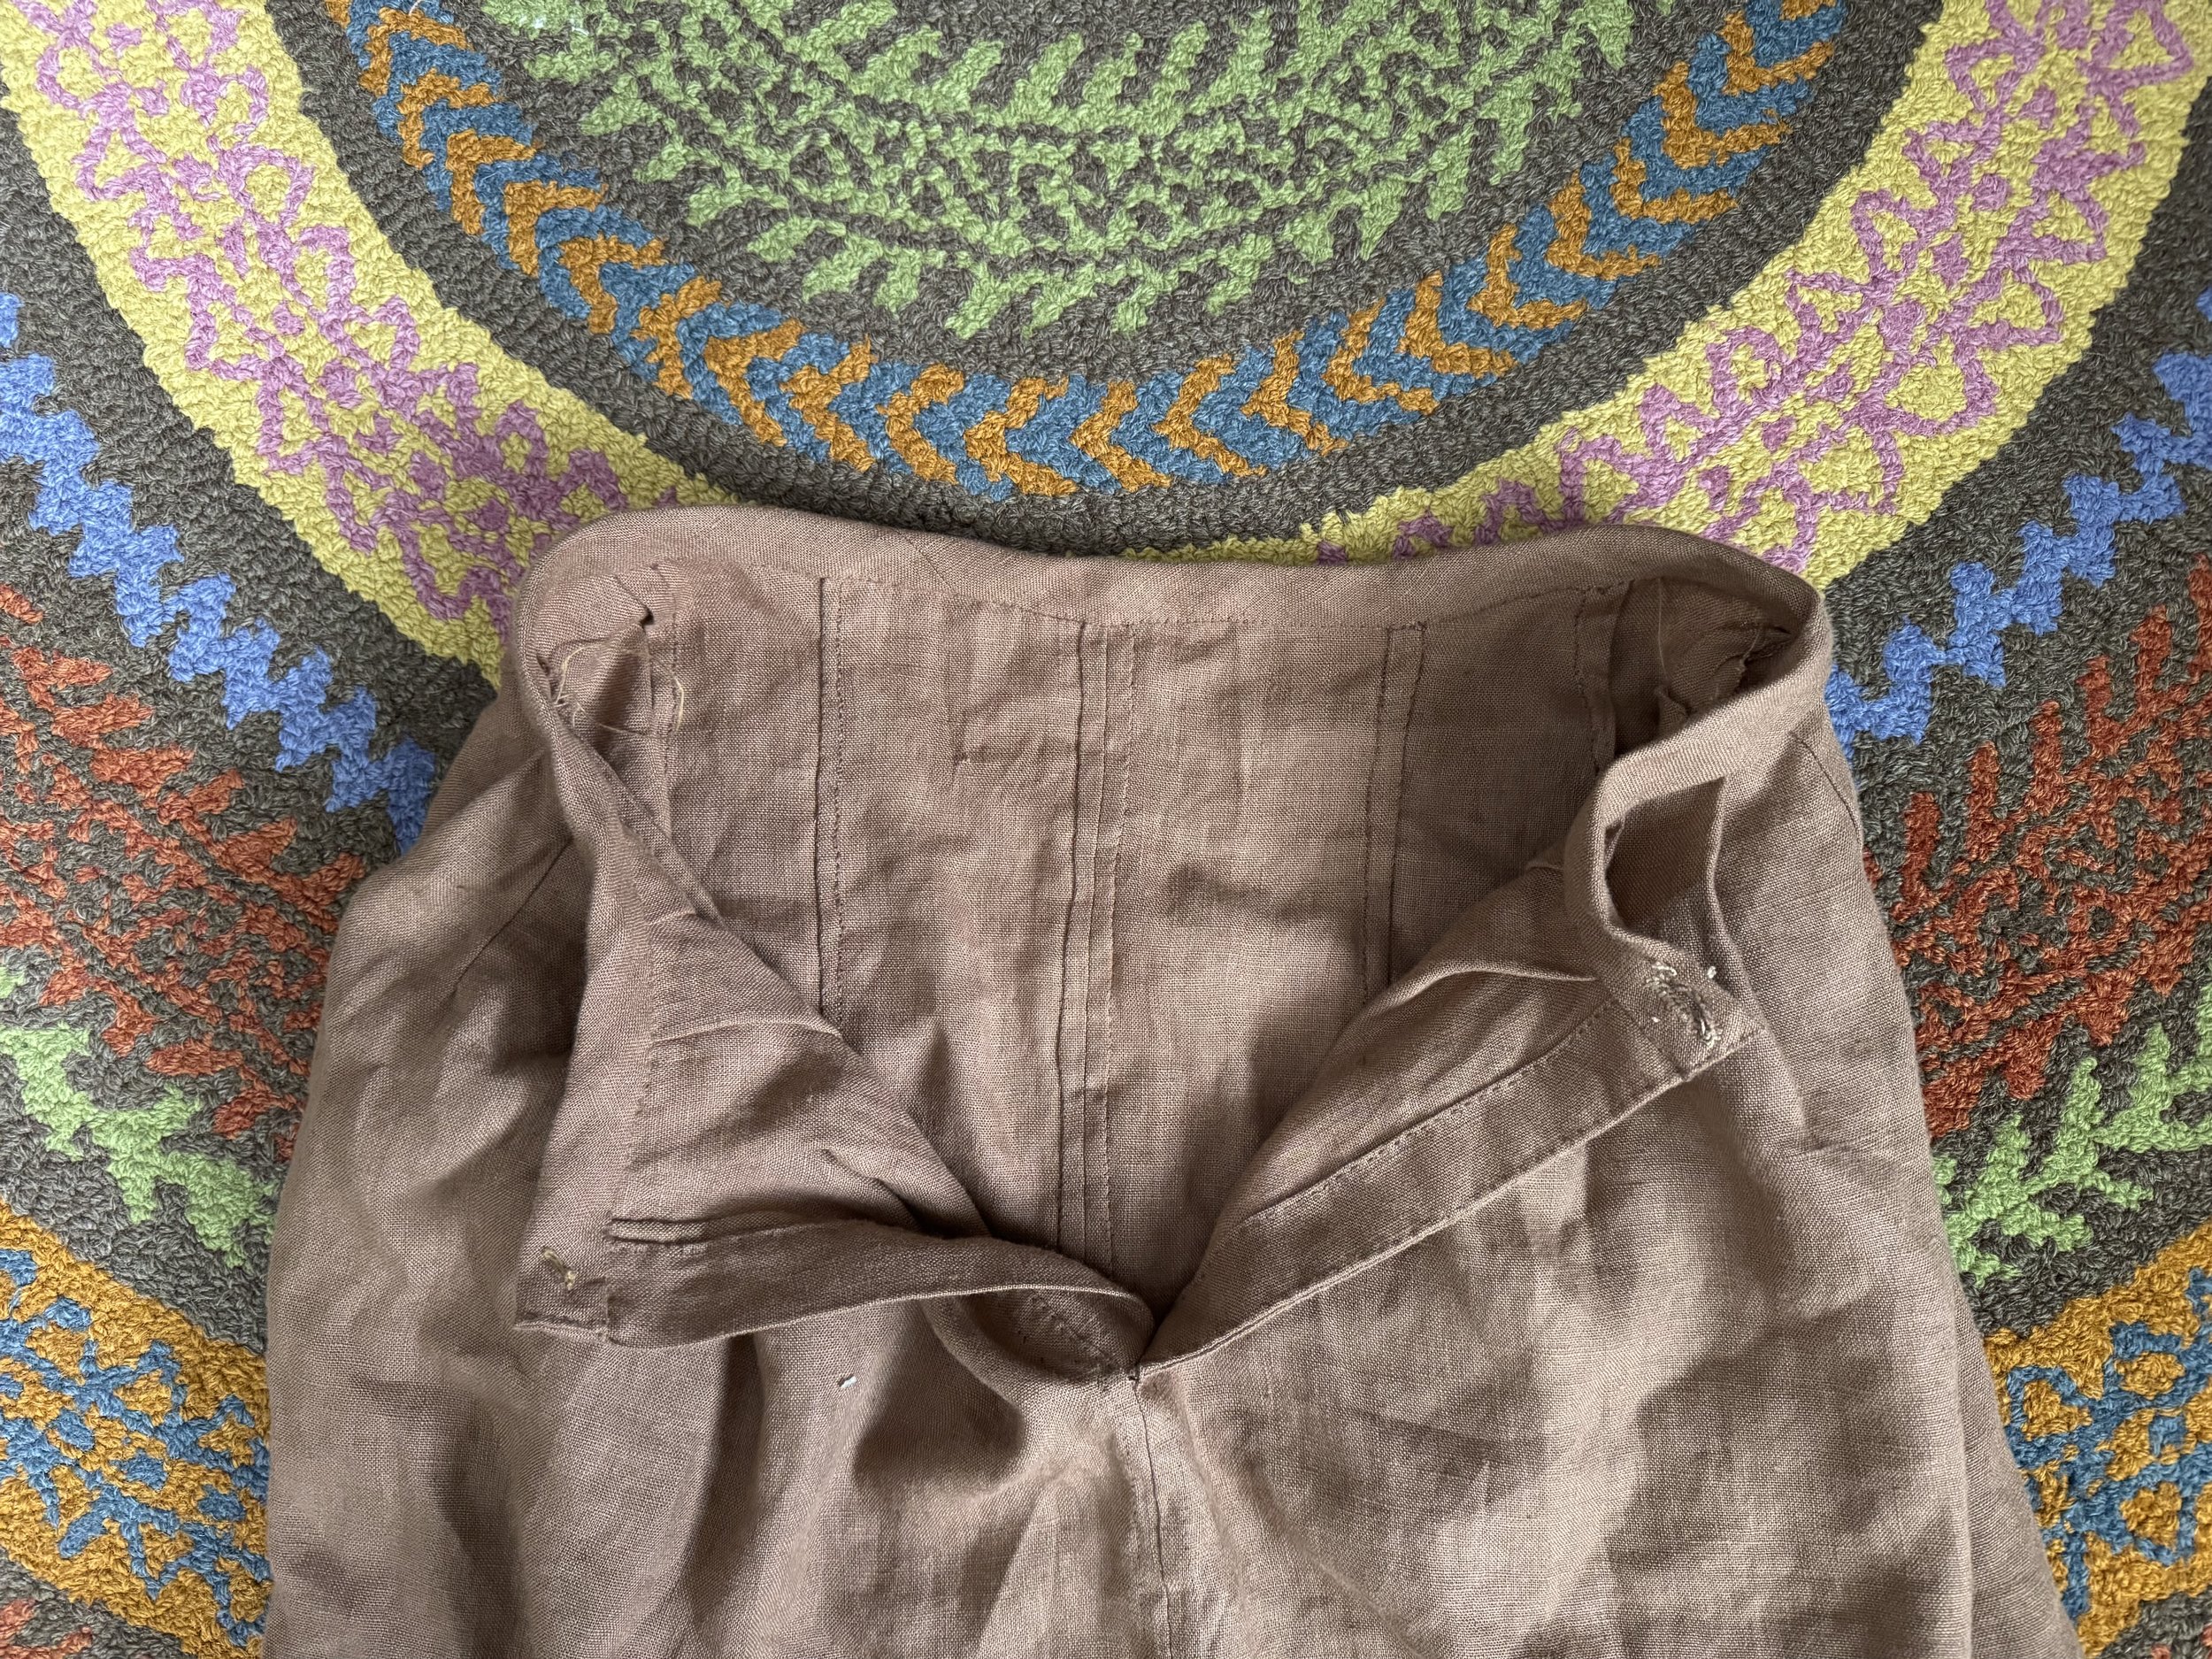
opened up
That upper left thing is still bugging me, but maybe it will be hidden once I have the waistband and a button attached. At any rate, I won’t see it, as it will be behind me.
-

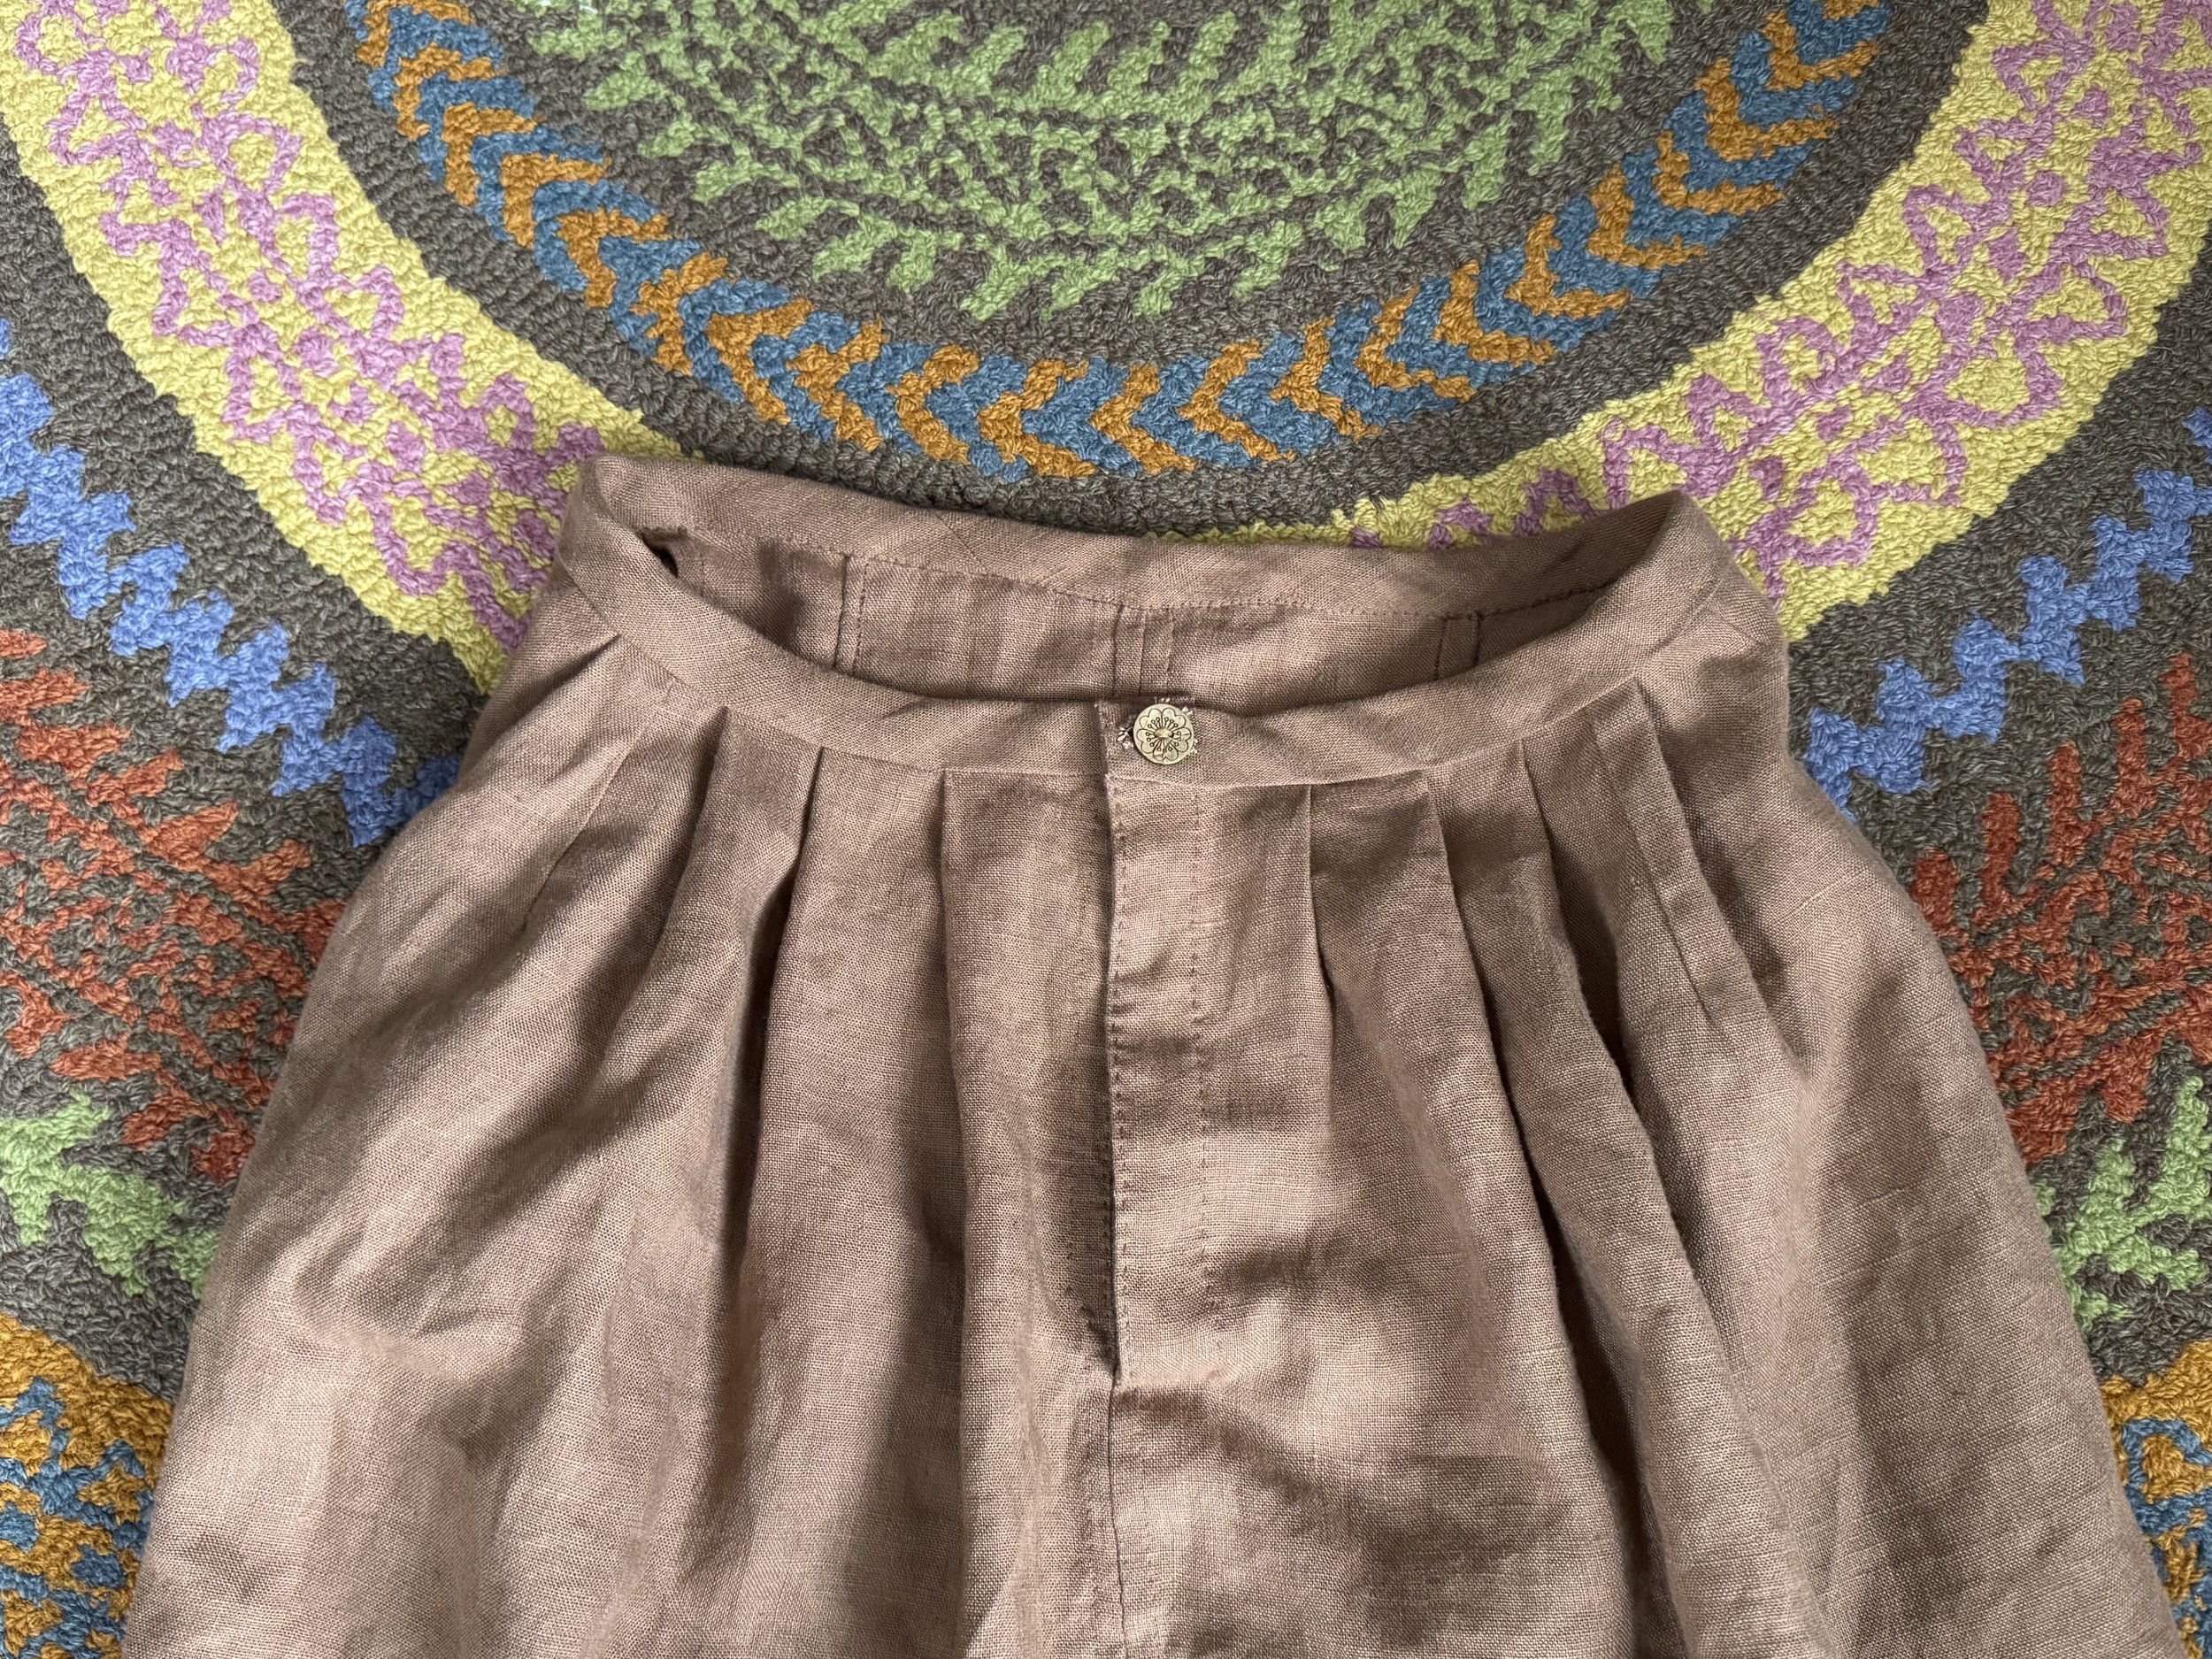
here is the front
There is not much new here; I sewed the same waistband to the body of the skirt just as I did before, but as the skirt is narrower now (pleats), I cut off quite a few inches of the waistband piece to make it fit.
-
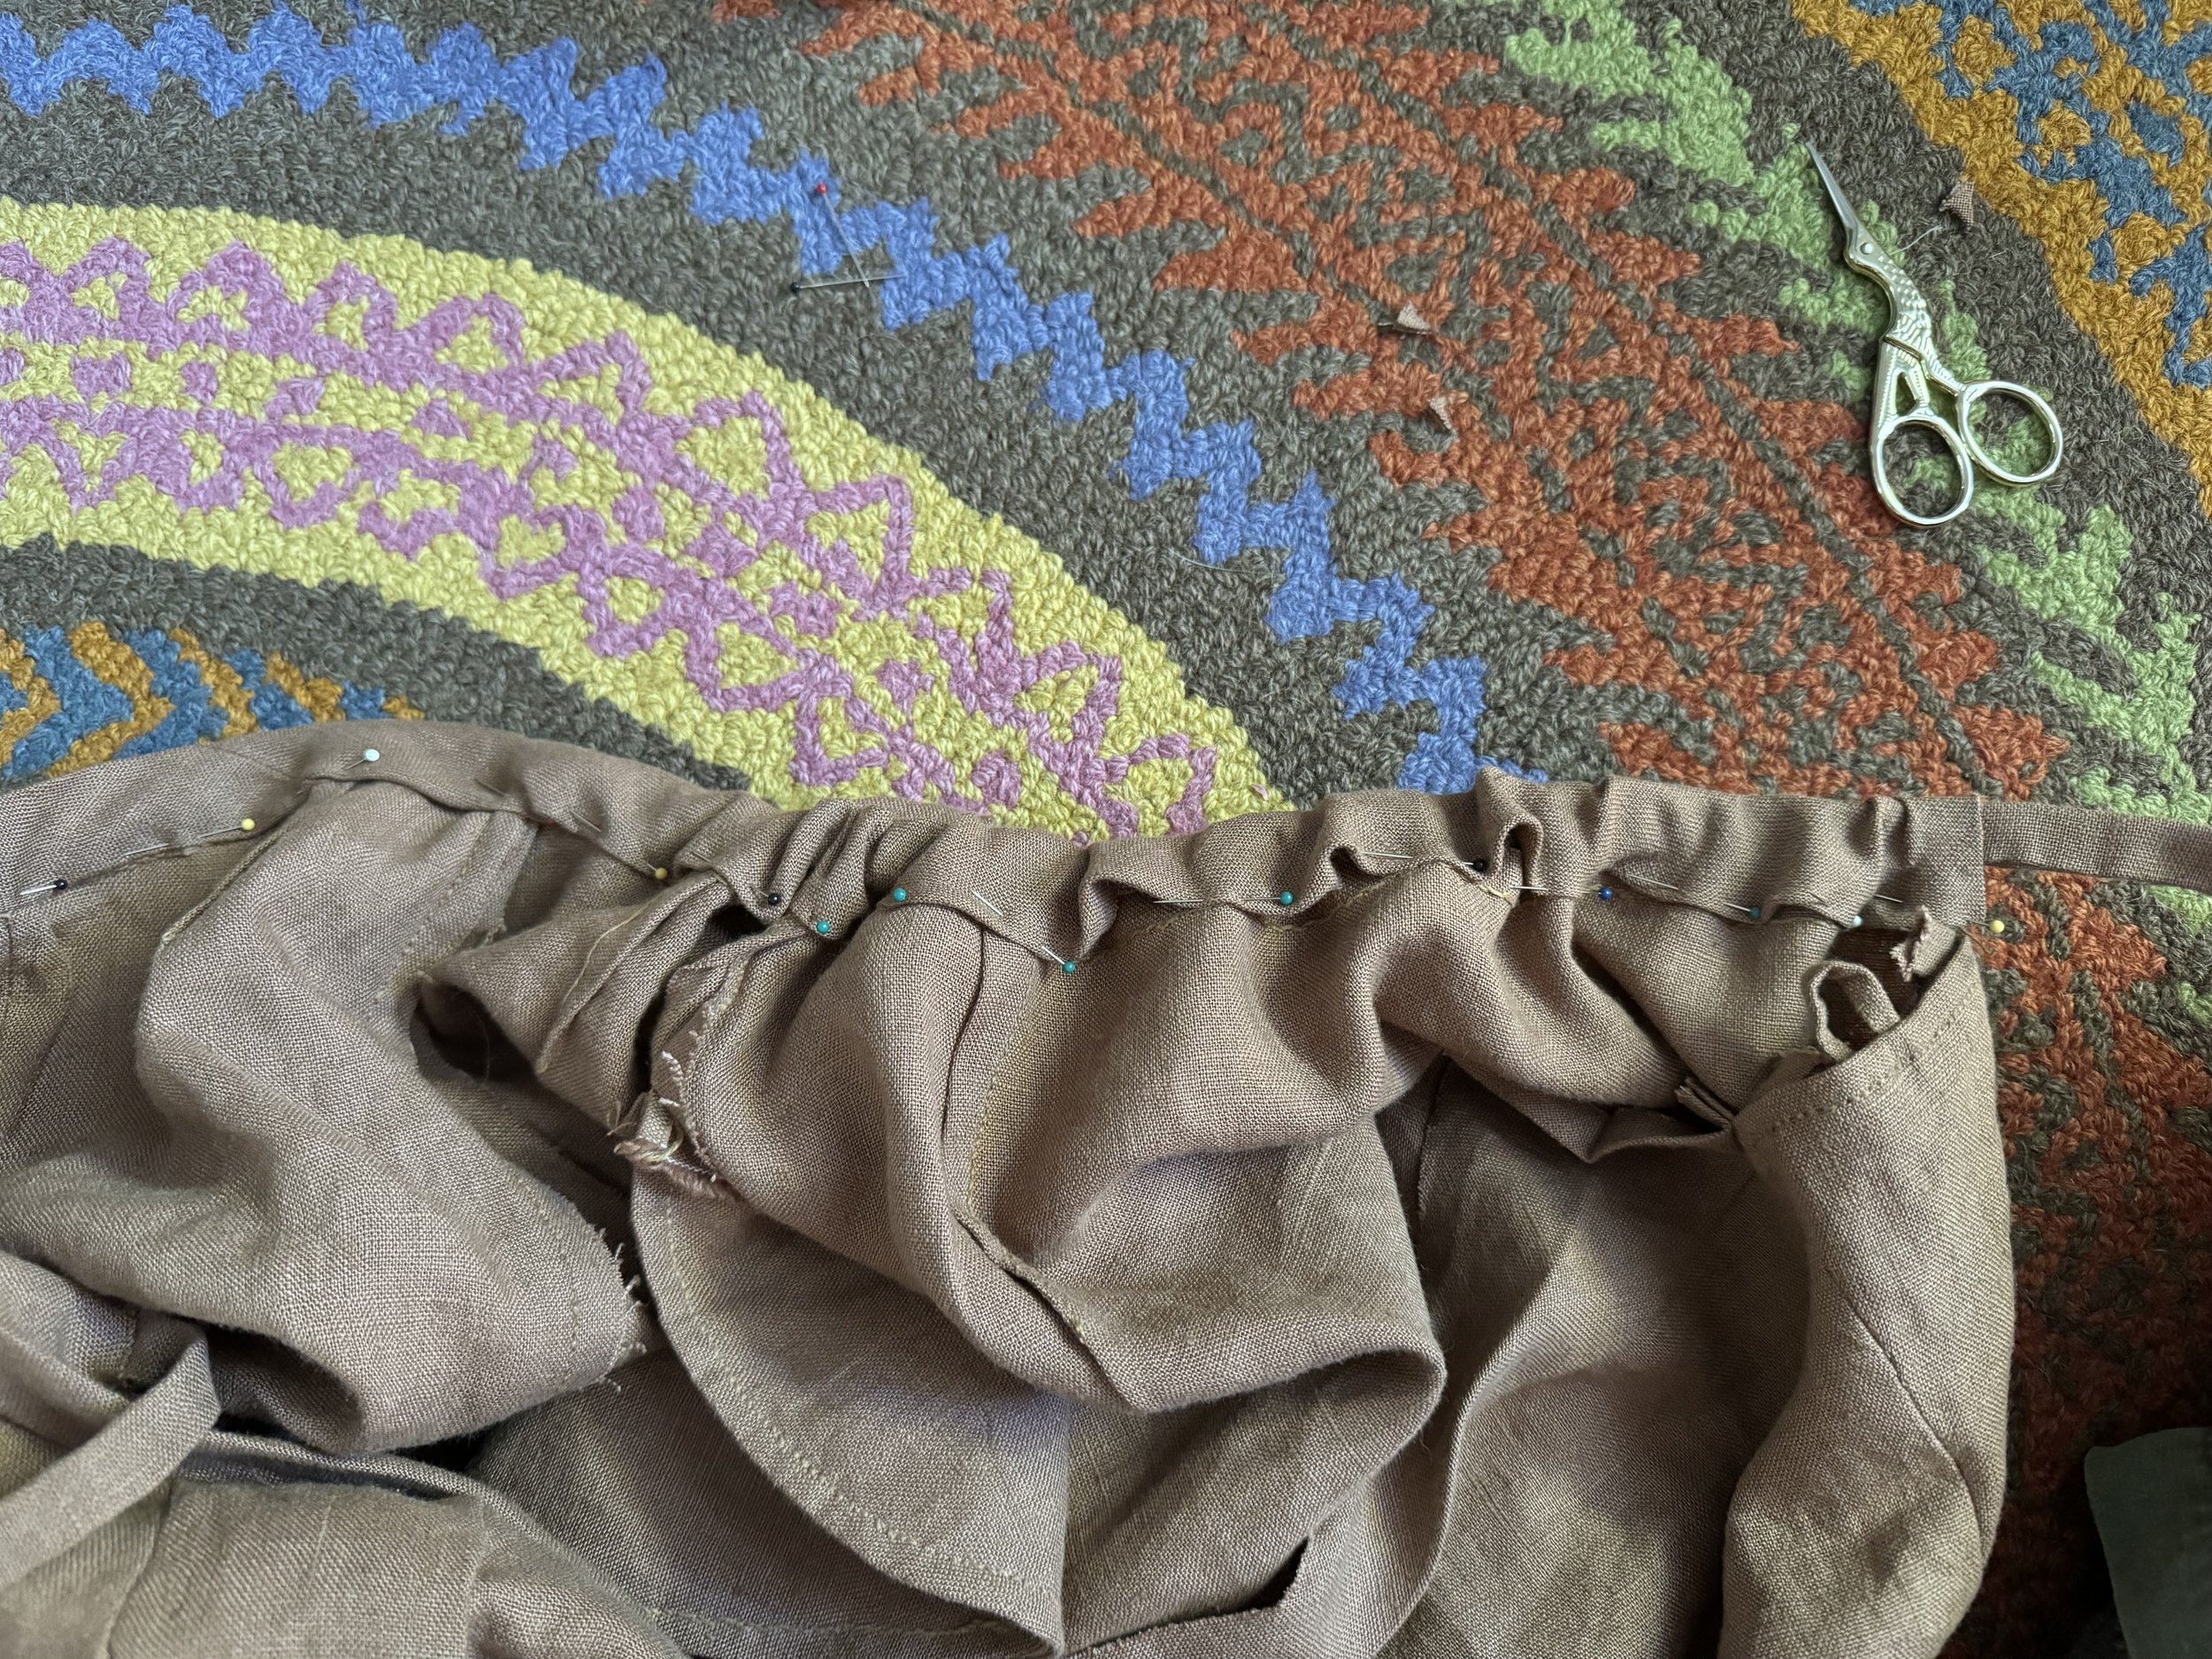
pleat time
Whoops, I forgot to take a photo of the pleat-making, so here they are with the waistband and a button already installed. I ended up with four pleats on each side of the placket, about 1 1/4” wide. I basted them together and then sewed on the waistband. Yes, I left the darts in and they are living on top of the outer pleats.
-
felling commenced
This might be my favorite part! I get to stitch and stitch and stitch. There are eight (I think) seams to fell (the front and back center seams count for two each, as I opened those seams out and felled each side separately) and I am already at work on number six.
-
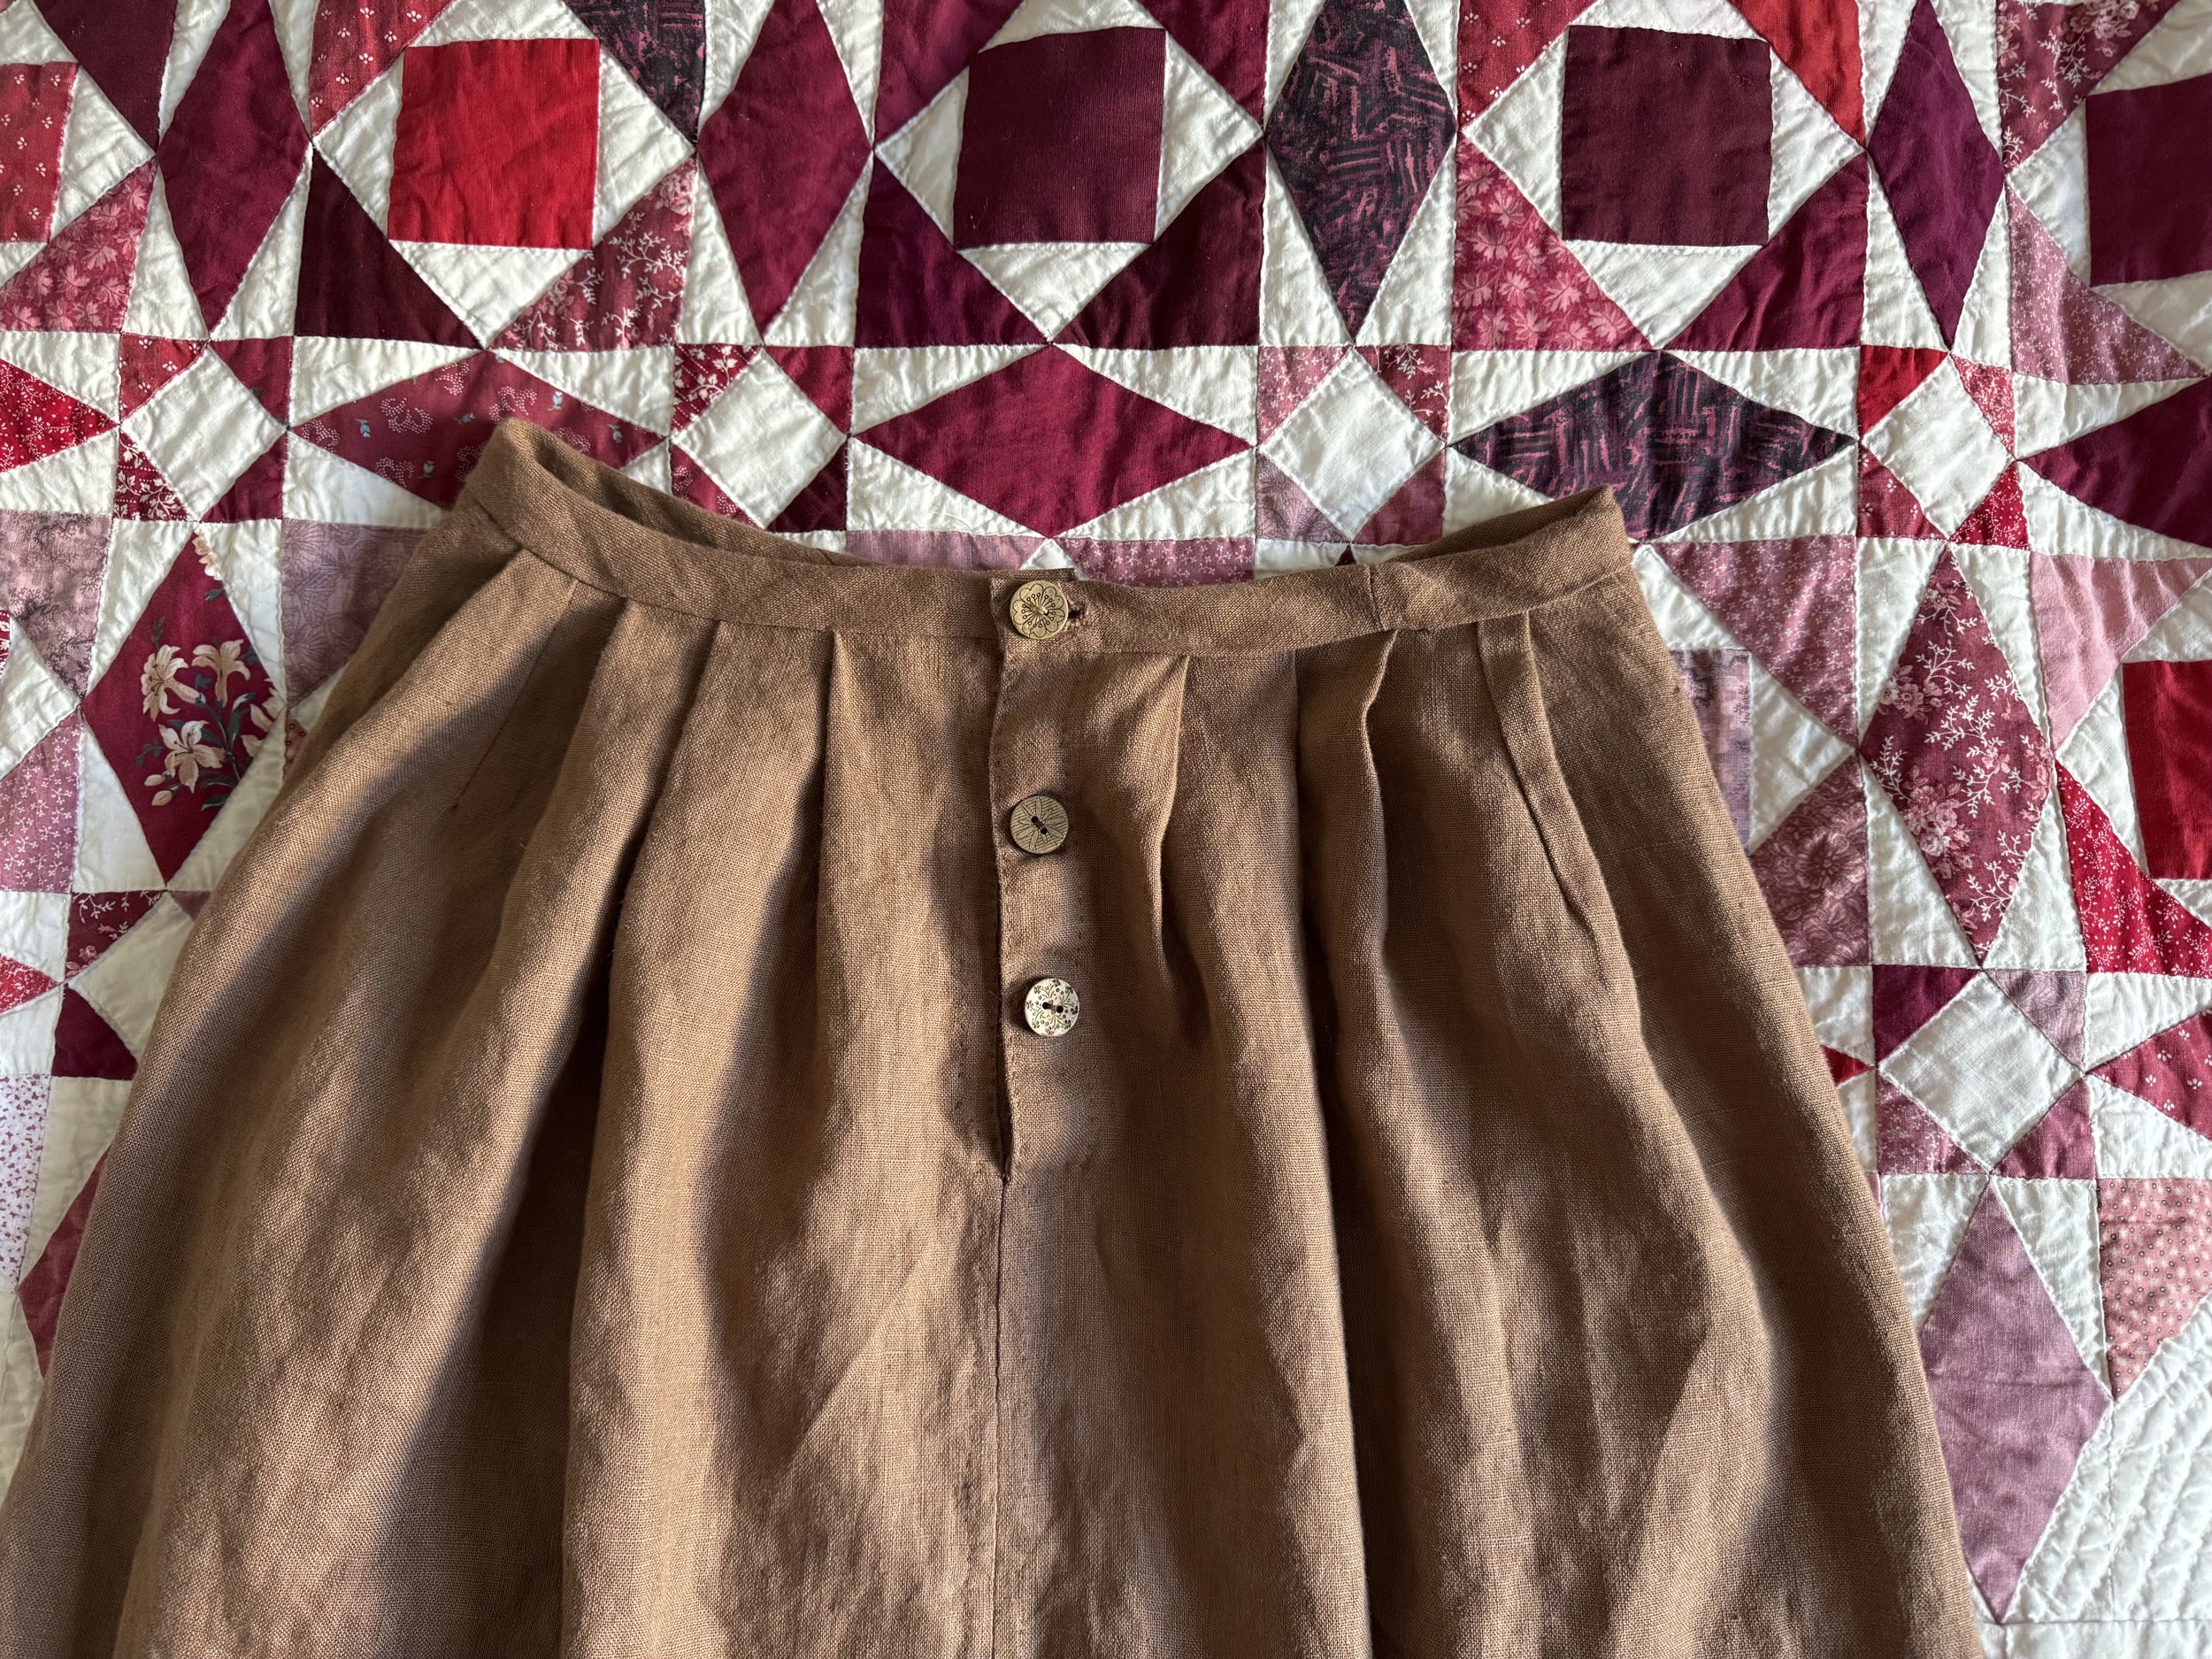
a bit more editing
You might have noticed, a couple of photos back, that there was a bubbling gap between my two plackets (I tried to hide it . . . ). That is because the top placket ended up being about 1/2” longer than the bottom one. I decided to fix it, and removed about 5” of the right waistband, cut off about 1/2” from the top of the back body of the skirt, and sewed in a new piece of waistband. No gap anymore. And three buttons!!
-
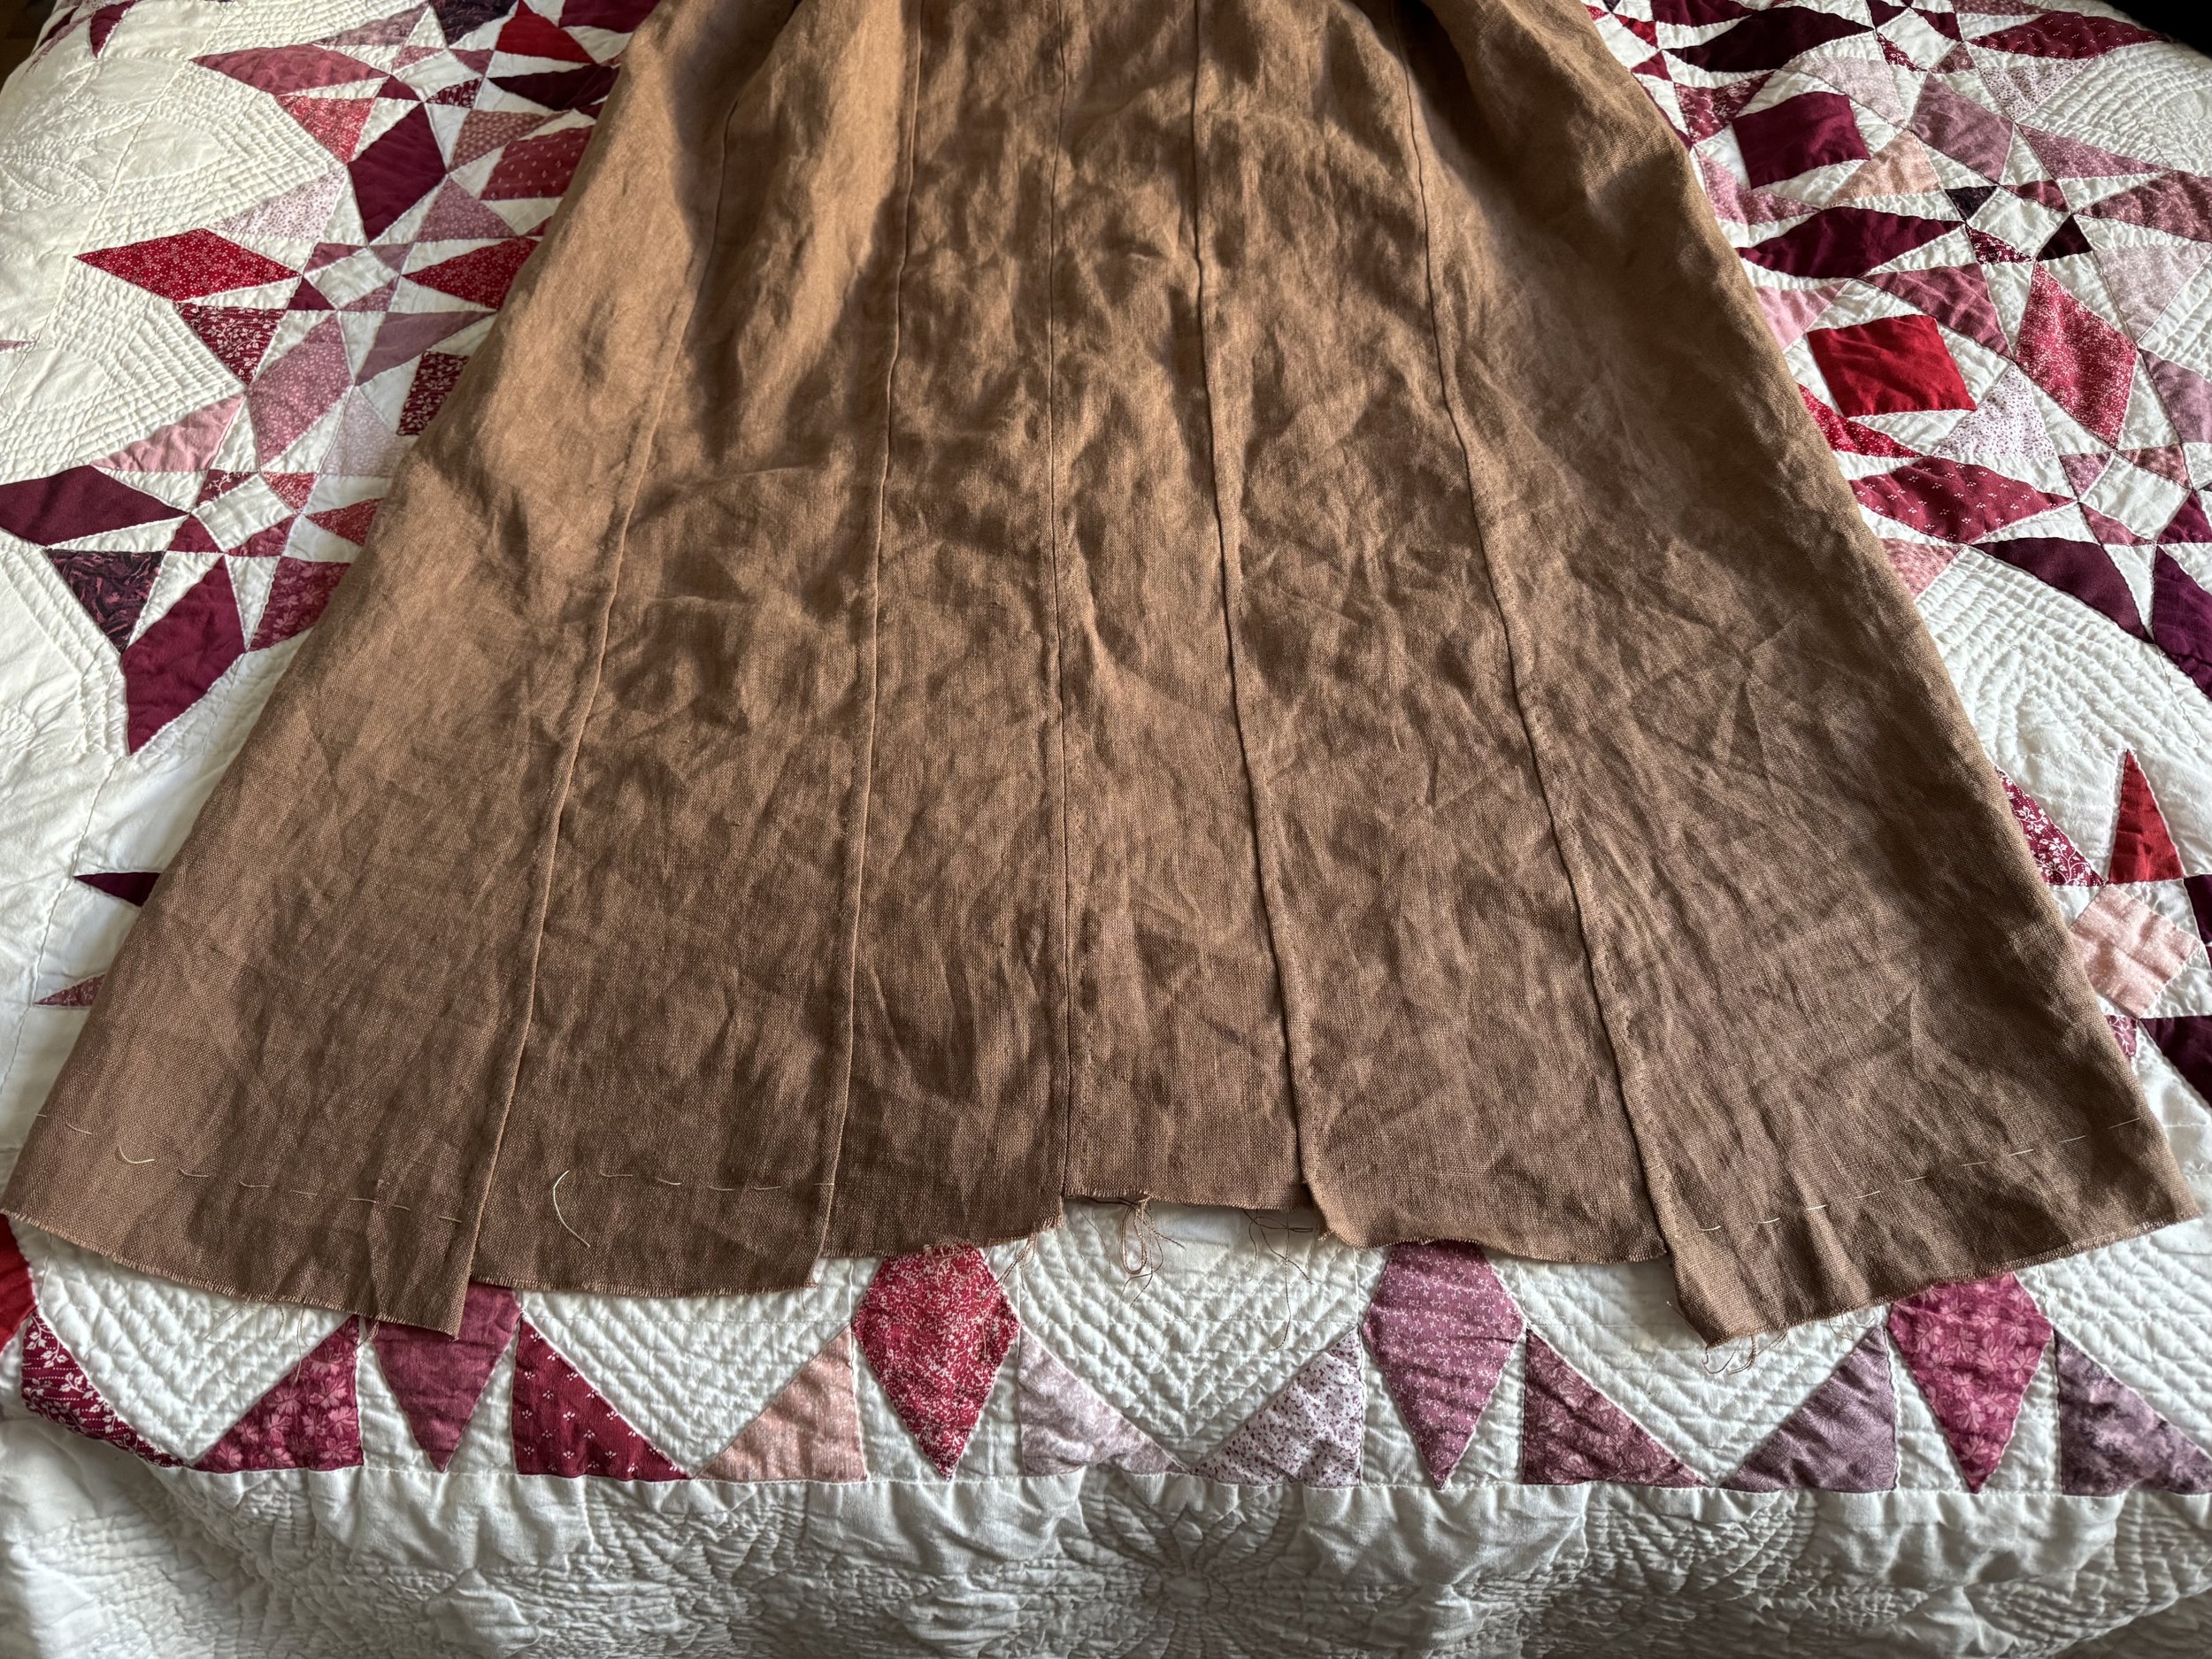
last task
I need to even out the hem and get some sort of seam(s) put in. The finish line is in sight!
-

hemmed
I did two rows of a sort of running stitch and I like how it looks.
-

-

-

-

-
Notes
(1) Shufu To Seikatsu Sha. Simple Modern Sewing: 8 Basic Patterns to Create 25 Favorite Garments (2011).
(2) https://www.sewhistorically.com/2-plain-edwardian-petticoats/